Irish Soda Bread is a quick bread that does not require any yeast. Instead, all of its leavening comes from baking soda and buttermilk. This Irish soda bread recipe is my grandmother’s and has been cherished in my family for years. It’s dense, yet soft and has the most incredible crusty exterior. Buttermilk and cold butter are the secret to its delicious success!
Welcome to my favorite Irish Soda Bread recipe. I shared this no yeast bread recipe on my blog a few years ago and decided to revisit with fresh new pictures and a video tutorial. This recipe is my grandmother’s. She passed away in 2011, 2 weeks before I started this food blog. I dedicated my 1st cookbook to her. Full of energy and the creator of the best homemade pie crust on earth, she would be in her 90s today. St. Patrick’s Day is her birthday.

Irish Soda Bread is a Quick Bread
Does the thought of homemade bread send you running for the hills? Sometimes homemade bread feels daunting, but you’re in luck today. Irish soda bread is a quick bread made with baking soda, not yeast. Like my easy no yeast bread, this is a shortcut bread that doesn’t skimp on flavor. (If you want a yeast bread, I recommend my sandwich bread recipe!)
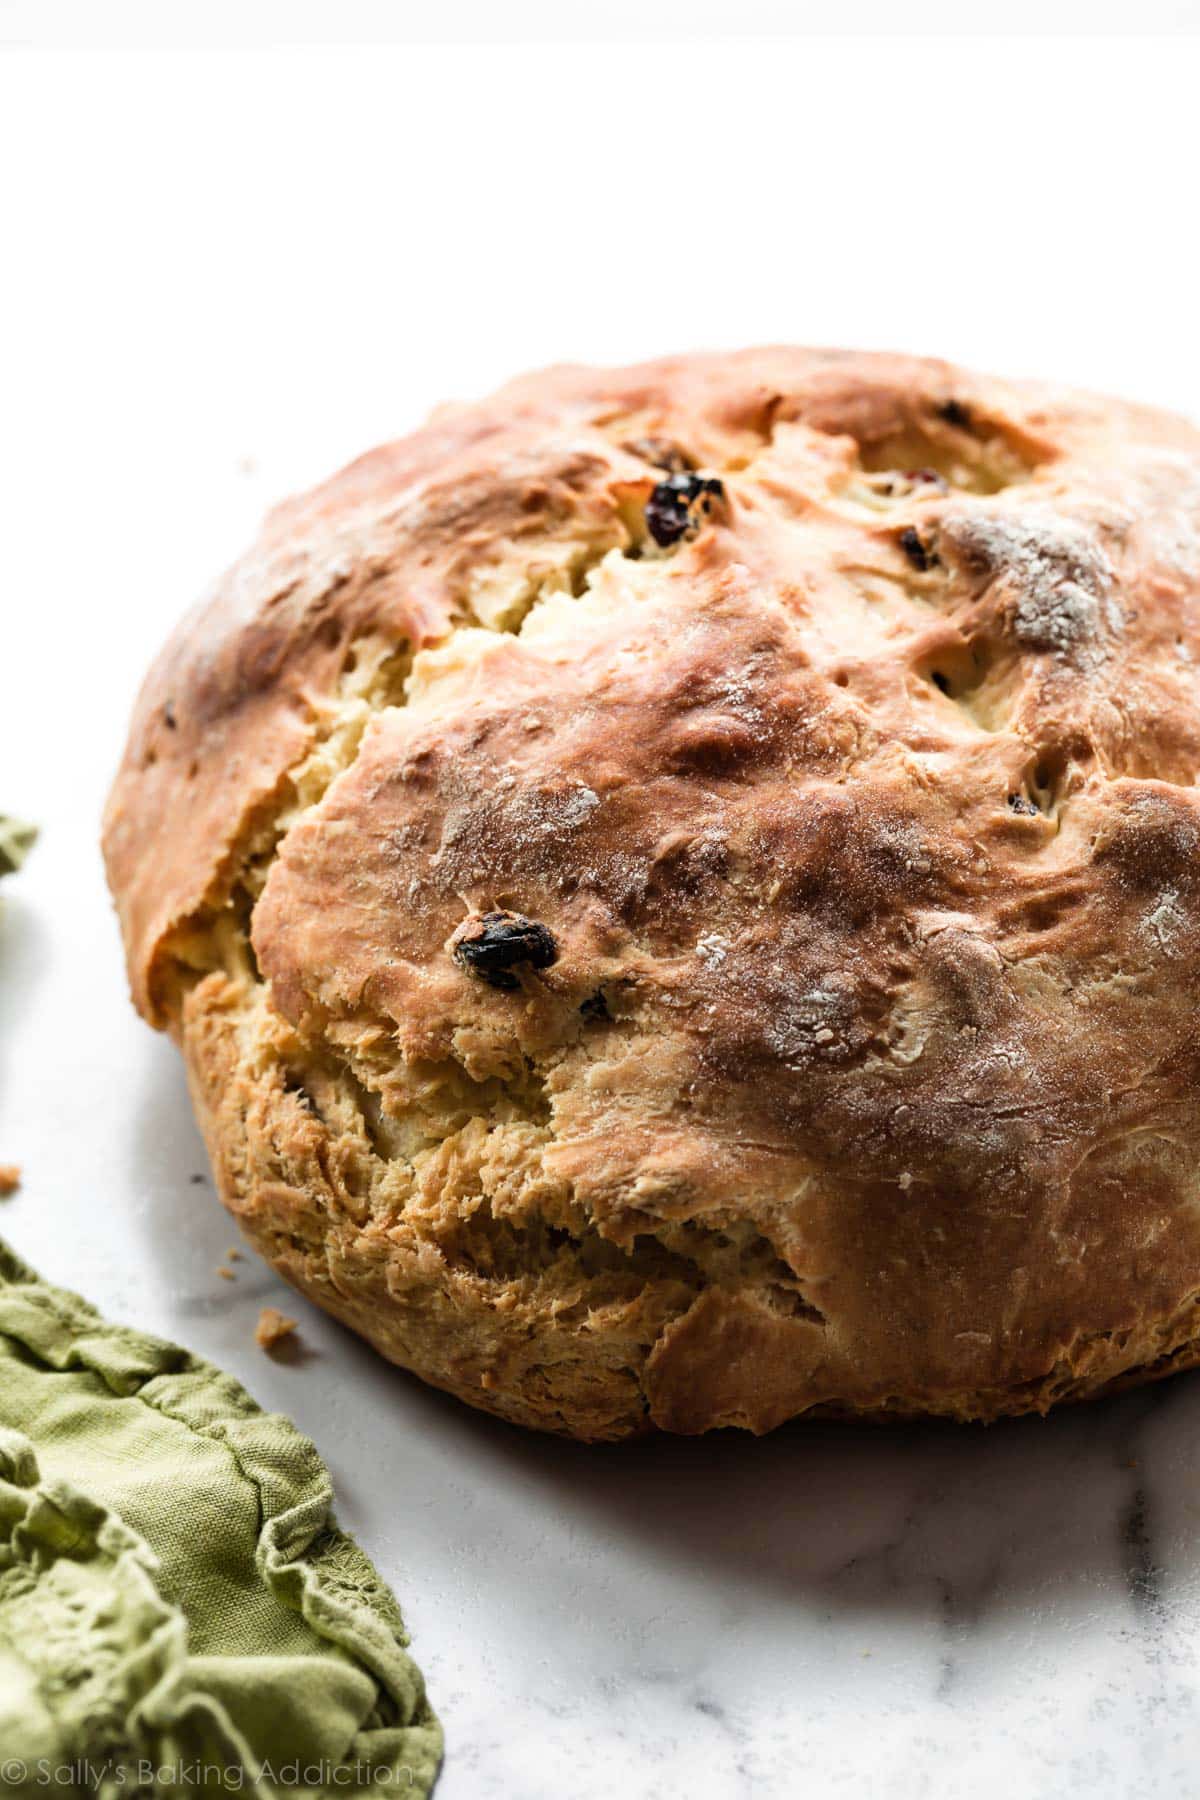
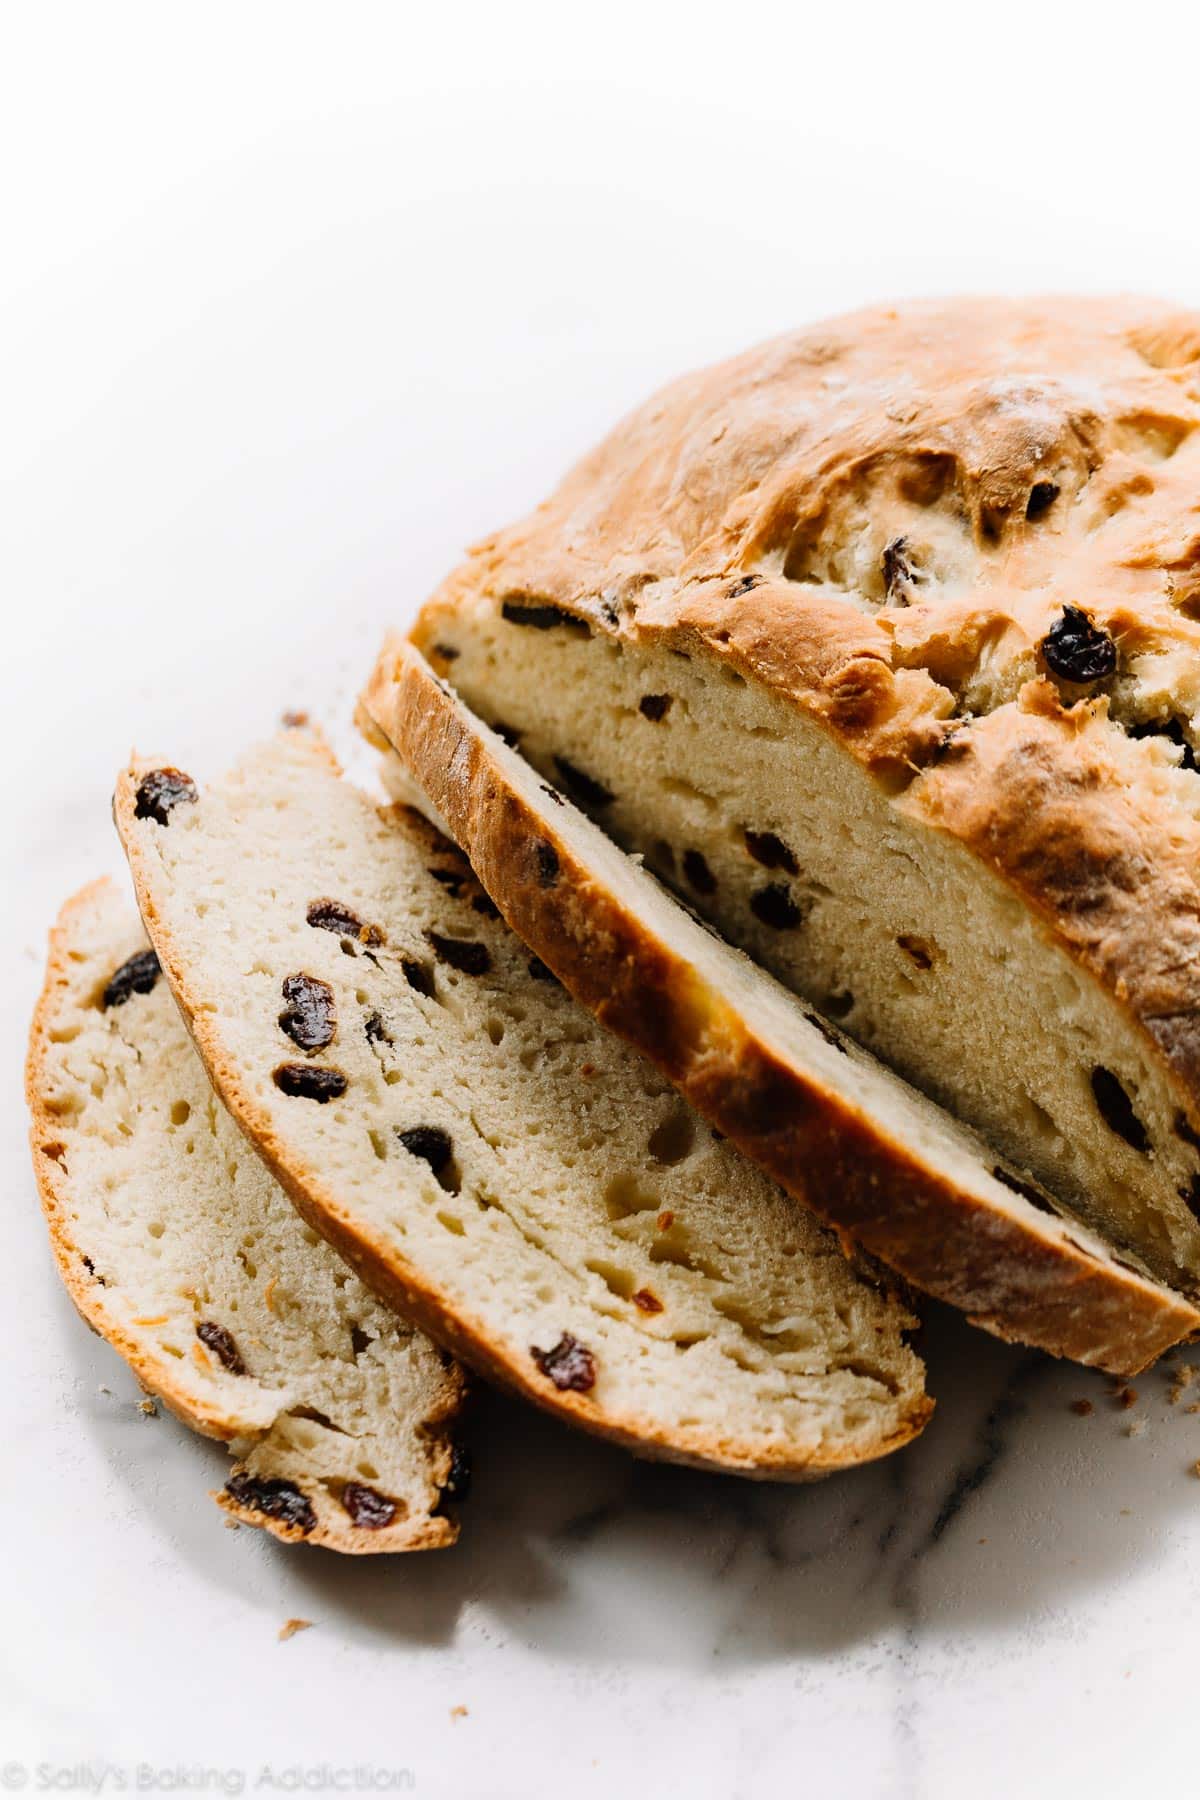
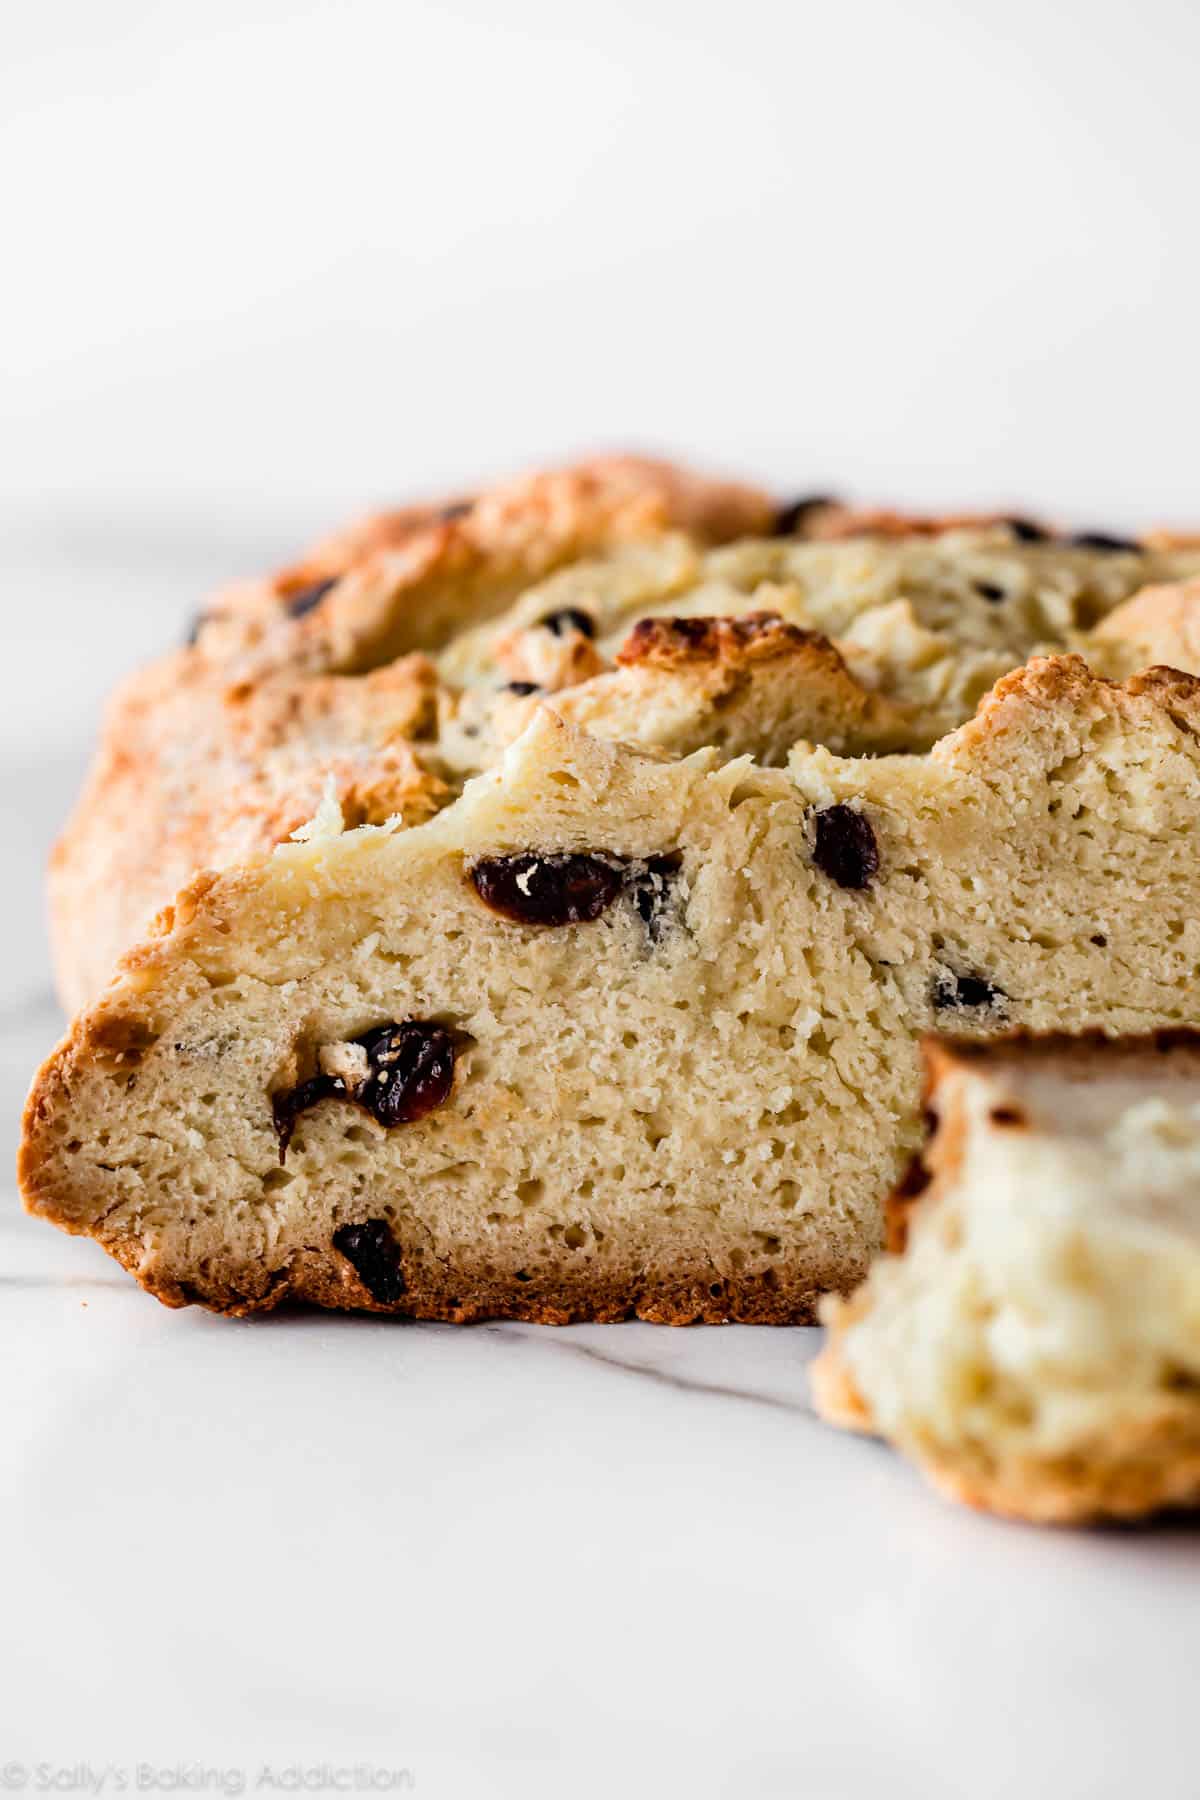
- What’s the texture like? The best Irish soda bread, like this recipe, has a golden brown crust with a dense, tight crumb. The bread isn’t heavy, it’s actually quite tender and soft inside. The crust is nice and crisp when it comes out of the oven and becomes a little chewy on day 2 and 3. It’s so good.
My grandmother’s Irish soda bread contains some sugar, but it’s not overly sweet. It’s a wonderful companion for savory dinners like hearty stew or you can serve it with butter, jam, and/or cheese. The raisins are optional, but Grandma would never let you skip them.
Video Tutorial: Homemade Irish Soda Bread
Overview: How to Make Irish Soda Bread
The full printable recipe is below. Irish soda bread dough comes together in about 10 minutes. You need buttermilk, egg, flour, sugar, baking soda, salt, and butter.
- Whisk buttermilk and 1 egg together. Whisk the flour, sugar, baking soda, and salt together in another bowl.
- Cut cold butter into the flour mixture. Like scones and pie crust, cutting cold butter into the flour is a key step. Coating the flour in cold butter guarantees a lovely flaky texture. You can use a fork, your hands, or a pastry cutter. Add the wet ingredients.
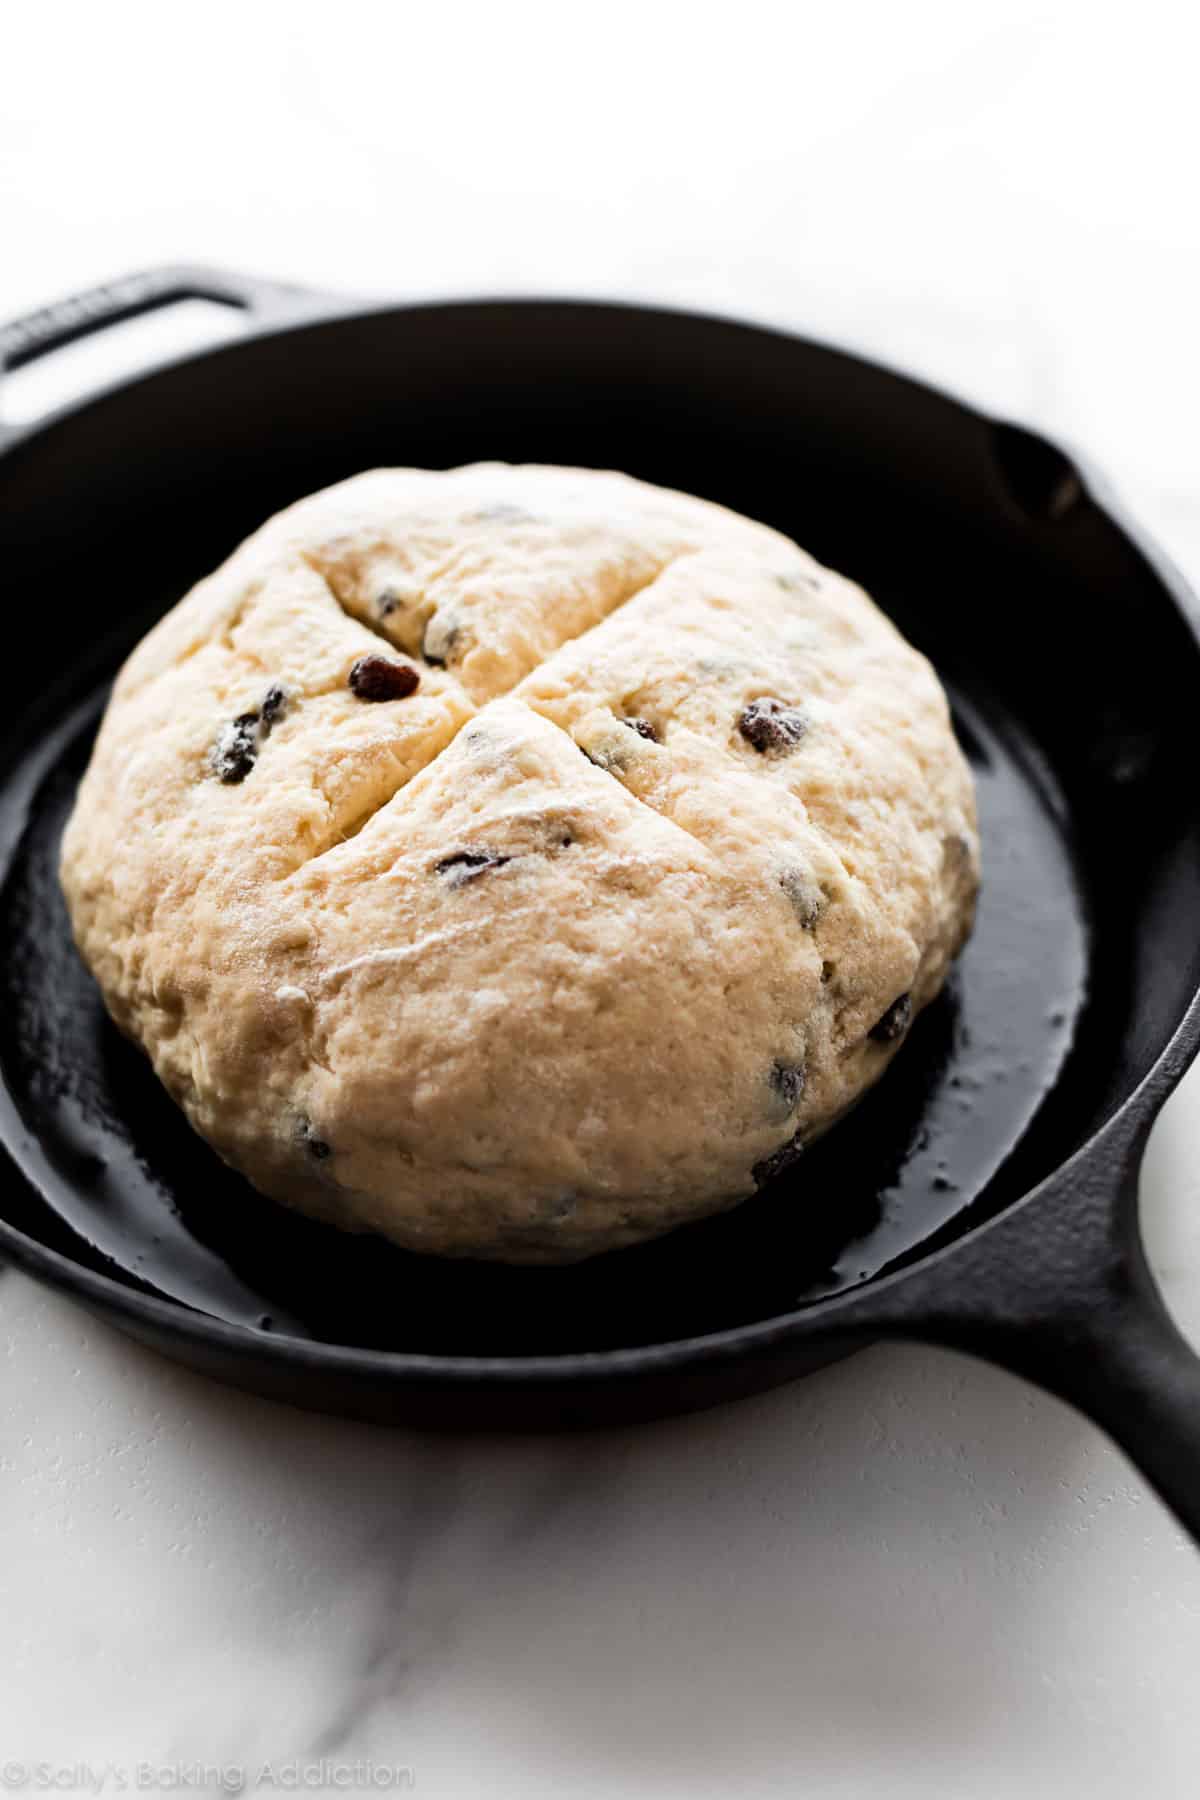
- Bring the dough together with your hands. Using a very sharp knife, score the dough. This allows the center to bake.
- Bake until golden brown.
Buttermilk is the Secret
Irish soda bread only requires a few ingredients, including buttermilk. Buttermilk reacts with the baking soda to provide the bread’s leavening. It also adds wonderful flavor! We use buttermilk for the same reasons in my regular no yeast bread, too.
Feel free to Skip the Egg
Irish soda bread can be made with or without an egg. 1 egg adds richness and density. Feel free to skip it to make a slightly lighter loaf. No other changes necessary, simply leave out the egg.
3 Success Tips
- Don’t over-work the dough. It’s supposed to look a little shaggy.
- Score the top of the dough with an “X” before baking. This helps the center bake through.
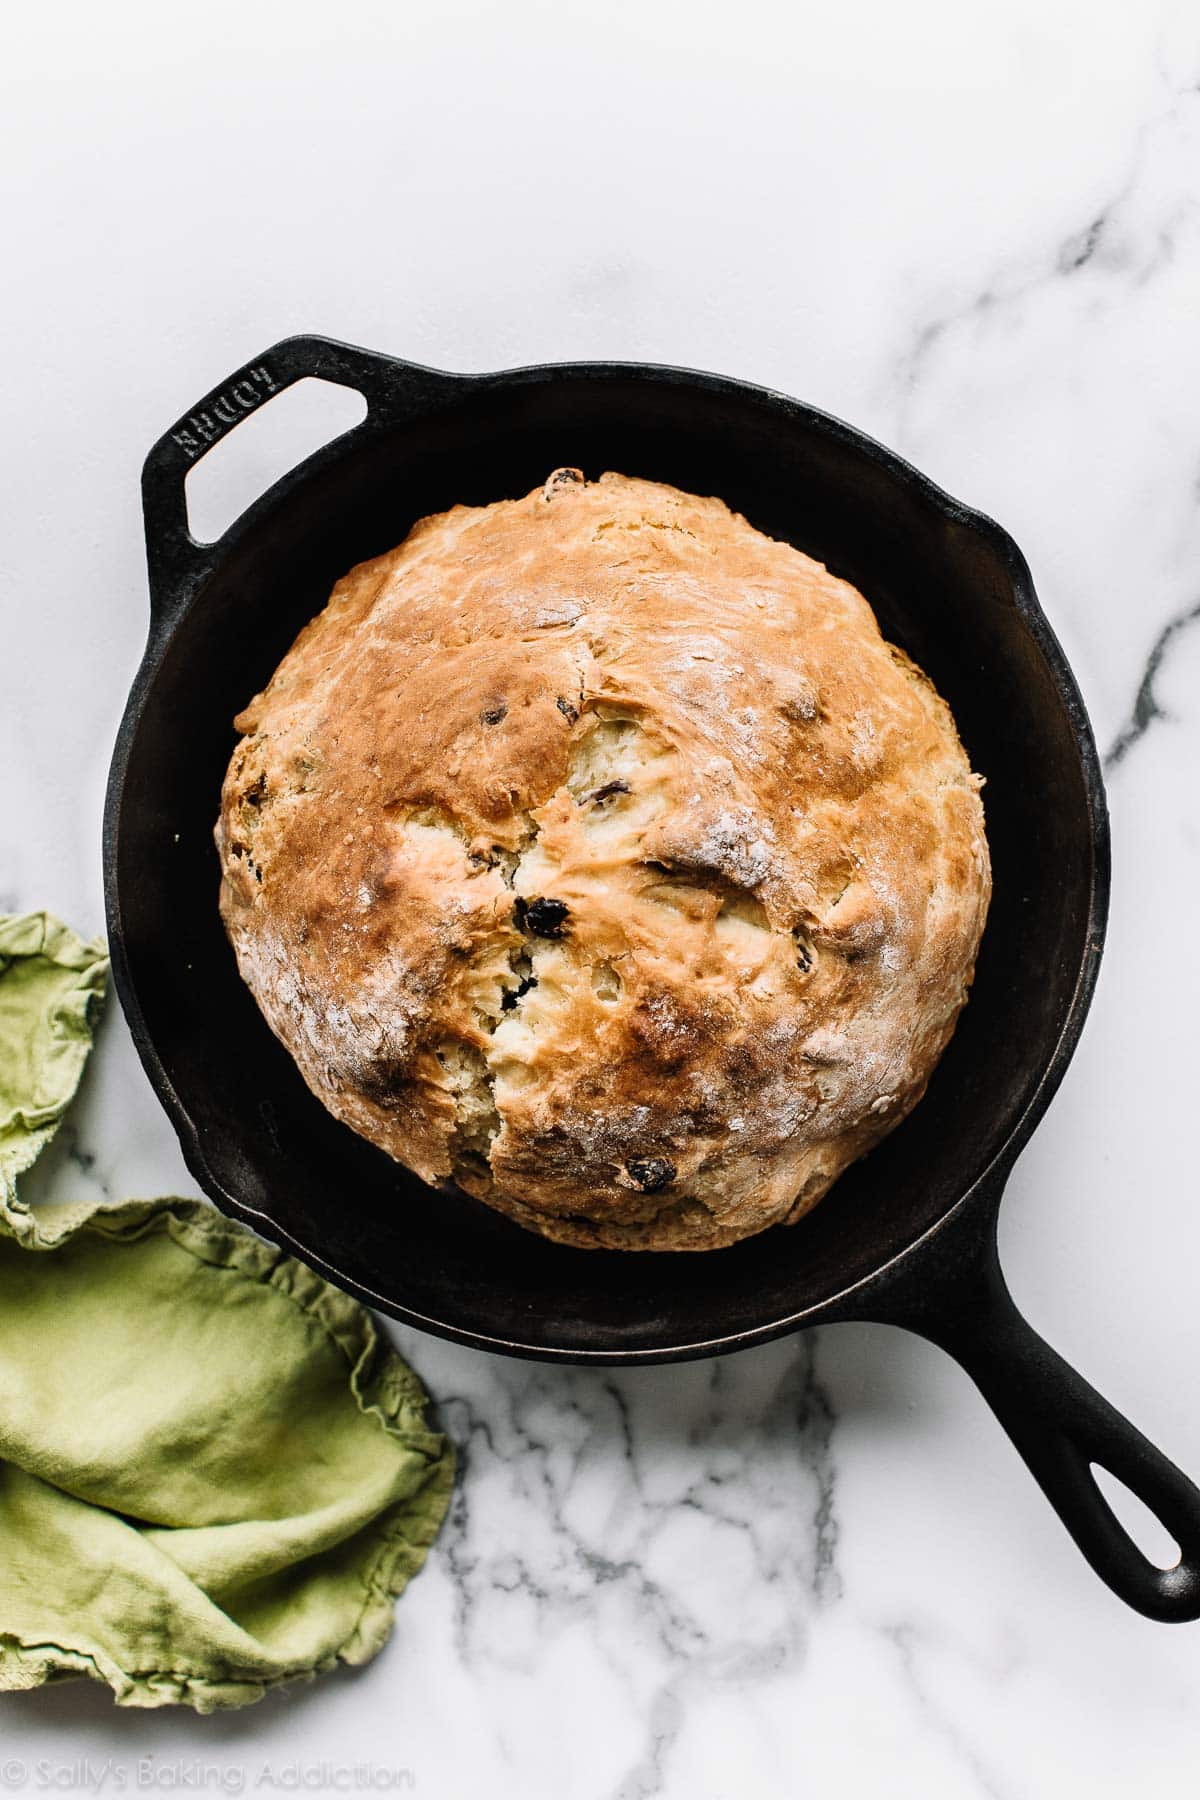
- You can bake Irish soda bread on a baking sheet, in a baking pan, or in a cast iron skillet. I recommend a cast iron skillet because it helps guarantee a super crispy crust. Here’s how to keep your cast iron cookware seasoned.
If you’re baking for St. Patrick’s Day, you’ll love my Guinness Brownies, Baileys and Coffee Cupcakes, Guinness Chocolate Cake, Guinness Chocolate Cupcakes, Lucky Charms Treats, and shamrock St. Patrick’s Day Cookies, too.
Print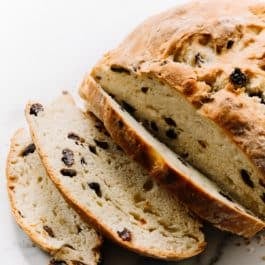
Grandma’s Irish Soda Bread
- Prep Time: 10 minutes
- Cook Time: 45 minutes
- Total Time: 55 minutes
- Yield: 1 loaf
- Category: Bread
- Method: Baking
- Cuisine: Irish
Description
Irish Soda Bread is a quick bread that does not require any yeast. Instead, all of its leavening comes from baking soda and buttermilk. This Irish Soda Bread recipe is my grandmother’s and has been cherished in my family for years. It’s dense, yet soft and has the most incredible crusty exterior.
Ingredients
- 1 and 3/4 cups (420ml) buttermilk*
- 1 large egg (optional, see note)
- 4 and 1/4 cups (531g) all-purpose flour (spooned & leveled), plus more for your hands and counter
- 3 Tablespoons (38g) granulated sugar
- 1 teaspoon baking soda
- 1 teaspoon salt
- 5 Tablespoons (71g) unsalted butter, cold and cubed*
- optional: 1 cup (150g) raisins
Instructions
- Preheat oven & pan options: Preheat oven to 400°F (204°C). There are options for the baking pan. Use a regular baking sheet and line with parchment paper or a silicone baking mat (bread spreads a bit more on a baking sheet), or use a seasoned 10-12 inch cast iron skillet (no need to preheat the cast iron unless you want to), or grease a 9-10 inch cake pan or pie dish. You can also use a 5 quart (or higher) dutch oven. Grease or line with parchment paper. If using a dutch oven, bake the bread with the lid off.
- Whisk the buttermilk and egg together. Set aside. Whisk the flour, granulated sugar, baking soda, and salt together in a large bowl. Cut in the butter using a pastry cutter, a fork, or your fingers. Mixture is very heavy on the flour, but do your best to cut in the butter until the butter is pea-sized crumbs. Stir in the raisins. Pour in the buttermilk/egg mixture. Gently fold the dough together until dough it is too stiff to stir. Pour crumbly dough onto a lightly floured work surface. With floured hands, work the dough into a ball as best you can, then knead for about 30 seconds or until all the flour is moistened. If the dough is too sticky, add a little more flour.
- Transfer the dough to the prepared skillet/pan. Using a very sharp knife or bread lame, score the dough with a slash or X about 1/2 inch deep. (“Score” = shallow cut.)
- Bake until the bread is golden brown and center appears cooked through, about 45-55 minutes. Loosely tent the bread with aluminum foil if you notice heavy browning on top. For a more accurate test, the bread is done when an instant-read thermometer reads the center of the loaf as 195°F (90°C).
- Remove from the oven and allow bread to cool for 10 minutes, and then transfer to a wire rack. Serve warm, at room temperature, or toasted with desired toppings/spreads.
- Cover and store leftover bread at room temperature for up to 2 days or in the refrigerator for up to 1 week. We usually wrap it tightly in aluminum foil for storing.
Notes
- Freezing Instructions: Baked and cooled bread freezes well up to 3 months. Freeze the whole loaf or individual slices. Thaw in the refrigerator or at room temperature, then reheat as desired.
- Special Tools (affiliate links): Cast Iron Skillet, 9-inch Round Cake Pan, 9-inch Pie Dish, Dutch Oven, or Baking Sheet with Silicone Baking Mat or Parchment Paper | Glass Mixing Bowl | Whisk | Pastry Cutter | Bread Lame | Instant-Read Thermometer
- Baking Pan: There are options for the baking pan (see Special Tools Note above). You can use a lined large baking sheet (with or without a rim), a seasoned 10-12 inch cast iron skillet, or a greased or lined 9-10 inch cake pan or pie dish. I don’t recommend a loaf pan because the loaf may not bake evenly inside. This dough is best as a flatter loaf.
- Buttermilk: Using cold buttermilk is best. Buttermilk is key to the bread’s flavor, texture, and rise. The bread will not rise without it. If you don’t have any buttermilk on hand, you can make a homemade “DIY” version. Whole milk or 2% milk is best, though lower fat or nondairy milks work in a pinch. Add 1 Tablespoon of lemon juice or white vinegar to a liquid measuring cup. Add enough cold milk to make 1 and 3/4 cups. Whisk together, then let sit for 5 minutes before using in the recipe.
- Egg: 1 egg adds richness and density. Feel free to skip it to make a slightly lighter loaf. No other changes necessary, simply leave out the egg.
- Cold Butter: The colder the butter, the less sticky the dough will be. Make sure it’s very cold, even frozen cubed butter is great.
- Smaller Loaves: You can divide this dough up to make smaller loaves. The bake time will be shorter, depending how large the loaves are. An instant read thermometer will be especially helpful. Bake the loaves until an instant-read thermometer reads the center of the loaf as 195°F (90°C).


I made this bread and it was perfect! So easy and delicious! Definitely making it again! Thanks for sharing this wonderful recipe!!!
Our annual St. Patty’s Day party was a hit because of your delish Irish Soda Bread. Doubled the recipe and used both the cast iron and a baking sheet with silicone. Dough was quite wet, so just scooped it out of the bowl and made a round-ish loaf. Baked to perfection. I, too, put the aluminum over the top half way through. Either pan worked. Everyone said it was the best they ever had – kinda like scones. Slainte
Absolutely delicious! I did add a TBS of caraway seeds and increased the sugar to 1/4 cup. My husband loved this bread, as did I. Will def make it again! Thank you for sharing it.
Fantastic bread. I made several loaves to sell at my Farmer’s market. Customers live it. I agree that the dough is really wet. I add a bit more flour but don’t really knead it much (again, too wet). Just make sure if acanthus be shaped in loaf. Also , even when I bake in skillet with parchment, bottom gets too dark before loaf is done so I put skillet on baker sheet 1/2 through bake. Lastly, I make smaller loaves but splitting recipe into 2 loaves. Put in cake pans on bun pan (sheet) -double sheet 1/2 way through bake.
Hi, Sally! I just discovered that I’m over 30% Irish via Ancestry, so I’m looking forward to celebrating St. Patty’s Day by making this bread. Would it be OK to use a food processor to cut in the cold butter? Thanks!
How fun, Jamie! I recommend using a pastry cutter, forks, or even your fingers. a food processor will quickly overwork your dough.
I made this last night using 1 cup of raisins and adding some caraway seeds too. Great way to celebrate this season! It was delicious.
I followed the recipe exactly but my dough was very wet and unworkable with my hands. I ended up putting in an extra 3 cups of flour and it was still pretty sticky. In the oven now and just hoping it will turn out.
This was my first time making Irish soda bread. I followed the recipe as written, adding the optional raisins (I had golden raisins on hand) and using a cast iron pan. The bread came out looking beautiful and tasting great. My Irish husband loved it. Thank you for posting.
Can I make the bread loaf today, refrigerate and bake it next day?
For best taste and texture, I recommend baking it right away.
Do you think this would be good without the raisins, or maybe with crystallized ginger instead? I just don’t care for raisins in bread. Thanks!
You can leave out the raisins or add a little crystallized ginger. That flavor would be wonderful here!
Hi Sally. Do you think I could make 2 smaller loaves? I don’t think it would matter, I would just bake less tome, but wanted to check w the pro! Thanks
Absolutely! Unsure of the exact bake time, but the oven temperature remains the same.
The flavor and crumb are just divine! It’s like a slice of scone only easier! Don’t skimp on the raisins. I will add 1 1/2 cups next time. I agree the critical components are the buttermilk and the iron skillet to get the right browning and crisp crust.
Loved it! I made this recipe yesterday as a treat for my husband. Irish soda bread is one of his favorites and I try to make it every year for him. Was looking to try a different recipe and yours was a HUGE HIT! This will be my go to from now on.
Just a few questions: I found that the bottom slightly caught and burned in the time it took to full cook the loaf throughout. I followed your instructions exactly but in the mentioned cooking time the inside of the dough wasn’t done, so I had to leave it in a bit longer, resulting in the burned bottom. Do you think if I made a flatter loaf this would help?
Also, what do you think about adding zests of lemons or oranges in to the dough to make it a little zesty?! Do you think that’d be a nice addition?
Thanks again for this recipe. It’s marvelous! And coming from another woman who was so very close to – and shared recipes with – her grandma, I send you many hugs and smiles!
I’m thrilled it was such a hit, Kim! I’m curious what type of pan you were using to bake it. A cast iron pan is thicker and the bottom shouldn’t burn. You can certainly try shaping it a bit flatter so that it cooks through more easily. A little orange zest might go well with the raisins – let me know if you try it!
Isn’t that interesting? I used a regular baking sheet tray instead of my cast iron bc I thought the latter would cause a darker/harder bottom crust layer. I’m going to make it again today and perhaps I’ll try it in my cast iron pan to see the difference, as well as forming the dough a bit flatter.
And yes, I might make it with orange and craisins! That seems like it’d be a nice combination! Thanks again! Will let you know how it turns out!
My mom was born in Ireland and passed away in 2012… We had a mother daughter trip to visit her homeland when her mother turned 90 and we stayed with my Aunt. Every morning we had toasted brown bread (which I am assuming was soda bread with wheat flour). It was a little dense I remember so I am going to try white wheat flour first and see if I can bring back some of those memories! Thanks for the recipe Sally.
Whole wheat flour will make the bread heavier but I’m glad your family still enjoyed it. I have not tested this recipe with any egg substitutes.
Hi Sally,
I’d like to share this with your readers– today I really wanted to make this bread but was low on butter. So I put olive oil to harden in the freezer as butter replacement. The bread was still a success! (By the way, I always use whole wheat flour, and I live in a high elevation area.) Ever since I’ve learned your grandma’s recipe, I seldom buy bread from the store. Without raisins, the bread is so versatile– for tuna salad sandwich, chicken sandwich, soups, etc. I appreciate your sharing this recipe!
Am I the only one that found this to be a gooey mess? I couldn’t even begin to knead it as it was. I had to add almost another 1/2 cup of flour to get it to a stage that I could handle it. It’s in the oven now, so we’ll see. And yes, I counted out 4 and 1/4 cups of flour.
Hi Sally – Just tried this recipe and it was beautiful coming out of the oven and tasted even better! Thank you for sharing this wonderful recipe for Irish Soda Bread!
Has anyone tried to make mini versions in a muffin tin?
This bread was very easy to make and has such a lovely texture and flavor. I did not add raisins because I plan on eating plain or with a roast. I didn’t have buttermilk so I substituted with vinegar and whole milk, which I think made it a bit too heavy so baking took longer. Seemed like it was a bit too wet or my oven truly isn’t heating to the proper temp so it was a bit doughy in the center, which I don’t mind since it wasn’t raw. (Disclaimer this was my first time making bread since I was about 10!)
Will definitely make again but will likely tweak the liquid amount or try with actual buttermilk. Sure beats a yeasted bread!
Can you bake the bread in a Dutch Oven pan? Because I heard that keeping the lid on the pan for the first 30 minutes and THEN removing it for the last 10 minutes might yield a better crust (because of the steam staying in the Dutch Oven. Or would you not recommend using a Dutch Oven at all?
Absolutely. I recommend following the baking instructions for my no-knead cranberry nut bread.
Made it for the 2nd time, perfect taste. Many thanks for this recipe . Luc, grts from Belgium
I made this WONDERFUL recipe but eliminated the sugar and used gluten-free flour with 1/2 tsp of Xanthan gum. I also rolled the dough out between two sheets of parchment paper to 3/4″ thick and cut it into square “biscuits” each with a knife-cut “X” on top. The results were FABULOUS and I served these mini-soda breads alongside Irish Stew for a heaty, cold weather meal. They sopped-up the gravy really well!
This is so easy and so good. No more fussing with biscuits for me. This is just as good and much, much easier. Having made biscuits in the past, and knowing one of the keys to success with that is grating super cold butter, that’s what I did with this recipe. Worked great. I also use a stiff old fashioned whisk to cut in the butter, as I am trying to cut down on excess cooking utensils. That also worked great with the cold grated butter. We liked slices better warmed quickly in the microwave instead of toasted. Keeper recipe forever!
I’ve failed baking any bread that required yeast in the recipe. I found your recipe and decided to try it. I baked it on a cast iron skillet like you suggested. Success! Crusty on the outside, soft on the inside. My first successful homemade bread. This will be a household staple from now on. Thank you for sharing your Grandma’s recipe, Sally.
Easy, quick, and delicious!! 10/10 bread, cheers!
What a lovely way to honor the memory of your mother! My family can’t wait for this to come out of the oven!
I substituted the baking powder with Soda (because “Soda” bread ^^), used half plain, half wholemeal flour and left out the raisins (even the notion!) – and I loved it! I had one a couple of months ago that was really disappointing. So thank you for sharing the recipe! 🙂
Fantastic ! So easy to make, I made two loaves this weekend. Instead of buttermilk, I used spoiled milk in my fridge. I take frozen butter out of my freezer as Sally suggests and cube it. I baked it in my cast iron skillet.
I’d like to try other variations. Can you easily use cranberries and nuts? Or other combinations? And if so, will it affect baking times?
This recipe is a WINNER!
Made this for an International Night at my kids’ school and it was a huge hit with the kids and adults!! The recipe was very easy which was just what we needed since we had to make 4 loaves!