If you’ve never made a cake roll before and are nervous to try OR have attempted to make a cake roll before and have failed, don’t worry. Together, we’re going to make the most irresistible red velvet cake roll Christmas has ever seen.
And it all starts with a deep breath. Take one! Because making a red velvet cake roll is not as tricky as it looks. It just takes a little patience.
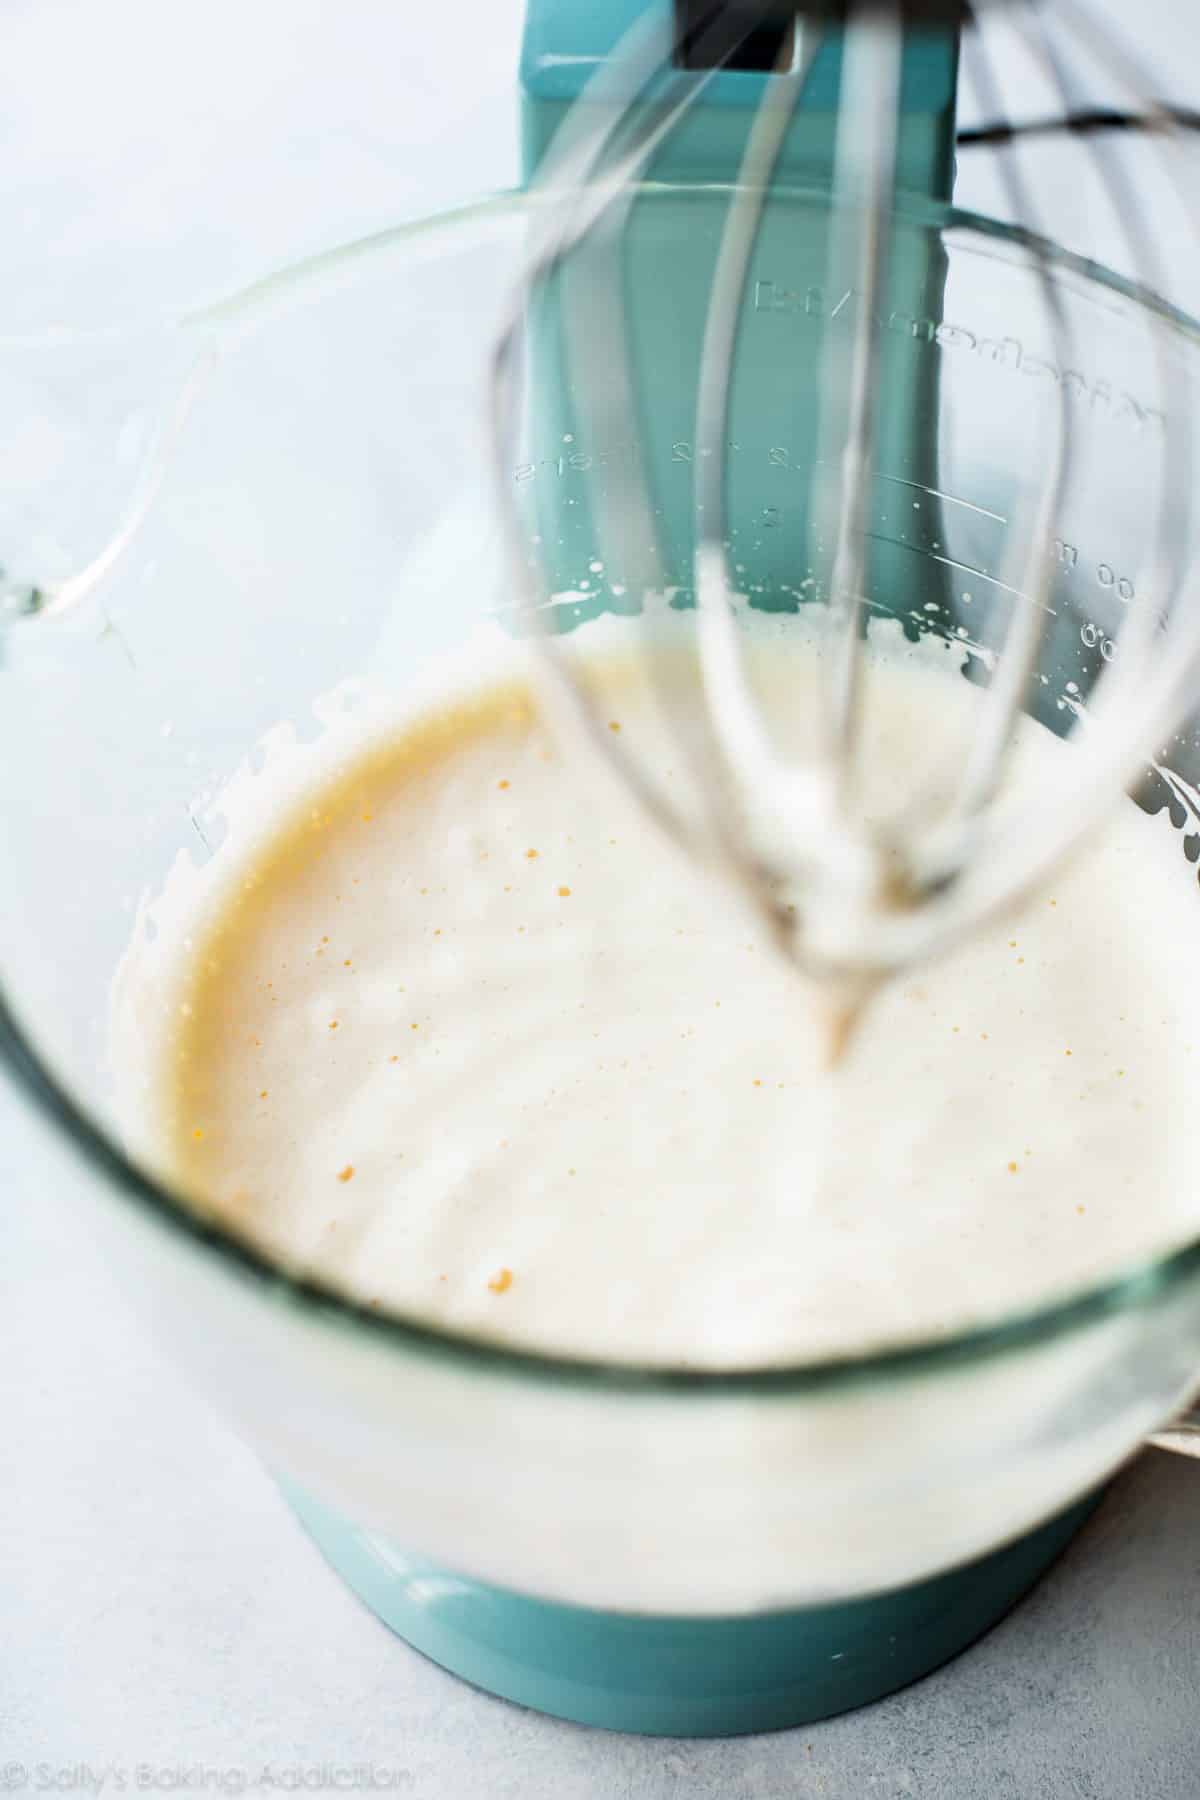
Let’s jump right in because there are a million step pictures to get through. Like most jelly roll type cakes, this is a sponge cake. There’s cocoa and vanilla, a little brown sugar, with a slight tang from buttermilk. It’s a light and airy cake, leavened mostly by the air whipped into the eggs. We’re talking lots of air—5 full minutes of beating 4 eggs together. This is the bulk of the cake batter.
Here are the eggs after 5 minutes. They’re super fluffy and practically quadrupled in volume:
This cake recipe is particular. Meaning there’s 1 cup MINUS 1 Tablespoon of flour*, only 2 Tablespoons of this, and 3 Tablespoons of that. It’s best to follow the ingredients precisely as any little change could sabotage your efforts. I had trouble getting the proper sponge texture and taste. At first, I put all my effort into making the red velvet cake roll with creamed butter (for butter flavor) but the cake constantly ended up too dry and cracked. Once I switched to oil, I had zero issue. And I am confident in the final recipe below! You’ll love it.
*About the flour: all you’ll do is measure 1 cup of flour and take out 1 Tablespoon. It’s easy.
Unlike the other ingredients, you can play around with the amount of red food coloring. If you’re not comfortable using food coloring in your cake roll, simply leave it out. If you want the ruby red color of this cake roll, use about 1 Tablespoon of liquid food coloring or about 1 teaspoon of gel coloring.
Another must: the correct size baking pan. This isn’t a lot of cake batter, nor is it a thick cake. We want a thin sheet cake, as that’s the real trick to successfully rolling it up. The best size pan for this is a 10×15-inch pan.

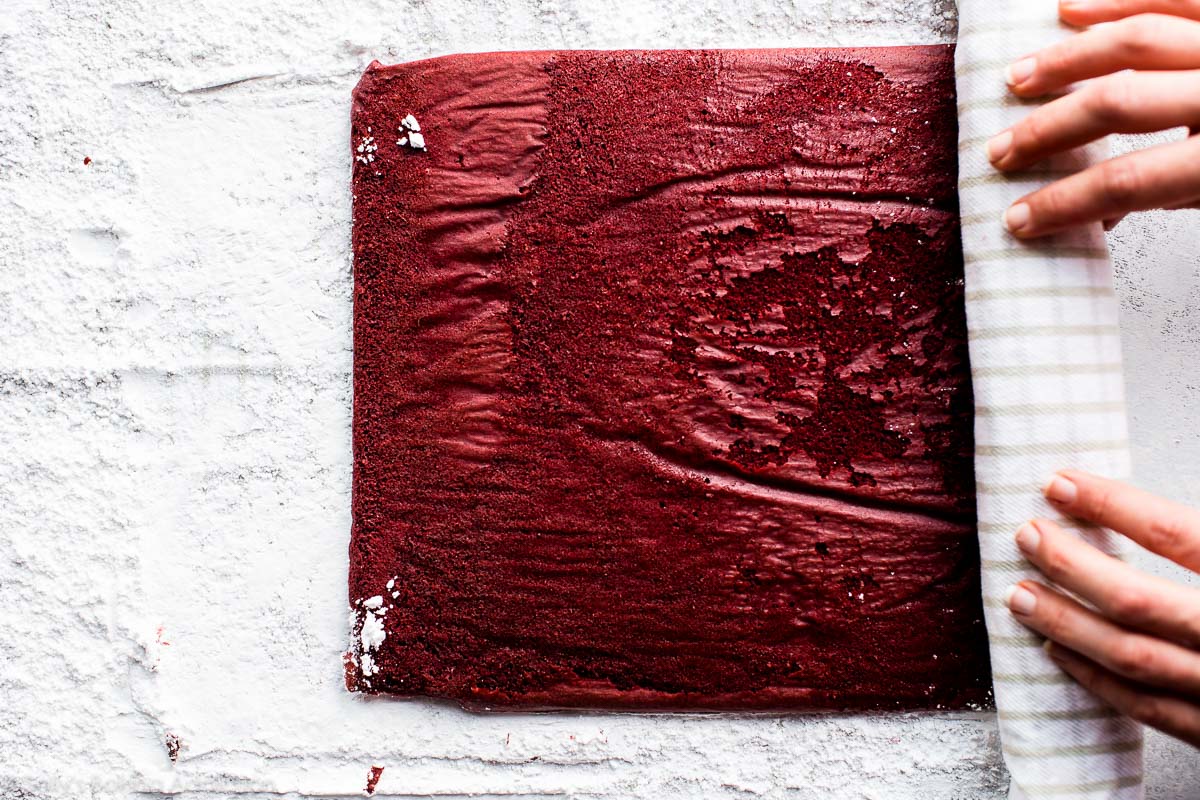
The cake bakes for only about 16-17 minutes or until it springs back when you poke it with your finger. Like I teach in my yule log recipe, once it comes out of the oven—don’t waste any time. Flip that thing right out of the lined pan and onto a thin kitchen towel to begin rolling. Why immediately? If you roll it up while it’s still warm, it will help prevent any cracks in the cake roll.
3 tips for this step:
- Prepare the kitchen towel as the cake bakes. Lay it out on your counter and sprinkle it with 1 cup of confectioners’ sugar. Be generous with the sugar. It will prevent the sticky cake from adhering to the towel. The towel will help you roll it up. Remember, make sure it’s a thin towel.
- Make sure you had that cake pan lined with parchment paper so it absolutely does not stick to the pan!
- Immediately flip the warm cake onto the prepared towel once it comes out of the oven.
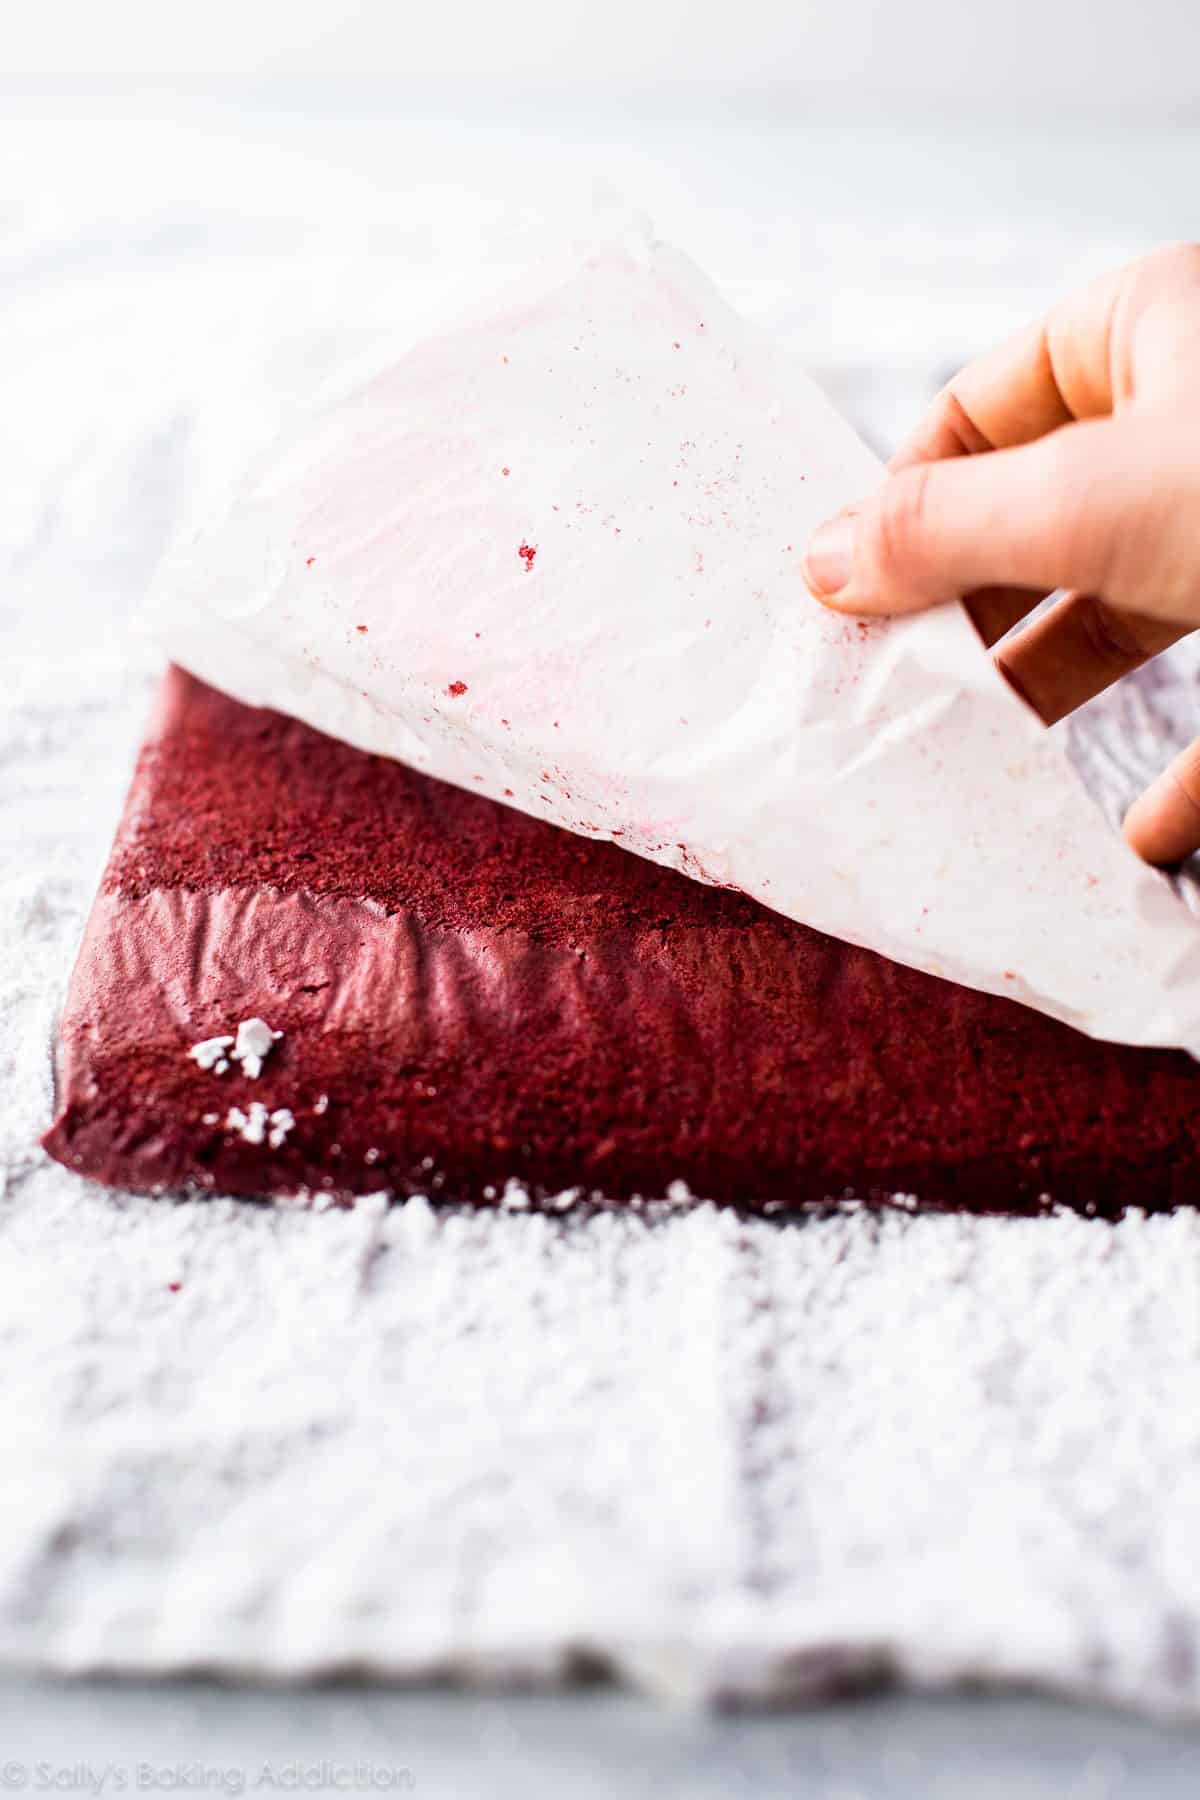
Peel the parchment paper off of the warm cake. What you see here is the bottom of the cake and the surface that will be frosted with cream cheese frosting once it cools.
Gently and slowly roll it up with the towel. The towel prevents any sticking.
Then let the cake completely cool, while rolled up in the towel. It’s so odd, but it really does work this way! Place the whole roll on a large plate because some confectioners’ sugar can spill out the sides. I place the roll into the refrigerator for a couple hours to speed up the cooling process.
Once cool, let’s remove it from the refrigerator and let it sit out for a few minutes as we make the frosting. If we tried to unroll the cake while it’s super cold, it could begin to crack. So let it warm up for a few minutes on the counter.
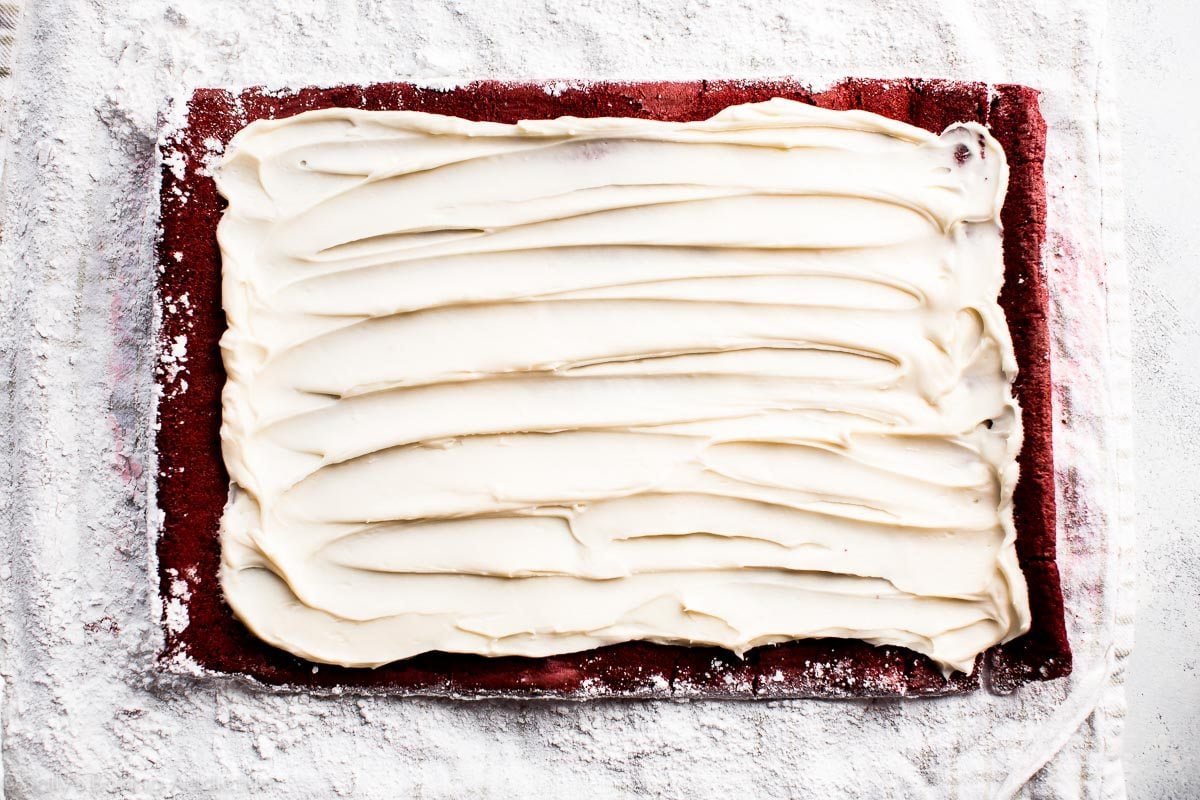
And for the frosting? Cream cheese frosting, of course! Red velvet’s tangy creamy luscious bestie. I slightly reduced down my favorite cream cheese frosting recipe to yield the perfect amount. Make sure the frosting is a nice even layer so there aren’t any uneven sections inside the cake roll.
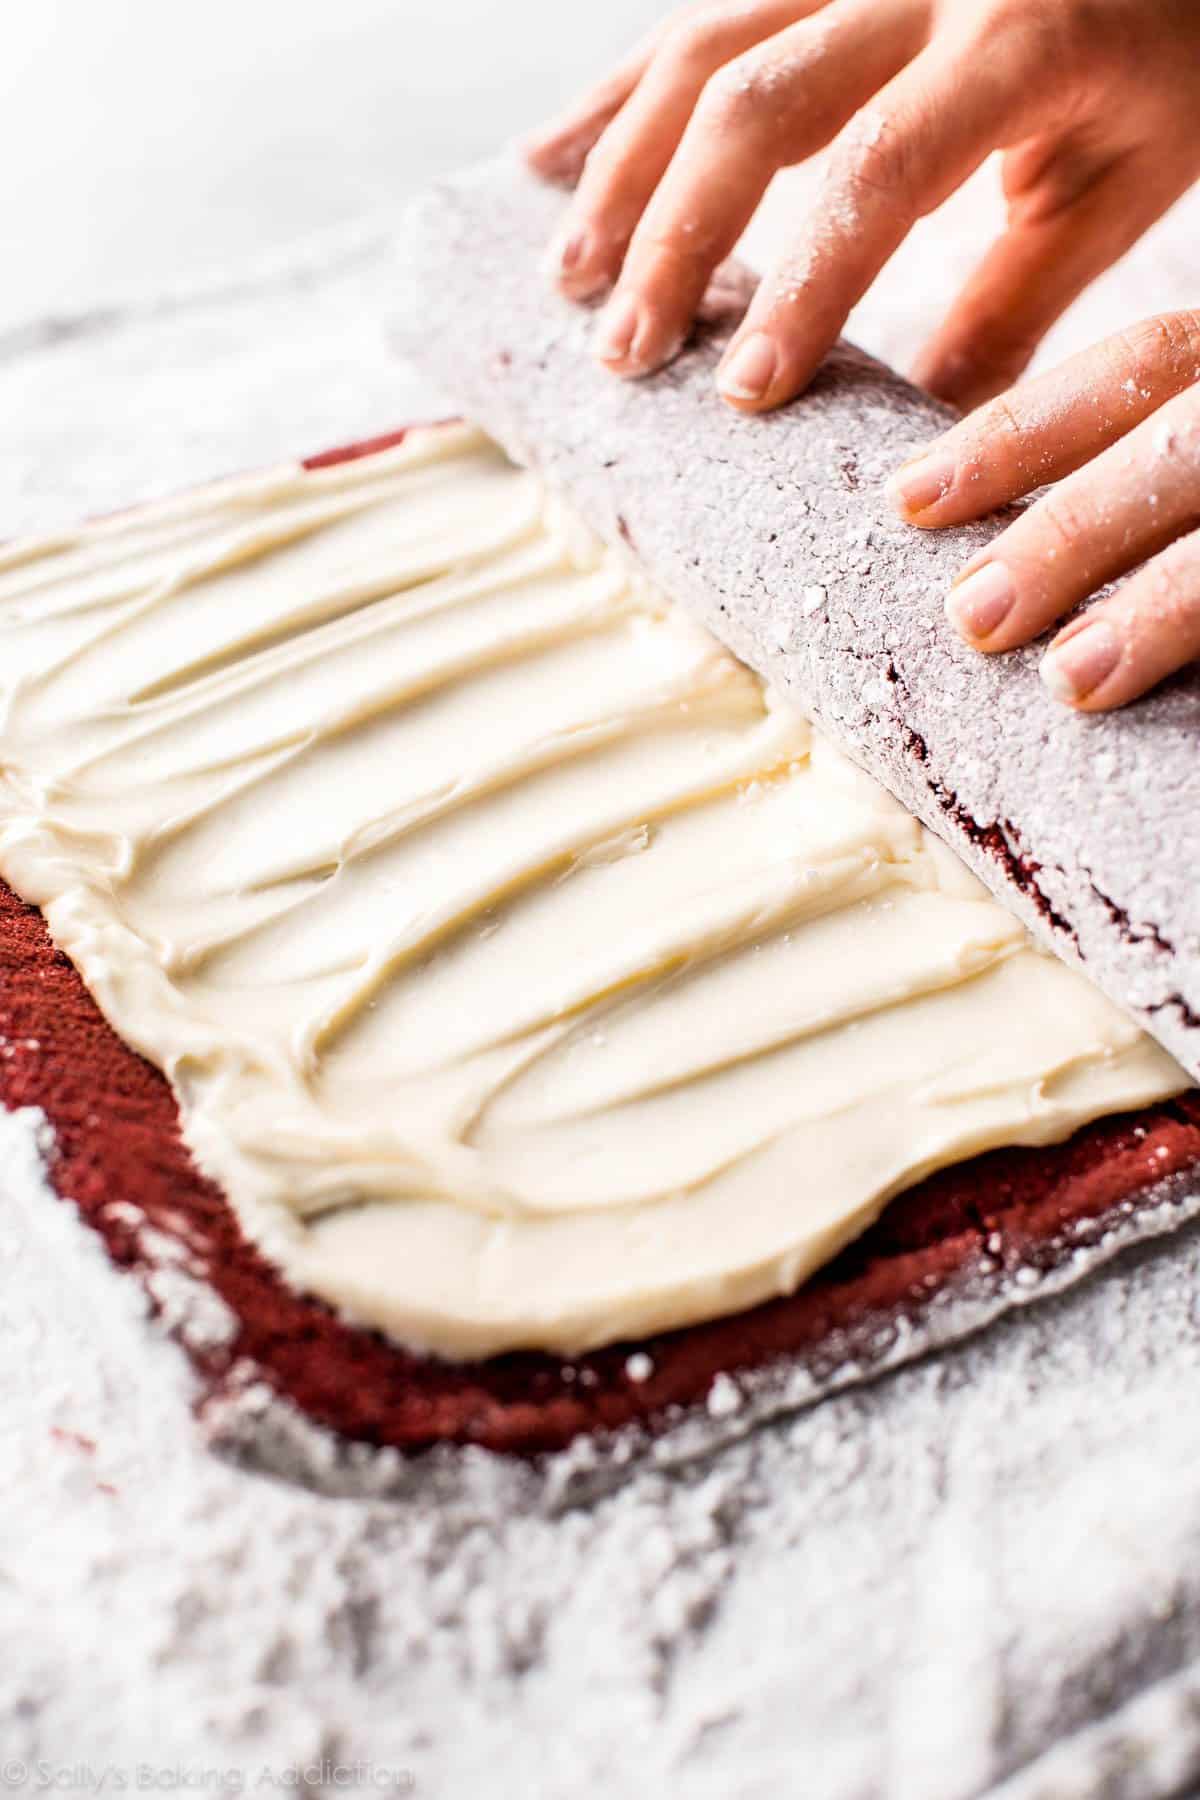
Once again, roll the cake up. Only this time without the towel. The cake will automatically want to curl up again because it cooled in the rolled up position. Does this make sense?
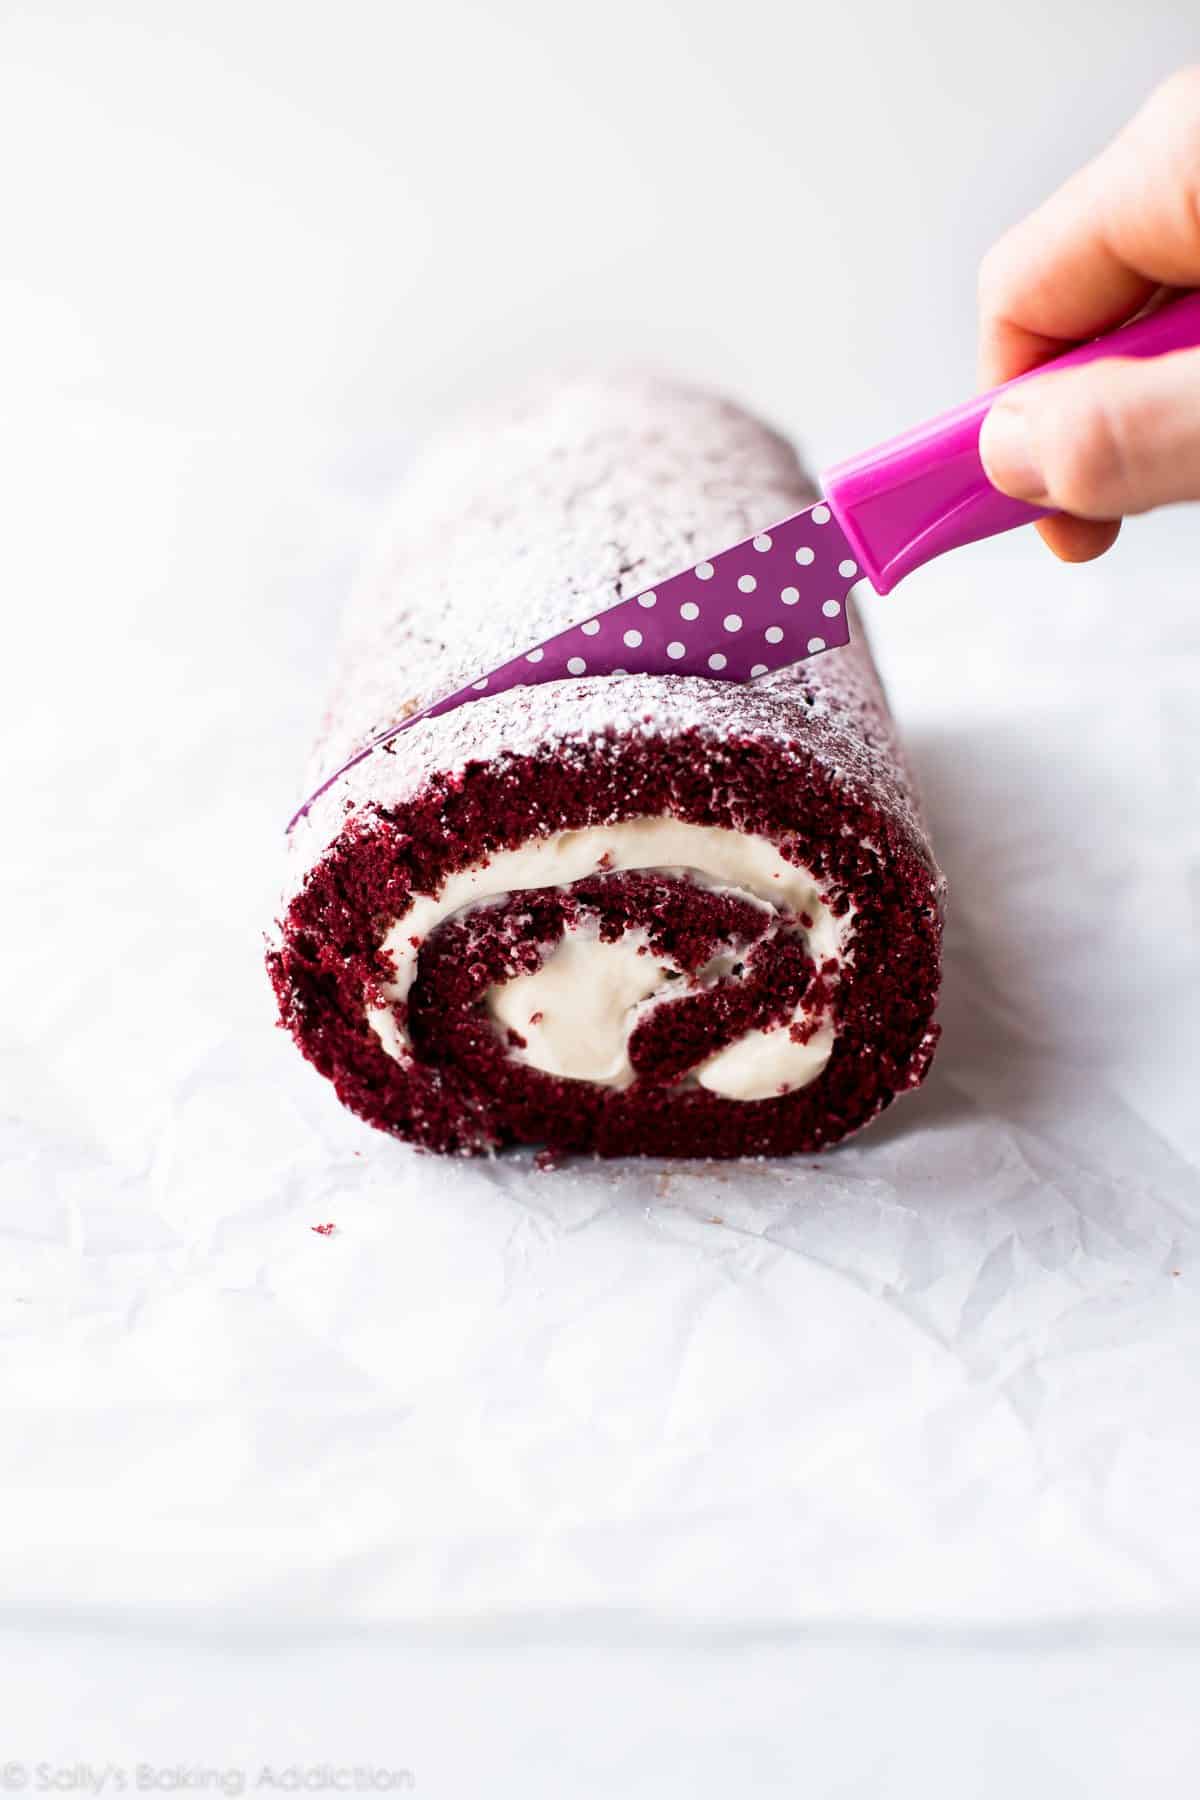
Once the cake is all rolled up, refrigerate it for about 20 minutes before slicing and serving so the cake sets its shape and is easier to cut.
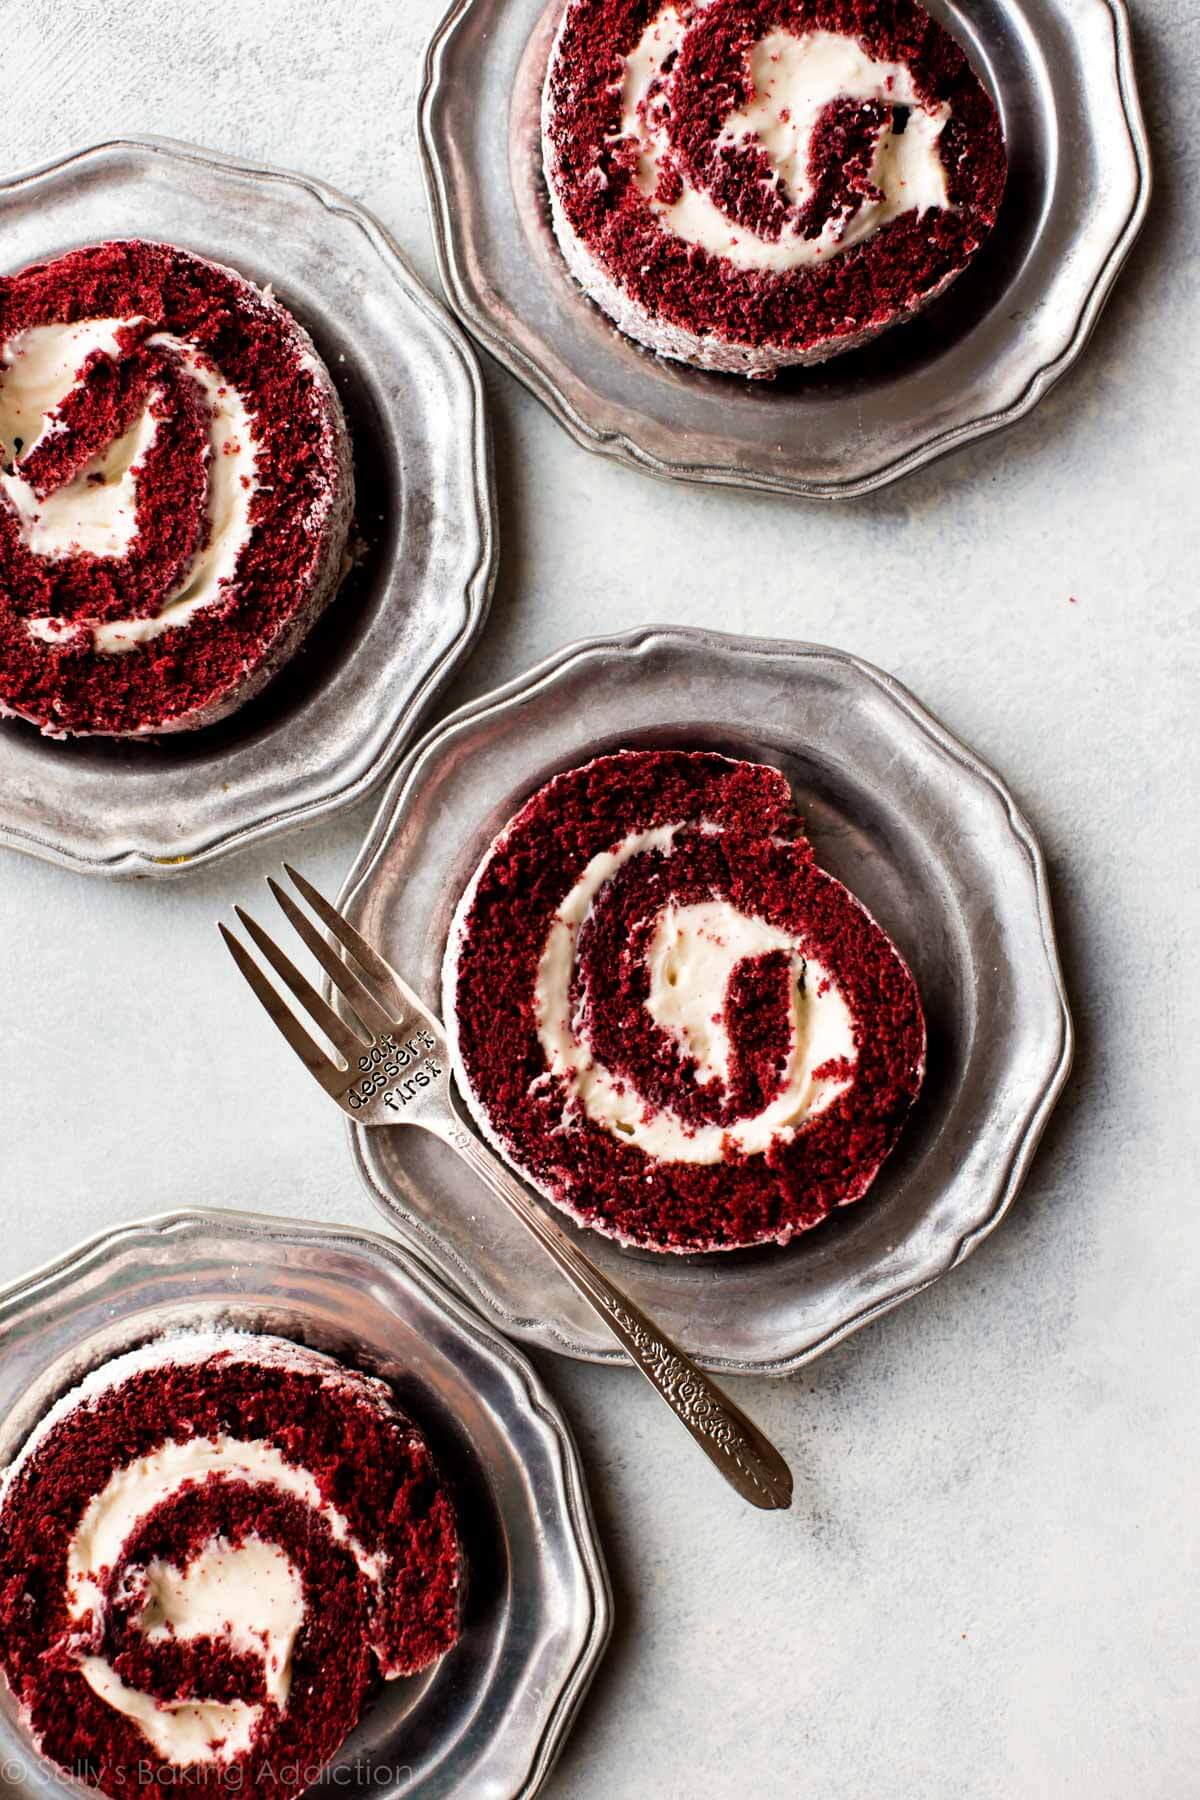
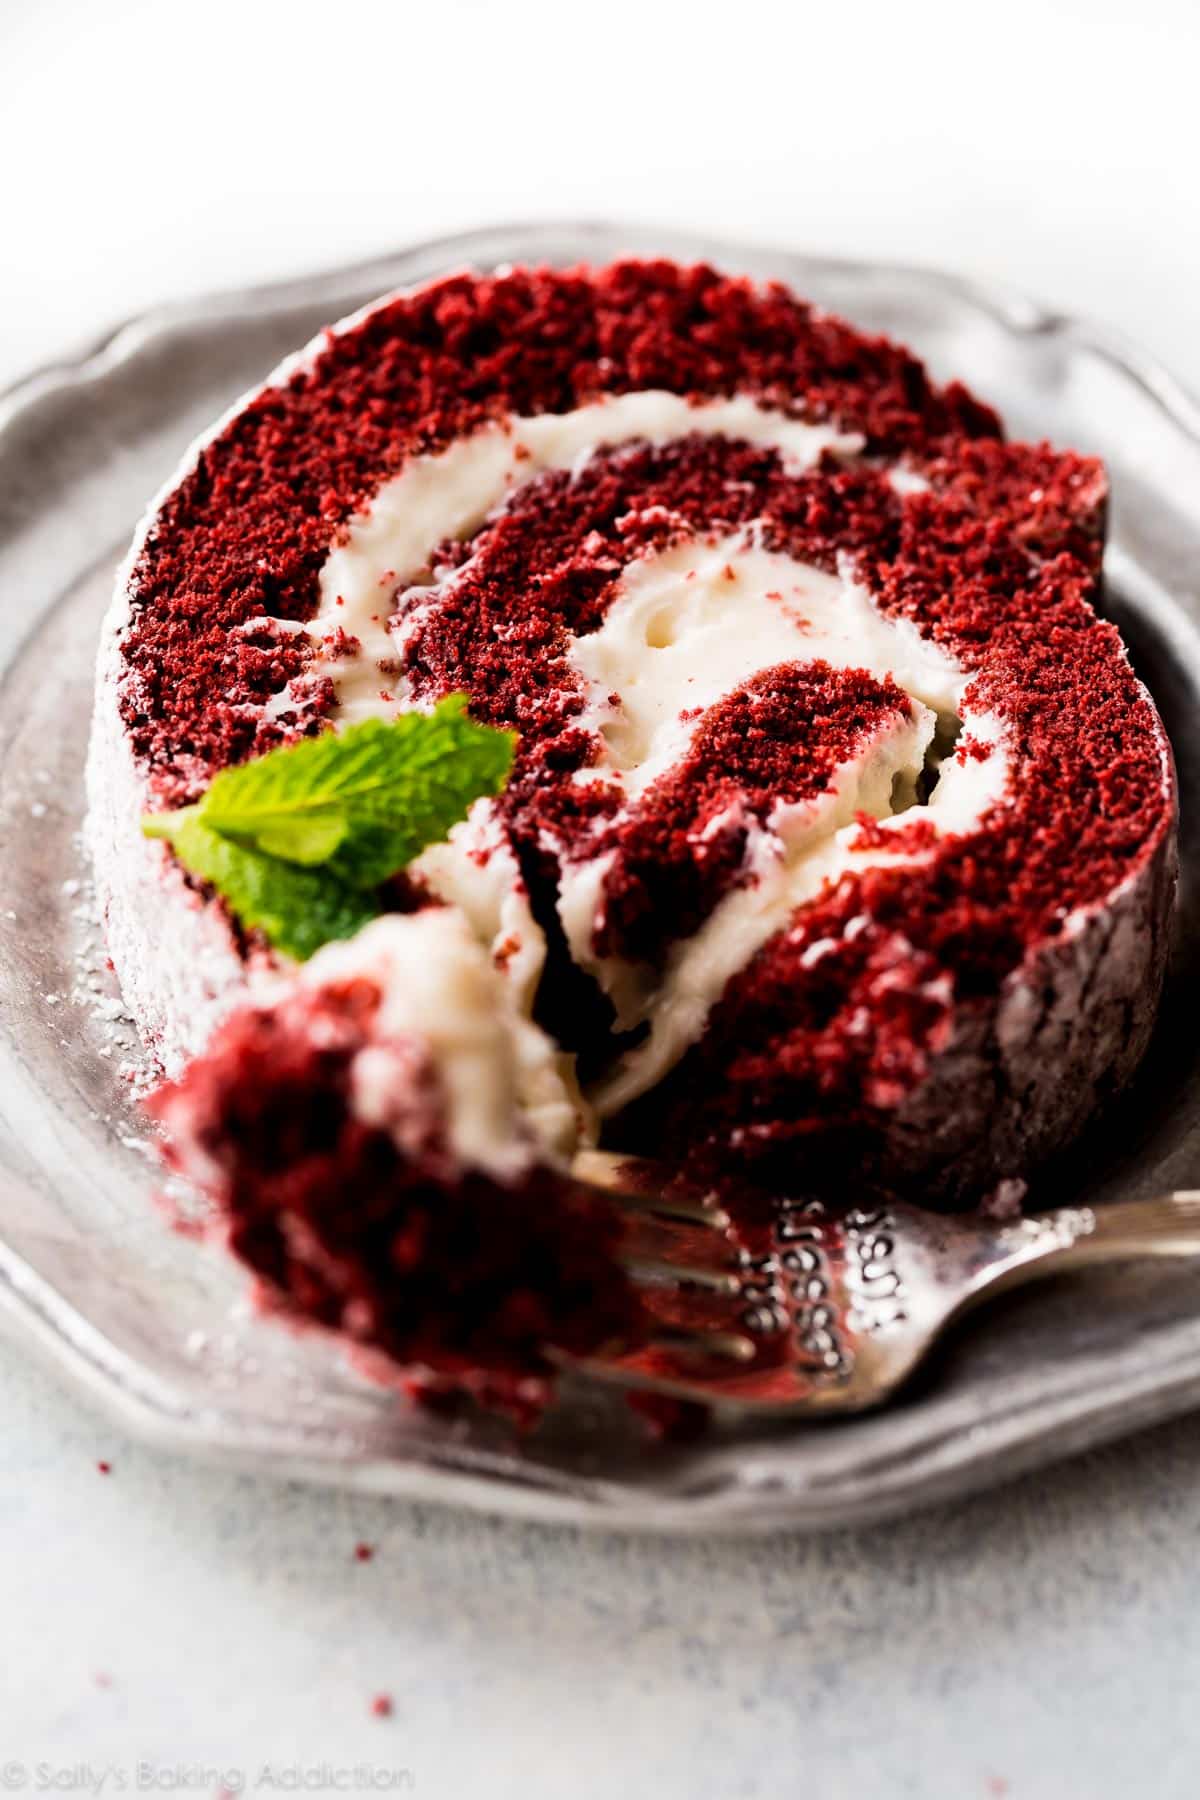
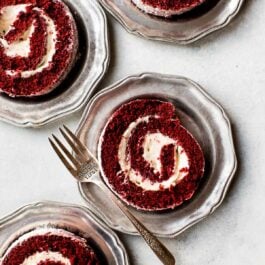
It’s beautiful! Doesn’t it remind you of a swirly peppermint candy? So much love for this festive cake.
Here’s what you’ll taste: a light and spongey cake texture with lots of cocoa and vanilla flavor. There’s a little brown sugar for moisture and flavor, too. The cream cheese frosting might just be the star here though. You know how good that stuff is with red velvet!

More Red Velvet Recipes
- Red Velvet Cake or Red Velvet Cupcakes
- Red Velvet Whoopie Pies
- White Chocolate Red Velvet Cookies
- Red Velvet Seven Layer Bars
- Red Velvet Cheesecake Swirl Brownies
- Red Velvet Chocolate Chip Cookies or Stuffed Red Velvet Cookies
Red Velvet Cake Roll
- Prep Time: 25 minutes
- Cook Time: 17 minutes
- Total Time: 3 hours, 45 minutes
- Yield: 10-12 slices
- Category: Cake
- Method: Baking
- Cuisine: Dessert
Description
This homemade red velvet cake roll filled with tangy cream cheese frosting is perfectly moist, soft, and delicious!
Ingredients
- 1 cup minus 1 Tablespoon (118g) all-purpose flour (spooned & leveled), see note*
- 3 Tablespoons (15g) unsweetened natural cocoa powder
- 1 teaspoon baking powder
- 1/2 teaspoon salt
- 4 large eggs, room temperature
- 1/2 cup (100g) granulated sugar
- 1/4 cup (50g) packed light brown sugar
- 2 Tablespoons (30ml) canola or vegetable oil
- 2 Tablespoons (30ml) buttermilk
- 1 teaspoon white vinegar (helps the red color stand out)
- 1 Tablespoon liquid red food coloring*
- 2 teaspoons pure vanilla extract
- for rolling: 1 cup (120g) confectioners’ sugar
Cream Cheese Frosting
- 6 ounces (170g) full-fat brick cream cheese, softened to room temperature
- 1/4 cup (4 Tbsp; 56g) unsalted butter, softened to room temperature
- 1 and 3/4 cups (210g) confectioners’ sugar
- 1 teaspoon pure vanilla extract
Instructions
- Read the instructions through before beginning. Make sure you are prepared for step 7 immediately when that cake comes out!
- Preheat oven to 350°F (177°C). Spray a 10×15-inch baking pan with nonstick spray or grease with butter, so the parchment paper sticks. Then line it with parchment paper so the cake seamlessly releases in step 5. Spray or grease the parchment paper too. We want an extremely nonstick surface for this cake roll.
- Sift the flour, cocoa powder, baking powder, and salt together. (Make sure they’re sifted well!) Set aside.
- Using a hand mixer or a stand mixer fitted with whisk attachment, beat the eggs for 5 minutes on high speed. They will be light and very fluffy. On medium speed, beat in the granulated sugar, brown sugar, oil, buttermilk, vinegar, food coloring, and vanilla until combined. Stop the mixer, pour in the sifted dry ingredients, then beat on low until the batter is completely combined. It will be a ruby red color.
- Spread batter evenly into prepared pan. Give the pan a shake to make sure the batter is level and reaches the corners. Bake for 17 minutes or until the cake springs back when you poke it with a finger.
- Meanwhile, lay a thin kitchen towel flat on the counter. Sprinkle with 1 cup of confectioners’ sugar. Once the cake comes out of the oven, immediately invert it onto the towel. Peel off the parchment paper then, starting with the narrow end, begin rolling the cake up with the towel. Do this slowly and gently. The cake will be warm as it just came out of the oven.
- Allow the cake to cool completely rolled up in the towel. I stick mine in the refrigerator for about 2 hours to speed it up.
- Remove the cake roll from the refrigerator and allow to sit on the counter for a few minutes to warm up as you prepare the frosting.
- Make the frosting: In a large bowl using a handheld or stand mixer fitted with a paddle or whisk attachment, beat the cream cheese for 1 minute on high speed until completely smooth and creamy. Beat in the butter until combined. Add the confectioners’ sugar and vanilla and beat on medium-high speed until combined and creamy.
- Gently and slowly unroll the cake. Flatten it out and spread frosting evenly on top, leaving about a 1/2 inch border around the cake. Gently and slowly roll the cake back up, without the towel this time. Make sure you’re rolling it tightly. Some frosting may spill out the sides, that’s ok!
- Loosely cover with plastic wrap and refrigerate for at least 20 minutes (and up to 1 day, covered) before slicing and serving. Dust with more confectioners’ sugar, if desired.
Notes
- Make Ahead Instructions: You can prepare the cake through step 7 and chill the rolled up cake/towel in the refrigerator for up to 1 day before continuing with step 8. Prepared cake roll, with frosting, freezes well for up to 2-3 months. Thaw overnight in the refrigerator before slicing and serving.
- Special Tools (affiliate links): 10×15-inch Baking Pan | Parchment Paper | Fine Mesh Sieve | Glass Mixing Bowl | Electric Mixer (Handheld or Stand) | Gel Food Coloring | Thin Kitchen/Tea Towel
- Flour: All you have to do is measure 1 cup of flour, then remove 1 Tablespoon. This is 15 Tablespoons (118g) of flour aka 1 cup minus 1 Tablespoon.
- Buttermilk: I strongly recommend buttermilk for flavor, but you can use whole milk in a pinch. For best taste and texture, I don’t recommend lower fat or nondairy milk.
- Food Coloring: You can certainly leave the food coloring out if you do not wish to use it. You can use less for a less red cake. Or you can use 1 teaspoon of gel red food coloring instead.


Tried making this cake roll and had a terrible time getting the sifted flour/cocoa powder mixture to integrate into the batter. It literally fell through my fluffy egg mixture and formed sticky lumps on the bottom of the bowl. Took it out of the stand mixer and tried folding by hand but could not seem to get the chunks to dissipate. Baked it anyway, bottom of the cake was a chewy, almost brownie-like layer, with a very thin fluffy cake layer on top. Not sure if i should try again with this recipe and use cake flour or just scrap it and start over with a different recipe.
Made this and while delicious, the cake was super thin. My pan is an 11 x 16, so the batter was spread really thin to cover the pan. Next time, I will make 1 1/2 recipe so the cake will be a little bit more substantial. I filled it with whipped cream and frosted it with the cream cheese frosting. I made it for a New Year’s celebration at home and I decorated it with red sanding sugar and gold star sprinkles. Very festive…
I followed your recipe exactly as I am a big fan and wanted to make a roll for Christmas. The cake turned out a tad dry and tough and I’m trying to figure out why. I put the cake wrapped in a towel the fridge for 1.75 hours and it felt tough after that. Do you put plastic wrap around the towel to prevent drying out? Everyone still liked it but it wasn’t the usual 100%.
I just realized my jelly roll pan is 10×14, not 10×15 as you called for. Maybe that was the problem?
Interesting in making this for Christmas. I have a 9×13 would that work? What would I need to change for a slightly smaller dish?
Hi Mallary, You could certainly try using less batter for a smaller pan, but it may be difficult to roll up. We recommend sticking to the written dimensions if possible.
Sally o
Do you have an alternative recipe for the cream cheese based filling?
I have never been a fan of cream cheese based fillings or frosting
Thanks
Hi Meg, absolutely. The vanilla whipped cream from our Chocolate Cake Roll would be a delicious alternative. Let us know if you give it a try!
Hi! Can i use parchment paper instead of towel to roll the cake?
I can’t see why not!
Delicious festive xmas dessert! I made this for Christmas dessert in 2018. It paired well with a chocolate fudge layer cake I also presented. My mother loves cake rolls but I wanted to do something different and do red velvet to look more festive. It is a great recipe! (Don’t forget to also try Sally’s pumpkin roll!)
Just tried this recipe and it’s really good. I definitely over baked my cake though. I had it in a half sheet pan for 10 minutes and the cake’s *ALMOST* rubbery. If anyone else uses a half sheet pan I definitely recommend checking it at the 5 min and 7 min marks
The recipe was SO good! The frosting wasn’t overly sweet and the roll itself tasted AMAZING! I’m only 12 and I managed to make Swiss roll as the recipe was very simple and quick. I would definitely recommend this to anyone!
Mine was dry. I’m not sure what I did wrong.. I thought I followed directions exactly.. what is the Brown sugar used for.. I tried to use my cake recipe, but it fell apart. I wonder why
Thank you for this recipe and the accompanying video! The cream cheese filling was DELICIOUSLY! I actually baked this for 15 minutes and it was already overcooked. When I make it again, and I will, I’ll start checking it after about 10 minutes.
I wonder if this would work with the original Waldorf Astoria Mock Whipped Cream Frosting recipe, and a ganache coating over the top—as a Christmas Yule log? We love that particular frosting over a cream cheese one–try it on Waldorf Astoria (Red Velvet) cake sometime!
Hi Marilyn, I have never tried that frosting! But yes, I would imagine it would be just fine inside this cake roll and would be so delicious as a Yule log with ganache over the top. Please let me know if you try it!
I’d love to make this a mint roll. Would cream cheese frosting be weird minty, should i use regular buttercream? Thanks
I think cream cheese frosting and mint together would be delicious.
Hi Sally,
Nice recipe. What can I substitute brown sugar for? Can I use same amount granulated sugar for that?
Hi Celin, yes– that shouldn’t be a problem.
Thank you so much for the step by step instructions, tried making it for the very first time yesterday and it was a super success. It didn’t crack and the roll was so soft and not very sweet. It got polished it no time . Thanks, once again Sally. I shall send the picture of the same to you .
I made this for my husband’s birthday because he loves red velvet. I thought I’d give this fancier roll a shot, and it turned out just perfect! I followed your recipe precisely, and it looked and tasted amazing. We are on day 3 of the cake, and it’s still just a good if not better with time. Thank you for all your amazing recipes!
Turned out beautiful ! I added frosting to outside and it looks amazing ! Serving it on Xmas eve with and eggnog filled mini cream puff .
Hi Sally, I bake quite a bit but his is the first I will be attempting a jelly roll of any kind. Can I use cake flour instead of ap flour?
You can try cake flour, but I recommend AP flour for this recipe.
I had the same problem as others – I followed the recipe exactly and was left with a dry, cracking cake. Sadly, I ended up throwing half of it away because even the frosting couldn’t save it. Not sure what went wrong, but this is definitely not one I’m going to make again.
Hi Sally – how long can this stay in the fridge once it’s rolled up with the frosting? I’d need to prepare it more than 20 minutes before eating. Would a few hours in the fridge be ok? Thanks!
A few hours or even overnight (if you cover it up!). It’s wonderful to make ahead. Enjoy!
Hi Sally.
Another great success. Adapted to Gluten Free with my flour blend and no other alternations.
Its the best ‘ Chocolate Roll ‘ recipe Ive ever used. No serious cracking and lovely and soft.
No longer in fear of the Gluten Free Chocolate roll. I didnt leave the colouring out so a lovely red hue remains.
Many Thanks your recipes seem to transfer to GF really easily.
Hi Sally,
I made the red Velvet roll today and it all worked well, except the cake is a bit tough rather than light and fluffy. Do you have any tips?
Janina
Hi Janina! Overmixing– that would be the culprit. Do you think you overtaxed the batter? Or over-baked the cake?
I’m an experienced Baker. I bake cakes everyday and I tried this recipe, followed it to the ‘T’ and I had to throw it away! The cake was too dry and stiff
Sally, I am a very experienced baker and followed the recipe exactly. The cake turned out dry and cracked majorly. I am so disappointed because I wanted to bring this to a Date Night Event at our church.
Mine also cracked when I unrolled it, so it looks pretty sad… hoping it will taste ok! Any suggestion should for next time? I used a jelly roll pan. I didn’t measure but it might be more than 10×15, so maybe it was too thin?
I’ve wanted to try a roll cake forever, I love the light and airy texture in them. I KNOW you said the right pan size is important, but I just have to ask! I have a Nordic jelly roll pan that’s 15.75″L x 11.25″W in size. I actually have two of them, so I don’t want to add yet another one that’s so close in size. Could I use that in this recipe?
I think that size is close enough. The cake will be thinner. Let me know how it goes!
I tried making this roll twice last weekend. The cake was way too dense both times and my sister said that it was rather dry and was only saved by the filling for moisture although the cake itself tasted fine in small doses. I was surprised since I’ve made so many of your recipes and they all came out perfect. If I try again, should I beat the eggs longer? Also, I’ve made a fluffy matcha roll cake (using a 10×15) before and it only called for 4 ingredients of 40g cake flour, 80g sugar, 1T matcha powder, and 4 eggs and the cake was made into a sponge with separating the eggs and whipping the whites into a meringue. Do you think it would be possible to sub the 1T matcha for that recipe with 1T cocoa or would the cocoa require extra sugar for balance? I’d really like to try making a red velvet roll cake with a more airy texture.
Hi Lily, whipping more air into the eggs could help. I’m unsure about adding matcha, but you can certainly give it a try!
Hi Sally, this recipe looks delicious. Can you use a fresh piece of parchment paper dusted with confectioners sugar and roll up cake instead of a towel?
I can’t see why not!
Hi,
Is it possible to make this the day before serving it? Any tips?
Absolutely. Cover it tightly with plastic wrap, stick it in the fridge, and let it sit out for 10-20 minutes before cutting and serving.