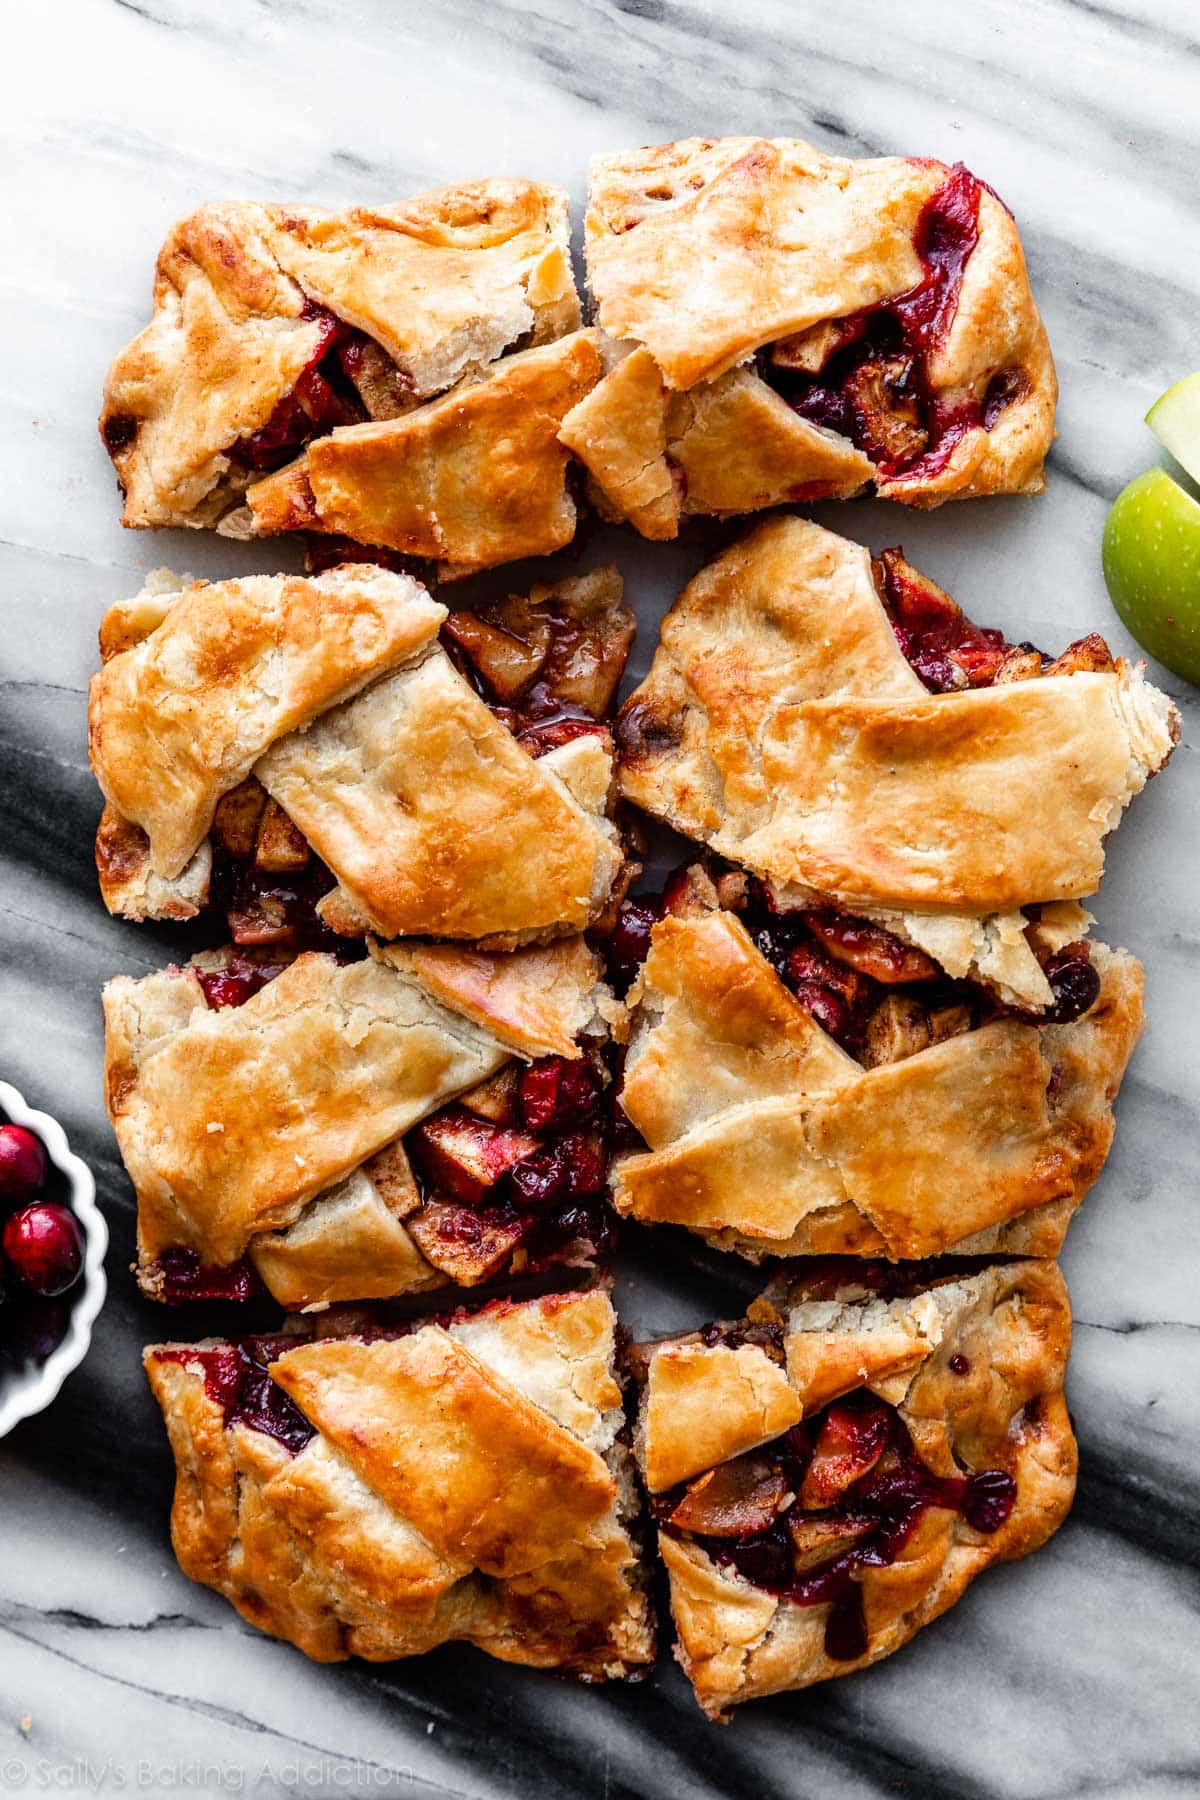
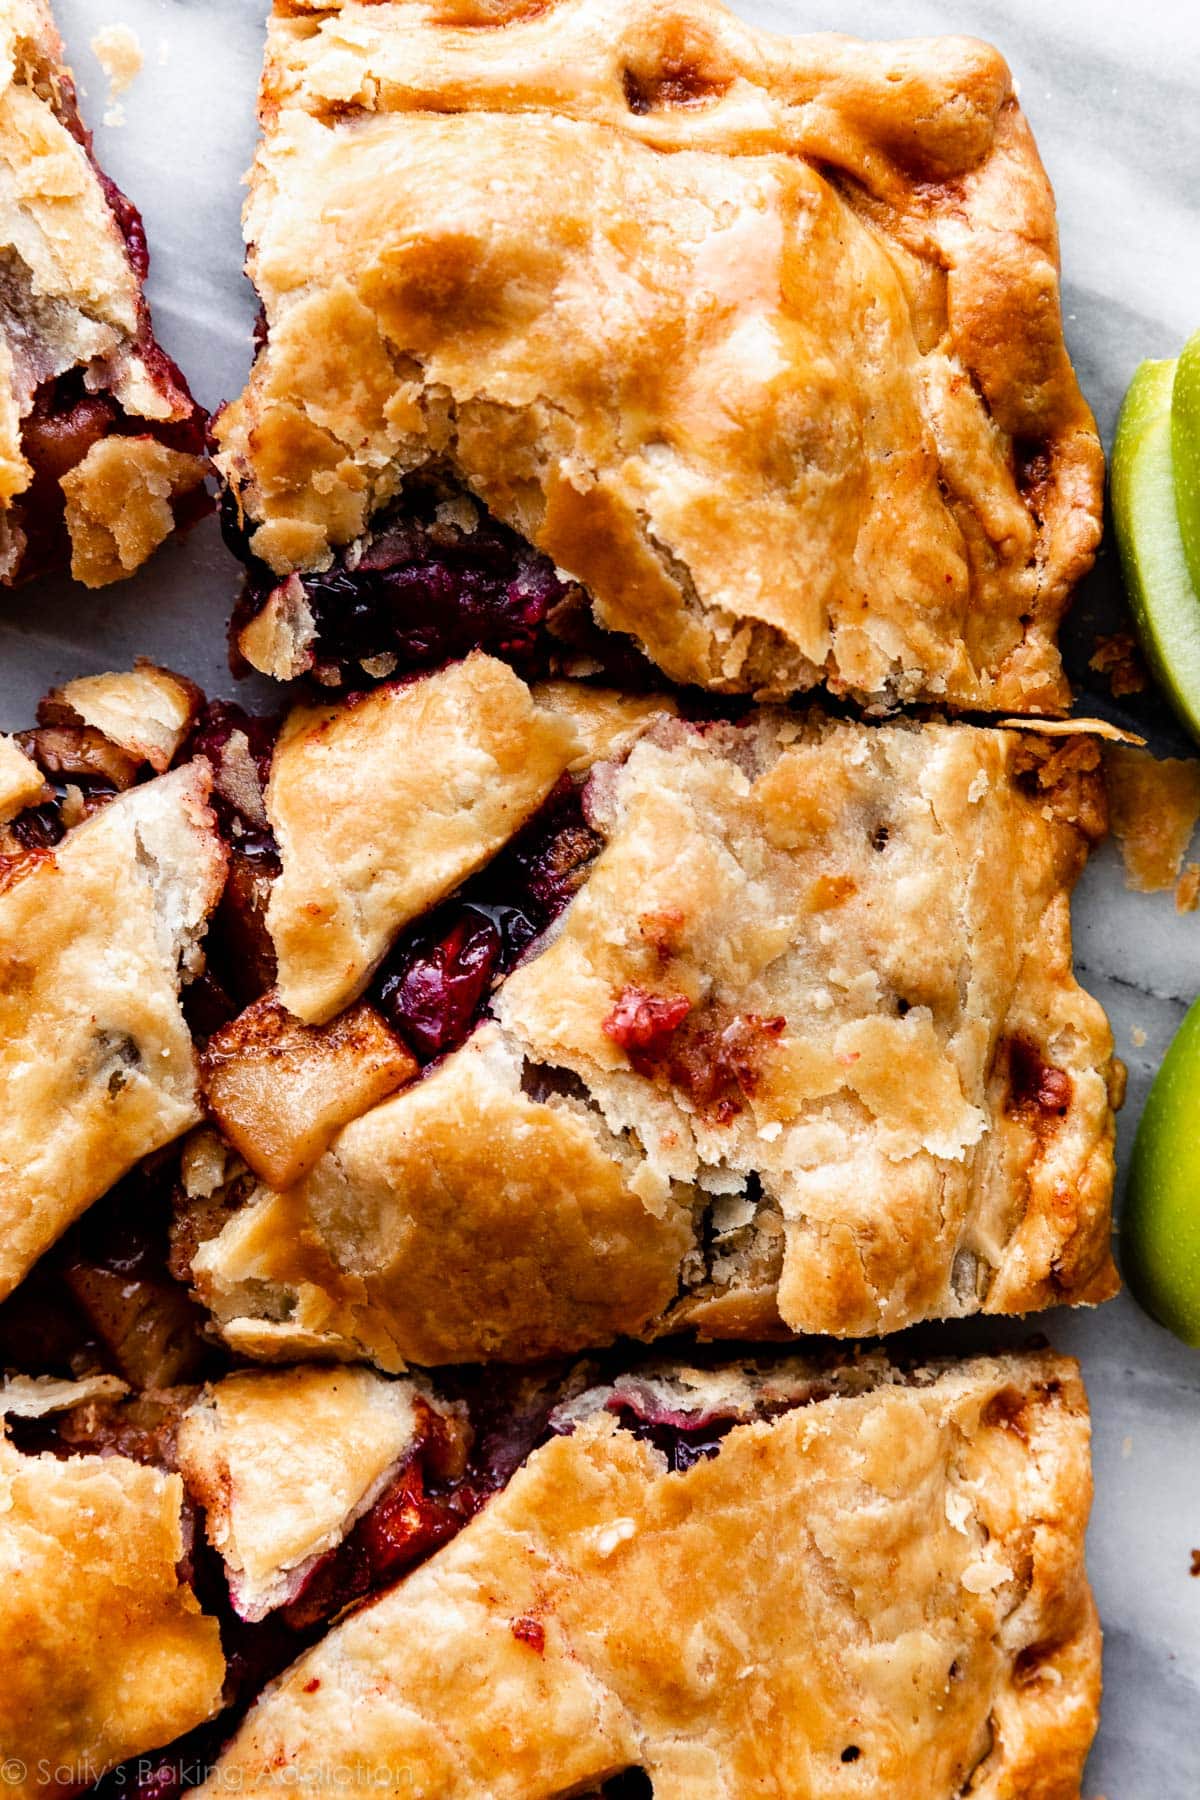
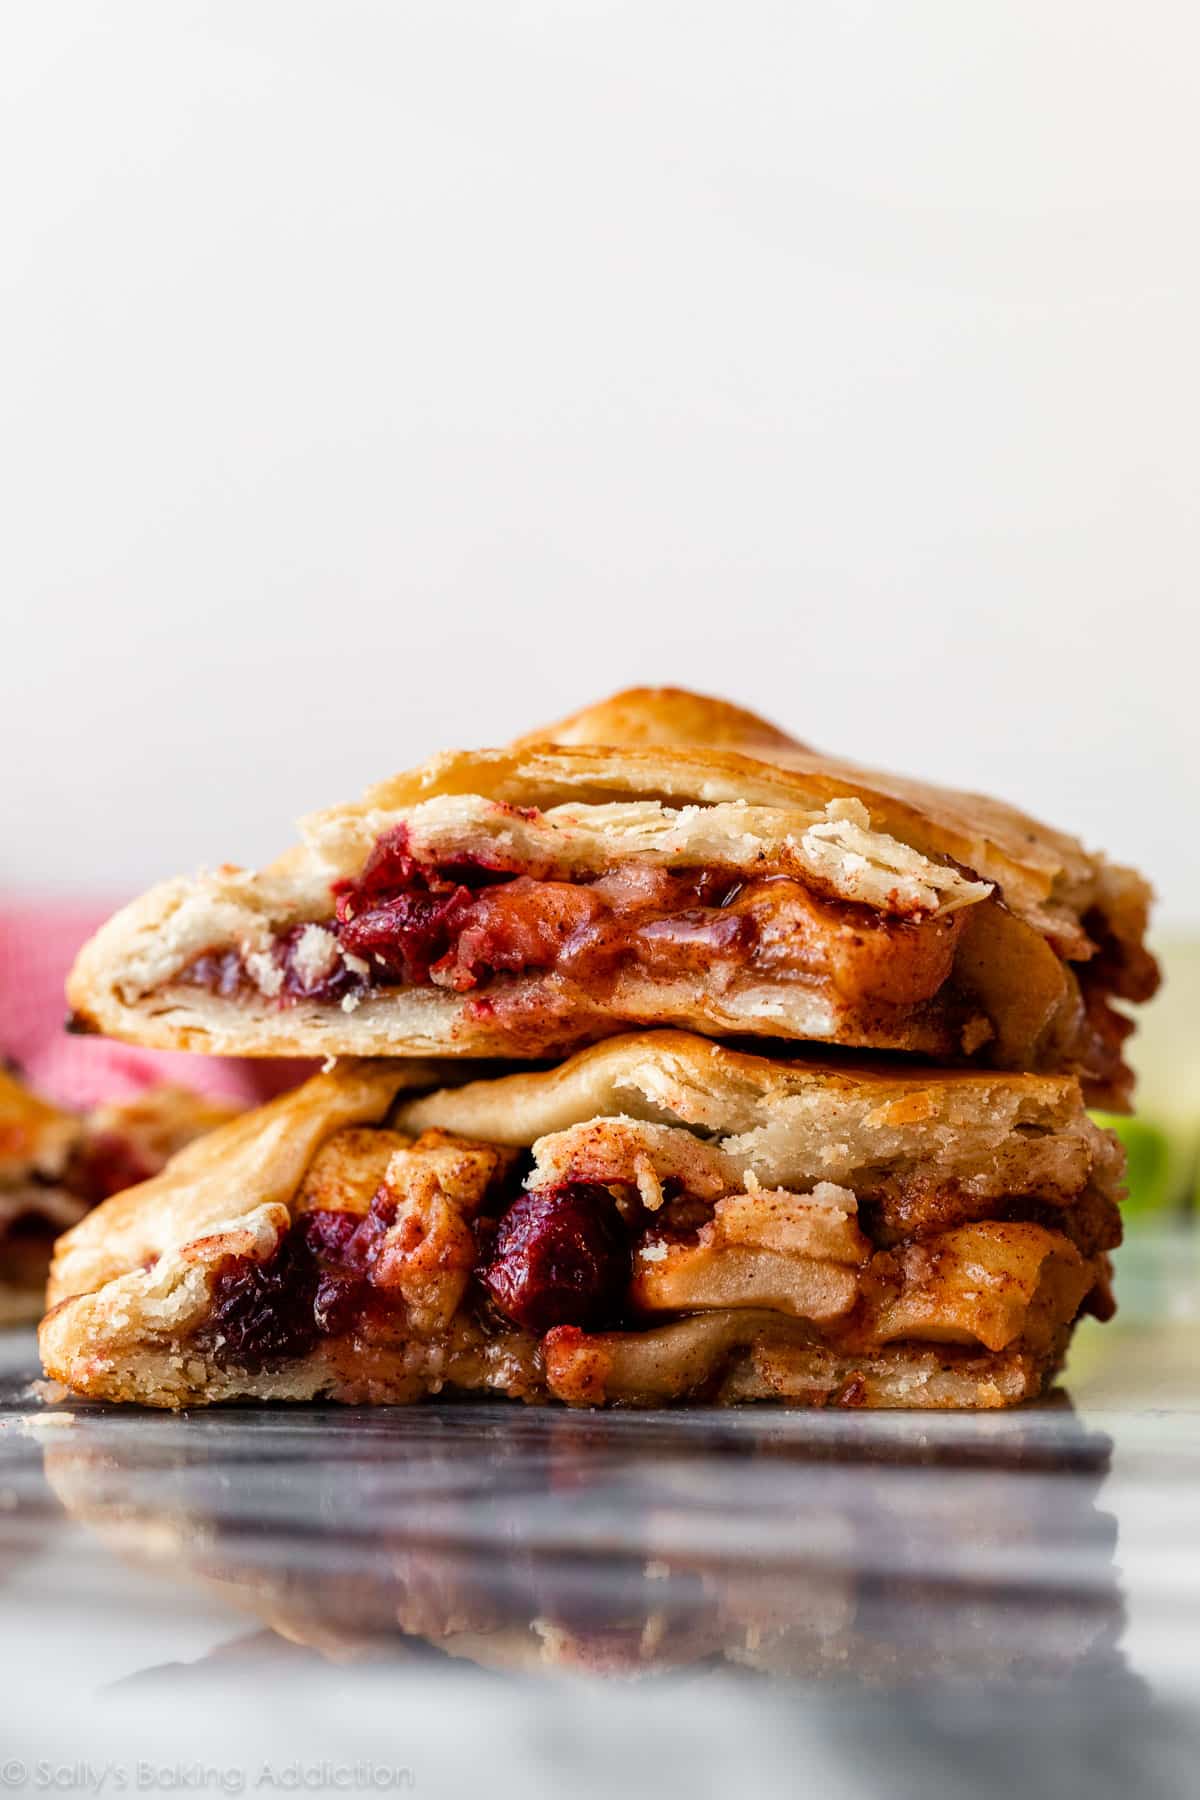
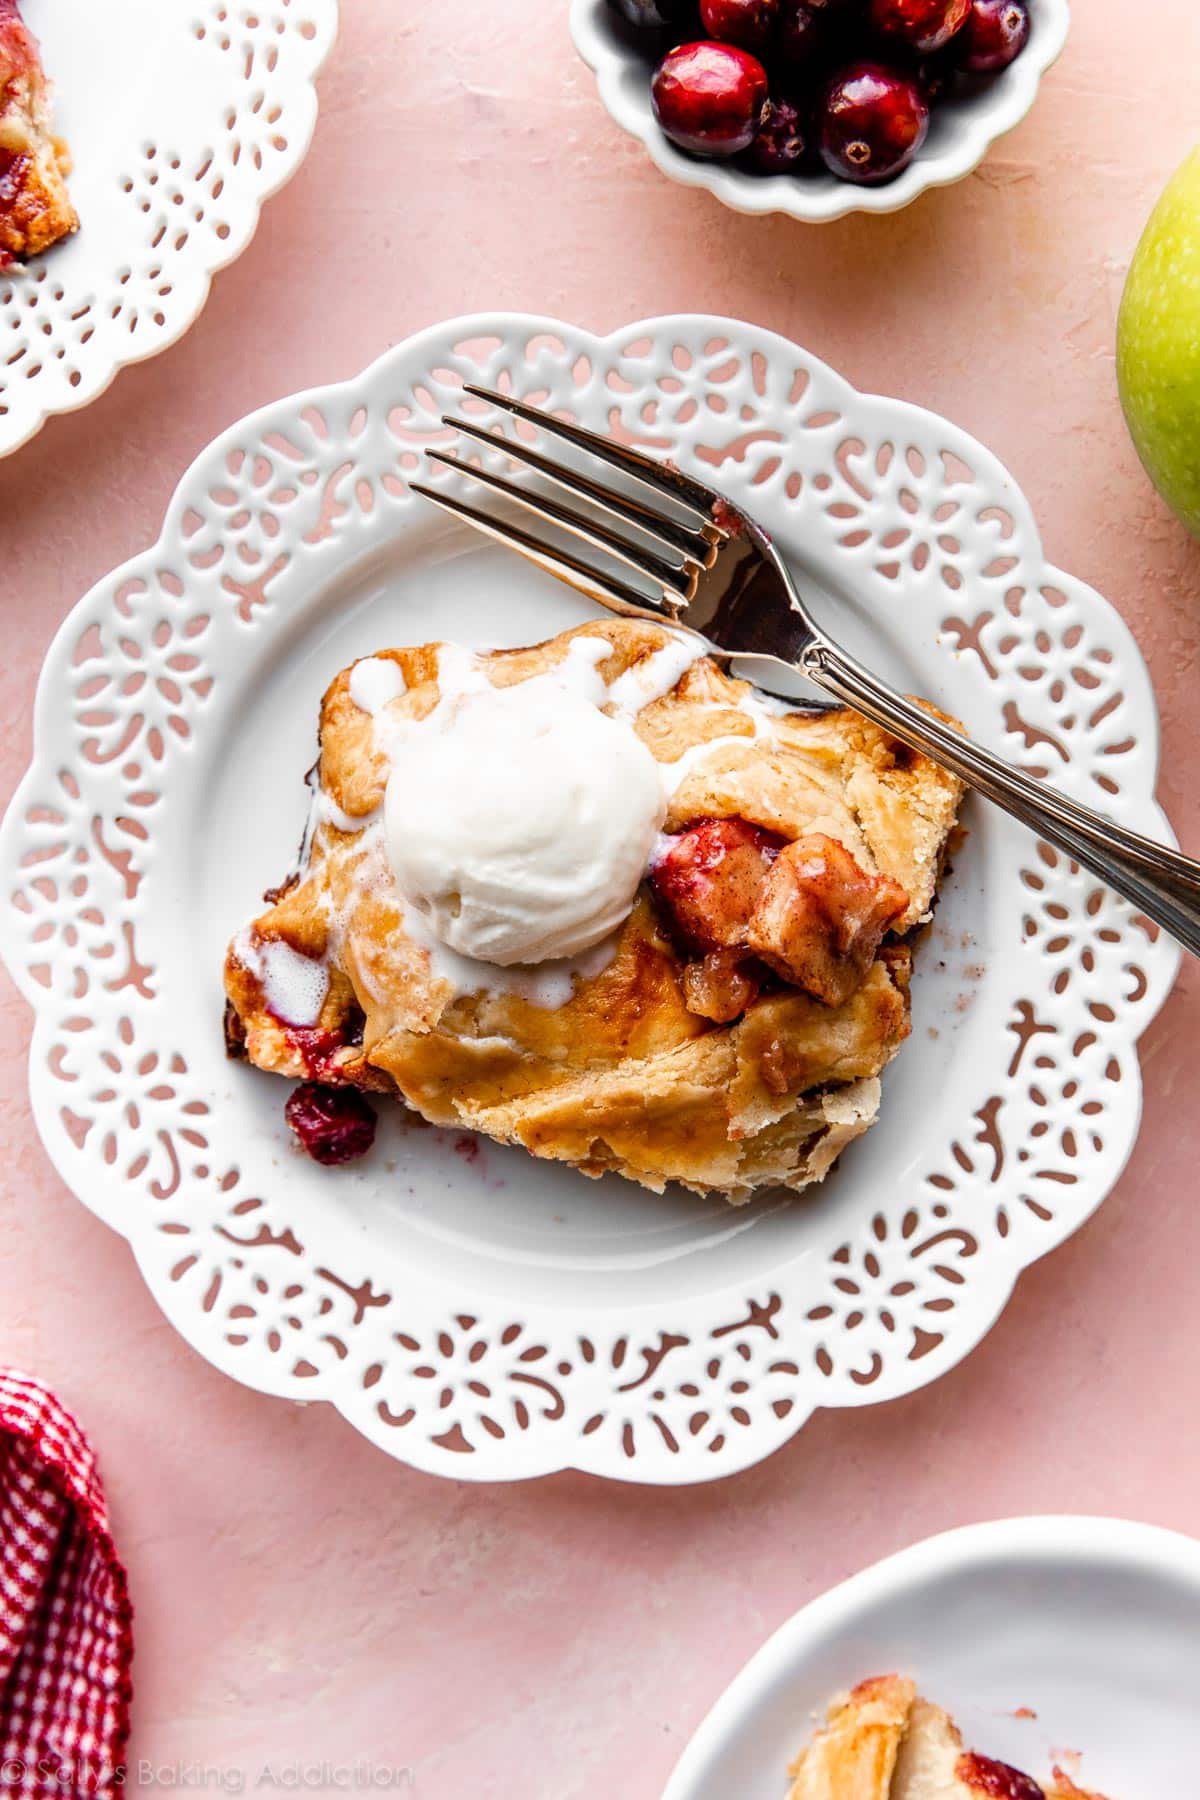
This cranberry apple slab pie is a smaller version of traditional slab pie. Baked free-form style on a baking sheet, this flatter pie barely has to cool before digging in! Juicy sweet cinnamon apples and tart cranberries taste fantastic with a buttery flaky golden pie crust. You need 2 crusts and you can use your favorite or store-bought version, but I encourage you to try my beloved pie crust recipe.
I don’t say this a lot but here goes nothing: sometimes it’s ok to break the baking rules!! And we’re definitely doing that today with this pie. This is a free-form style pie with no boundaries. 😉 Just make sure the top and bottom crusts are rolled thin enough and secured/pinched together to prevent excess leaking.
We’re basically making a giant pop-tart that’s welcome alongside your Thanksgiving pies. Might I add, it’s much easier to make than traditional apple pie, too.
Why You Will Love This Cranberry Apple Slab Pie
- Smaller version of a traditionally large slab pie—serves 8.
- Slab pie is cut into bars/rectangles so it’s easy to slice, serve, and freeze.
- It’s shallow, so there’s no need to fully cool before slicing and serving.
- No par-baking the bottom crust.
- Altogether flaky, buttery, sweet, tart, fruity, and spiced! If a scoop of sweet and tart cranberry sauce is a must on your Thanksgiving plate, you’ll love the pop of flavor that cranberries add in this slab pie.
- Or you can swap cranberries for more apples or another fruit.
I suppose you could say this is like my apple galette, only a bit thicker and with a top crust. And it’s a smaller version of this apple slab pie and includes cranberries. It’s really just… its own special thing!
Pie Dough
You can use your favorite pie crust recipe, but I encourage you to try mine. You need the full pie crust recipe, which makes 2 crusts. (1 for bottom of pie, 1 for top of pie.) I use a mix of shortening and butter because they work together to make the BEST crust. Butter adds flavor and flakiness, while shortening helps the dough stay pliable which is helpful when you’re rolling and shaping it. Plus, its high melting point is advantageous because it helps the crust stay tender while still maintaining shape. It’s the same crust I use for my pumpkin pie and pecan pie, too.
If you don’t want to use shortening, try my all butter pie crust recipe instead—it also yields 2 crusts.
3 Success Tips
- Keep the Filling Compact: You don’t want many air pockets in the filling, so do your best to pile the filling tightly onto the bottom pie crust. This filling recipe yields a lot and keeping it compact ensures it will all fit!
- Bake On Sheet Pan: This is a free-form style pie baked on a large baking sheet with extra room to spare. It’s best to bake this pie on a half sheet pan, preferably one with rimmed sides. None of my test pies leaked enough juices to reach the edge of the pan, but if you don’t have a tight seal on the pie dough edges, the juices could certainly spill over. If you need a recommendation, I use and love (affiliate link) these half sheet pans.
- Tight Seal on Edges: Cranberries leak a lot of juice, so tightly seal the dough edges as best you can. Plus, since this pie doesn’t reach the edges of a half sheet pan, it essentially has no structure support! Seal those edges by crimping them with a fork or fluting with your hands. (You can watch me flute the edges in the video below, or see my full tutorial on how to crimp and flute pie crust.) If the pie dough becomes too warm and fluting/crimping is impossible, stop and refrigerate the pie for 10-15 minutes before trying again. The refrigerator is pie dough’s best friend.
Can I Bake This in a 9×13 Inch Pan?
You can, but the best option is a quarter sheet pan like this quarter sheet pan. The pie will take up the entire size of the pan, much like the full size apple slab pie takes up an entire half sheet pan. The lower sides help make sealing the pie dough edges a little easier. If you have and want to use a regular metal or glass 9×13-inch dish, you absolutely can! Avoid ceramic because the bottom crust will not cook through completely.
Step-by-step photos below the recipe!
Tested Variations You Can Try
- Only Apples: It’s easy to leave out the cranberries if you want plain apple slab pie. Replace with 1 more cup of chopped apples. Feel free to skip the orange zest and replace with lemon zest for a bit of fresh flavor.
- Substitute Cranberries: Instead of replacing the cranberries with more apples, try 1 cup fresh or frozen blueberries, cherries, blackberries, or sliced pears.
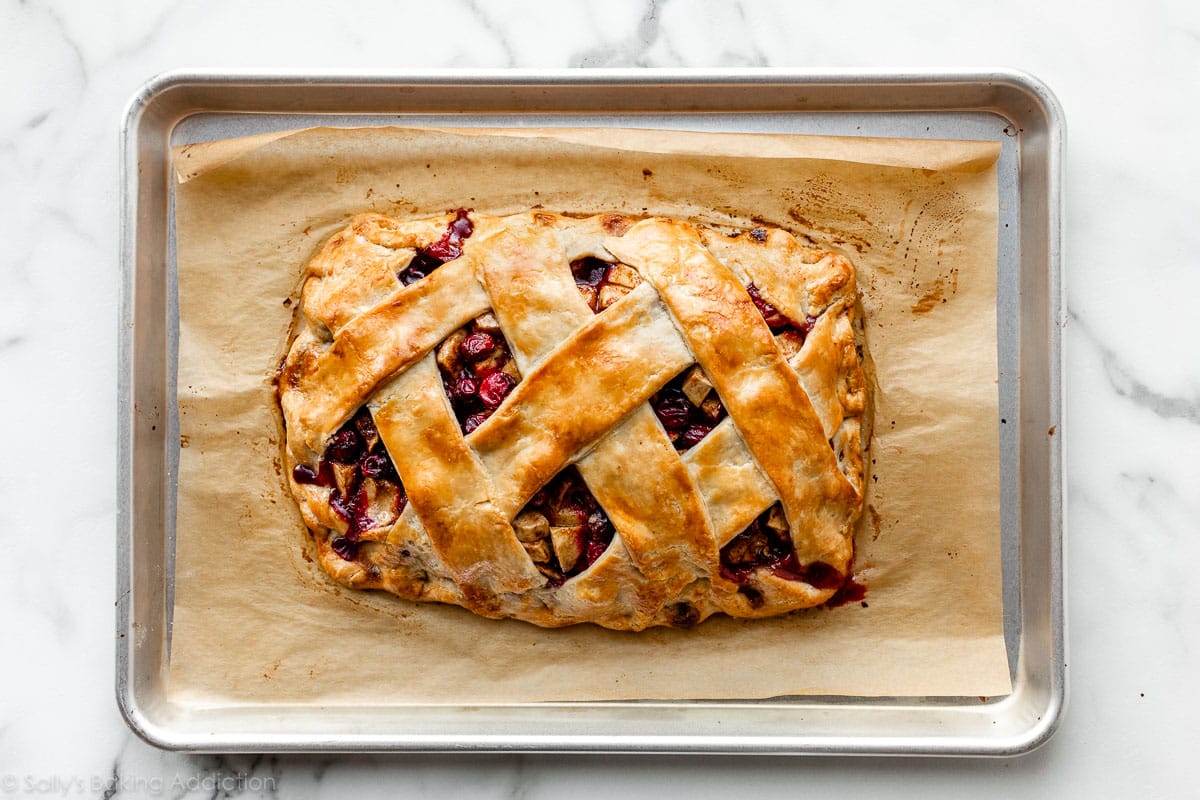
- Lattice Top: The video tutorial below shows a lattice topping for this cranberry apple slab pie. My 6 pie dough strips are about 2 inches wide, but feel free to cut your strips thinner so you can use more. If you’re new to lattice, here’s my how to lattice pie crust tutorial. I also have directions in the recipe below.
- Full Crust Top: If you’d rather skip the lattice crust and use a full top crust, you can find those instructions below as well. (And photos below the recipe!)
- Larger Size: For a full size slab pie (the total size of a half sheet pan), I recommend following the crust and filling for this apple slab pie. Replace 1 and 1/2 cups of the apples with fresh or frozen cranberries. Feel free to add some orange zest and/or skip the icing.
- Regular Pie: Want these same flavors but in a regular pie dish? Here’s my apple cranberry pie recipe—it has slightly more filling to fit into a pie dish.
What Are the Best Apples to Use for Baking?
Firmer apples are ideal for baking so avoid soft, mealy, and mushy apples. And when a recipe calls for more than 1 or 2 apples, like today’s slab pie, apple crisp, or this apple crumble pie, it’s best to use a mix of tart apples and sweet apples.
- Tart apples for baking: Granny Smith (my absolute favorite apple for baking), Braeburn, Jonathan, and Pacific Rose
- Sweet apples for baking: Jazz, Honeycrisp, Pink Lady, and Fuji
For a detailed list of my favorite apple varieties, and when to use each, you can visit my post The Best Apples for Baking.
See Your Cranberry Apple Slab Pies!


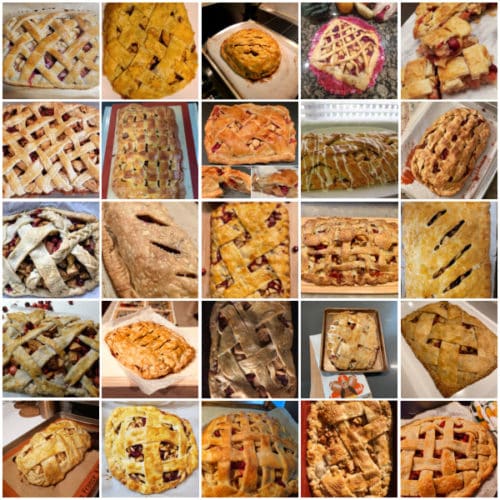
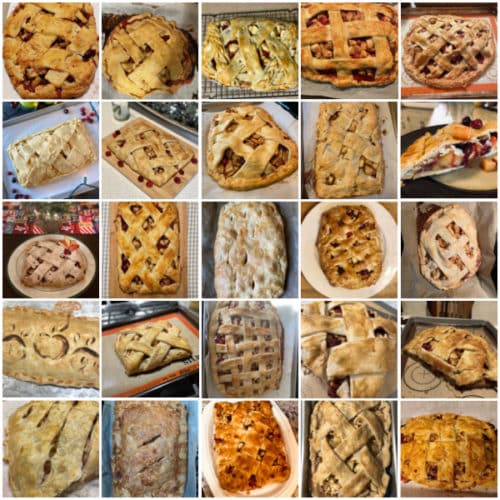
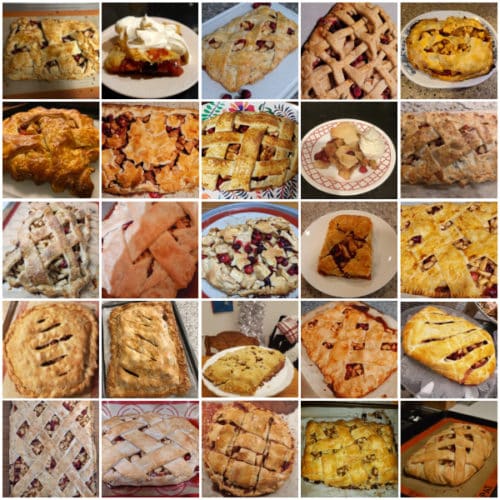
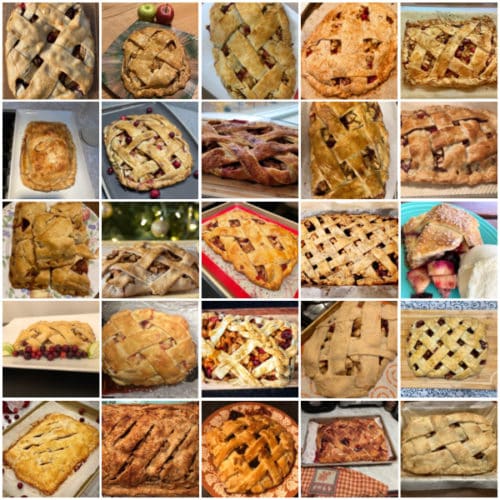
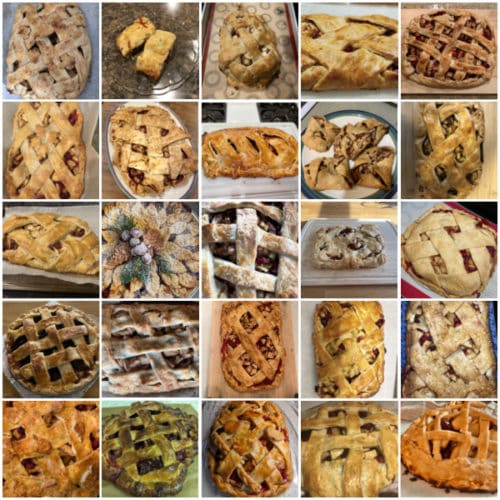
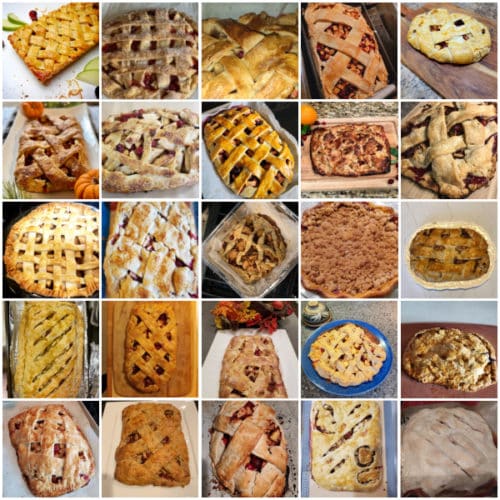
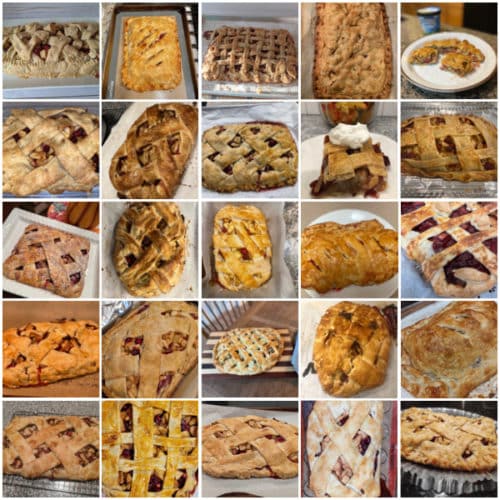
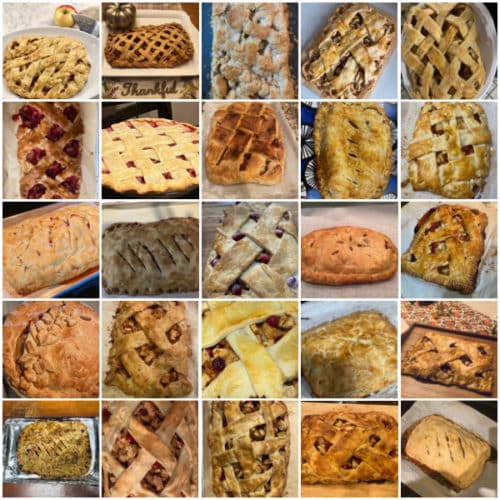
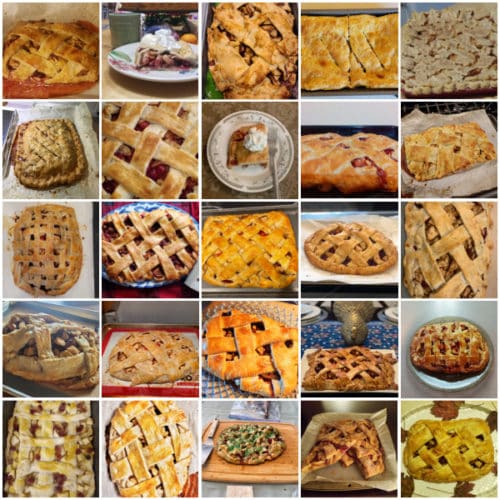
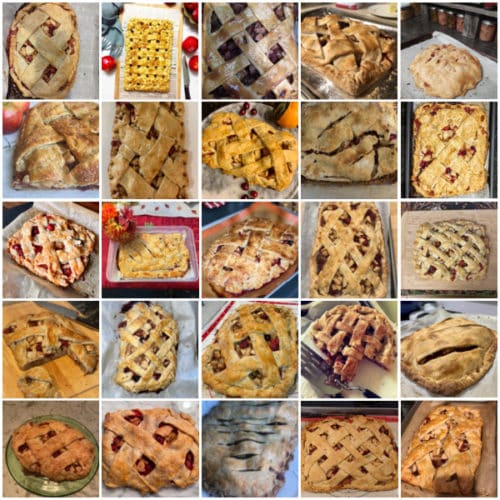
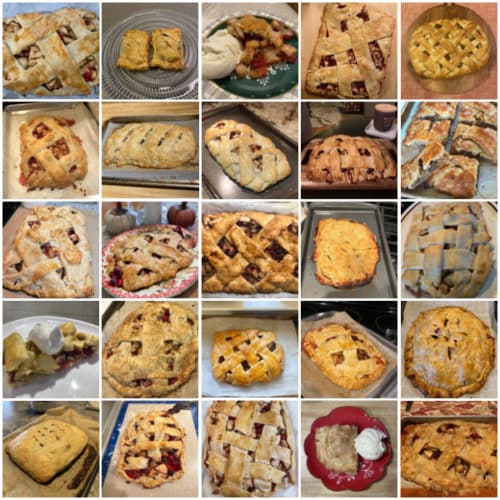
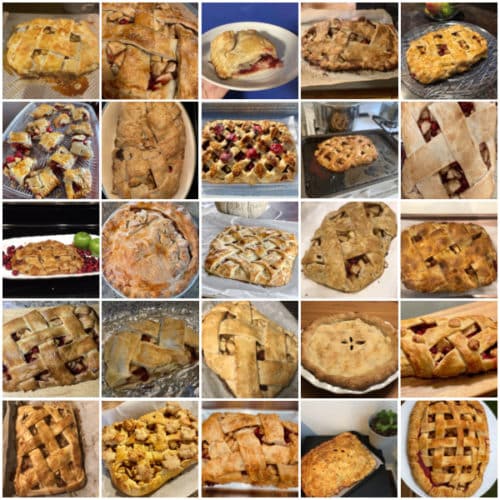
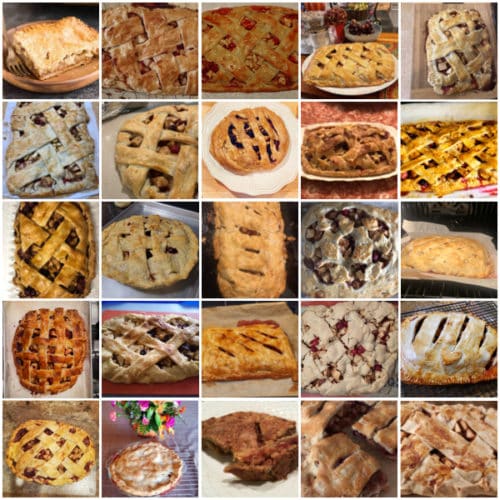
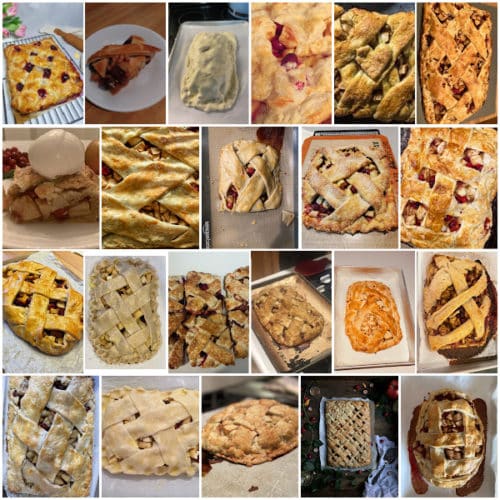
Many readers tried this recipe as part of a baking challenge! Feel free to email or share your recipe photos with us on social media. 🙂
Print
Cranberry Apple Slab Pie (Small Version)
- Prep Time: 3 hours
- Cook Time: 55 minutes
- Total Time: 4 hours
- Yield: serves 8
- Category: Dessert
- Method: Baking
- Cuisine: American
Description
Baked free-form style on a baking sheet, this juicy, sweet, and tart cranberry apple slab pie barely has to cool before digging in! You need 2 crusts and you can use your favorite or store-bought version, but I encourage you to try either linked pie crust recipe below. Review recipe notes and watch the video tutorial before starting.
Ingredients
Crust
- Homemade Pie Crust or All Butter Pie Crust (both recipes make 2 crusts, 1 for bottom and 1 for top)
- extra all-purpose flour for work surface, hands, and rolling pin
- egg wash: 1 large egg beaten with 1 Tablespoon (15ml) milk
Filling
- 5 cups (about 600g) peeled and chopped apples (chunks that are 1/4 – 1/2 inch thick)*
- 1 cup (110g) fresh or frozen cranberries (do not thaw)
- 1/2 cup (100g) granulated sugar
- 2 Tablespoons (14g) cornstarch
- 1/2 teaspoon orange zest
- 1 teaspoon ground cinnamon
- 1/4 teaspoon ground allspice
- 1/4 teaspoon ground nutmeg
- 1 Tablespoon (14g) cold unsalted butter, cut into small cubes
Instructions
- The crust: Prepare either pie crust recipe through step 5.
- The filling: In a large mixing bowl, stir the apples, cranberries, sugar, cornstarch, orange zest, cinnamon, allspice, and nutmeg together until combined. Set aside as you roll out the bottom pie crust. (Butter is used in step 5.)
- Line a half sheet pan with parchment paper or a silicone baking mat. Set aside. Make sure you have enough room in your refrigerator for the pan because the assembled pie must chill for at least 15 minutes before baking.
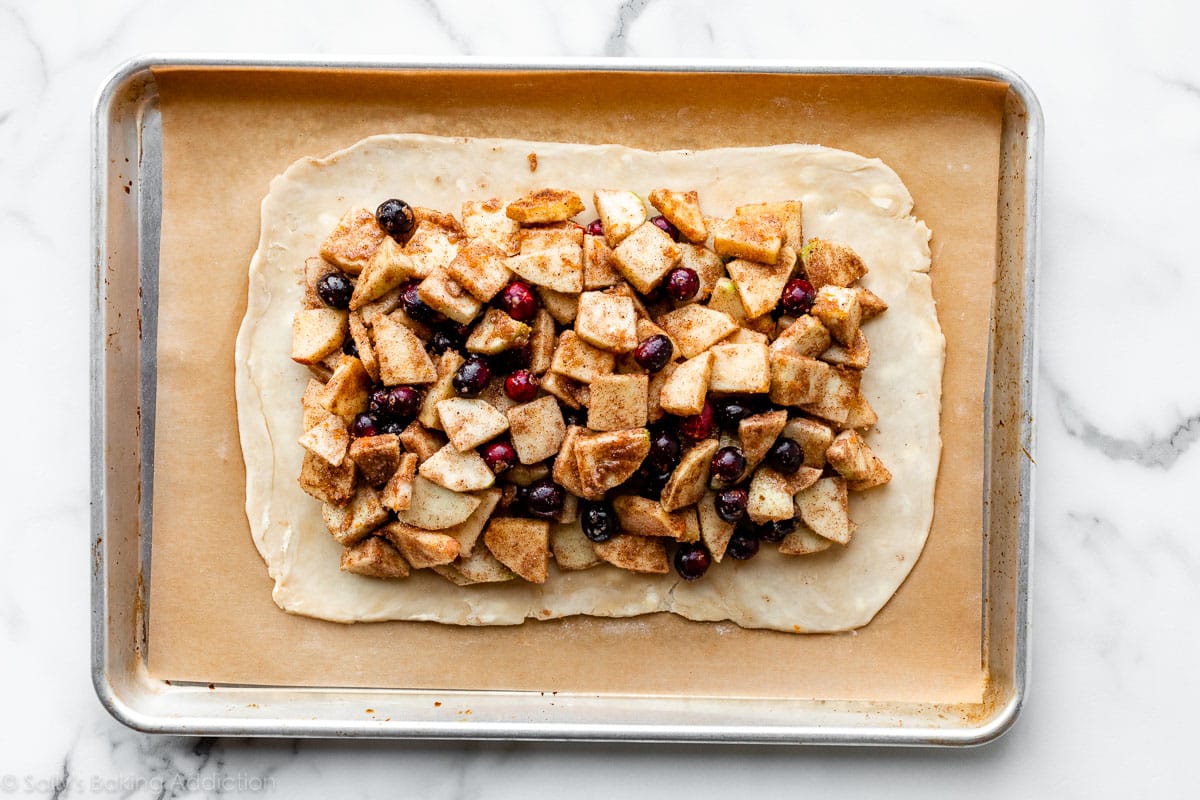
- Roll out the chilled pie dough for bottom crust: Remove 1 disc of pie dough from the refrigerator. Keep the other in the refrigerator until you’re ready for the top crust. On a lightly floured work surface using a lightly floured rolling pin, begin rolling the dough out into a rectangle. Make sure to turn the dough about a quarter turn after every few rolls and to really ensure the dough isn’t sticking to the work surface, flip it over a few times during this process. Keep everything lightly floured. I find anywhere around a 10×14 inch rectangle is great. Dough should be about 1/8-inch thick. Tip: Your hands are your best tool in this step. Use your hands and fingers to smooth cracking edges and keep the sides straight. You can watch me do this in the video. Carefully transfer the rolled out dough to the lined pan.
- Add filling & fold dough edges: Using a spoon or your hands, tightly pile the filling onto the rolled out pie dough leaving a 1.5 inch border around the edges. Keep filling tight and compact to minimize air pockets. Discard any leftover juices in the filling bowl. Dot the pieces of butter on top of the filling. Fold dough edges over filling and pinch edges.
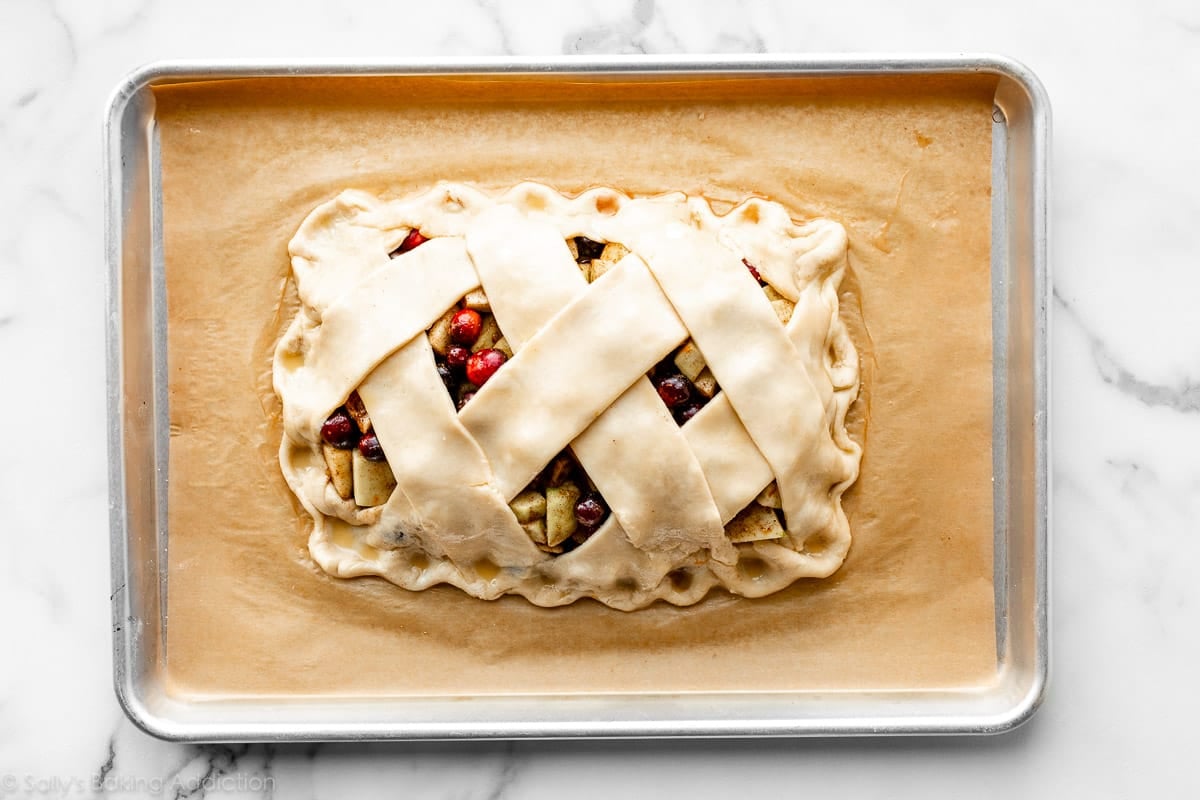
- Roll out 2nd chilled pie dough for top crust: For a lattice top as shown in the video, roll out pie dough into a large oval, about 1/8 inch thick. (Exact dimension doesn’t matter, but thickness does). Using a sharp knife or pizza cutter, cut 6 2-inch strips of dough. See video starting at 3:35 for a visual of the following lattice weaving—lay 3 strips diagonally and evenly spaced on top of the filling. Use a longer strip in the center of the pie and shorter strips on the ends. Fold center strip back. Place 4th strip diagonally in opposite direction over the end strips and under the center strip. Fold center strip back over 4th strip. Fold end strips back. Lay 5th strip in opposite direction on top. Unfold the 2 strips back so they lay over the 5th strip. Fold bottom center strip back. Place last strip in opposite direction over end strips and under center strip. Fold center strip back on top. For a full crust top as shown in photos below, roll out pie dough into the same size rectangle as the bottom crust, about 10×14 inches. Drape over filling.
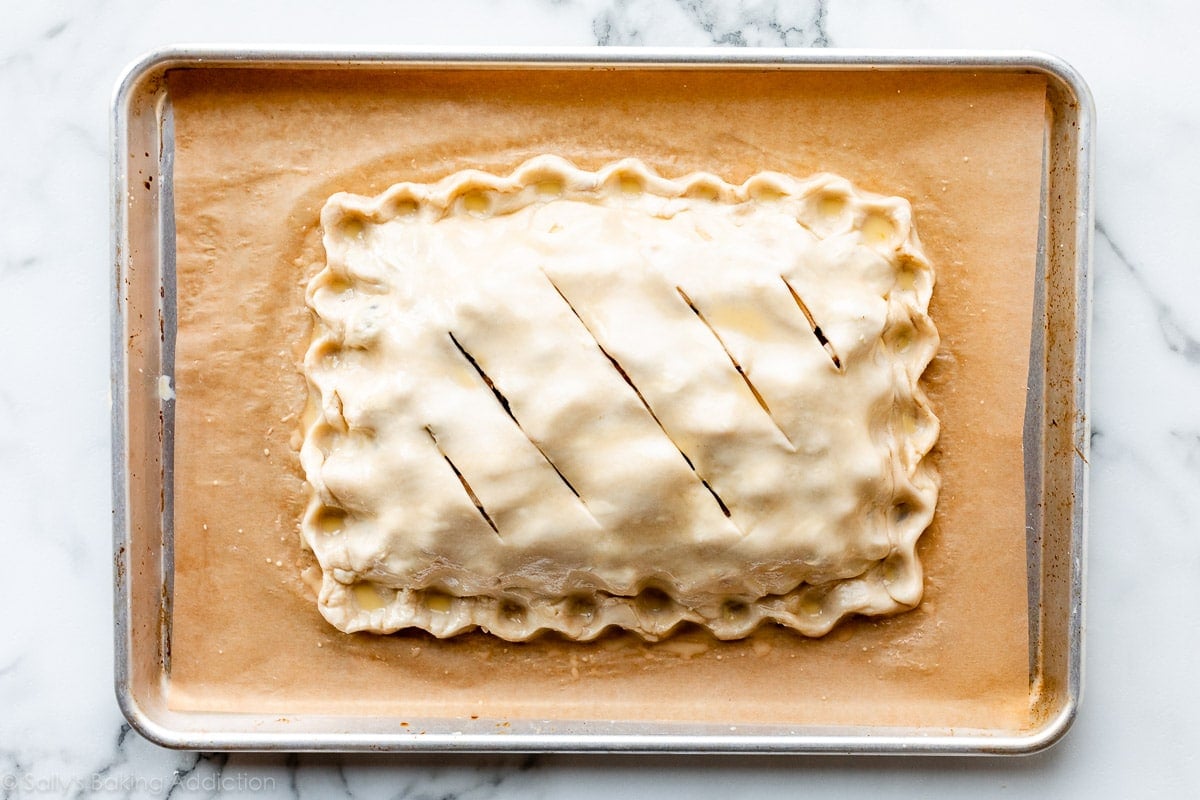
- Seal edges: If you have excess top crust dough that lays over the bottom dough edges, no need to trim it. Instead, fold the excess dough back to make a thicker edge and pinch together with the bottom pie dough to seal. Flute the edges with your fingers or crimp with a fork. If edges aren’t sealing well and fluting or crimping is too difficult, the dough may be too warm at this point. Stop what you are doing and refrigerate the pie for 10-15 minutes then try again. (Review my how to crimp and flute pie crust tutorial if you need extra help with this step.)
- Egg wash: Brush the pie dough with egg wash. If you used a full top crust (not lattice), use a sharp knife to cut 3-5 slits in the top crust for air vents. Refrigerate pie uncovered for 15 minutes as oven preheats. (Or refrigerate up to 1 day. Cover lightly if refrigerating longer than 15 minutes.)
- Preheat oven to 375°F (190°C).
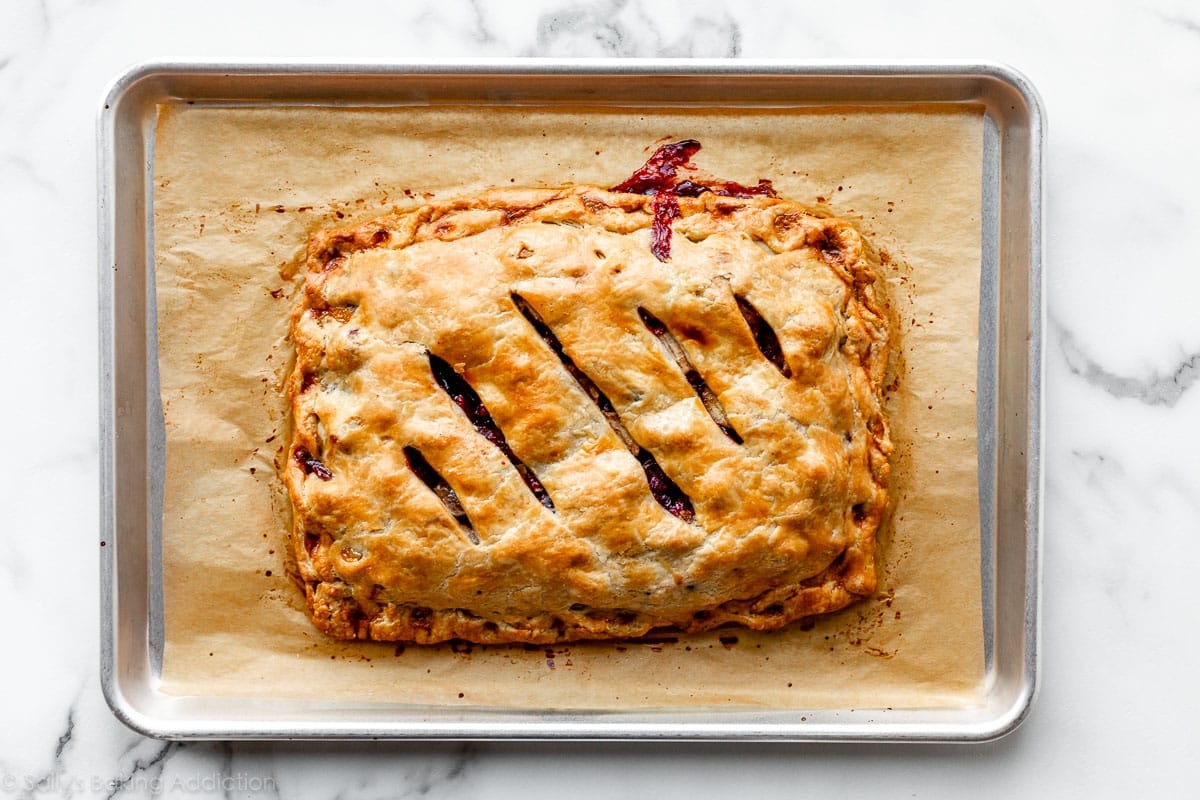
- Bake pie for 45-55 minutes or until the top crust is golden brown and the filling’s juices have been bubbling up through the lattice/vents for at least 5 minutes.
- Remove pie from the oven and cool for 5 minutes before slicing and serving.
- Cover leftovers tightly and store in the refrigerator for up to 5 days.
Notes
- Make Ahead / Freezing Instructions: There are a couple ways to make this pie ahead of time. Assemble the pie through step 8 and refrigerate assembled pie for up to 1 day. Or assemble and bake the pie 1 day in advance—after pie cools, cover tightly and keep at room temperature. The pie crust dough can also be prepared ahead of time and stored in the refrigerator for up to 5 days or in the freezer for up to 3 months. Baked and cooled pie also freezes well for up to 3 months. Thaw overnight in the refrigerator and allow to come to room temperature before serving. (Feel free to warm the slices in the microwave.)
- Special Tools (affiliate links): Apple Peeler | Zester | Glass Mixing Bowl | Rolling Pin | Rimmed Half Sheet Pan | Silicone Baking Mat or Parchment Paper) | Pastry Brush | Pizza Cutter
- Apples: You need 3-4 medium apples. I recommend a mix of tart and sweet apples—I like using Granny Smith and Honeycrisp.
- Chilling Assembled Pie Before Baking: Chilling the shaped pie in the refrigerator before baking helps it maintain shape in the oven. Remember, cold pie dough is always best. I usually refrigerate the assembled pie for 15 minutes as the oven preheats. If you’re nervous to chill the baking sheet in the refrigerator then bake it (which can cause warping), after chilling it, you can very slowly and carefully lift the parchment/baking mat as a whole—with the chilled pie on top—and place it all on another (not cold) baking sheet to bake.
Let Me Show You a Few Steps
For the filling, I recommend cutting the apples into chunks instead of slices. Since slab pie is thinner than regular pie, you can’t really layer the slices together to get enough apple in each bite. 1-inch chunks that are between 1/4- and 1/2-inch thick are ideal for this pie.
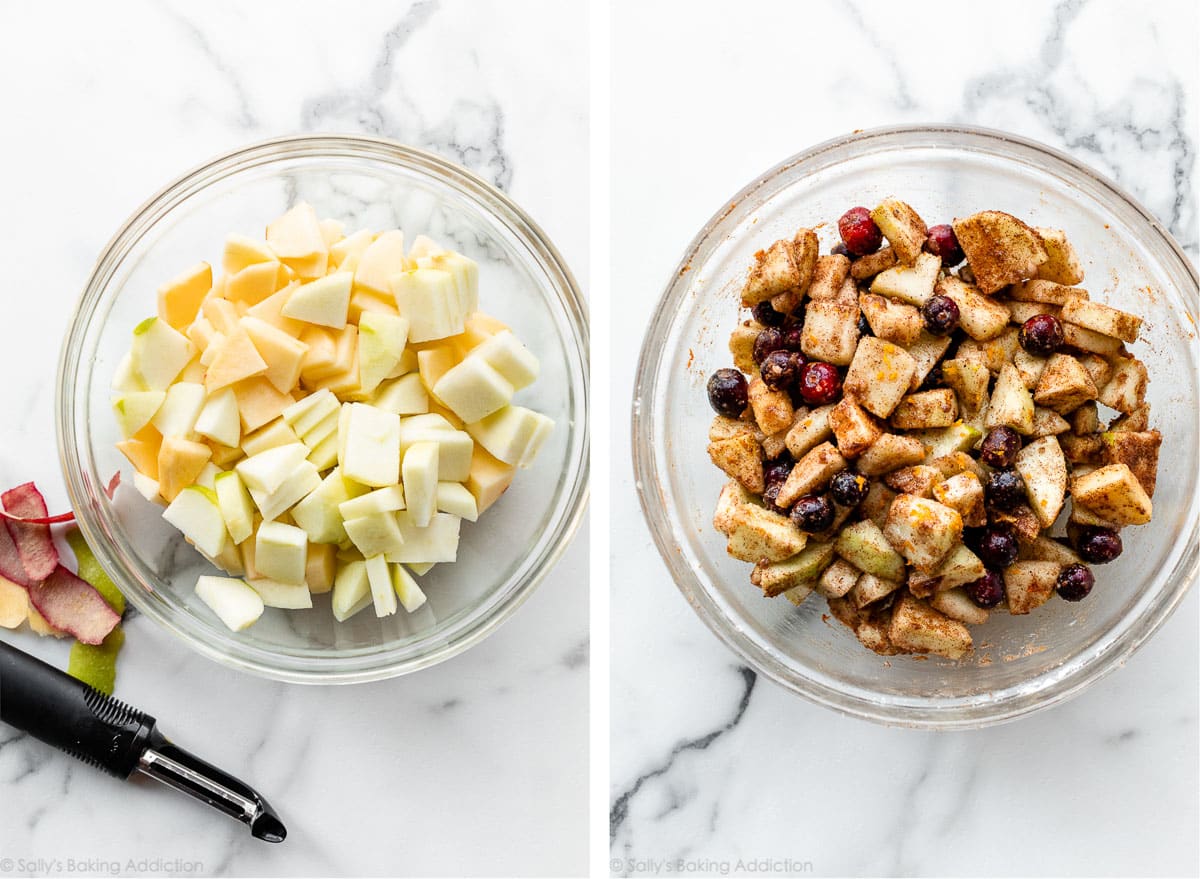
Set filling aside as you work on the bottom crust.

Tightly pile the filling on top leaving a 1.5-inch border around the edges. Dot with small pieces of butter. (I forgot to take a picture of the filling with butter on top but you can see me add it in the video.)
Now it’s time to decide how you want to top your slab pie—do you want a full top crust, a lattice top, or other decorative pie crust design? Or do you want to know how to braid pie crust? I’m showing you two versions in the following photos and you can find instructions for both in the recipe above.
Full Top Crust:
Don’t forget to cut slits in the top for air vents.
Lattice Top Crust:
A little more challenging, but doable! As you can see in the video above, I do not trim excess pie dough from the edges. I like folding excess dough back onto the edges of the pie so there’s more dough to work with when crimping or fluting the pie crust. If you ever need help with pie dough edges, you can see me do this up-close in the how to lattice pie crust video starting at the 1:59 mark.


I cannot wait to try this recipe! This is the perfect non-fussy type of dessert for my family.
I have one question though, I’ve never worked with cranberries, do they have a pit or seed that needs removed prior to using!!??
Hi Patti, no need to pit or seed cranberries – they’re ready to go!
Really tasty! The recipe was easy to follow too
I made this Apple Cranberry Slab Pie with Sally’s All Butter Pie dough over the weekend, and it was divine! I loved the tartness of cranberries mixed with the sweetness from the apples and sugar. The directions were spot on, so I had absolutely no issues. It was easy from start to finish and so much fun to make. Also, it didn’t even last a day in my house. Every piece was eaten by the end of the night. Thank you, Sally!
My family really enjoyed this slab pie, and it was the perfect size for us. I used a combination of Granny Smith, Fuji, and SweeTango apples as well as fresh cranberries. It smelled amazing while baking. The only issue I experienced was when my filling leaked a little, but that was user error (I think I rolled my bottom crust a little too thin in places to try to match the 10×14 rectangle). I followed the suggested video to learn how to do lattice crust for the top – I never knew how easy it actually is to do! That’s definitely a skill I will use again. Thank you as always for all of the tips included with the recipe!
So delicious! I made some all butter pie crusts and froze them. Saved time when I decided to make this pie. The cranberries combined with the apples and warm spices added a delightful little zing. I will be making this pie again.
We loved this recipe! I’ve always wanted to make a slab pie, but never needed such a large dessert so I really appreciated this smaller scale recipe. Your pie crust recipe has been my go to for years and I always have some in my freezer. The combination of apples and cranberries was wonderful and not too sweet. I baked this in a 9×13 sized pan and the pie crust to fruit filling ratio was perfect. I will definitely make this again with different fillings!
Amazing recipe! The pastry instructions are so easy to follow!
I really enjoyed making this! I was very nervous because this was my first time making pie crust from scratch, but with the step-by-step instructions it worked out great! I didn’t even get to take it off the pan before it was devoured by family! As much as I love apple, the cranberries really gave it a nice tartness. Will definitely make again soon!
Truly is like a giant warm and cozy fall poptart! Very easy to cut into once slightly cooled. I added a little white sparkling sugar on top … delicious!
Absolutely delicious. The addition of orange zest with the cranberries sends this flavor profile over the moon!!
Hi! They don’t sell cranberries in my country, what can I substitute?
Hi Leah, you can leave out the cranberries and replace with 1 more cup apples. Or try 1 cup fresh or frozen blueberries, cherries, blackberries, or sliced pears.
This is amazingly simple and delish! I had a little seepage, but I think it’s because my butter got too warm.
Made this today with all apples since I didn’t have any cranberries. Directions are easy to follow and it tastes delicious!
Delicious!! This was fun to make and my family really enjoyed it. I made Sally’s delicious crust….. it was so flaky!! I also liked the slight tartness the cranberries give and that this isn’t a super sweet dessert. Perfect for Thanksgiving!
Smelled so good when it was in the oven that I saw my family repeatedly walk by the oven to check the time! It was gone in 5 minutes, everyone loved it!
Tried this recipe for the November Baking Challenge. It smells like Christmas when it’s baking, and tastes just as good. I did small lattices, and personally don’t like the aesthetic, so you might consider sticking with the two top crusts shown here in the recipe (larger latticing or a full top crust). I used the all butter crust for mine.
This is as delicious as it is beautiful! Looking forward to making this again (and again!). I think it will be perfect on Christmas day.
I have some homemade rendered lard that has a wonderful smoky essence. Would I be able to substitute lard for the shortening in equal amounts?
Hi Amie! Many bakers have used lard to replace the shortening in the pie crust with success. Let me know how you like it!
The lard worked beautifully. My first time using lard in a crust and it had a more delicate feel to it.
I loved how this turned out. I did the lattice top and it looked so pretty. I’m not a huge fan of allspice. Next time I’ll leave that out and add more cinnamon. Thanks for a great recipe. I enjoyed making it and serving to company.
I didn’t like this bake as much as a traditional pie. I tightly pinched the edges but the liquid still drained out of mine. I also thought the crust was too dry. Although I was disappointed in the crust, the filling was delicious.
Hello, when cherries are offered as an optional add-in, do you recommend sweet or tart? Thank you in advance.
Hi Julie, either would be great, but tart cherries would balance the sweetness of the slab pie beautifully!
Made this today! Amazingly easy after watching the video four times! I can’t wait to make it again for Thanksgiving. Now that I’m not afraid to make crust…lots of things are a possibility! THANKS FOR MAKING IT DOABLE!!
I would love to give this frozen as a gift. What stage would you recommend? Freezing before or after baking?
Hi Ashley, we’d recommend freezing after baking. It freezes well for up to 3 months. Thaw overnight in the refrigerator and allow to come to room temperature before serving. (Feel free to warm the slices in the microwave.)
I can’t wait to try this! Are you doing pie week this year??
Yes! Pie week is next week – we can’t wait 🙂
I absolutely love this recipe. This is my first time making your butter pie crust and I was so nervous. But it seems to have turned out well. Can’t wait to taste it. Thank you!!
Hi Sally, I’m from Indonesia
I want to ask “1/4 teaspoon ground allspice” what spices are in it?
Thanks for your feedback
Hi Emil, ground allspice is actually made from the dried unripe berry from the Pimenta dioica tree. If you don’t have any, you can replace it with some of the spices already used in this recipe plus ground cloves. I recommend a pinch each of ground cinnamon, nutmeg, and cloves.
I see that you say not to use a ceramic dish, I have a porcelain baking slab, 9×13, from Made In. Does porcelain have the same issue as ceramic?
Hi Tony, I would definitely stick with metal or glass– or just use a baking sheet as pictured.
This looks amazing. I will have to try this one for sure. I loved the suggestions on various substitutes.
Perfect for our Thanksgiving table!!
Love, Love LOVE your blog!! Your baking recipes are just inspiration for me.