

Fall isn’t just for pies! These 30+ fall cake ideas feature all your favorite flavors of the season—from pumpkin cake and glazed apple Bundt cake to snickerdoodle cake and easy spice cake. Whether you prefer simple one-layer cakes or love to go all out with layered masterpieces, this list features delicious fall cake recipes for bakers of all skill levels.
Favorite Fall Cake Recipe Ideas
The fall season is here, and for many of us that means: bring on the baking! While I love this time of year for baking endless Thanksgiving pies (I have a Sally’s Pie Week celebration every year!), fall baking has so much more to offer beyond the pie dish.
Below you’ll find 30+ fall cake ideas, with links to the cake recipes that readers enjoy most this time of year. My team and I put this list together, and include many different cake varieties like sheet cakes, layer cakes, breakfast cakes, and more!
Including this spice cake:

Maybe the thought of decorating a cake sends you running for the hills, or you simply don’t have the time. I get it! This easy apple cake has quickly become a favorite. You can make it in a 9×13-inch baking pan, and it requires minimal (if any!) decorating.
Or bust out your 9×5-inch loaf pan for marble loaf cake or carrot cake loaf. Easy to slice and serve!
Cake for breakfast? Let’s do it. This pumpkin coffee cake is wonderfully moist and absolutely packed with pumpkin spice flavors. Not a fan of pumpkin? Classic coffee cake will still give you all the fall feels, with its warm cinnamon and vanilla flavors.

Make a Smaller 6-inch Cake
Did you know that almost any cupcake recipe that yields between 12 and 15 cupcakes converts perfectly to a 3-layer 6-inch cake? That’s almost all of my cupcake recipes. If you need a smaller cake for an intimate gathering—or even if you just want to practice with your cake baking and decorating tools—consider a 6-inch cake. My recipes for apple spice cupcakes and pumpkin cupcakes are two favorites this time of year. Follow these instructions for making 6-inch cakes.
Question: Is fall your favorite season for dessert recipes? What fall flavors do you most look forward to?
30+ Fall Cake Recipes
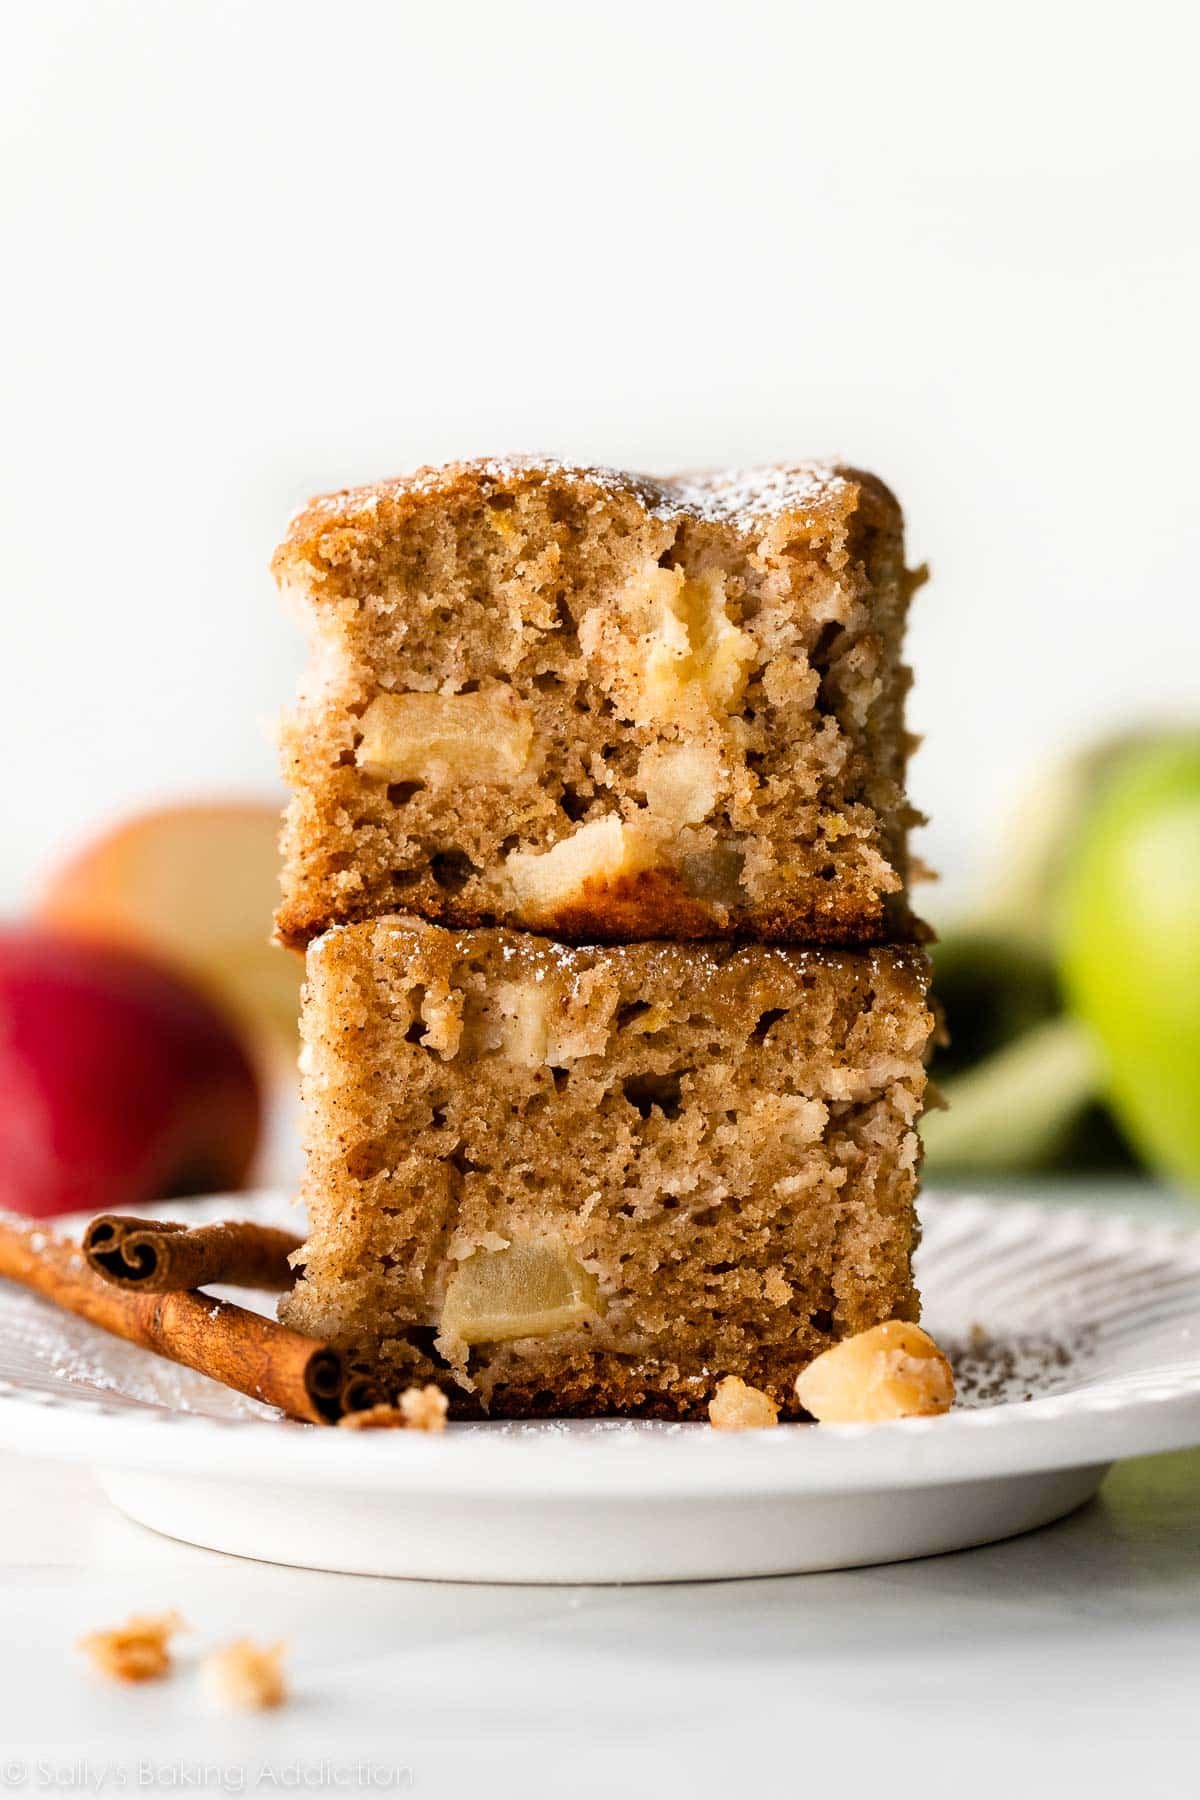
Fresh Apple Cake
Soft and tender with a stick-to-your-fork moist crumb and juicy apples in every bite, this easy apple cake is delicious plain, topped with buttery brown sugar glaze, or even a quick dusting of confectioners’ sugar.
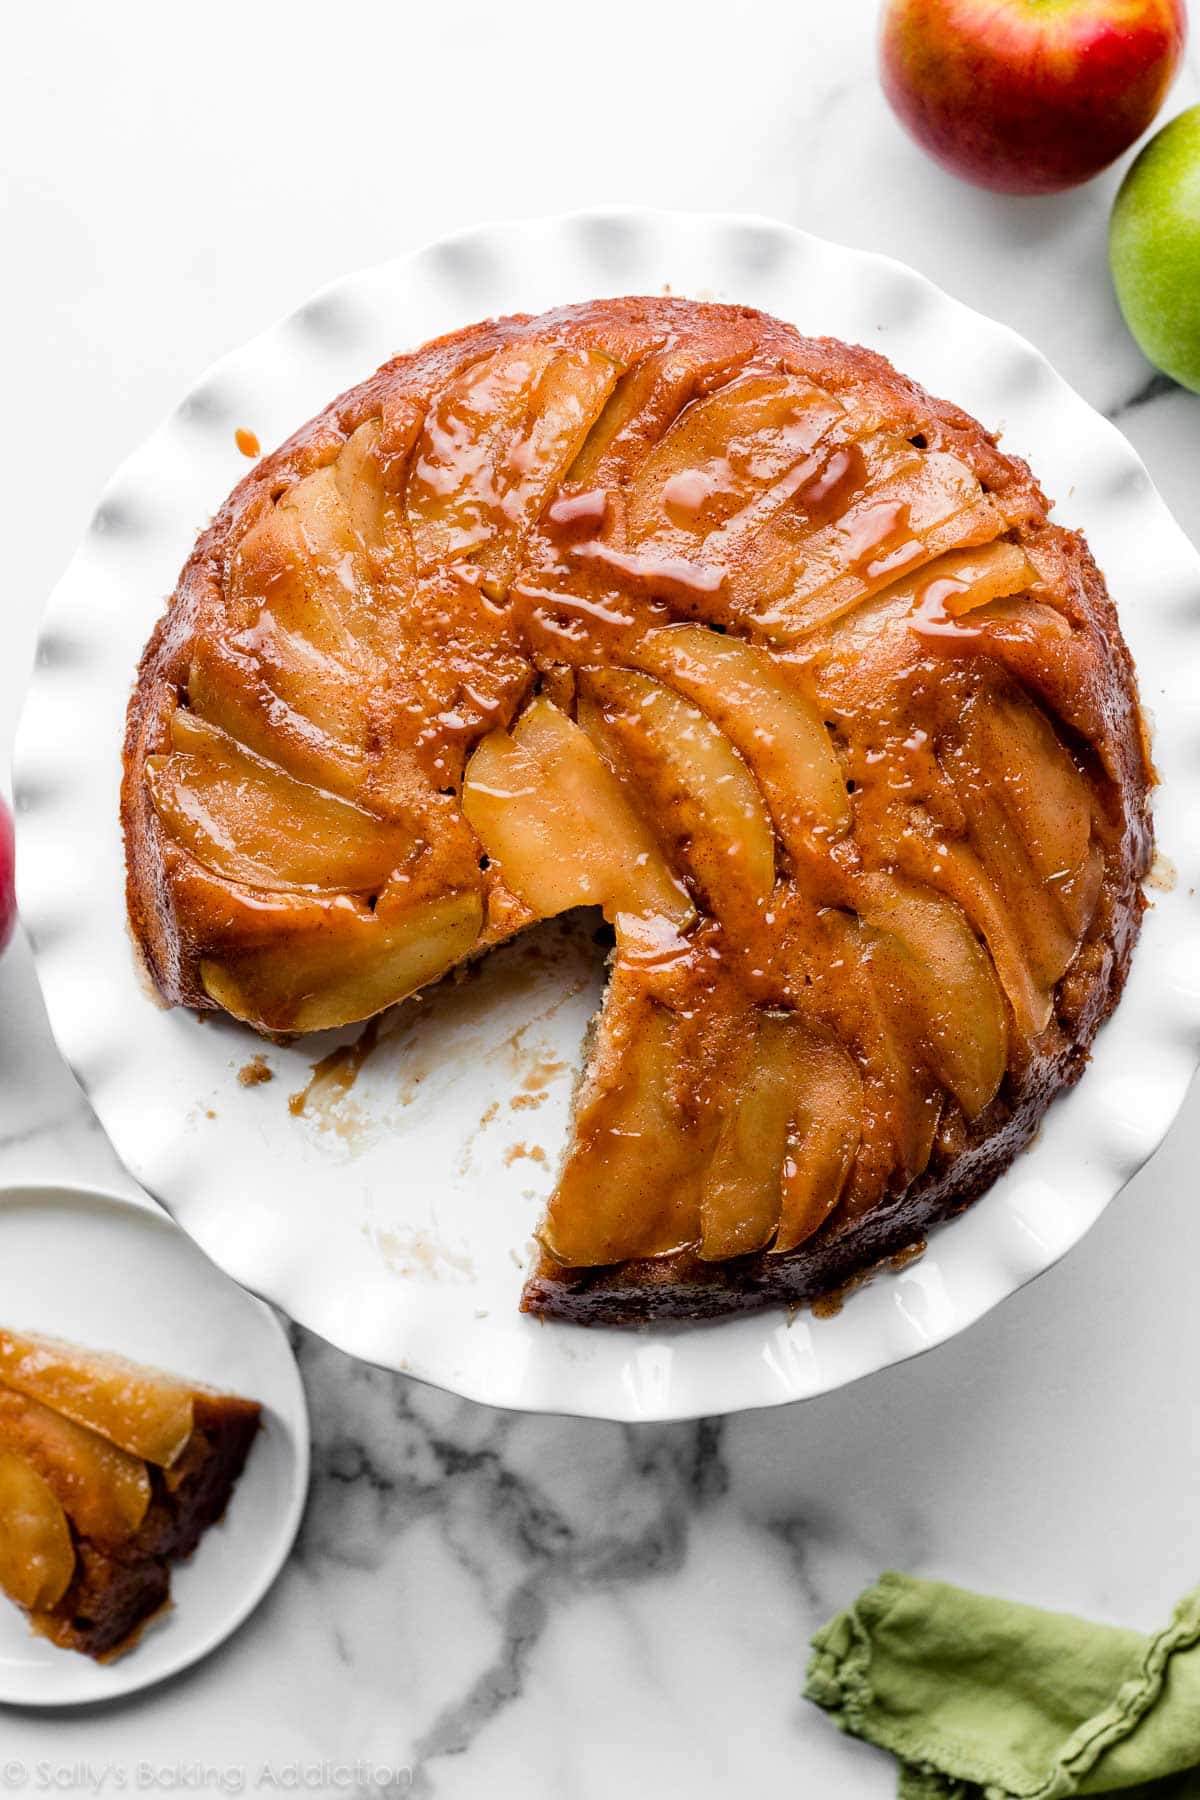
Caramel Apple Upside Down Cake
This fall favorite combines a soft cinnamon-spiced cake with buttery caramelized apples. No fancy decoration required—the lovely garnish is literally baked into the cake!
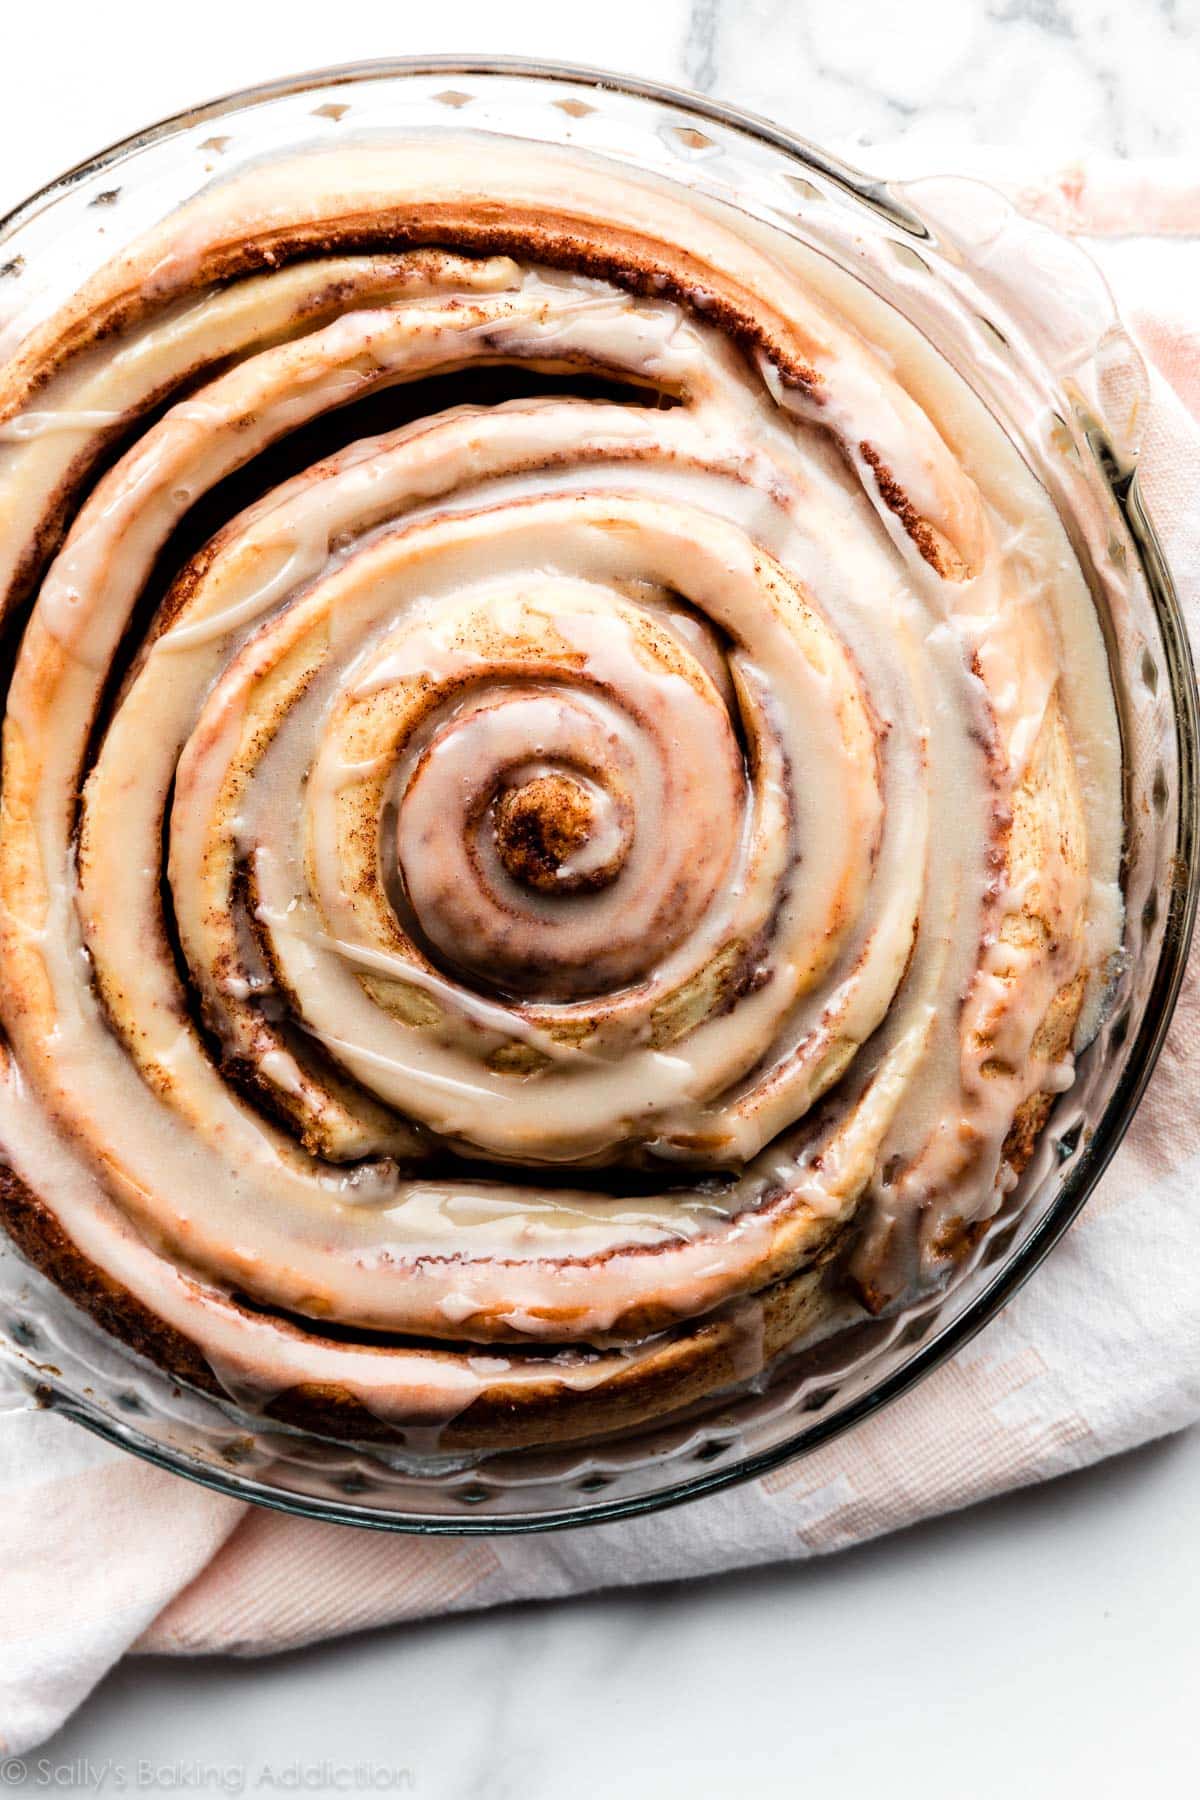
Giant Cinnamon Roll Cake
You’ll find yourself making this 7-ingredient giant cinnamon roll cake time and again. It’s fun to make and even more fun to eat—for bakers of all ages!
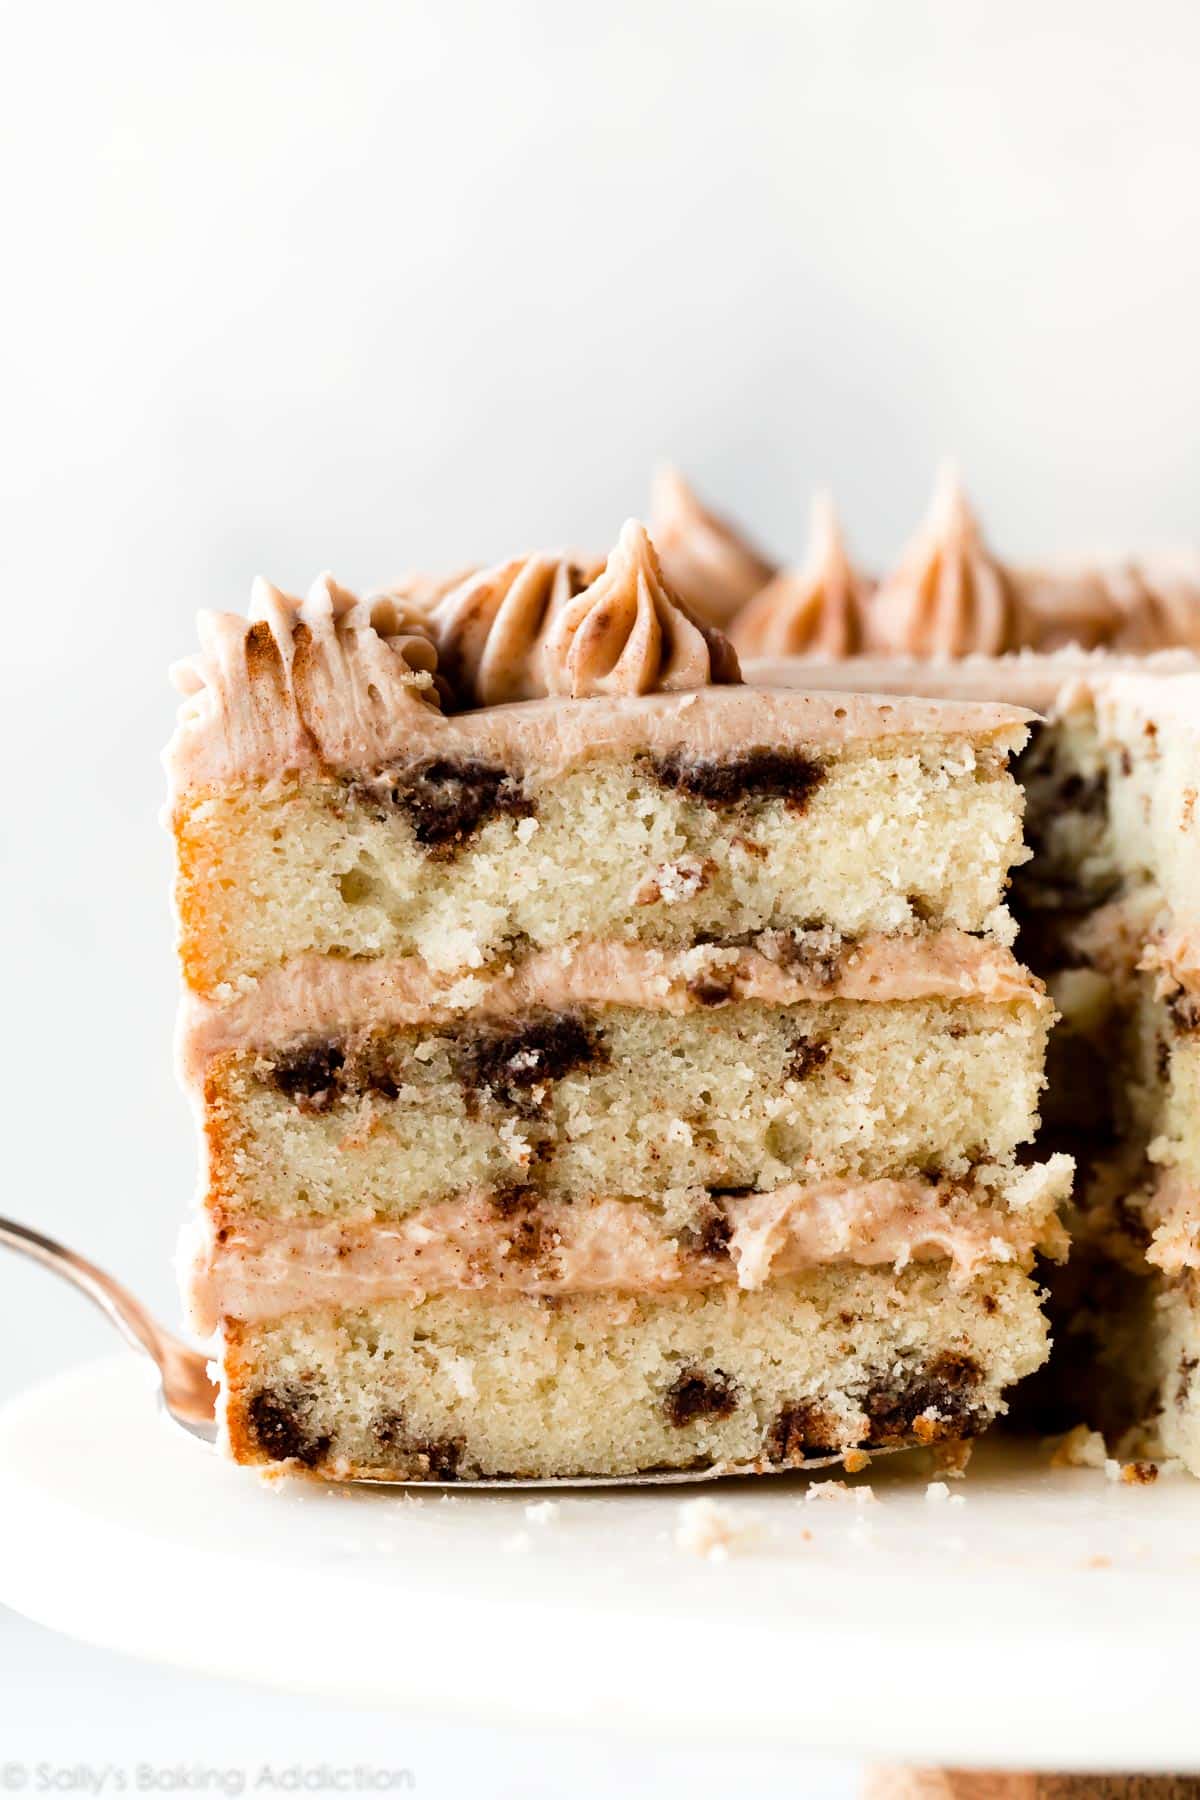
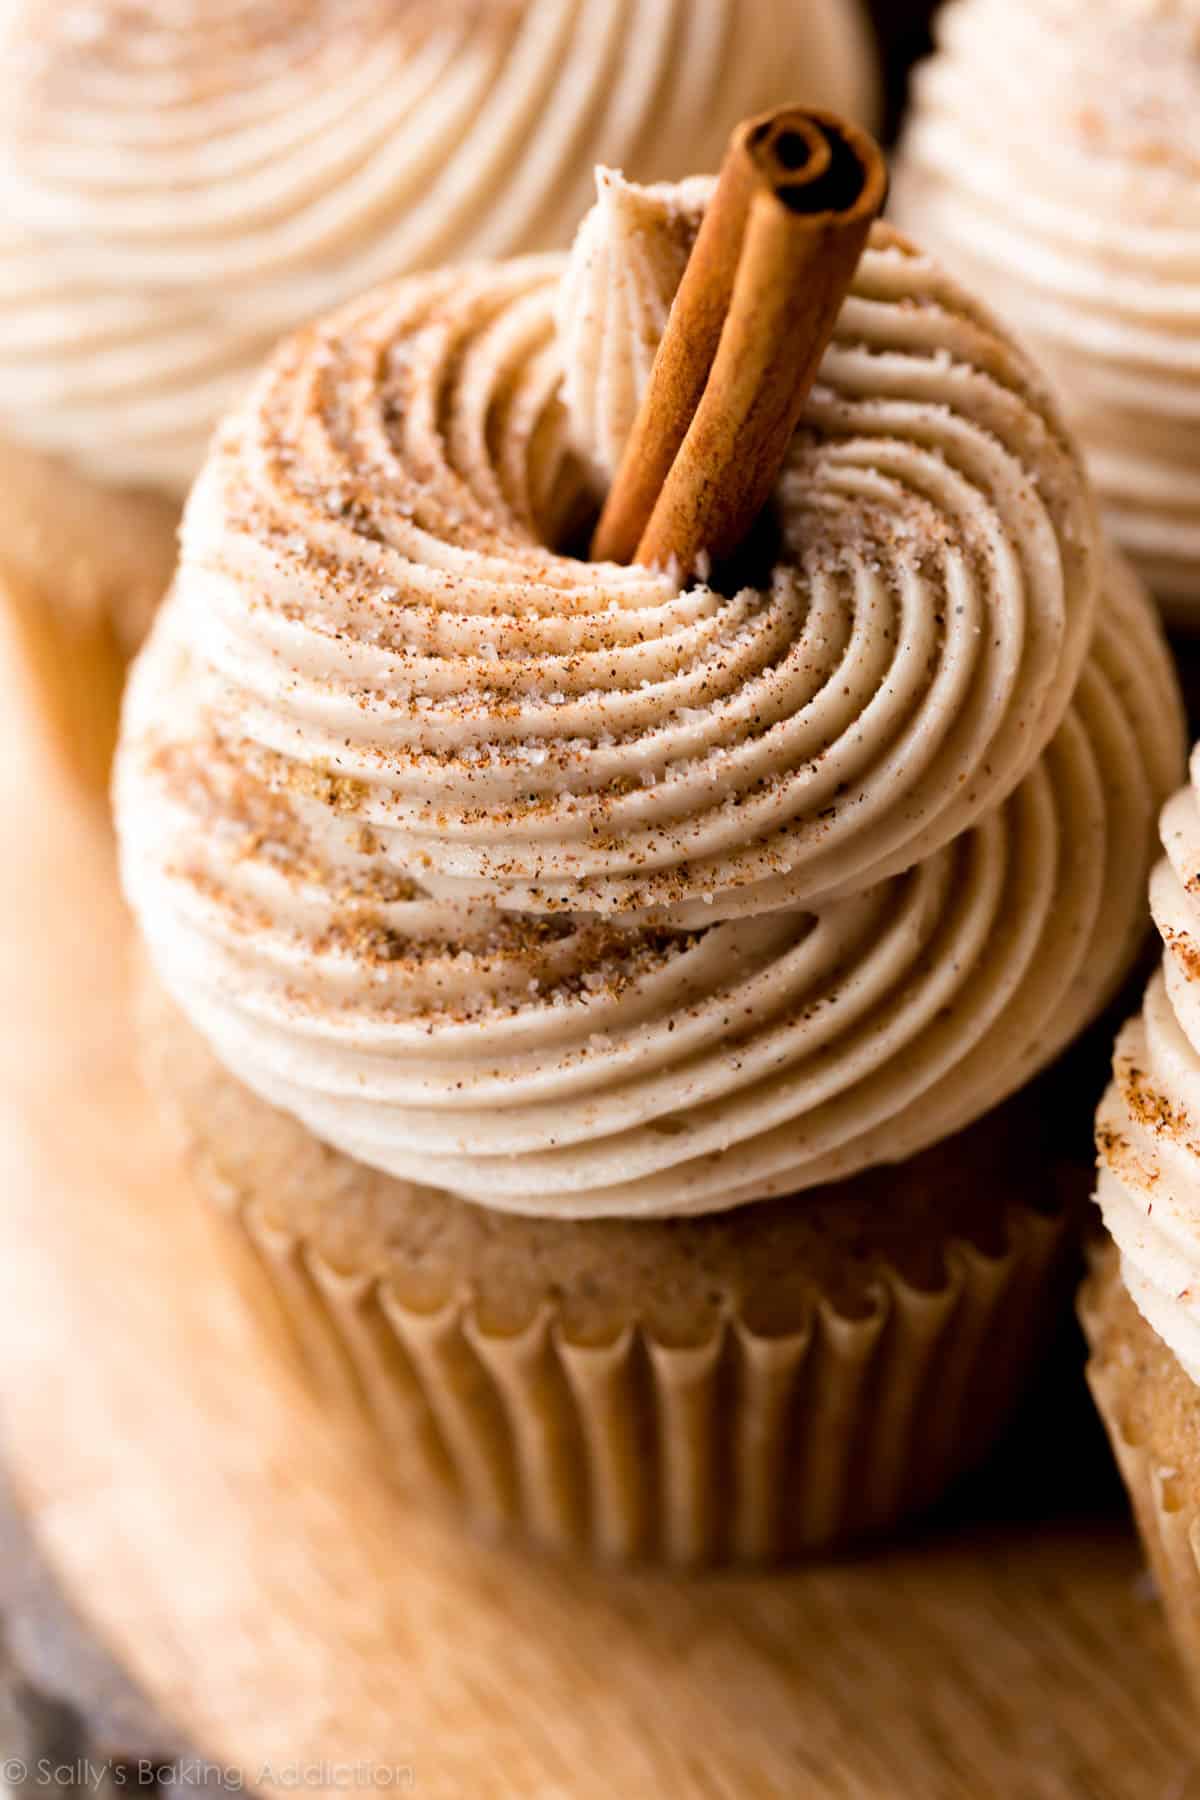
Snickerdoodle Cake
This mouthwatering snickerdoodle cake is filled with buttery cinnamon swirls and topped with creamy brown sugar cinnamon buttercream frosting. Everyone always raves about this one!
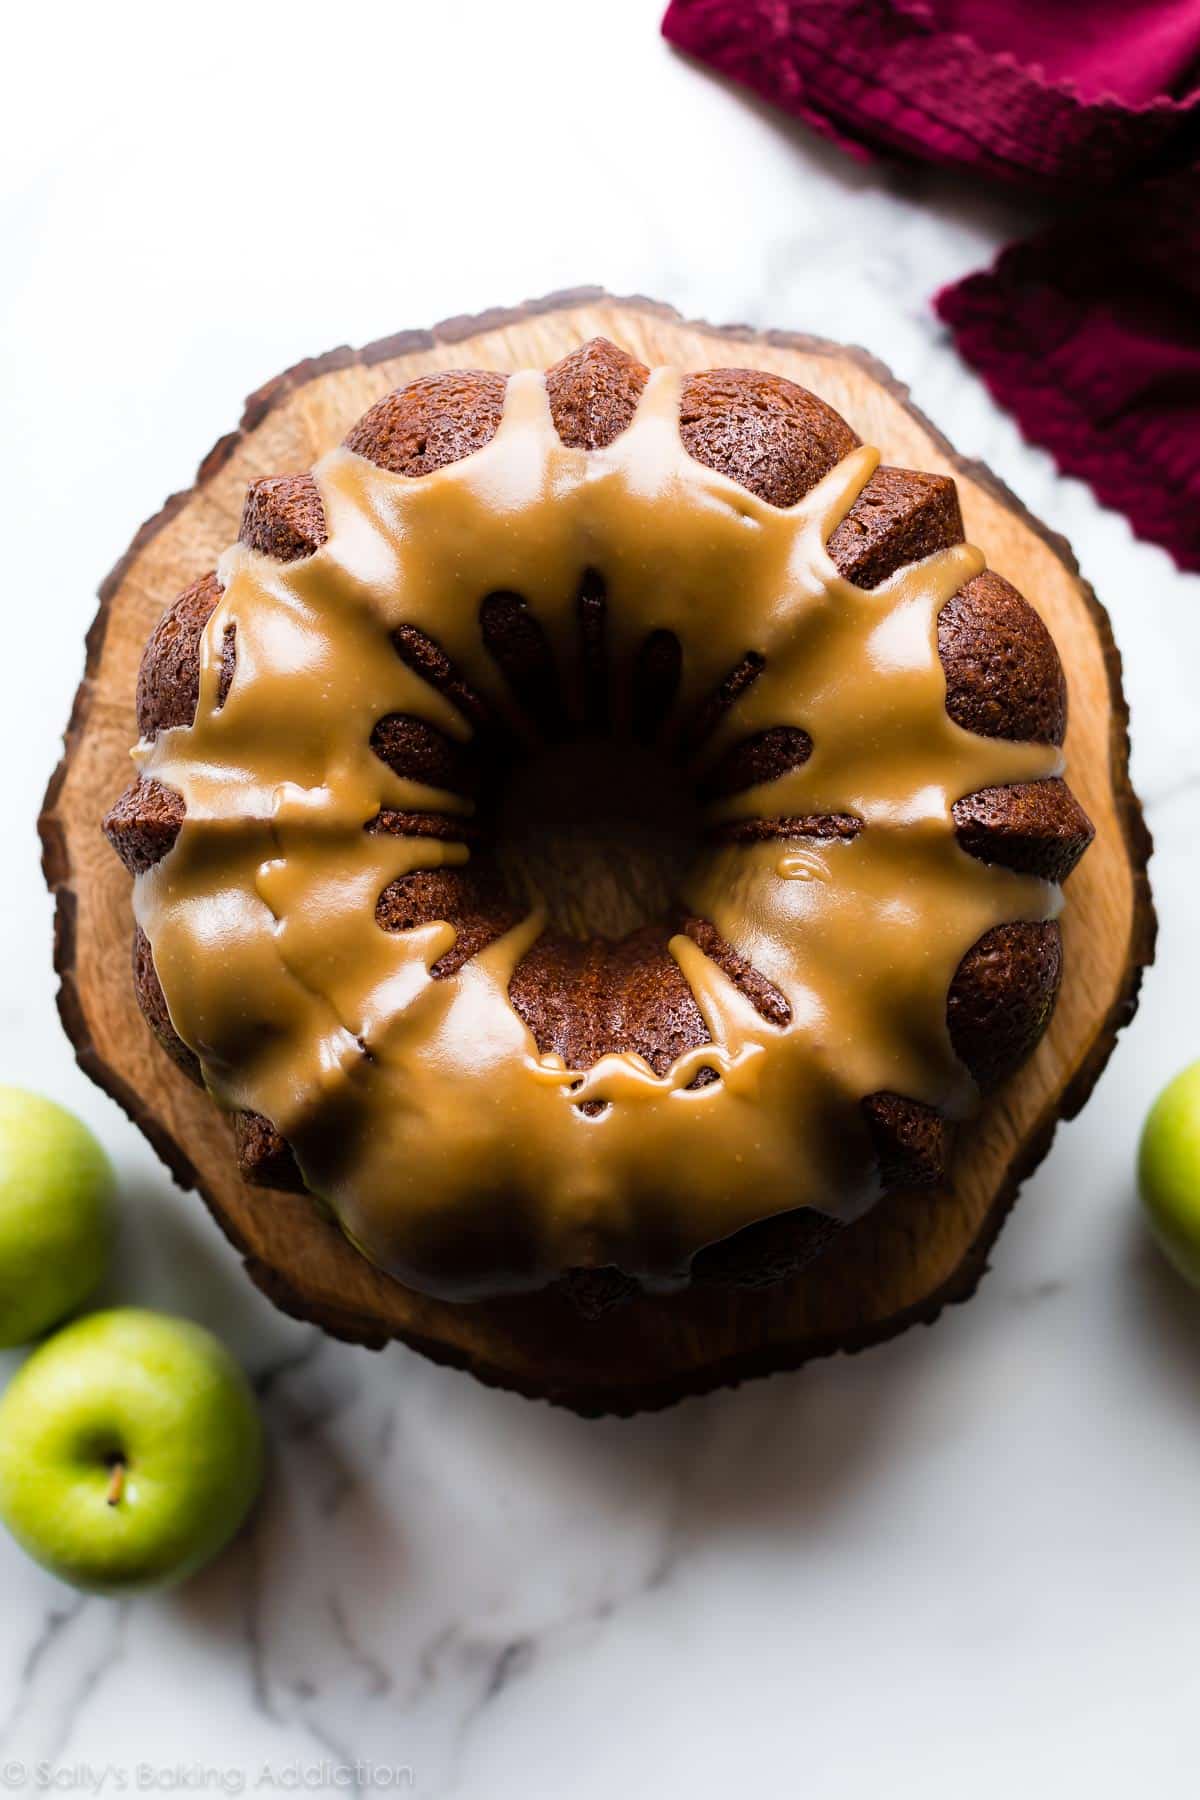
Glazed Apple Bundt Cake
This tender and moist homemade apple Bundt cake is packed with apples and smothered in a buttery brown sugar glaze. Just wait until you smell it baking!
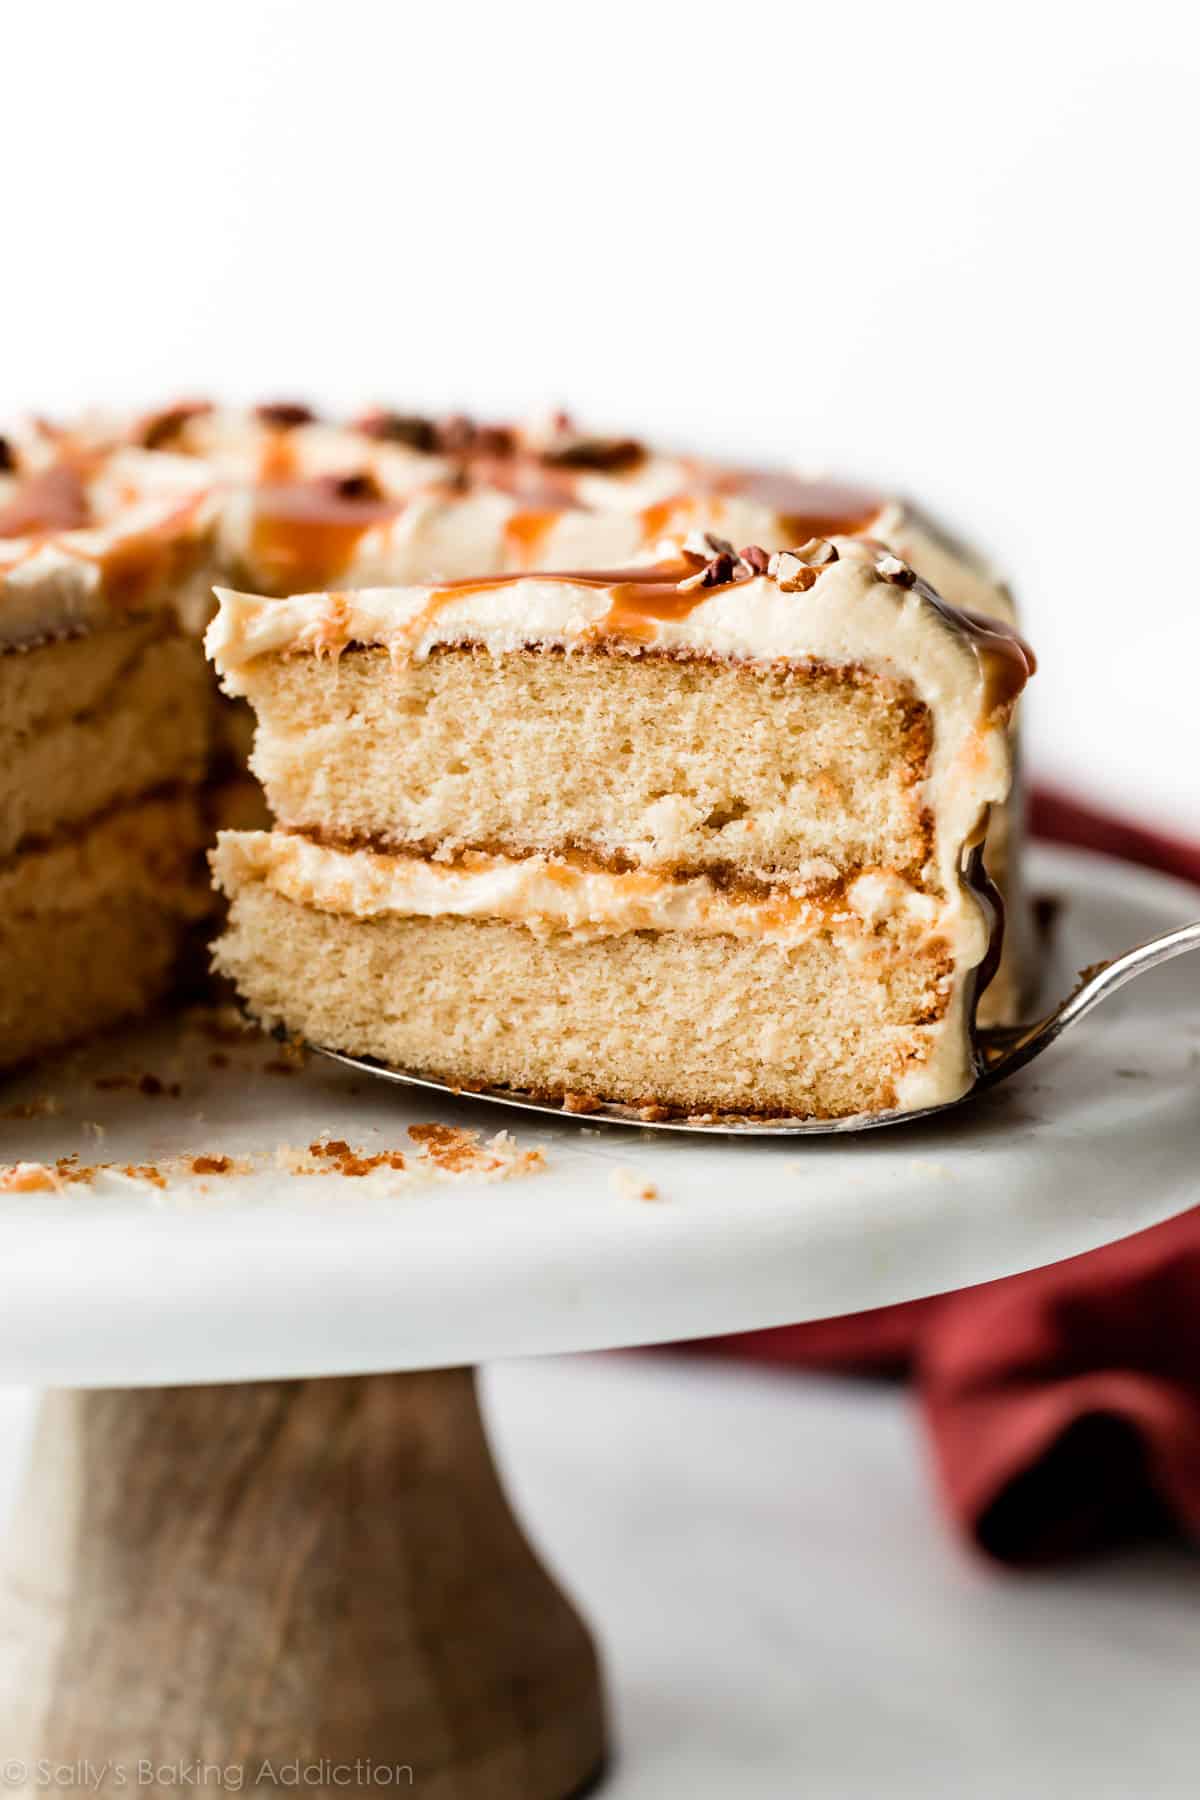
Burnt Sugar Caramel Cake
Burnt sugar caramel cake gets its flavor from burnt sugar syrup that is used in both the cake and frosting, creating a truly unique fall flavor. Every bite is soft, buttery, and pure bliss.

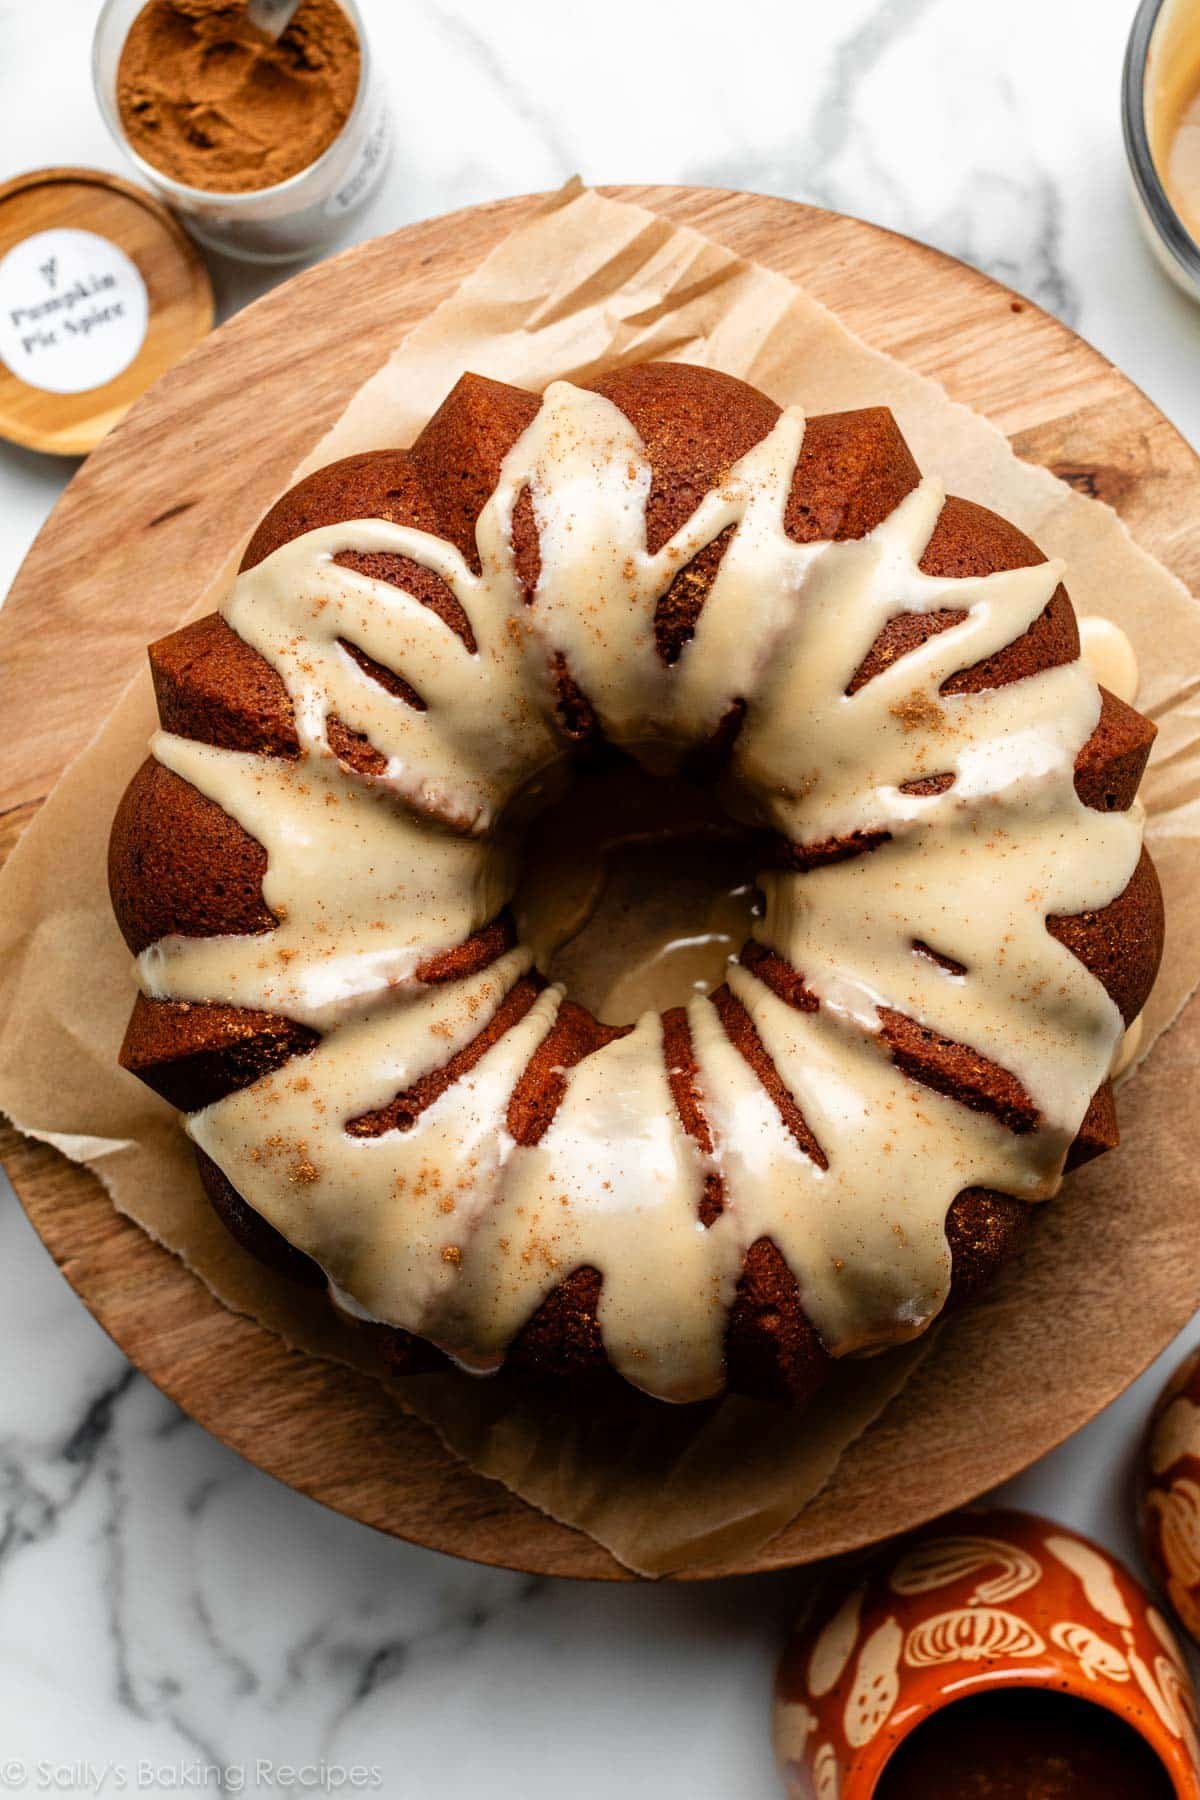
Pumpkin Cream Cheese Bundt Cake
Everything you love about pumpkin cake plus a decadent cream cheese layer hiding inside. Simple to prepare and perfectly spiced, this fall cake always impresses a crowd.

Chai Spiced Cinnamon Swirl Bundt Cake
This chai spiced cinnamon swirl Bundt cake is deliciously moist, soft, and buttery—and perfect for brunch, dessert, or with your afternoon cup of coffee!
The Best Pumpkin Cake I’ve Ever Had
Having a go-to pumpkin cake recipe is just as important as having a classic pumpkin pie recipe. This one is supremely moist, soft, rich, and packed with pumpkin spice flavor.
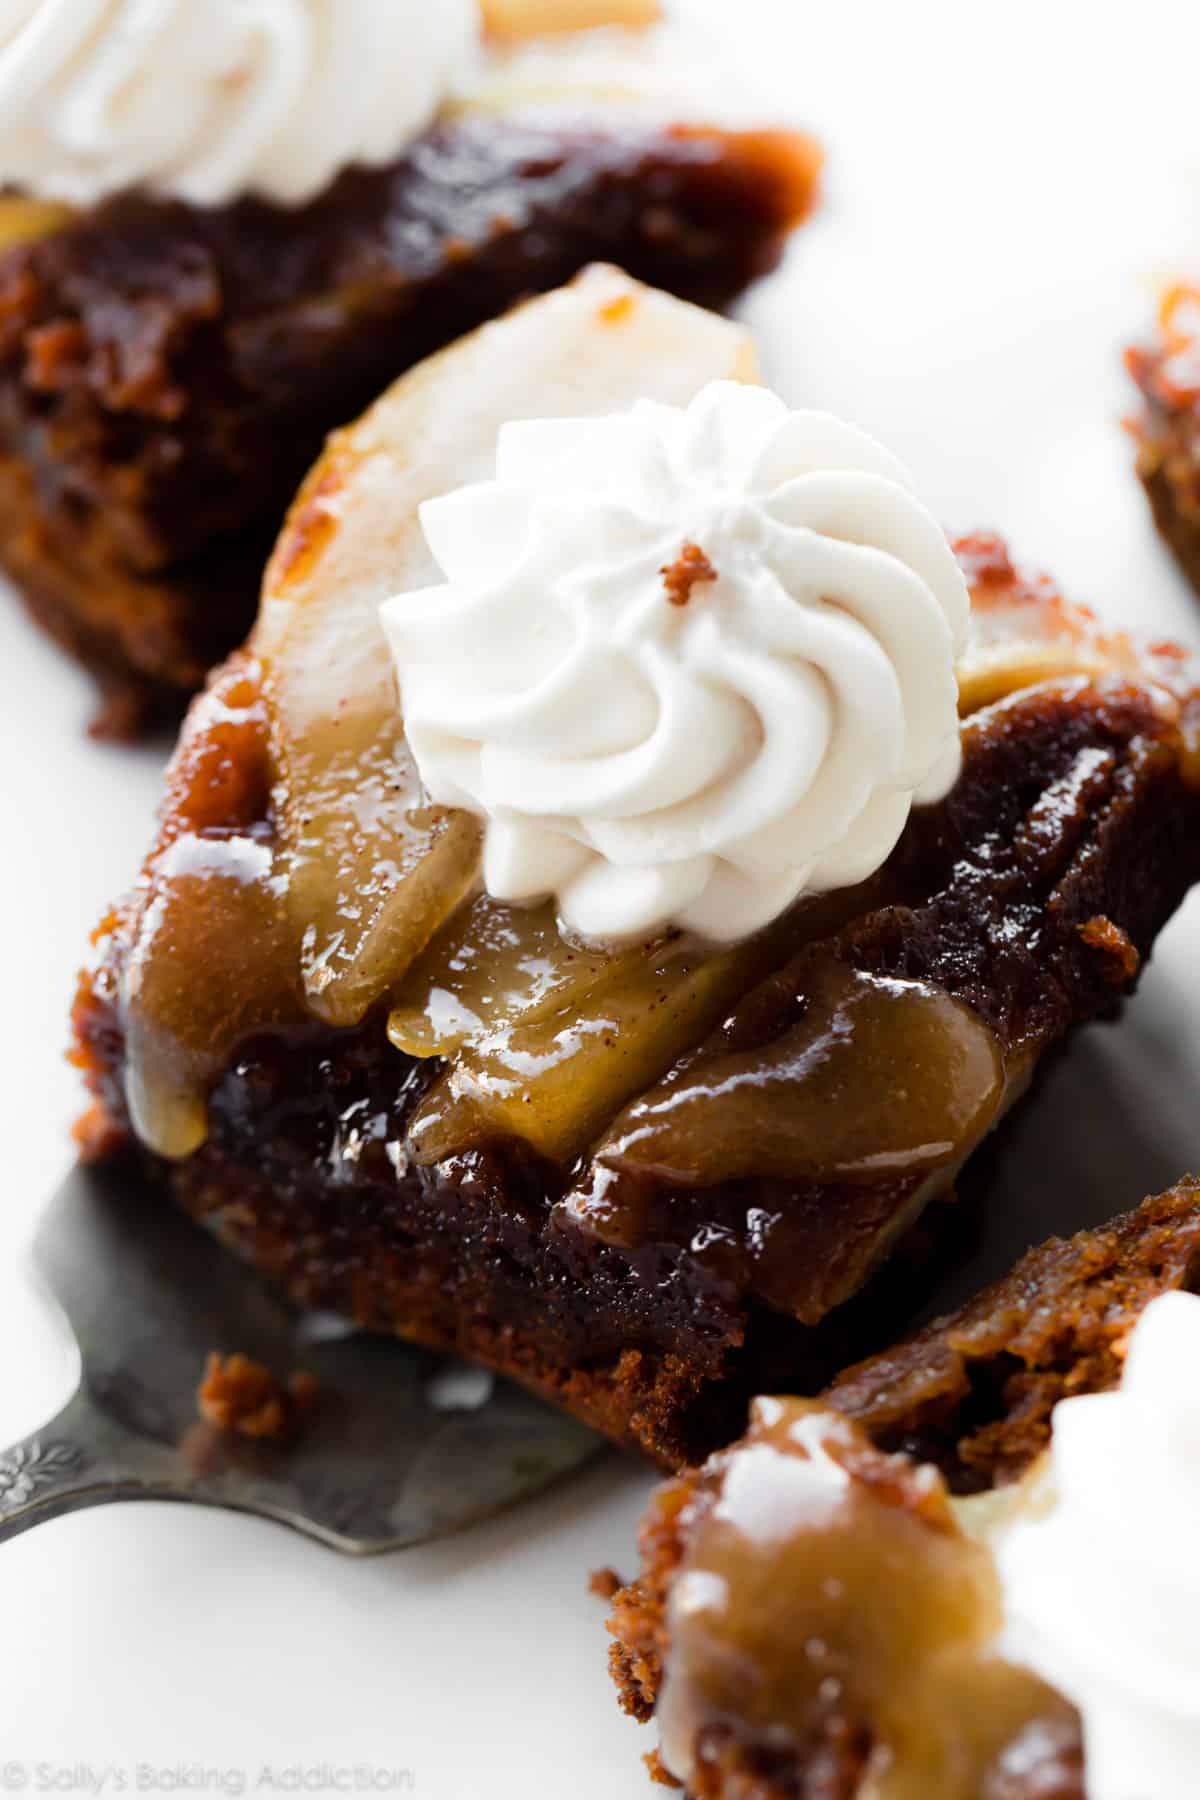
Upside Down Pear Gingerbread Cake
Gingerbread isn’t just for the holidays. This boldly spiced gingerbread cake with buttery brown sugar-soaked pears is a welcome addition to any fall dessert lineup!
Pumpkin Bundt Cake
This is my go-to pumpkin Bundt cake recipe because it’s incredibly moist, perfectly spiced, and is delicious topped with salted caramel or maple icing. Readers LOVE this one.

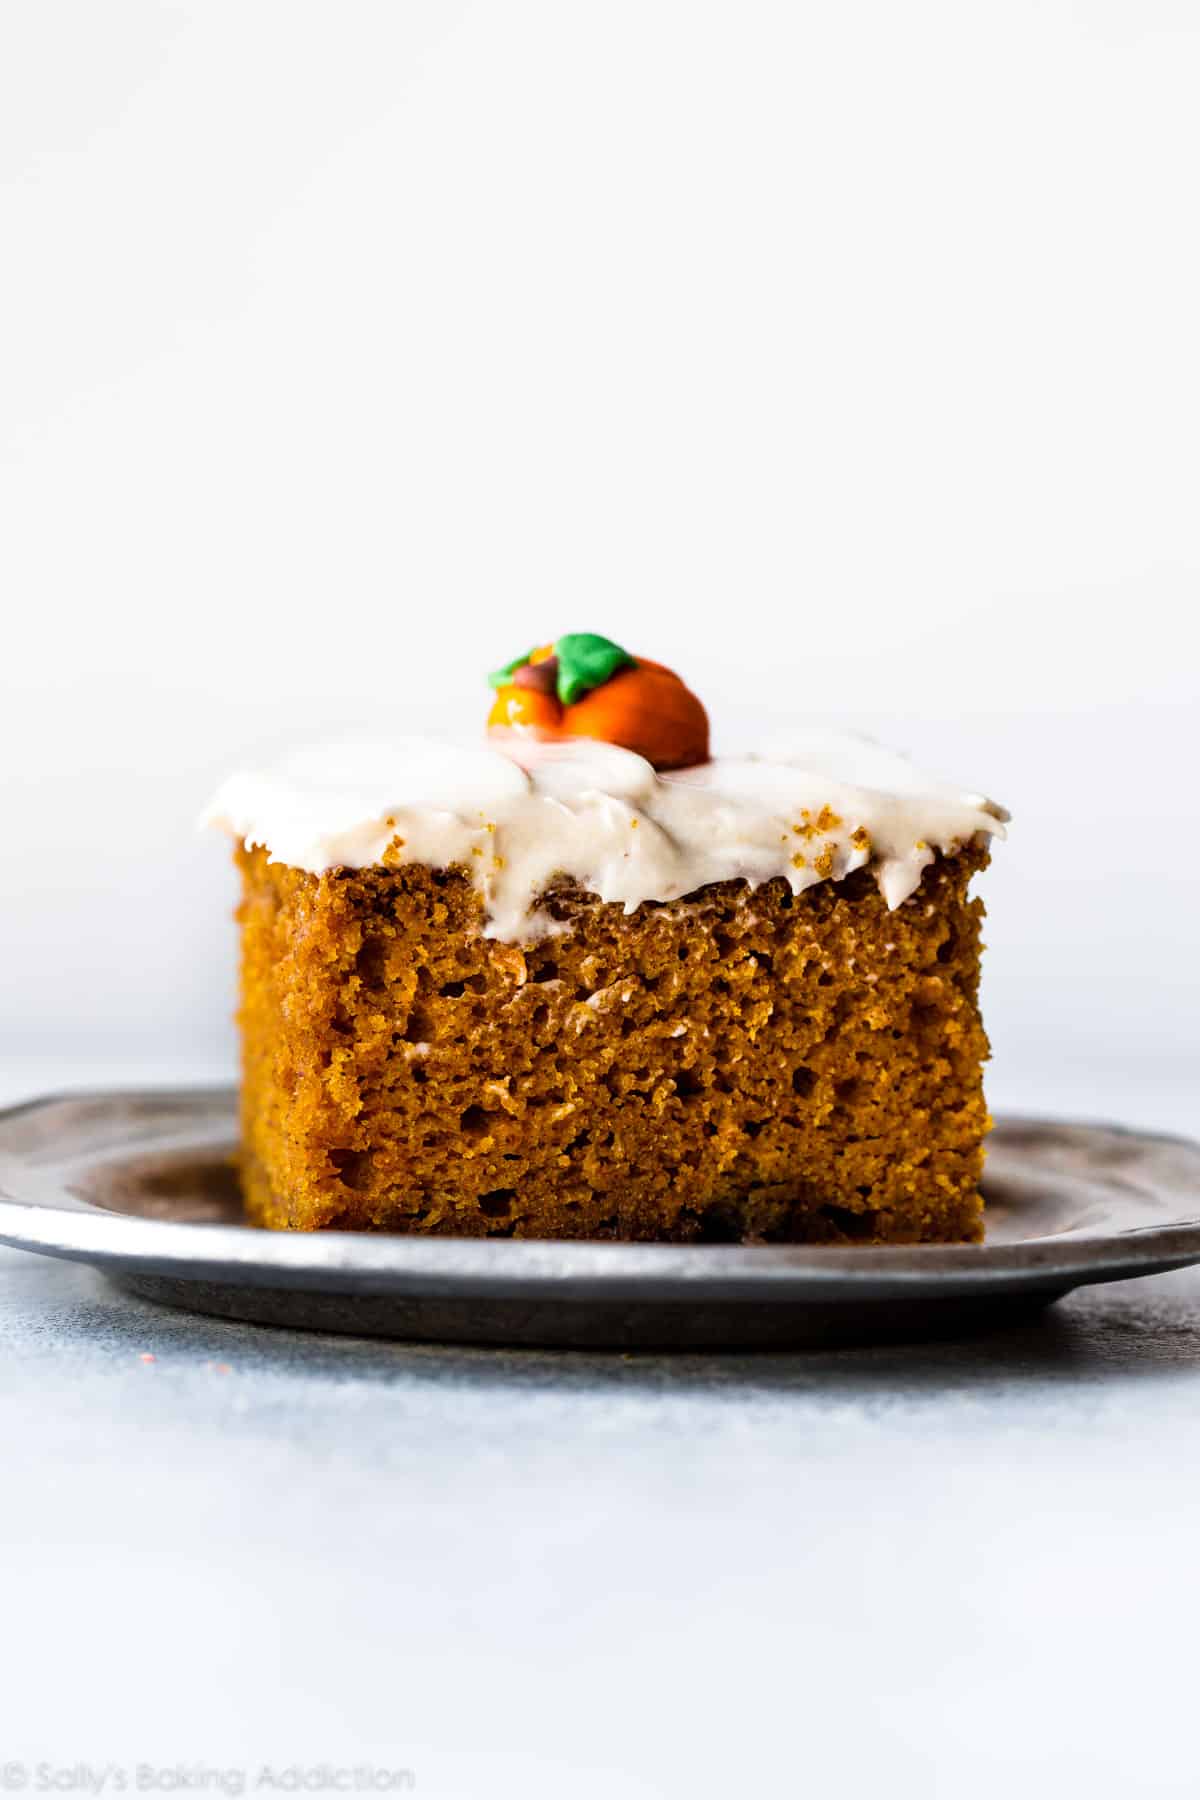
Super Moist Spice Cake
My homemade spice cake is brimming with fall flavor, topped with a luscious cream cheese frosting, and incredibly simple to prepare in a basic 9×13-inch baking pan.
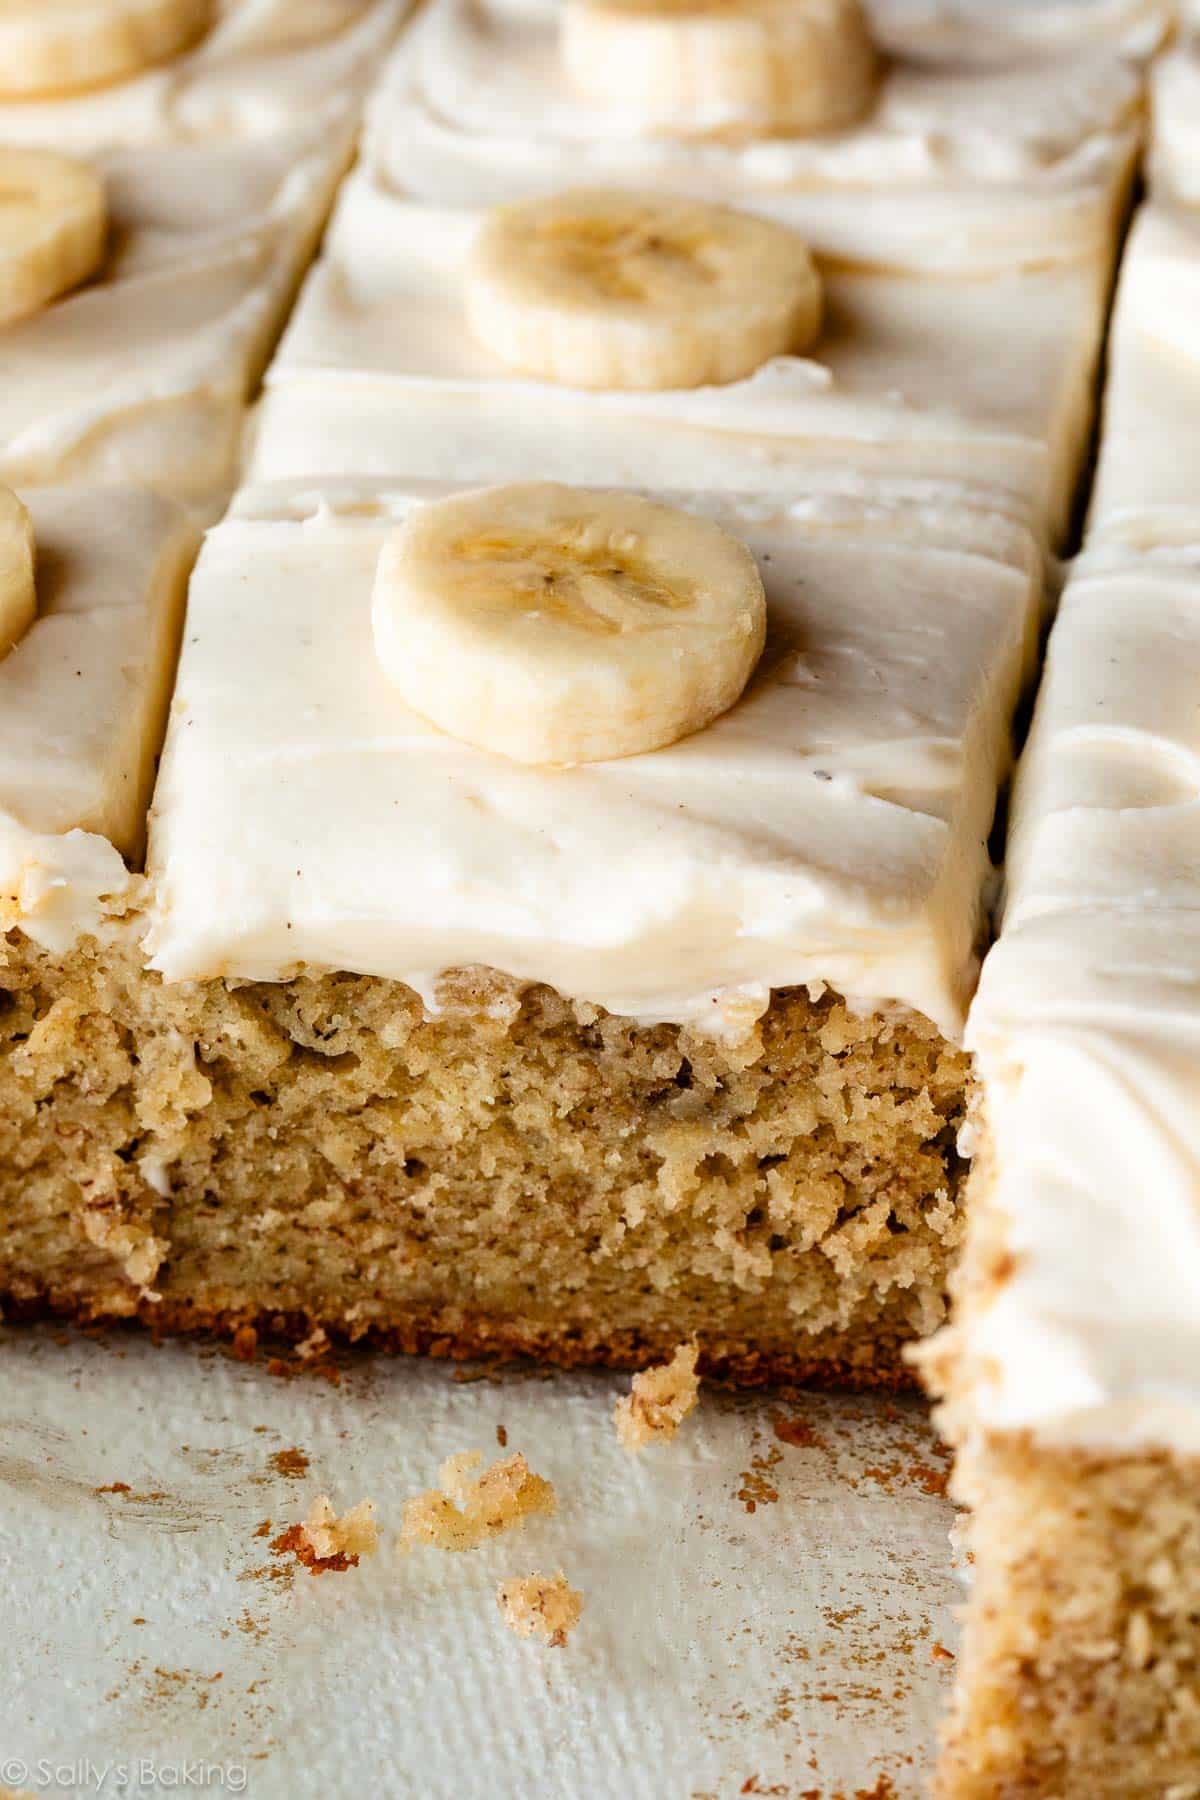
The Best Banana Cake I’ve Ever Had
Boasting tons of banana, brown sugar, and cinnamon flavor, each piece of my best-ever banana cake is complemented with a smooth layer of cream cheese frosting.
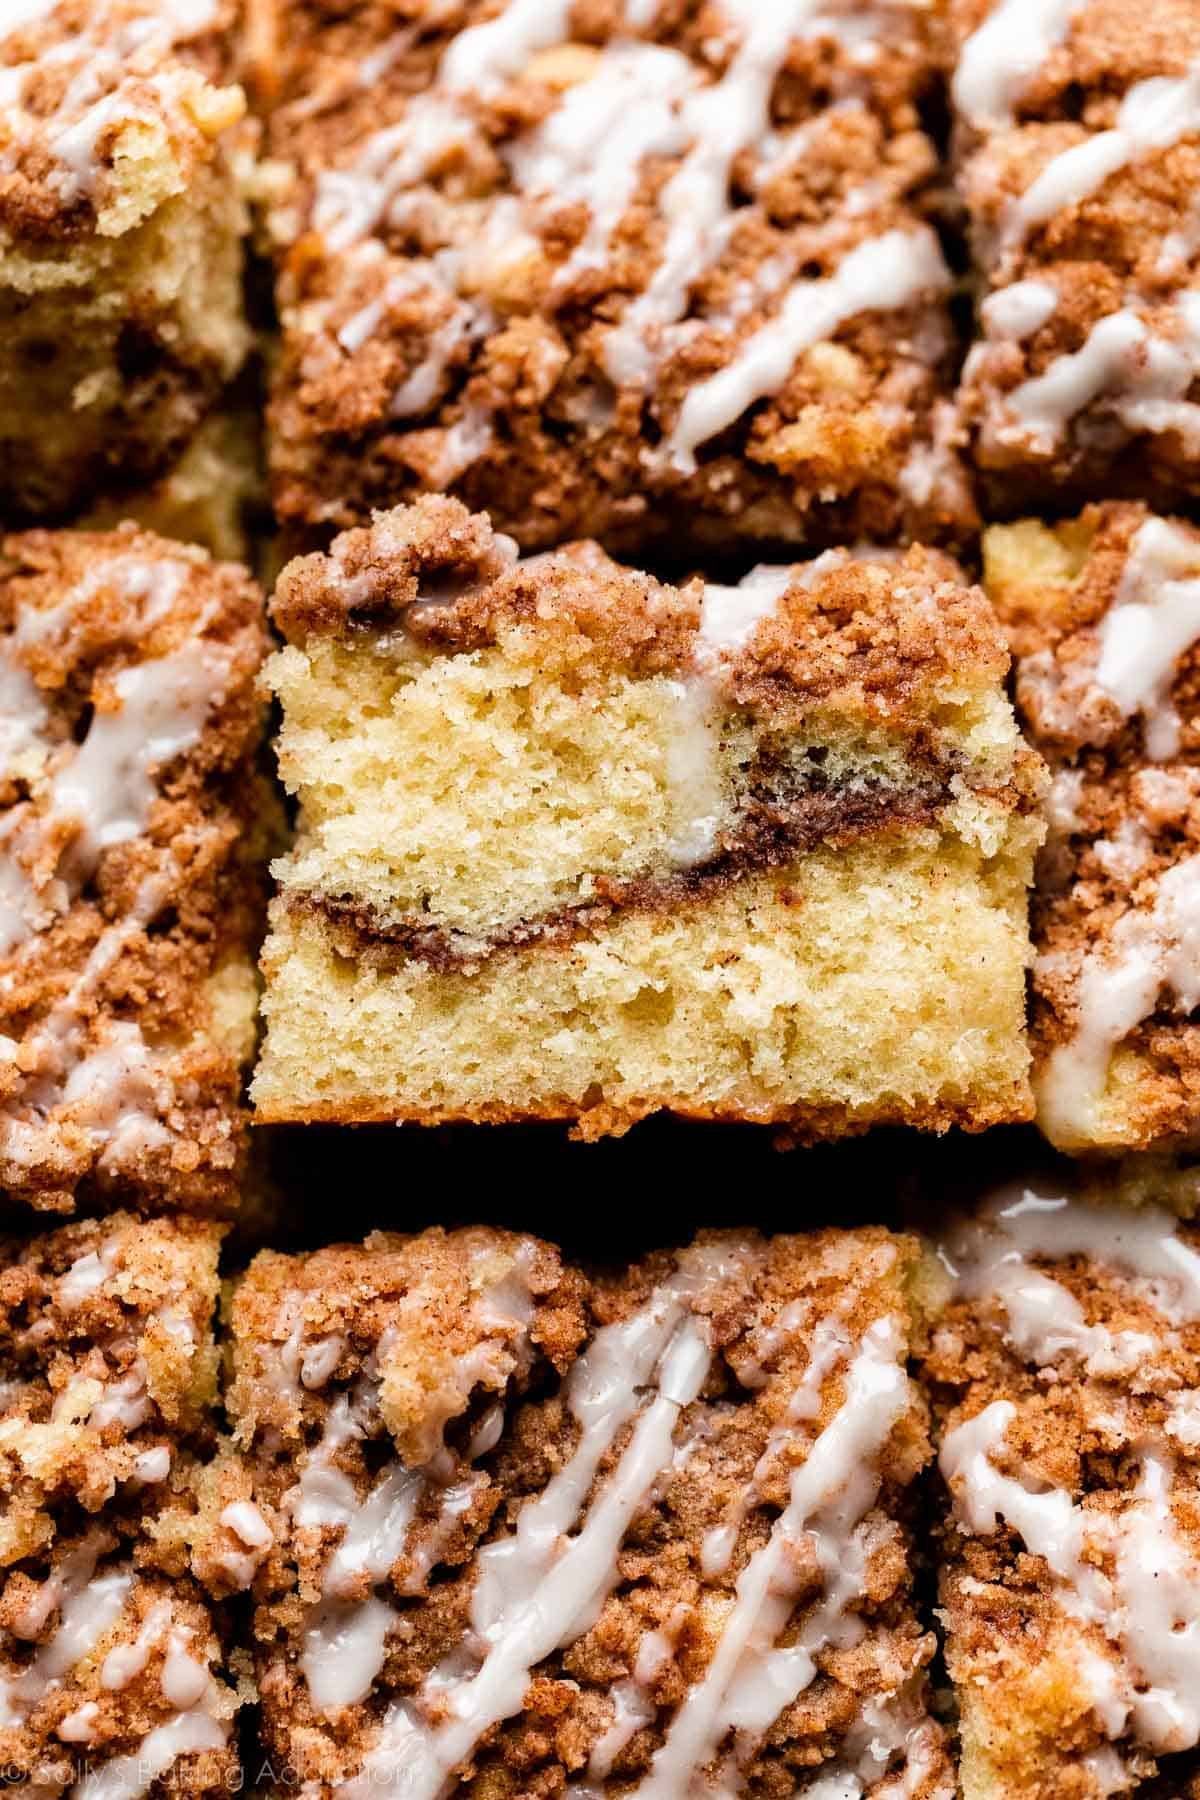
Sour Cream Coffee Cake with Crumb Topping
Simple and classic, this buttery sour cream coffee cake is an exceptional way to kick off any day. It has double—yes, double—the brown sugar cinnamon crumb streusel!
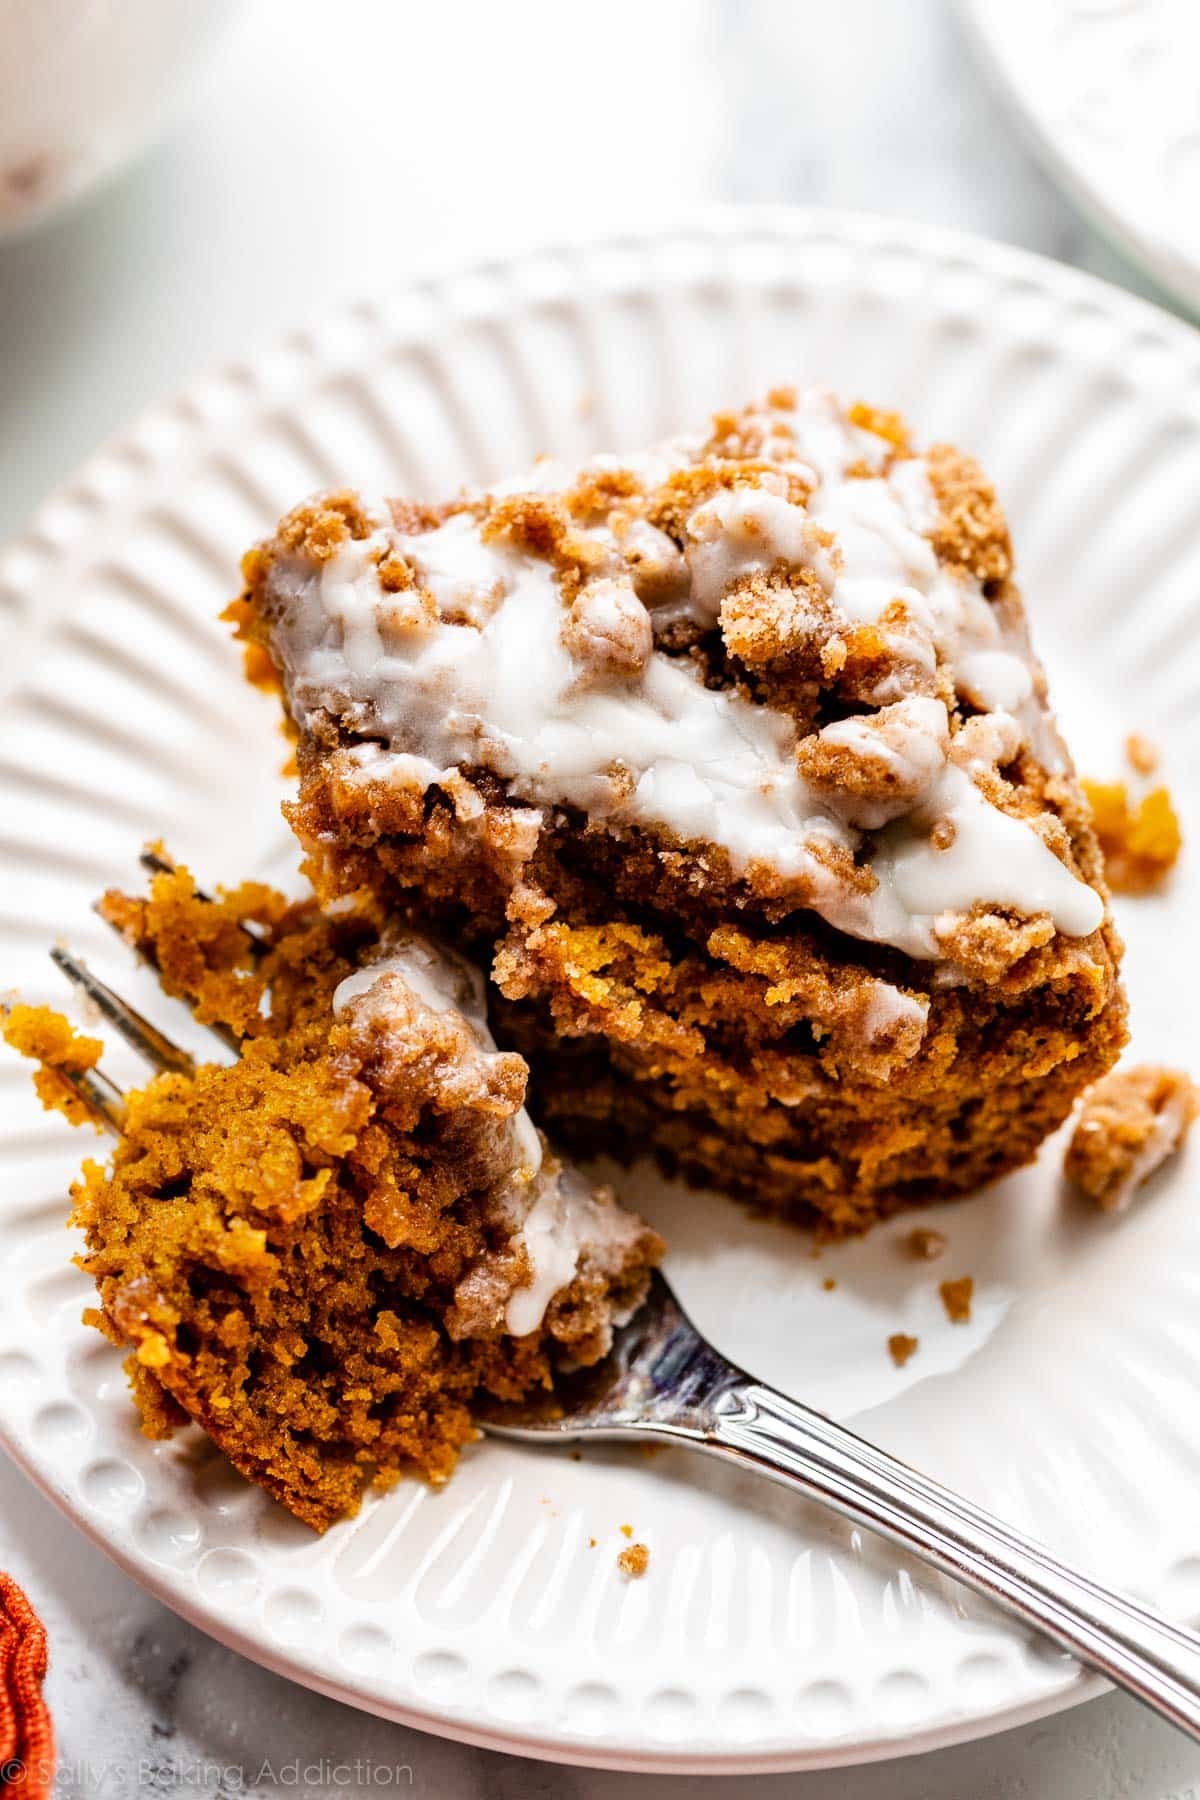
Pumpkin Coffee Cake with Crumb Topping
A fall take on a classic coffee cake! A treat welcome at brunch or after dinner, this moist pumpkin crumb cake always gets rave reviews.

Apple Crumb Cake
This is delicious New York-style crumb cake with warm cinnamon apples and double the buttery crumb topping in every bite. Grab a slice before it’s gone!
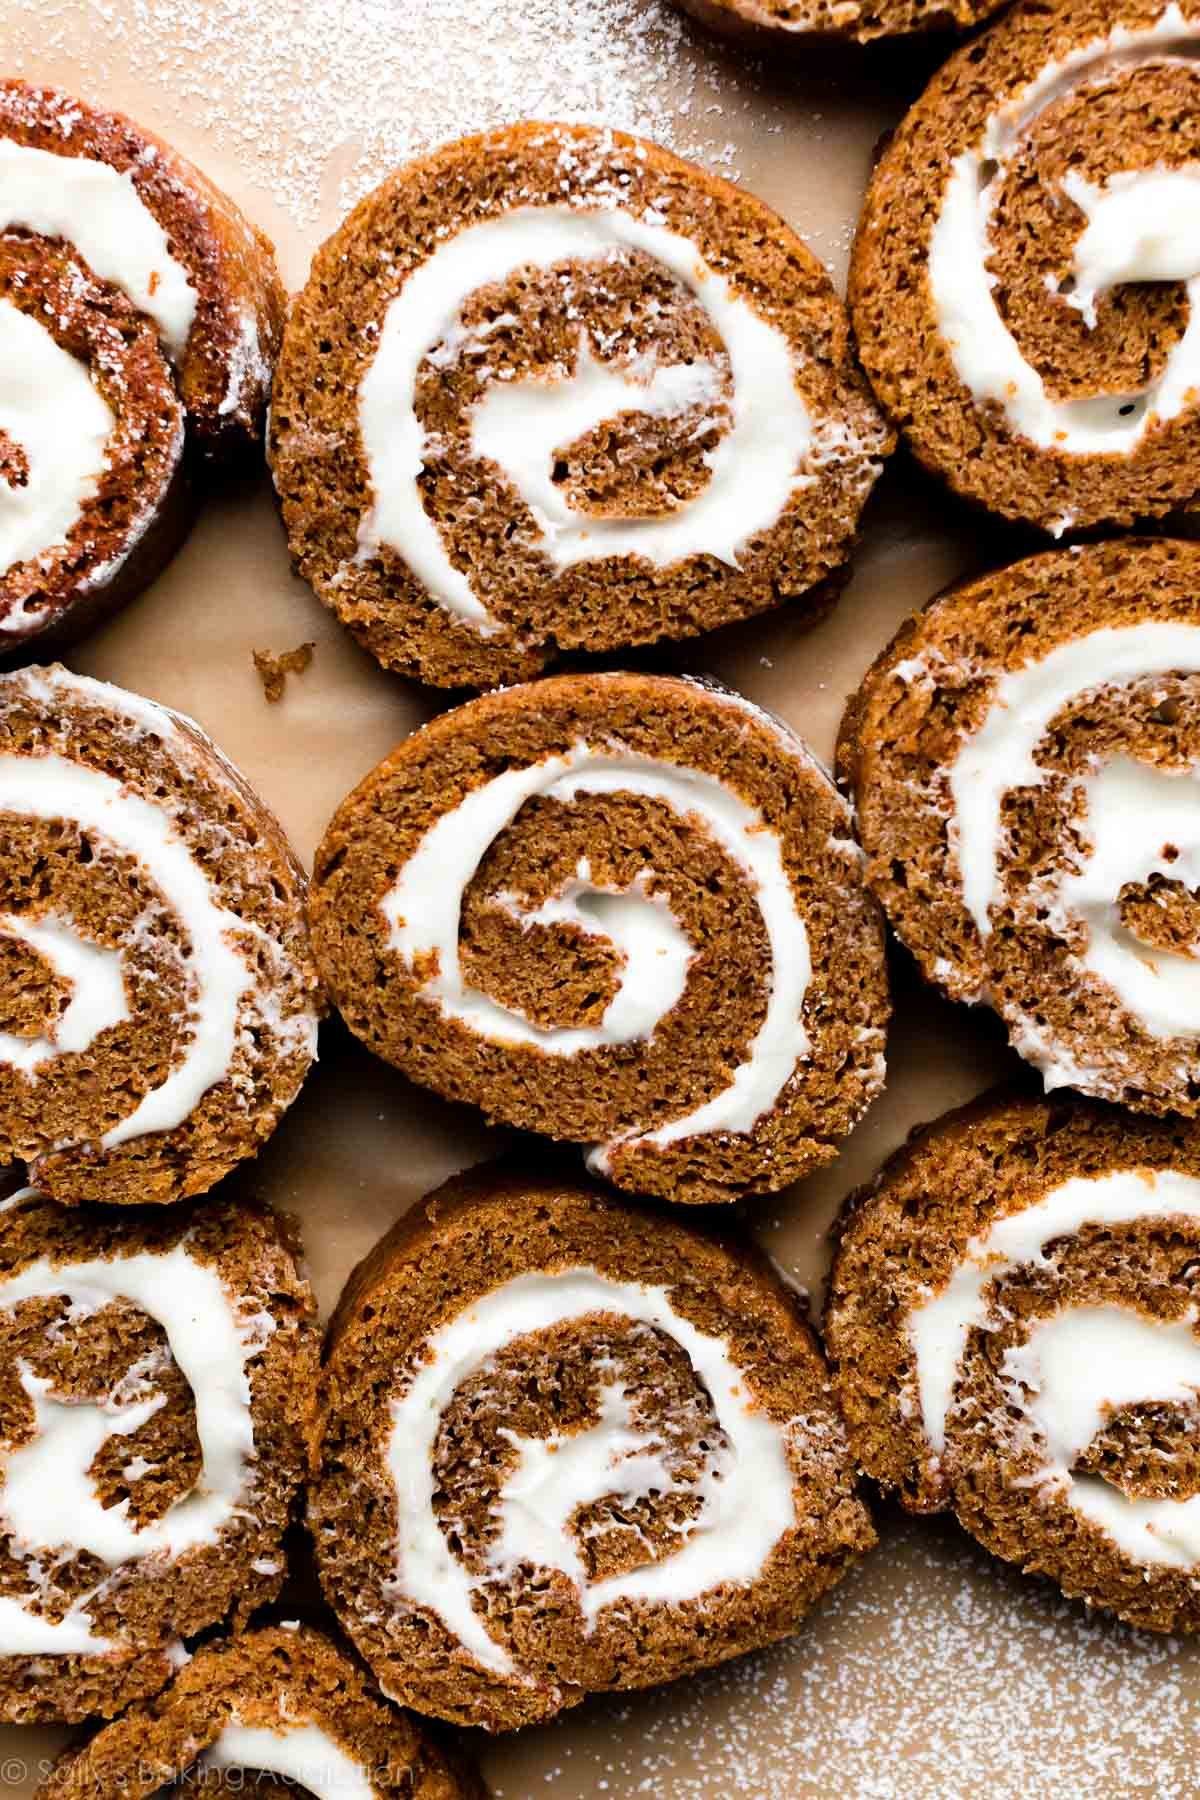
Pumpkin Roll Recipe
This homemade pumpkin roll recipe yields a spiced pumpkin cake with a thick layer of cream cheese frosting inside. My recipe includes plenty of helpful success tips to ensure pumpkin roll perfection every time!
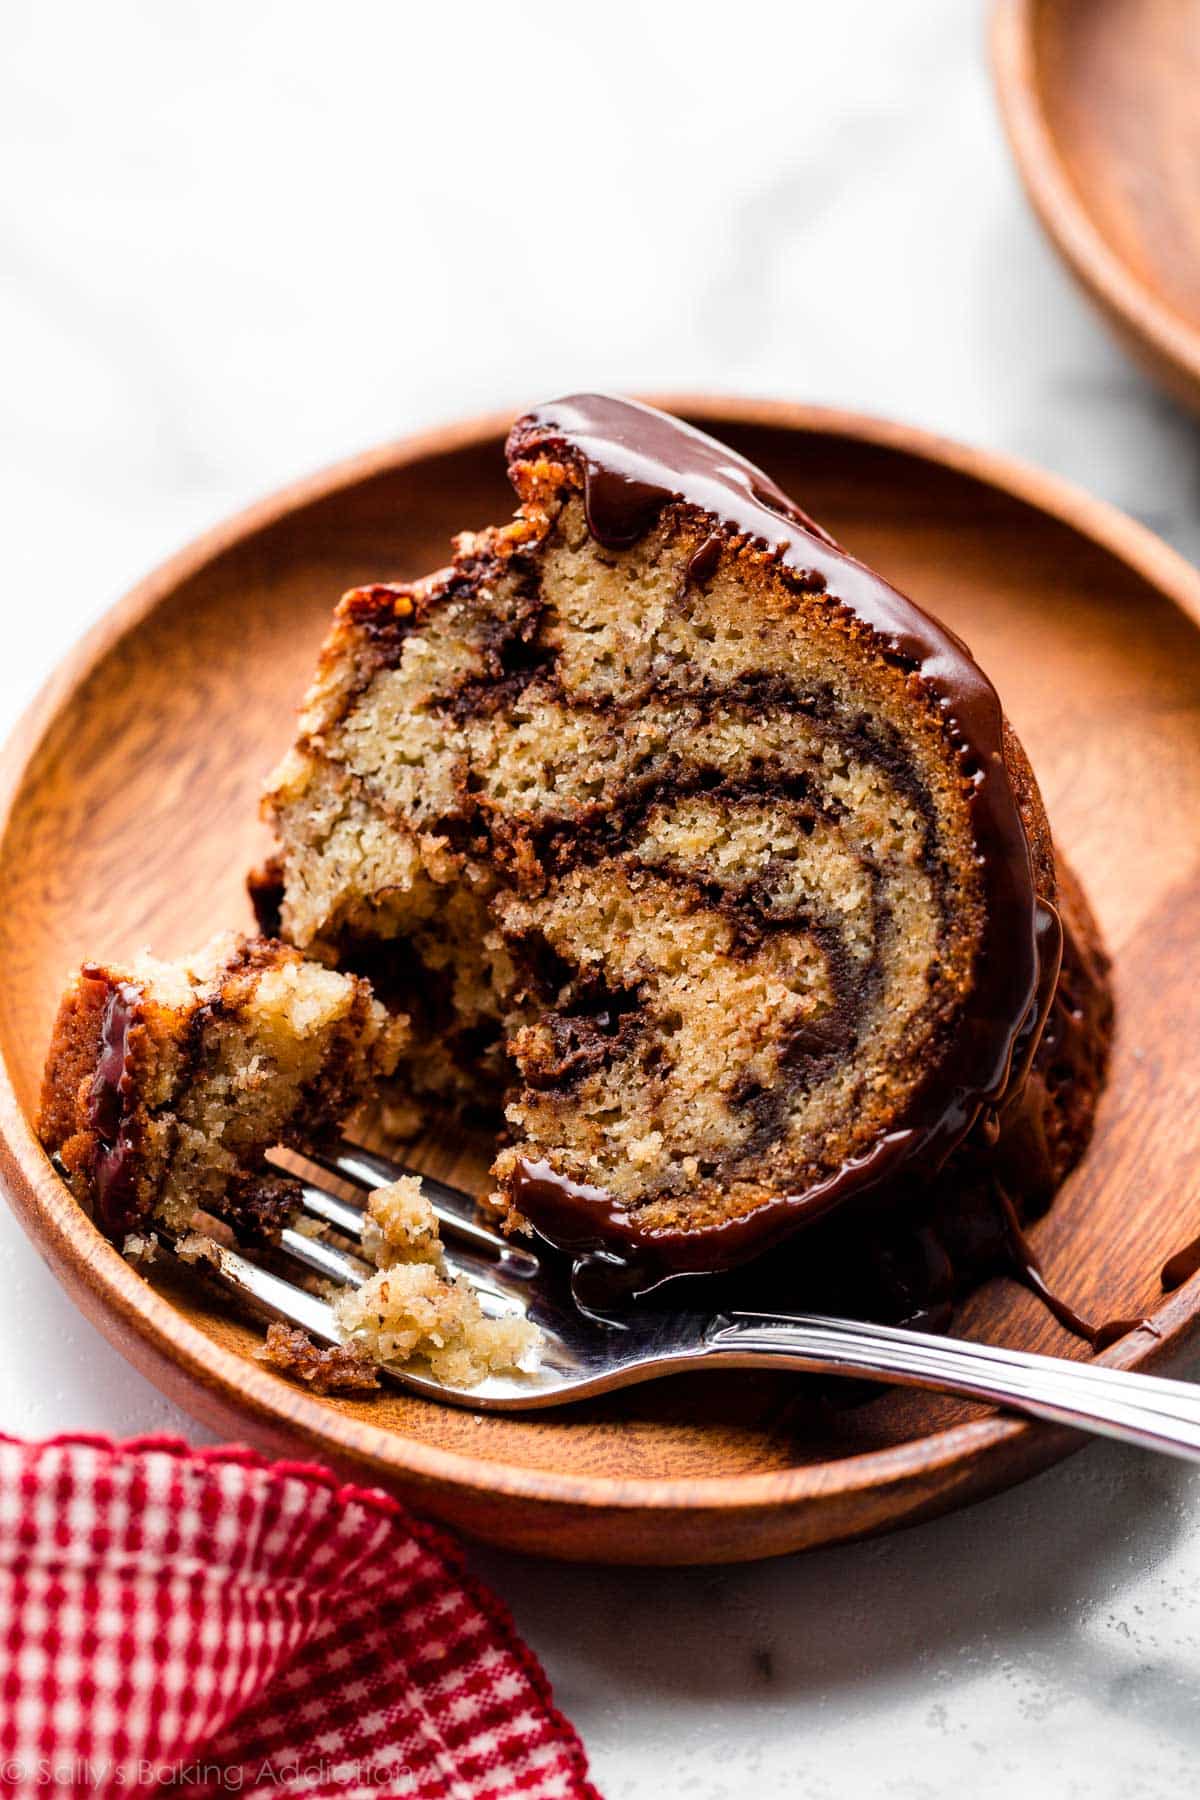
Chocolate Marble Banana Bundt Cake
This recipe is based off of my popular banana sheet cake. Here we’re baking it in a Bundt pan and swirling it with real chocolate ganache so each bite has a delicious fudge-like ripple!

Triple Chocolate Cake (Popular Recipe!)
My classic chocolate cake is an obvious reader favorite, with its soft crumb, deep chocolate flavor, and decadent chocolate buttercream to finish. It can be made as a sheet cake, too.
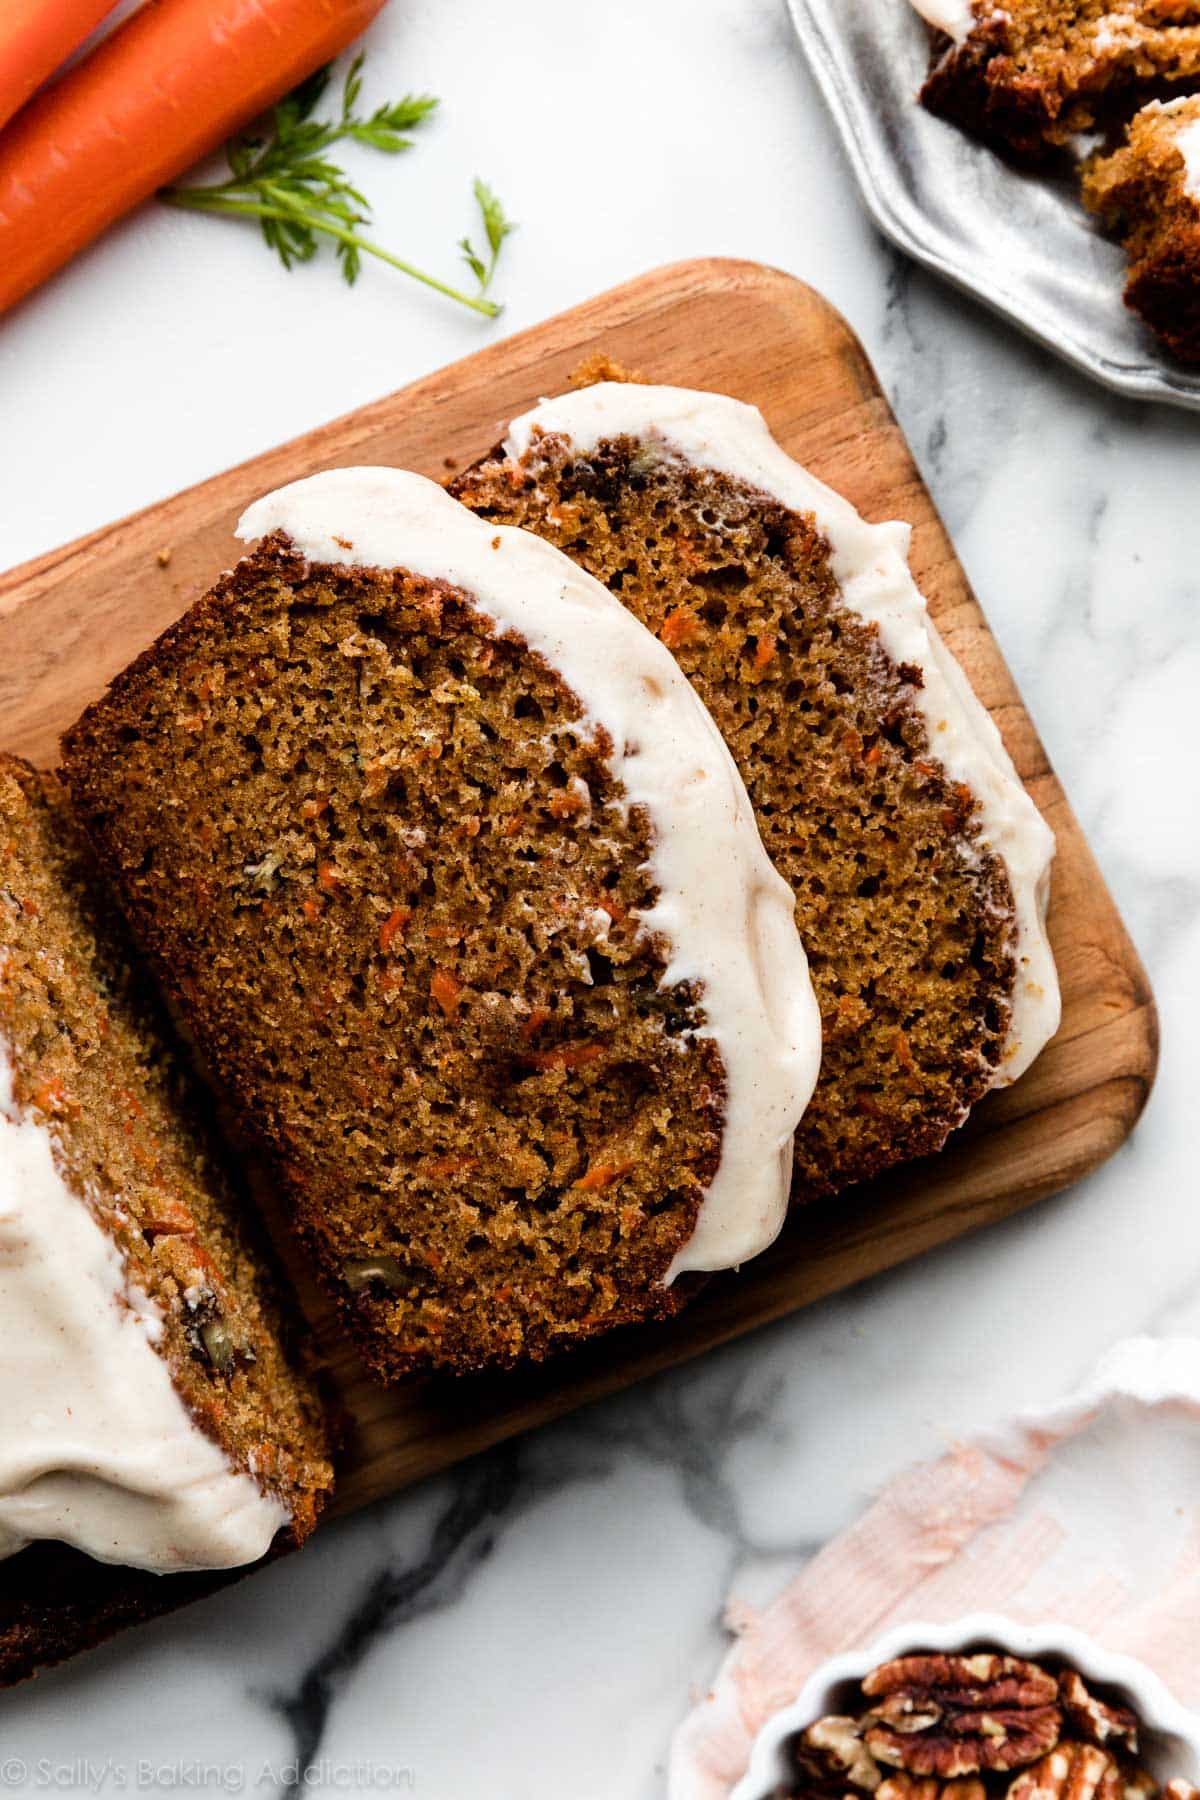
Carrot Cake Loaf (Quick Bread)
I took my favorite carrot cake recipe and turned it into an easier-to-assemble—but equally delicious—carrot cake loaf. It’s dense, yet ultra soft, and topped with a tangy cinnamon cream cheese frosting.

Cranberry Orange Bundt Cake
Grab a slice of this deliciously flavorful cranberry orange Bundt cake and be treated to bright pops of cranberry and a sweet cinnamon swirl in every bite.
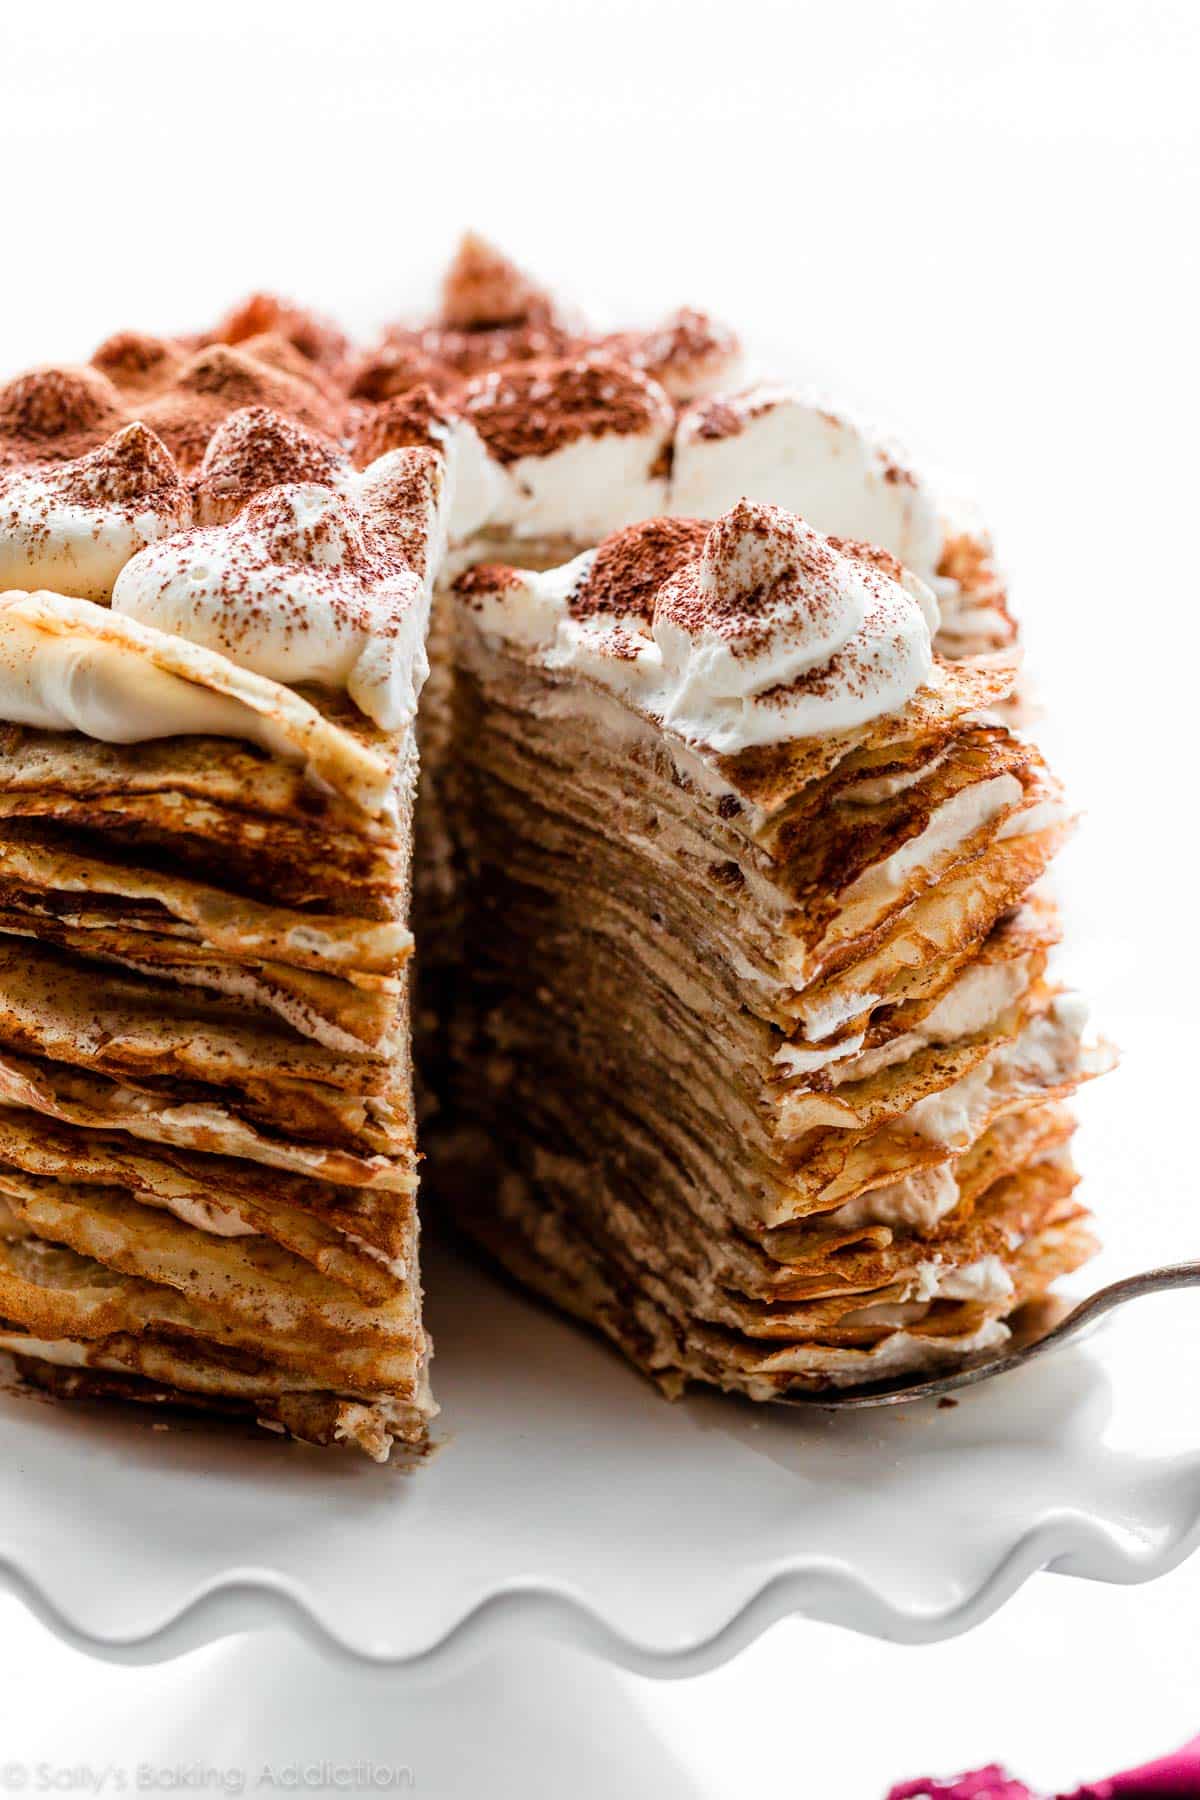
Tiramisu Crepe Cake
Though it looks and sounds fancy, tiramisu crepe cake is actually no-bake and perfect for making ahead of time. Just wait until you slice into those endless layers of crepes and creamy tiramisu mascarpone filling!

Marble Loaf Cake
Enjoy 2 cakes in 1 with this buttery rich marble loaf cake. Baking a cake in a loaf pan means easy prep, and the 2-ingredient ganache topping makes for minimal decorating. Win!
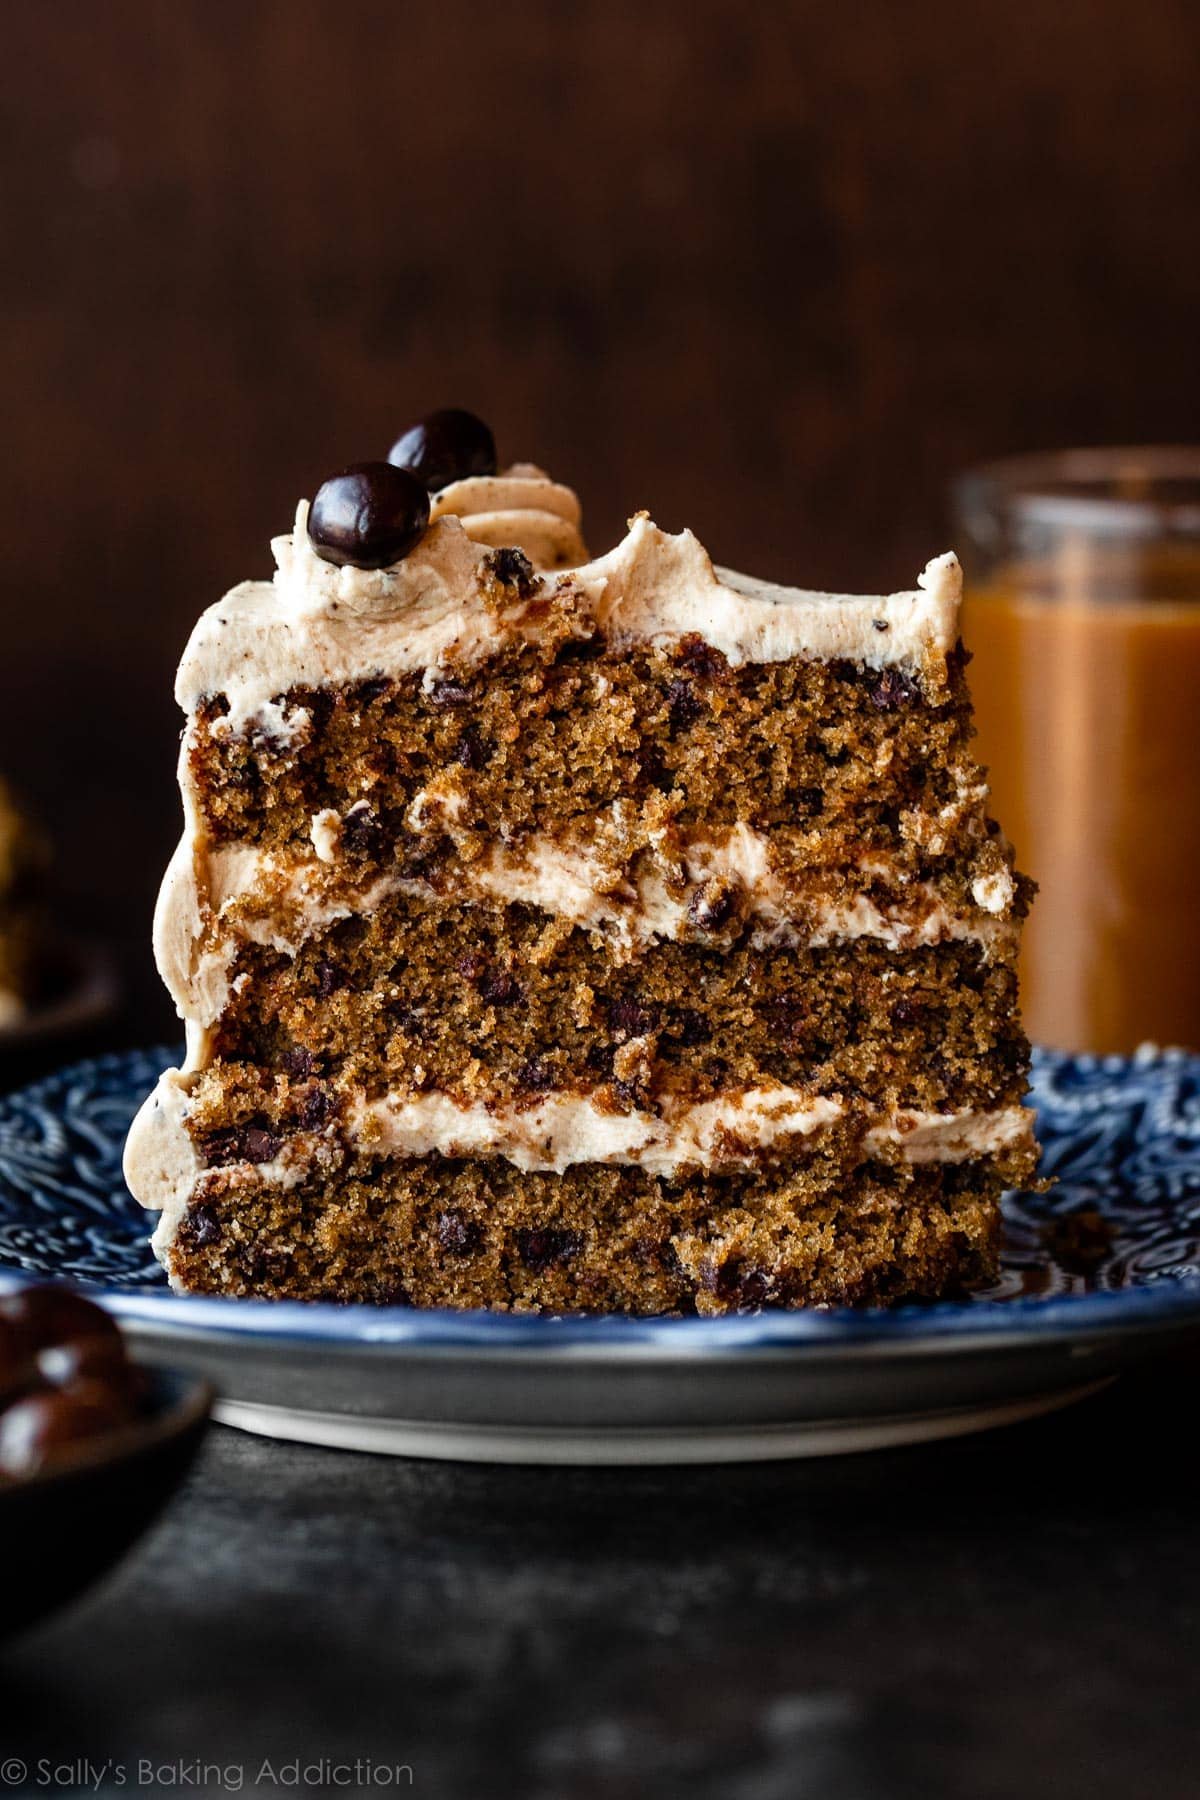
Espresso Chocolate Chip Cake
Have your coffee—and eat it, too! Espresso chocolate chip cake is flavored with espresso powder, strong coffee, and chocolate chips, then topped with a creamy espresso coffee buttercream.

Chocolate Cake Roll
This chocolate cake roll combines light chocolate sponge cake with sweet vanilla whipped cream and chocolate ganache. Rich and totally irresistible, this dessert is for chocolate lovers everywhere.
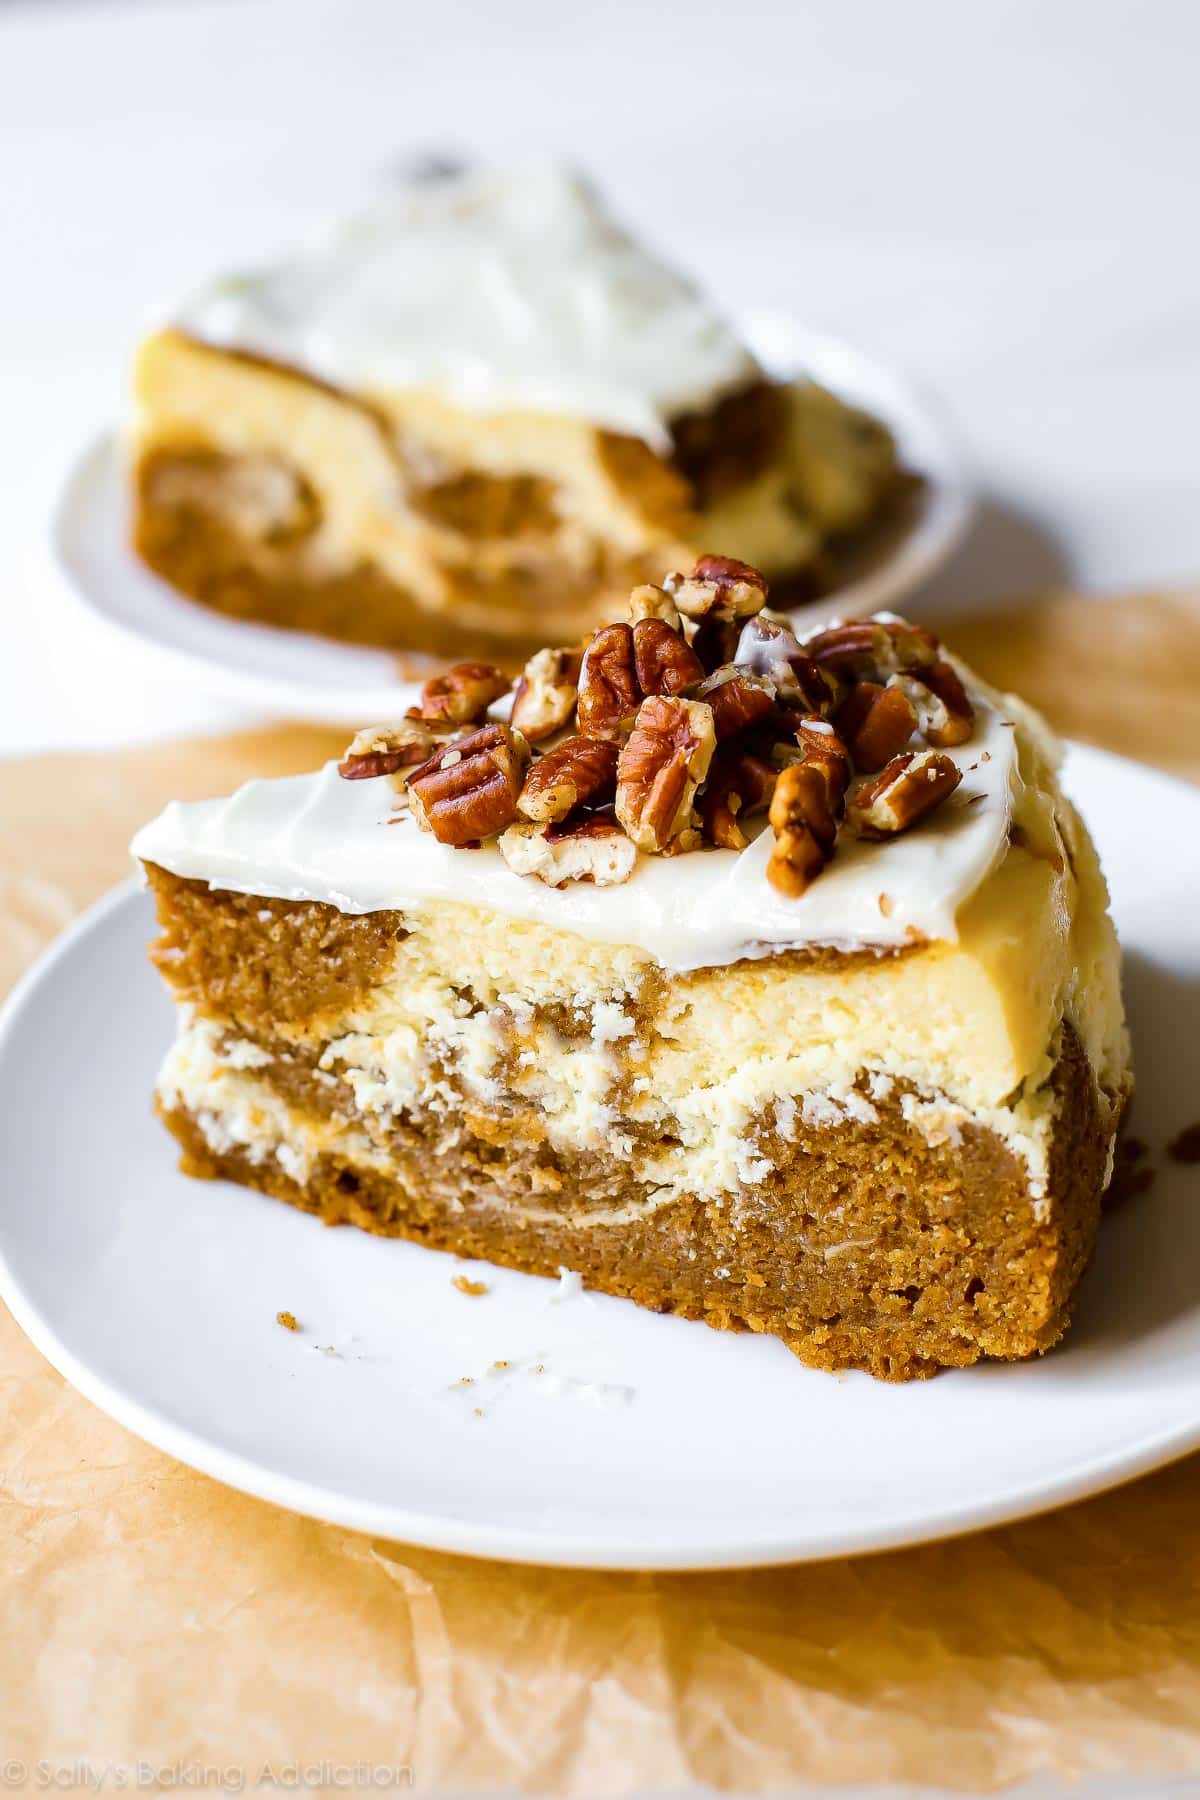
Pumpkin Cake Cheesecake
When pumpkin cake and cheesecake combine forces, we have pumpkin cake cheesecake! Each forkful of this 2-in-1 dessert delivers both creamy cheesecake AND perfectly spiced pumpkin cake.
Chai Latte Cupcakes
Welcome to fall in a cupcake—or as a 6-inch cake! These chai latte cupcakes feature warm chai spices like cinnamon, cardamom, and ginger, packed into soft and fluffy cupcakes.

Banana Cupcakes with Cinnamon Cream Cheese Frosting
My banana cupcakes are dense, yet still supremely moist and soft, and are always a crowd-pleasing treat. Seal the deal on these cupcakes or 6-inch cake with smooth cinnamon cream cheese frosting.

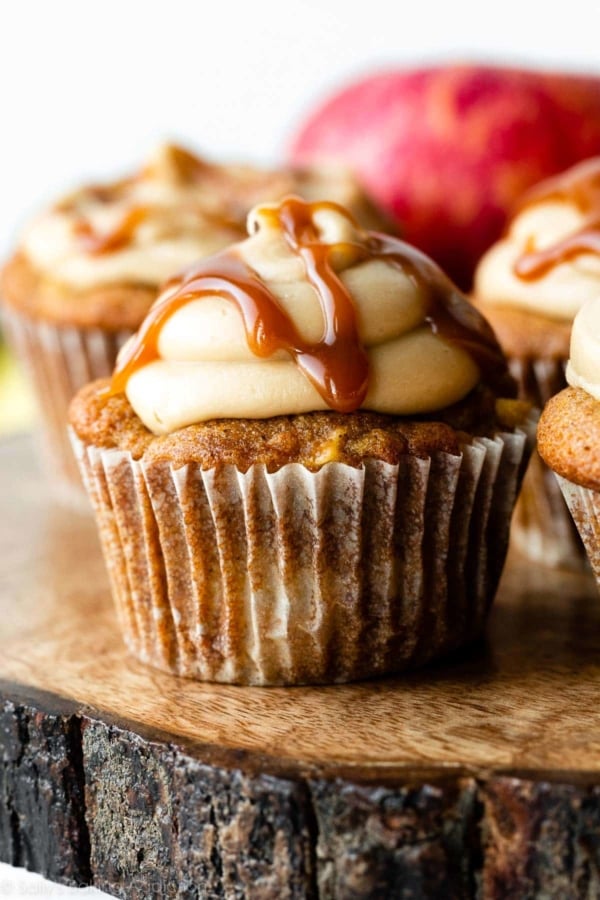
Apple Cupcakes with Salted Caramel Frosting
Whether you use the batter for cupcakes or a 6-inch cake, a smooth salted caramel frosting and a drizzle of salted caramel sauce serve as the perfect topping for this apple-dotted treat.
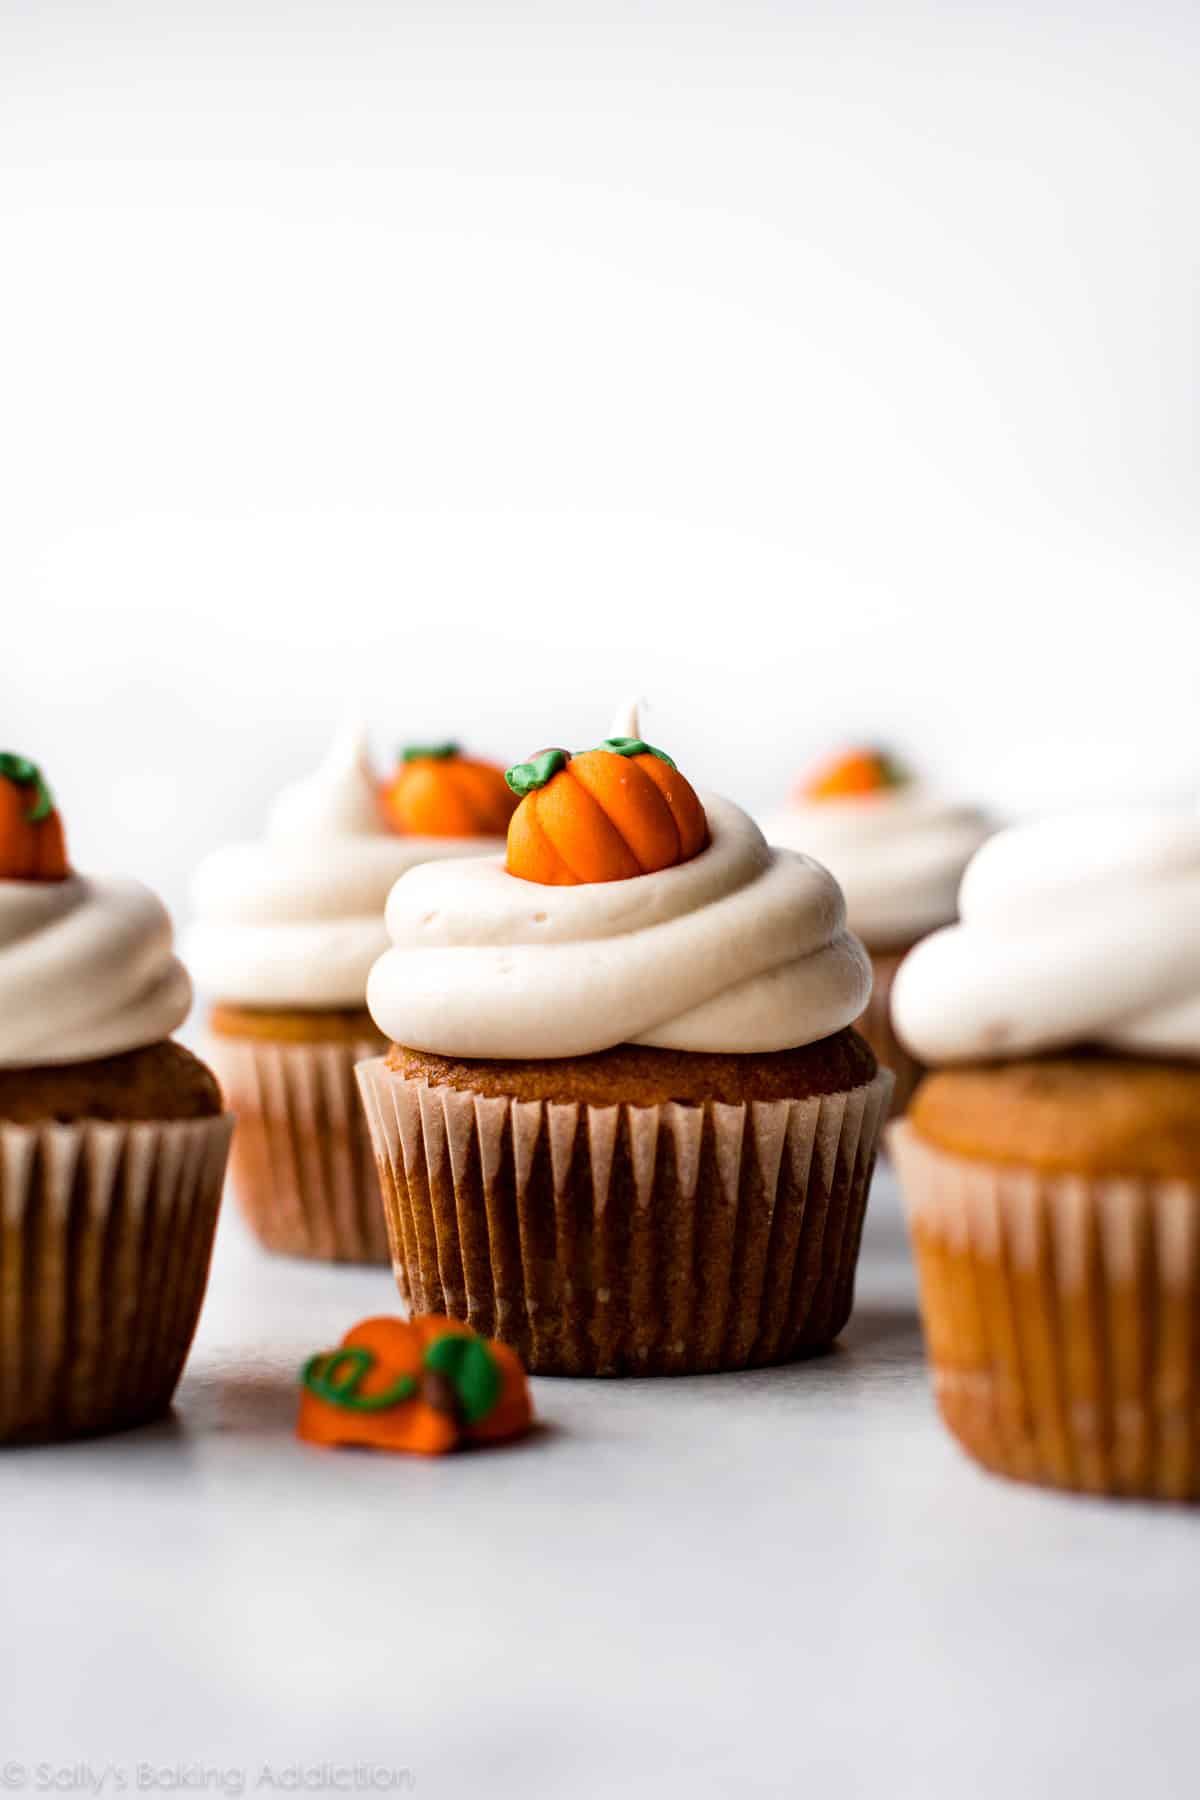
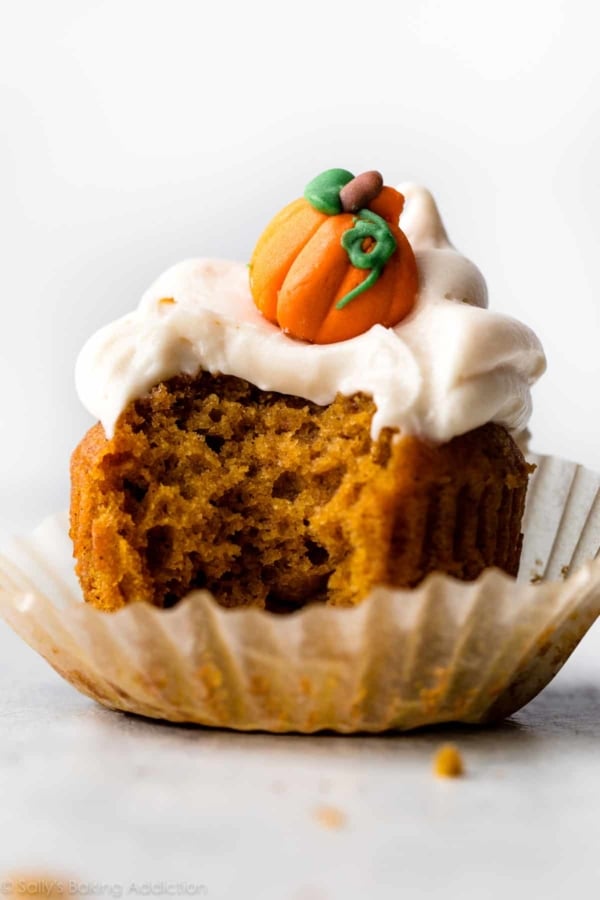
Pumpkin Cupcakes
My pumpkin cupcakes are soft, spiced, and the sweetest little treat topped with cream cheese frosting and a candy pumpkin garnish. Pumpkin fans with a fall birthday would absolutely love these as a 6-inch cake!


Reader Comments and Reviews
Love her food
Loving this take on the classic 1-2-3-4 Cake recipe! We always used canned pineapple rings and maraschino cherries with a half-recipe of this cake. I’ll have to try the apples and cranberries now!
I want to make cakes in a loaf pan for Christmas gifts. I have 20 to make. Can you help me please.
Hi Sandra! Here are all of our quick bread/loaf cake recipes.
Plan on making.
I just made this recipe Wednesday. Was delicious.
I PLAN ON TRYING AT LEAST HALF OF THESE!!!! THANK YOU!
I liked the flavor of the cranberries which melted into the topping and were a pleasant sour to the sweet. I was disappointed in how dry the cake is. I made the recipe using the exact directions, ingredients and everything at room temp, blended things as instructed. I might have over-baked it by a couple of minutes but am surprised this would dry it out so dramatically. It is a “thinner” cake so I suspect it should be somewhat dry. For my taste, too, I thought it could have used a bit more topping. To tinker with the moistness, next time I might use half butter and half vegetable oil in the cake mix to see if the oil fixes the dryness.
Hi again Sally. Sorry, it’s me again. I’ve just looked at all your fall recipes and one question, then I’ll leave you in peace!
Could I substitute blueberries for cranberries in this one? I know they’ll probably turn the whole thing blue, but no matter. I just don’t know how much liquid they’d let loose in comparison with the cranberries. Am not very fond of cranberries, which is why I’m asking.
Thank you!
Hi Joy, you can definitely replace the cranberries with blueberries. I hope you enjoy!
Probably one of my favourite Christmas desserts so far. It was awesome.
I didn’t read the notes until after the cake was prepped for the oven. After baking should I leave in the pan until the next day and then flip it or still flip it and then refrigerate it?
Hi Melissa! We would flip as instructed, then refrigerate. Hope it’s a hit!
I’ve made this before and really liked it! I’d like to make it for Thanksgiving this year, just that it’s not great made ahead of time, right? What if I finish baking it the night before…..would it still be good for next day’s lunch?
Hi Emily, we’re glad you enjoyed the cranberry apple upside down cake! Unfortunately, this isn’t the best cake to make ahead of time or freeze because the topping will settle down into the cake—while still tasty, the presentation won’t be as pleasing. We do have a few ideas/tips for making ahead in the recipe Notes that might work for you. Hope this helps!
This was so easy and looks so elegant! I was worried about not greasing the pan, but apparently there was no point, because it slid right out! Very tasty, best on the first day
Sally, you and your team have never let me down. Thank you. I baked this last night and am wondering if there some sort of baking chemistry reason to not have more fruit? I’d like more apples for the top. I can experiment, but I thought I’d ask you about anything you discovered in the development. Thanks!
Hi Susan, we’re so glad you enjoyed the cake! You could certainly try tucking a few more apple slices in the topping, but be careful not to add too much as they do let off some moisture. You might also enjoy our caramel apple upside down cake if you particularly enjoyed the apple part of this cake!
Hello Sally and Team!
I plan on baking all these desserts! One question: are all these recipes in your cookbook?
Thanks!
Hi Francine! The only cake from this list that is in Sally’s Baking 101 is a version of the triple chocolate layer cake. All others here are only on the website, and the cookbook is packed with new cake recipes exclusive to the book!
Why should the 9″pie dish/cake pan be UNgreased? Doesn’t that make it stick to the pan when the pan is inverted?
Hi Victoria! It doesn’t stick. Let us know if you give it a try 🙂