

Homemade Oreos taste just like the classic packaged cookies, but with a homemade touch. Dark cocoa cookies are sandwiched with sweet cream filling for a nostalgic taste of Americana. With only 10 minutes of dough-chilling time and no rolling pin required, making a batch of these iconic sandwich cookies from scratch is quicker and easier than you think!
I originally published this dessert recipe in 2013 and have since added photos and a video tutorial. The only change I have made over the years is reducing the chill time, so they’re even quicker now.
Arguably the most recognizable cookie on the planet, there’s something about Oreo cookies that brings out the kid in everyone. From the classic black-and-white sandwich cookie in the blue package, to the dozens of flavor variations available now, Oreos have securely held their place of honor on American grocery store shelves for over a century. What could be better?
A fresh-baked homemade version, that’s what. 🙂
These Homemade Oreos Feature:
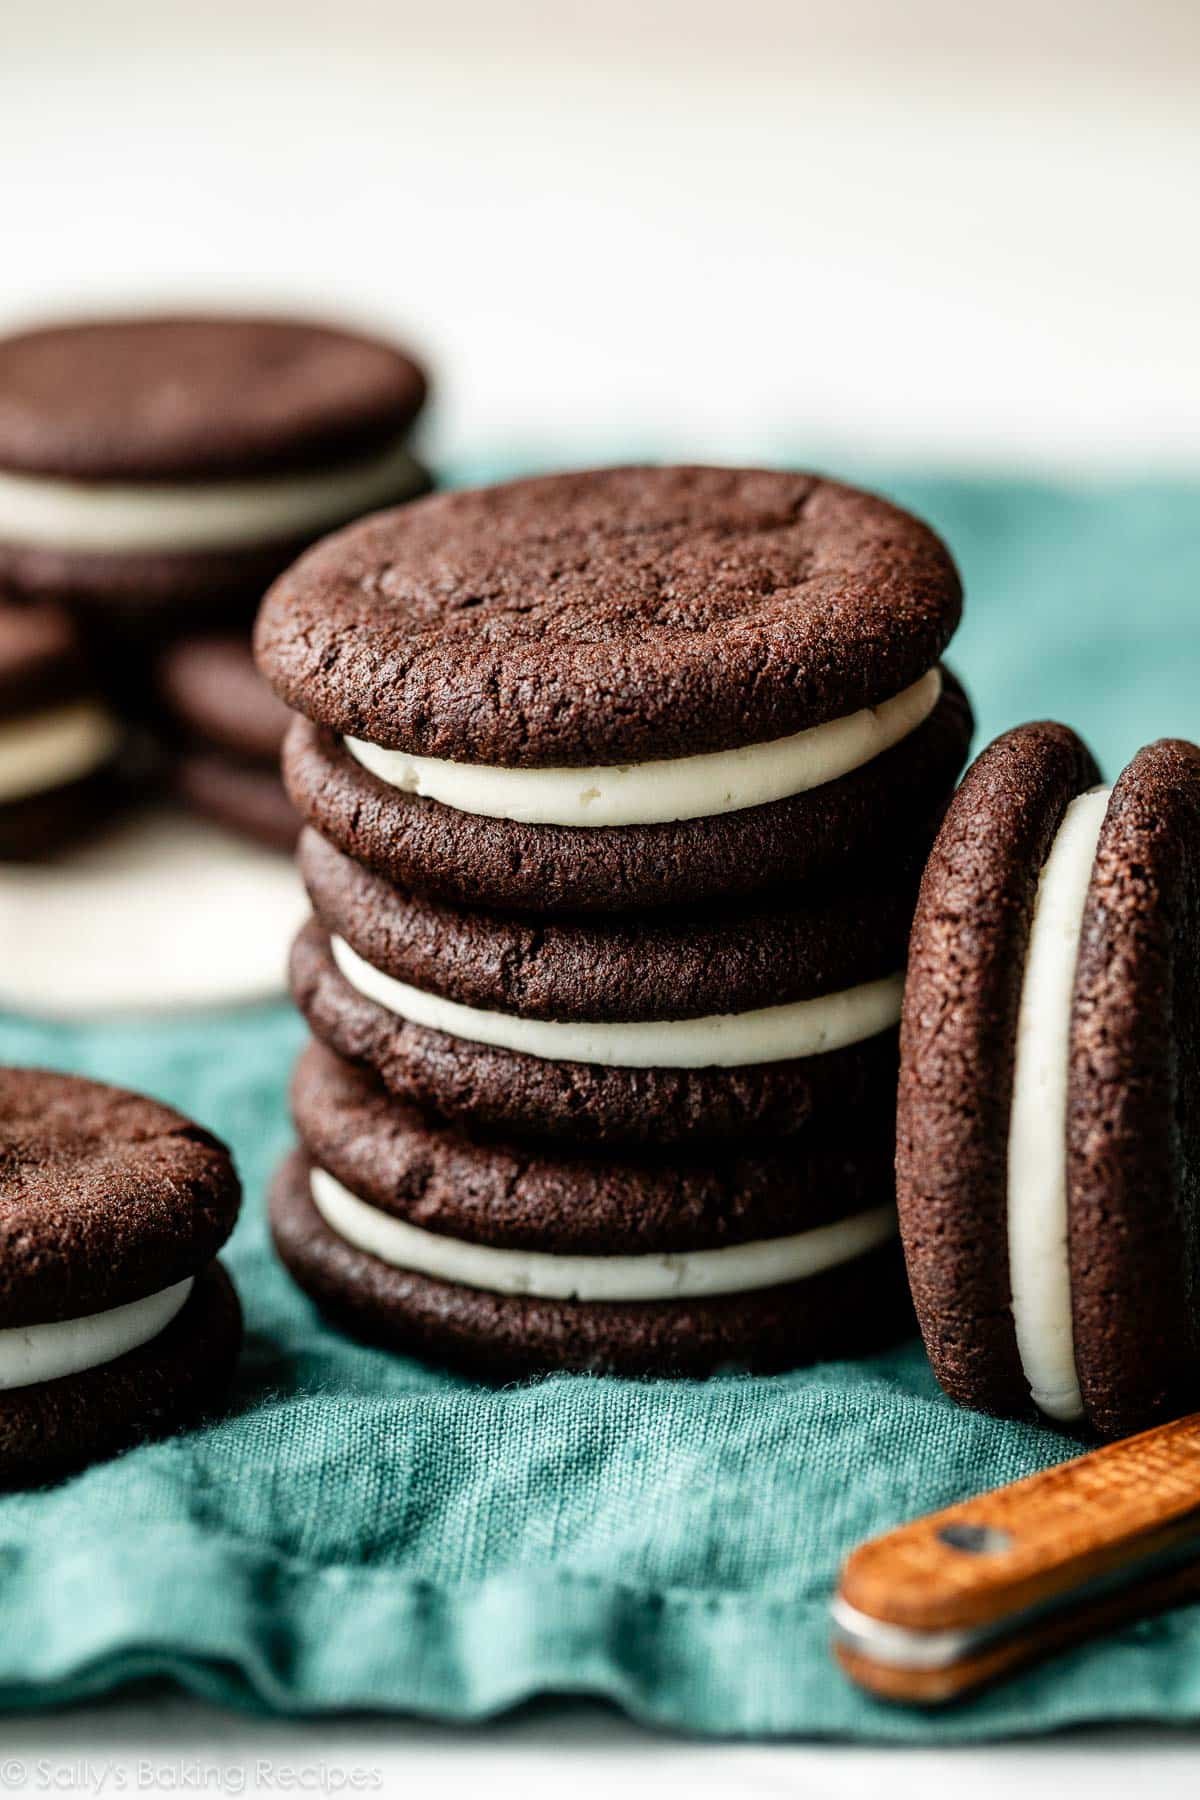
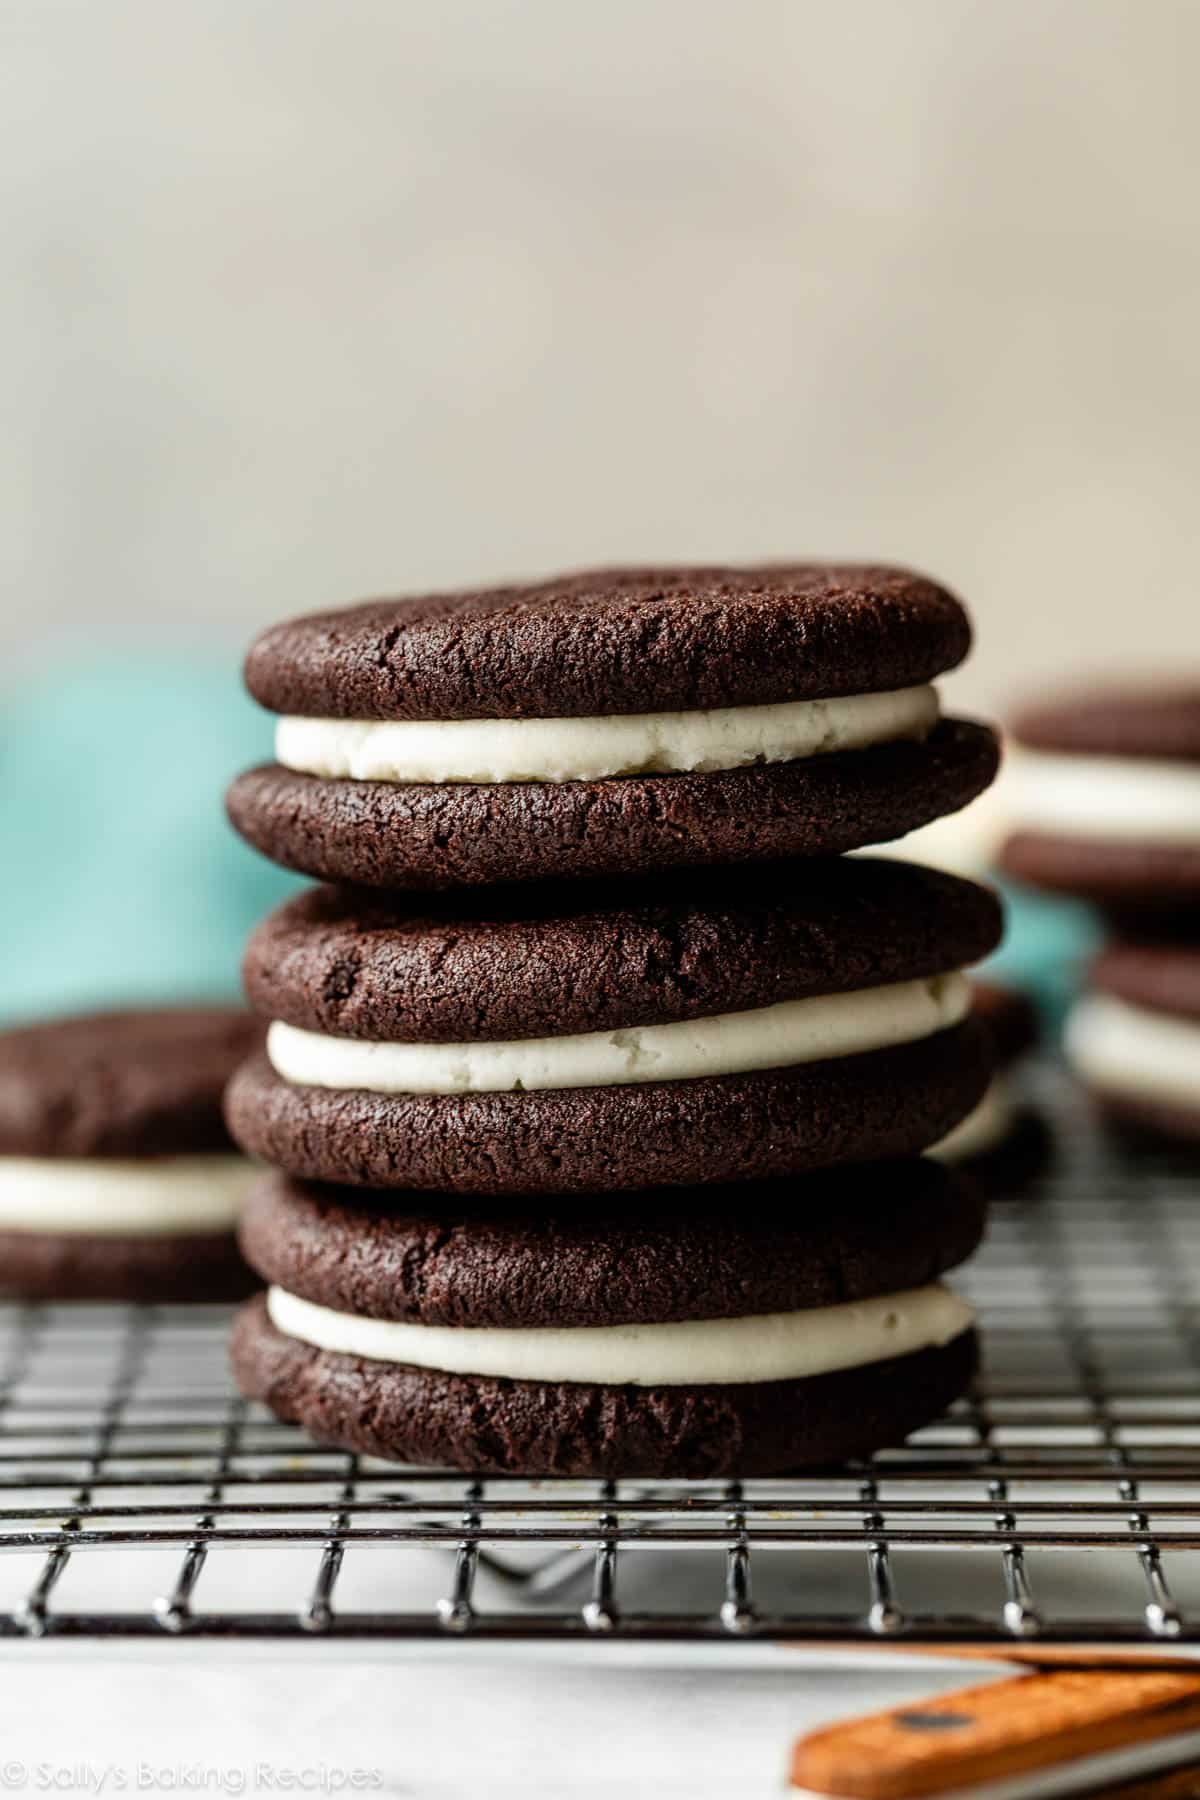
- Soft, buttery, dense chocolate cookies
- Sweet, thick cream filling
- The same comfortingly familiar flavor as the original
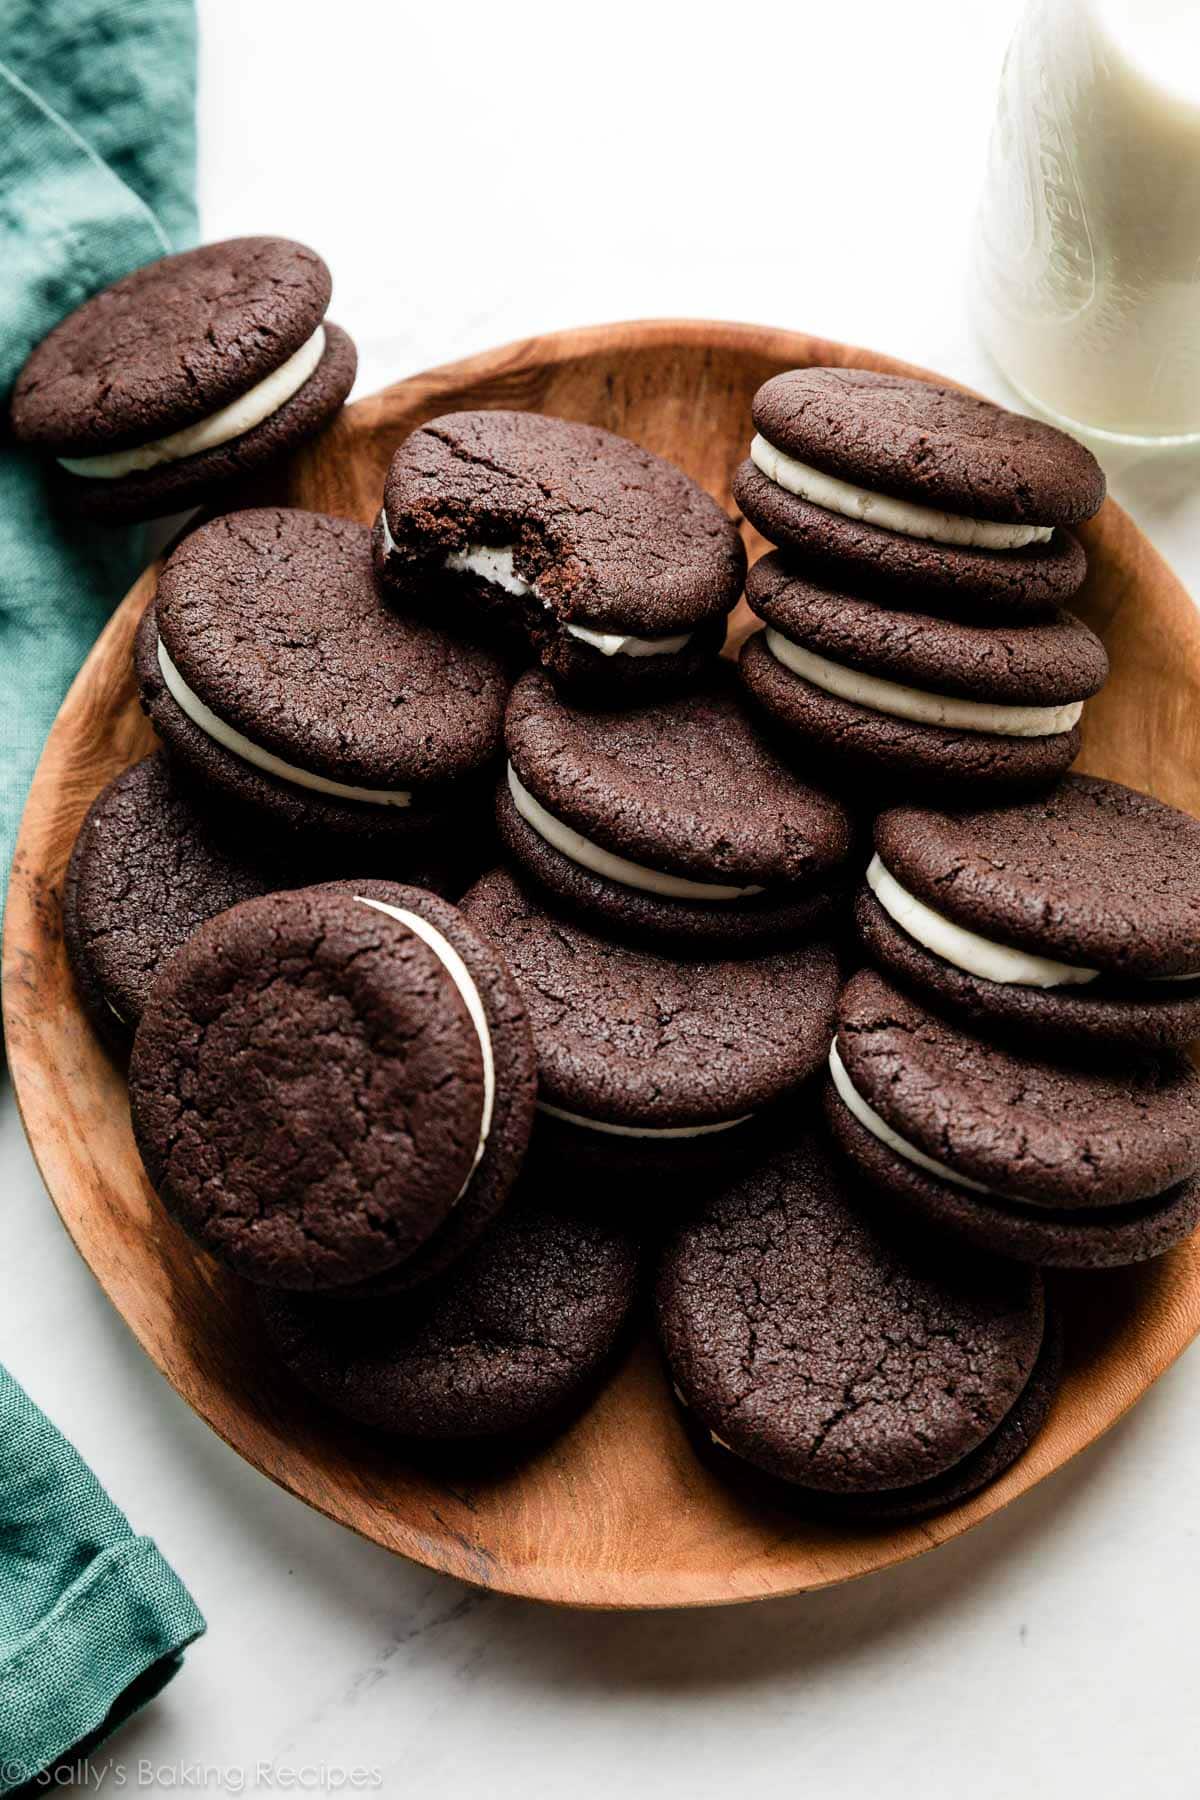
- A demand for a glass of milk
Are They an Exact Copycat? No.
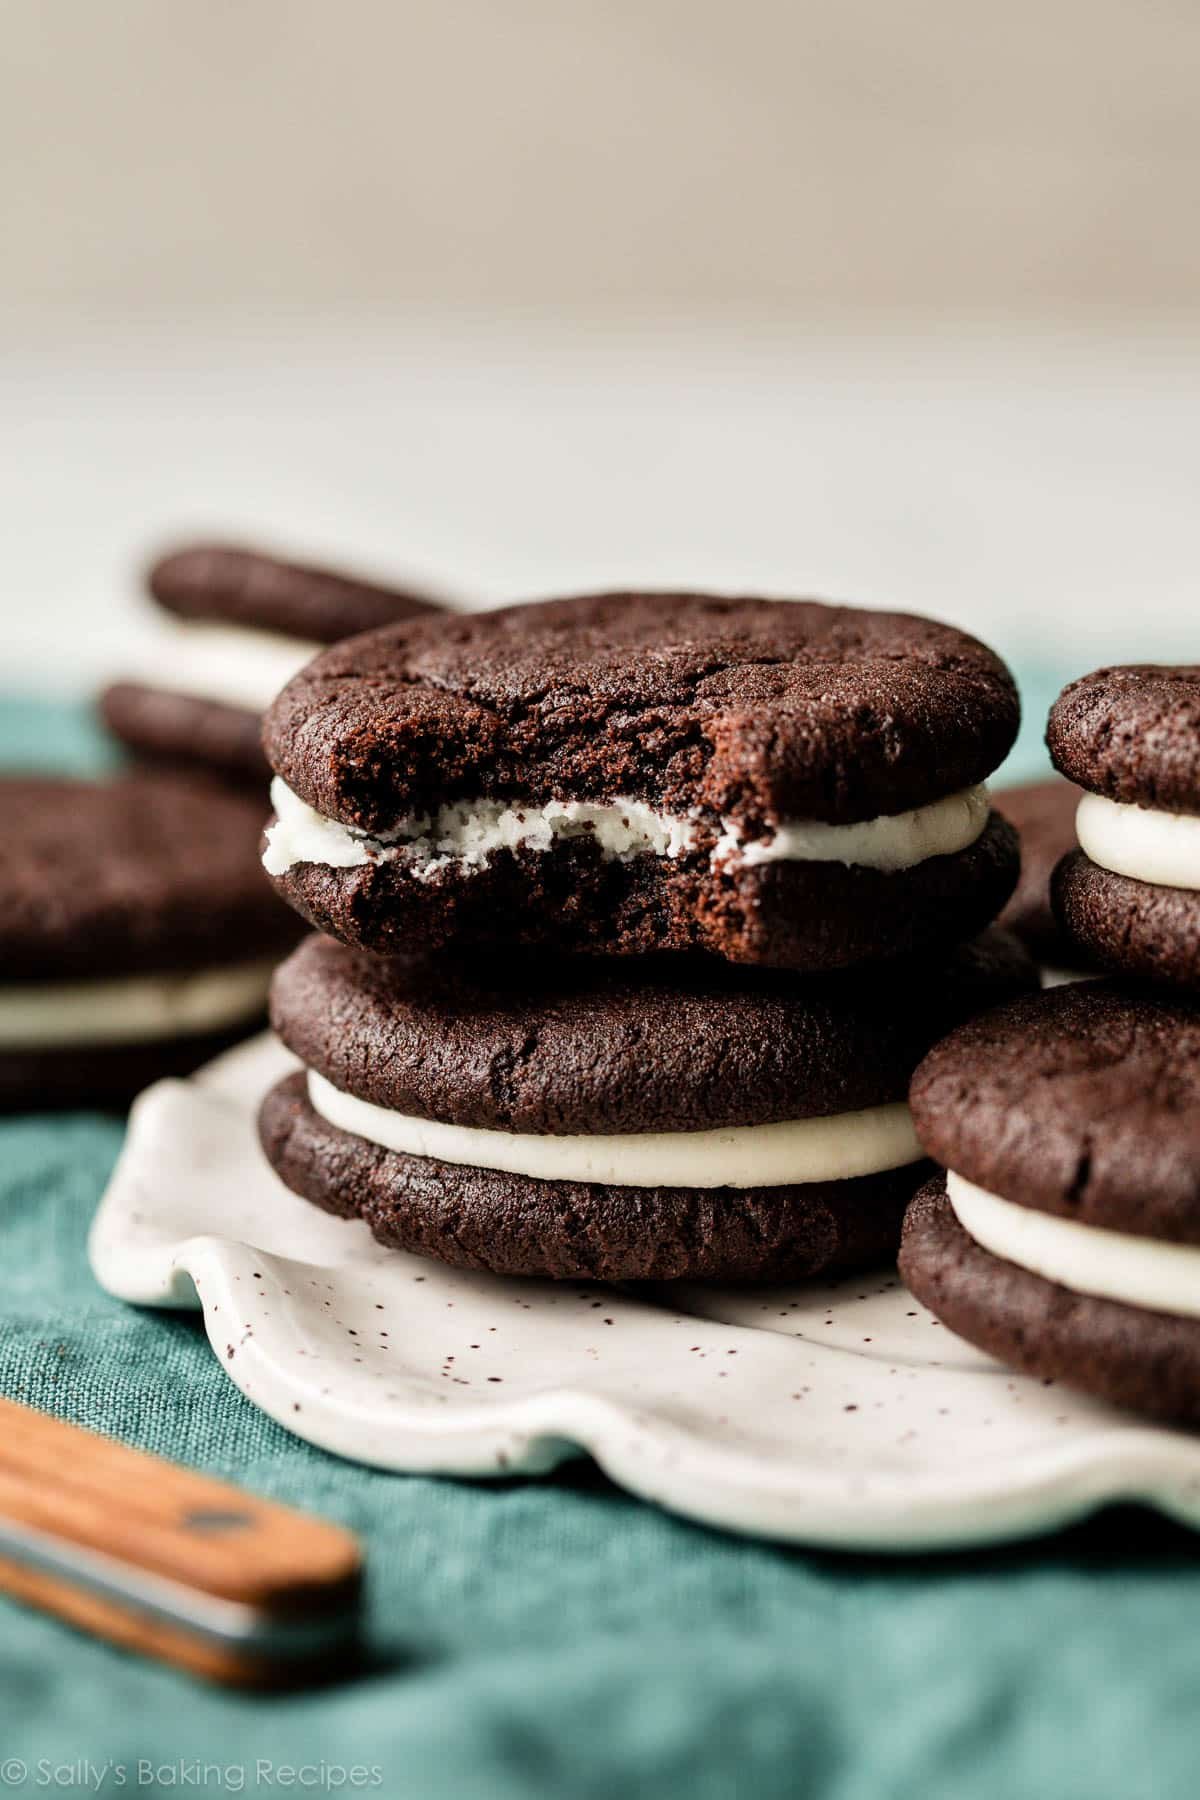
While the flavor is all there, my homemade version is a touch softer than the store-bought kind. Don’t think of whoopie pies or anything; they’re much crunchier and crispier than cake-style cookies. Today’s sandwich cookies still have a nice crunch on the edges. And if you leave them lightly covered overnight, they develop a crunchier crust.
They also have a fresher-tasting flavor, something you can really only achieve with a homemade dough and cream filling. The cream filling tastes extremely similar to the packaged cookies. It’s also nice and thick, so it doesn’t really spill out the sides when you bite into the cookie.
One reader, Cyndi, commented: “I just made these and they are delicious! Way better than store-bought! I used black cocoa and they even smell like Oreos! That distinct aroma! ★★★★★“
One reader, Kimberly, commented: “I made these today and the whole family loved them! My son told me not to lose this recipe. They are a little different than store-bought Oreos, but we liked them better! ★★★★★“
Make the Cookies First
All of the ingredients required for this chocolatey cookie dough are basic baking staples. You need:
- Dry ingredients: Flour, Dutch-process cocoa powder (more on this below!), baking soda, and salt
- Wet ingredients: Butter, white & brown sugars, egg, vanilla extract
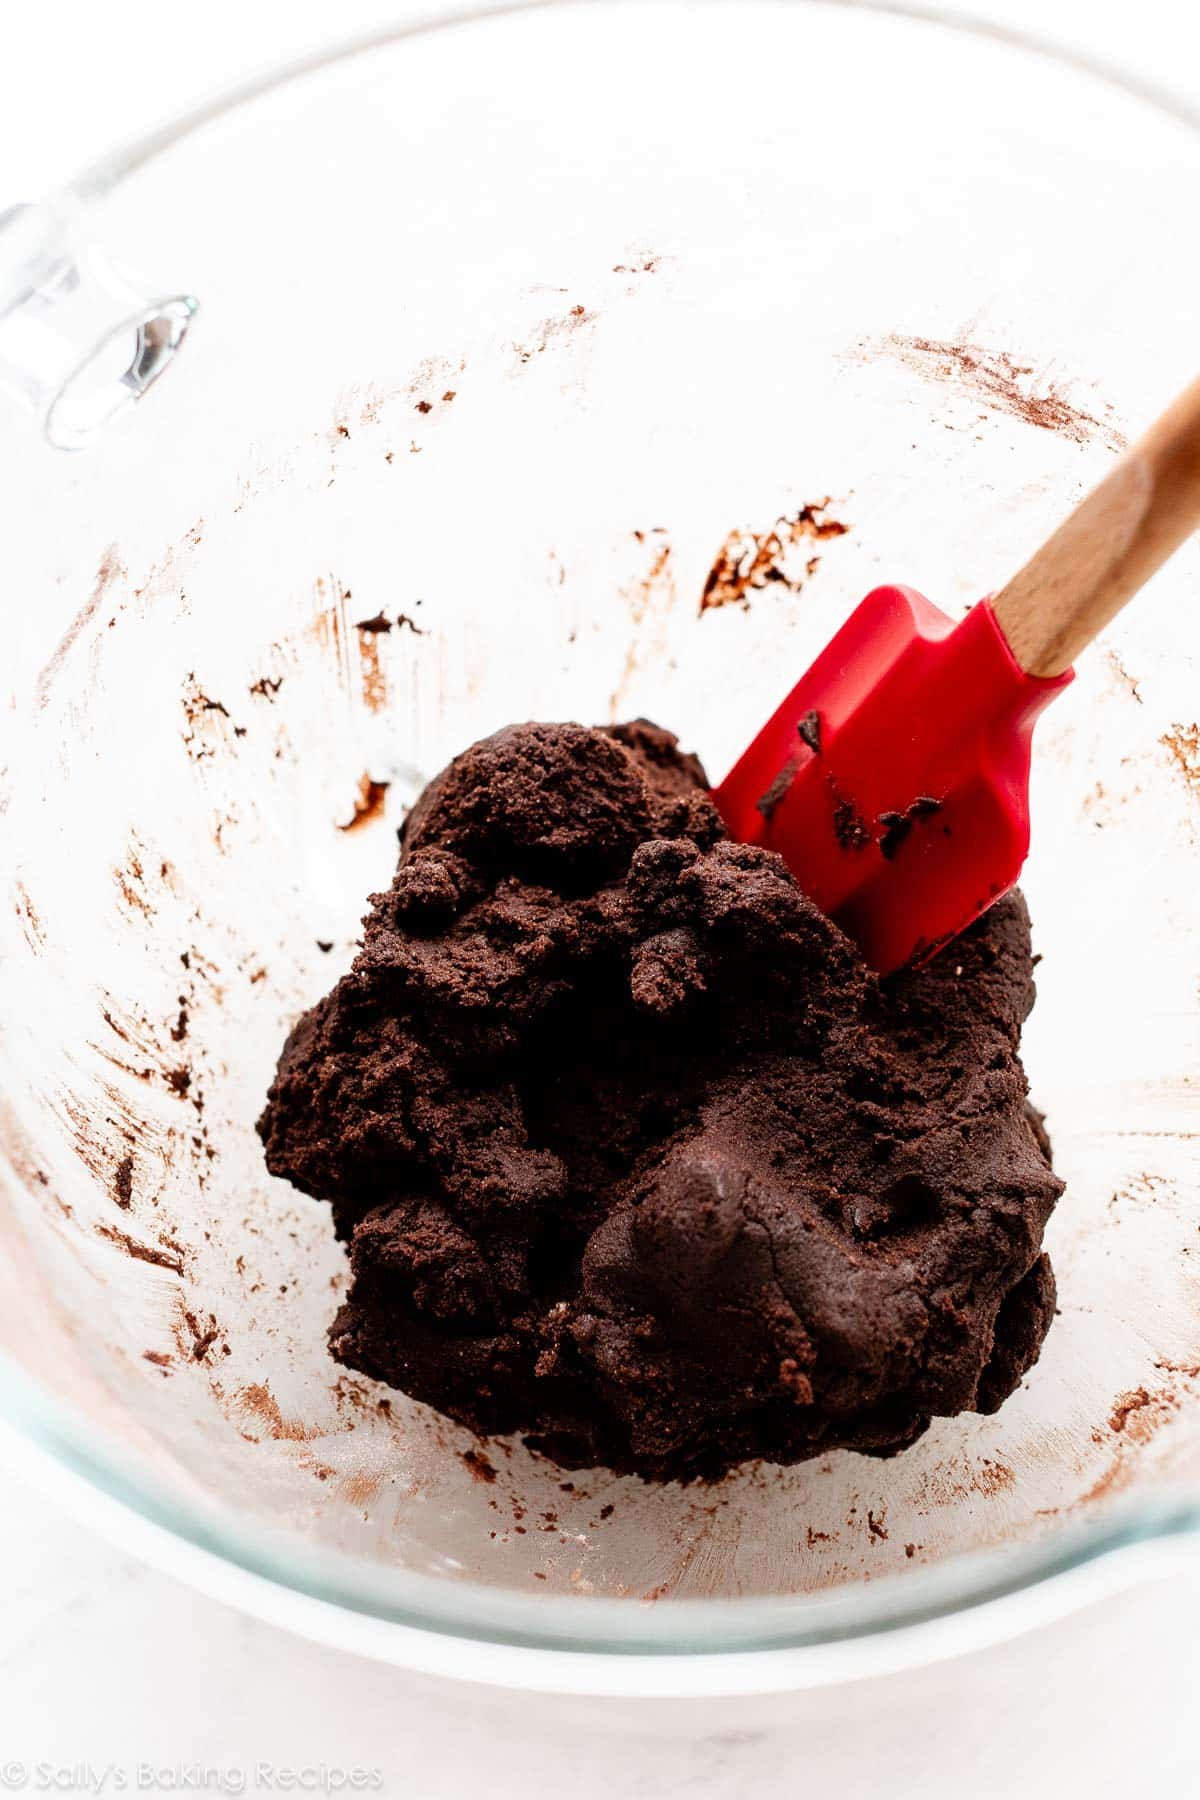
The cookie dough comes together quickly and easily with an electric mixer. Unlike many cookie recipes—such as my favorite chocolate chip cookies—you don’t have to chill the dough for hours.
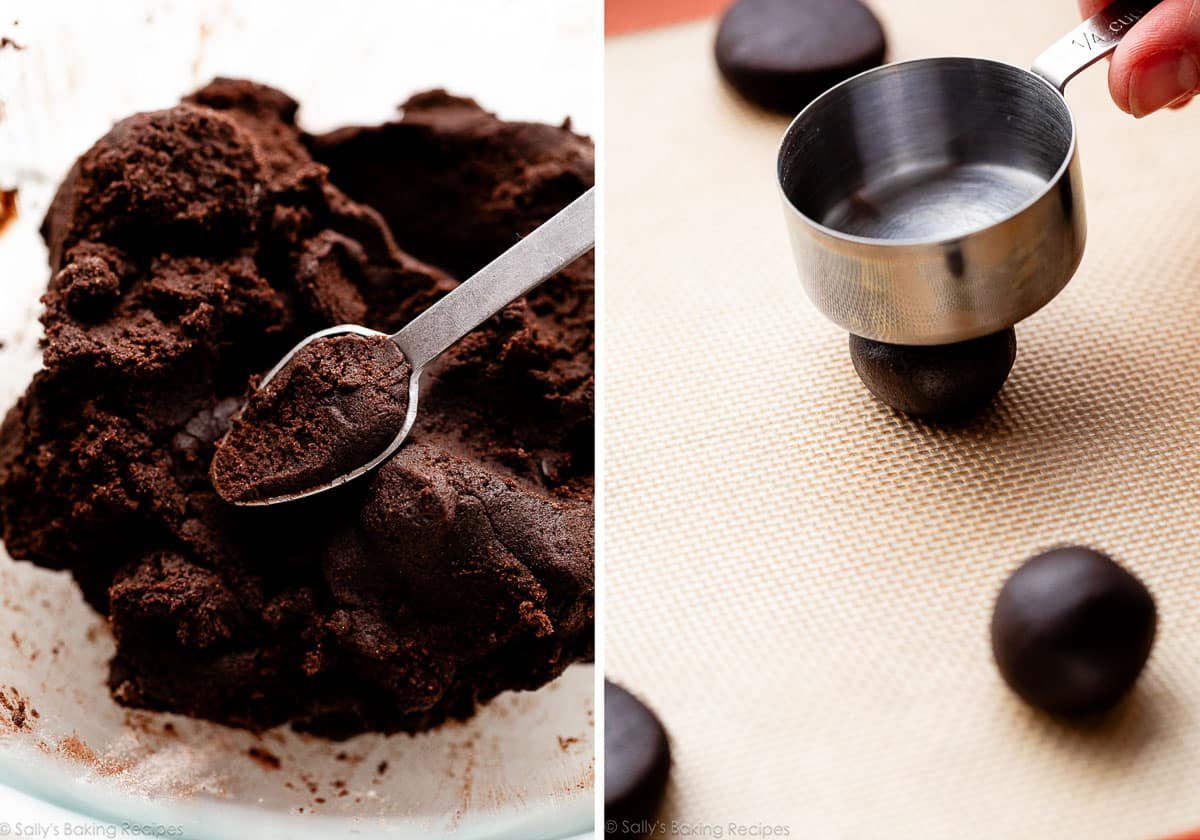
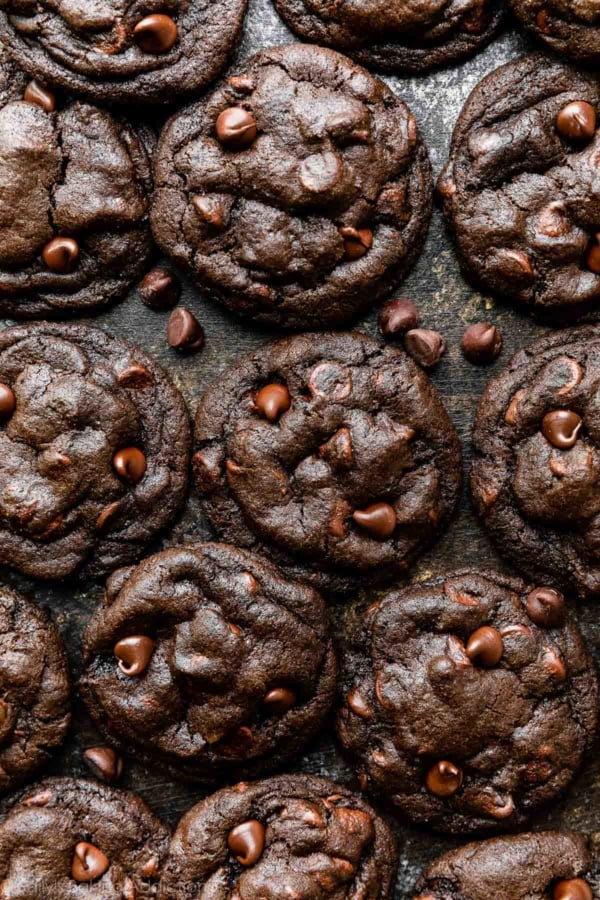
To shape them, take a small piece of dough, just about 2 teaspoons (13–15g each), and roll it into a ball. Place the balls of dough onto a lined baking sheet. Flatten gently with the bottom of a measuring cup. Chill the shaped cookies on the baking sheet for 10 minutes in the refrigerator before baking as you preheat the oven. The cookies should spread out nicely into little round discs. Like double chocolate chip cookies, but crispier and flatter.
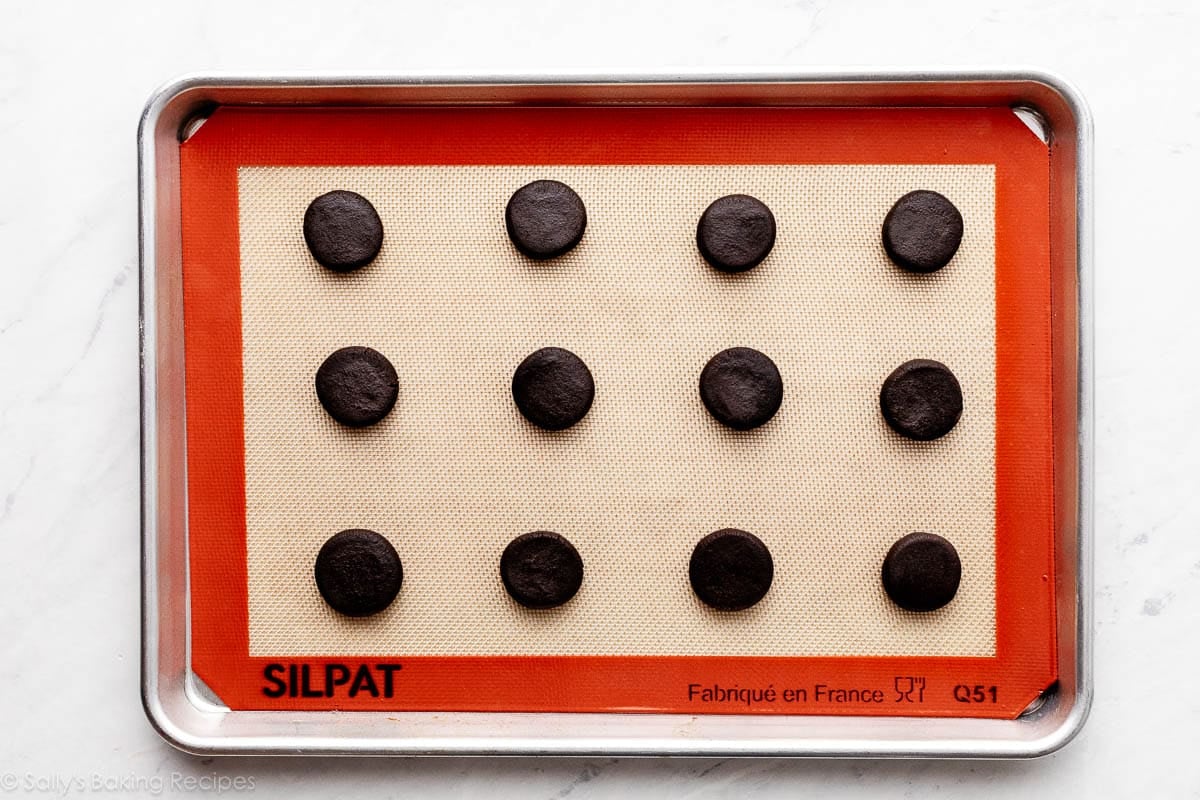
Before baking:
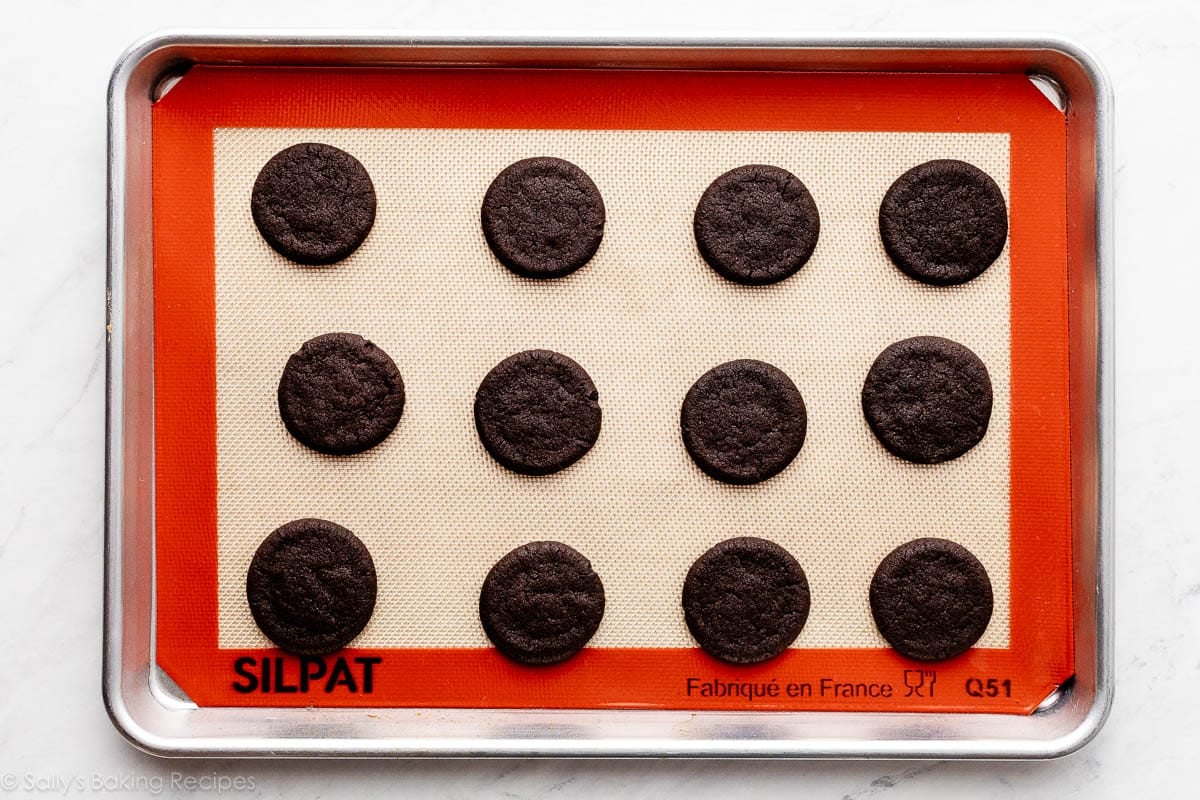
After baking:
Use Dutch-Process Cocoa Powder
If you’ve never paid much attention to the label on the cocoa powder you use for baking, here’s a super-quick overview:
- Dutch-process cocoa powder is made from cocoa beans that have been alkalized. Alkalizing cocoa neutralizes its acidity, making it darker in color and more mellow in flavor. Oreo cookies are made with Dutched cocoa, which is why they’re so dark! I really love this brand for Dutch-process cocoa powder.
- Natural cocoa is just that—natural powder from roasted cocoa beans. It’s acidic and bitter, with a very strong and concentrated chocolate flavor. Natural cocoa powder (acid) is often used in recipes calling for baking soda (base) because the two react with each other to allow your baked good to rise. If you live in the U.S., the cocoa powder you often see in the baking aisle is natural. And in fact, the majority of my baking recipes with cocoa powder call for the natural kind.
(If you want to learn more, see this post on Dutch-Process vs. Natural Cocoa Powder.)
Today’s cookies, while made with baking soda (base), also contain a little brown sugar (acid) to help the cookies slightly rise and then fall as they cool. If you made these with natural cocoa (acid), the cookies would rise more, making them a little too puffy. You would also lose some of the flavor, and the cookies would be lighter in color.
You could also use something called black cocoa, which I have learned over the years, is heavily-Dutched/extra-alkalized cocoa. I really like this brand, and I purchase right there on Amazon.
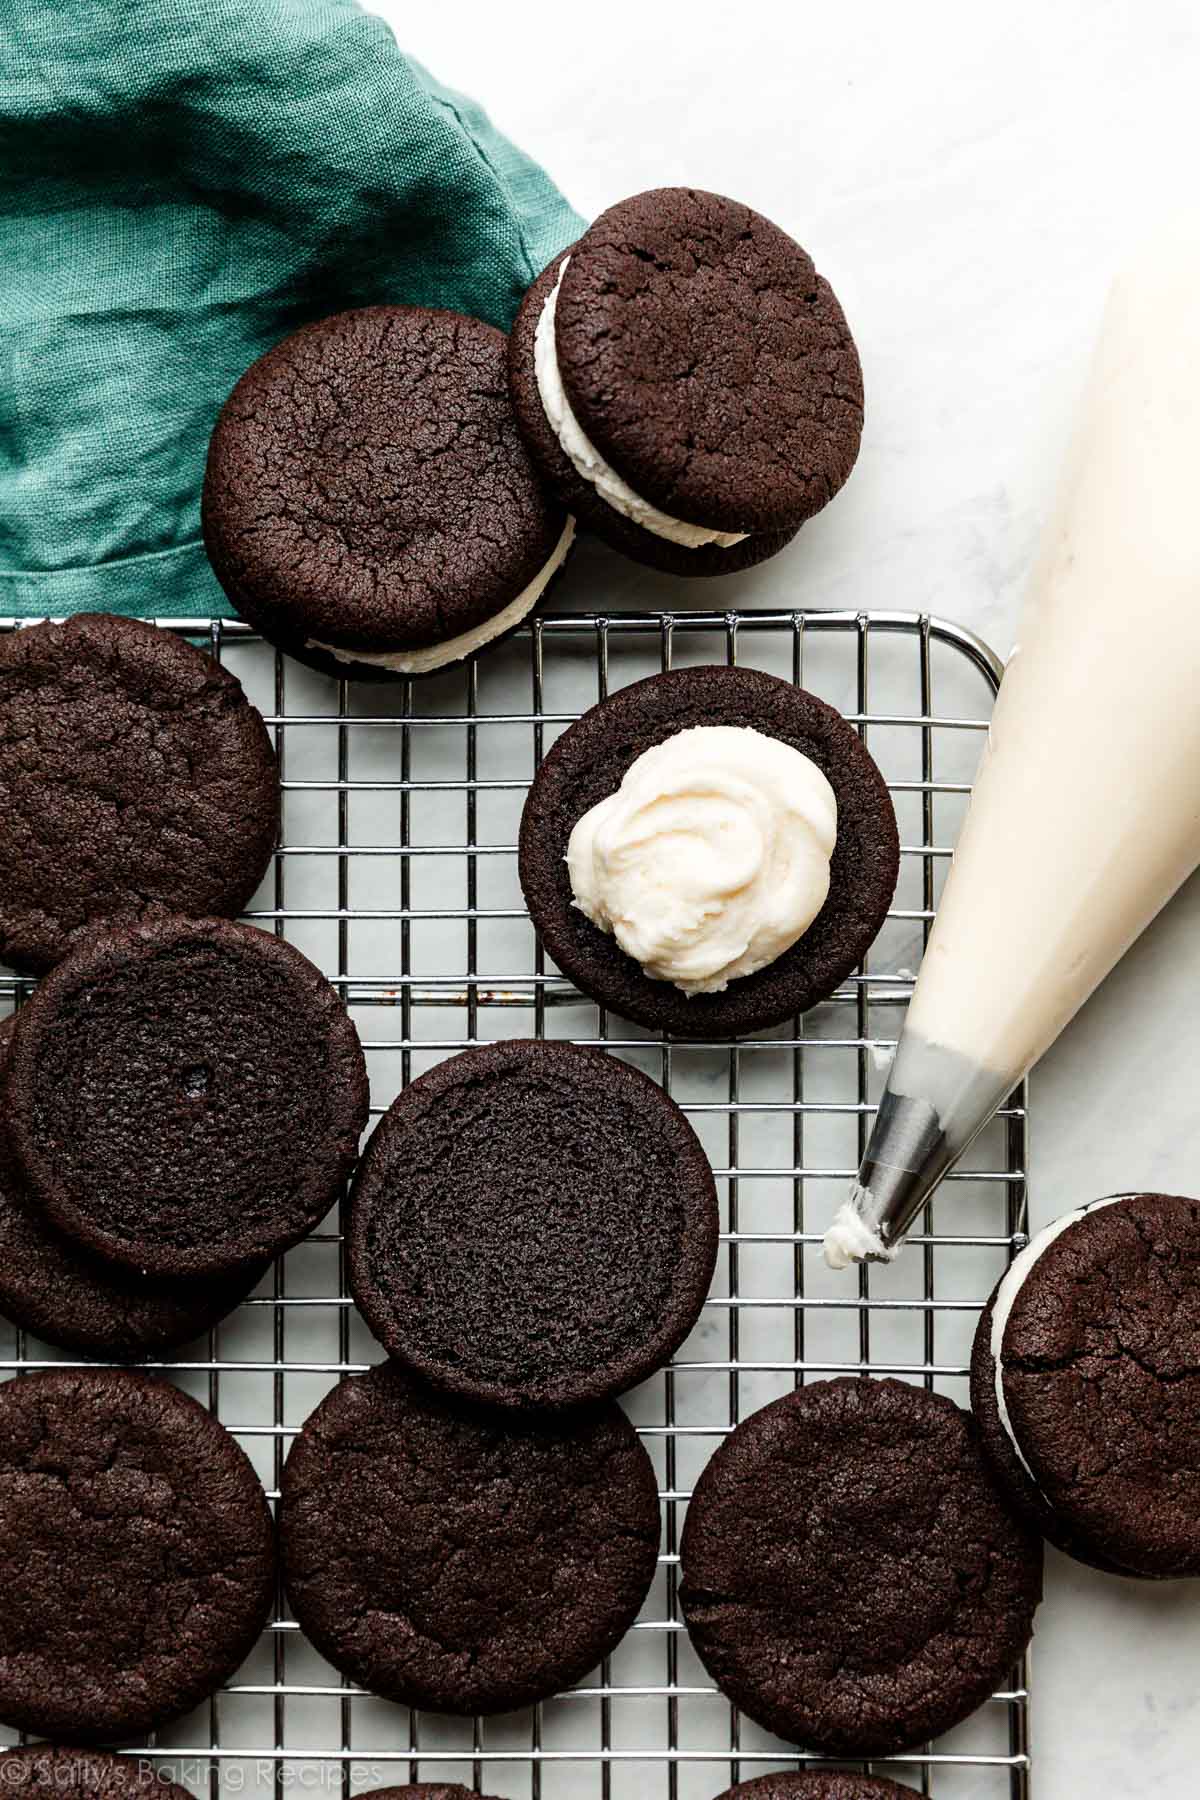
Now, the Thick Filling:
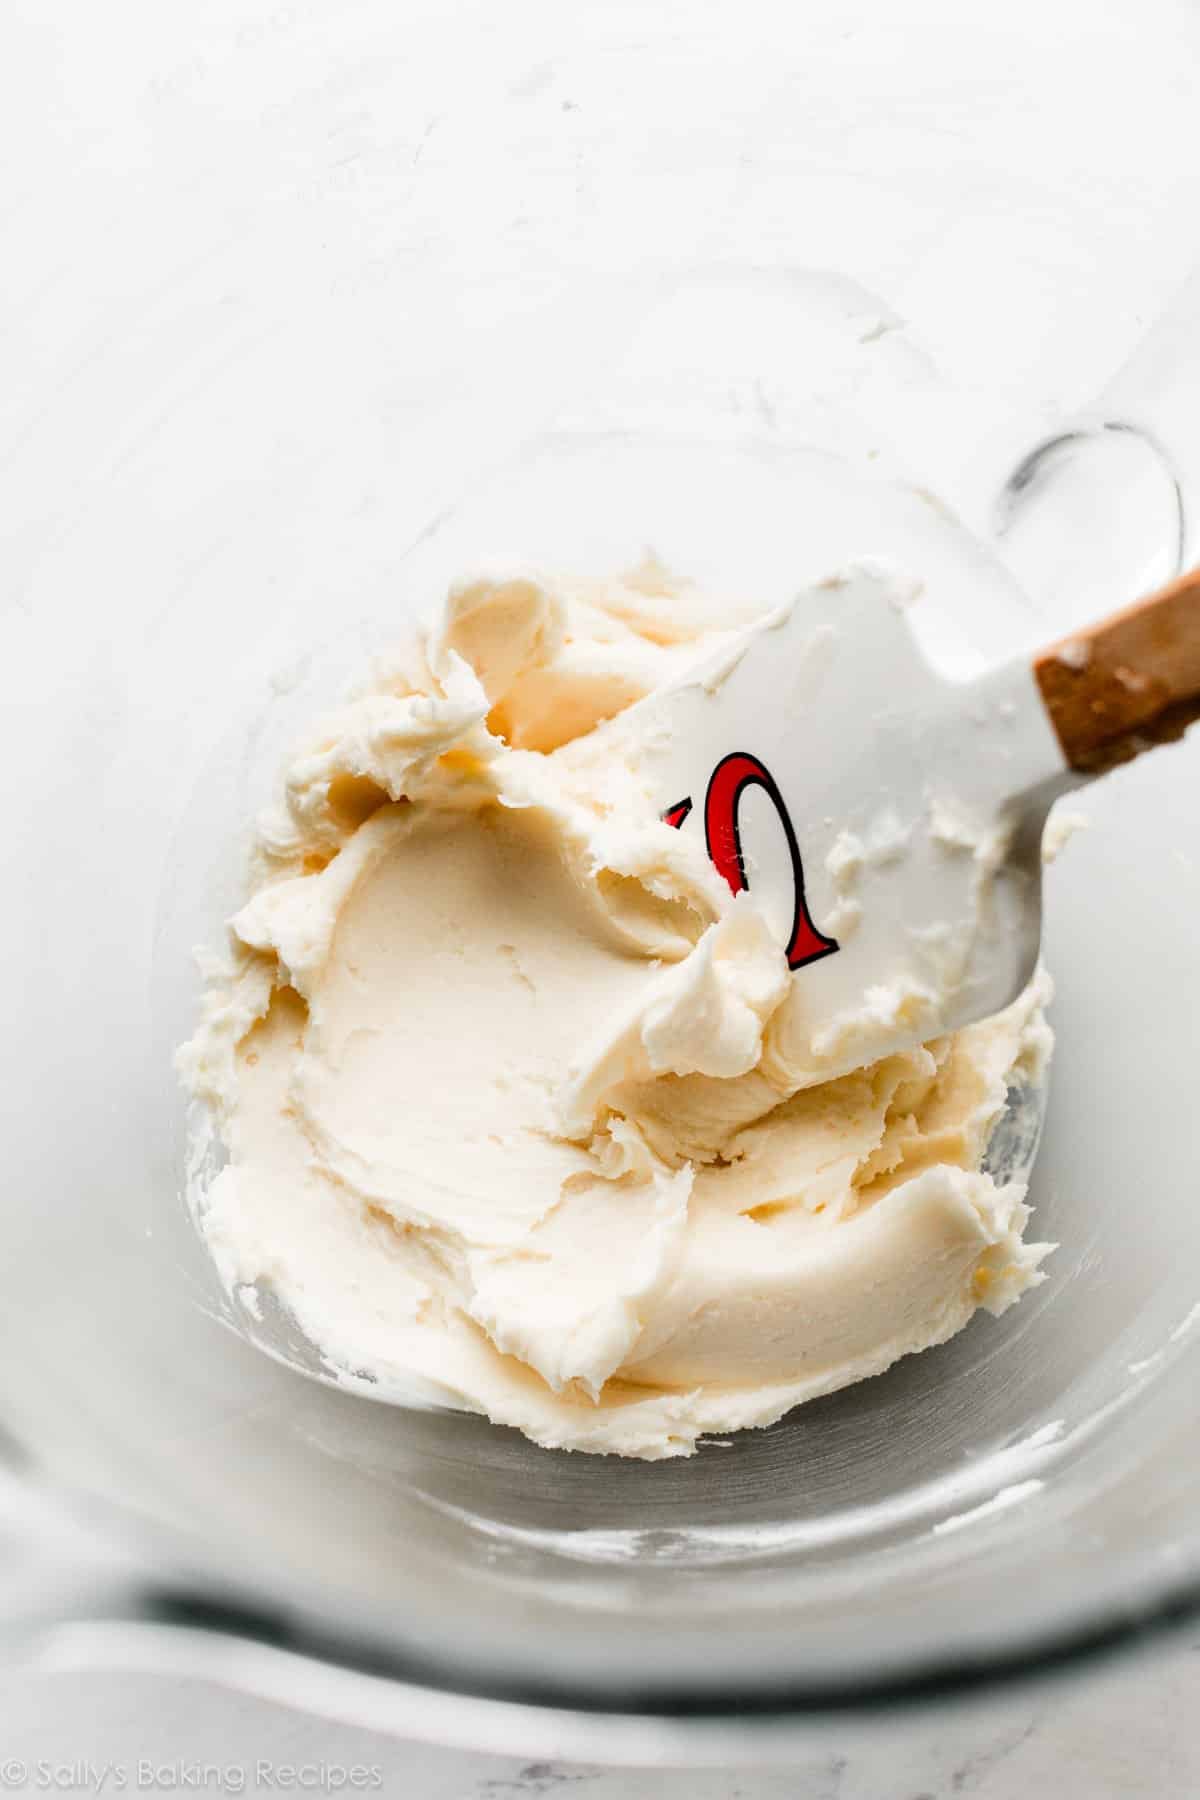
While the cookies are cooling, make the filling. Did you know that Oreo creme filling is spelled that way because there’s no dairy in the filling, so they can’t call it “cream”? But in this homemade version, we’re using a mix of butter and shortening. Which I think makes this filling, well, the crème de la crème of creme fillings!
Why shortening? Using half butter and half shortening in the filling creates a flavorful cream that’s sturdy, thick, and not overly rich. It’s more comparable to the store-bought filling. If you prefer to skip the shortening, use all butter. The filling won’t taste as similar to the packaged kind.
I use a round piping tip to pipe the filling. You could also just spread it on with a knife or icing spatula.
Absolutely. To make these homemade Oreos “Double-Stuf” style, simply double the filling and pipe/spread extra on the cookies. Keep in mind that the more filling you use, the more it will squish out the sides when you take that first bite.
No. Do not use these homemade Oreos in recipes that call for Oreo cookies, such as an Oreo cookie crust. These are just for eating and not repurposing into another baking recipe.
Yes! Add in 1/4 teaspoon of your favorite flavor extract, and/or add a couple drops of gel food coloring if you wish. Peppermint extract + green food coloring = mint Oreos!
P.S. Do you like Nutter Butters? Try my peanut butter cookie sandwiches next, for another homemade version of a familiar packaged cookie. Or check out these copycat desserts to make at home for more ideas!
Print
Homemade Oreos
- Prep Time: 35 minutes
- Cook Time: 9 minutes
- Total Time: 2 hours (includes cooling)
- Yield: 20-21 sandwich cookies
- Category: Cookies
- Method: Baking
- Cuisine: American
Description
Originally published on my website in 2013, my homemade version of store-bought Oreo cookies feature two dark cocoa cookies with a sweet cream filling. With only 10 minutes of dough-chilling time and no rolling pin required, making a batch of these iconic sandwich cookies from scratch is quicker and easier than you think!
Ingredients
Oreos
- 1 and 1/4 cups (156g) all-purpose flour (spooned & leveled)
- 1/2 cup (41g) unsweetened Dutch-process cocoa powder (see Note if using natural cocoa)
- 1 teaspoon baking soda
- 1/8 teaspoon salt
- 1/2 cup (8 Tbsp; 113g) unsalted butter, softened to room temperature
- 3/4 cup (150g) granulated sugar
- 1/4 cup (50g) packed light brown sugar
- 1 large egg, at room temperature
- 1 teaspoon pure vanilla extract
Cream Filling
- 1/4 cup (4 Tbsp; 56g) unsalted butter, softened to room temperature
- 1/4 cup (48g) vegetable shortening, room temperature
- 1 and 3/4 cups (210g) confectioners’ sugar
- 1 teaspoon pure vanilla extract
Instructions
- Make the cookies: Whisk the flour, cocoa powder, baking soda, and salt together in a large bowl. Set aside.
- Using a handheld or stand mixer fitted with a paddle attachment, beat the butter, granulated sugar, and brown sugar on medium-high speed until combined and creamed, about 3 minutes. Scrape down the sides and the bottom of the bowl as needed. (Here’s a helpful tutorial if you need guidance on how to cream butter and sugar.) Beat in the egg and vanilla extract. Pour the dry ingredients into the wet ingredients and beat on low speed until a thick dough forms.
- Line large baking sheets with parchment paper or silicone baking mats. Roll the dough into small balls, 2 teaspoons or 13–15g of dough each. Place the cookie dough balls on the lined baking sheets, and feel free to squeeze as many as you can onto one (since you’re refrigerating these and may not have space in your refrigerator for multiple baking sheets). Using the flat bottom of a measuring cup or drinking cup, flatten the balls into discs that are about 1.5 inches in diameter (doesn’t need to be exact). Place the baking sheet(s) in the refrigerator for just 10 minutes to help set the cookies’ shape.
- Meanwhile, preheat oven to 350°F (177°C).
- Space the cold flattened cookies out to be 3 inches apart on the baking sheets. There will be a couple batches of these cookies, so keep the shaped cookies in the refrigerator while the first batches bake. Bake for 8–10 minutes, or until the edges appear set and the tops are slightly cracking. Remove from the oven and allow to cool for at least 5 minutes on the baking sheets before transferring to a wire rack to cool completely.
- While the cookies are cooling, make the filling: In a small bowl using a handheld or stand mixer with a paddle attachment, beat the butter and shortening together on high speed until totally combined and creamy, about 2 minutes. Add the confectioners’ sugar and vanilla. Beat on low speed for 1 minute and then switch to high and beat for 1–2 more minutes until creamy and combined. The filling is very thick.
- Spread or pipe the cream filling on the bottom sides of half of the cookies. I usually use Wilton piping tip #12. Sandwich the remaining unfrosted cookies on top of the cream filling, pressing down gently.
- Cookies stay fresh covered at room temperature for up to 1 week.
Notes
- Make Ahead & Freezing Instructions: Cream filling can be made ahead up to 2–3 days ahead of time. Cover and refrigerate, and then bring to room temperature before using on the cookies. Filled cookie sandwiches freeze well for up to 3 months. Thaw overnight in the refrigerator and bring to room temperature, if desired, before serving. I don’t recommend freezing the cookie dough, because even after thawing, the cookies won’t flatten out very much.
- Special Tools (affiliate links): Glass Mixing Bowl | Whisk | Electric Mixer (Handheld or Stand) | Baking Sheets | Silicone Baking Mats or Parchment Paper | Cooling Rack | Piping Bag (Reusable or Disposable) and Wilton Piping Tip #12 (if piping filling)
- Dutch-Process Cocoa vs. Natural Cocoa: For the darkest color and best cocoa flavor, use Dutch-process cocoa powder. If you make these with natural cocoa, the cookies will rise more, so they will be puffier. You will also lose some of the flavor, and the cookies will be lighter in color. For best results that look and taste more like Oreo cookies, I recommend Dutch-process cocoa. I usually use Ghirardelli brand, this from NuNaturals, this from Rodelle, or this Dutched/black cocoa blend from King Arthur Baking. You could also plain black cocoa, which is heavily Dutched/extra-alkalized cocoa. I really like this brand.
- Shortening: Using half butter and half shortening in the filling creates a flavorful cream that’s sturdy, thick, and not overly rich. It’s more comparable to the store-bought filling. If you prefer to skip the shortening, replace with butter (use 113g/8 Tbsp of butter total). The filling won’t taste as similar to the packaged kind.
- Mint Cream Filling: When you add the vanilla extract to the cream filling, also add 1/4 teaspoon peppermint extract and 2 drops of liquid or gel green food coloring.
- Be sure to check out my top 5 cookie baking tips AND these are my 10 must-have cookie baking tools.


Reader Comments and Reviews
Do you think the chocolate cookies would work in an old-fashioned icebox zebra cake? I think the chocolate thins I’ve always used have been discontinued & I’m trying to find a good substitute.
Hi Annie! While these cookies are crispier than most drop-style cookies, they’re not *quite* as crispy and crunchy as a traditional Oreo cookie or chocolate wafer-type cookie. We’re unsure how well they would hold up in an icebox cake but fear they might get a bit soggy.
These are delicious and will be adding to my favorite cookies to make. One thing I noticed was that my cooked cookies seemed to have more cracked edges than what was pictured on the site. I rolled the dough balls and timed them in the refrigerator for pre baking. I measured all ingredients with my scale. I did add a teaspoon and a half of espresso powder.
Any tips or thoughts about the cracking? Thank you!
Hi Kendra! When flattening the Oreos in step 3, make sure to do so very gently. You can smooth out any cracks that form when flattening the cookies before baking.
Hi! I haven’t tried this recipe for classic Oreos yet, but I really like all your recipes that I have tried. I was wondering if you’ve got a DYI version for the Golden Oreos… Thank you!
Hi Dana, we don’t have a homemade golden Oreo recipe at this time. Let us know if you find one you love!
I love the peanut butter and fudge Oreos but refuse to buy them anymore. I’m going to try these and just saw you have a nutter butter version, so will try that filling am also making them sugar free with allulose and swerve anyone tried and have any tips?
Hi Lori! We’d love to help but we are not trained in baking with sugar substitutes. For best taste and texture (and so you don’t waste your time trying to adapt this recipe since it may not work properly), it may be more useful to find a recipe that is specifically formulated for sugar substitutes. Thank you!
Made these except I didn’t make the cream part. My husband eats cookies 6-7 at a time so I figured if I stuffed them with cream he would sill consider each one as one cookie instead of two!
The chocolate crispy cookie is delicious on its own and I put some home made vanilla ice cream between 2 of them and it is delightful, but don’t tell him!
Here’s my tip for these cookies. After placing the dough balls on the cookie sheet just prior to baking, cover them with another piece of parchment paper and a same size cookie sheet. Press down with uniform pressure across the cookie sheet. They all flatten at the same time to a uniform thickness. Happy Baking!
These are so yummy! Easy to follow recipe. I got started and realized I didn’t have an egg, so I used 3 1/2 tbsp of aquafaba and they seem to have come out just fine. I also ran out of vanilla before I got to the cream filling, so I added some crushed freeze-dried strawberries to get some flavor and color. So good! I’m calling them “more-eos” because they ended up bigger and better than regular Oreos. 🙂
How many cookies does this recipe make?
Hi Sarah, this recipe yields 20-21 sandwich cookies.
Could I make these cookies without the shortening?
You bet! If you prefer to skip the shortening, replace with butter (use 113g/8 Tbsp of butter total). The filling won’t taste as similar to the packaged kind.
Hi, I can’t wait to try these! I was wondering if you have any Oreo cake recipes? My son wants one for his birthday but I don’t want use one with jello and Oreos with all the unnecessary ingredients.
Hi J! Here’s our favorite Oreo cake recipe – happy baking!
I replaced the white flour with 1 cup whole wheat, the sugar with stevia and the shortening with more unsalted butter. I also used the same standing mixer bowl for mixing the cookie dough and the icing because I did not feel like washing it. So, the icing came out light brown. It worked very well! Everyone loved it!
Can I freeze the cookies or should I freeze just the wafers unstuffed?
Hi Janice, Filled cookie sandwiches freeze well for up to 3 months. Thaw overnight in the refrigerator and bring to room temperature, if desired, before serving.
You should make a video for this one. I think it would make it much easier.
I like this and will try it but not the shortening. Too much stiff in it that I do t eat. Will try all butter.
Excellent!! The entire family loved this cookie. I am sure I’ll be making them again soon. The recipe was easy to follow and came together just as you said it would. I really appreciate your guidance, tutorials and visuals that accompany your recipes.hsnks much.
My 9yo made these for a homeschool project fair. She compared this recipe with the ‘original’ cookies. She had a taste test and spoke about which ingredients were used in each. Every single person said the homemade tasted better! Thank you!
I made these cookies today and I thought the chocolate cookies were fantastic. I followed the instructions as they were written, and they turned out perfectly. The frosting however, has a very weird texture, is difficult to spread and while sweet really didn’t have any flavor. Maybe it needed more vanilla extract. I would make the cookies again, but I would try and find a different frosting.
Amazing recipe! I have made these twice now and my family and friends have loved them, in preparation for Valentine’s Day I put dehydrated strawberries in the frosting yesterday and that was also a big hit! Thanks so much for the perfect recipes!
One of our favorites. My kids love these! The only thing I change is all butter for the filling. This frosting is so good!
One of my favorite sandwich cookies! I prefer halving the frosting for my perfect cookie/frosting ratio!
Soooo good! They really taste like oreos. I used neutral coconut oil as I didn’t have vegetable shortening. They turned our perfect
The recipe of my dreams! I was that weird kid who unscrewed the oreo, not to eat off the frosting, but rather to scrape it off and discard it. I love that dark, rich, NOT TOO SWEET cookie. Impossible to find as a stand alone. Thank you!
These are delicious!! I made the original and then with mint like you suggested. I will definitely make my own Oreos from now on.
Would this cookie be crisper if you use shortening instead of butter?and would the shortening make the cookie lest flavourful? iI did really like the recipe but i was trying to make a crisper version for the bottom of a chocolate cheesecake. Thank you.
Hi Sharon, we use this oreo crust for our cheesecakes. Enjoy!
They came out great I swapped to butter only for the filling, and added enough extra powdered sugar until it was a near play dough texture so the kids could still peel the middle off the way they do with oreos. The cookies dough was really sticky and came out similar to a soft chocolate cookies and didn’t have the crunch I cooked them for 20 minutes at 320°f for the second batch but I think I’ll try increasing the flour next time to try and change the consistency. Oh my goodness I used a custom stamp after taking them out the oven to have a imprint so cute.
Can I roll out this dough and use a cookie cutter? I make mini’s and like the uniformity.
Hi SS! This dough wouldn’t be best to roll out. You could try using our chocolate sugar cookie dough instead.
can i use all butter in the filling for the shortening?
You bet! If you prefer to skip the shortening, replace with butter (use 113g/8 Tbsp of butter total). The filling won’t taste as similar to the packaged kind.
I used regular unsweetened cocoa and actually like the cookie. For me, the issue is the filling. It is just so very sweet (which I usually like), but there’s no flavor and I think it might actually better to stick to all butter, rather than using the veggie
This was the first recipe I tried and my family loved it and always asked for seconds!
We really loved these cookies, except for my great granddaughter who only likes a hard cookie. Can you suggest what changes I can make to the cookie recipe or a different cookie that has the hard outer cookie. Your recipes are not only delicious and easy to follow but the attention to details you put into your recipes are superior to most other recipe writers. Thank you.
Hi Zazzi, you could try using our chocolate sugar cookie recipe instead—although they are still quite soft (certainly not crunchy like traditional Oreos) and you’ll lose some of that authentic Oreo taste. Glad they were a hit!
The recipe was a success, made it gluten free and used date sugar, kids loved it, thanks so much!
How many days can I make the dough ahead of time? I have to make this recipe x6 for my homeschooling group. Could I make it the dough ahead of time? Also does it work if I double the recipe to save time?
Hi Kaitlynn, this dough is best made same day, as we want the cookies to spread quite a bit on the pan. You can make the cream filling ahead of time (see recipe notes for details) and baked and filled cookie sandwiches freeze well for up to 3 months. You can double the recipe. Hope this helps!
Can I bake them a day ahead?
I’m using them to pipe moon phases on or I would freeze them.
Hi Kaitlynn, we can’t see why not! Keep the cookies covered at room temperature until you’re ready to pipe the cream. See the recipe notes for make-ahead instructions for the cream filling if you’re interested!