

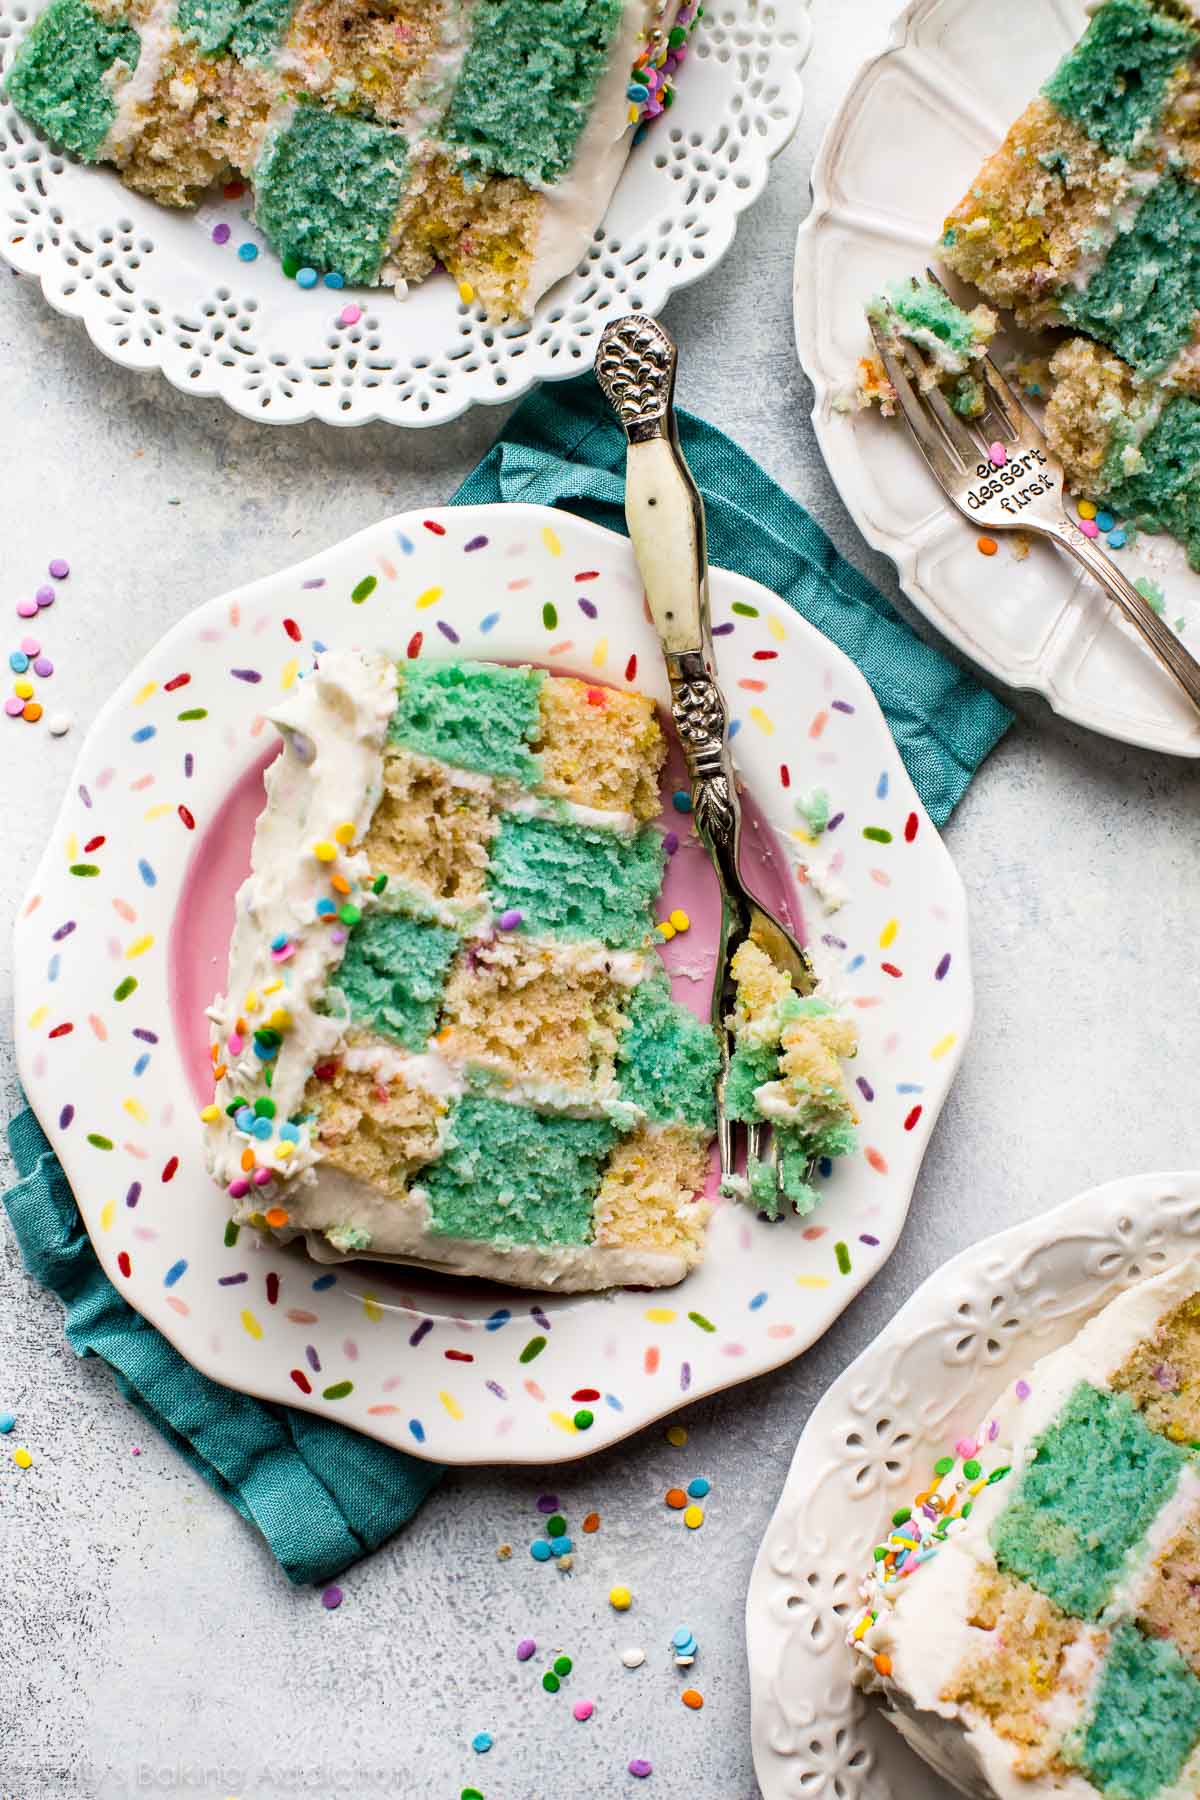
Pure and simple vanilla cake. Can you really beat 4 layers of fluffy, sweet, and buttery dessert goodness? The answer is yes. Y-e-s, you can. Twist it all up into one seriously mesmerizing checkerboard. So much fun to cut into because the real party is INSIDE the cake!
Checkerboard cake probably seems a like a huge question mark to most. How? Where? WHYYYYY? Some crazy special cake pan? What is going on?! I’m always majorly impressed when I see them, but had no idea how laughably simple they are to prepare. And I think you’ll be surprised too!
And… another side note. Can I admit to you that I used to have zero cake and cupcake decorating skills? I’ve never taken a cake decorating class. I’m no where near as talented as some of you, but here’s why I’m telling you all this: if you feel how I did 1 year ago… frustrated, intimidated, and confused by producing beautiful cake creations… then let me encourage you to just TRY. Just start trying. You’ll get there. Just have your family eat the uglies. (I had a lot of uglies.)
There are a few step-by-step pictures I want to show you, but before we get to all that… watch to see how it all comes to life.
Not so scary, right? Also… I had my friend Ashlee shoot this video for me. And her video version is obviously so much prettier than my own cake (these pictures). Told you… I’m still learning!
Let’s get started on the rundown. You’ll make a four layer vanilla cake. The only thing better than the charming geometric design is the cake’s homemade flavor. I love it. It’s similar to my piñata cake recipe, though I opted for 5 whole eggs instead of whole eggs + egg yolks. It makes things easier and I sort of can’t really tell difference. No offense 2015 Sally.
You’ll need at least two colors of cake to make the checkerboard design. So, divide the batter in half. The batter is about 8 cups total, so 4 cups will be 1 color and 4 cups will be another color. My colors were a pretty aqua shade (the teal color in this kit) and funfetti. Funfetti is a color, right? You can use any two colors you like or only tint half of the cake a color. Like pink + plain batter OR purple + green batter OR funfetti + blue (like I did). Honestly, whatever you want. Perfect for showers, weddings, themed parties, team colors, etc. Heck, you could make a new checkerboard cake every week. I’m sure your skinny jeans would love it.
The frosting is homemade as well. Sweet, silky, buttery, and easy to work with.
Once you have your 4 cake layers baked and the frosting prepared, assemble the cake. This is the fun part and the video above is a wonderful visual to walk you through.
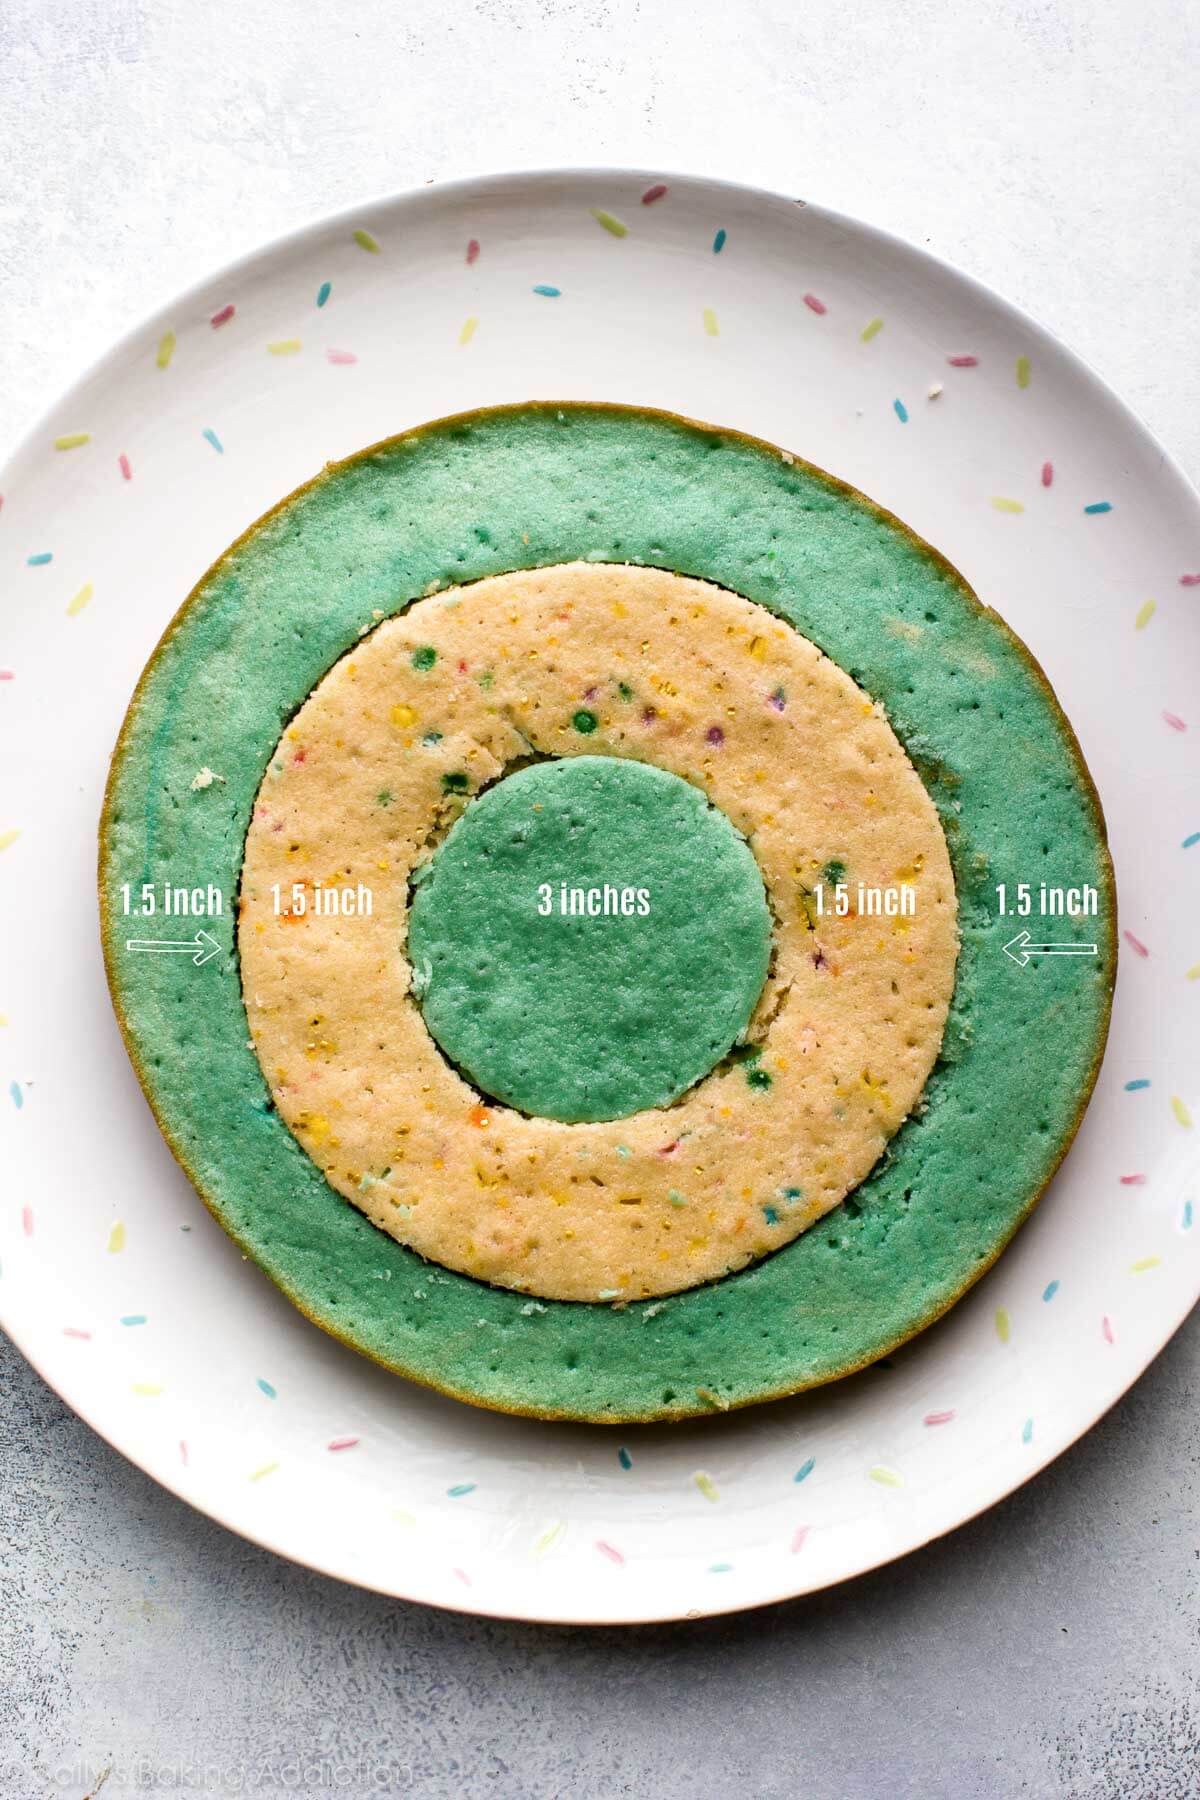
Some Cake Math
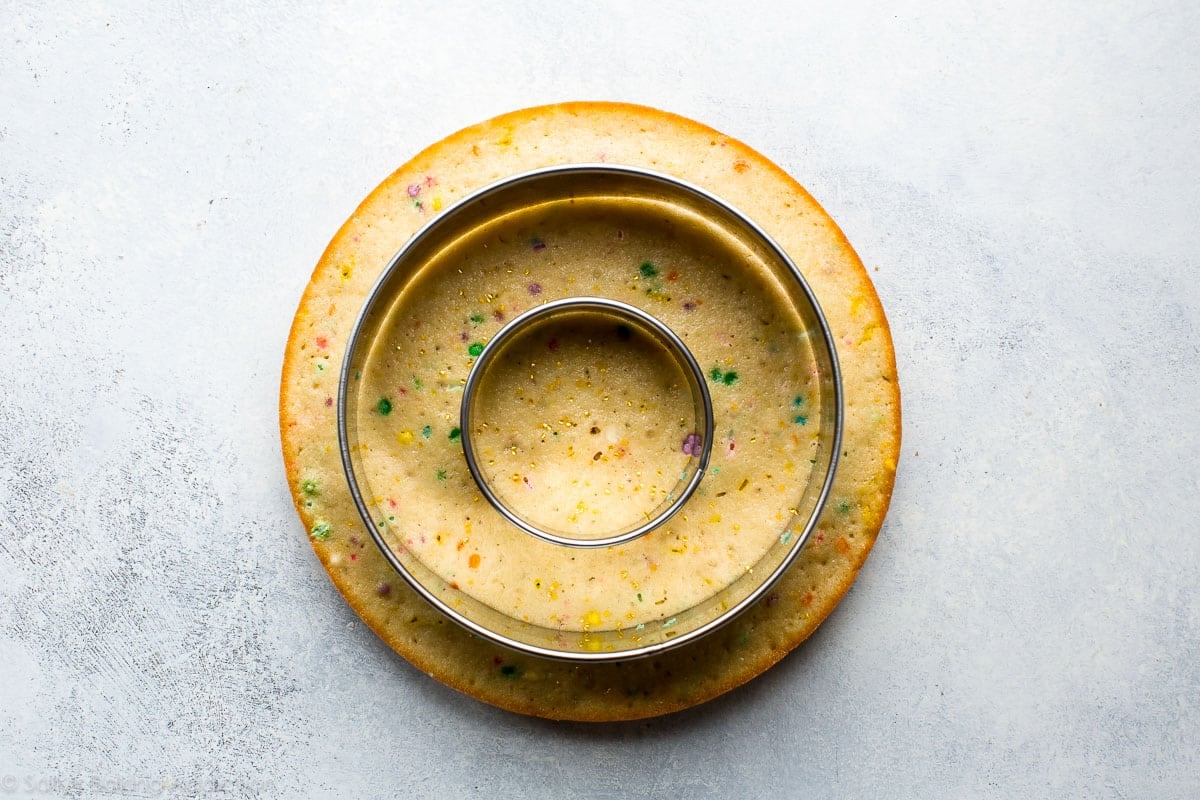
You’ll need a 6 inch cookie cutter and a 3 inch cookie cutter. These sizes are perfect for 9 inch cakes because it wouldn’t make any sense to have, say, a 5 inch cookie cutter and a 2 inch cookie cutter. The checkerboard squares wouldn’t be even all throughout the cake. 3 + 6 ensures the squares are 1.5 inches each. (See photo above.) Alternatively, you could make 6 inch cakes and use 4 + 2 inch cookie cutters. However, this homemade batter wouldn’t fit into smaller pans. So 9 + 6 +3 is best using this batter and frosting.
Does that all make sense?
Now you have to just put the puzzle together. You will have 4 3-inch circles, 4 6-inch circles (well, the outlines since the centers are missing), and 4 9-inch circles (which, again, are just a thin outline of cake since the centers are missing). Place the 6 and 3 inch cakes inside the 9 inch cakes, alternating colors. Layer it up with frosting then frost all around the sides.
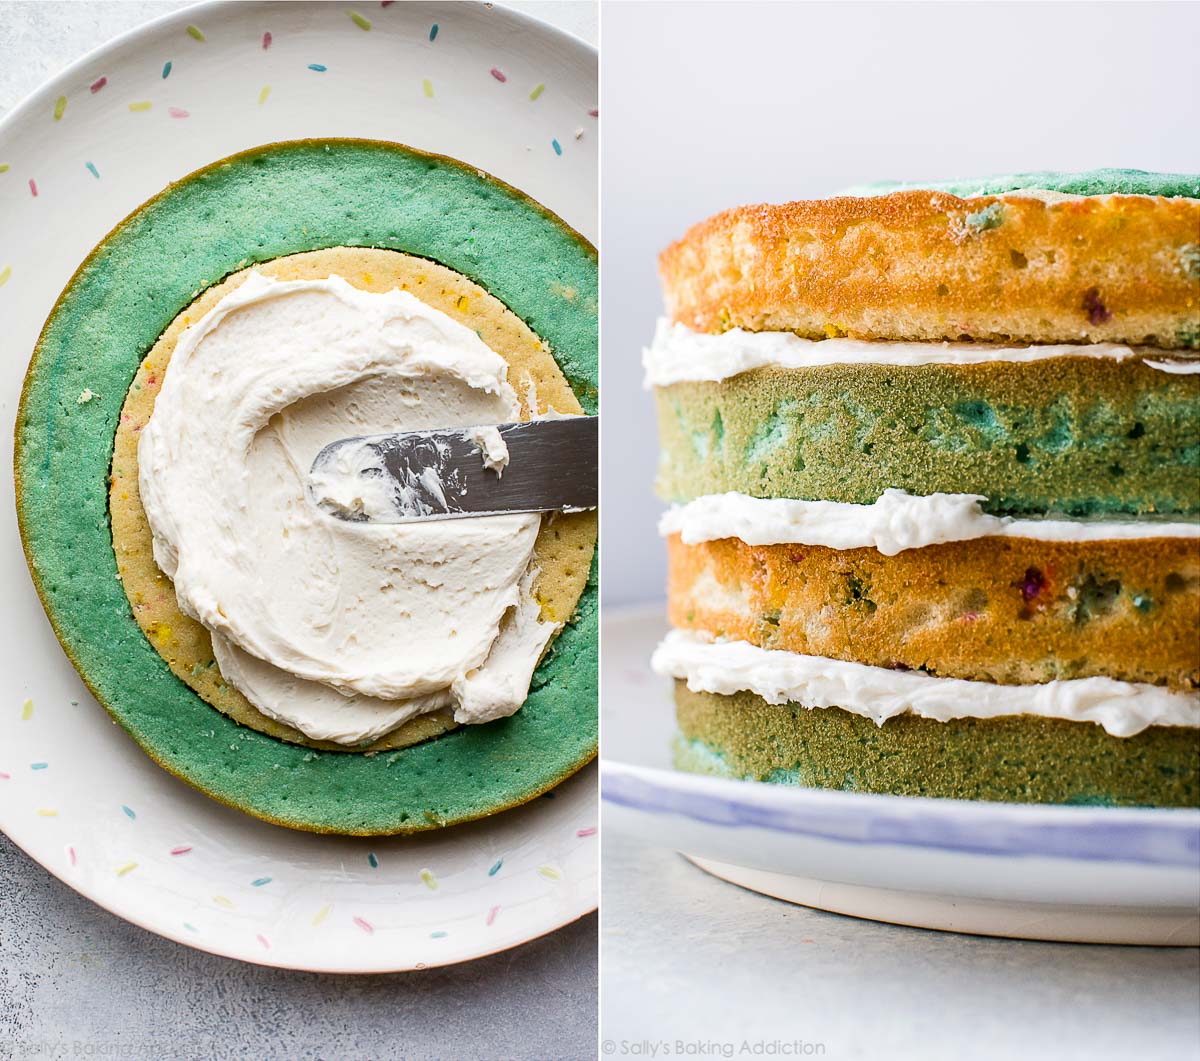
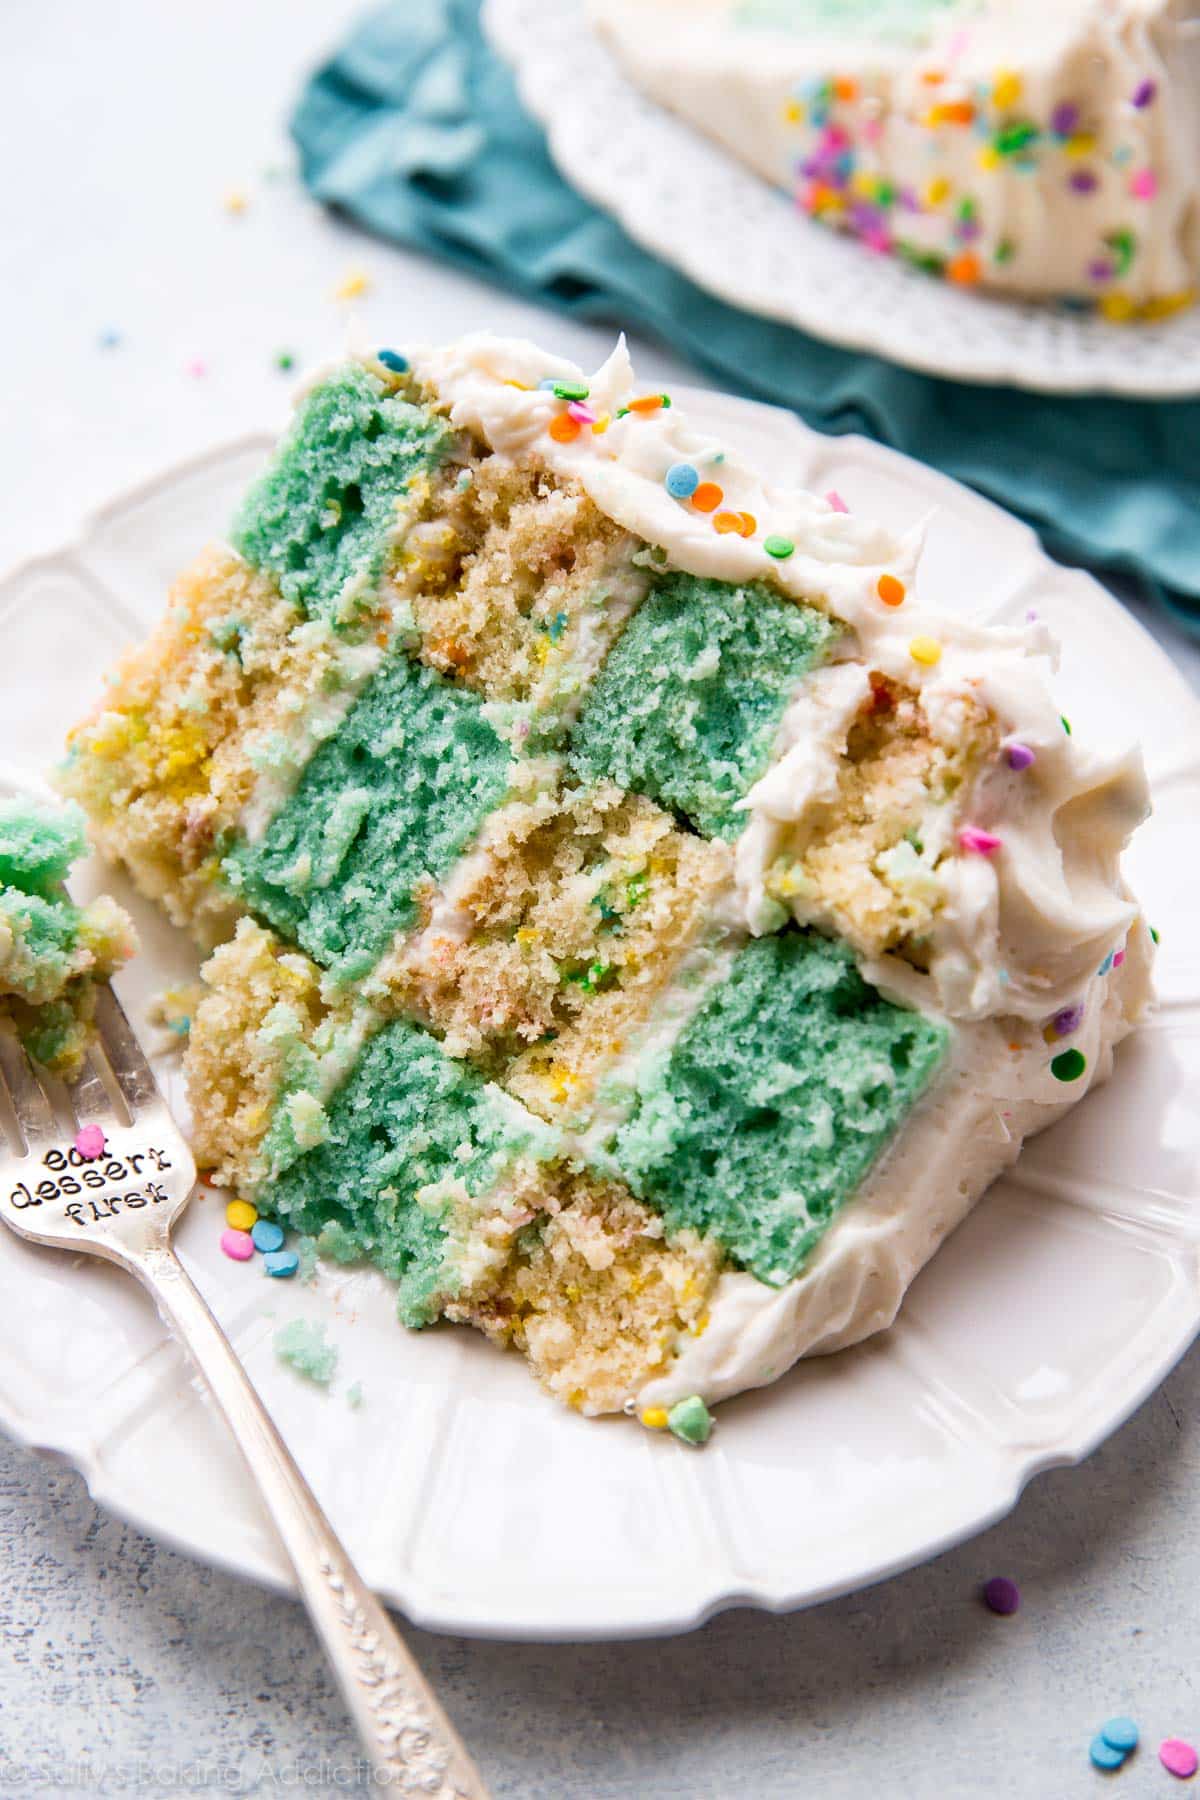
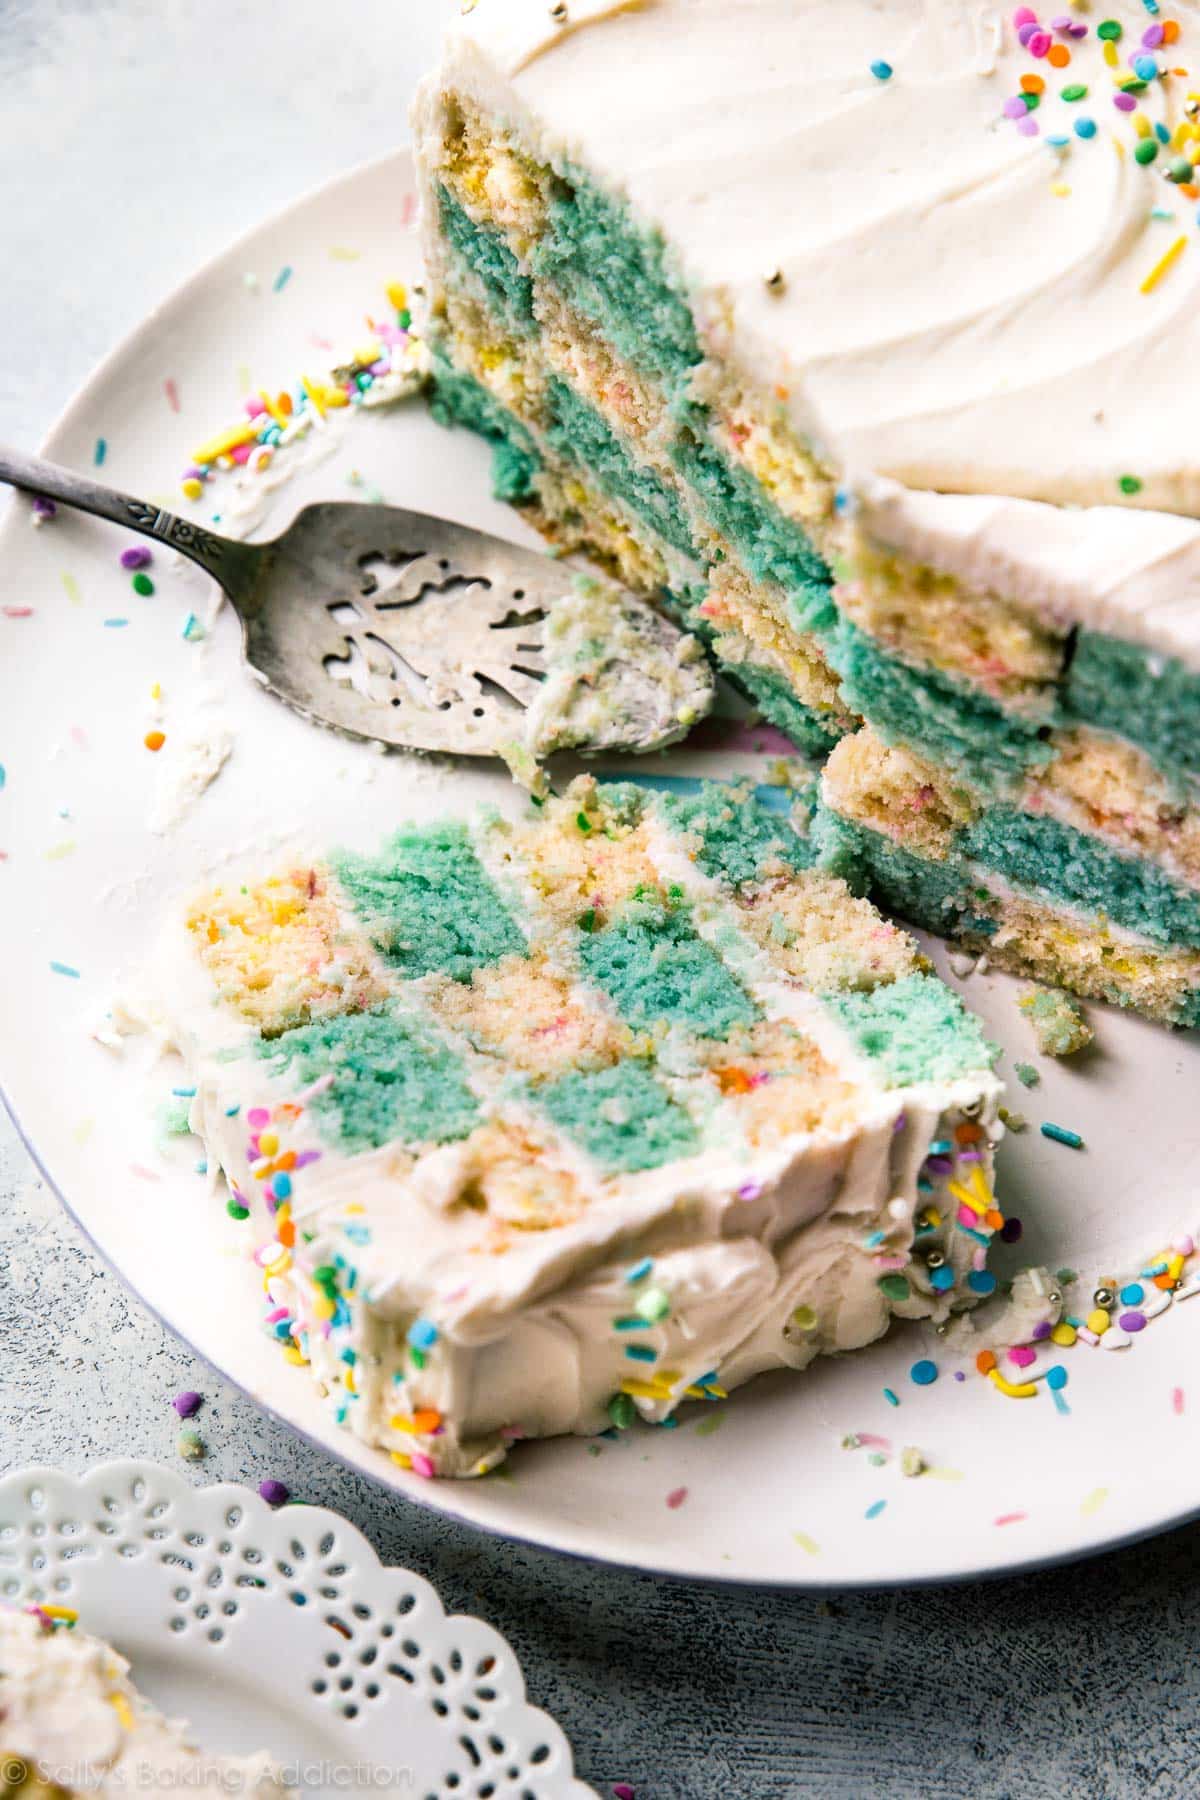
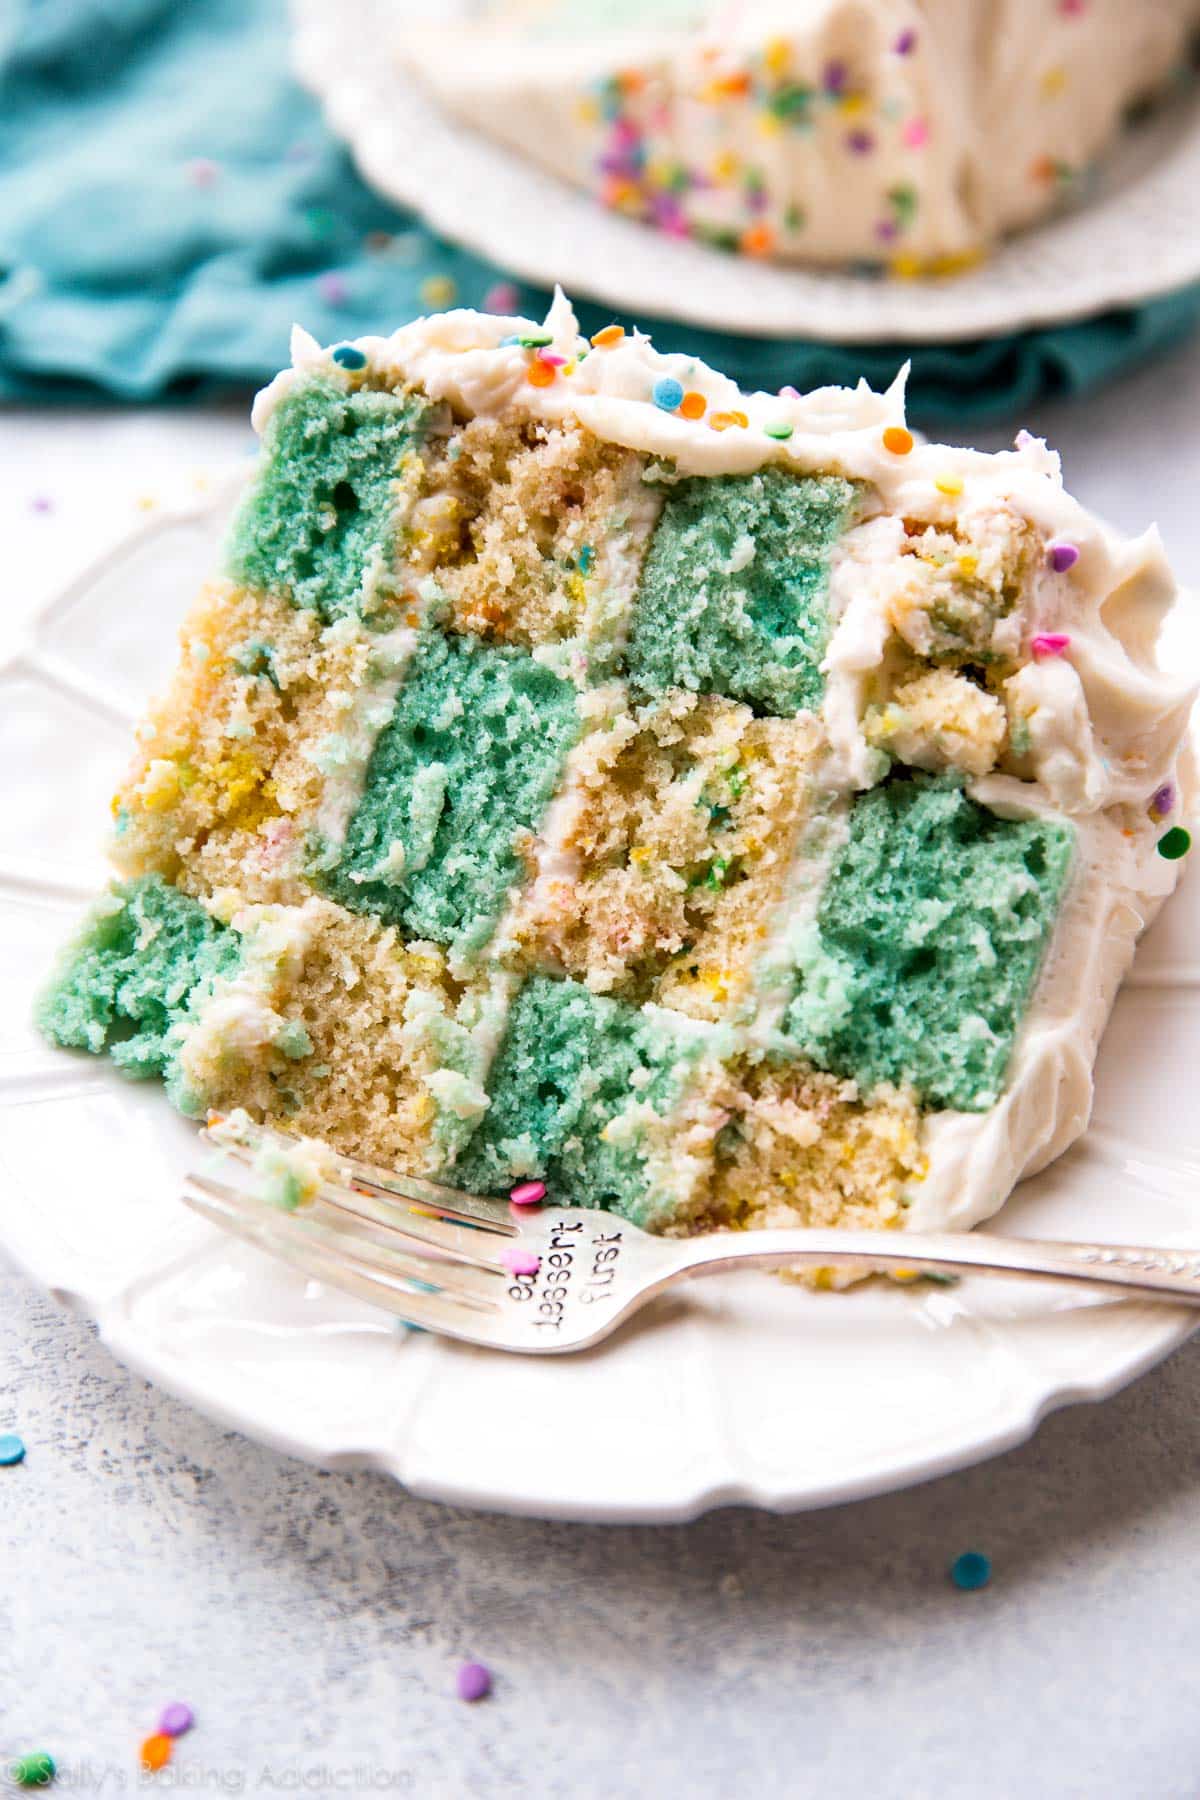
Cutting into the cake reveals the completely unexpected, yet whimsical and seriously impressive design. It’s absolutely gorgeous. A showstopper, indeed.
Look at you! You just created a cake masterpiece. If I can do this, so can you. And you can try this zebra cake next!
See Your Checkerboard Cakes!
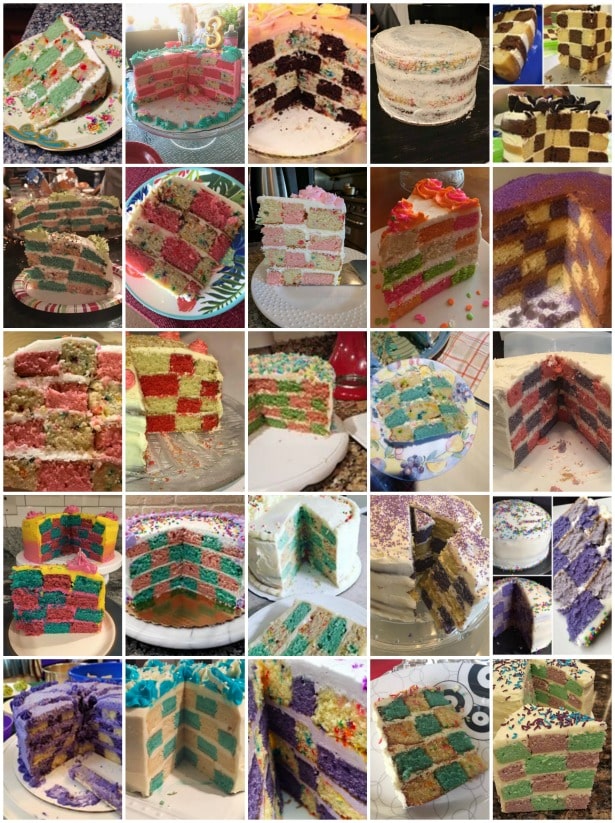
Many readers tried this recipe as part of a baking challenge! Feel free to email or share your recipe photos with us on social media. 🙂
Print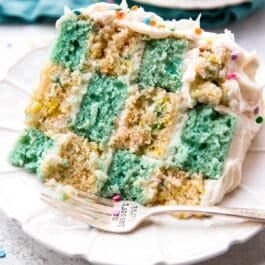
Checkerboard Cake
- Prep Time: 4 hours
- Cook Time: 25 minutes
- Total Time: 4 hours, 25 minutes
- Yield: 10-12 servings
- Category: Cake
- Method: Baking
- Cuisine: American
Description
Checkerboard cake features homemade vanilla layer cake and vanilla buttercream in a checkerboard design. Impress your guests when you reveal the beauty inside this impressive cake!
Ingredients
- 3 and 3/4 cups (443g) sifted all-purpose flour* (spooned & leveled)
- 2 teaspoons baking powder
- 3/4 teaspoon baking soda
- 1 teaspoon salt
- 1 and 1/2 cups (340g) unsalted butter, softened to room temperature
- 2 cups (400g) granulated sugar
- 5 large eggs, at room temperature
- 3 teaspoons pure vanilla extract
- 1 and 3/4 cups (420ml) buttermilk, at room temperature*
- 1/3 cup (50g) rainbow sprinkles (plus more for garnish)
- 2–3 drops teal food coloring (or any color)
Vanilla Buttercream
- 1 and 3/4 cups (396g) unsalted butter, softened to room temperature
- 7 cups (840g) confectioners’ sugar
- 6 Tablespoons (90ml) heavy cream
- 1 teaspoon pure vanilla extract
- 1/4 teaspoon salt
Instructions
- Preheat oven to 350°F (177°C). Grease four 9-inch cake pans, line with parchment paper rounds, then grease the parchment paper. Parchment paper helps the cakes seamlessly release from the pans. (If it’s helpful, see this parchment paper rounds for cakes video & post.)
- Make the cake: Whisk the flour, baking powder, baking soda, and salt together in a large bowl. Set aside. Using a handheld or stand mixer fitted with a paddle attachment, beat the butter on high speed until smooth and creamy—about 1 minute. Add the sugar and beat on high speed for 5 full minutes until creamed together fairly well. Scrape down the sides and up the bottom of the bowl with a silicone spatula as needed. On medium-high speed, add 1 whole egg at a time, beating well after each addition. Beat in the vanilla extract. Scrape down the sides and up the bottom of the bowl with a silicone spatula as needed.
- With the mixer on low speed, add the dry ingredients in three additions alternating with the buttermilk, beginning and ending with the dry ingredients, and mixing each addition just until incorporated. Do not overmix this batter. The batter will be smooth, velvety, and slightly thick.
- There will be 8 cups of batter total—transfer half of it to another bowl. Stir in 1/3 cup sprinkles into half and the food coloring into the other half. Pour/spread batter evenly into prepared cake pans.
- Bake for around 25 minutes or until the cakes are baked through. To test for doneness, insert a toothpick into the center of the cake. If it comes out clean, it is done. Allow cakes to cool completely in the pans set on a wire rack. The cakes must be completely cool before frosting and assembling.
- Use the video above for a visual of this step. Using a 6-inch round cookie cutter (it’s large!), cut a circle into each cooled cake. Using a 3-inch round cookie cutter, cut a circle out of the 6-inch circle. You will have 4 3-inch circles, 4 6-inch circles (the outlines), and 4 9-inch circles (which are just a thin outline of cake since the centers are missing).
- Make the frosting: In a large bowl using a hand-held mixer or stand mixer fitted with a whisk or paddle attachment, beat the butter on medium speed until creamy—about 2 minutes. Add confectioners’ sugar, cream, vanilla extract, and salt with the mixer running on low. Increase to high speed and beat for 3 full minutes. Add more confectioners’ sugar if frosting is too thin, more cream if frosting is too thick, or a pinch more of salt if frosting is way too sweet.
- Assemble the cake: Again, use the video above for a visual of this step. Place one blue 9-inch outline of cake onto a serving plate, cake stand, or cake turntable. Fill with a funfetti 6-inch circle, then a blue circle. Spread frosting evenly on top. Repeat with next layer: 9-inch funfetti filled with 6-inch blue then 3-inch funfetti. Spread frosting evenly on top. Repeat next 2 layers. Spread the remaining frosting all over the top and sides. Decorate top and sides of cake with extra sprinkles, if desired.
- Refrigerate the cake for at least an hour before slicing and serving. The time in the refrigerator ensures a neater cut!
- Cover and store leftover cake at room temperature for 1-2 days or in the refrigerator for up to 1 week.
Notes
- Make Ahead Instructions: The cake layers can be baked, cooled, and covered tightly at room temperature overnight. Likewise, the frosting can be prepared then covered and refrigerated overnight. Assemble and frost the cake the next day when you are ready to serve. Frosted cake can be frozen up to 2 months if you have room in the freezer. Thaw overnight in the refrigerator and bring to room temperature before serving. It tastes much better fresh though!
- Special Tools (affiliate links): 9-inch Round Cake Pans | Glass Mixing Bowls | Whisk | Electric Mixer (Handheld or Stand) | 6-inch Round Cookie Cutter | 3-inch Round Cookie Cutter | Cake Stand or Cake Turntable | Icing Spatula | Gel Food Coloring
- Flour: Sift flour before measuring.
- Buttermilk: If you don’t have buttermilk, you can make a DIY buttermilk substitute. Add 1 Tablespoon of white vinegar or lemon juice to a liquid measuring cup. Then add enough whole milk to the same measuring cup until it reaches 1 and 3/4 cups. (In a pinch, lower fat or nondairy milks work for this soured milk, but the cake won’t taste as moist or rich.) Stir it around and let sit for 5 minutes. The homemade “buttermilk” will be somewhat curdled and ready to use in the recipe.













Reader Comments and Reviews
i tried this with pink and white, and i made pink batter BRIGHT pink, cause i know color kinda cooks out or smth. but it turned out kinda gray. any idea why?
That can often happen with pink batters. Did you use gel food coloring or liquid food coloring? Gel food coloring is best for the most potent color. When tinting batters pink, we’ll often actually use a red gel food coloring, since some of the color can bake out. We hope this helps for next time!