

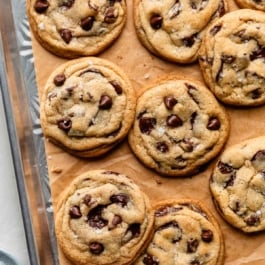
These brown butter chocolate chip cookies take a familiar favorite and elevate it with rich, nutty brown butter. Browning the butter adds deep caramel-like notes that pair perfectly with melty chocolate chips and soft, chewy centers. Note that this recipe requires 2 chill times, but I promise these cookies are worth the wait!
I originally shared this recipe in 2014, and I’ve updated it with new photos, clearer instructions, and more success tips. One minor but helpful change: shape the cookie dough balls before chilling instead of after, which makes the process easier and helps the cookies bake up evenly.
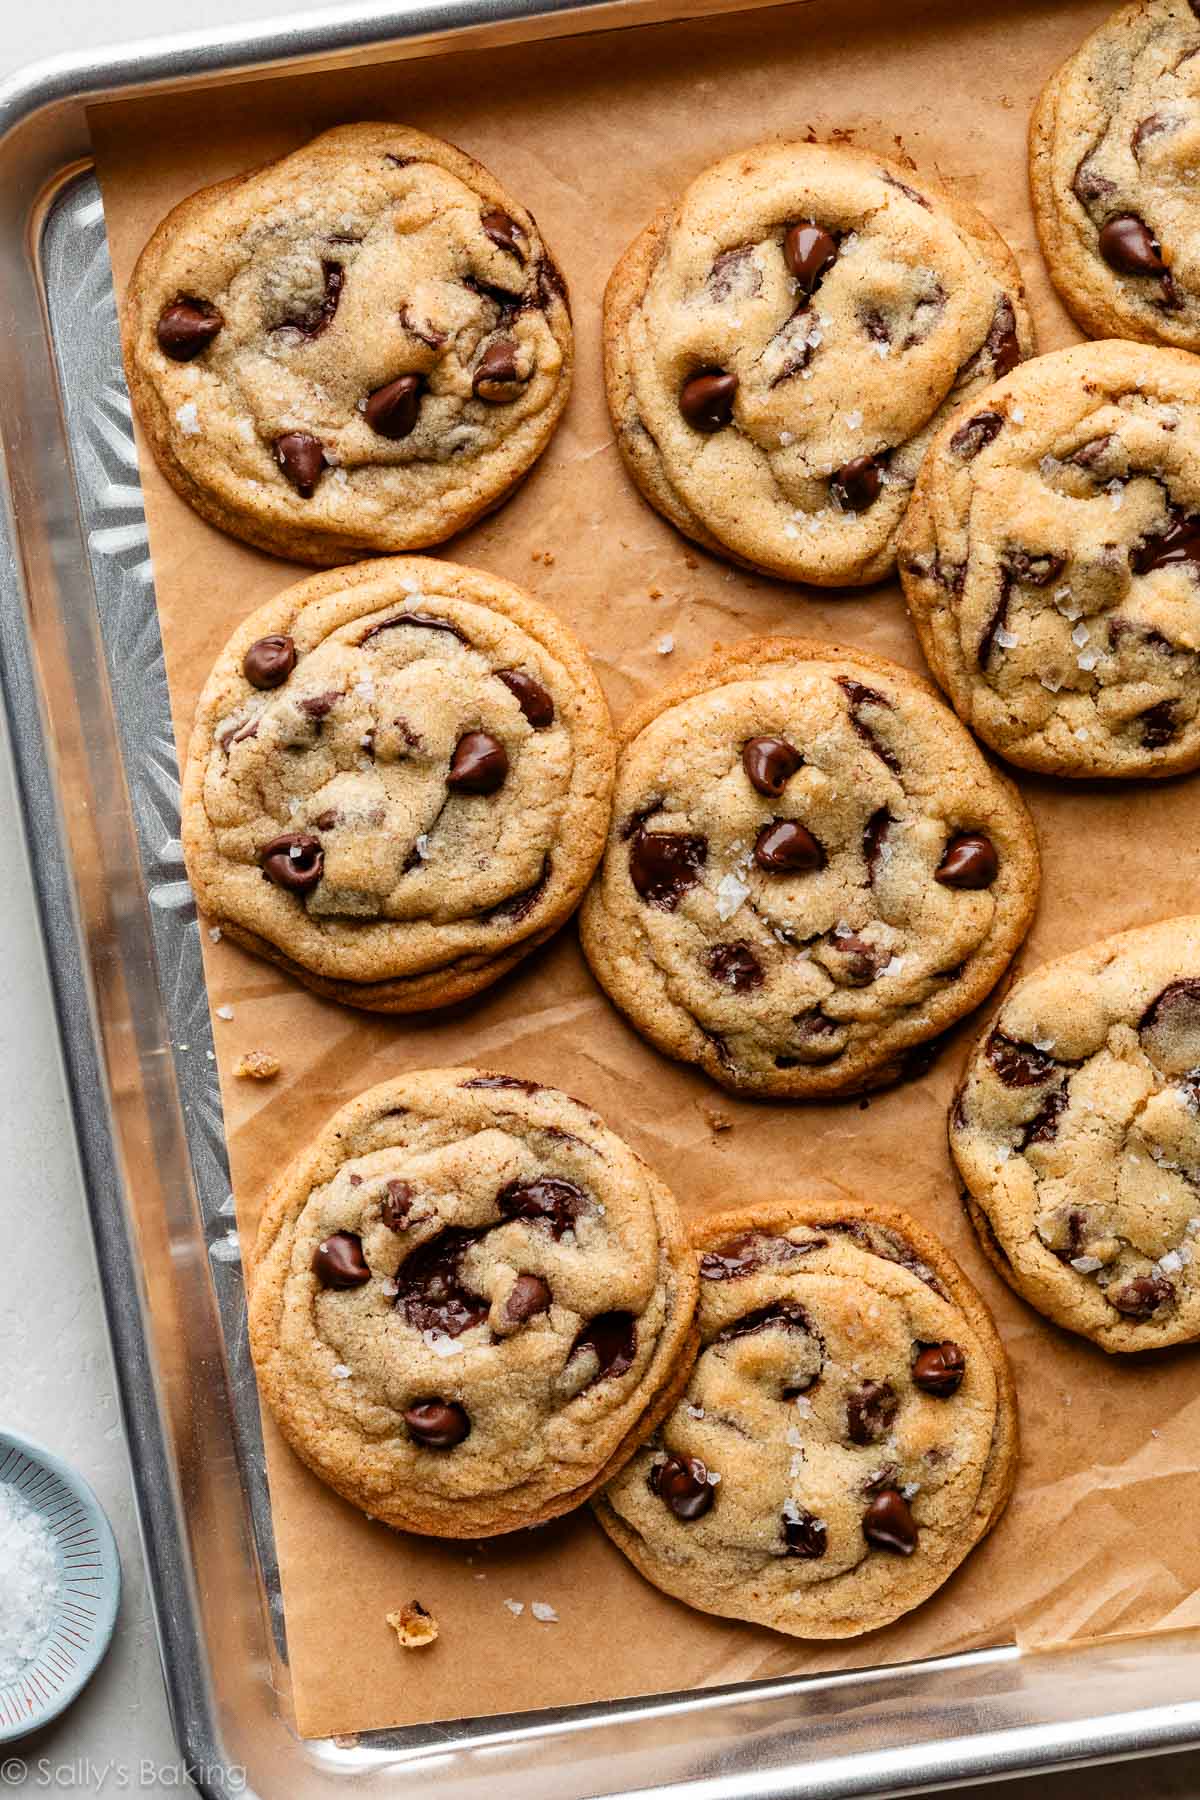
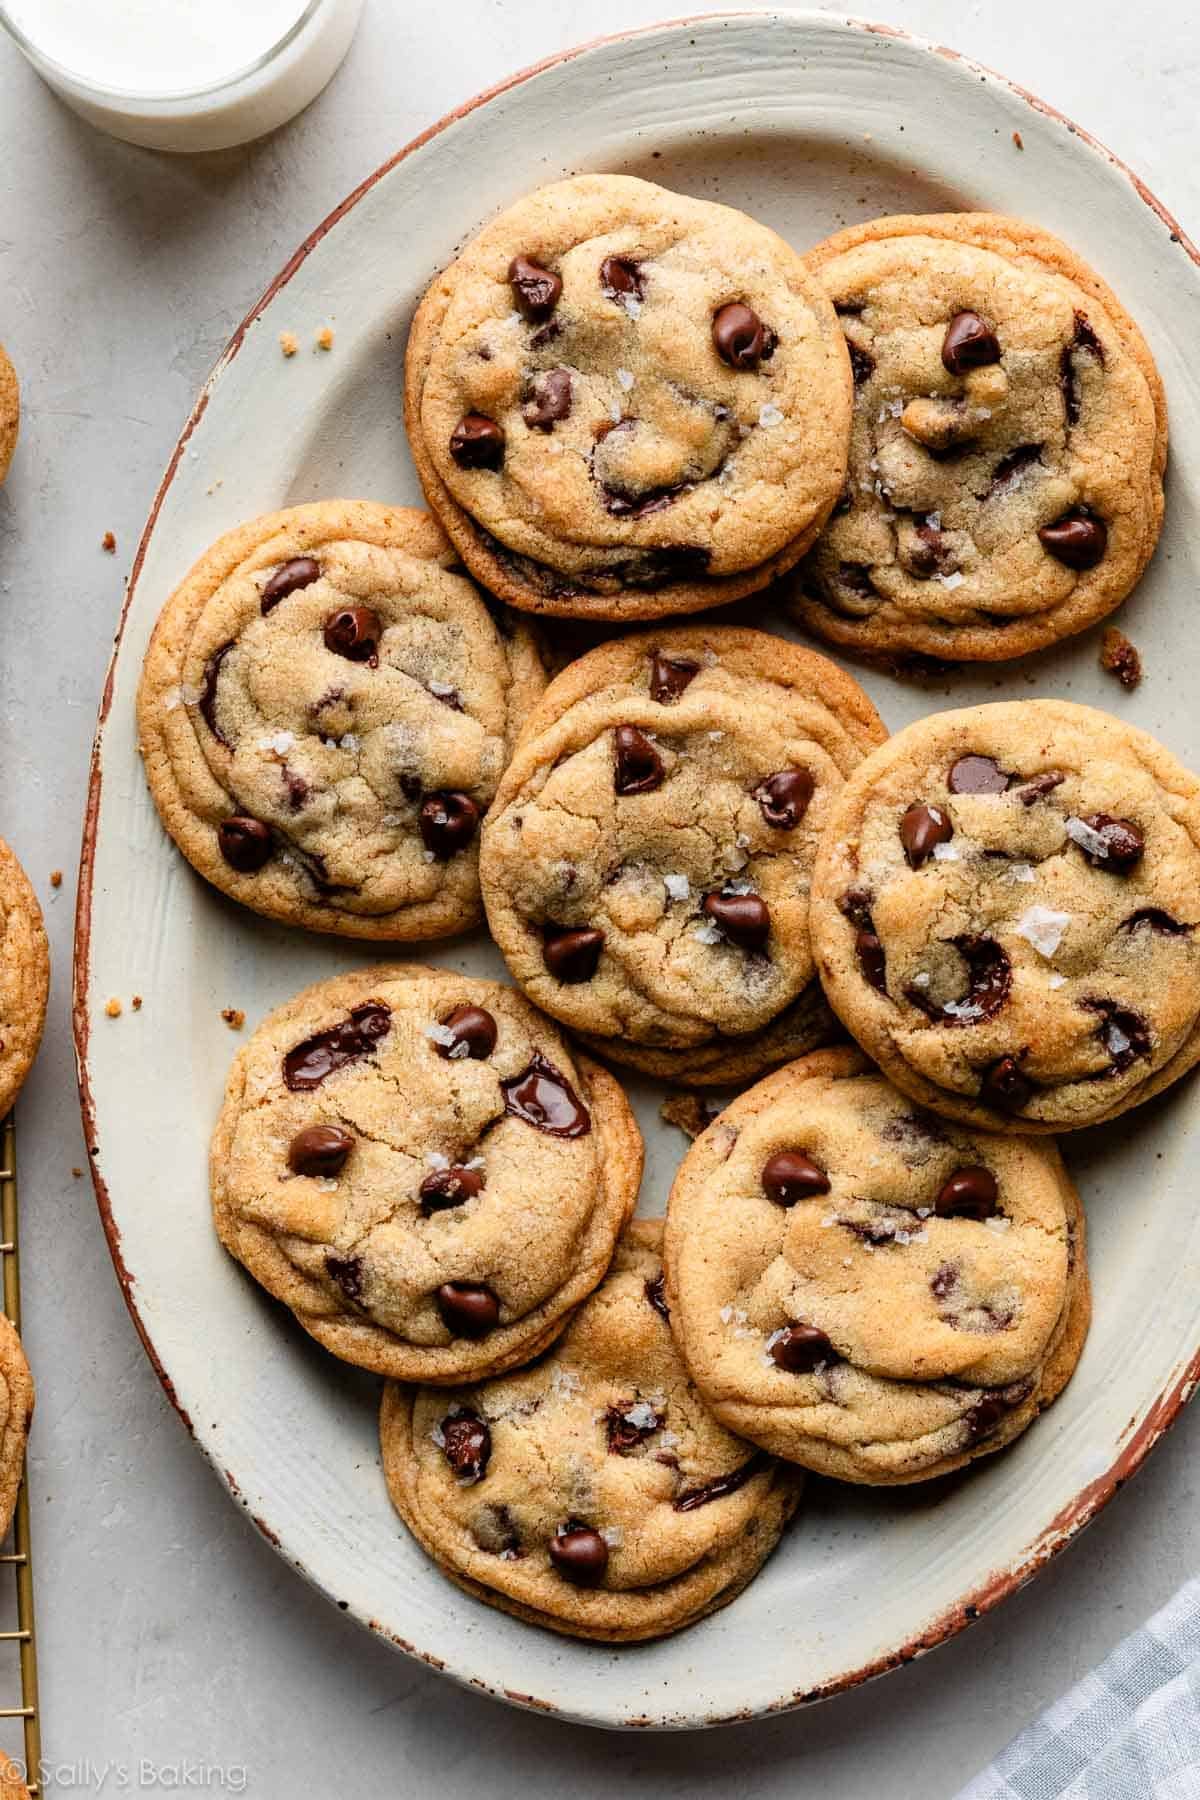
These brown butter chocolate chip cookies take my fan-favorite chewy chocolate chip cookies and elevate them with rich, nutty depth. Browning the butter transforms the flavor like magic, adding subtle caramel-like, toffee notes that pair perfectly with melty chocolate chips. The result? Thick, chewy cookies with soft centers, golden edges, and irresistible depth in every bite.
One reader, Mackenzie, commented: “These cookies are amazing! Well worth the effort to brown the butter, and they’ve become my go-to cookie recipe. ★★★★★”
Another reader, Amie, commented: “I’ve been looking for that ooey-gooey delicious bakery recipe for years—FOUND IT! If you want a warm, soft chocolatey cookie that has that professional bakery flavor—this is it. This is now my ONLY chocolate chip recipe!!!! ★★★★★”
Why These Brown Butter Chocolate Chip Cookies Work
These aren’t just regular chocolate chip cookies with browned butter swapped in. The entire dough is built to support it. Here’s what makes them stand out:
- Cornstarch: Adding cornstarch helps make the texture extra soft and tender. Use it in my shortbread cookies and brown butter marshmallow crispy cookies, too.
- Milk: Browning butter reduces moisture, so adding a splash of milk brings that balance back without weighing down the dough.
- Sugars: Use more brown sugar than white for a chewier, softer cookie.
- Egg + Egg Yolk: An extra egg yolk equals a richer-tasting cookie.
- Quality Chocolate Chips: I love using Ghirardelli semi-sweet chocolate chips and Callebaut chocolate morsels, or a mix of both. The latter is definitely a splurge, but the flavor and melt are incredible if you’re feeling fancy.
- Flaky Sea Salt: An optional topping, this adds the most incredible salty-sweet flavor combo that works wonders with the toffee-like notes of brown butter!
What Is Brown Butter?
Browning butter simply means melting it and continuing to cook it until the milk solids toast. As it cooks, moisture evaporates, the milk solids sink to the bottom of the pan and turn golden brown, and the butter develops a deep amber color. This small extra step completely transforms the flavor, creating a beautifully complex, nutty richness with subtle caramel-like notes that regular melted butter just doesn’t have. It’s a simple technique with a big payoff. If you’d like a detailed walkthrough, I wrote an entire tutorial on how to brown butter.
Try it in recipes like brown butter apple blondies, brown butter pound cake, brown butter cream cheese frosting, and brown butter pecan pie bars.
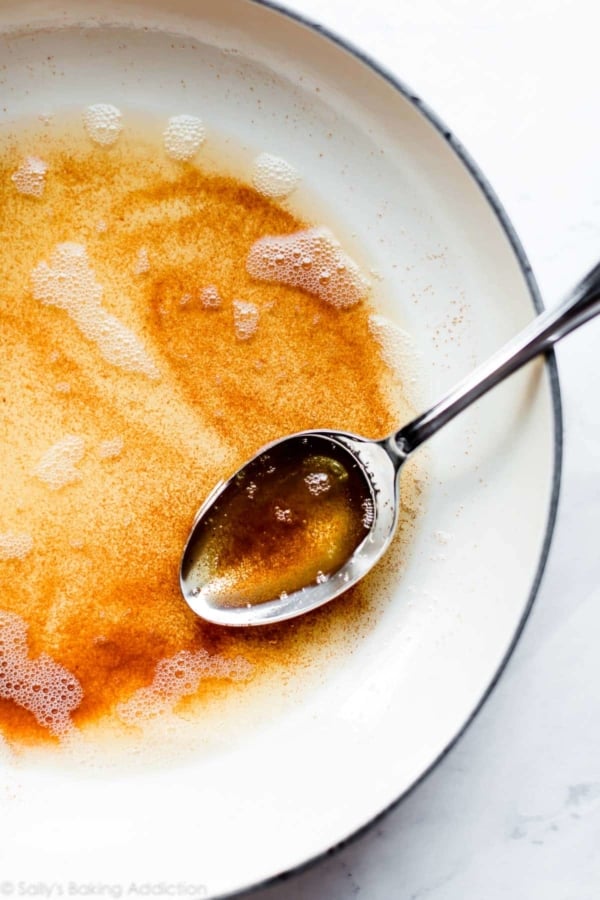
How to Brown Butter
The first step in this recipe is, you guessed it, browning the butter.
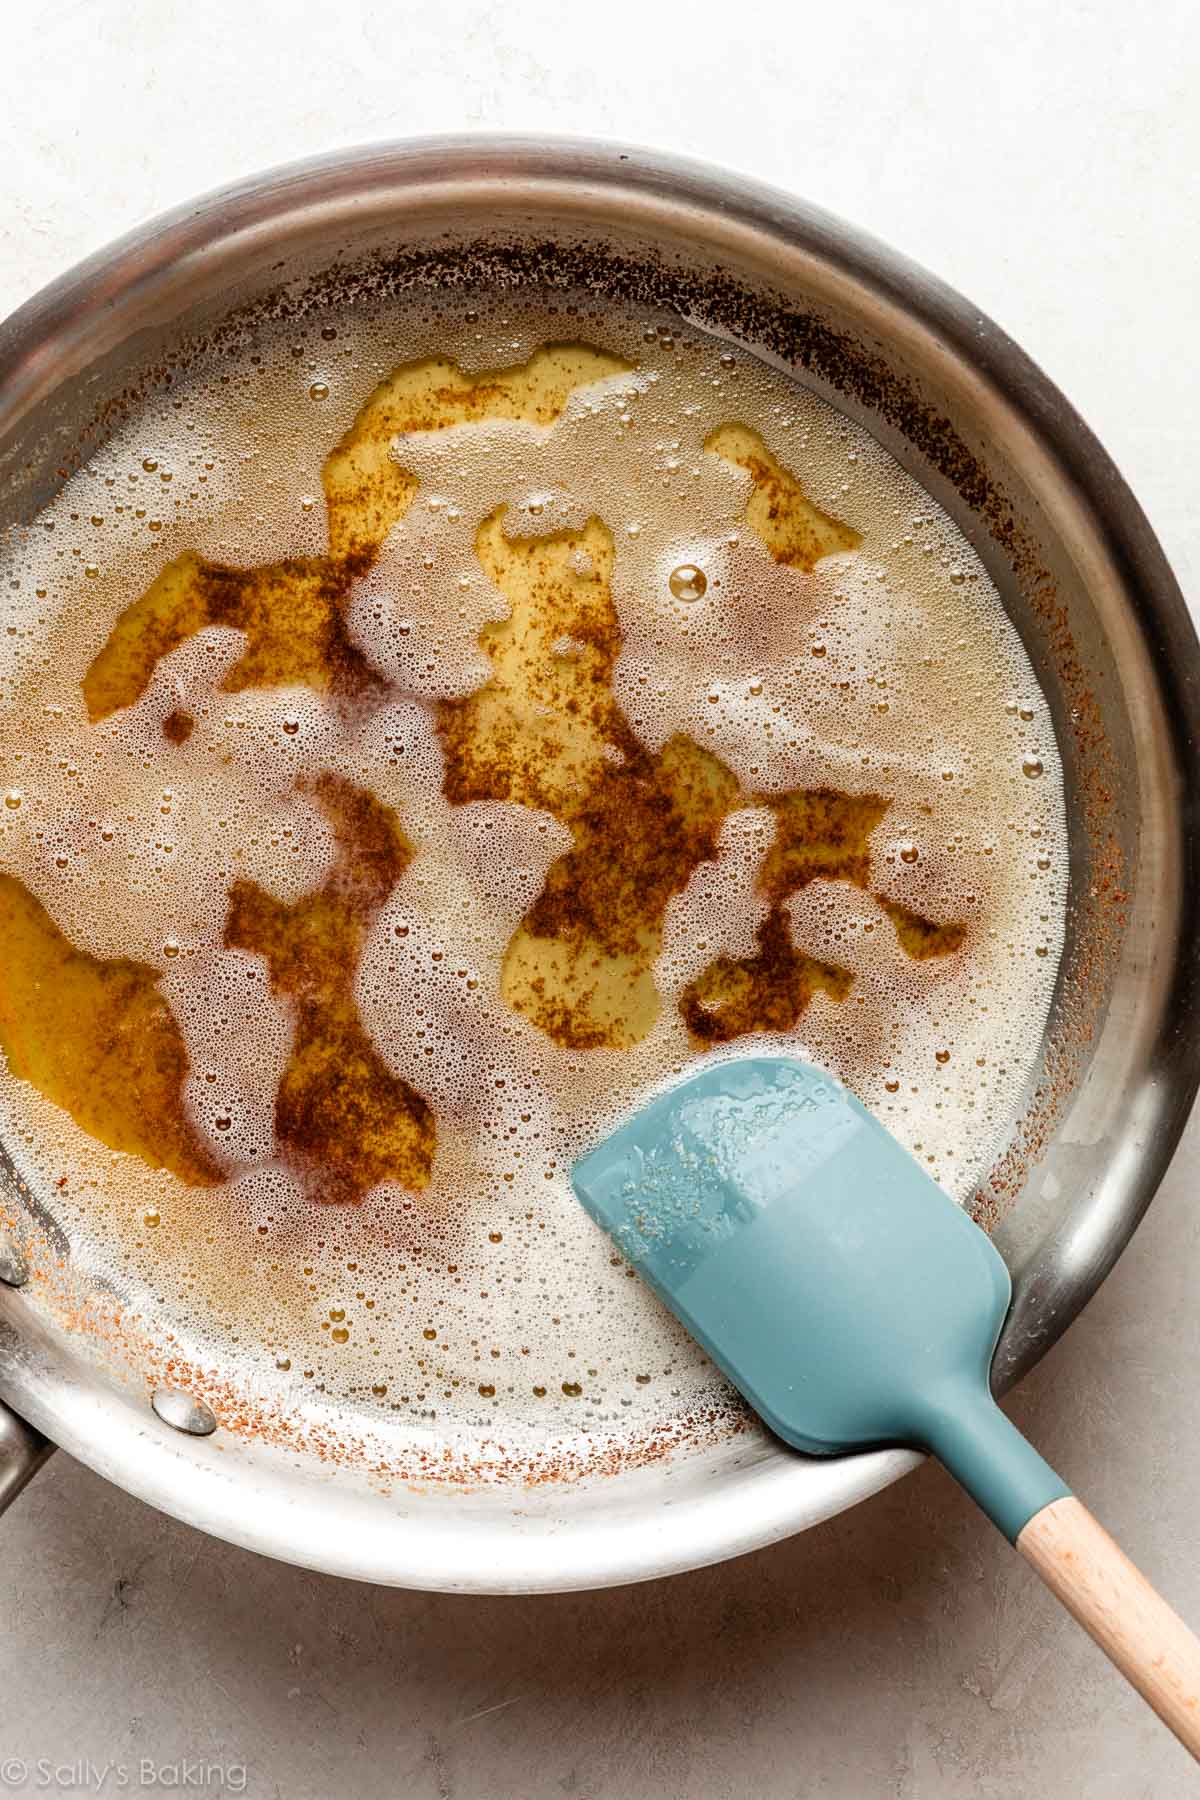
Cut the butter into uniform pieces and place it in a light-colored pan over medium heat (this helps you monitor the color). Stir as it melts, then continue cooking. The butter will foam as the water evaporates and the milk solids toast on the bottom of the pan.
Watch and listen closely as you stir. The butter will turn deep golden amber in color, smell a little nutty, and the sizzling will quiet down. Immediately remove from heat and pour into a heatproof bowl. Don’t leave behind any of the browned bits… they’re packed with flavor!
Brown Butter & Moisture Loss
Browning butter can turn a good cookie into a great one, but you can’t simply swap it into any recipe without adjustments.
Why? Moisture loss. During browning, butter loses about 20–35% of its water content. That’s a significant amount, and if you don’t account for it, your cookie dough may be crumbly and/or the cookies may spread too much. Adding extra butter won’t fix the issue either—you’d just be increasing the fat.
The solution is simple: add a little liquid to the dough. Browning butter delivers unbeatable flavor, but the dough needs moisture added back intentionally. In my brown butter pumpkin oatmeal cookies, the moisture-rich pumpkin does the job.
In this recipe, 2 Tablespoons of milk restores that balance without weighing the cookies down.
The Butter and Dough Need to Chill
This recipe requires a little planning ahead—there are two chill times, and both matter.
Chill the browned butter: After browning, pour it into a bowl or shallow dish and refrigerate until solid, about 90 minutes. Once firm, cream it with the sugars just as you would softened butter.
This is solidified browned butter:
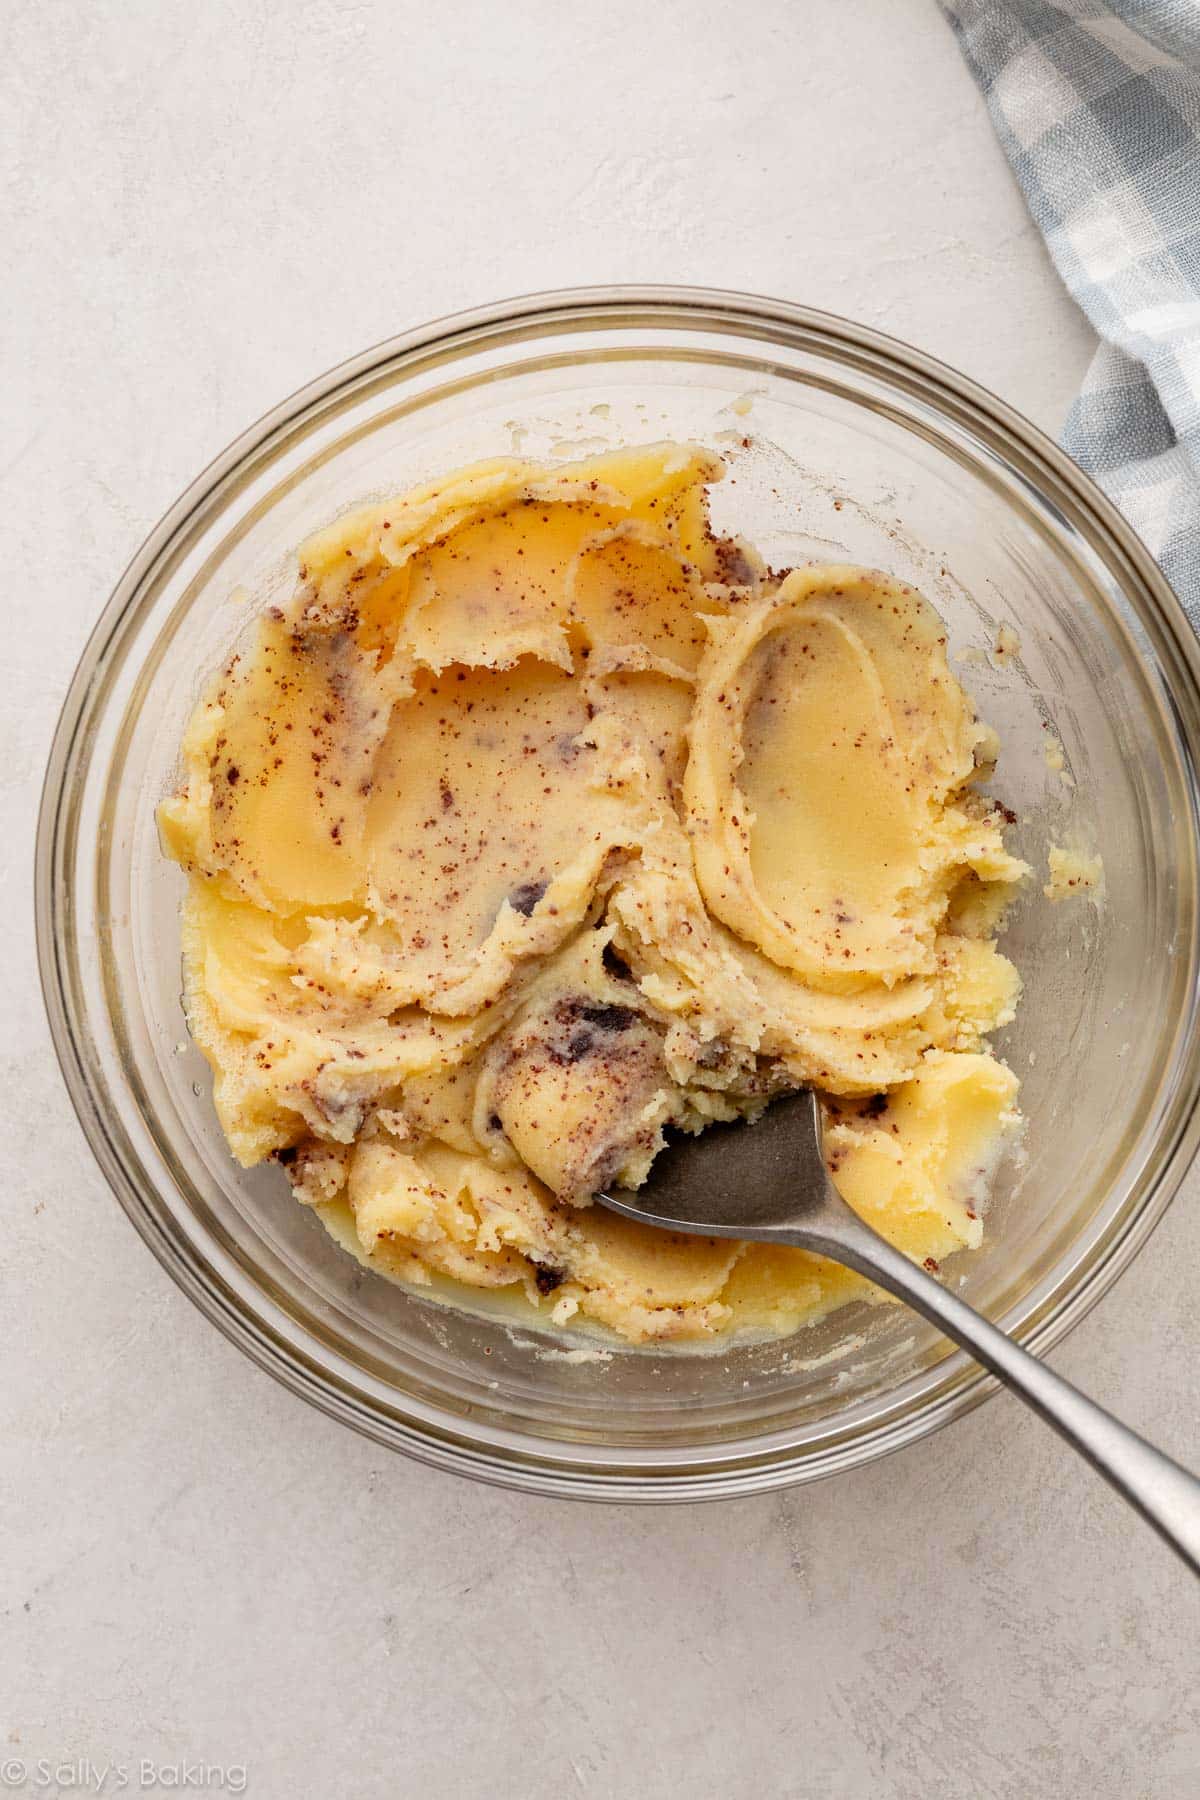
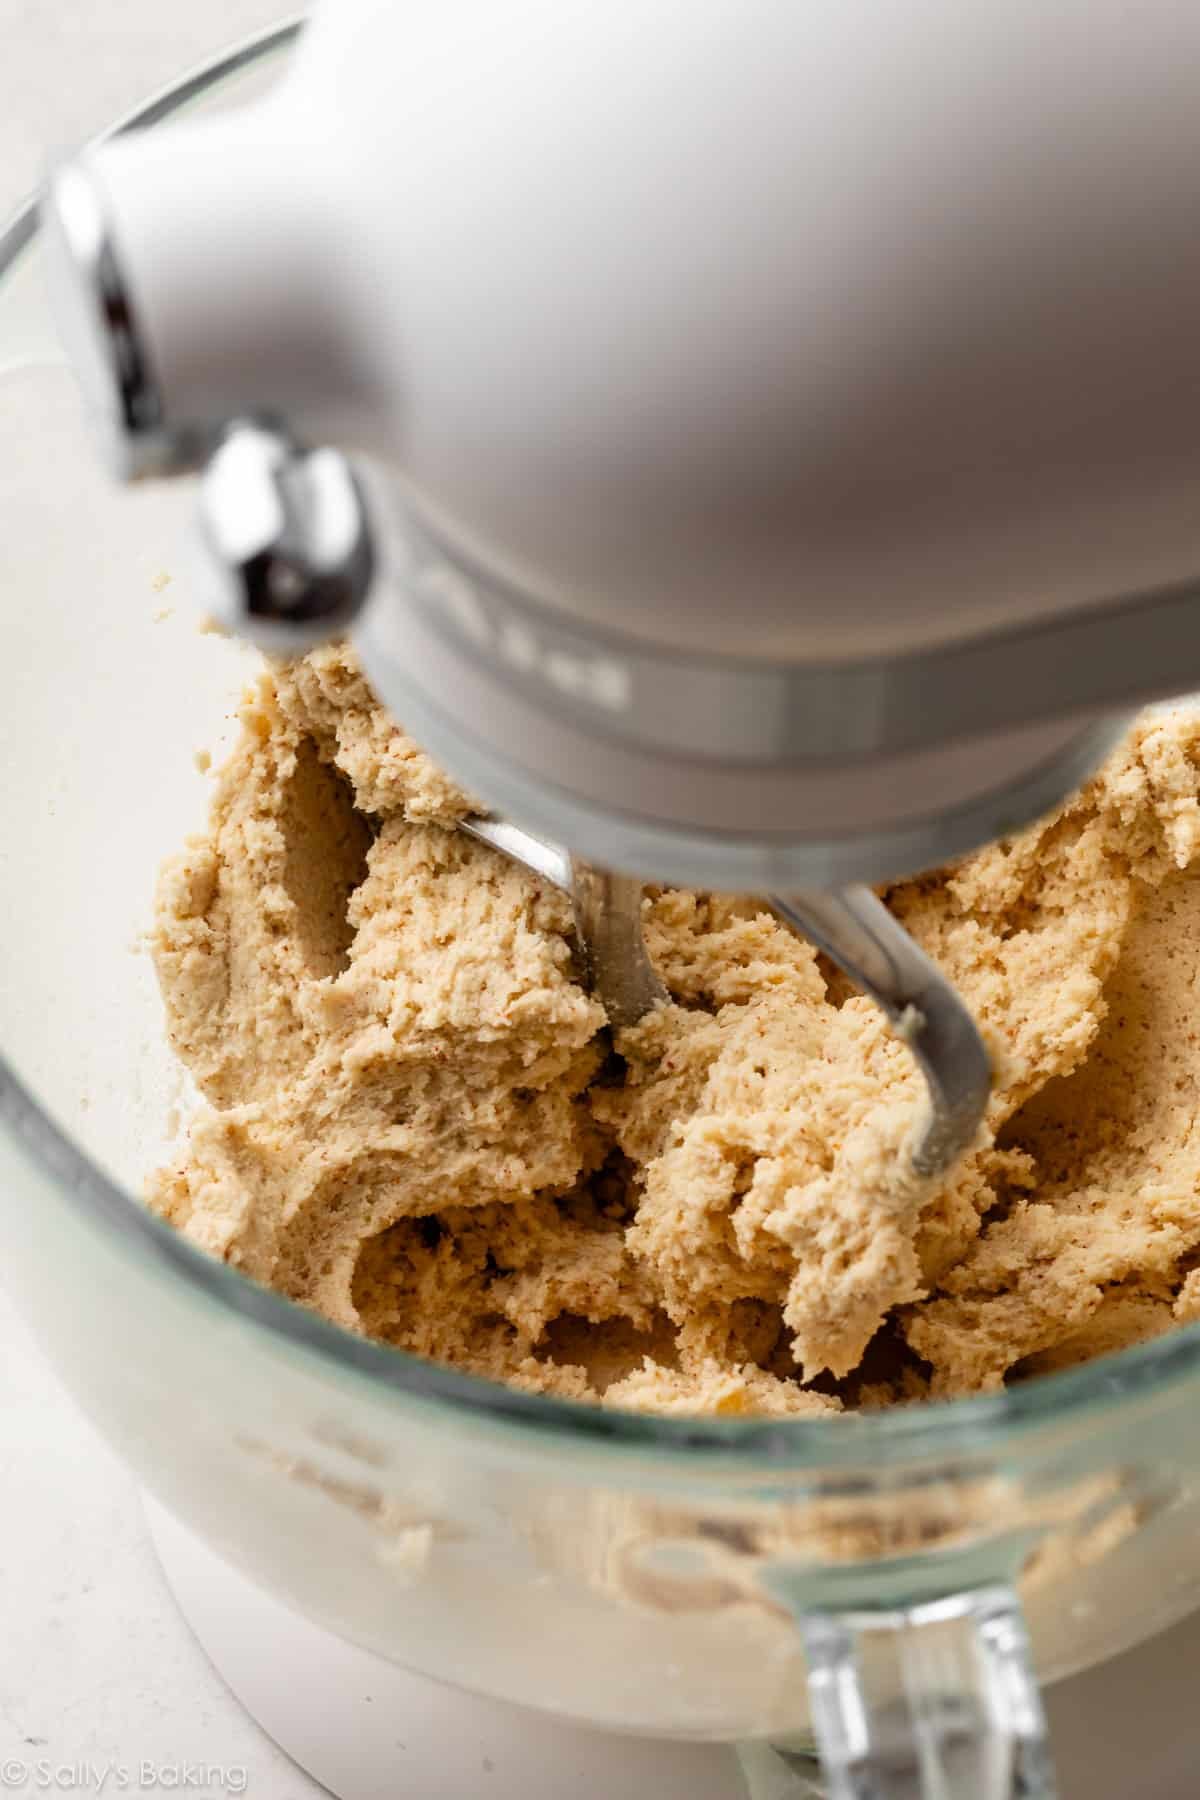
Here is the creamed browned butter and sugars:
Chill the dough balls: Scoop the dough into 45g (about 2 Tablespoons) portions, roll/shape, and refrigerate for at least 2 hours before baking.
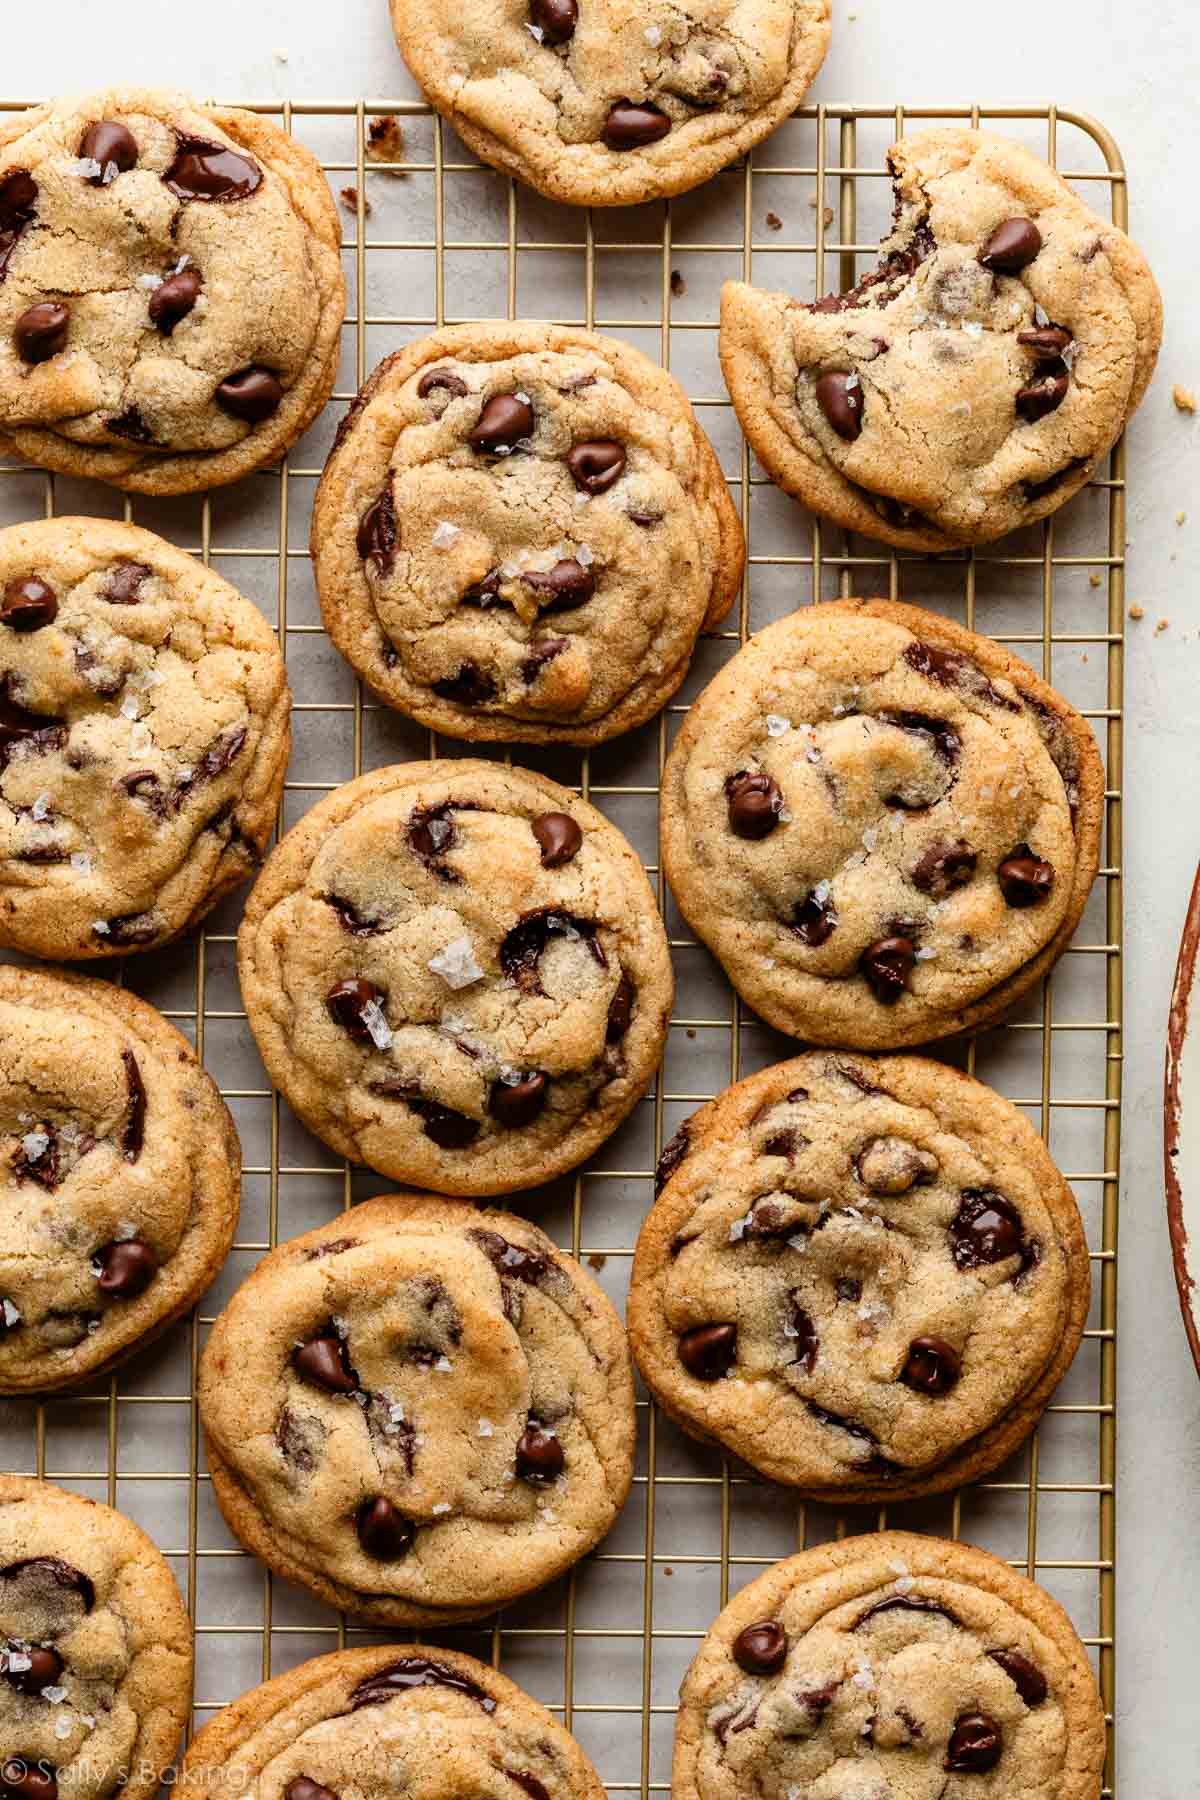
Chilling prevents the cookies from spreading into greasy puddles and intensifies the flavor as the brown butter settles into the dough. The result? Thick cookies with soft, buttery centers and lightly crisp edges—well worth the wait!!

Once you’ve browned your butter and chilled both it and your dough, these cookies bake into beautifully thick rounds with soft, buttery interiors and edges that crisp ever so slightly. Over the years, we’ve found that baking these at 375°F (191°C), slightly warmer than usual, helps set the shape quickly so the cookies stay thicker.
Make-Ahead Tip: This is an excellent freezer-friendly dough. Freeze the shaped cookie dough balls and bake straight from frozen (add 1 extra minute). Fresh brown butter chocolate chip cookies whenever the craving hits? Yes, please! 🙂 See how to freeze cookie dough.
Looking For The Right Chocolate Chip Cookie?
- Want a classic, no-brown-butter version? Try my Chewy Chocolate Chip Cookies.
- Looking for extra buttery brown butter and toffee flavors? Try my Brown Butter Toffee Chocolate Chip Cookies.
- In the mood for oatmeal cookies? Try my Oatmeal Chocolate Chip Cookies.
- Want pure brown butter flavor in a thick, chewy cookie? You’re in the right place.


Brown Butter Chocolate Chip Cookies
- Prep Time: 45 minutes
- Cook Time: 13 minutes
- Total Time: 5 hours (includes chilling)
- Yield: 26-28 cookies
- Category: Cookies
- Method: Baking
- Cuisine: American
Description
These brown butter chocolate chip cookies are thick, soft, and chewy with deep caramel-like flavor from toasted butter. The dough includes an extra egg yolk for richness and a touch of milk to replace lost moisture. Plan ahead for two chill times—your patience is rewarded with bakery-style cookies every time.
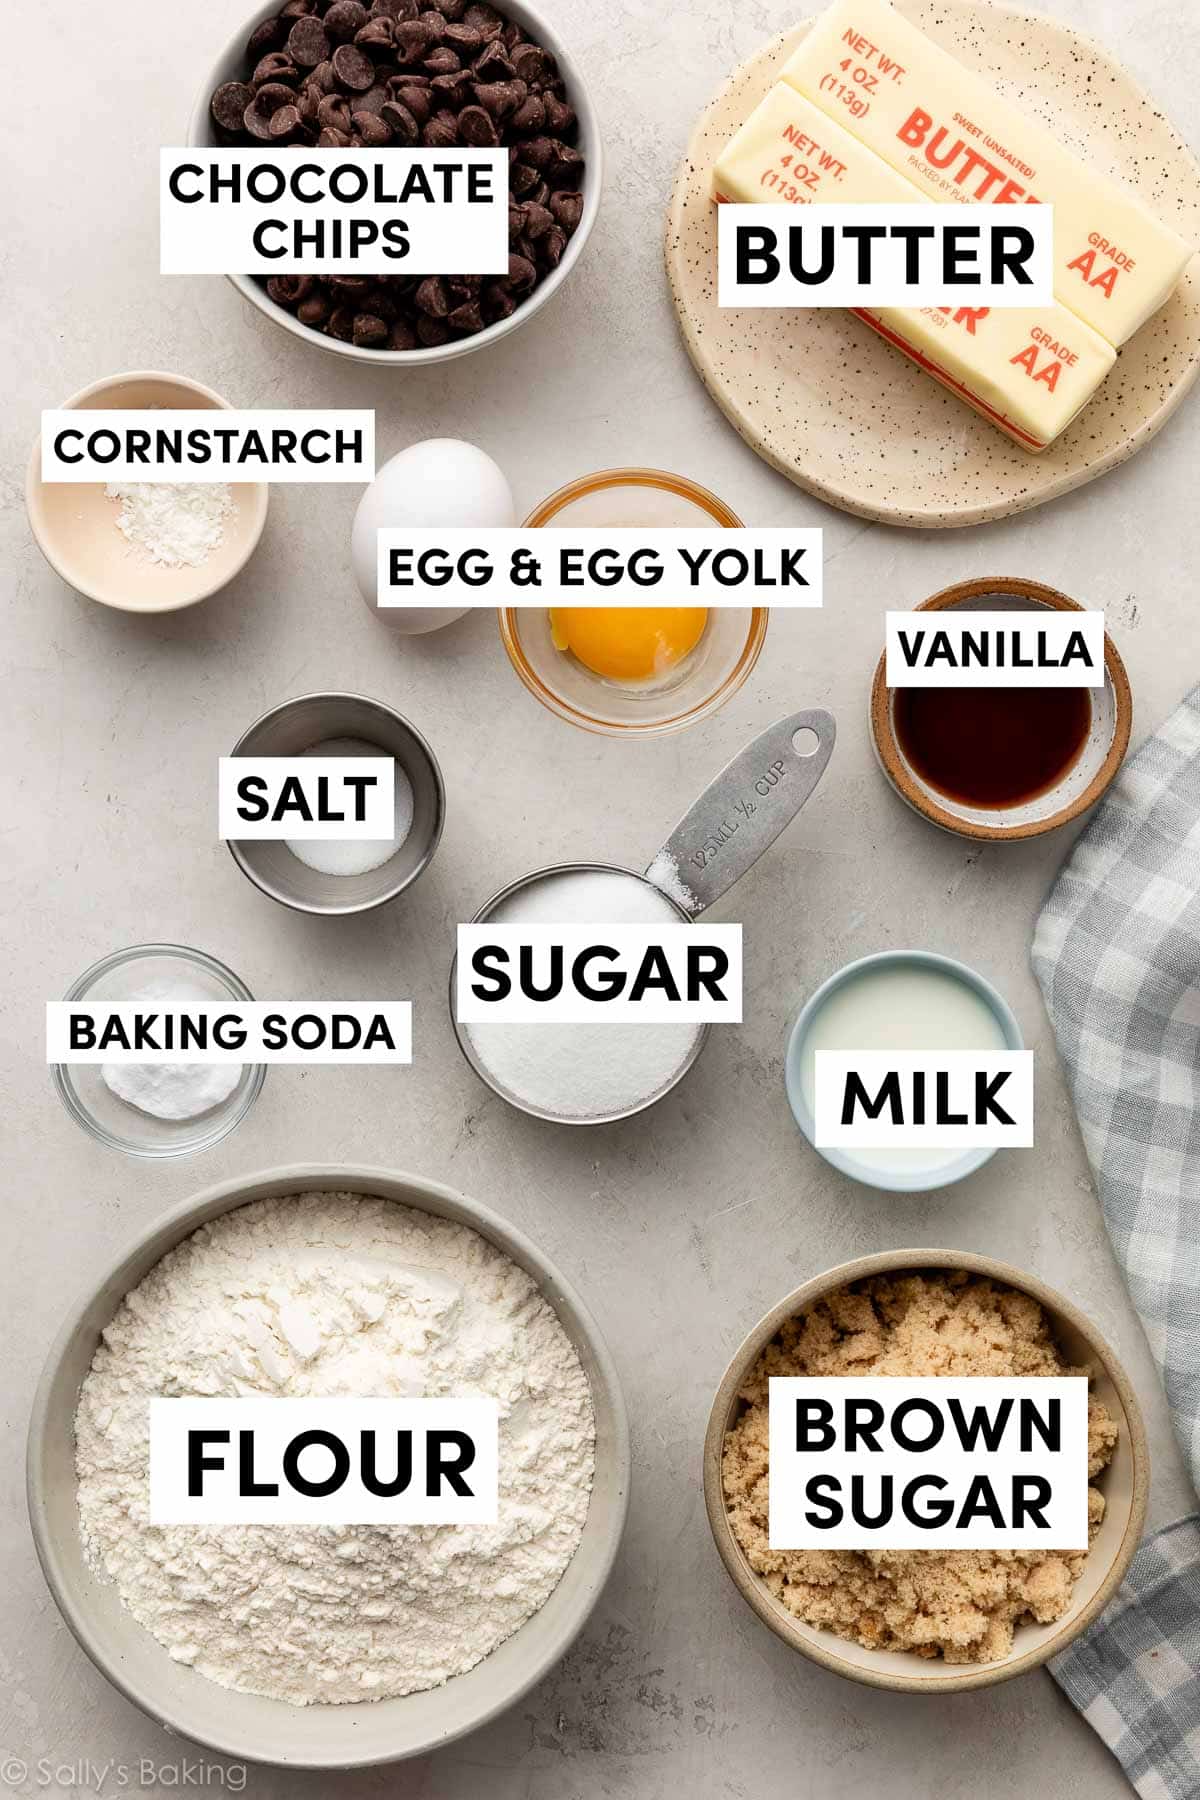
Ingredients
- 1 cup (16 Tbsp; 226g) unsalted butter
- 1/2 cup (100g) granulated sugar
- 1 cup (200g) packed light or dark brown sugar
- 1 large egg + 1 egg yolk, at room temperature
- 2 teaspoons pure vanilla extract
- 2 and 1/2 cups (313g) all-purpose flour (do not scoop; weigh or spoon & level)
- 1 teaspoon cornstarch
- 1 teaspoon baking soda
- 1/2 teaspoon salt
- 2 Tablespoons (30ml) milk, warmed or at room temperature
- 1 and 1/2 cups (270g) semi-sweet chocolate chips
- optional: flaky sea salt, for topping
Instructions
- Brown the butter: Slice the butter into pieces and place in a light-colored skillet. The light colored helps you determine when the butter begins browning. Melt the butter over medium heat and stir or whisk constantly. Once melted, the butter will begin to foam. Keep stirring/whisking. After 5–7 minutes, the butter will begin browning and you’ll notice lightly browned specks begin to form at the bottom of the pan, which are the milk solids toasting. Cook until it is golden in color. Once browned, remove from heat immediately and pour into a heatproof bowl, including all of the browned bits (flavor!). Let cool for 10 minutes, then place in the refrigerator and chill until solid, about 90 minutes. After about 30 minutes, tightly cover the bowl.
- Remove the solidified brown butter from the refrigerator and spoon it into a large bowl (or the bowl of your stand mixer). Using a handheld mixer or stand mixer fitted with a paddle attachment, beat on high speed for 1–2 minutes until smooth and creamy. It may look slightly grainy at first—keep beating and it will come together. If the butter is too firm to cream, let it sit at room temperature for 5–10 minutes. You can also microwave it for 5–8 seconds to slightly soften it, but do not melt it; it should remain solid, just softened enough to beat smoothly.
- Add the brown sugar and granulated sugar and beat on medium-high speed until lightened in color and combined, about 2 minutes. Add the egg, egg yolk, and vanilla extract and beat until combined. Scrape down the sides and bottom of the bowl as needed.
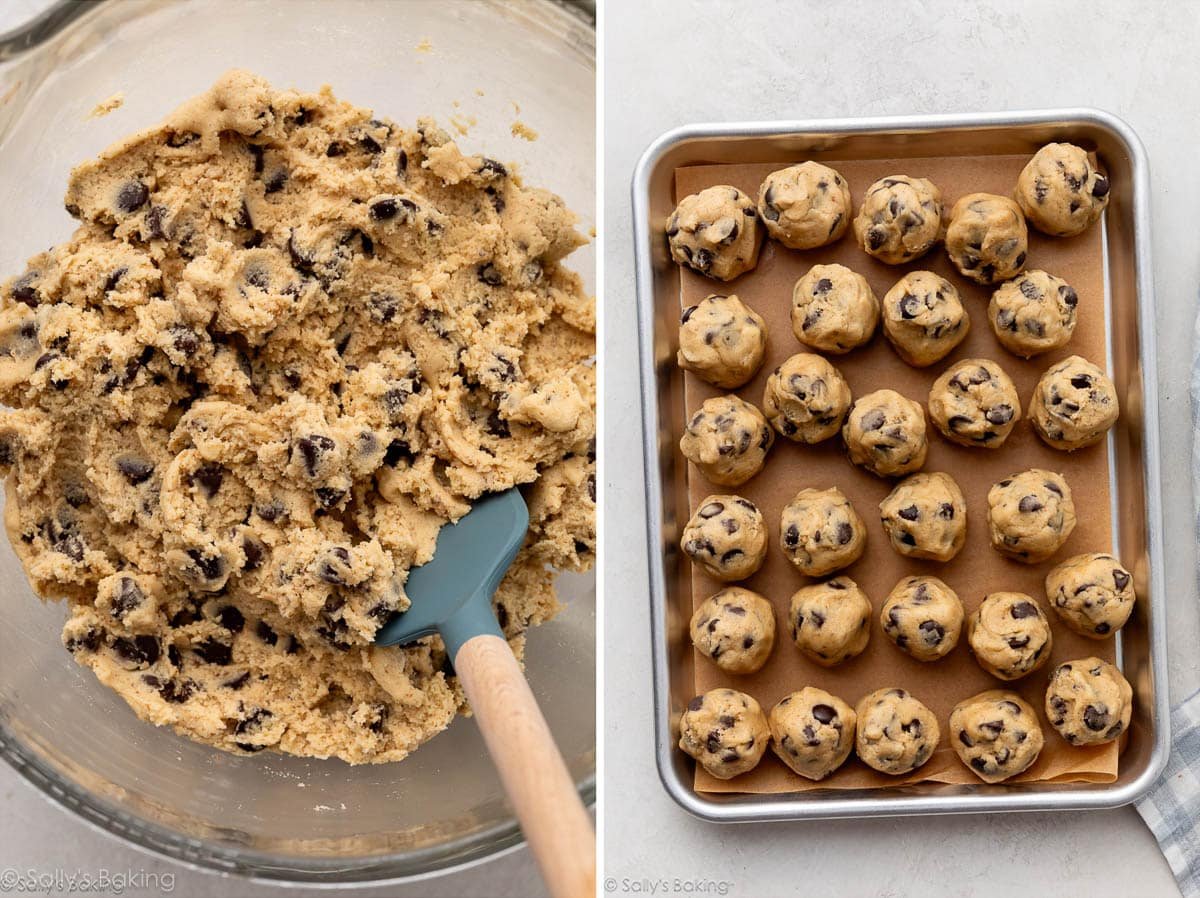
- In a separate bowl, whisk together the flour, cornstarch, baking soda, and salt. Add the dry ingredients to the butter mixture and mix on low speed until just combined. With the mixer running on low, drizzle in the milk and mix until incorporated. The cookie dough will be thick and soft. Add the chocolate chips and mix until evenly distributed.
- Scoop and roll the dough into balls, about 2 Tablespoons or 45g each. Shape them taller rather than wide—almost like a cylinder. This helps the cookies bake up thicker. Place the dough balls on a lined baking sheet or plate, cover, and refrigerate for at least 2 hours or up to 3 days.
- Preheat oven to 375°F (191°C). Line large baking sheets with parchment paper or silicone baking mats. Set aside. Arrange 8 dough balls per baking sheet, spacing them about 3 inches apart. Sprinkle sea salt, if using, on top of the dough balls.
- Bake for 12–14 minutes, or until the edges are lightly golden brown. The centers will look soft when you remove them from the oven. Cool on the baking sheet for 5 minutes. During this time, you can press a few extra chocolate chips into the tops (just for looks!). The cookies will slightly deflate as they cool. After 5 minutes, transfer to a wire rack to cool completely.
- Store in an airtight container at room temperature for up to 5 days.
Notes
- Make Ahead Instructions: You can make the cookie dough and chill it in the refrigerator for up to 3 days. Baked cookies freeze well for up to 3 months. Thaw at room temperature. Unbaked cookie dough balls freeze well for up to 3 months. Bake frozen cookie dough balls for an extra minute, no need to thaw. Read my tips and tricks on how to freeze cookie dough.
- Special Tools (affiliate links): Light-Colored Skillet or Stainless Steel Skillet | Electric Mixer (Handheld or Stand) | Baking Sheet | Silicone Baking Mat or Parchment Paper | Medium Cookie Scoop | Cooling Rack | Flaky Sea Salt
- Why Do I Solidify the Browned Butter? Solidifying the browned butter allows you to cream it with the sugars, which creates structure and gives the cookies a thicker texture. Using melted brown butter will produce a thinner, denser, and possibly greasy cookie.
- Extra Egg Yolk: The extra yolk adds richness and chewiness without making the cookies cakey; do not skip.
- Why Add Cornstarch? Cornstarch helps create a softer, thicker cookie by tenderizing the crumb. If needed, you can leave it out.
- Milk: Browning butter reduces moisture, so adding a splash of milk brings that balance back without weighing down the dough. I recommend reduced-fat milk, though whole milk and nondairy milks work in a pinch.
- Oven Temperature Update: Over the years, we’ve found that baking these at 375°F (191°C), slightly warmer than usual, helps set the shape quickly so the cookies stay thicker.
- Be sure to check out my top 5 cookie baking success tips AND these are my 10 must-have cookie baking tools.


Reader Comments and Reviews
Can I bake it without eggs?
Hi Gurleen, we haven’t tested this recipe with any egg substitutes, but let us know if you do.
These burned so fast for me! 375 for 13 min on an old oven that takes forever to cook anything.. wondering if it was the brown butter that scorched them?
Hi Stephanie! The brown butter shouldn’t make cookies bake faster. Perhaps your oven was running a bit hot in this instance – do you have an in-oven thermometer so double check the temperature? We always recommend using one!
Perfect texture my ONLY thing is I couldn’t taste the brown butter very much. Browned it as normal until golden brown and nutty aroma…..but I’ve never creamed solidified browned butter not sure if I did it wrong? Other than that these are great cookies! Thanks for the recipe!
Hi
What If I want to make slightly bigger cookie.. what should be the weight of each dough ball and how long to bake please
Hi Sidra! You can make larger cookies if you would like. We’re unsure of the weight or bake time needed but let us know if you give it a try!
Can I use gluten free flour ? Bob millers ? And still get a great cookie ?
Hi Deborah, we haven’t tested this recipe with gluten free flours. If you try it, let us know how it goes!
The flavor and texture are wonderful! Mine came out a little fluffier than pictured, and they didn’t spread as much. I’m wondering why this is. Could it be that I lost too much moisture in the butter from letting it brown too long? Or is it more likely that I added a little too much baking soda? Thanks for the expertise!
Hi Marian, over measuring the baking soda could cause that, but it sounds like perhaps your flour was over measured, too. Be sure to spoon and level (or use a kitchen scale) to ensure just the right amount of flour. Too much flour can cause the cookies to come out cakier and prevent spreading. An easy fix for next time!
When freezing them do you put the sea salt on before freezing them? I tried putting it on afterwards but it doesn’t stick?
Hi Kim, we typically add the sea salt right before baking. If it’s not sticking, you can use your fingers to gently press it into the tops of the cookie dough balls.
Thank you! I will try that next time! They are delicious cookies and everyone loves them!
Perfect cookies! I’m a sucker for brown butter anything. Followed the recipe as written and found the results created the best cookies, soft on the inside with slightly crisp edges. Made a double batch the second time, baking half and freezing the remaining dough. All versions bake up perfectly. I preferred the cookies baked on my darker cookie sheets as is it resulted in a thicker cookie. Will be keeping these ready to bake in the freezer!
This is a great recipe and I love the brown butter idea; however, it should have ONE stick of butter instead of two. The cookies came out of the oven way too greasy. I have another chocolate chip cookie recipe and it calls for just one stick. I’d also cut back on the sugar….I’d use 3/4 C brown and 1/4 C white instead of one cup and 3/4 cup respectively. I will definitely make them again except with less butter and sugar.
This is hands down the best chocolate chip cookie ever! I’ve tried so many recipes in search of the perfect cookie and this is it. These are so flavorful and they look like they came from the bakery. Thank you Sally & team!!
I made these for the first time, and they are killer good!!! I made a 2.5 recipe batch in my 6 quart Kitchenaid stand mixer I froze some of the dough in ready to bake balls, so I can bake some at a later time. So easy, and yummy! I only set my oven at 370* and baked 10-11 minutes.
You will not be disappointed…..
Can I make half the recipe?
Hi Zainab, you could, but halving the egg + egg yolk can be tricky. The best thing to do would be to mix together one egg + one egg yolk, then use half the mixture. Using 1 egg should work ok here, with less trouble. Otherwise it may be best to just make a full batch and freeze the extras for later!
Hello! I made this dough and just baked up the first batch of 8 cookies. Delicious, but as some other commenters mentioned, they didn’t spread much at all and came out domed, basically ice cream scoop shaped. It’s not the amount of flour, because I weighed every ingredient to the gram (and followed all instructions to the letter). Any tips for the next batch?
Hi Charly, if the cookies aren’t really spreading, reduce the refrigeration time by half in step 5: only 1 hour. That will definitely help!
Can I use milk powder to add to brown butter for extra nutty flavor?
Hi Julie, We haven’t tested it but please let us know if you do!