

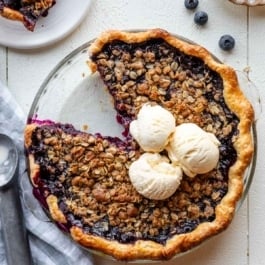
If you love classic blueberry pie but also can’t resist a crumble topping, this blueberry crumble pie is the best of both worlds. A flaky, buttery pie crust is filled with juicy, jammy blueberries and finished with a generous layer of brown sugar oat crumble. It’s simple enough for a weekend bake, but special enough for holidays and summer gatherings—and every slice delivers that perfect mix of jammy berries, flaky pastry, and buttery oat crumbles!
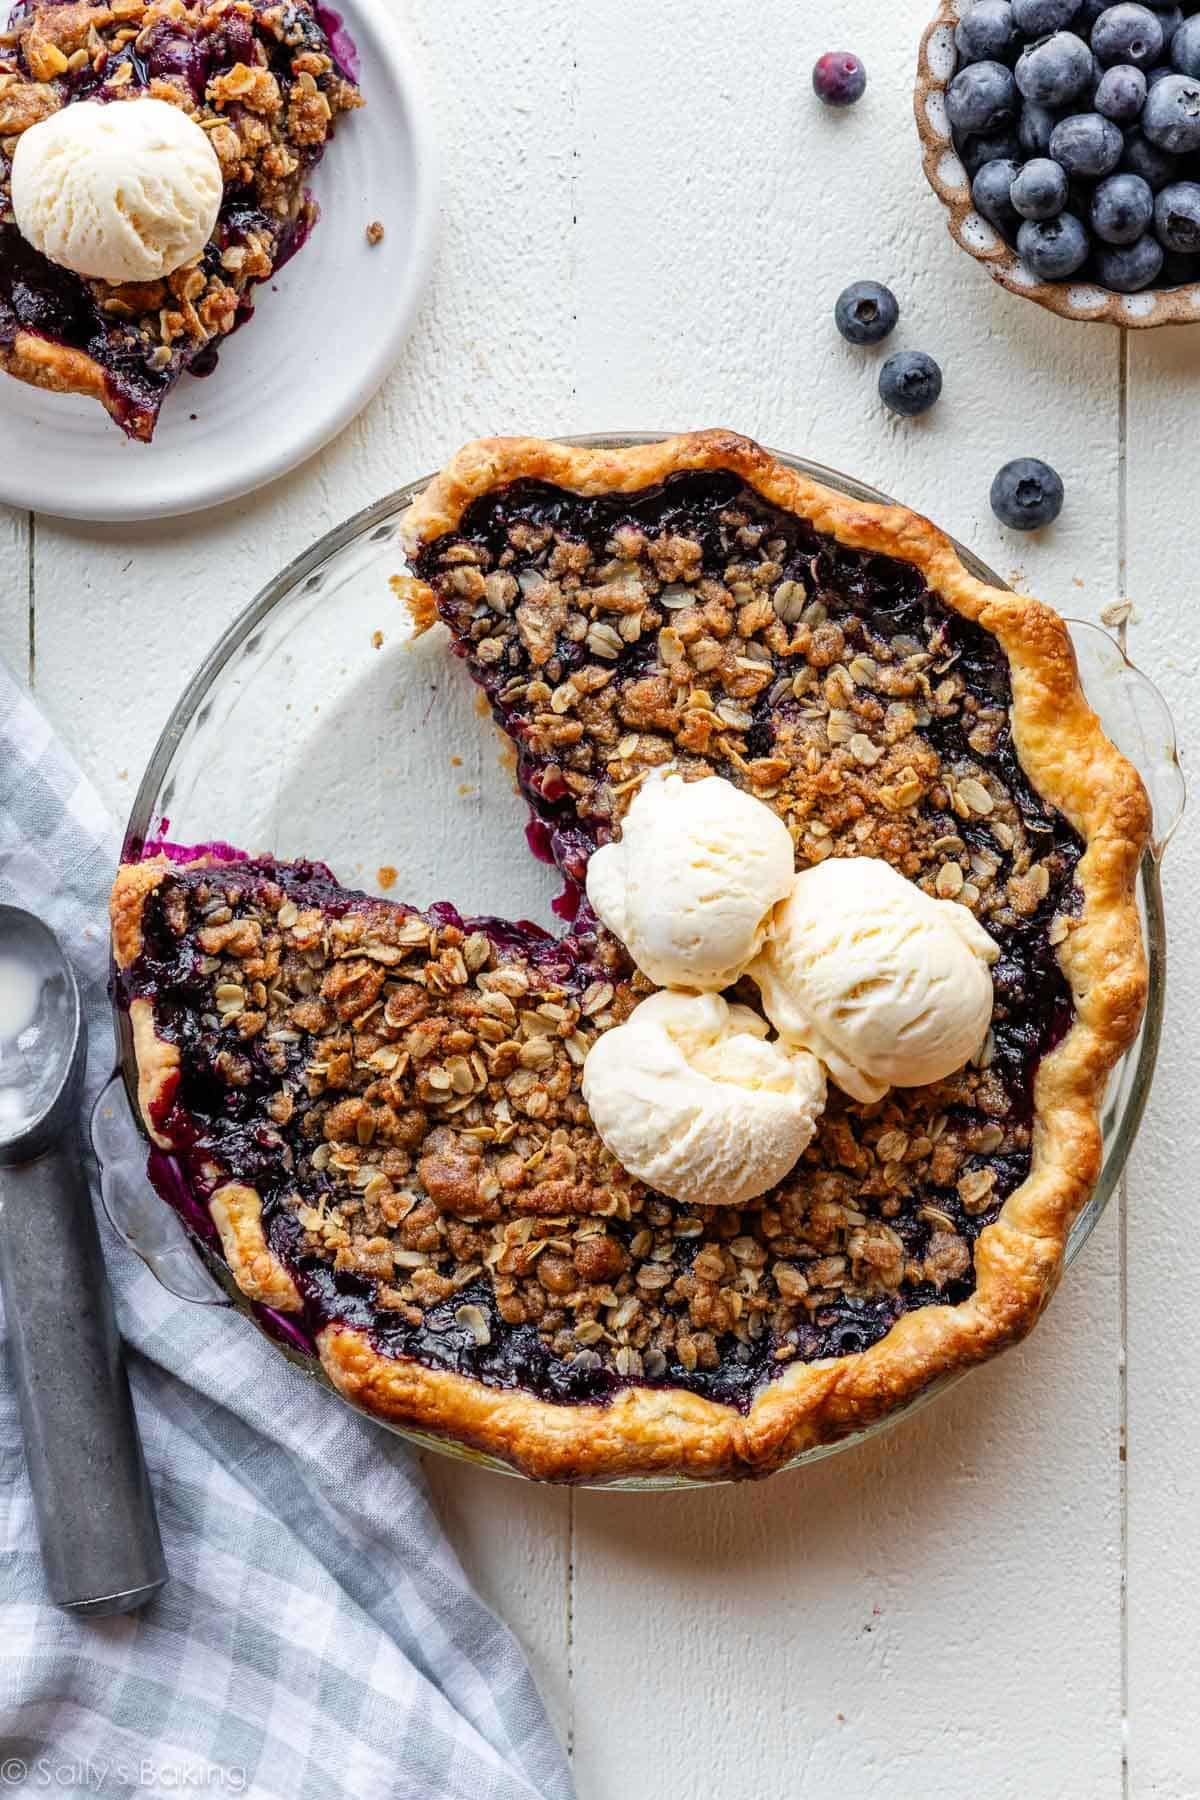
I originally published this recipe in 2017 and have since added new photos and more success tips.
This blueberry crumble pie has become one of my favorite ways to bake with fresh summer blueberries. Instead of weaving a lattice top, you’ll pile a generous amount of oat crumble over the juicy berry filling. As it bakes, the crumble turns deliciously crisp and golden while the blueberries bubble underneath into a thick, perfectly sliceable filling. Every forkful has flaky crust, sweet-tart berries, and crunchy crumble—a trio that’s hard to beat!
If you’ve made my apple crumble pie or peach crumble pie before, you’ll recognize the same winning formula here. 🙂 It’s an approachable pie that looks impressive, doesn’t require any fancy lattice work, and always disappears quickly at summer gatherings.
Great for beginner pie bakers.
The filling is packed with blueberries and brightened with a touch of fresh lemon. A combination of cornstarch, flour, and a longer bake time ensures the juices thicken properly, so you get a neatly sliceable pie instead of a runny filling. The crumble topping bakes up crisp and buttery, adding just enough sweetness and texture without overpowering the fruit.
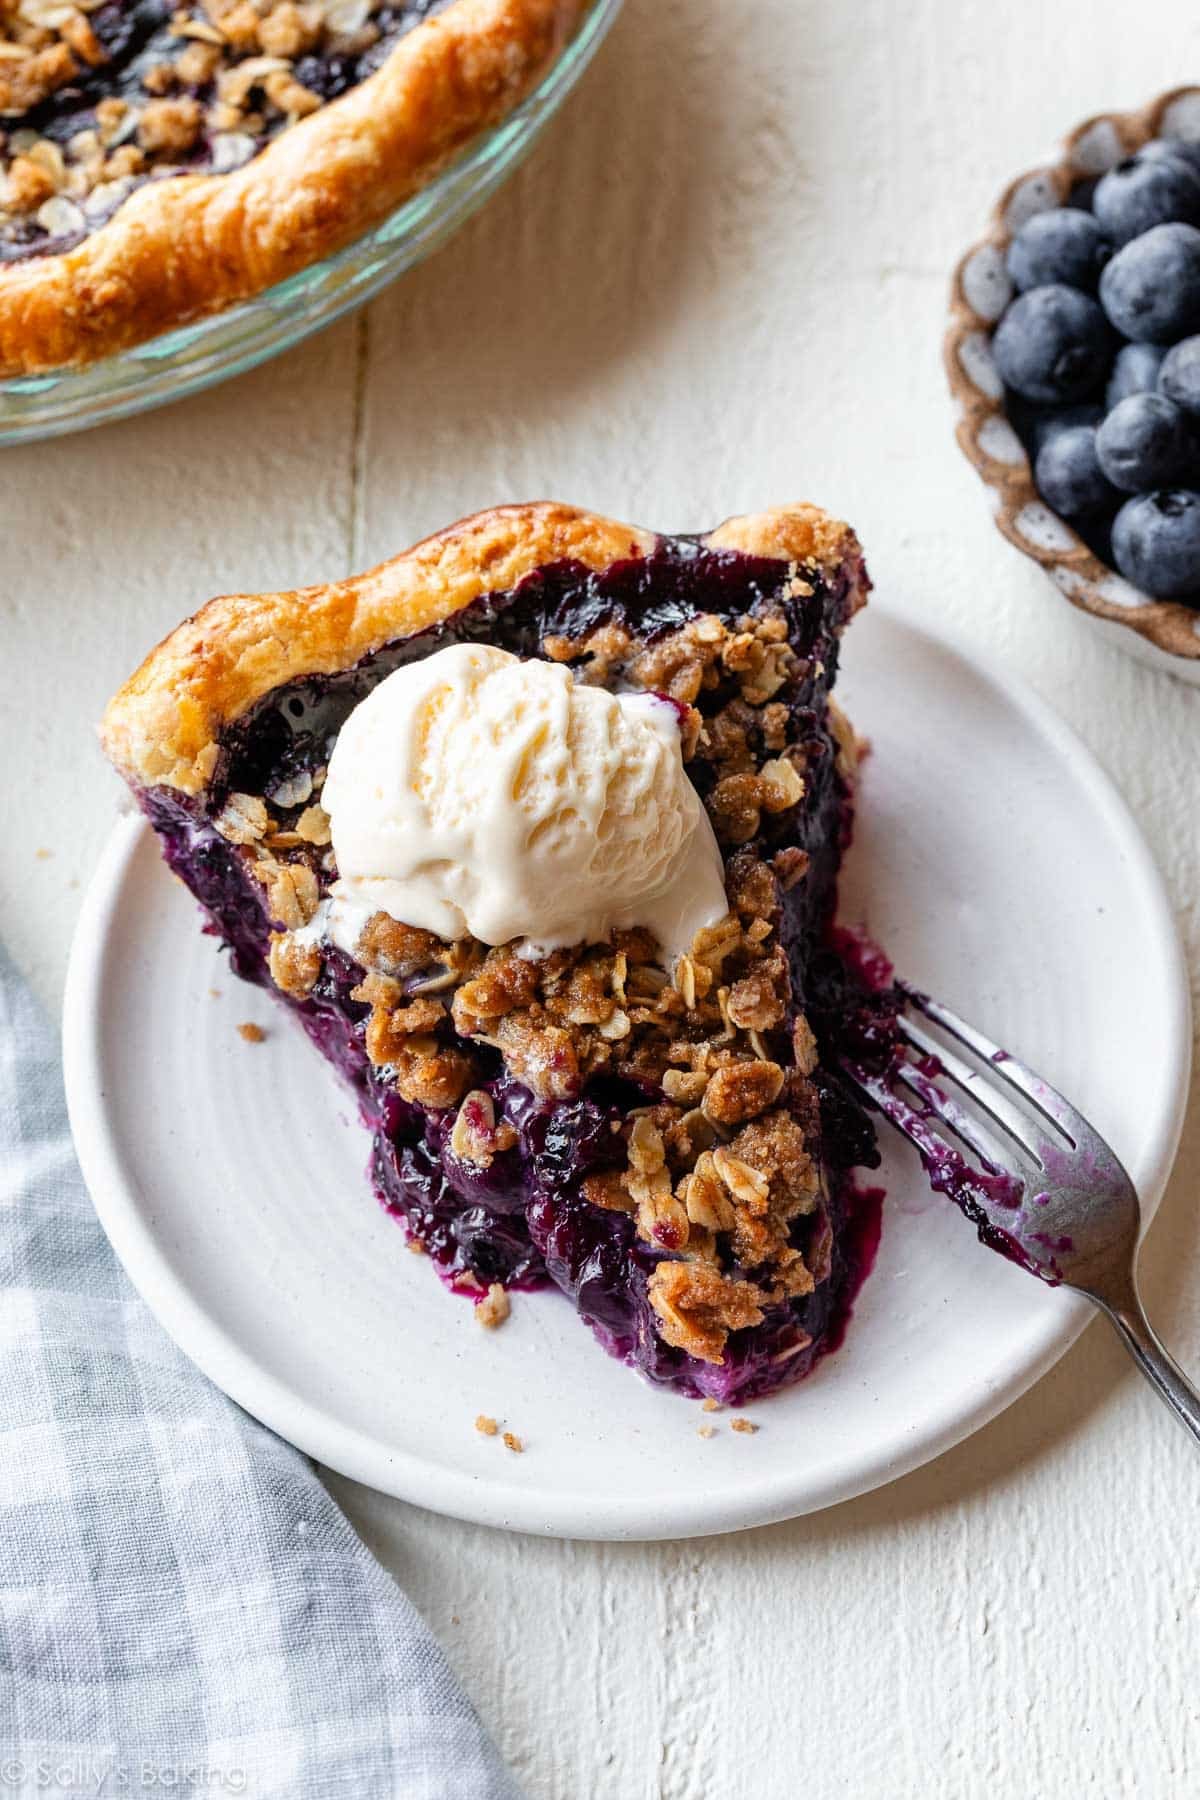
Why You’ll Love This Blueberry Crumble Pie
- Butter pie crust creates the perfect foundation
- Thick, jammy blueberry filling that holds its shape when sliced
- Crumble topping is much easier than a traditional lattice top
- Perfect make-ahead dessert for holidays, picnics, and entertaining
- Wonderful served with vanilla ice cream!
One reader, Angel, commented: “The best blueberry pie I have ever had! The flavor was balanced, just enough sugar and lemon to complement the berries and not overpower them. The crumble topping was the perfect addition and I’m happy I decided to make the recipe as written, truly I cannot find anything that I would want to change in this recipe! ★★★★★”
Another reader, Jane, commented: “I have to say this was the best blueberry pie I ever made. Think I may never make a two-crust blueberry pie again. Absolutely perfect dessert. ★★★★★”
If you’re making it for the first time, be sure to read through the tips below before getting started. A few small techniques—like generously mixing the filling, baking at 2 different temperatures, and keeping certain ingredients very cold—make all the difference.
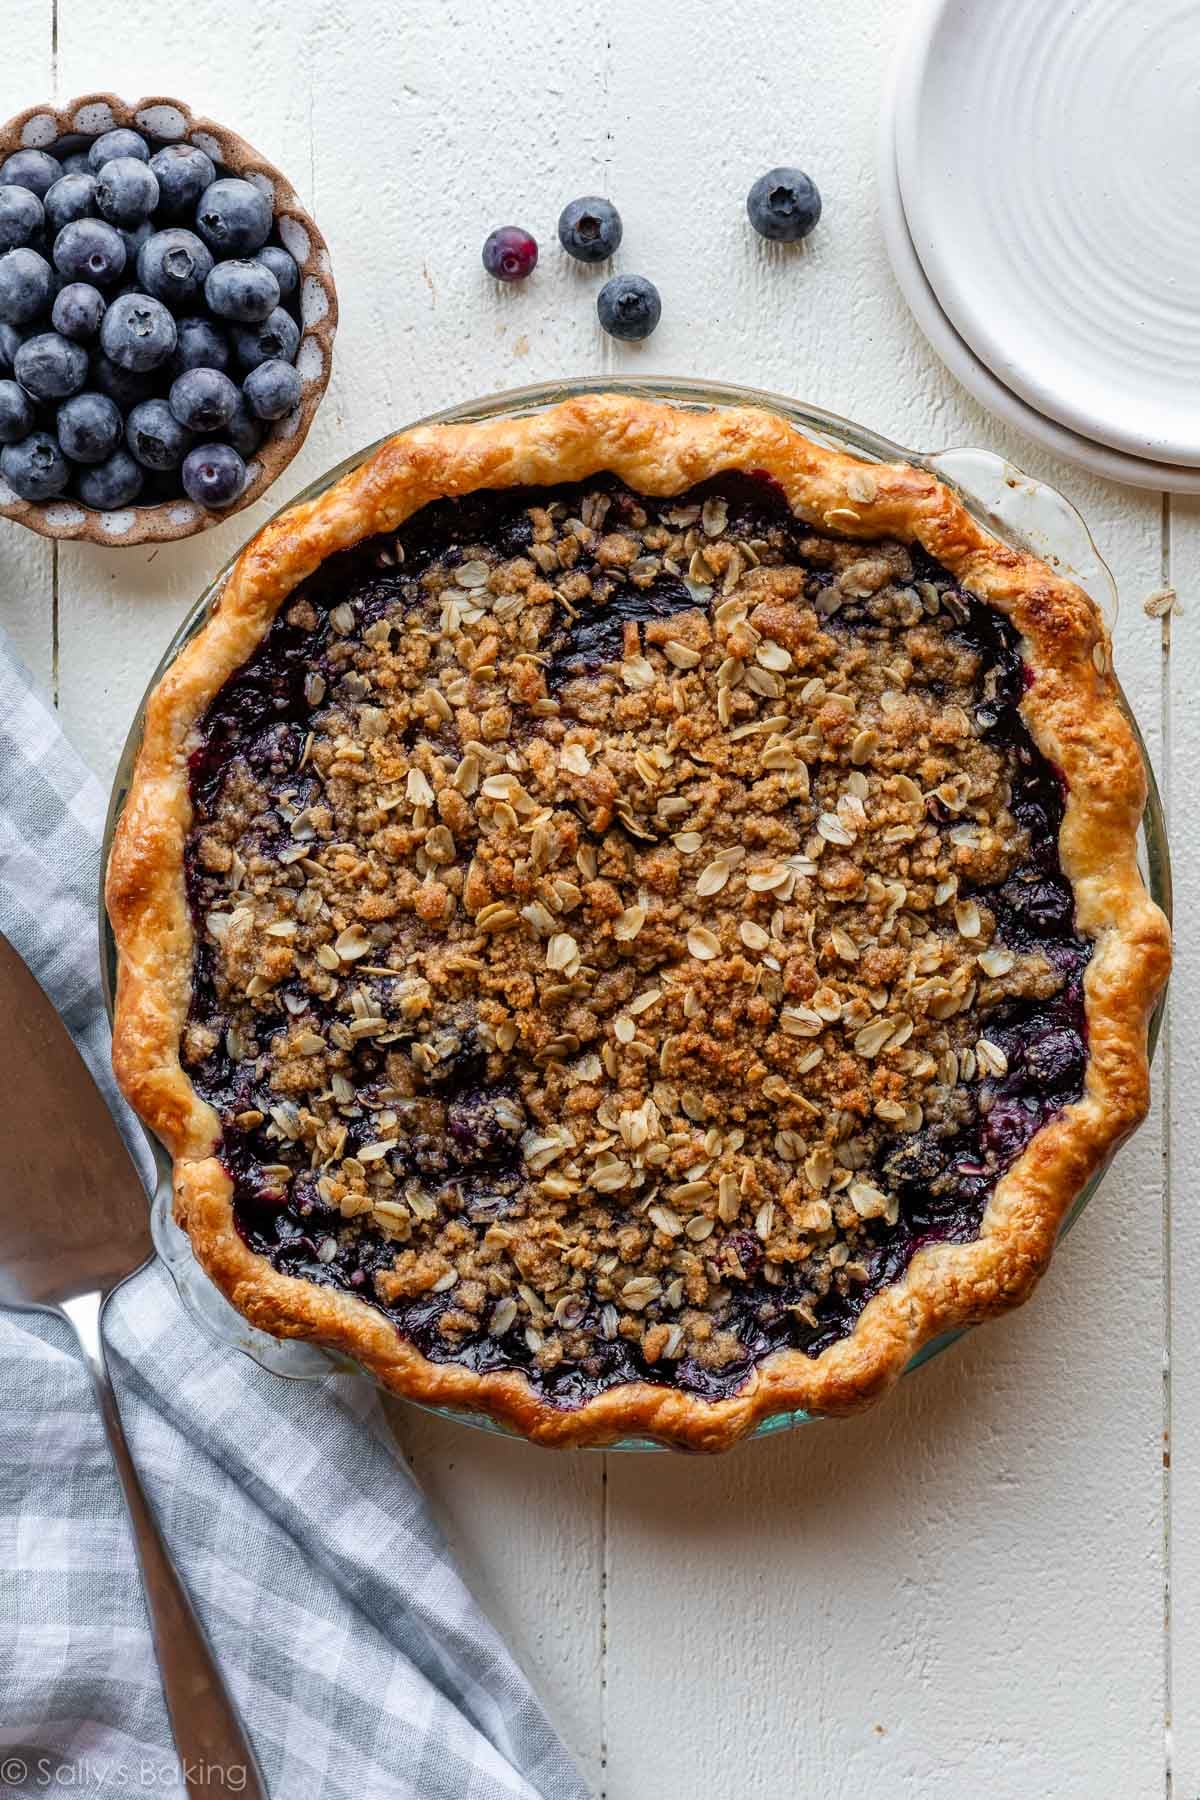
Ingredients You’ll Need for Filling & Topping
Each ingredient plays an important role, so here’s what to know before you begin:
- Blueberries: You’ll need about 6 cups (about 840g) of fresh blueberries. Look for berries that are plump and firm.
- Flour: You need all-purpose flour for both the filling (to thicken) and the crumb topping (for structure).
- Cornstarch: Cornstarch is what transforms all those delicious blueberry juices into a thick filling instead of a runny one. Blueberries contain a surprising amount of liquid, and the cornstarch (paired with the flour) is essential for helping the filling set into clean slices after cooling.
- Sugar: Blueberries are naturally sweet, so this recipe uses just enough sugar to enhance their flavor without overpowering it. You need granulated sugar for the filling and brown sugar for the crumble topping.
- Fresh Lemon Zest & Juice: Fresh lemon brightens the berries and keeps the filling tasting vibrant rather than overly sweet (or one-note).
- Cinnamon: Only a small amount is needed for the topping. It adds warmth without making the pie taste heavily spiced.
- Old-Fashioned Whole Oats: These add texture and help create those crisp, buttery crumbles on top.
- Salt: A little in the crumb topping to balance all the flavors.
- Cold Butter: Cutting very cold butter into the crumb topping ingredients is what gives us those delicious buttery crumbles. (You’ll also need cold butter if you choose to make a homemade butter pie crust!)
You also need an egg wash (egg + milk) for brushing on the crust edges.
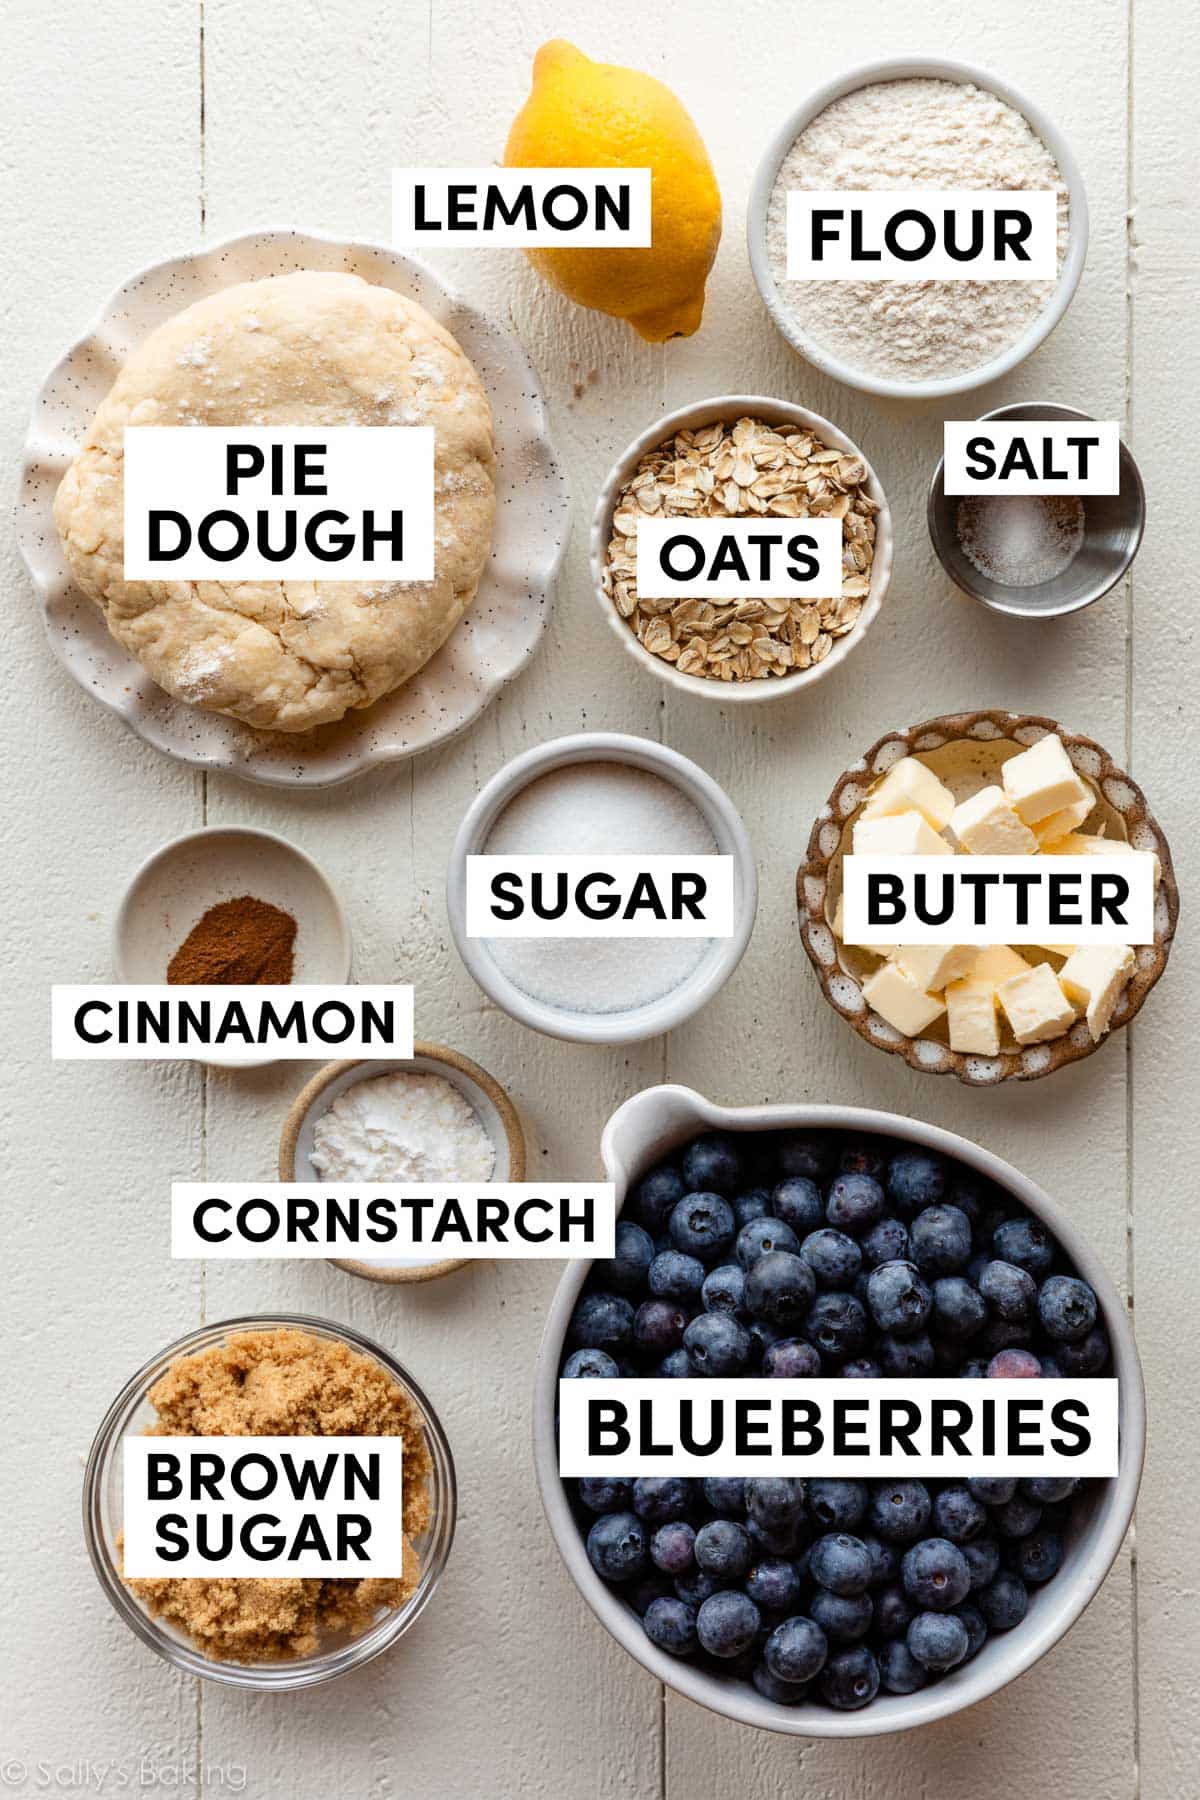
Overview: How to Make Each Component of Blueberry Crumble Pie
Prepare the pie dough: Make the pie dough ahead of time and chill it for at least 2 hours. Start with my favorite all-butter pie crust. It bakes up exceptionally flaky and is easy to work with. You could also use this butter/shortening pie crust, which holds shape nicely. Both recipes yield 2 crusts, so you can pop one into your freezer for the next time you crave blueberry crumble pie.
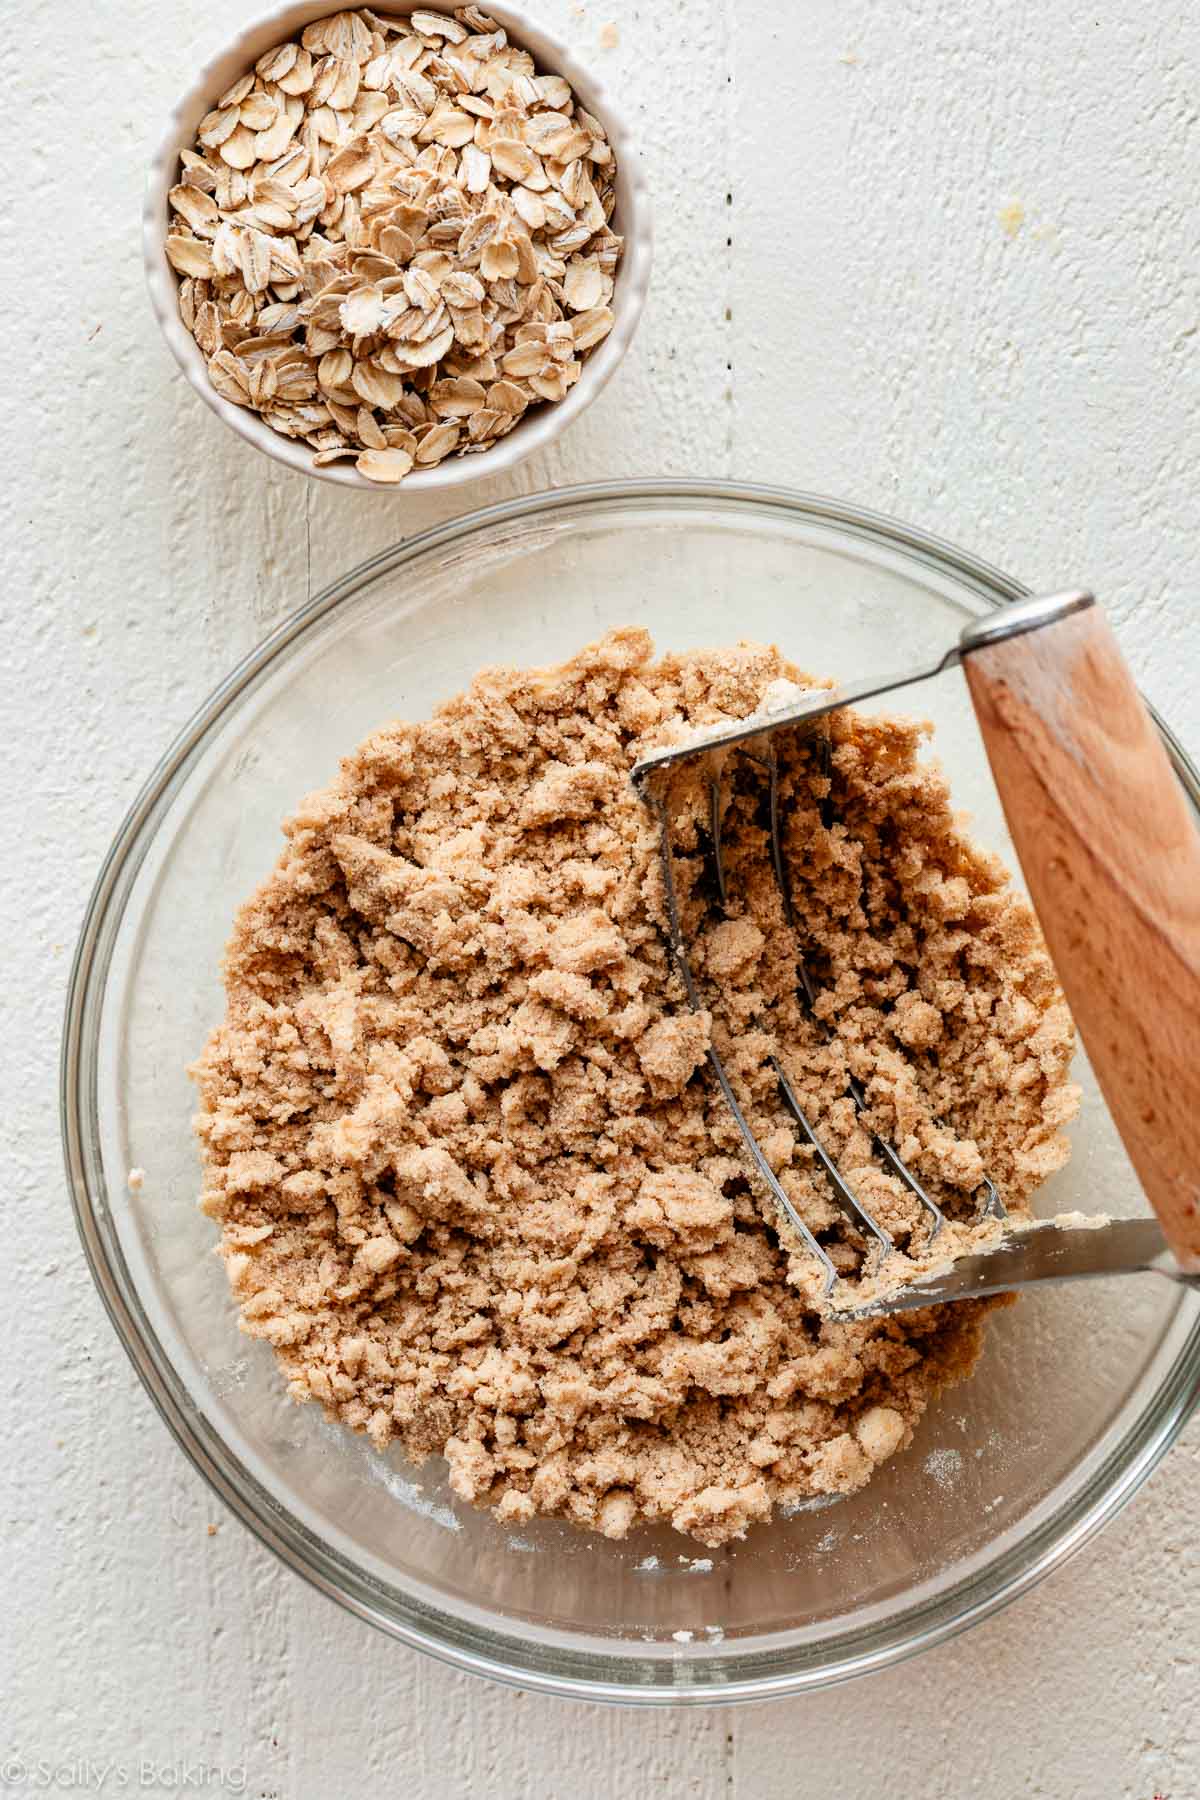
Make the crumble topping: Make the oat crumble topping first and refrigerate it while you prepare the filling. Keeping the topping cold helps it bake into crisp, distinct crumbles rather than melting into the filling. Use cold and cubed butter; cut it into the brown sugar, flour, cinnamon, and salt using a pastry cutter or 2 forks; then stir in the oats.
Make the filling: Blueberry pie filling is actually one of the quickest fruit pie fillings to prepare! There’s no peeling, pitting, hulling, or chopping the fruit. Unlike triple berry pie, you do NOT need to pre-cook the filling, either (a step we tested but found useless). Just rinse and pat the berries dry and then toss them with sugar, flour, cornstarch, lemon juice & zest.
One especially important success tip: If your filling looks dry and powdery, your baked pie filling will be cloudy and runny. If your filling looks shiny and juicy, your baked pie filling will set beautifully.
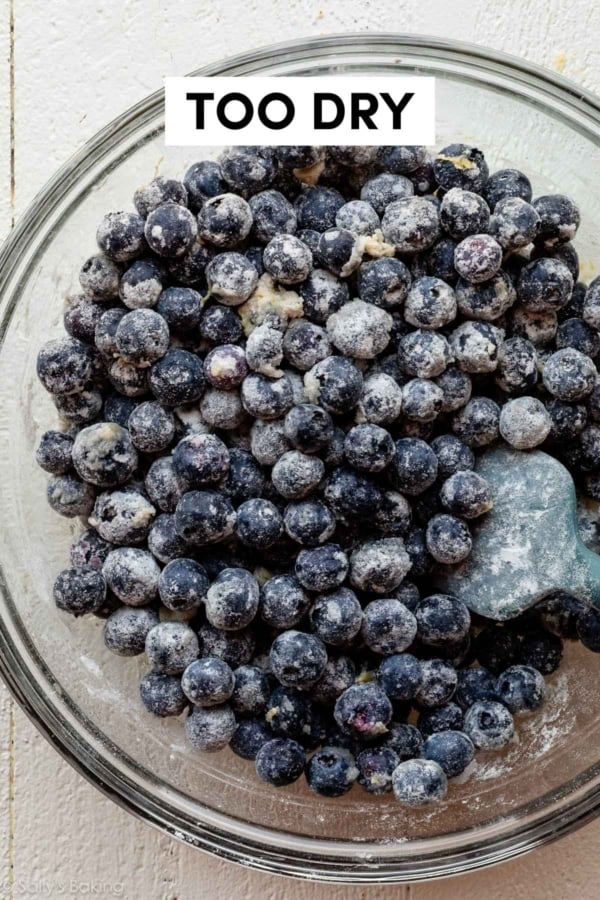
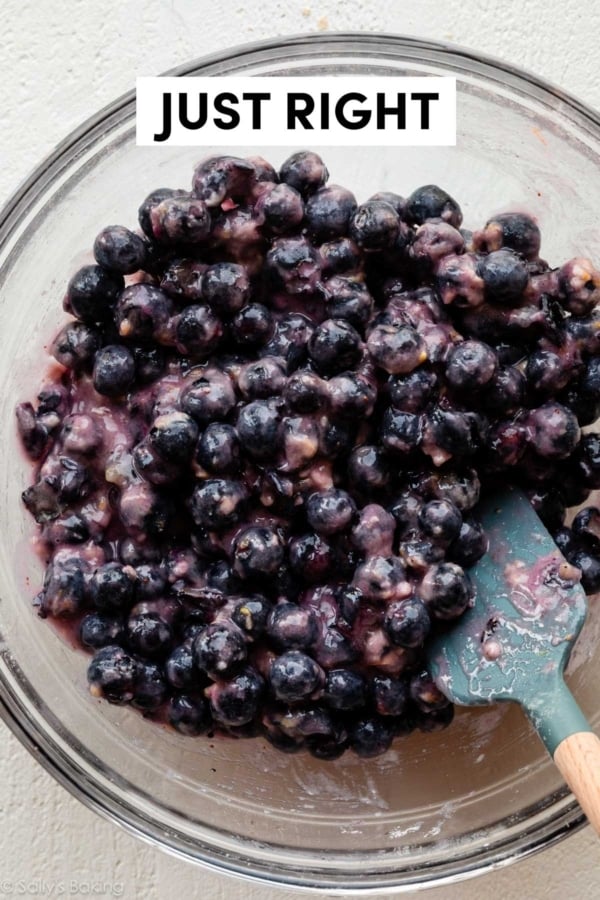
Mash a few blueberries to help absorb some of the flour and cornstarch, so your filling looks juicy. Place the filling in the refrigerator while you finish your pie crust.
Fill the pie crust: Roll the chilled pie dough into a 12-inch circle, and fit it into a 9-inch deep-dish pie plate. I recommend using a glass pie dish, so you can see when the crust on the sides is browning. Flute or crimp the pie crust edges, then brush the edges with an egg wash.
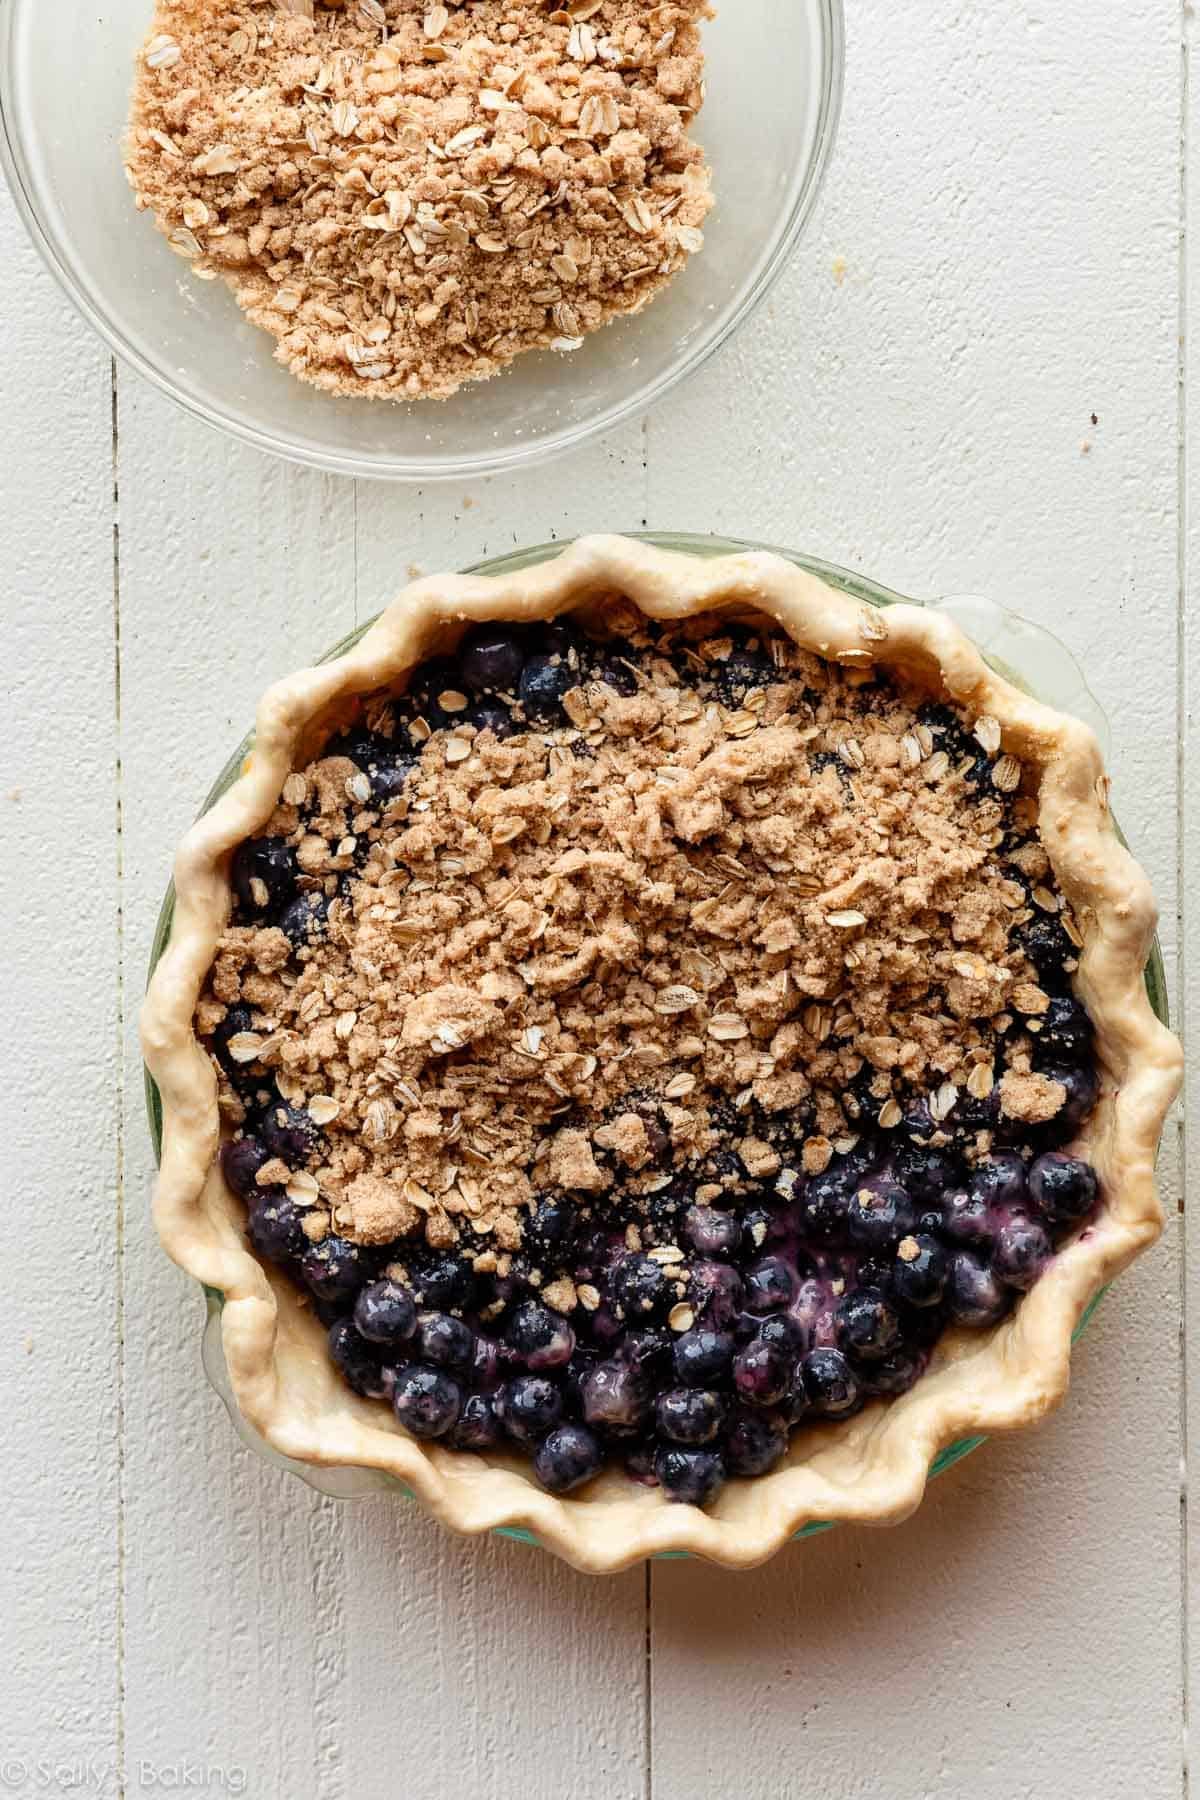
Add the blueberry filling and top with the cold crumble topping. Don’t be shy with the crumble! It may seem like a lot before baking, but it settles as the pie bakes and creates that irresistible crunchy topping we all love.
Baking & Cooling Steps
These steps are particularly important to this recipe, so don’t be tempted to shorten the times or take any shortcuts here.
Start baking the pie at a high temperature. Why? Baking this pie at 400°F (204°C) for 25 minutes helps set the pie crust shape, and helps the cornstarch and flour begin thickening the filling. After that, reduce the oven temperature down to 375°F (190°C) to continue baking the pie. We use this same trick when we make strawberry rhubarb pie and peach pie as well.
If you notice the edges of the crust are getting too dark, add a pie crust shield. And if the crumb topping is browning too quickly, tent a piece of foil over the entire pie to prevent it from over-browning, while giving the filling the time it needs to finish baking.
How to Tell When Your Pie Is Done
Don’t judge doneness by crust color alone. The blueberry juices should be actively bubbling around the edges before it comes out of the oven. Those bubbles indicate the cornstarch has reached the temperature needed to properly thicken the filling.
For a more accurate test of doneness, check the pie with an instant-read thermometer; the internal temperature should reach 200°F (93°C).
This might be the hardest part: you have to let it cool for several hours (overnight is even better). During this time, the filling thickens and fully sets. If you cut into it too soon, it will be runny—no matter how well you baked it.
On the plus side, that means blueberry crumble pie is an excellent make-ahead dessert! Perfect for hosting summertime celebrations like Father’s Day, 4th of July, graduation parties, Labor Day, and more.
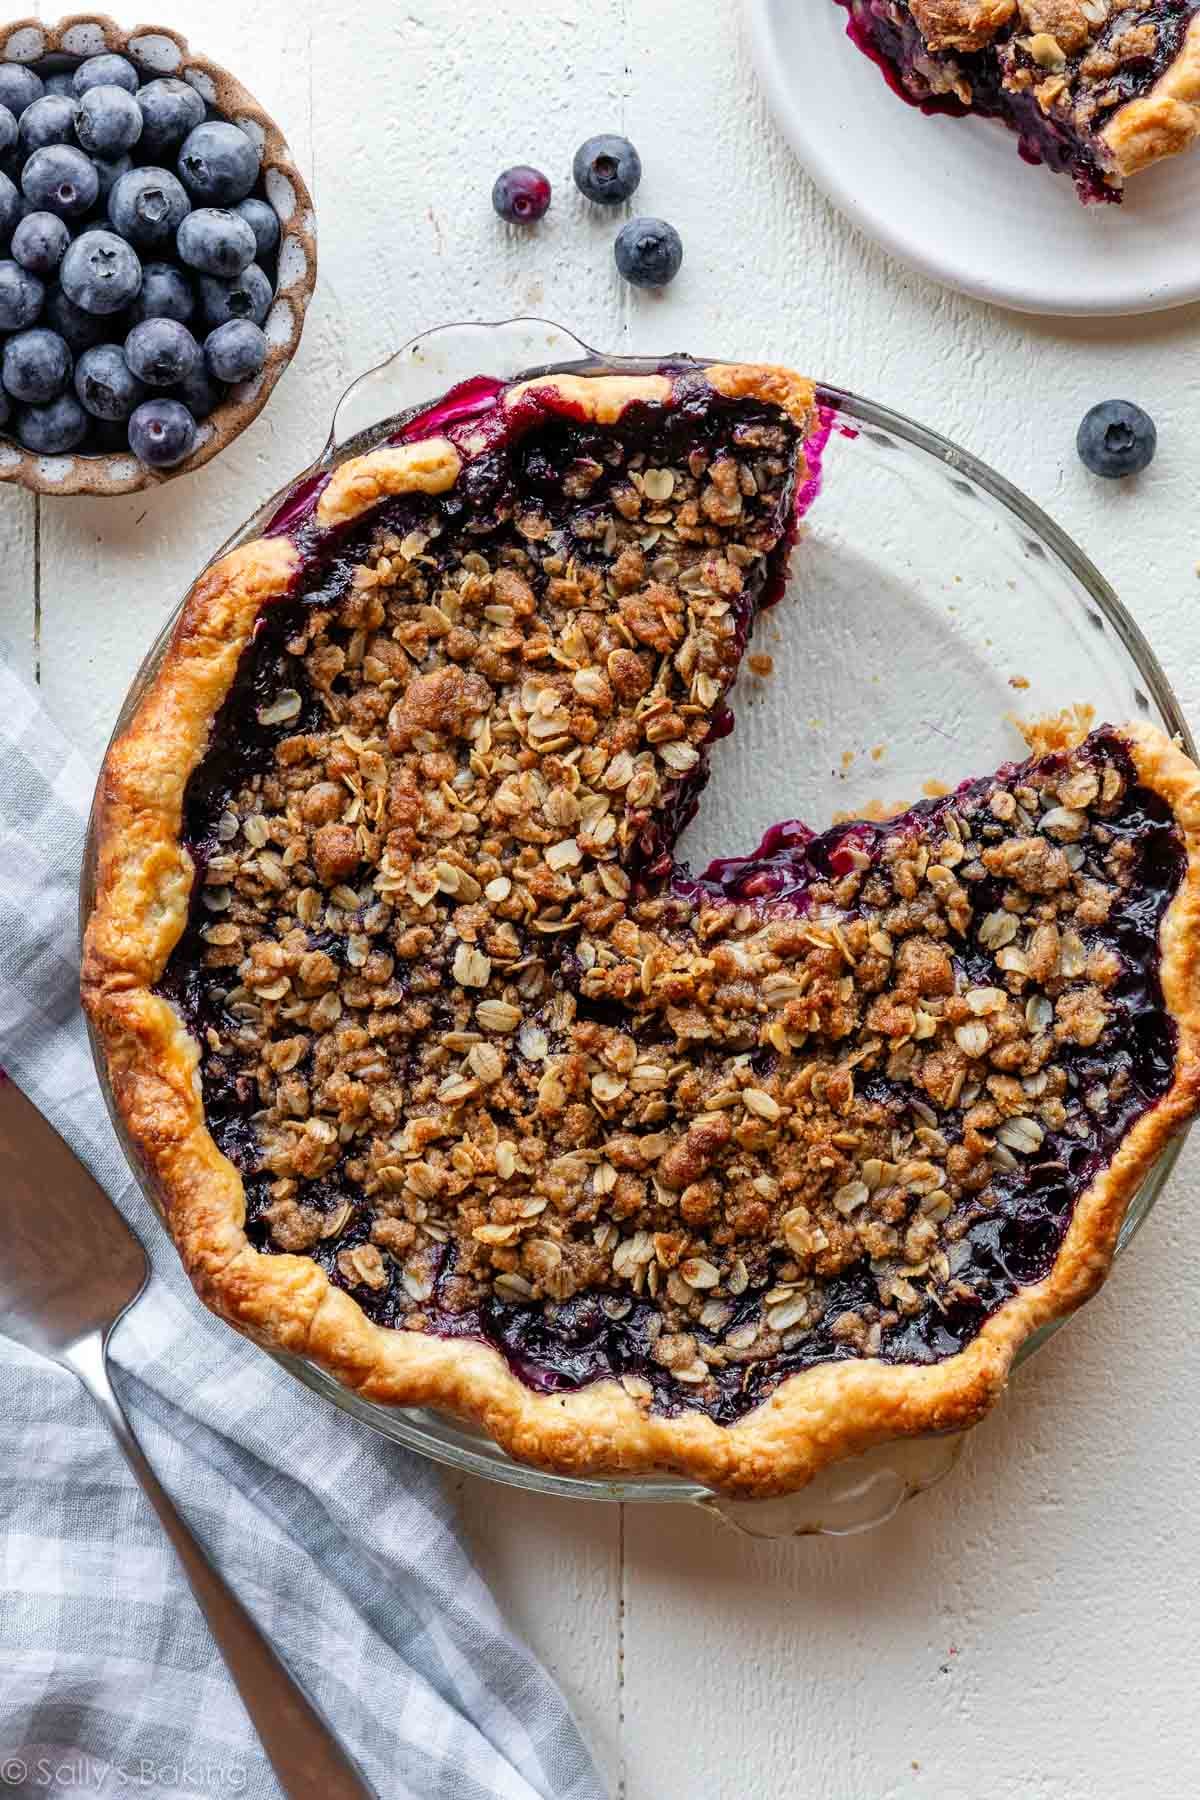
Once you slice into that perfectly baked and cooled pie, you’ll realize it was worth the wait. Warm your slice back up, then add a scoop of ice cream and a dollop of homemade whipped cream for good measure. Pie perfection.
If you’re torn between baking a classic blueberry pie or blueberry crisp, this blueberry crumble pie gives you the best of both desserts in every bite.
Blueberry Crumble Pie Tools



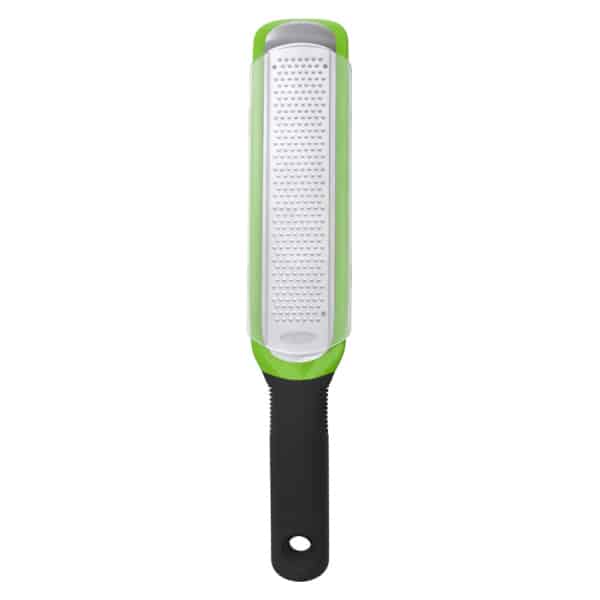
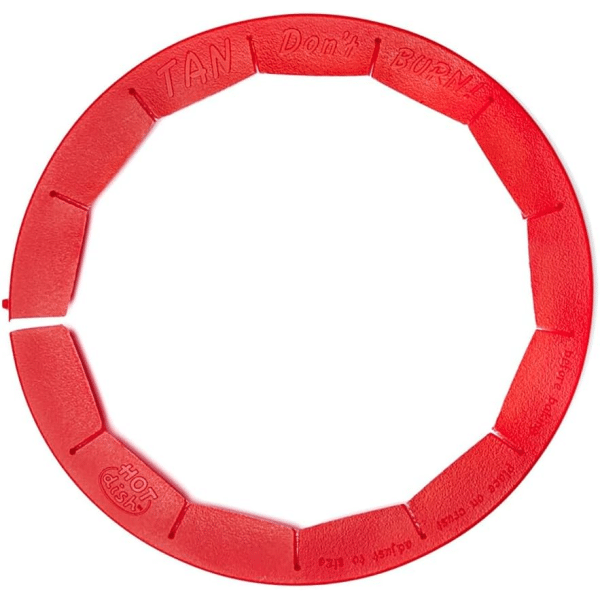
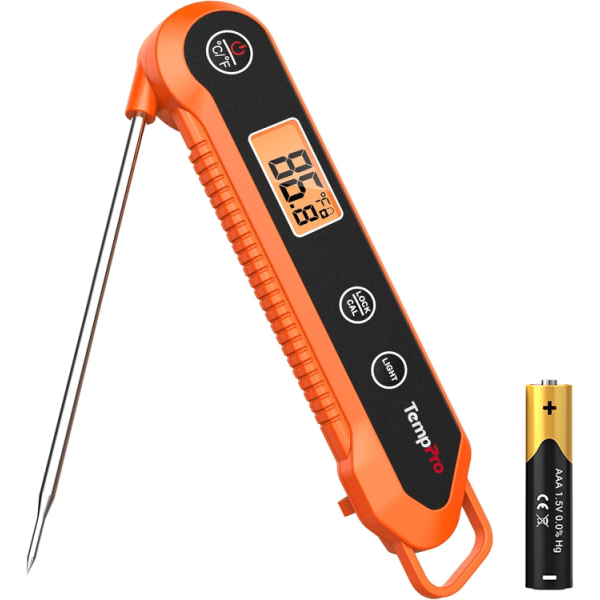
Instant-Read Thermometer
Blueberry Crumble Pie
- Prep Time: 3 hours (includes pie crust)
- Cook Time: 1 hour
- Total Time: 7 hours (includes cooling)
- Yield: serves 8-10
- Category: Pie
- Method: Baking
- Cuisine: American
Description
This blueberry crumble pie combines a flaky pie crust, juicy blueberry filling, and buttery brown sugar oat crumble topping. With plenty of fresh blueberries, bright lemon flavor, and a thick, jammy filling, it’s a beginner-friendly pie that’s perfect for cookouts and summer occasions! No need to pre-bake the crust.
Ingredients
Crust
- 1 unbaked Flaky Pie Crust or All-Butter Pie Crust (what I used)*
- egg wash for pie crust: 1 large egg beaten with 1 Tablespoon milk
Crumble Topping
- 1/2 cup (100g) packed light or dark brown sugar
- 6 Tablespoons (46g) all-purpose flour (spooned & leveled)
- 1/2 teaspoon ground cinnamon
- 1/8 teaspoon salt
- 5 Tablespoons (71g) unsalted butter, very cold and cubed
- 1/2 cup (43g) old-fashioned whole rolled oats
Filling
- 6 cups (about 840g) fresh blueberries*
- 1/2 cup (100g) granulated sugar
- 1/3 cup (41g) all-purpose flour
- 1 Tablespoon cornstarch
- 1 Tablespoon fresh lemon juice
- 1 teaspoon fresh lemon zest
Instructions
- The crust: Prepare my butter pie crust recipe through step 5.
- Make the crumble topping: Whisk the brown sugar, flour, cinnamon, and salt together in a medium bowl. Cut in the butter using a pastry cutter or forks until the mixture is crumbly. Stir in the oats. Refrigerate until ready to use.
- After the pie dough chills, preheat the oven to 400°F (204°C).
- Roll out the chilled pie dough onto a lightly floured surface. Remember, when rolling out the pie dough, always use gentle force with your rolling pin. Start from the center and work your way out in all directions, rotating the dough with your hands as you go. Roll it out into a circle 12 inches in diameter. Carefully place the dough in a 9-inch pie dish. Tuck it in with your fingers, making sure it’s smooth. For a beautiful edge, fold the overhanging dough back over the edge and use your hands to mold the edge into a nice thick rim around the pie. Crimp the edges with a fork or use your fingers to flute the edges. For visuals and a video of this, see how to crimp and flute pie crust. Brush the edges with egg wash. Refrigerate for at least 10 minutes as you prepare the pie filling. This helps keep the crust cold and prevents shrinking.
- Make the filling: In a large bowl, combine the blueberries, sugar, flour, cornstarch, lemon juice, and lemon zest. Mix together until it’s no longer dry and powdery; burst a few blueberries if necessary to moisten. See photo above for a visual, if needed.
- Assemble the pie: Spoon the filling into the crust. Top evenly with the cold crumble topping.
- Bake the pie: Place the pie on the center oven rack. Place a baking sheet on a rack below it, to catch any juices that may bubble over. Bake the pie for 25 minutes. Then, keeping the pie in the oven, reduce the oven temperature to 375°F (190°C). Place a pie crust shield (see Notes for homemade shield) on the edges to prevent them from over-browning. Continue baking the pie until the filling is bubbling around the edges, 35–40 more minutes. If you want to be precise, the internal temperature of the filling taken with an instant-read thermometer should be around 200°F (93°C) when done. Tip: If needed towards the end of bake time, remove the pie crust shield and tent an entire piece of foil on top of the pie if the top looks like it’s getting too brown.
- Remove pie from the oven, place on a cooling rack, and cool for at least 4–5 hours before slicing and serving. Filling will be too juicy if the pie is warm when you slice it. Slice and serve with vanilla ice cream, if desired.
- Cover and store leftover pie at room temperature for up to 1 day or in the refrigerator for up to 5 days.
Notes
- Make Ahead & Freezing Instructions: There are a couple ways to make ahead of time! Make 1 day in advance: After the baked pie cools, cover tightly and keep at room temperature. The pie crust dough can also be prepared ahead of time and stored in the refrigerator for up to 5 days or in the freezer for up to 3 months. Baked pie also freezes well for up to 3 months. Thaw overnight in the refrigerator and allow to come to room temperature before serving. Note that the topping will taste a bit mushy after freezing/thawing. Prepared filling can also be frozen for up to 3 months; thaw overnight in the refrigerator before using.
- Special Tools (affiliate links): Glass Mixing Bowl | Silicone Spatula | Rolling Pin | 9-inch Pie Dish | Pastry Brush | Pastry Cutter | Zester | Citrus Juicer | Large Baking Sheet | Pie Crust Shield | Cooling Rack | Instant-Read Thermometer
- Remaining Pie Dough: You can freeze the second half of the pie dough for up to 3 months. Thaw overnight in the refrigerator before using.
- Blueberries: I strongly suggest using fresh blueberries, not frozen. The pie will be quite soupy if using frozen. If you decide to use frozen, do not thaw first. The pie will take several more minutes in the oven due to the increased liquid. Again, I highly encourage fresh.












Reader Comments and Reviews
We really enjoyed this pie.
First time I made it we ran out of Blueberries; needing about 1C more. So I wound up throwing in a cup of mixed frozen berries. Still came out excellent. The second time I made it I did bite sized pies using a mini muffin tin: they too came out delicious and were a huge hit, though I’m not convinced worth the trouble of being tiny. (Removing from the pan was an endeavor)
I must say I hope to have a glass pie pan by the time I make it again to make watching the bottom get golden a bit easier.
Can I use a store bought pie crust instead of homemade?
Hi Ashley, yes, you can use store bought. Follow all other directions the same. Enjoy!
We had some freshly picked wild berries to use up and I used this recipe. It turned out great! I have made Sally’s crust recipe several times, but was a little worried when others noted they had a soggy crust. The berries we had produced alot of liquid after sitting in the bowl for a day or two awaiting use. I put them in the a strainer for a few hours to get rid of the extra liquid. Still wasn’t confident that these would make the crust soggy, but I am here to tell you it turned out perfectly (in line with all other recipes I have tried from Sally!). I use a glass pie dish, so it when it was time to take it out – I was sure to look at the bottom first. It needed more browned in my opinion, so I kept it in for about 5 more minutes. As difficult as it was, my kids and I let it cool completely before slicing (which meant pie the next morning for breakfast!). So delicious!
Way too much lemon. The filling was thick enough, but the pie was sour.
Thanks. I always check the equipment list (it’s one of the ways I expand my kitchen tool collection) and I kept waiting for when/where I might use colorful bowls with this recipe. I can imagine a soupy pie and ice cream might be perfectly fine served in a pretty bowl. I love you recipes. Yours is pretty much the only site I use now and it never disappoints.
I’m allergic to OAT. Can the other struesel ingredients be adjusted to resemble the crumb topping?
Hi Paula, you can use the crumble topping from this cranberry pear crumble pie instead. Enjoy!
So what are the “Colorful Bowls” about in the “Special Tools”? Thanks.
Hi Alice! The special tools are just some recommendations of our favorite products to use when baking. The original colorful bowl set is no longer sold, but we’ve updated the link with a similar set. Hope this helps!
I’m confused about at what point you’re supposed to cover the crumble with aluminum foil. Are you supposed to do it after the first 20 minutes of baking time when you’re also covering the edges of the pie?
Hi Debbie, correct — we place the pie shield on after the first 20 minutes of bake time, at which point we also loosely cover the entire pie with foil so that the crumble does not brown too quickly. Hope this helps!
With the update to your blueberry pie, do you now recommend that this filling also be mixed until no longer powdery?
Hi Garland, With the slightly different ratios of blueberries to dry ingredients, this filling is going to look at bit more powdery – and that’s ok here!
Not sure about the recipe as the fruits were not precooked first. Imagine the fruits will be cooked inside the pie, and all those juices come out and dripping on to the pie.
No wonder one of the ladies mentioned on the comment, her pie was soggy on the bottom.
Hi Sally, if I bake the pie but leave it out longer than 3 hours to come to cool (will be traveling in a car for 5-6+ hours depending on car). Will that impact the pie?
Hi Nahida, that should be fine to allow the pie to set for that long. After slicing and serving, store in the refrigerator.
I use your recipes all the time and I have loved every single one!! Have you ever used Splenda instead of regular sugar?
Hi Megan! We’re so glad to hear you’ve been enjoying our recipes. We’d love to help but we are not trained in baking with sugar substitutes. For best taste and texture (and so you don’t waste your time trying to adapt our recipes since it may not work properly), we typically recommend using a recipe that is specifically formulated for sugar substitutes. Hope this helps!
Followed your recipe to the letter. This was the most spectacular blueberry crumble that I’ve ever tasted. My husband raved and I will be bringing it to the next family gathering. Thanks so much for this recipe. ♥️♥️
Just made this pie and it came out great! Followed the recipe exactly! Will say I had to leave the pie in for like an additional 15 minutes because the crust didn’t look done on the bottom. But I just covered it and it didn’t burn!
Amazingly textured & taste!! My pie didn’t bubble on the sides what did I do wrong?
Hi Andrew! How did the pie turn out? If it set up properly and the crust is cooked through, you did nothing wrong! Otherwise it may simply need to bake a bit longer next time. Thank you for giving this recipe a try!
I followed the directions exactly and the the pie texture wasn’t right. It had great flavor but didn’t hold together. My blueberries were fresh and I let the pie cool three hours. What am I missing???? Crust was perfect! My fav recipe to use.
Hi Ruth, We are so happy you enjoyed the crust and the flavor! The pie simply may have still been too warm when you cut it. If your kitchen is particularly warm it may take longer to come to room temperature to thicken the filling – you can also finish cooling the pie in the refrigerator if you wish. That should help!
Completely obsessed with this website! Thank you for all of your amazingly perfected, tried and true recipes! So grateful that you have done a lot of the leg work to provide delicious options. I love to bake and use your site for everything! This pie turned out incredible exactly as recipe stated. Happy 4th!
This is an absolutely perfect recipe! Not that I’m surprised – everything I’ve ever made from you has been perfect. But this pie is definitely one I’ll keep coming back to!
WOW. This is sooo very good. The entire family is in love. Not too sweet and really the best of summer. Thanks again Sally!!
I just made this exactly to recipe and it turned out absolutely delicious!
Absolutely delicious! Followed the exact recipe and the pie turned out PERFECT! I will definitely make this again 🙂
I made this recipe yesterday and it turned out to be very delicious. I thought the crumbs on top were a bit much at first ( I added 1/3 cup crushed peanuts for a different texture) but it wasnt at all. The mix of blueberries and the crumbly top are the perfect combination.
Should you blind bake the pie shell before putting in the blueberries? Can you use frozen berries in this recipe?
I absolutely love ALL your recipes! Recently discovered your website and have been looking daily for all the delicious recipes you’ve put on here. Thank you so much for sharing! Love them all!
Girl, all of your recipes are on point. I made the blueberry crumble pie for the 2nd time. My family raves about it. It’s not overly sweet and the all butter pie crust is to die for! I’ve made your strawberry cake, chicken pot pie and apple crumble pie. They are all fabulous. I want to make your cherry bourbon crisp next! I’m hooked on your blog and have learned so much about baking! Thank you for sharing your knowledge!
This pie was amazing! It’s not easy to get a crisp bottom crust with all those juicy blueberries, but I did. Absolutely delicious recipe, I didn’t change a thing and it came out perfectly!
Blueberry pie is my FAVORITE! This is the first time making this particular recipe, it is fabulous, and I will make again again! thank you!!
Would love to try this – will it work as just a blueberry crumble without the pie crust? Feeling a bit lazy 🙂
Hi Emily, I recommend using either this recipe for Brown Butter Blueberry Peach Crisp or Strawberry Vanilla Crisp and you can change up the type of fruit you use if you wish.
Hello – I’m making this pie today, and I have about a cup of the filling leftover since I used a smaller, premade frozen crust I’ve been wanting to use up. What can I do with the leftover filling? Freeze it, hand pie, turnovers, dump cake, cobbler or crisp, donuts? And will it last in the fridge for a few days? Thank you!
Hi Megan! We recommend making a quick crisp or cobbler with the extras – so easy! The filling will keep in the fridge for a few days, or you can freeze it up to three months. Enjoy!
My husband and I went blueberry picking I made this pie yesterday well we didn’t wait the 3 hour’s my husband LOVED this pie and so did I the only thing I did add to the crumble was some pure vanilla powder this will be my only recipe I use thanks for sharing
This pie is a lot easier than it looks! It is so cute and tastes so good! I love the crumble topping because it adds some delicious flavor! I will make this again! Thank you
We have been frustrated for the second time by this pie. We need better instructions for when the pie is done. Our crust on top is perfect and covered to keep from burning. The bottom is so wet with too much juice after more than 5 hours rest. Do we have to see boiling of the juices before we take it out?
Hi MJ, Are you using fresh berries? I find the pie gets soupy with frozen berries. Is your bottom pie crust fully baked? Be sure you are baking for 25 minutes at 400 and then keeping the pie in the oven turn the temperature down to 375 for an additional 35 minutes. I love using a glass pie dish so that I can see the bottom of the pie to make sure it looks fully cooked before removing it from the oven to cool!
So you don’t bake the pie crust before adding the filling? When I have neglected this step, my crust was too soggy to serve. So you bake the pie once with all ingredients?
Hi Karen! We do not parbake the crust for this pie. We find that by draining the filling, giving the pie some time in the refrigerator, and allowing it to set after coming out of the oven allows it to stay thick and the crust to bake through.
I wonder if weighing the berries would help….it seems like an ingredient that could easily result in too much or too little if measured instead of weighed. Haven’t made this pie yet, but I’ll definitely be relying on the weight provided. Ingredients are far too expensive these days to risk not being exact!