This is one of the easiest ways to prepare homemade soft pretzels and the results are extra delicious. The soft pretzel dough only needs to rest for 10 minutes before shaping. The quick baking soda boil gives the pretzels their traditional flavor. Make sure you watch the video for how to shape pretzels!
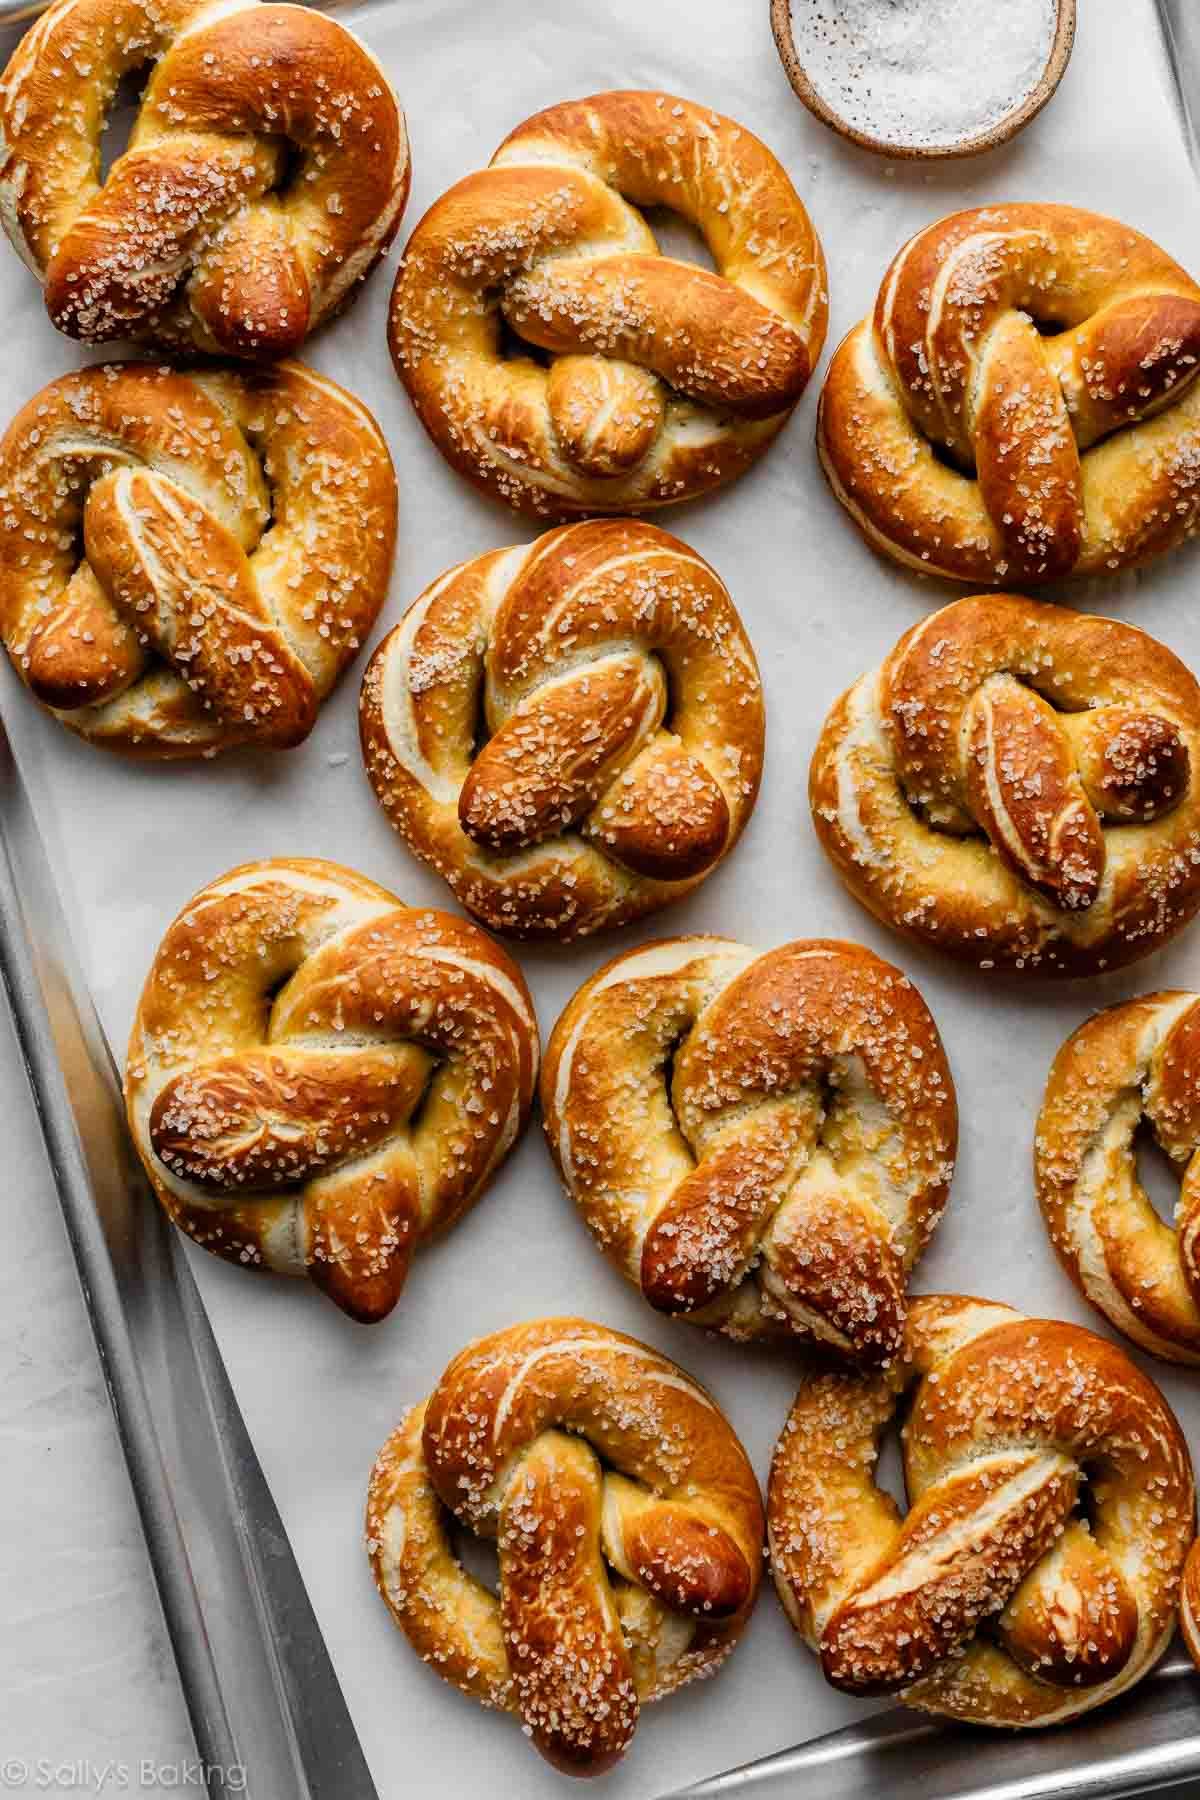
Homemade soft pretzels are nothing new around here because this recipe has been a reader favorite for years. This recipe is such a fan favorite, that it deserved a spot in print! You’ll also find this recipe in my cookbook, Sally’s Baking 101 (which has become a New York Times Best Seller!).
The dough requires just 6 ingredients and there’s hardly any rise time, so not only are these easy, they’re pretty quick too. In fact, I remember feeling pleasantly surprised at the ease and speed the first time I made them—it took us only 30 minutes to make 1 batch!
Over the years, I’ve added a smidge of melted butter to the dough for improved flavor. Furthermore, we’ve introduced the baking soda bath. While it sounds strange, this step is what gives pretzels that iconic flavor, chewy texture, helps deepen their golden color in the oven, and locks in the super soft interior. If you get the water boiling ahead of time, it really only adds 5 minutes to the entire process.
We’ve also made them soft pretzel bites, soft pretzel knots (with various toppings), jalapeño cheddar pretzels, and soft pretzel rolls from this simple dough. There’s no wrong way to shape a pretzel, but let’s stick with the classic today. I promise you’ll no longer feel intimidated working with yeast, shaping pretzels, or the baking soda bath.
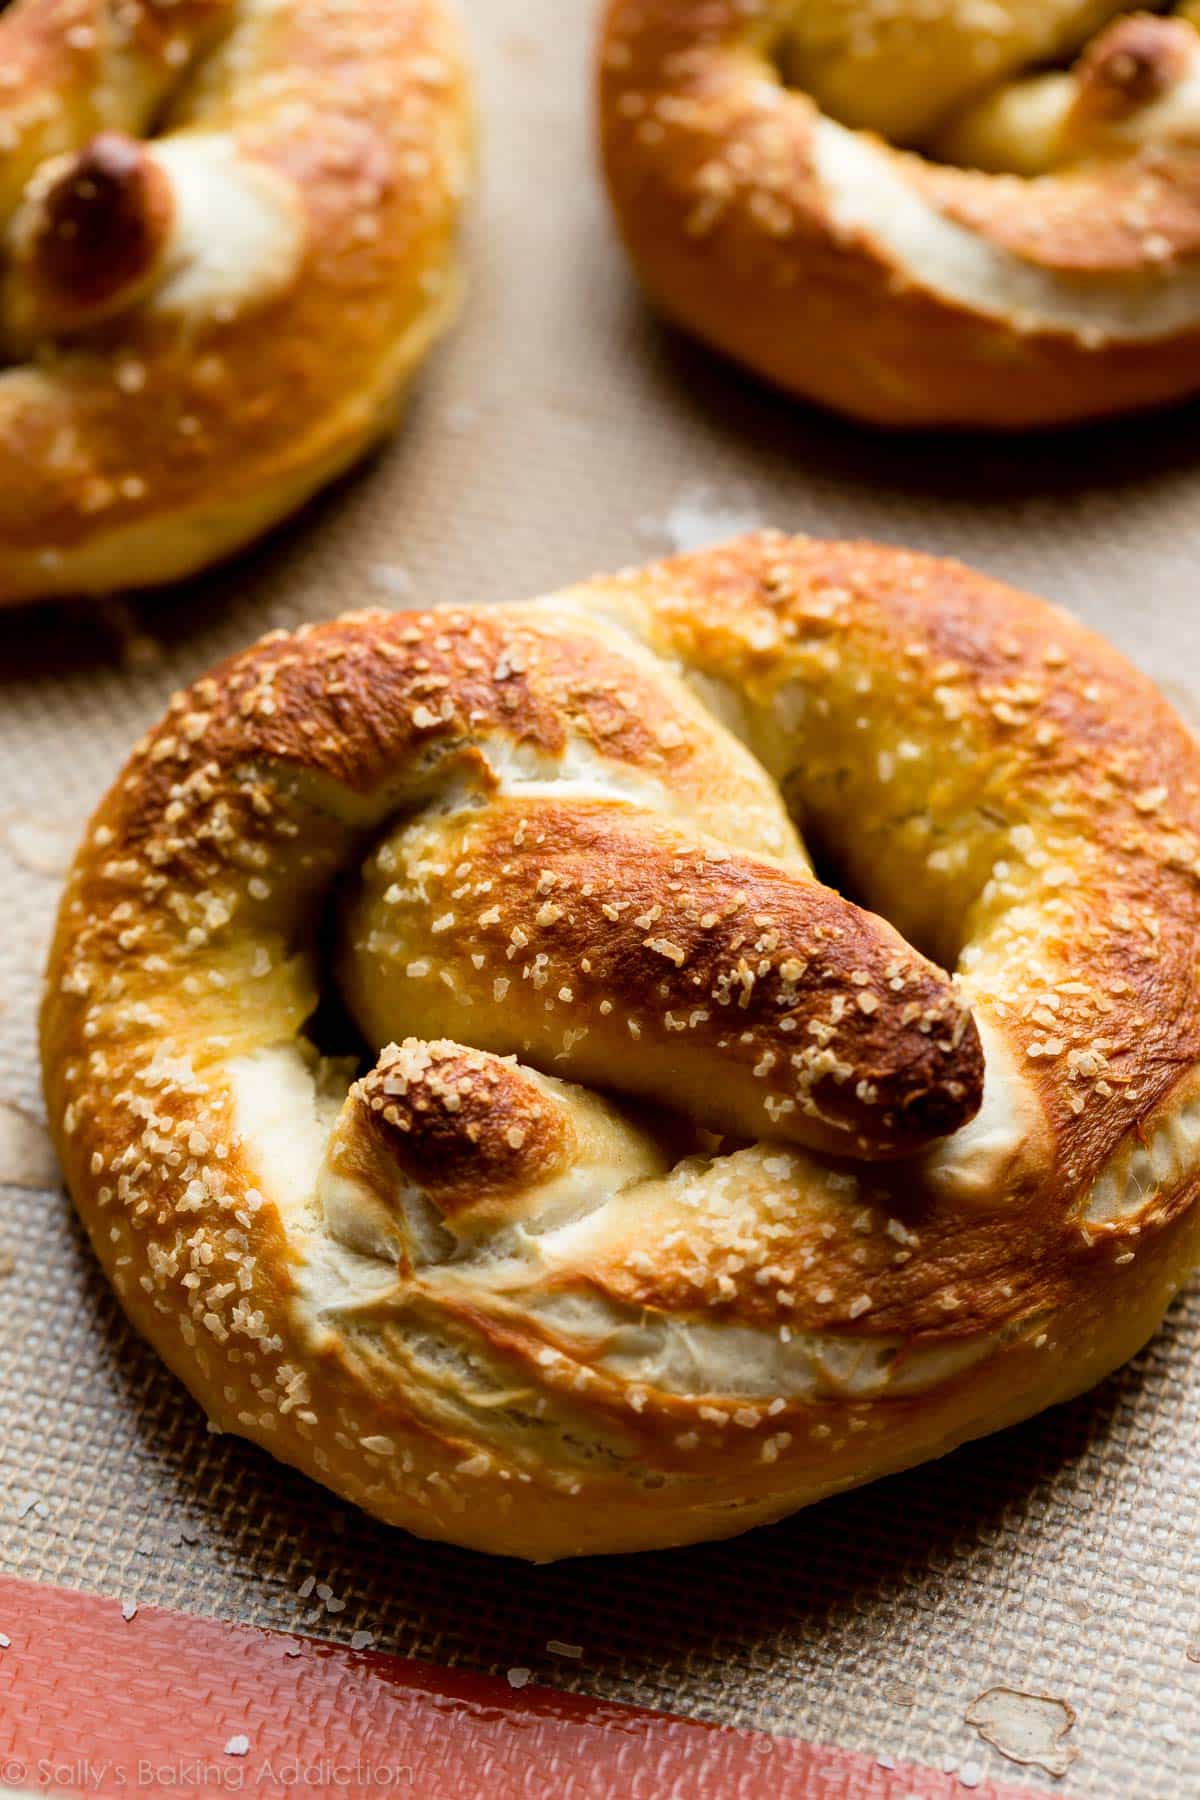
Even if you have zero skill in the kitchen, you can make these homemade soft pretzels.
Step-by-Step Photos
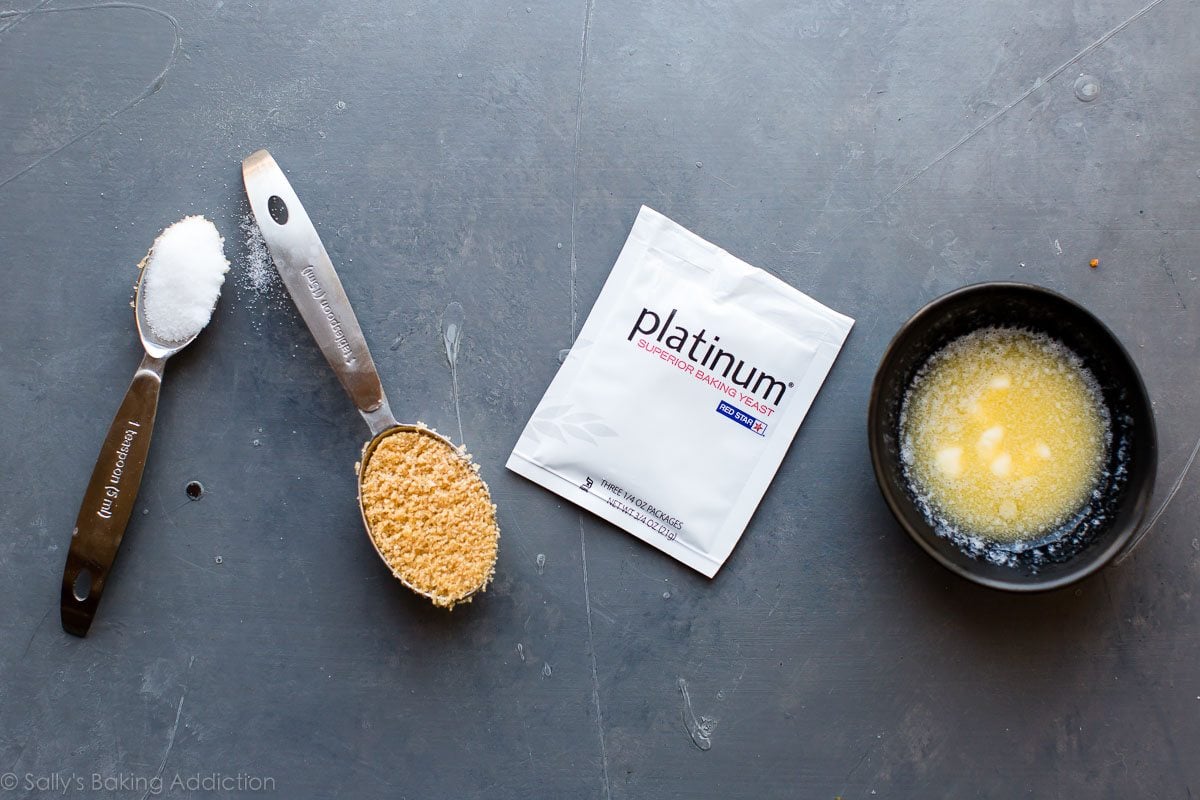
Let’s chat about the dough. You need the simplest, most basic ingredients possible and I bet each one is in your kitchen right now. Warm water, 1 packet of yeast, brown or regular granulated sugar, melted butter, salt, and flour.
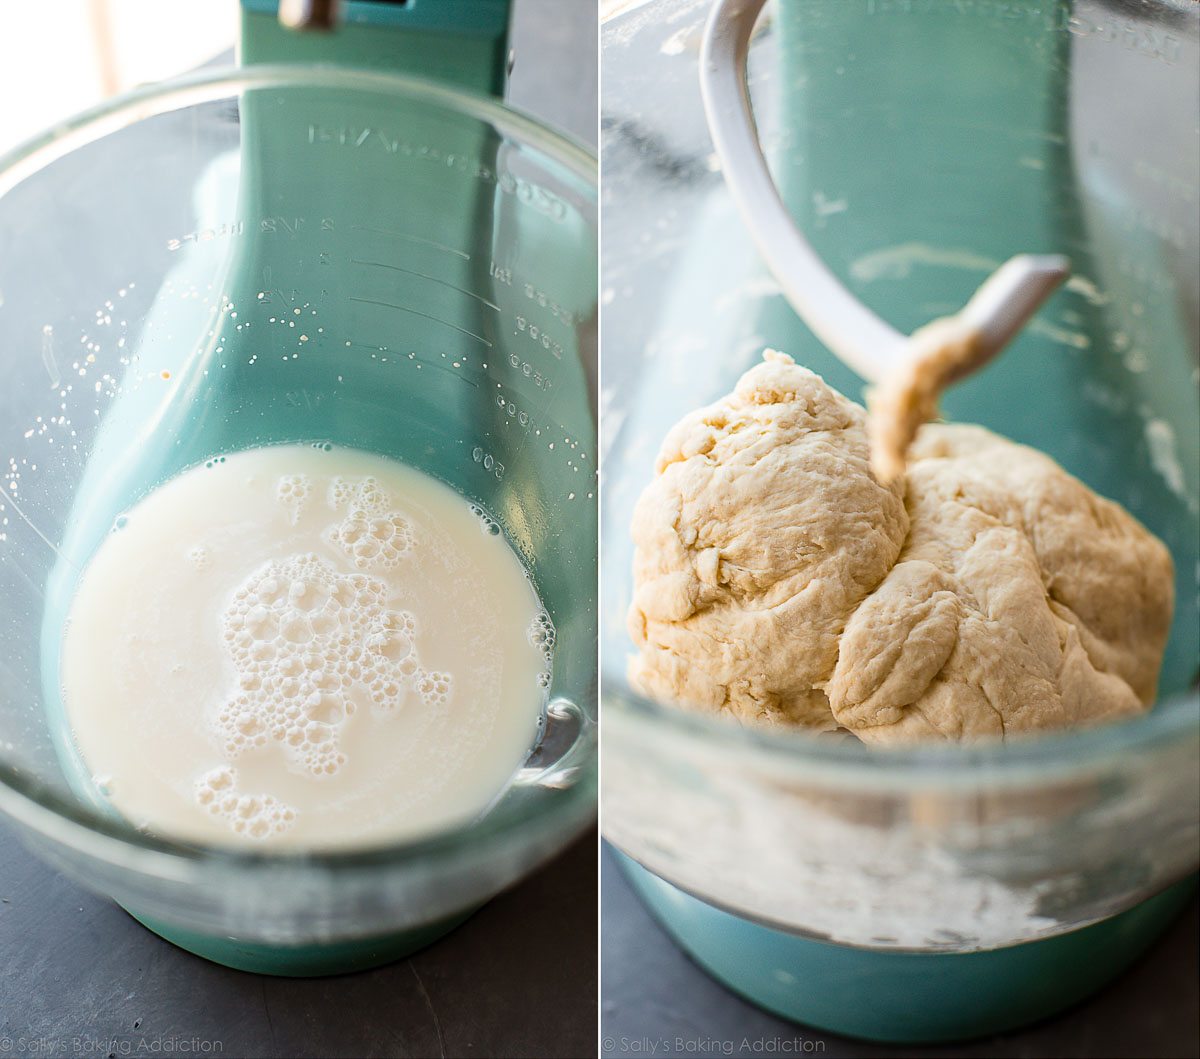
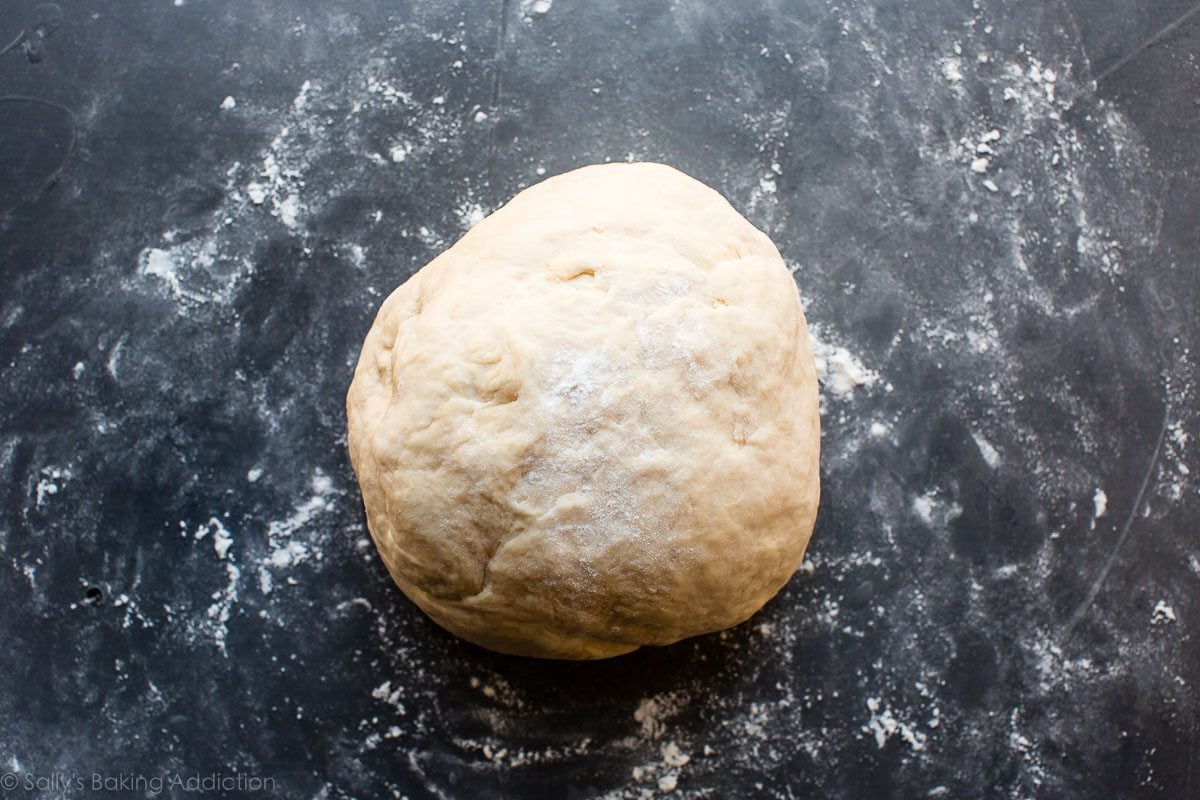
Mix the yeast and sugar in the warm water, let it sit for a minute, then whisk in the butter and salt, then add the flour. You can use a stand mixer fitted with a dough hook attachment a big bowl and wooden spoon. Work with what you have in the kitchen. And if you need extra help with kneading, see my full How to Knead Dough video tutorial.
You don’t have to wait to let this dough rise for an extended period of time. Just 10 to 30 minutes does the trick. Don’t have a lot of time on your hands? This recipe is for you. If, however, you want to extend the rise time, you certainly could. Doughs that leave time for bulk fermentation (when the dough rises before shaping), typically have a more enhanced, developed flavor. In fact, some pretzel recipes require an overnight rise in the refrigerator. If you have the time for that, do it! However, I find a brief rise suitable for today’s pretzels, especially if I’m making them with younger bakers.
How to Shape Homemade Soft Pretzels
Now it’s time to shape.
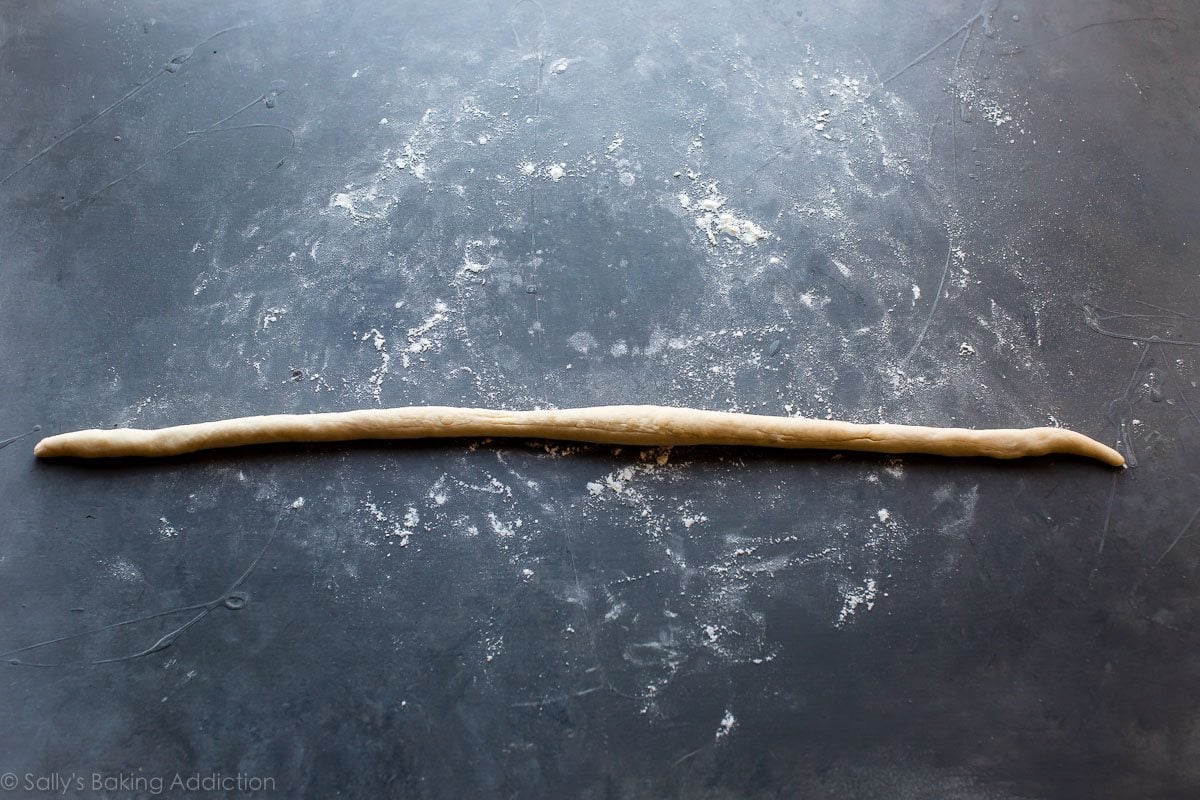
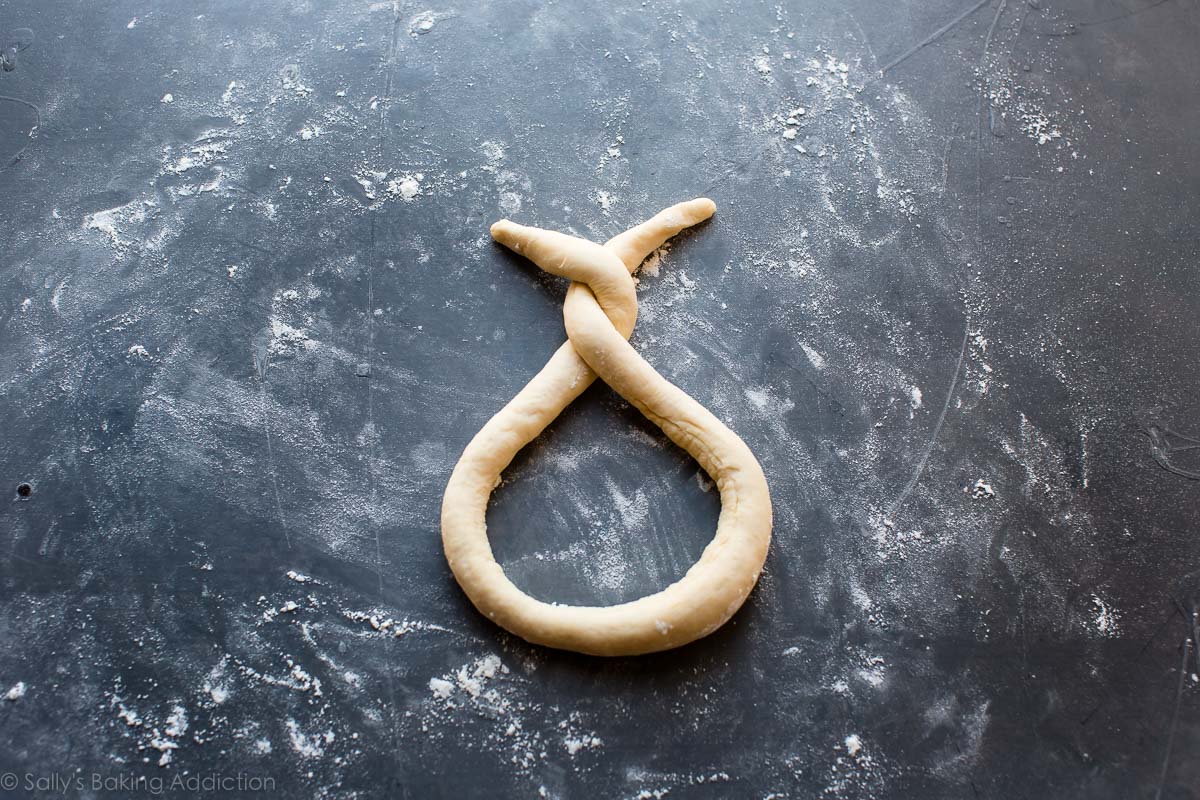
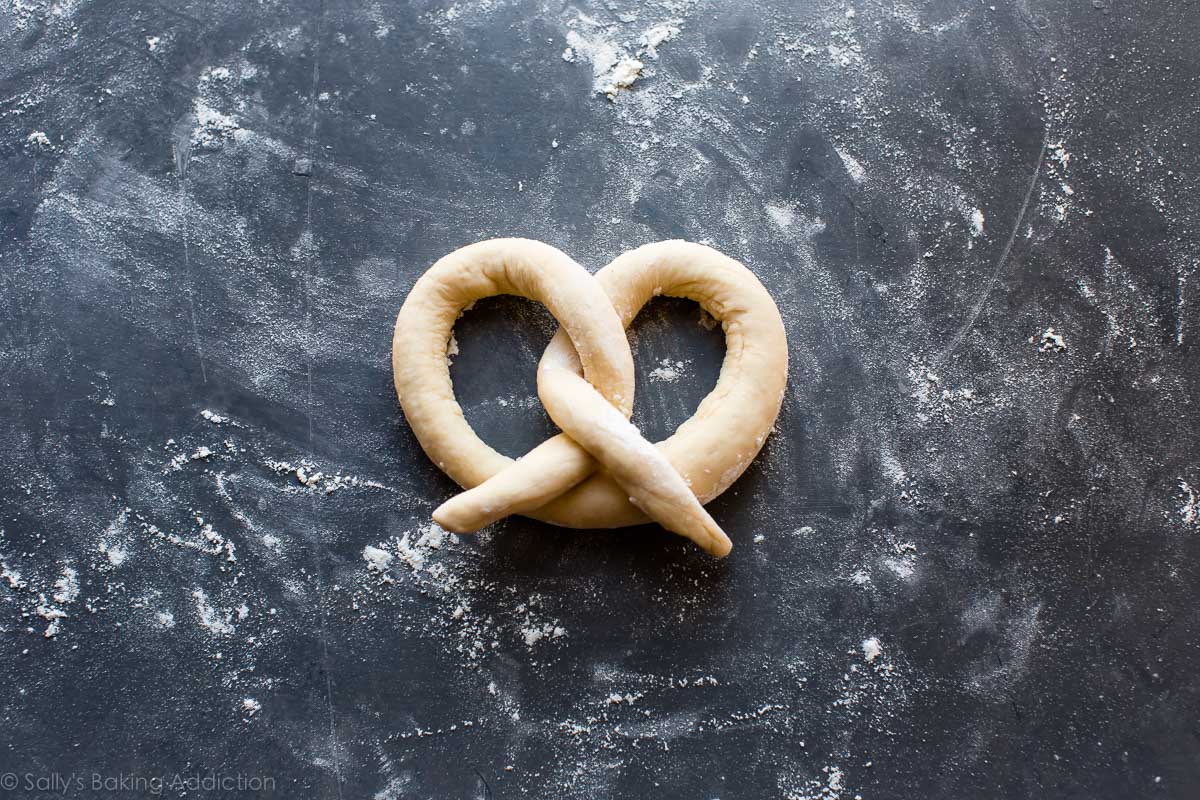
Roll about 1/3 cup (75g) of dough into a long 20- to 22-inch rope.
Twist the ends and bring the ends down. That’s a pretzel!
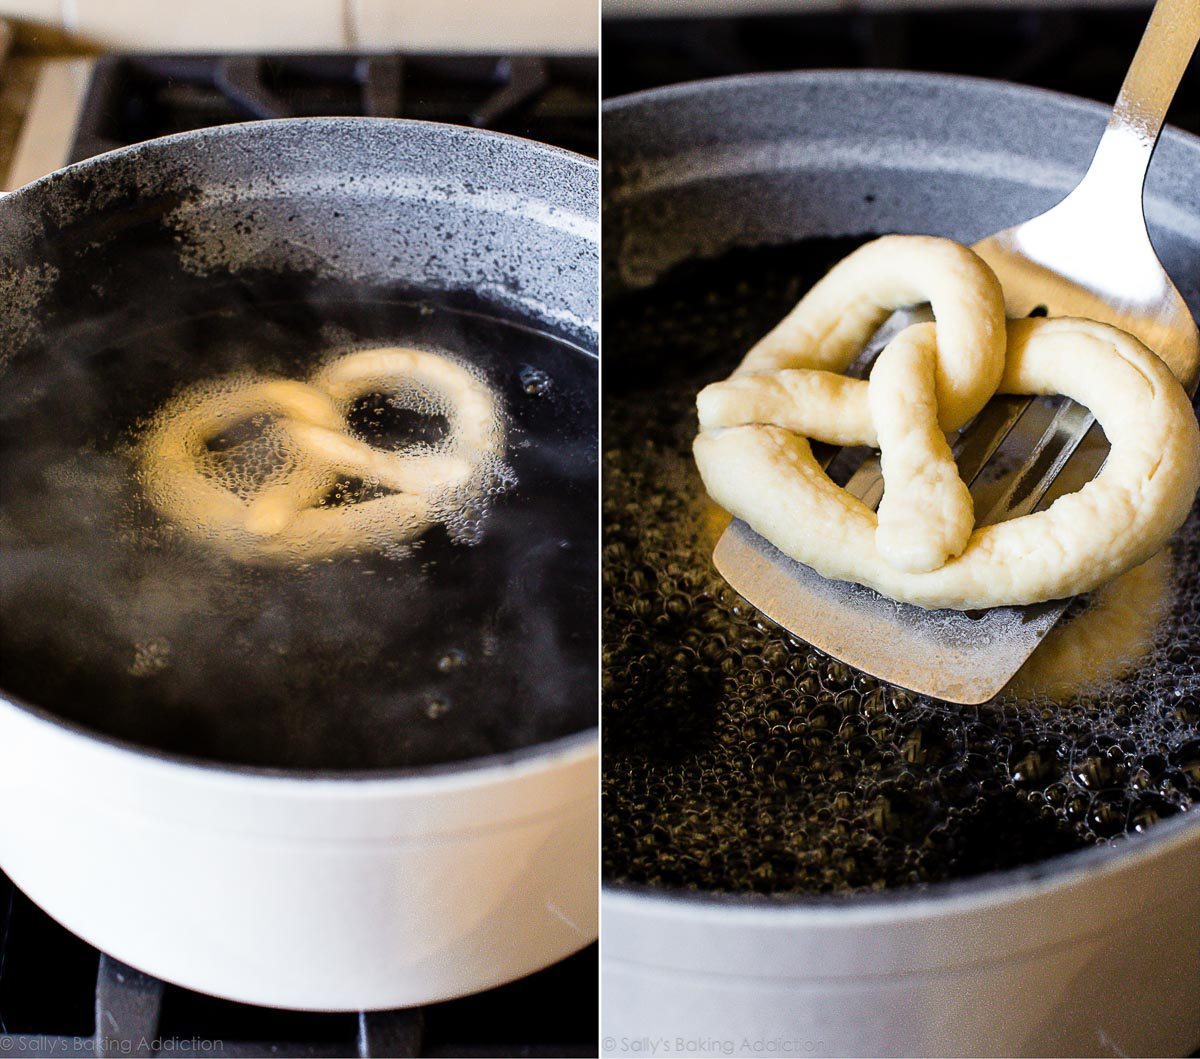
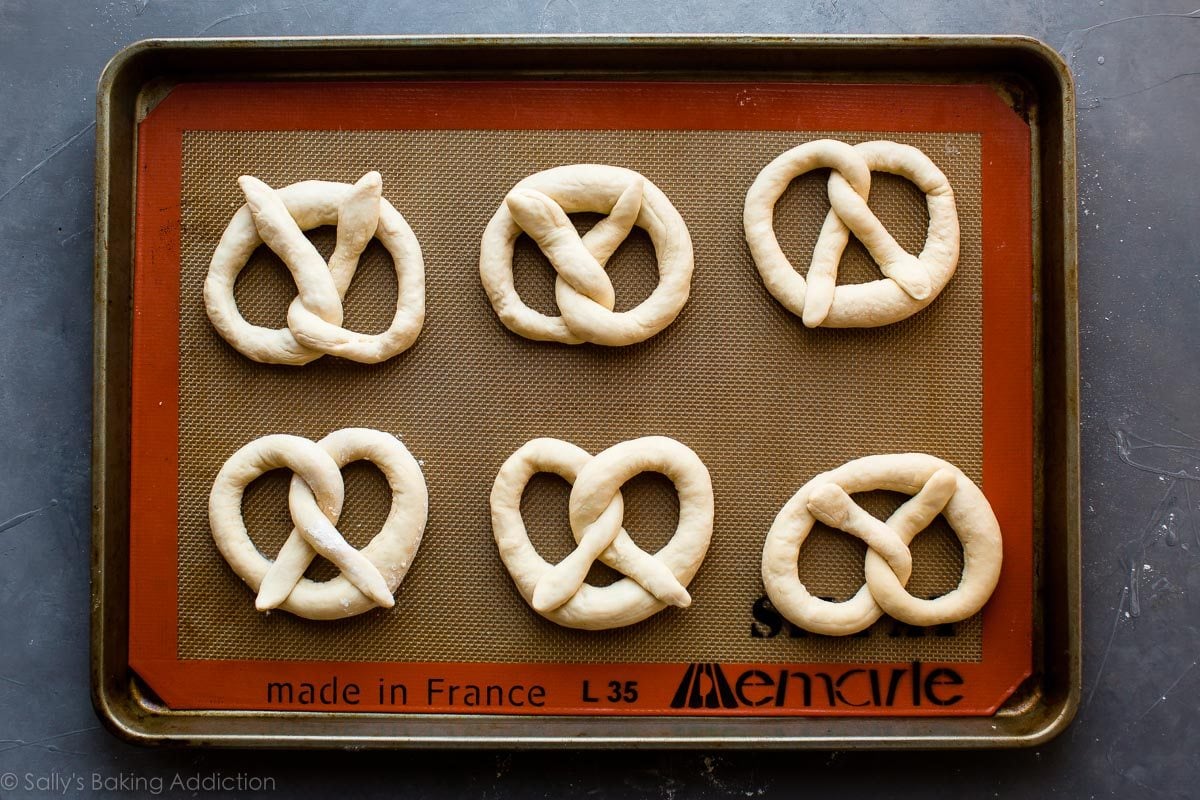
Now drop the pretzels into the boiling water + baking soda. Let them boil for 20–30 seconds each, then place onto a baking sheet. This pretzel dough makes 12 regular-size soft pretzels, so I use 2 baking sheets. 6 on each.
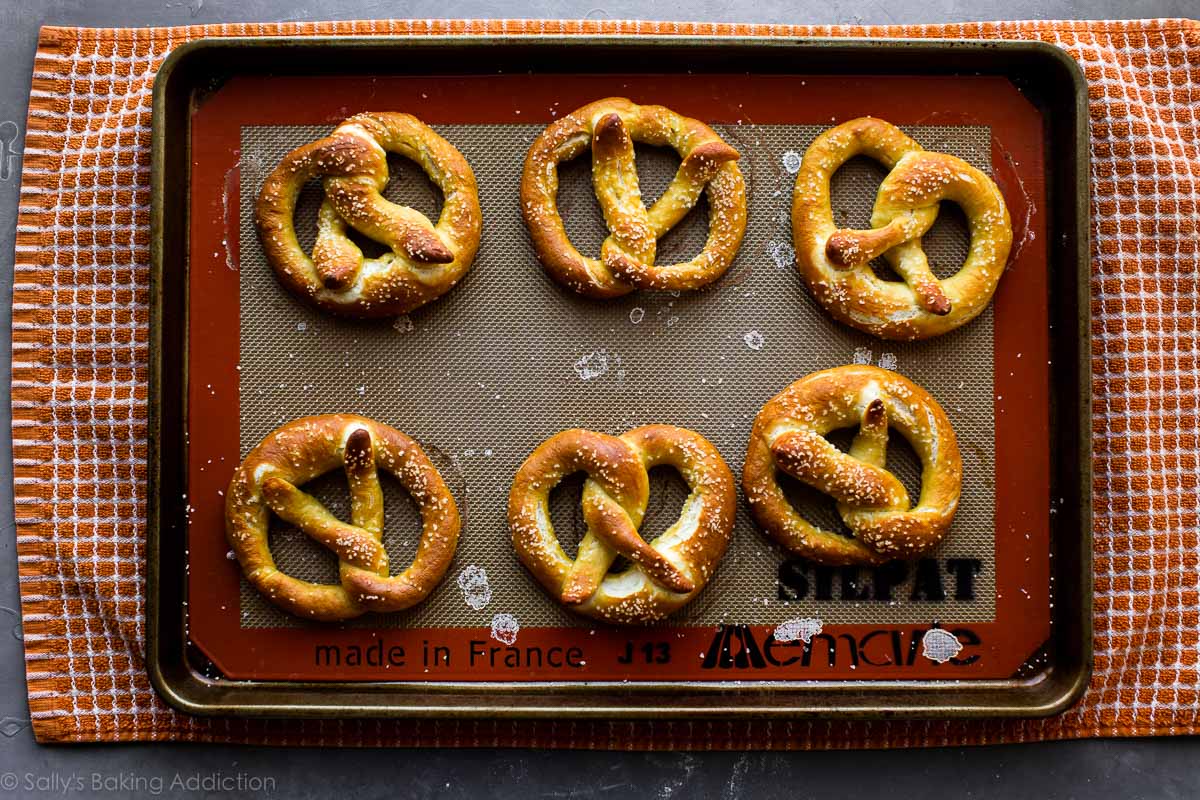
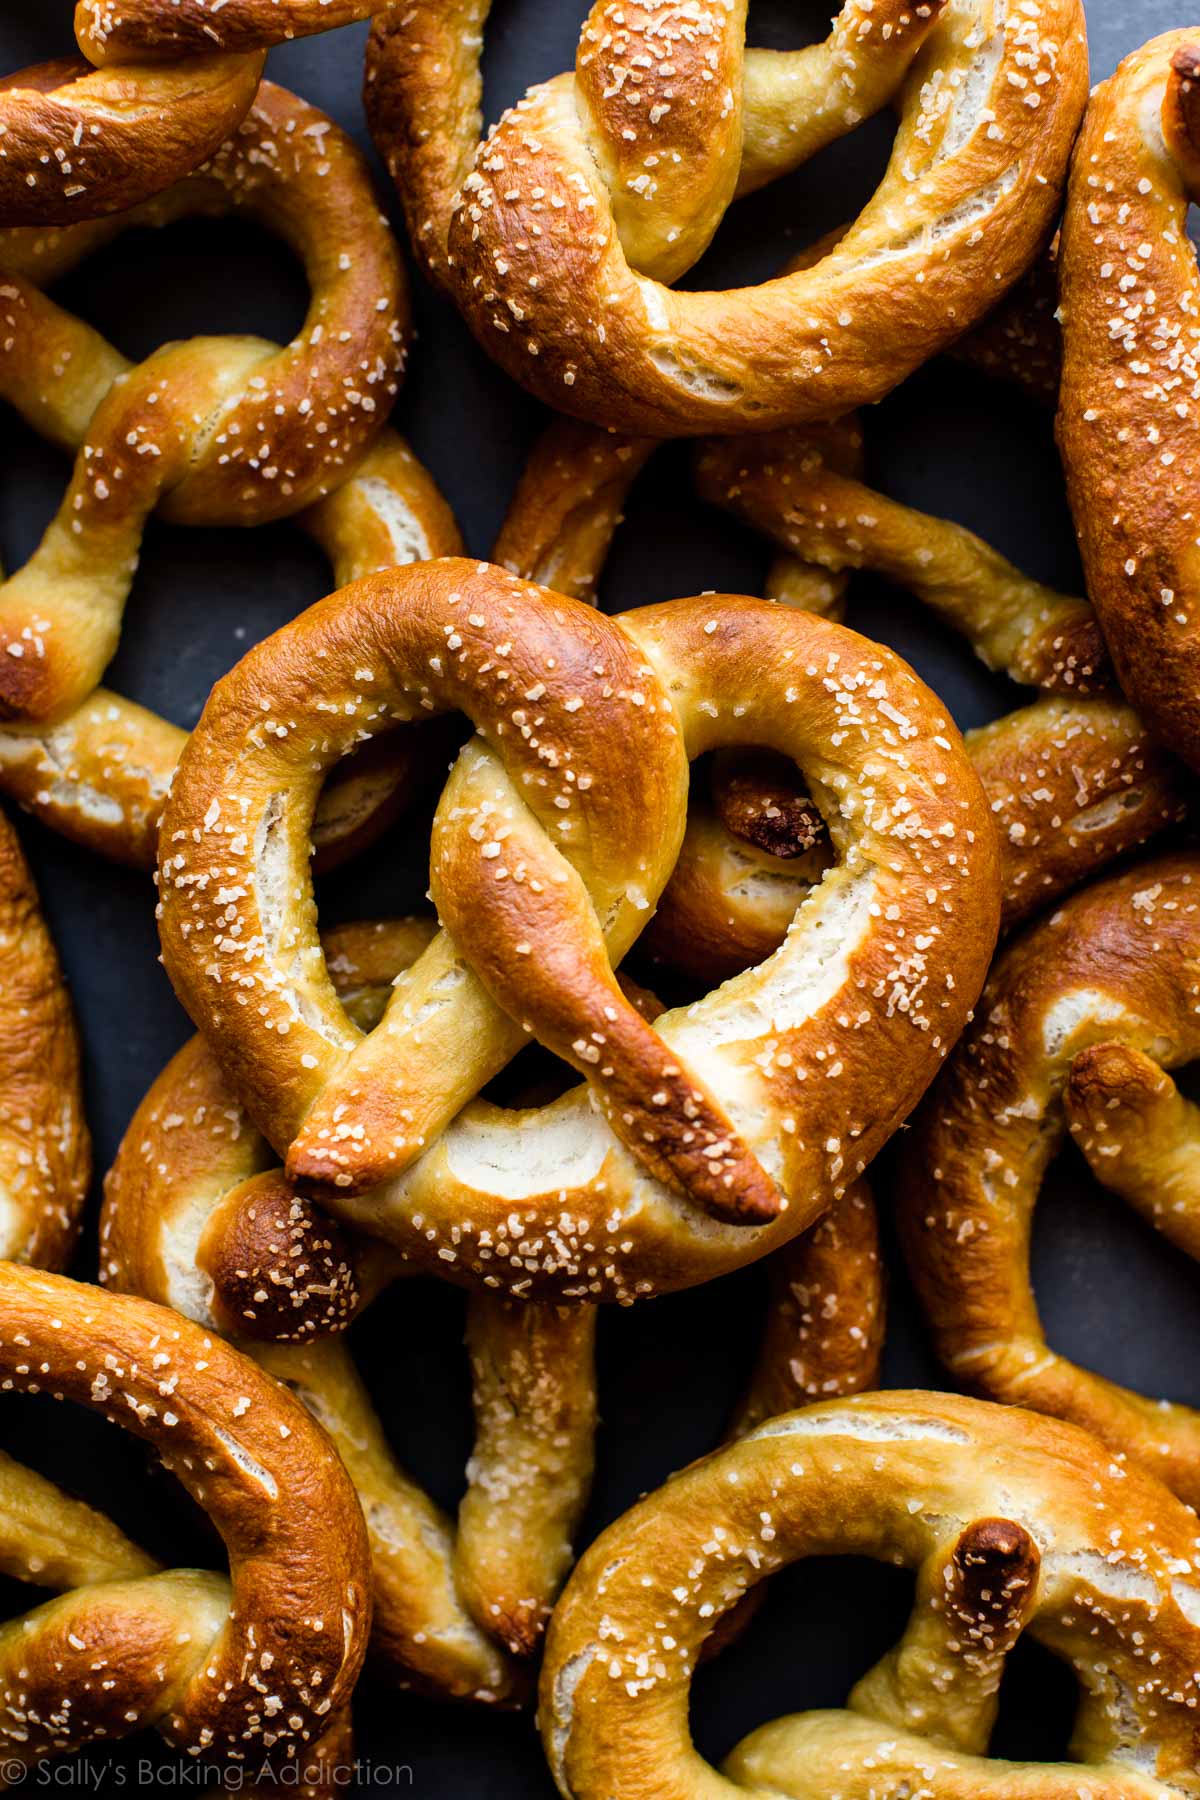
Sprinkle with coarse salt and bake in a hot oven. That’s it, you’re done.
Make-Ahead Tip
If you are making pretzels in advance, do not top them with coarse salt before baking. The salt draws the moisture out of the pretzels, and once you’ve placed the baked and cooled pretzels in an airtight container or bag, it doesn’t take long before you’ll notice water droplets forming inside and the pretzels become soggy and wrinkled. Yuck!
If you won’t be serving the pretzels the same day you bake them, omit the salt-topping step. Bake as directed, then allow to cool completely before placing them in an airtight container, and store at room temperature. When you are ready to serve them, place the pretzels on a baking sheet and brush them lightly with water, then sprinkle with coarse salt. Bake them in a 350°F (177°C) oven for 5–10 minutes, or until warmed through.
Same goes for freezing homemade soft pretzels: wait to top with salt until you’re ready to serve them. Cool the unsalted baked pretzels completely, then freeze in an airtight freezer-safe container or zip-top bag for up to 3 months. To reheat, brush frozen pretzels (no need to thaw) with water and sprinkle with coarse salt, then bake at 350°F (177°C) for 20 minutes or until warmed through.
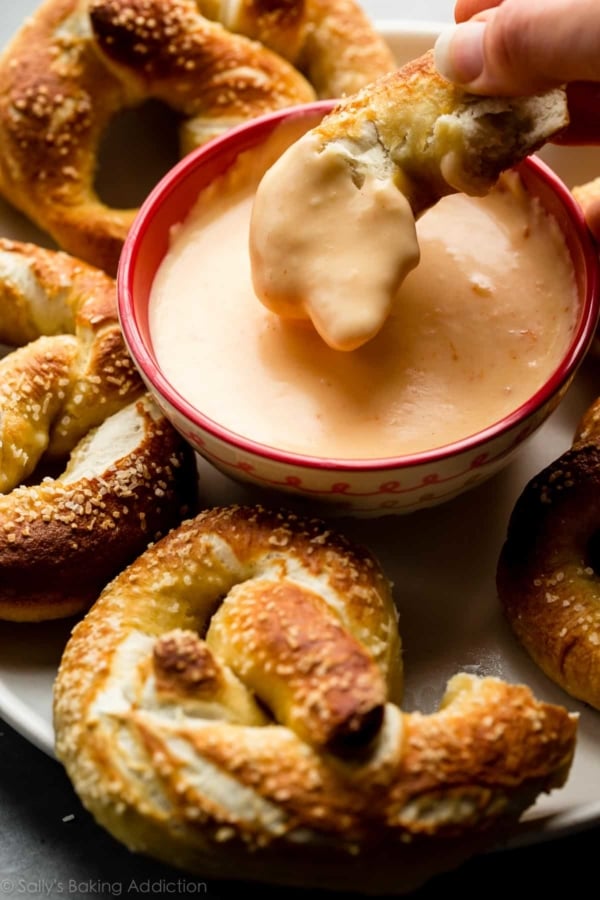
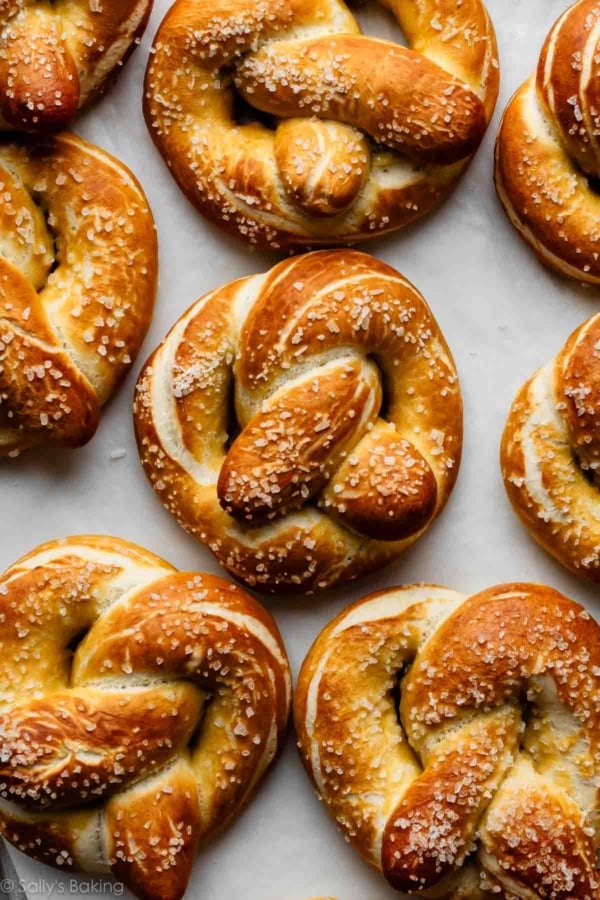
And if you want to kick your soft pretzel status into major high gear, add some spicy nacho cheese sauce.
Print
Easy Homemade Soft Pretzels
- Prep Time: 25 minutes
- Cook Time: 15 minutes
- Total Time: 40 minutes
- Yield: 12 pretzels
- Category: Snacks
- Method: Baking
- Cuisine: American
Description
This is one of the easiest ways to prepare homemade soft pretzels for beginners, and the results are extra delicious! The dough is a family recipe and only needs to rest for 10 to 30 minutes before shaping. The quick baking soda boil gives the pretzels their traditional flavor, and I do not recommend skipping it. This recipe is also in my New York Times best-selling cookbook, Sally’s Baking 101.
Ingredients
- 2 and 1/4 teaspoons (7g) instant or active dry yeast (1 standard packet)
- 1 Tablespoon brown sugar or granulated sugar
- 1 and 1/2 cups (360ml) warm water (around 100°F/38°C)
- 1 Tablespoon (14g) unsalted butter, melted and slightly cooled
- 1 teaspoon salt
- 3 and 3/4–4 cups (469–500g) all-purpose flour (spooned & leveled), plus more as needed
- coarse salt, for topping
Baking Soda Bath (See Recipe Note)
- 1/2 cup (120g) baking soda
- 9 cups (2.13L) water
Instructions
- Whisk the yeast and sugar into warm water. Cover and allow to sit for 1 minute.
- Whisk in the melted butter and salt. Add 3 cups (375g) of flour. Mix with a wooden spoon (or dough hook attachment if using a stand mixer) until combined. Add 3/4 cup (94g) more flour until the dough is slightly tacky and pulls away from the sides of the bowl. If it is still sticky, add up to 1/4 cup more (31g) flour, 1 Tablespoon at a time, as needed. Poke the dough with your finger—if it bounces back, it is ready to knead.
- Knead the dough: Keep the dough in the mixer and beat for an additional 3 to 5 full minutes, or knead by hand on a lightly floured surface for 3 to 5 minutes. (If you’re new to bread-baking, my How to Knead Dough video tutorial can help here.) If the dough becomes too sticky during the kneading process, sprinkle 1 teaspoon of flour at a time on the dough or on the work surface/in the bowl to make a soft, slightly tacky dough. Do not add more flour than you need because you do not want a dry dough. After kneading, the dough should still feel a little soft. Poke it with your finger—if it slowly bounces back, your dough is ready to rise. You can also do a “windowpane test” to see if your dough has been kneaded long enough: tear off a small (roughly golfball-size) piece of dough and gently stretch it out until it’s thin enough for light to pass through it. Hold it up to a window or light. Does light pass through the stretched dough without the dough tearing first? If so, your dough has been kneaded long enough and is ready to rise. If not, keep kneading until it passes the windowpane test.
- Shape the kneaded dough into a ball. Cover lightly with a towel and allow to rest for 10 to 30 minutes. (Meanwhile, I like to get the water + baking soda boiling as instructed in step 8.)
- Preheat oven to 400°F (204°C). Line 2 baking sheets with parchment paper or silicone baking mats. Silicone baking mats are highly recommended over parchment paper. If using parchment paper, lightly spray with nonstick spray or grease with butter. Set aside.
- With a sharp knife or pizza cutter, cut dough into 75g sections, which is about 1/3 cup of dough each.
- Roll the dough into a 20–22-inch rope. Form a circle with the dough by bringing the 2 ends together at the top of the circle. Twist the ends together. Bring the twisted ends back down towards yourself and press them down to form a pretzel shape.
- Bring baking soda and 9 cups of water to a boil in a large pot. Drop 1–2 pretzels into the boiling water for 20–30 seconds. Any longer than that and your pretzels will have a metallic taste. Using a slotted spatula, lift the pretzel out of the water and allow as much of the excess water to drip off. Place pretzel onto prepared baking sheet. Repeat with remaining pretzels. If desired, cover the boiled, unbaked pretzels with lightly oiled plastic wrap and refrigerate for up to 24 hours before baking (step 9).
- Sprinkle the tops of the pretzels with coarse salt. Bake for 12–15 minutes or until dark golden brown.
- Remove from the oven and, if desired, serve warm with spicy nacho cheese sauce.
- Cover and store leftover pretzels at room temperature for up to 3 days. See Make Ahead & Freezing Instructions in recipe Notes below for more storage info. To reheat, microwave for a few seconds, or bake at 350°F (177°C) for 5 minutes.
Notes
- Make Ahead & Freezing Instructions: If planning to freeze fully baked pretzels, do not top them with coarse salt before baking. Cool completely, then freeze in an airtight freezer-safe container or zip-top bag for up to 3 months. To reheat, brush frozen pretzels (no need to thaw) with water and sprinkle with coarse salt, then bake at 350°F (177°C) for 20 minutes or until warmed through, or microwave frozen pretzels until warm. The prepared pretzel dough can be covered and refrigerated for up to one day or frozen in an airtight container for 2–3 months. Thaw frozen dough in the refrigerator overnight. Refrigerated dough can be shaped into pretzels while still cold, but allow some extra time, about 1 hour, for the pretzels to puff up at room temperature before continuing with the baking soda bath and baking. You can also freeze the boiled, unbaked pretzels and here’s how: after boiling the pretzels in step 8, place them on a lightly greased parchment paper- or silicone baking mat-lined baking sheet. Freeze the pretzels for about 1 hour, then transfer them to an airtight freezer-safe container or zip-top bag (squeeze out as much air as possible from the bag before sealing) and freeze for up to 3 months. To bake, brush frozen pretzels (no need to thaw) with water and sprinkle with coarse salt, then bake at 400°F (204°C) for 15–20 minutes or until dark golden brown.
- Special Tools (affiliate links): Electric Stand Mixer or Glass Mixing Bowl | Wooden Spoon | Baking Sheets | Silicone Baking Mats or Parchment Paper | Pizza Cutter | Large Pot (such as a Dutch oven)
- Baking Soda Bath (Step 8): The baking soda bath is strongly recommended because it helps create that chewy texture and distinctive pretzel flavor. If skipping, brush the shaped and unbaked pretzels with a mixture of 1 beaten egg + 1 Tablespoon of dairy or nondairy milk. This is known as an egg wash. Sprinkle the brushed pretzels with salt. The egg wash will help the salt stick. If you don’t have an egg, simply brush with 2 Tablespoons of dairy or nondairy milk.
- Cinnamon Sugar Pretzels: Skip the coarse salt topping (and skip the egg wash, see note above, if you aren’t doing the baking soda bath step). Bake as directed in step 9. Meanwhile, melt 4 Tablespoons (56g) of unsalted or salted butter. Brush the baked and warm pretzels with melted butter, then dip the tops into a mix of cinnamon and sugar. I usually use 3/4 cup (150g) of granulated sugar and 1 and 1/2 teaspoons cinnamon. Cinnamon-sugar pretzels taste best the day they’re made because the melted butter topping causes them to become soggy after a few hours.
- Reference my Baking with Yeast Guide for answers to common yeast FAQs.





Reader Comments and Reviews
Thanks for making the recipe so easy to follow…. I made these for the first time and YUMMY!!!!!
OMGG I love it so so much!! I took a first bite of the pretzel which it was a very flaky buttery yet delicious I WILL DEFINITELY DO THAT RECIPE NEXT TIME WITH MY FAMILY!!
Best recipe ever!! Time and time again, I am throughly impressed with the pure deliciousness. (Fun fact- you can substitute bread flour for AP flour, no problem. I had to use a little extra, but the consistency was unaffected.) YUM!
Hey there! Can this recipe be halved?
Also, if freezing the baked pretzels, can they be reheated directly in an airfryer? I usually do this with my waffles
Hi Mikaella, yes, you can halve everything. We haven’t tried reheating these in an air fryer but don’t see why it wouldn’t work. Enjoy the pretzels!
These were delicious!!! I was a bit skeptical about the baking soda bath at first, but it really gives it that traditional pretzel flavor. DON’T SKIP IT! I made mini pretzels (about half the size of the normal ones), and they turned out gorgeous! Light and fluffy on the inside, and wonderfully salty on the outside.
Would totally recommend!
Hi there, I don’t know if you addressed this…
Can the dough be made the day before and keep it in the fridge for baking the day after.
Thanks so much.
Hi Paz! See recipe Notes: The prepared pretzel dough can be covered and refrigerated for up to one day or frozen in an airtight container for 2–3 months. Thaw frozen dough in the refrigerator overnight. Refrigerated dough can be shaped into pretzels while still cold, but allow some extra time, about 1 hour, for the pretzels to puff up before continuing with the baking soda bath and baking.
Excellent. I followed the recipe exactly*. Except I can’t shape them very well.
*I mistakenly used bread flour.
Thanks.
Steve
Me too. I shape the horrible.
I’m not sure what I did wrong but after following the direction and baking them, they had the biggest, most nasty after taste. I feel like the only thing that could have done this was the amount of baking soda in the water bath. Has any one else mentioned this before ?
Hi Mike! The quick baking soda bath shouldn’t leave an after taste. Did you leave the pretzels in for longer than instructed, perhaps? Or could your baking soda be expired or older?
Super easy recipe and they turn out great! I even made pizza pretzels & cinnamon sugar pretzels using this as the base.
Is the baking soda bath neccessary? I’ve made (very) simple pretzels a few times, and there isn’t a baking soda bath in that recipe.
Hi AB, you can skip the bath but the pretzels will lose their signature pretzel flavor. If skipping, brush the shaped and unbaked pretzels with a mixture of 1 beaten egg + 1 Tablespoon of dairy or nondairy milk. This is known as an egg wash. Sprinkle the brushed pretzels with salt. The egg wash will help the salt stick. If you don’t have an egg, simply brush with 2 Tablespoons of dairy or nondairy milk.
Could I substitute honey for the sugar and if so how much? Just trying to cut our sugar intake!
You could use 1 Tbsp honey in the dough if you would like, Leslie!
Thank you they were easy and yummy !!!!!
I’m not sure if the conversions are different in the United States, but tried this recipe with my little niece. She worked so hard and they turned out awful. I’m thinking it’s the part where we placed it in the baking soda. We tried a different recipe and it didn’t require boiling in baking soda and turned out amazing…. So not too sure where we went wrong. Unfortunately I have one very upset little niece.
Have tried other recipes on this website and it has turned out amazing, too bad this one didn’t.
Hi Anne-Marie, I’m so sorry to hear this! How long did you boil each pretzel for in the baking soda bath? And when you say they turned out awful, was it the taste or the texture or something else?
Sally, these pretzels are awesome! Easy, quick, v delicious. Better than Epcot Germany 🙂 Thank you!
Could these be made with any other flour? Maybe GF or almond flour?
Hi Laura, we have not tested this recipe with any gluten free flours. A GF 1:1 all-purpose blend may be your best bet, although the results may still be different than intended. We do not recommend almond flour as it has very different baking properties and isn’t always a 1:1 swap. Let us know if you do give the pretzels a try!
these turned out wonderful 😀 the process was very fun – the dough was easy to work with and the instructions clear, and the final product was delicious!! i started learning baking this month and this entire recipe was extremely easy to follow. best pretzel recipe i’ve tried so far.
Miss Sally, I’d trust you with my life at this point. I’ve made this recipe at least a dozen times since discovering it a few months ago. They’re one of the few things my extremely picky 4 year old will eat! Recipe is perfect. I’ve found that reheating from frozen in the air fryer works super well, I do 325 for 7 minutes and they’re toasty brown on the outside and fluffy on the inside.
They were great! Needed to use 2/3 c. of dough for god sized pretzels
Love these and so does my family.
Well I use a bread machine to make the dough. I make my own bread and all comes out great better than store bought. So I tried this with my bread machine and it was great. Now with the bread machine no warm water it heat on it’s own, to ferment the yeast. Now only thing I say is I brush with egg after bath. So much better.
Made the pretzels following the directions to a tee. They came out perfect. Especially appreciated how easy they were to roll out.
Can I use the dough to make pretzel bread?
Thank you very much for the recipe. They came out nicely on the first try. I was curious… I would like to freeze a bunch of these for quick-ish snacks, could I go through with the boiling part of the recipe and then freeze the unbaked dough? Or is it recommended to shape the pretzels, freeze them, and don’t boil them until you’ve defrosted them..? I guess I could experiment with both methods, but I thought I’d ask to see what you recommend.
Hi MrPipps, see the recipe notes for make ahead and freezing instructions. Enjoy!
Very easy recipe and super yummy!
Every recipe from this site has worked for me, and this was no exception.
These turned out perfectly tasty!
I live in the tropics in a house without AC. As well, the flour here doesn’t have as much gluten as flour in N. America and usually dough is more difficult to work. I would guess that bread flour here is more like cake flour in developed countries. Even with these limitations, the dough was easy to work, the pretzels were soft and tasty. My husband wanted a second one, but was afraid he wouldn’t be able to stop.
TY for sharing this recipe. It’s going into the rotation.
I love using this dough to wrap around a (cooked) hotdog or bratwurst. Family fave!
These are absolutely amazing. I did 4 cheese stuffed pretzels and about 30 pretzel bites tossed in cinnamon and sugar. To be honest I ran out of flour and ground up about half a cup of oats. I wish I could add a picture.
I was completely new to baking pretzels but they are a firm family favorite at home so used this recipe to give it a go. We have made them 5 times now and each time they have come out perfect! Great recipe and easy enough for even the most basic of bakers like me
Lovely recipe. Quick question though, can you use white bread flour instead of all purpose flour? Will they taste the same?
Hi Jean, you can definitely use bread flour instead of all-purpose flour in this pretzel recipe. Same amount with no other changes to the recipe. Bread flour yields even chewier pretzels. Enjoy!
I am not sure how you do it, but your recipes are always absolutely amazing!!! This recipe was just perfect, easy and delicious! You are always the first place we check for new recipes! ❤️
It would be helpful if the type of salt (fine, coarse) is specified for the dough. It makes a big difference, and it’s not fun to guess.
Hi M, use fine table salt. Thanks for the feedback.
I made this recipe today. Why do some of the pretzels come out gummy after the baking soda bath? Some are perfect and others..well not so much. Thx!
Hi Donna, were the gummy ones left in the baking soda bath for a bit too long? We hope you enjoyed them!