These homemade chocolate truffles are extra creamy with the addition of butter. After mixing the 4 ingredients together, let the mixture set in the refrigerator, then roll into balls. Follow this homemade truffles recipe and the helpful video tutorial below!
Making homemade chocolate truffles couldn’t be easier and after watching the video tutorial below, you’ll agree with excitement! They come together faster then even homemade peanut butter eggs. Homemade truffles are the perfect quick & easy treat for holidays and I’m right here to guide you along. Ditch the boxed chocolates!
Chocolate lovers, rejoice. 🙂
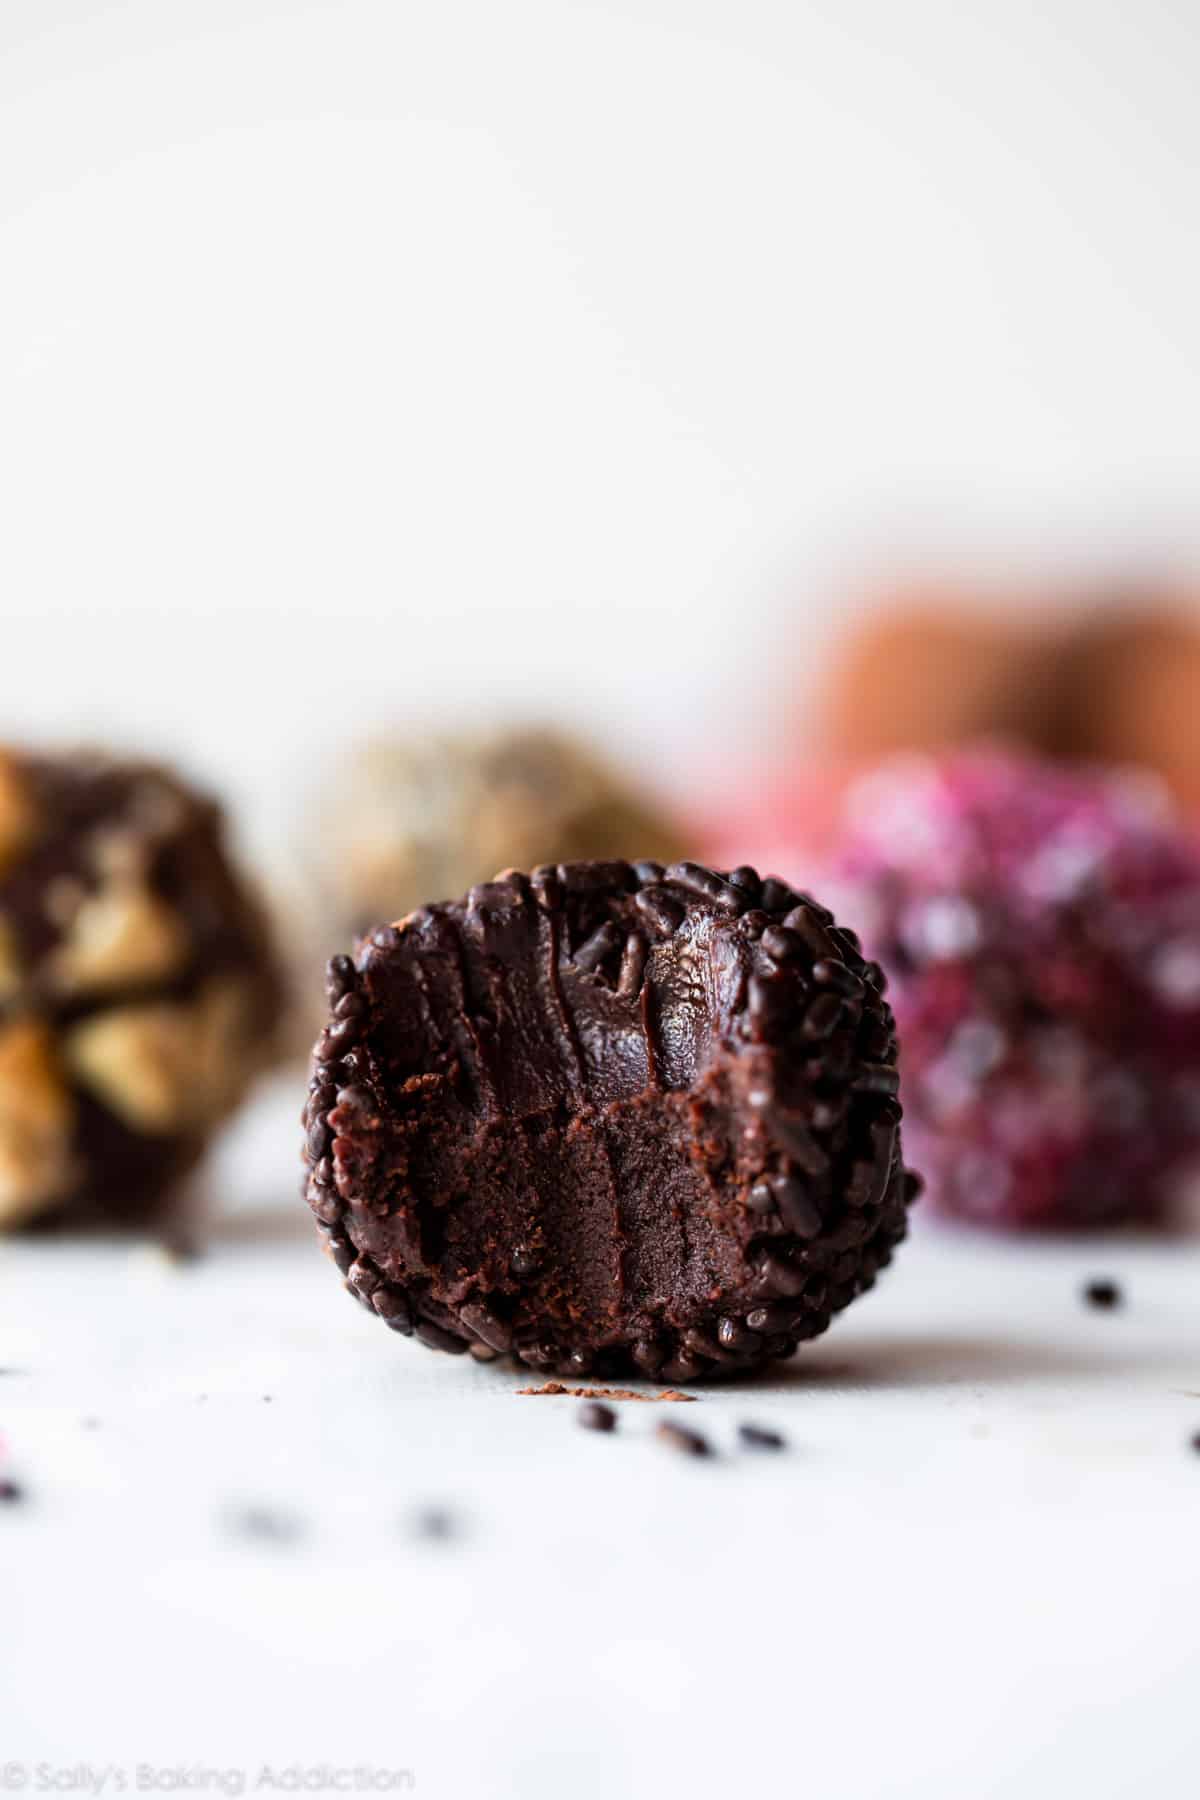
Chocolate truffles are a deeply indulgent chocolate treat made from chocolate and cream. They’re essentially balls of chocolate ganache. And great news: they sound so much fancier than they are to make!
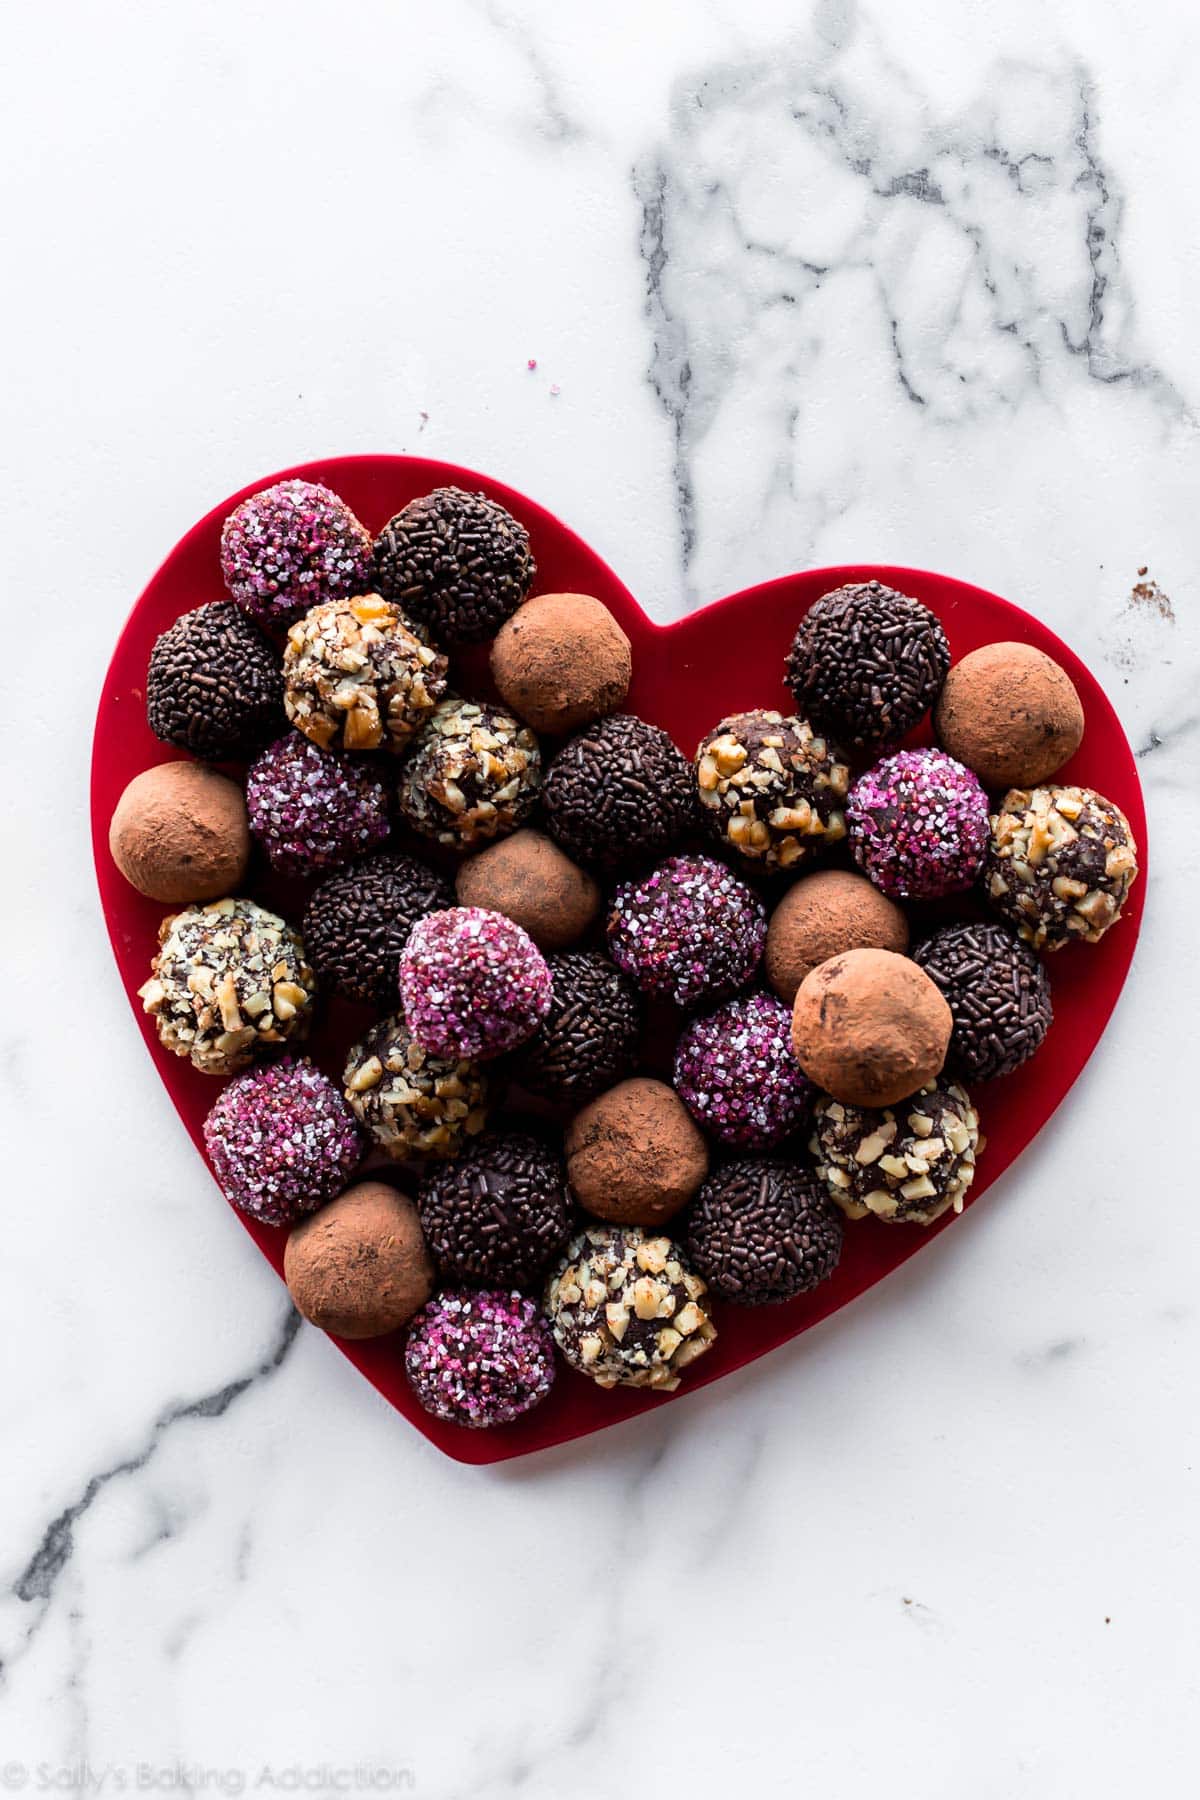
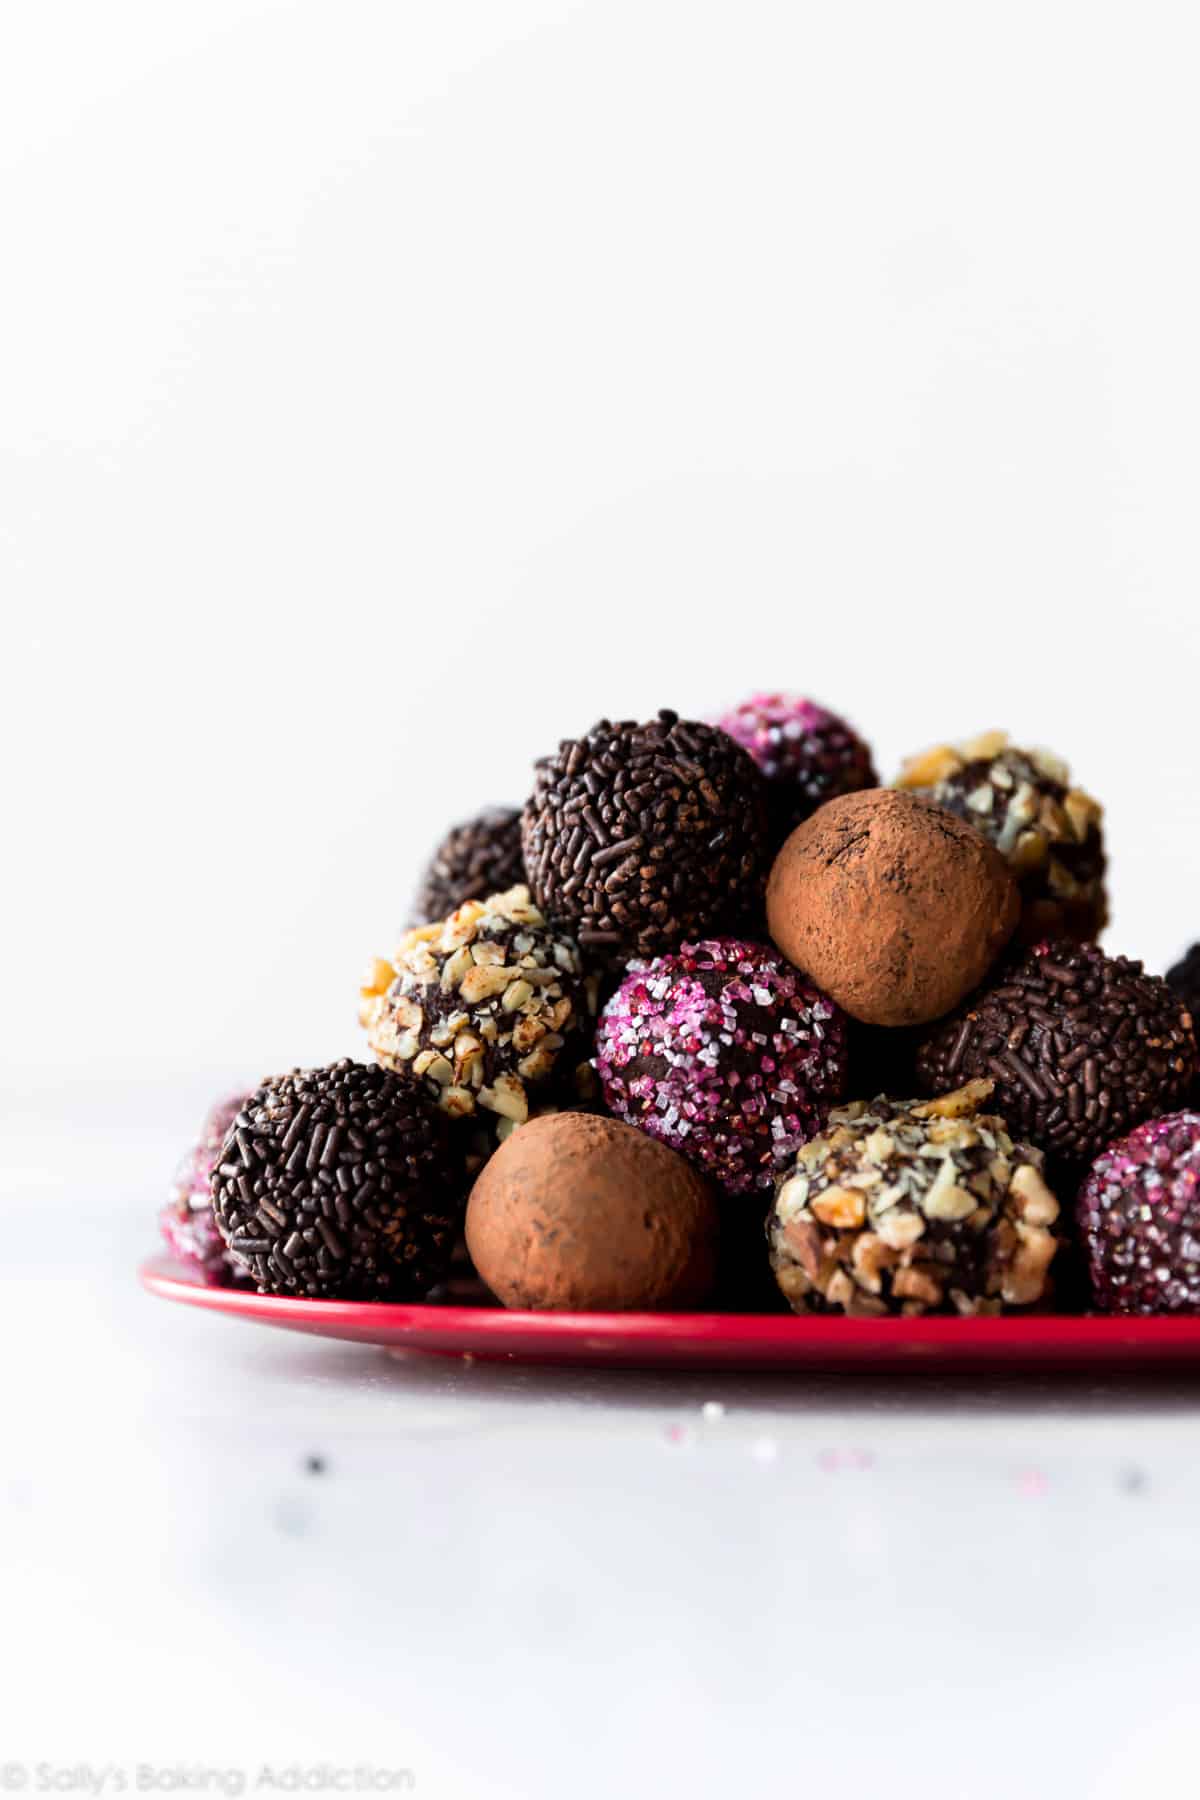
If you’re making these around Valentine’s Day, I love coating them in pink and red sprinkles. Pair with Valentine’s Day cookies and Valentine’s Day cupcakes for a trio of epic February 14 treats!
Only 2 Ingredients in Chocolate Truffles
Chocolate and heavy cream are the only ingredients in homemade chocolate truffles. However, I add 2 extra ingredients for texture and flavor. These extras will turn your regular truffles into the BEST CHOCOLATE TRUFFLES. And after writing an entire cookbook on truffles and candy recipes, I know that’s a fact!
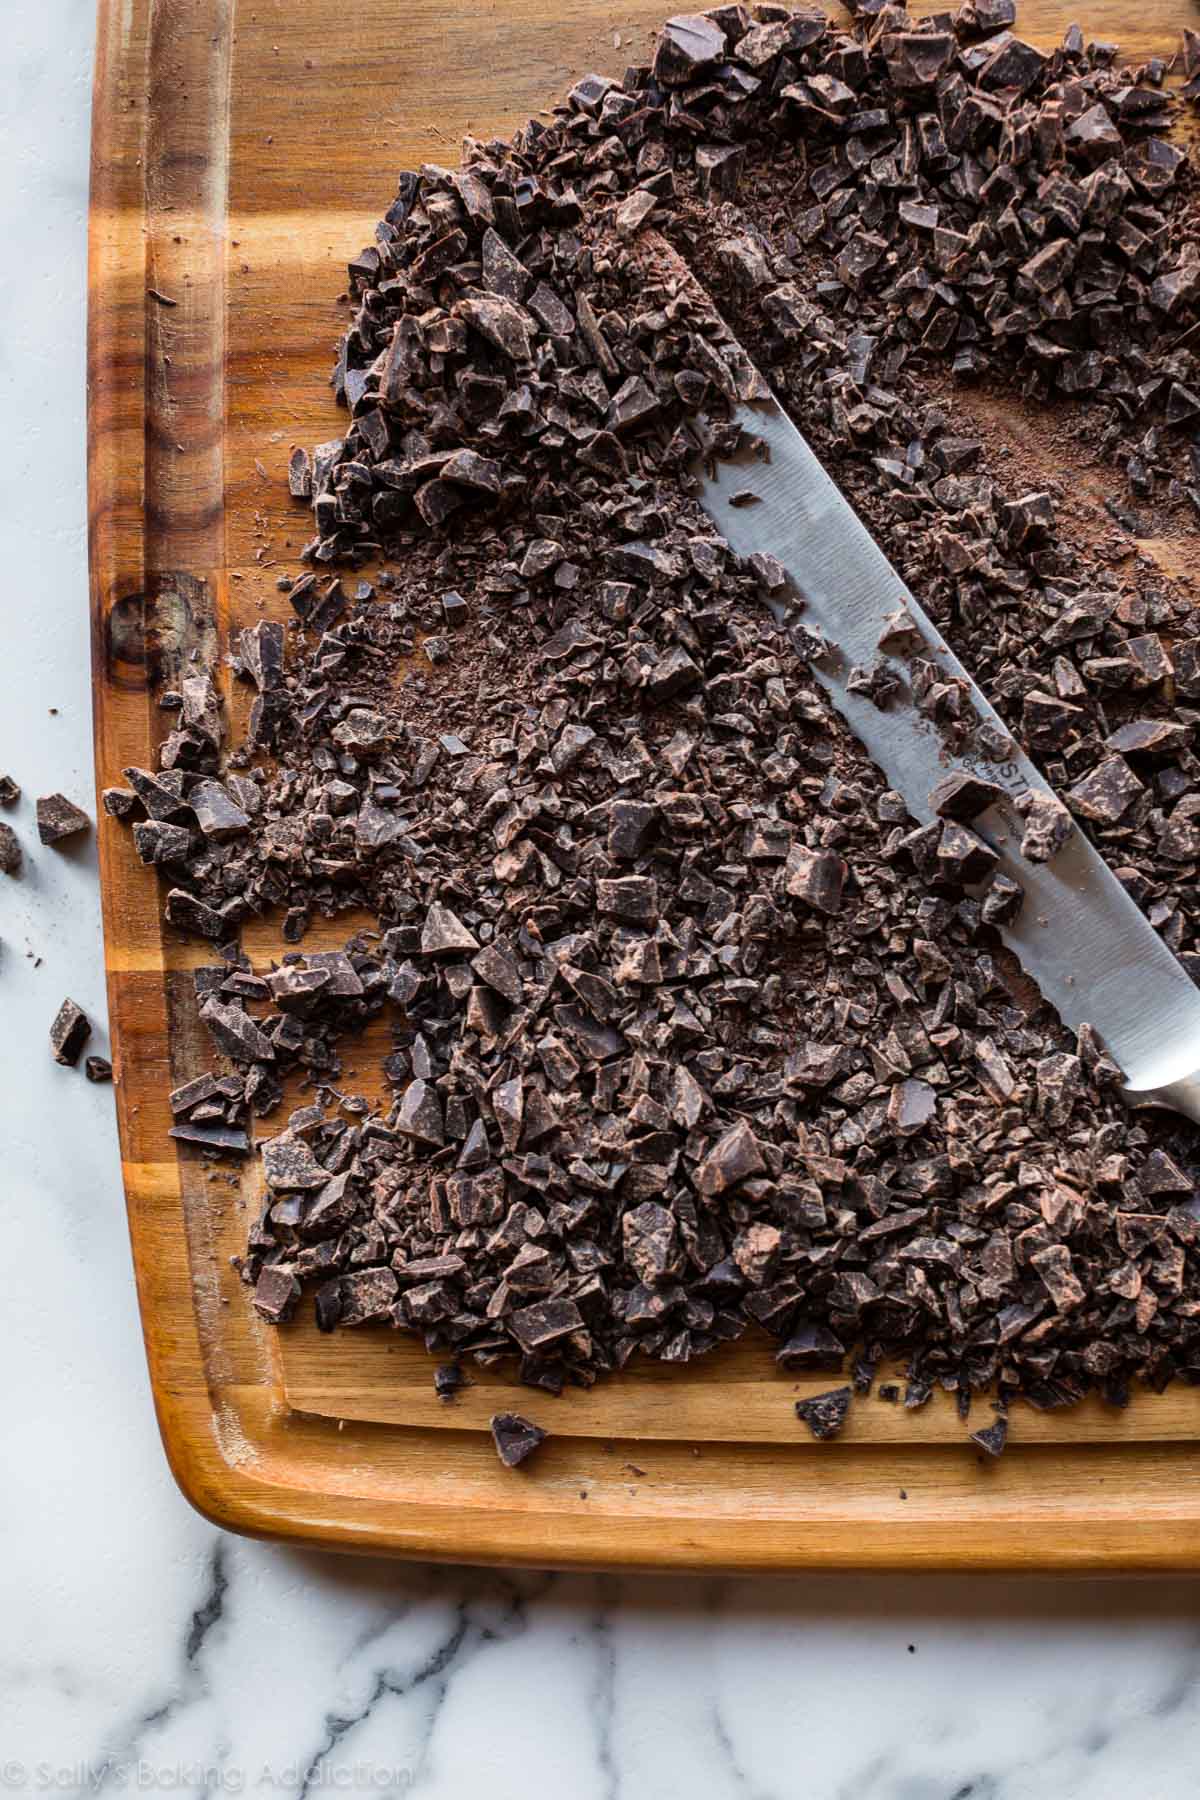
- Chocolate: 8 ounces of quality chocolate is the base of chocolate truffles. Do not use chocolate chips because they will not melt into truffle consistency. Chocolate chips are great for recipes like chocolate chip cookies where we want the chips to stay mostly intact, but here want to reach for quality chocolate bars which are sold as 4 ounce bars in the baking aisle. Use milk chocolate for sweeter truffles or semi-sweet/dark chocolate for extra rich truffles. If using milk chocolate, reduce the cream to 1/2 cup as milk chocolate is much softer than dark chocolate.
- Heavy Cream: Heavy cream or heavy whipping cream is also a base ingredient. Do not use half-and-half or any other liquid because the truffles won’t set up properly. See recipe note for a non-dairy alternative.
- Butter: 1 scant Tablespoon of softened butter transform these into the creamiest truffles you will ever taste. You will never go back!
- Vanilla Extract: Pure vanilla extract adds exceptional flavor to your chocolate truffles.
With so few ingredients, it’s imperative to follow the recipe. After years of candy making, I find the ratio of 8 ounces of chocolate to 2/3 cup heavy cream is the most favorable. Truffles are too firm with less liquid. Stick to this recipe for truffle success!
How to Make Chocolate Truffles in 5 Steps
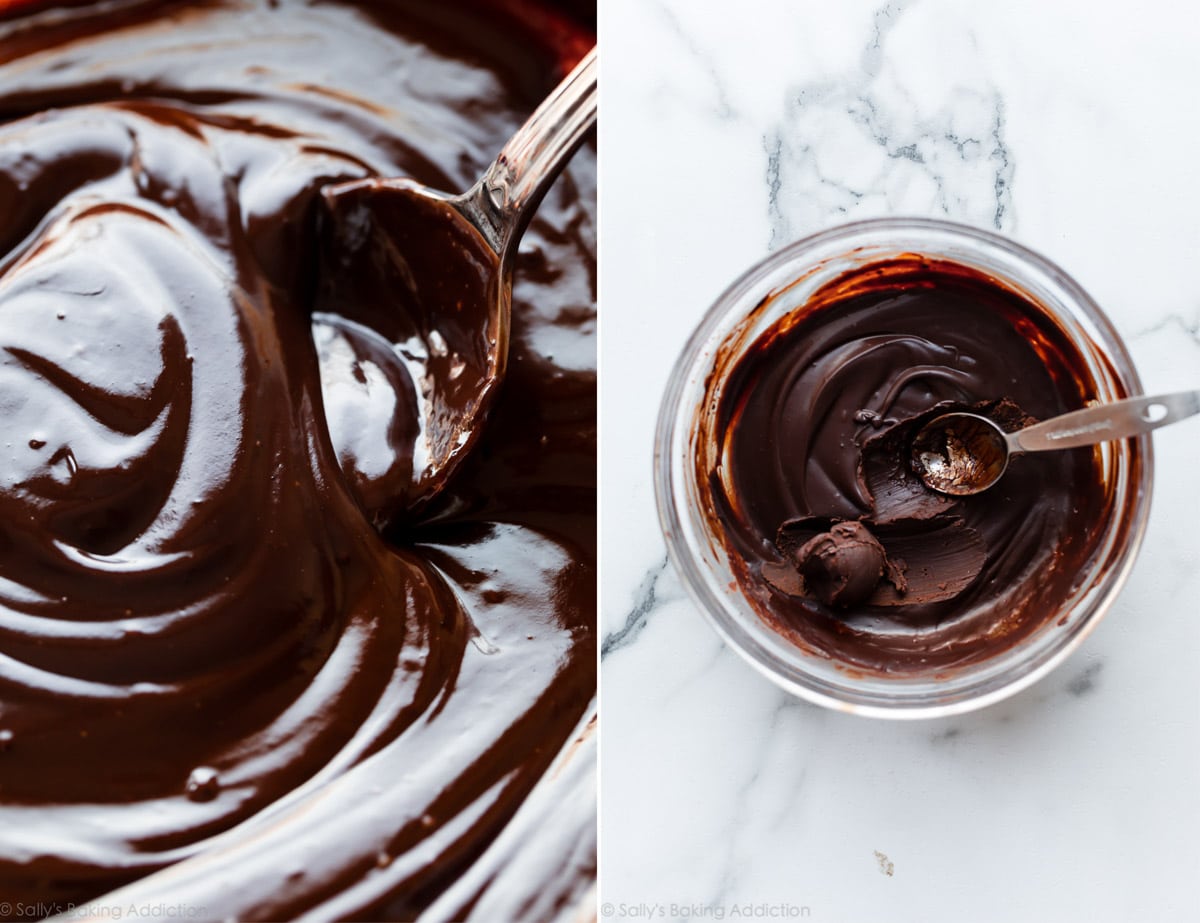
- Warm Cream: Pour warm cream over chopped chocolate.
- Do Nothing: Before stirring, let the warm cream and chocolate sit in the bowl for a few minutes. Don’t touch it!
- Stir: Stir until the chocolate is melted.
- Refrigerate: Refrigerate until the mixture is set, about 1-2 hours.
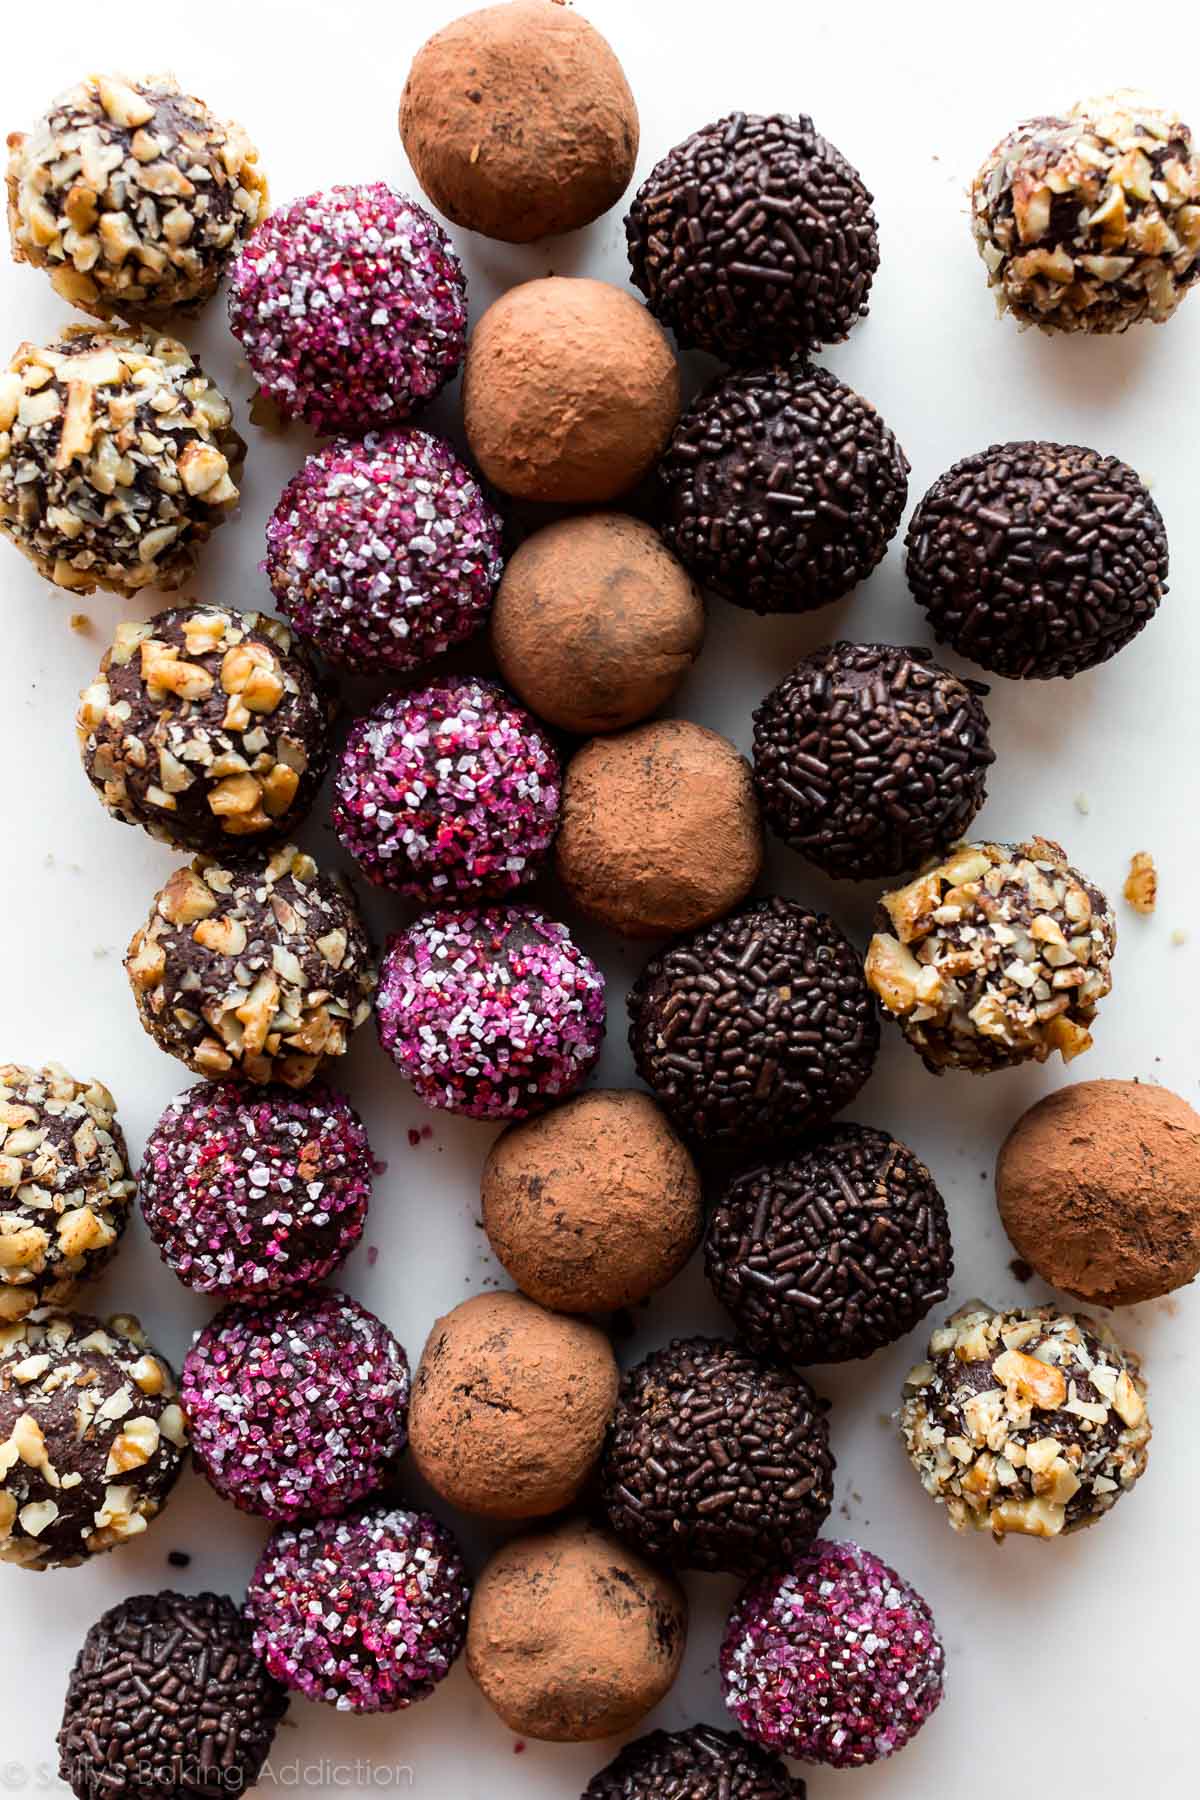
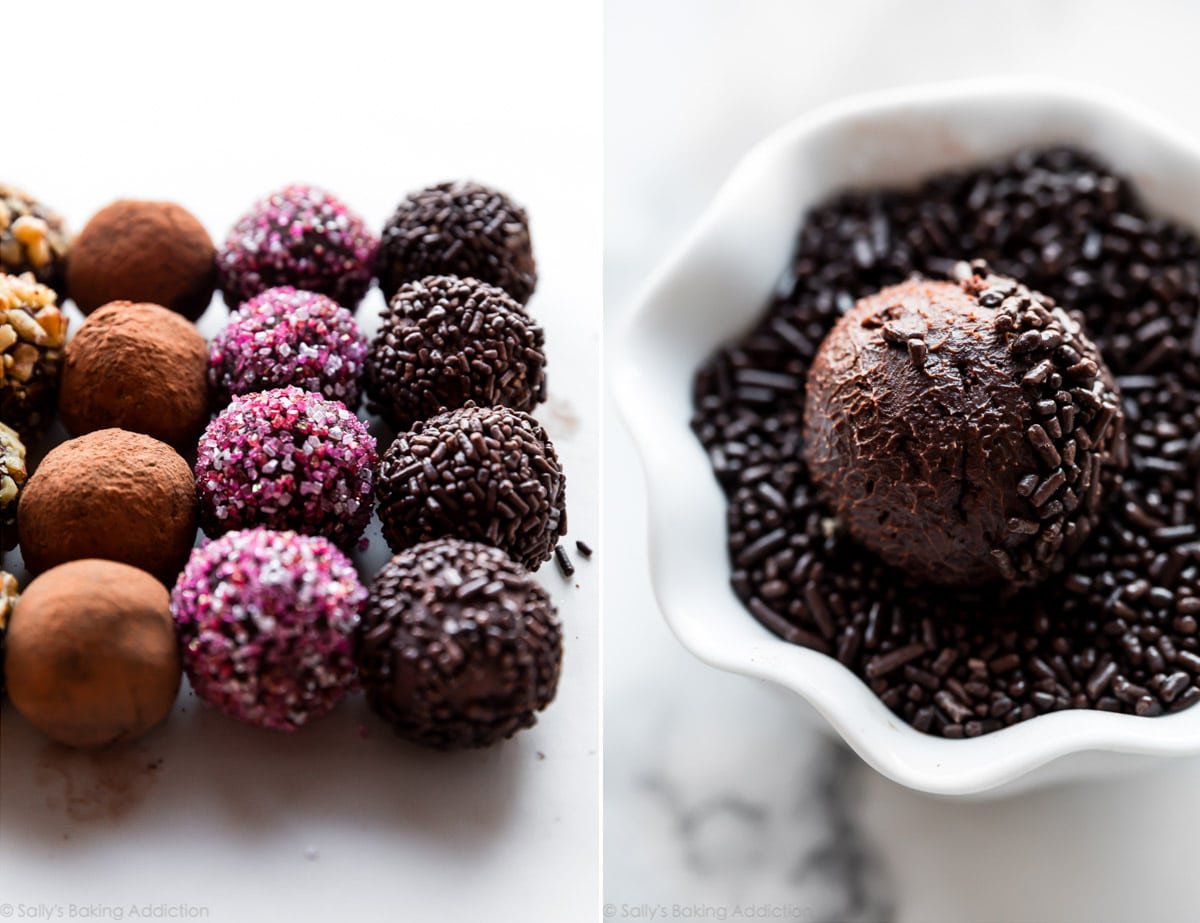
- Roll: Roll into balls and coat in toppings like sprinkles, cocoa powder, or crushed nuts. You can also dip the truffles in melted or tempered chocolate. See my dark chocolate coconut rum truffles post for a video on how to do so. And I have an in-depth explanation for tempered chocolate in Sally’s Candy Addiction if you have a copy.
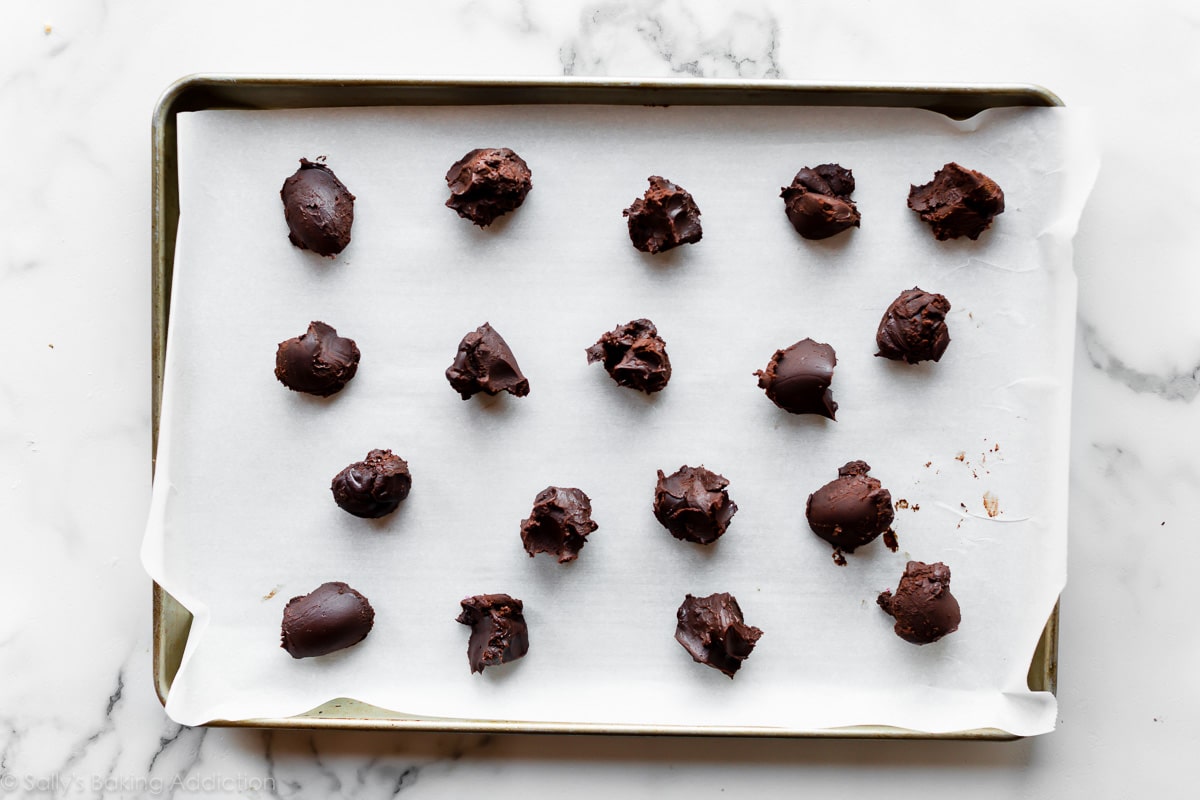
Sticky Situation: These are extra creamy truffles, which are the most delicious variety. The downside to creamy truffles is that they’re sticky to roll. You can wear rubber gloves or coat your hands in cocoa powder, but here is my #1 trick and it makes rolling SO MUCH EASIER. Scoop the truffle mixture into mounds on a lined baking sheet. (Pictured above.) Refrigerate for 20-30 minutes so the mounds “dry out.” After that, they are a little less sticky to roll. You can watch me do this in the video tutorial.
Troubleshooting Truffles
Even though there are so few ingredients and steps, a couple mishaps can happen. Let me help you troubleshoot through the chocolate truffle recipe.
- The chocolate won’t melt: One trick for successful truffles is to chop the chocolate into very small pieces. The finer the chocolate chunks, the quicker they’ll melt. Additionally, the chocolate might not melt because the cream is not hot enough. Make sure it is simmering warm before pouring over the chocolate. If the chocolate still isn’t melting, place the heat-proof bowl over a pot of 1 inch of simmering water and stir until melted. I usually do this.
- The ganache won’t thicken: Make sure you are using quality chocolate, not chocolate chips, and heavy cream. You can also pour the mixture into a shallow dish so it thickens quicker. And finally, keep it in the refrigerator until thickened.
- The chocolate is greasy and separating: If the truffle mixture is greasy or separating, the heavy cream was too hot.
- The truffle mixture is too sticky: See “Sticky Situation” above.
- Rolled truffles are too dry for toppings: Mash the truffle between your palms and re-roll so it’s sticky enough for the toppings.
By the way, if you love chocolate truffles, you will flip for these peanut butter balls, rum balls, and Oreo balls.
See Your Recipe Success!
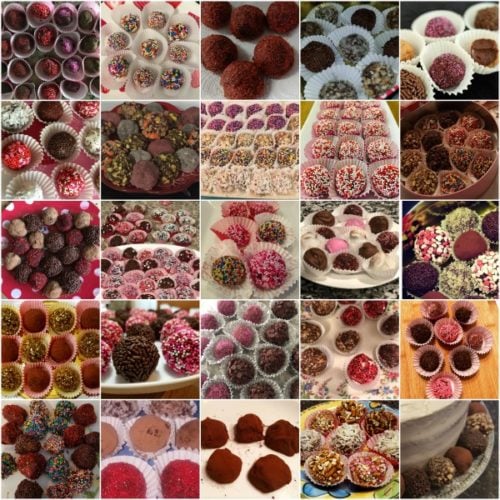
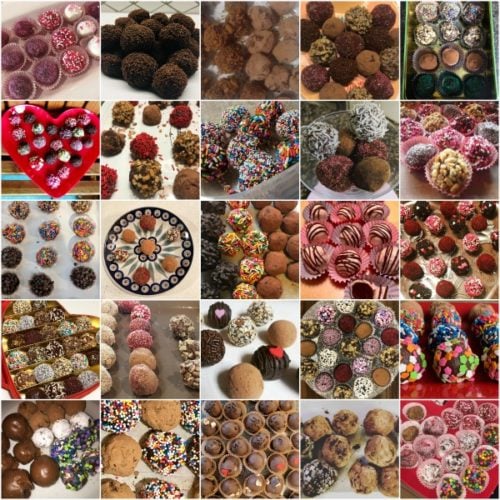
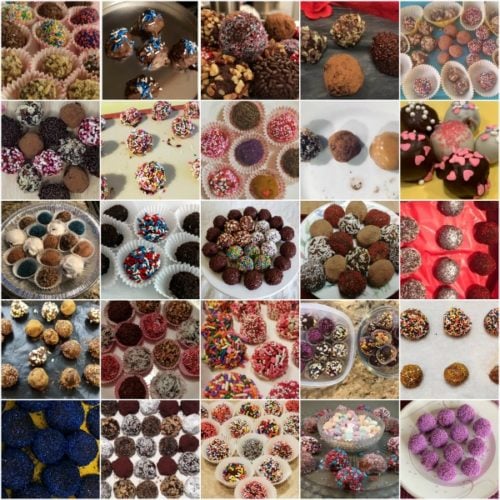
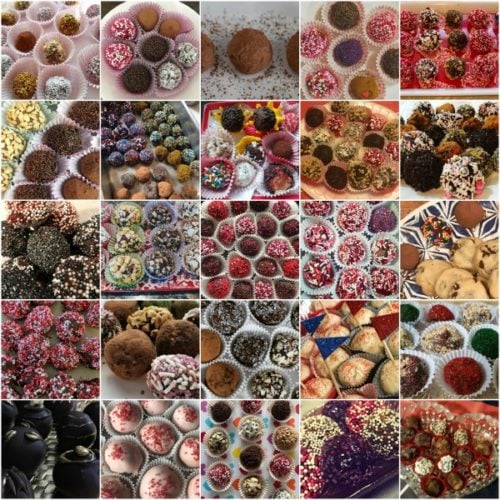
Many readers tried this recipe as part of a baking challenge!


Homemade Chocolate Truffles Recipe
- Prep Time: 2 hours, 30 minutes
- Cook Time: 0 minutes
- Total Time: 2 hours, 30 minutes
- Yield: 20-24 truffles
- Category: Dessert
- Method: Shaping
- Cuisine: American
Description
These homemade chocolate truffles are extra creamy with the addition of butter. After mixing the ingredients together, let the mixture set in the refrigerator, then roll into balls. You can coat in your favorite toppings and add lots of fun flavors, too! The mixture gets a little sticky, so refer back to my tips in the blog post above.
Ingredients
- two 4-ounce quality chocolate bars (226g), very finely chopped*
- 2/3 cup (160ml) heavy cream*
- optional: 1 Tablespoon (14g) unsalted butter, softened to room temperature
- optional: 1/2 teaspoon pure vanilla extract
- toppings: unsweetened cocoa powder, sprinkles, crushed nuts, melted or tempered chocolate
Instructions
- Place the chocolate in a heat-proof bowl. Set aside.
- Heat the heavy cream until it is simmering. You can heat it on the stove or in the microwave.
- Add the butter, if using, to the chocolate and pour the heavy cream evenly on top. Let the warm cream and chocolate sit for 5 minutes minutes. Add the vanilla extract then stir until the chocolate has completely melted. Place a piece of plastic wrap directly on the surface (to avoid condensation) and refrigerate for 1-2 hours. Tip: Pour into a flat shallow dish, such as a 8-inch square baking pan, so the mixture evenly and quickly sets.
- Scoop the set truffle mixture into 2 teaspoon-sized mounds. This small cookie scoop is the perfect size. For larger truffles, 1 Tablespoon size mounds. Roll each into balls. This gets a little sticky, so see my tips above.
- Roll each into toppings, if desired. Truffles taste best at room temperature!
- Cover tightly and store truffles at room temperature for 3-4 days or in the refrigerator for up to 2 weeks.
Notes
- Freezing Instructions: For longer storage, freeze up to 3 months with or without toppings. Thaw in the refrigerator, then bring to room temperature, if desired, before enjoying.
- Make Ahead Instructions: Prepare the truffle mixture through step 3. The mixture must chill in the refrigerator for 1-2 hours or up to 3 days. If chilling for longer than 4ish hours, let the mixture sit on the counter for several minutes to soften into scoop-able consistency.
- Special Tools (affiliate links): Glass Mixing Bowl | Small Cookie Scoop | 8-inch Square Pan (optional but helpful when chilling the chocolate mixture)
- Chocolate: Use quality chocolate, the kind sold in 4 ounce bars in the baking aisle. Do not use chocolate chips. The higher quality chocolate you purchase, the better your truffles will taste. I love Baker’s or Ghirardelli brands. If you want to splurge, Scharffen Berger is exceptional! Semi-sweet or dark chocolate make a very intense chocolate truffle and milk chocolate yields a sweeter truffle. If using milk chocolate, reduce the cream to 1/2 cup as milk chocolate is much softer than dark chocolate. Do not use white chocolate in this recipe because it’s too thin. Here is a white chocolate truffles recipe to use instead. You can leave out the lime flavoring.
- Heavy Cream: Heavy cream or heavy whipping cream is the only liquid that will melt the chocolate into the proper truffle consistency. Do not use half-and-half or milk. The only non-dairy substitute is canned full-fat coconut milk (not the refrigerated kind). Shake it up and use in the recipe as you would heavy cream.
- Butter and Vanilla Extract: Both are optional, but butter makes truffles extra creamy and vanilla extract adds wonderful flavor.
- Flavors: Instead of vanilla extract, use 1/2 teaspoon or 1 teaspoon (depending how strong of a flavor you want) raspberry, coconut, orange, peppermint, or strawberry extract. Or leave out the extract and add 1-2 Tablespoons of your favorite liqueur. I also have hazelnut truffles and key lime truffles recipes too!
- Halved/Doubled: Recipe can easily be halved, but I do not recommend doubling. Instead, make 2 separate batches.
Keywords: chocolate truffles


This is such a simple and amazing recipe! Very decadent homemade truffles! I did semi-sweet with vanilla rolled on hazelnuts & semisweet with orange oil dipped in chocolate – WONDERFUL!! Thanks for another amazing recipe!
★★★★★
Super easy to make! I needed something fast for my Superbowl bowl party and this did the trick. Loved by all.
Thanks Sally!!
★★★★★
Thanks for the recipe. Looks intimidating but was surprisingly easy to follow!
★★★★★
This was my first time making chocolate truffles and they were so easy! I used 60% dark chocolate and then dipped some in white chocolate, crushed almonds, crush pretzels, or sprinkles. They are a perfect homemade gift and I’ll definitely be making them again.
★★★★★
These tasted fantastic, but mine did turn out a little soft. I’ll have to try again
I have always wanted to make truffles,but I didn’t think I could do it. I watched Sally’s tutorial then read the recipe, and thought to myself…. I’m gonna try today!
The truffles turned out perfect! Thank you Sally! Way easier than i thought to make them. I feel like a candy making pro now:)
★★★★★
Just made these and rolled in colored sanding sugar, chocolate sprinkles, cocoa powder, and toasted hazelnut. Butter seemed to rise to the top when I refrigerated the mixture so I mixed it up a bit to redistribute before rolling and then it was fine. Super messy and sticky for rolling (even after following Sally’s tips) but they ended up looking and tasting great anyway.
So easy! Added peanut butter to one batch and dipped the other batch in pink melting chocolate – perfect for Valentine’s Day!
★★★★★
Delicious! Made these with my toddler for some extra fun and because he loves to cook with his Mama. We rolled ours in cocoa, peanuts, pistachios, and coconut! Thanks Sally!
★★★★★
Such an easy recipe to follow! The truffles were wicked creamy, smooth, and delicious! I made them to send to my friend for her birthday!
★★★★★
Easy to make , a little messy but delicious!!!
★★★★★
Just made them last night! Amazing dense chocolate flavor that you look for in a truffle, thank you Sally!! I did had 1/2 more of vanilla and a little bit more of heavy cream because de chocolate that I used was a too bitter at taste and the trick of putting them in the freezer before you make the balls is a must! This is my first baking challenge but I have made several recipes of your and I love them all!
★★★★★
I absolutely love this recipe, the truffles have the perfect consistency!
★★★★★
This was my first time making truffles, and they were delicious! They were also very irresistible, so they will have to be occasion only desserts.
★★★★★
Super easy and super delicious. If using milk chocolate, reduce the amount of heavy cream or the ganache won’t set.
★★★★★
Love this recipe! Very decadent and very easy for a chocolate lover for a quick fix! Definitely will make again. Dough did get soft despite chilling but I just put it in the freezer.
★★★★
So delicious and so creamy!
★★★★★
Delicious and pretty easy!
★★★★★
My husband said these are one of the best things he’s ever eaten! Super easy to make, a little messy to roll, but totally worth it!
★★★★★
After failing my first attempt with milk chocolate, my kids and i bought dark chocolate and had a blast making the truffles! We love how easy They were and how delicious!!! Another amazing recipe!
★★★★★
Delicious truffles!! Pretty easy to make, just a messy roll! But worth it!
★★★★★
This recipe is really, really easy. I like that it takes the mystery out of truffles for home cooks who might be intimidated. It’ll produce a tasty treat — one that’s a little rustic and not as refined as gourmet varieties with hard chocolate shells or special flavors — but which is still worth the time. I had a little trouble with something whitish gathering on top of my cooled chocolate (despite it being covered in plastic wrap — thankfully I was able to scrape it off without ill effect). I found that the truffles needed just a pinch of salt — salted toasted nuts as coating would have been wonderful.
★★★★
These were SUPER easy, but incredibly delicious. I brought 2 batches to work and they were literally gone in 30 minutes. I received so many compliments on how amazing they were. I will definitely be making them again
★★★★★
This is a great recipe. Quick. Easy. Creamy and dreamy. Perfect for Valentine’s Day or any other occasion. I never would’ve made these on my own….. thanks sally for a great recipe!!
★★★★★
Made these just in time for Valentine’s Day! My kiddos thought they were getting some of my fancy chocolates that I’m not likely to share. I rolled my truffles in coconut, chocolate sprinkles, crushed almonds, and crushed Andes mints. I will definitely make these quick no bake treats again soon!
★★★★★
I’m not great at working with chocolate so I almost didn’t do this challenge. But I went for it and they were so easy and not nearly as messy as I expected. I used a shallow dish and put down parchment paper where I working, and wore a glove. Used 3/4 semisweet and 1/4 unsweetened chocolate and rolled in toffee bits. Mine weren’t perfect but shaping was easier than I expected too!
★★★★★
So easy and yumm! Just try to stop after eating 1 or 2 and its dangerous lol
I scooped mine after chilling and popped them into the freezer for 15-20 mins and they rolled super easy, I’ve now made 2 batches, milk and dark chocolate
★★★★★
Making these this week! Can’t wait to surprise my bf! Though he thinks I can do anything and that the sun shines out of my ass regardless <3
★★★★★
These are very delicious, so rich and decadent! They are very easy to make. Sally’s tip on refrigerating them after scooping definitely made the rolling process easier.
★★★★★
My first time making truffles, I had no idea they’d be so easy to make! I cut the recipe in half; made half of them with Bailey’s Strawberries & Cream liqueur and half vanilla so my little one can have some. Sooooo good, especially the Bailey’s ones!! My son and I had a fun time rolling them in different toppings, I’m definitely going to be making these again and trying even more tasty toppings.
★★★★★
They were messy, but easy to make. I dipped mine in tempered milk chocolate. Use half semi sweet half 60 dark chocolate, a bit too rich for me but sooo soo good. My family said they are “amazing” and “wow.”
★★★★★