

Here is my classic easy royal icing made with meringue powder. It’s easy to work with, sets quickly, and won’t break your teeth when it dries. It has the most delicious taste and texture and makes decorating sugar cookies FUN and SIMPLE. Use this traditional royal icing recipe for both flooding and outlining your sugar cookies!
This is the only traditional royal icing I use. It’s my favorite because it’s easy to work with, sets quickly, and doesn’t require raw egg whites. And best of all, it doesn’t have a hard cement-like texture. It won’t break your teeth like other royal icings!
This recipe is such a fan favorite, that it deserved a spot in print! You’ll also find this recipe in my New York Times best-selling cookbook, Sally’s Baking 101.
Meringue Powder in Royal Icing
There are many ways to prepare royal icing and my favorite method is with meringue powder. Meringue powder takes the place of raw egg whites, which is found in traditional royal icing recipes. Both create a very sturdy and stable icing that hardens quickly on top of cookies. Meringue powder, while containing eggs, eliminates the need for raw fresh eggs, but still provides the EXACT same consistency. You can find meringue powder in some baking aisles, most craft stores with a baking section, and online. I just buy it on Amazon in the 8 ounce container. Super inexpensive and it lasts me awhile.
This royal icing is just 3 ingredients: confectioners’ sugar, meringue powder, and water. The trickiest part is landing on the perfect consistency, but I have a helpful video for you below. Sometimes I need more water, sometimes I need less water. But the wonderful thing is that you can manipulate the icing to get the proper consistency by adding more water or more confectioners’ sugar. It’s awesome.
Use This Royal Icing for Flooding and Piping
I use this one royal icing for both piping/outlining and flooding, like you see here on these Valentine’s Day cookies. The icing is thick enough to outline and thin enough to flood, which makes it super convenient.

Decorating Cookies
Here is the sugar cookies recipe you need. Soft centers, crisp edges, easy to decorate. You can also use this royal icing on chocolate sugar cookies, brown sugar cut-out cookies, lemon shortbread cookies, gingerbread cookies, or as the glue for a gingerbread house. It’s perfect for making these adorable Easter cookies, fireworks cookies, and Halloween cookies. And it can even be used to top homemade mille-feuille.
If you’re a decorating beginner, here’s my How to Decorate Sugar Cookies page and video showing 4 simple, yet beautiful decorating techniques.
For a full list of tools I use, see my top recommended cookie decorating supplies. The following is a good list to get started:
- Couplers – needed if you’re using the same icing color, but need to switch tips. Or if you have multiple colors of icing and only 1 tip, and need to move the tip to the other bags of icing.
- Disposable Piping Bags or Reusable Piping Bags – I prefer the 16 inch size for decorating.
- Gel Food Coloring – get the whole set. I love these colors for royal icing, cake batter, frosting, etc. They’re high pigmented so you don’t need as much coloring.
- Piping Tips – see below. Or use a squeeze bottle for less detailed designs, or these icing bottles from Michaels.
- Toothpick – I use a toothpick to help spread out the icing. You could also just use the piping tip, too.
And some piping tips. I always use Wilton piping tip #4 for outlining and flooding the cookie with icing. This is a wonderful basic piping tip to have in your collection. For any detail, I use a thinner round tip like Wilton piping tip #1 (super thin) and Wilton piping tip #2 (thin). For larger round tips that are easier to work with, I suggest Wilton piping tip #3, Wilton piping tip #4, or Wilton piping tip #5. The piping tip #s reflect their sizes. #1 being the thinnest and #5 being the largest of this particular bunch.
Just starting out with piping details? I suggest #1 (smallest), #3 (medium), and #5 (largest of the bunch). You can create anything basic with these three.


Royal Icing Consistency
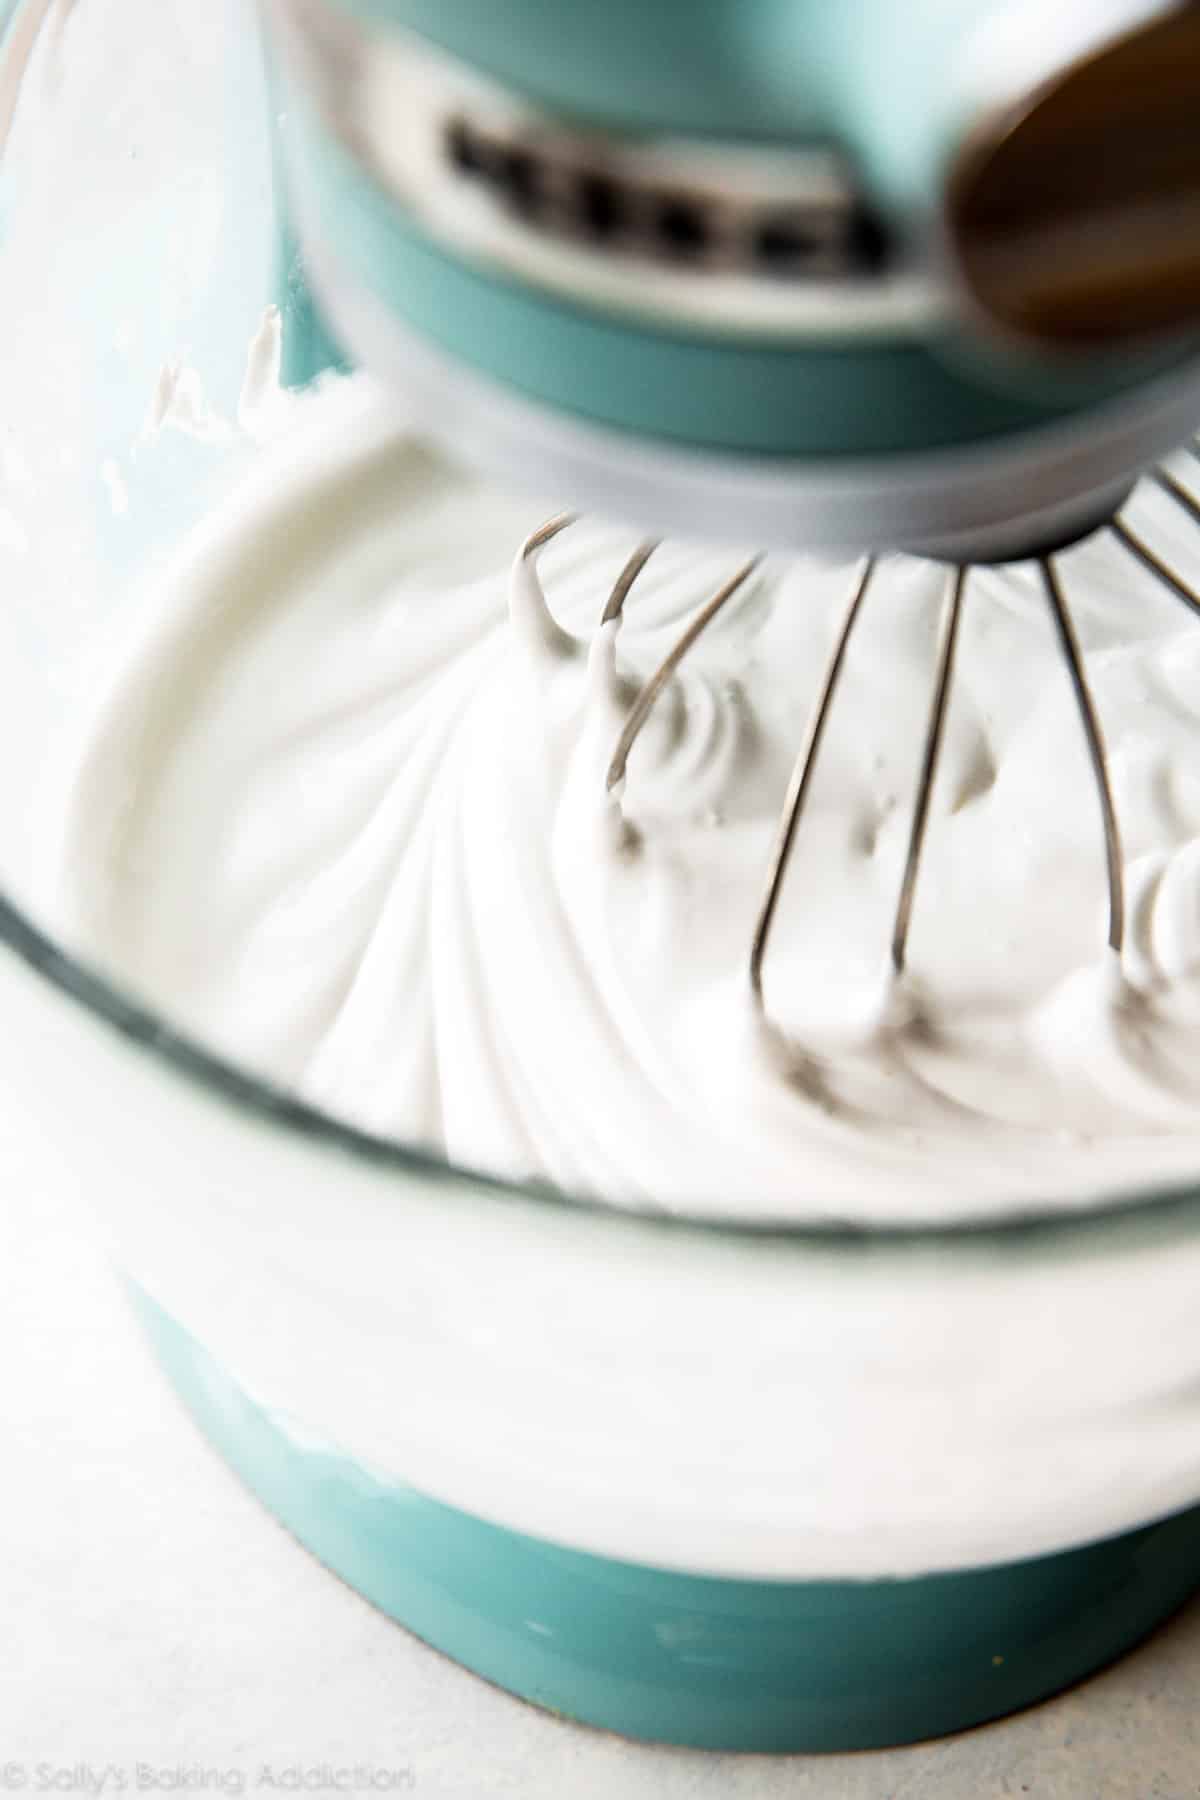
After mixing the 3 icing ingredients together, lift the whisk attachment up. If the icing that drips off melts back into the bowl of icing within 5-10 seconds, you’re golden. If it’s too thick, add more water. If it’s super thin and watery, just keep beating it OR beat in more confectioners’ sugar.
Can I Freeze Royal Icing?
Yes, royal icing can be frozen. Many royal icing recipes, including this one, yield a lot of icing. Any leftover royal icing can be frozen for up to 2 months. Place leftover royal icing into zipped-top freezer bags. If you have more than 1 color, each color should have its own bag. Before sealing, squeeze as much air out of the bag as possible. Freeze on a flat shelf surface in your freezer. Thaw overnight in the refrigerator and bring to room temperature before using again.
Sugar cookies decorated with royal icing freeze well up to 3 months. Wait for the icing to set completely before layering between sheets of parchment paper in a freezer-friendly container. To thaw, thaw in the refrigerator or at room temperature.
How Can I Make Royal Icing Ahead of Time?
You can prepare this royal icing 2-3 days ahead of time. I recommend transferring it to a smaller bowl or container and tightly sealing for up to 3 days in the refrigerator. When you’re ready to use it, let it come to room temperature, then mix it up with a whisk a few times as it may have separated. Whisking in a few drops of water is helpful if it thickened.
Royal Icing Alternative
If you’d rather skip royal icing and try something easier, here’s my easy cookie icing. This opaque “glaze” style icing doesn’t set/dry as quickly as royal icing and it’s not ideal for piping sharp detail. That being said, sometimes it’s just the more convenient option! It will dry in about 24 hours, where the royal icing recipe below dries in about 1-2 hours. Or you can use cookie decorating buttercream, which can be a great alternative for icing that stays soft.
Print
My Favorite Royal Icing
- Prep Time: 5 minutes
- Cook Time: 0 minutes
- Total Time: 5 minutes
- Yield: 3 cups
- Category: Dessert
- Cuisine: American
Description
Here is my classic easy royal icing made with meringue powder. It’s easy to work with, sets quickly, and won’t break your teeth when it dries. It has the most delicious taste and texture and makes decorating sugar cookies fun and simple. Use this traditional royal icing recipe for both flooding and outlining your sugar cookies. This recipe is also in my New York Times best-selling cookbook, Sally’s Baking 101.
Ingredients
- 4 cups (480g) confectioners’ sugar, sifted, plus more as needed
- 3 Tablespoons meringue powder (not plain egg white powder)
- 9 Tablespoons room-temperature water, plus more as needed
- 1 teaspoon pure vanilla extract or 1/2 teaspoon of your favorite flavored extract, such as lemon, coconut, or peppermint (optional)
- optional for decorating: gel food coloring (I love this food coloring kit)
Instructions
- Watch the video tutorial so you get an idea of what the final consistency should be.
- In a large bowl using a handheld or stand mixer fitted with a whisk attachment, mix the confectioners’ sugar and meringue powder.
- Add the water and a flavoring (if using), and whip on high speed for 1.5–2 minutes. When lifting the whisk up off the icing, the icing should drizzle down and smooth out within 5–10 seconds. If it’s too thick, whip in more water, 1 Tablespoon at a time. I usually need 10 Tablespoons, but on particularly dry days, I use up to 12–14 Tablespoons. Keep in mind that the longer you whip the royal icing, the thicker it becomes. If your royal icing is too thin, just keep whipping it to introduce more air, or you can add more sifted confectioners’ sugar.
- If you’d like to tint the icing, divide it into separate bowls for each color, or tint the entire batch one color. A little gel food coloring goes a long way, so use a toothpick to dot the gel into the icing. Stir it in and then add more to deepen the color if desired. Keep in mind that the more you stir, the thicker the icing becomes. If needed, stir in a few drops of water to maintain the target consistency.
- When applied to cookies or confections in a thin layer, icing completely dries in about 2 hours at room temperature. If the icing consistency is too thin and runny, it will take longer to dry. If the icing is applied very thickly, it will also take longer to dry. If you’re layering royal icing onto cookies for specific designs and need it to set quickly, place cookies in the refrigerator to help speed up the setting. See blog post above for make-ahead and freezing instructions.
Notes
- When you’re not working directly with the royal icing (for example, you are decorating cookies but you still have some icing left in the bowl that you intend to use next), place a damp paper towel directly on the surface of the royal icing. This prevents it from hardening.
- Special Tools (affiliate links): Electric Mixer (Handheld or Stand Mixer) | Meringue Powder | Americolor Soft Gel Paste Color Kit | Disposable or Reusable Piping Bags | Couplers | Wilton Tip #1 | Wilton Tip #2 | Wilton Tip #3 | Wilton Tip #4 | Wilton Tip #5 | Squeeze Bottle or Icing Bottle
Here is my recipe for sugar cookies.


Reader Comments and Reviews
Should it be this thin for dipping cookies? Thank you
Hi Mary! Yes, you’ll want about the same consistency to dip the tops of cookies into icing.
Made and loved this! It was my first time making royal icing!! Followed recipe exactly and used your sugar cookies too!
Love the step by step instructions. I was just wondering with egg white royal icing. I’m trying to make it and it tastes yuk and gluggy. How can I fix it please
Hi Sue, this recipe was written specifically for meringue powder, and using fresh egg whites would require a different recipe. Luckily there are many options if you’re going that route!
Easy to work with but tastes awful. I won’t make this again. Guess I’m sticking with a buttercream that doesn’t set but tastes wonderful.
How many servings does it make?
Hi Iris, it’s hard to say how many cookies this would ice, because it would depend on the size of your cookies and how heavily you ice them. This recipe yields about 3 cups of icing, which is quite a bit!
I just used this recipe today. I made one batch of icing to ice two batches of cookies (48) and had leftover icing. It makes a lot! But you want a little extra just in case. You also lose some in the process of dying it different colors.
After MUCH frustration with another product I found this recipe and used it to decorate baby shower cookies. Everything worked perfectly and the video helped a lot. The icing was everything you described. You saved me with this recipe so thank you!!
Can I use raw egg whites instead of meringue powder?
Hi Bnam, this recipe was written specifically for meringue powder, and using fresh egg whites would require a different recipe. Luckily there are many options if you’re going that route!
This recipe is the best one I’ve ever made in my life!!!! you guys are the best!!
Love the royal icing. Easy to work with. Was wondering if you can keep it in a covered container for a bit. I have roughly 1.5 cups left after covering just about 4 dozen 3in heart cookies. I don’t like to waste anything
Hi Wanda! So glad you love this recipe. See blog post above for make-ahead and freezing instructions.