

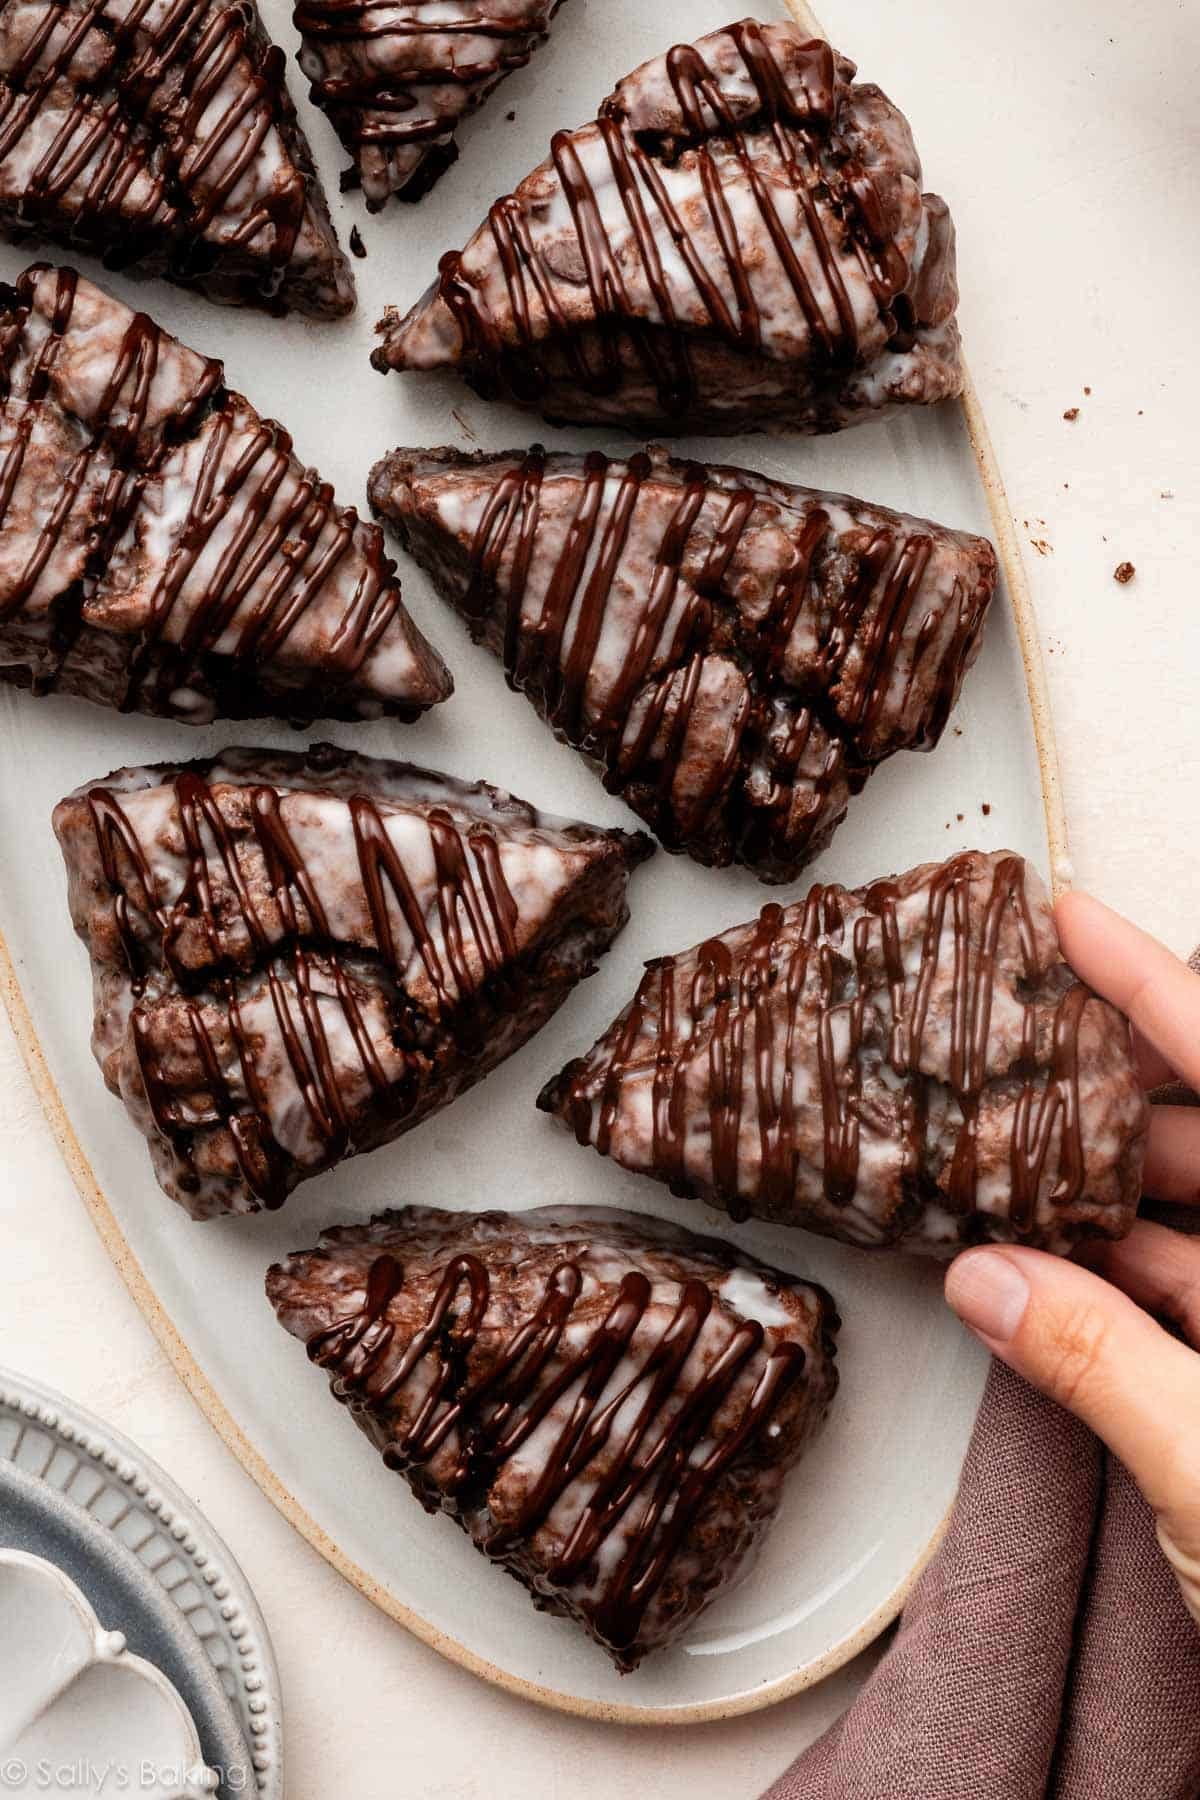
These triple chocolate scones are about as close as you can get to eating brownies for breakfast! Rich cocoa scone dough is packed with melty chocolate chunks, dipped in a light vanilla glaze, and finished with a drizzle of melted chocolate for the ultimate chocolate lover’s breakfast treat.
I originally published this recipe in 2014 and have since updated it with new photos and additional success tips.
Want to eat brownies for breakfast? Here’s an acceptable solution! 😉
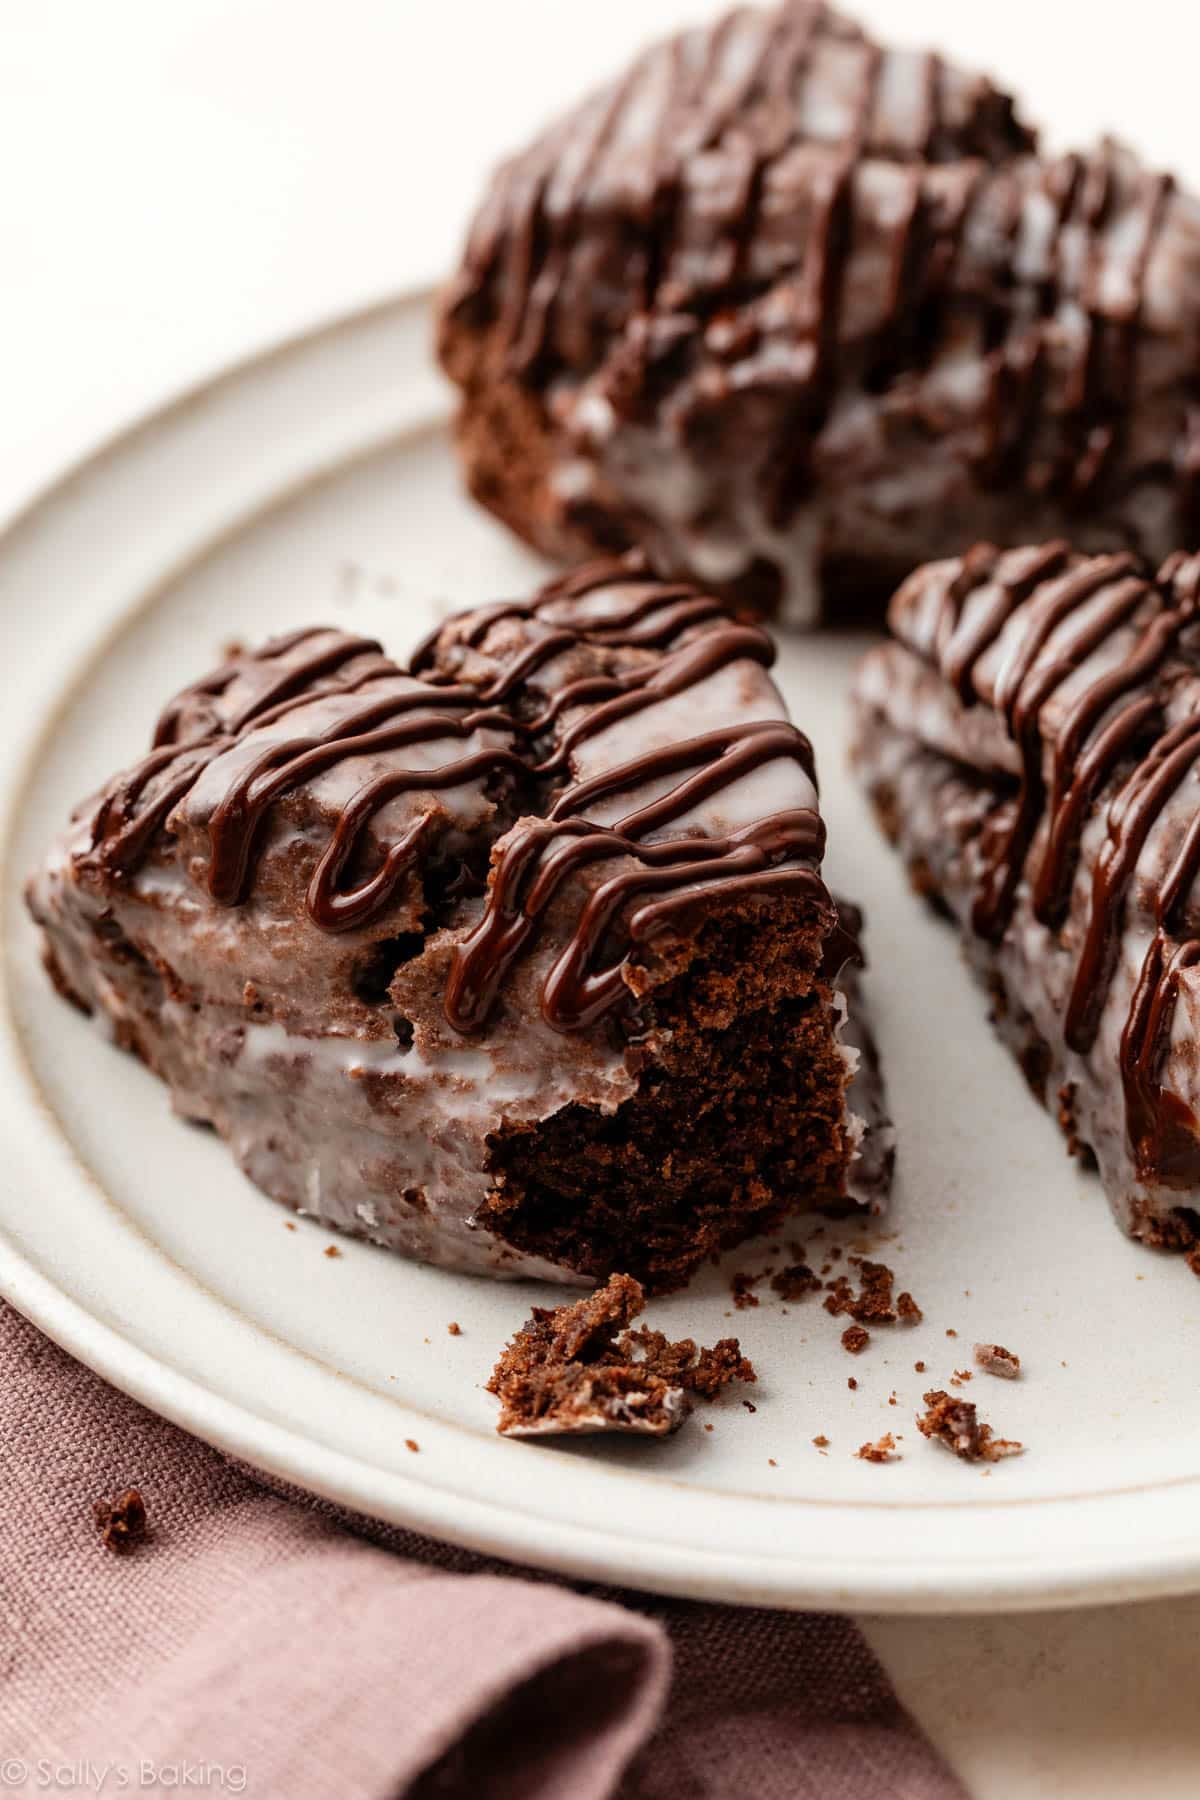
These bakery-style chocolate scones are crisp and crumbly around the edges, soft and tender in the centers, and surprisingly easy to make. If you’ve tried my go-to scones recipe, you’ll love this decadent chocolate variation.
They’re as rich and fudgy as brownies… but perfectly acceptable to enjoy first thing in the morning! And if you’re looking for a little more crunchy texture, this chocolate crunch granola is for you.
Why You’ll Love These Chocolate Scones:
- Rich, fudgy, brownie-like flavor
- Crisp, crumbly edges with soft, tender centers
- Melty chocolate chunks in every bite
- Easy to prepare ahead—refrigerate overnight and bake fresh in the morning
- Freezer-friendly before OR after baking
- Finished with both vanilla glaze and melted chocolate drizzle
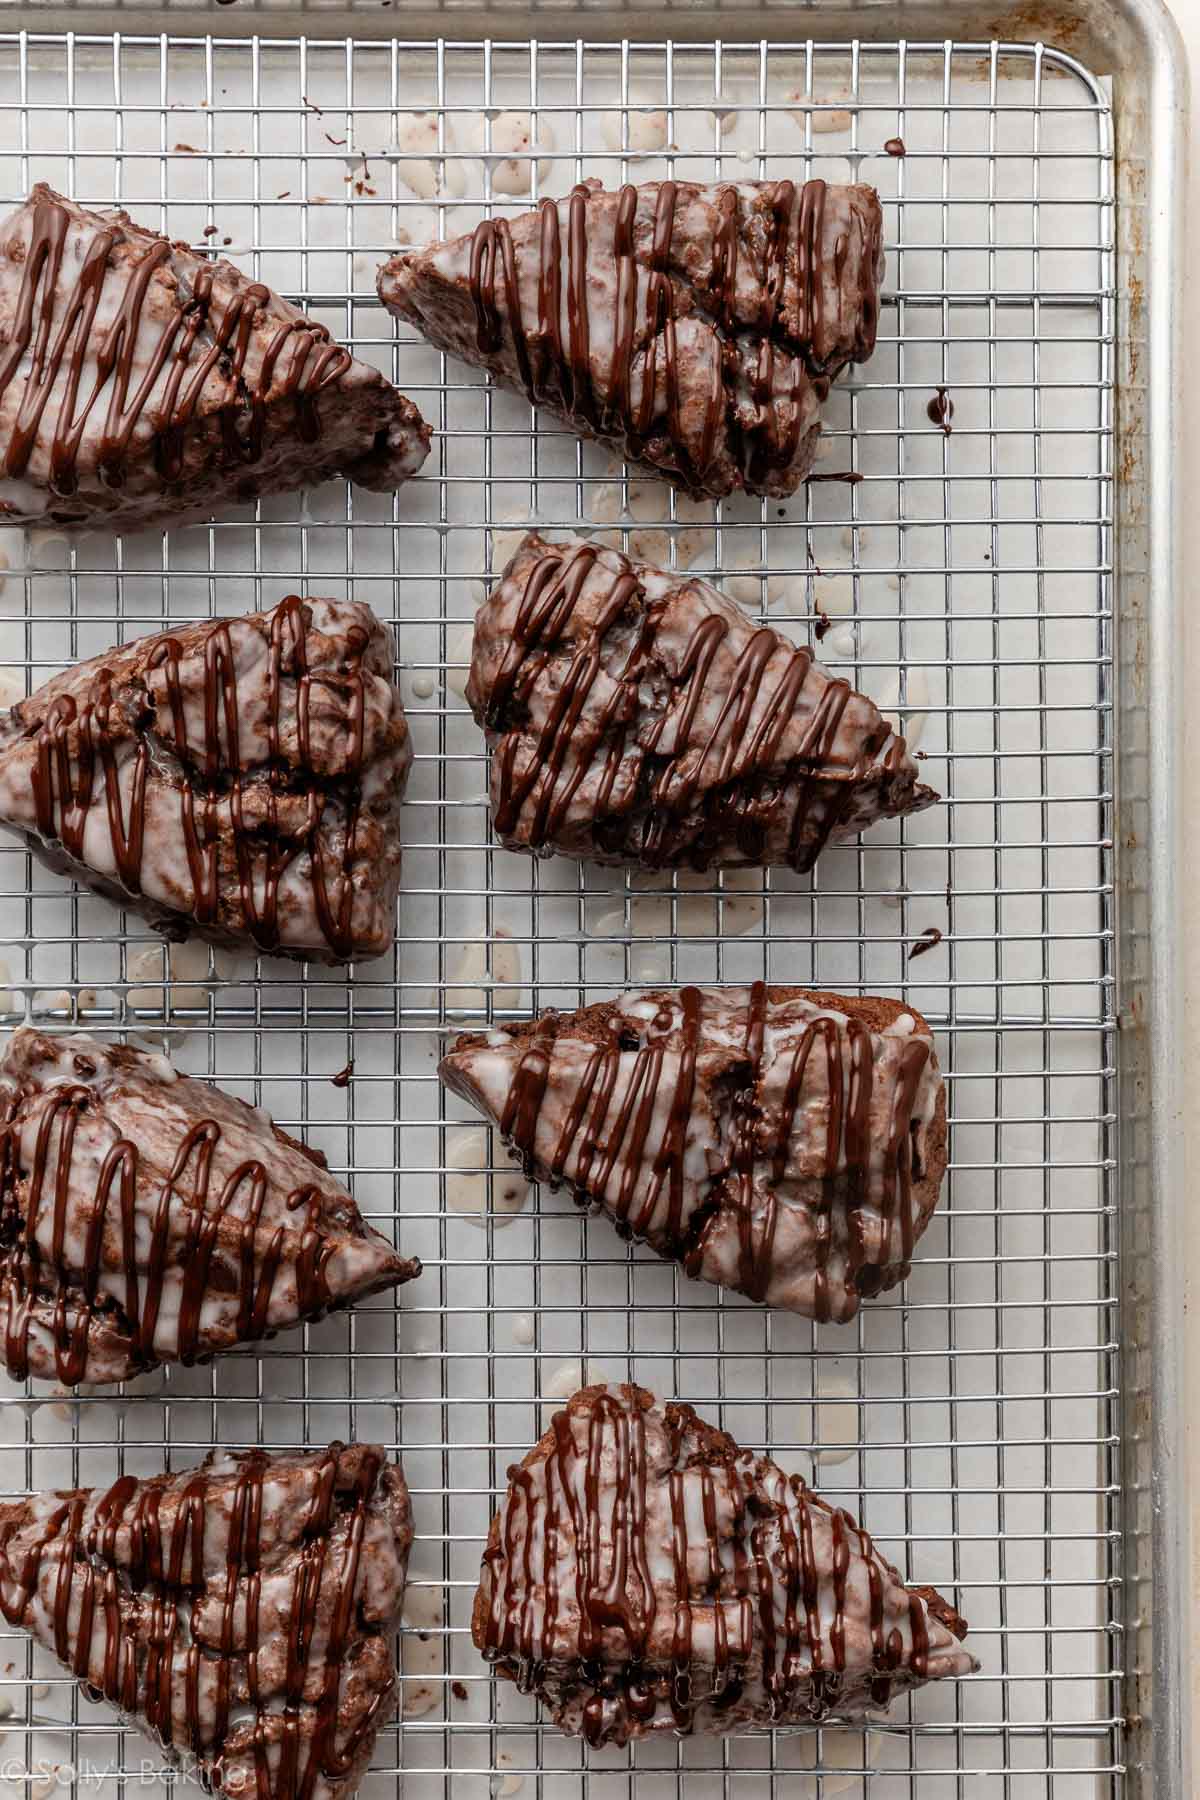
One reader, Jodi, commented: “These scones were FANTASTIC! Great recipe and easy to make. ★★★★★”
Another reader, Nicole, commented: “This recipe was very simple and so very tasty! It was straightforward and the result was a tender, decadent, and sweet scone! I used mini semi-sweet chocolate chips and cold brew for the glaze instead of water. Both worked out great! I skipped the chocolate drizzle to tone down the sweetness. Would definitely make these again! ★★★★★”
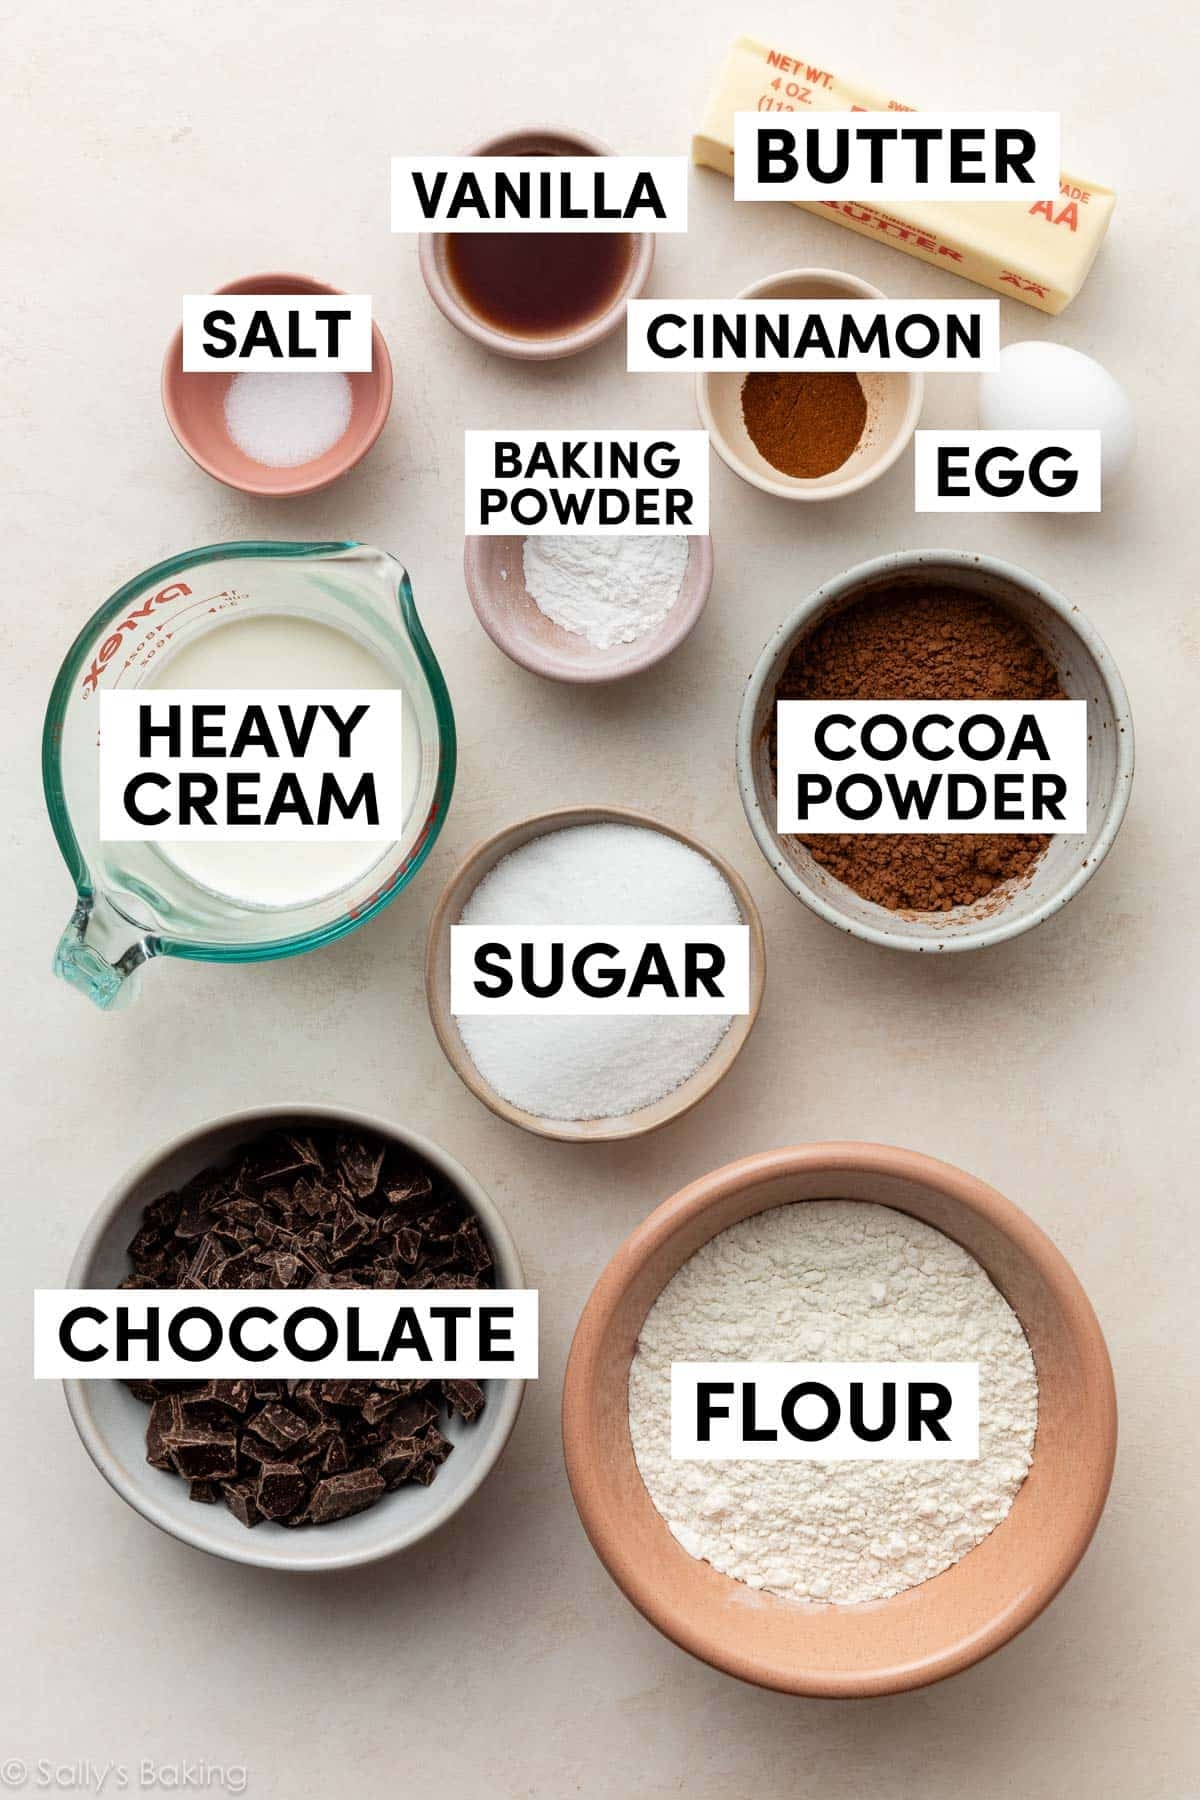
Key Ingredients & Why They Work
This recipe is built off of my trusted master scones recipe, but a few adjustments were needed to create this incredibly rich chocolate version.
- Flour: All-purpose flour gives the scones necessary structure. Cocoa powder takes the place of some of the flour, so you need a little less than you’d need to make a different variety of scone, like these chocolate chip scones.
- Unsweetened Cocoa Powder: You can use either natural or Dutch-process cocoa here, which gives the dough its rich chocolate flavor. If you need a recommendation, I use and love this variety of Dutch-process cocoa.
- Heavy Cream: Cocoa powder absorbs more moisture than flour, so we add an extra splash of heavy cream to keep the scones moist and tender instead of dry.
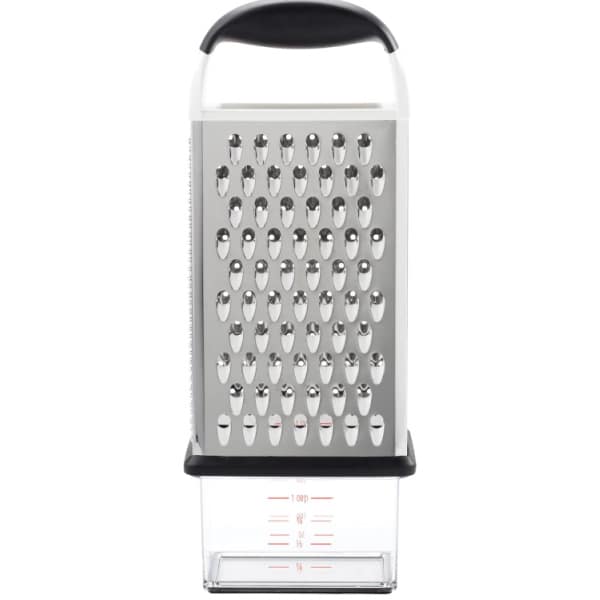
- Frozen Butter: Cold butter is essential for deliciously flaky scones. Grating it with a box grater makes it easy to distribute evenly throughout the dough.
- Baking Powder: For rise.
- Sugar, Cinnamon, Salt, Vanilla: Flavor enhancers.
- Egg: 1 egg binds all the ingredients together.
- Semi-Sweet Chocolate: Chopped semi-sweet chocolate creates melty pockets throughout the scones. I recommend using a quality baking chocolate bar instead of chocolate chips for the best texture. Plus, you’ll use more for the chocolate drizzle.
Overview: How to Make Chocolate Scones
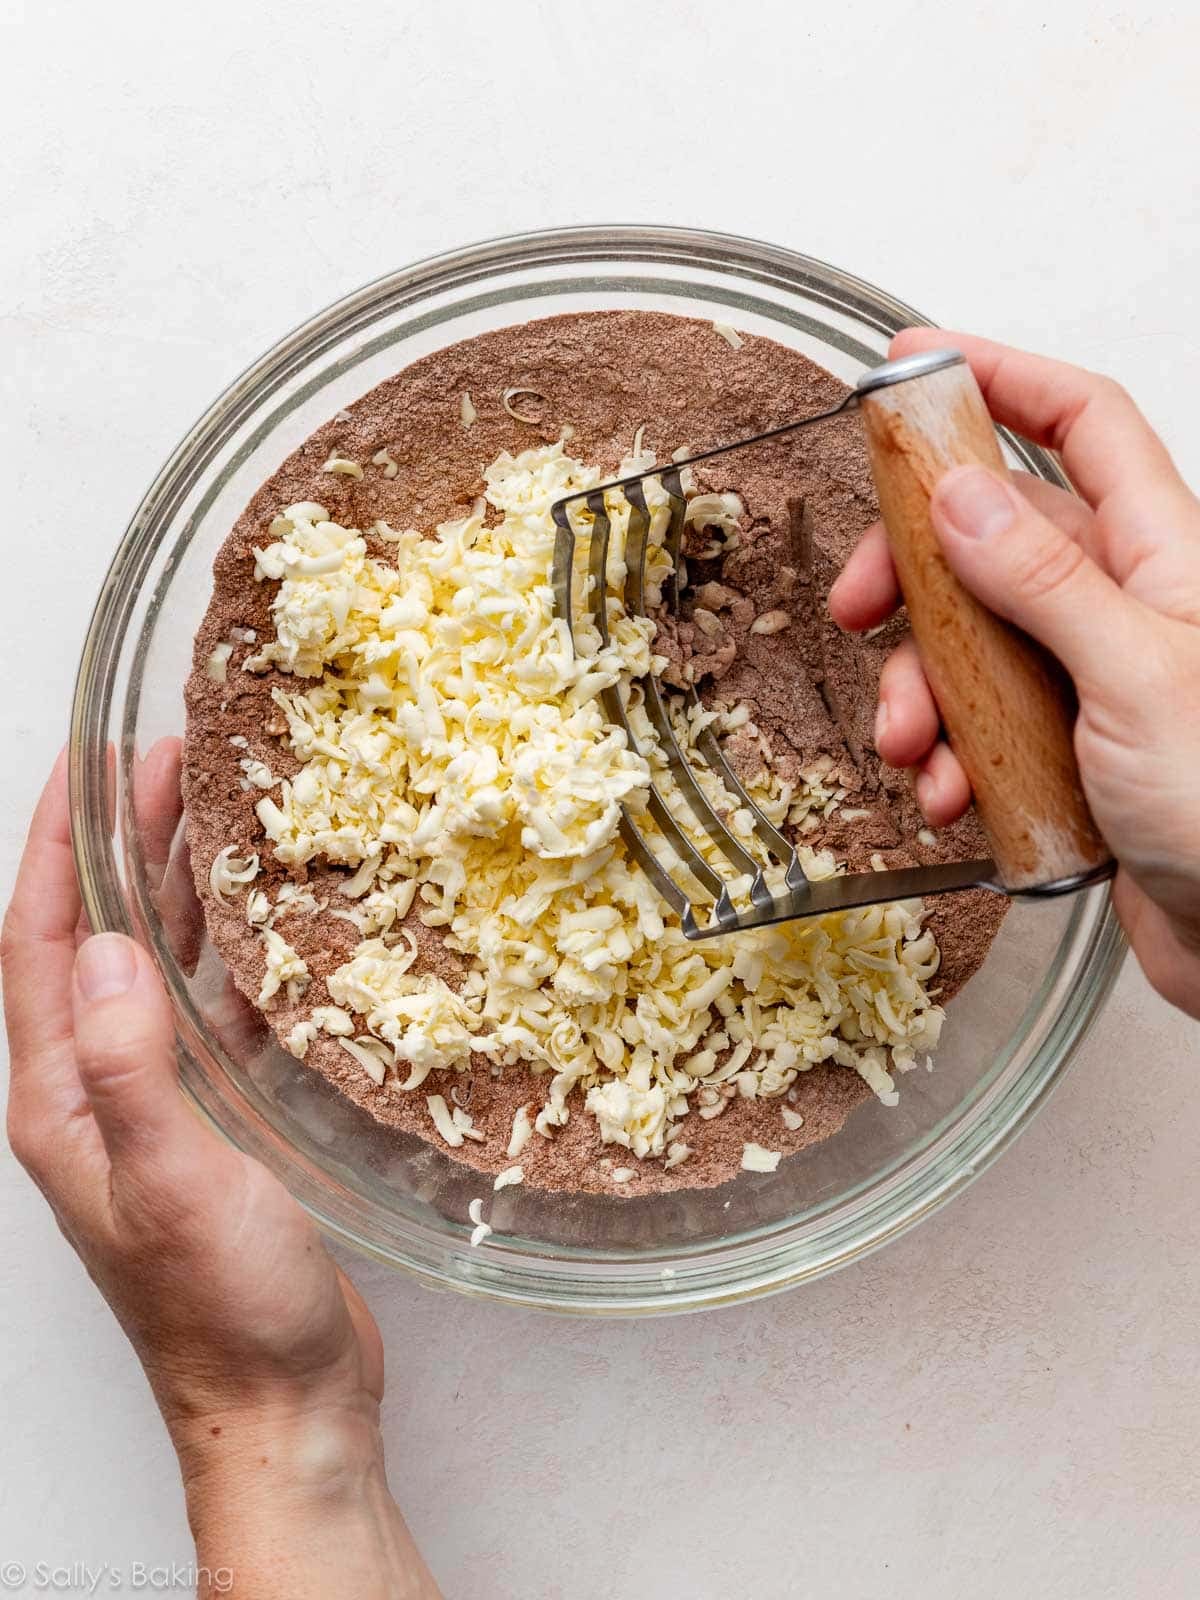
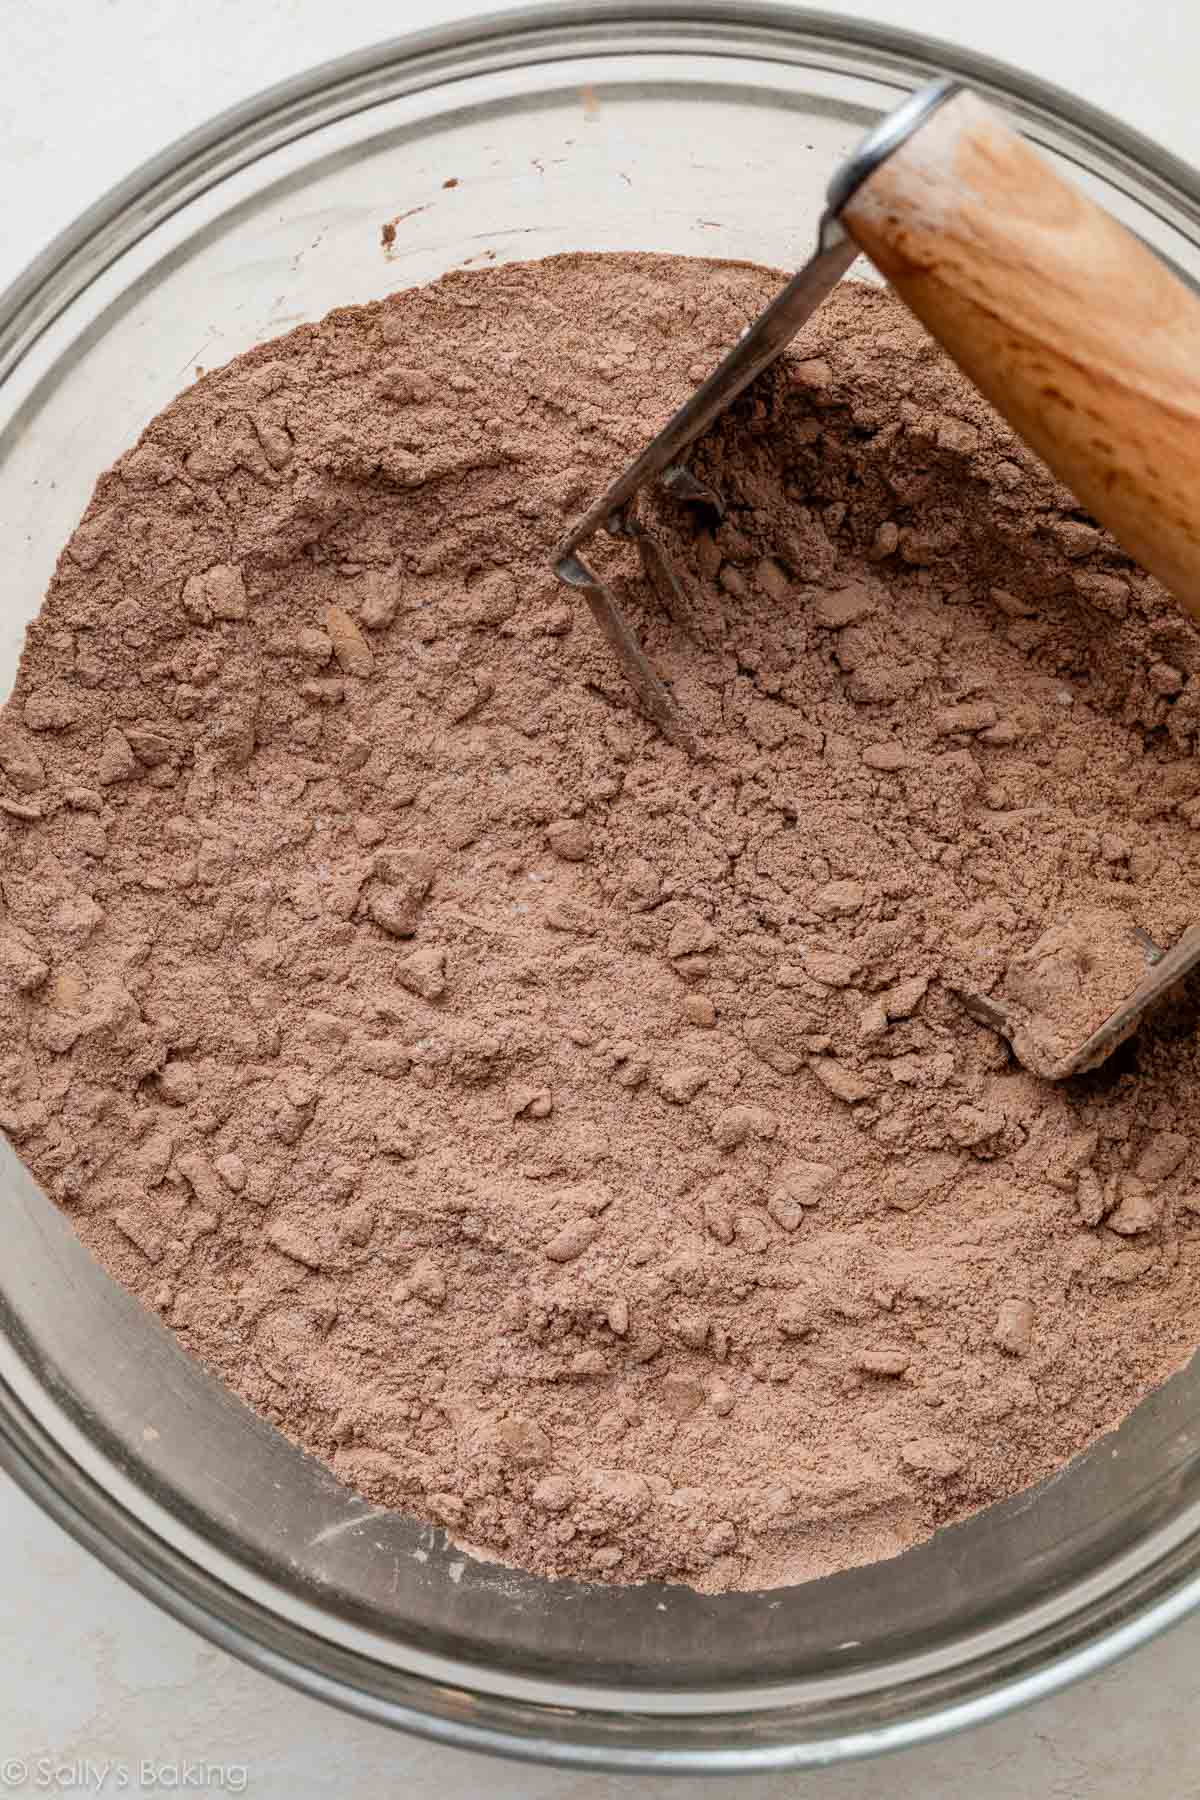
These chocolate scones are surprisingly easy, and you don’t need a mixer. First, you’ll mix the dry ingredients together. Then you’ll grate the frozen butter into the dry ingredients and work it in with a pastry cutter, 2 forks, or your fingertips.
- Tip: A food processor works too, but I find it can overwork the dough. The less you handle scone dough, the more tender the scones will be.
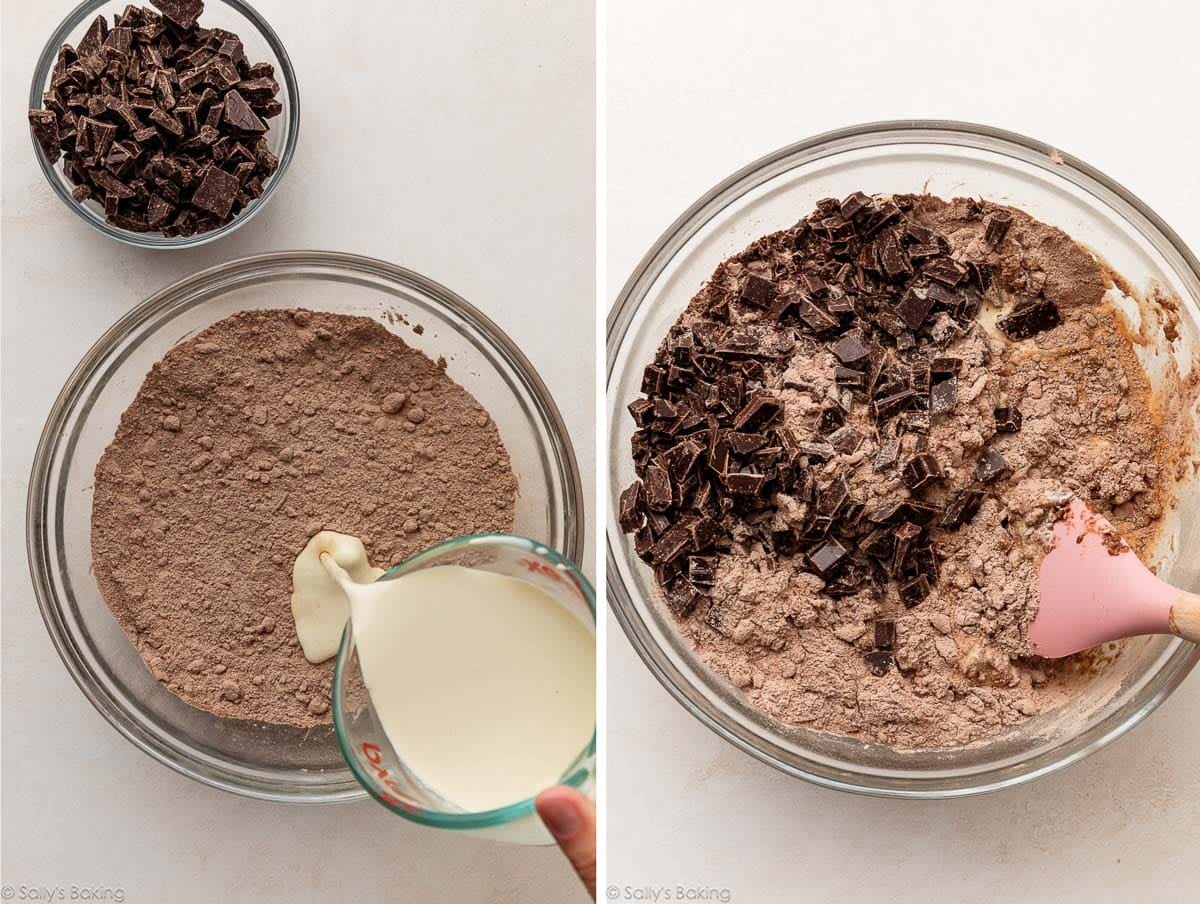
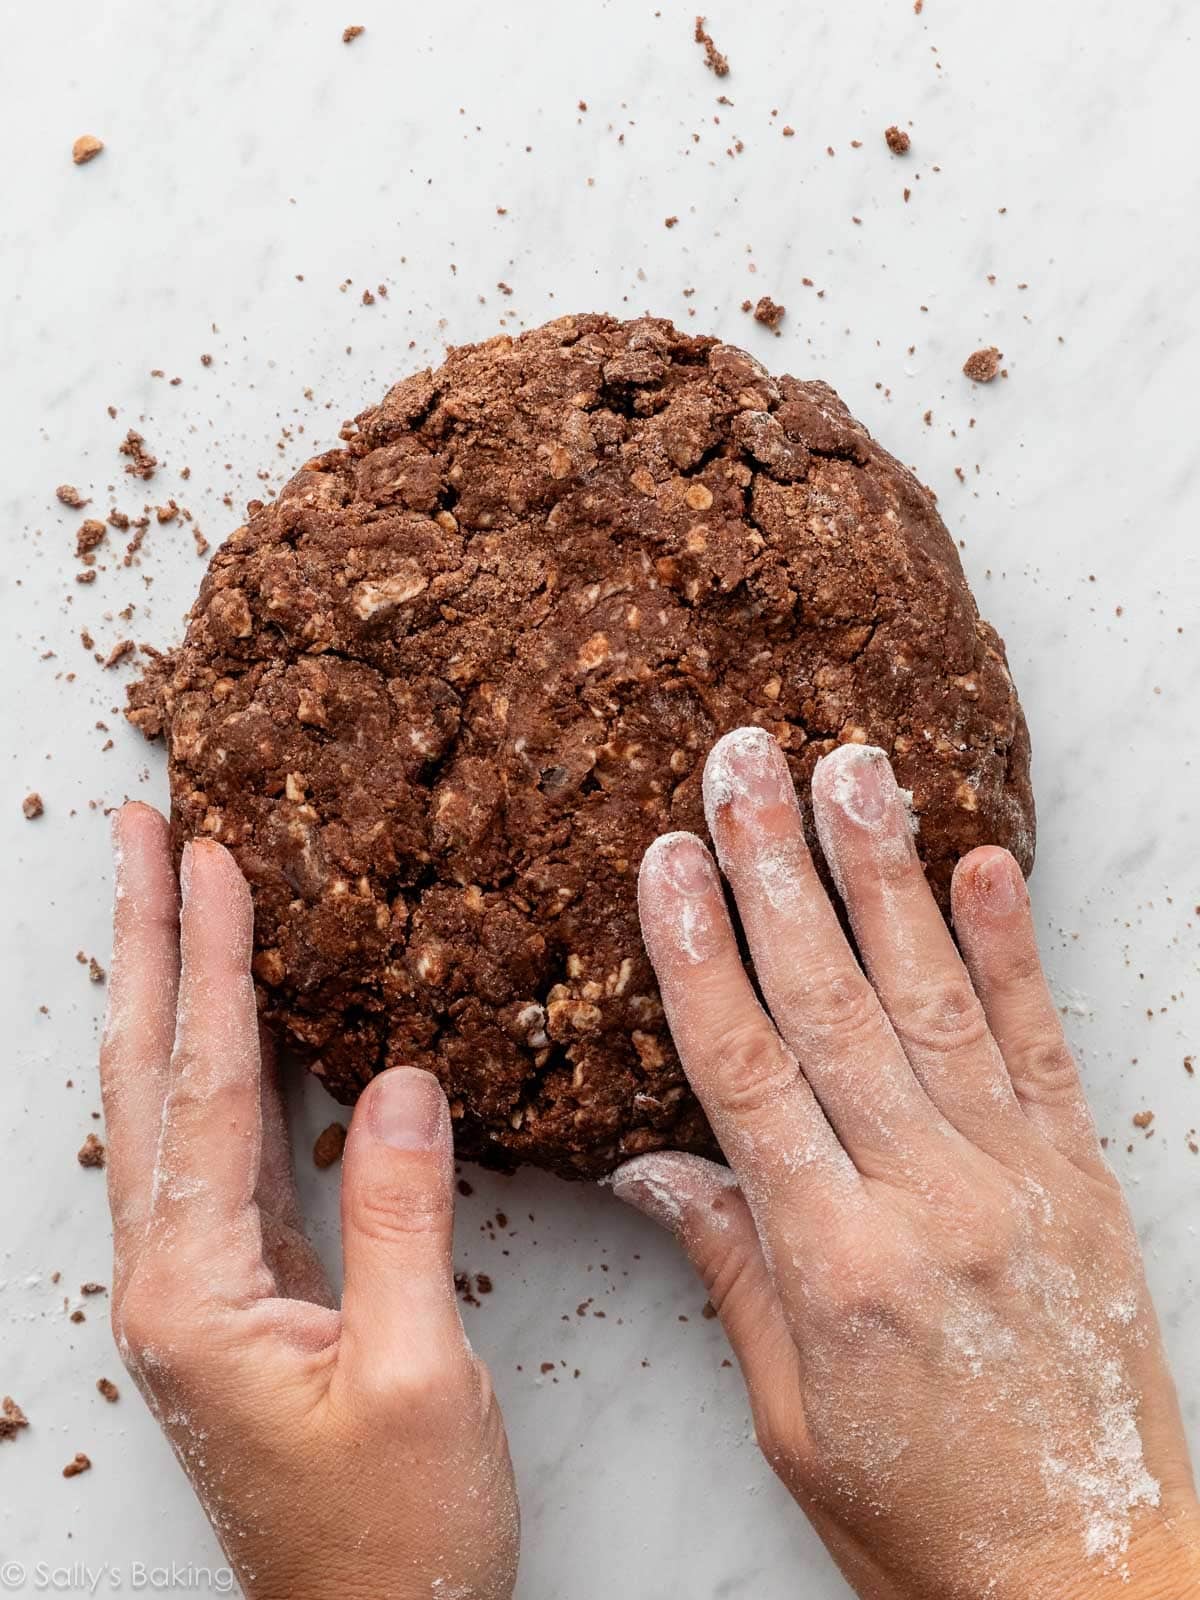
Then, whisk the wet ingredients together. Pour the wet ingredients into the dry ingredients, add the chopped chocolate, and gently mix until the dough begins to come together. Turn it out onto a lightly floured work surface and use your hands to bring it together.
- Tip: If the dough seems crumbly, keep gently pressing it together before reaching for more cream. Scone dough should look a little shaggy but hold together when squeezed.
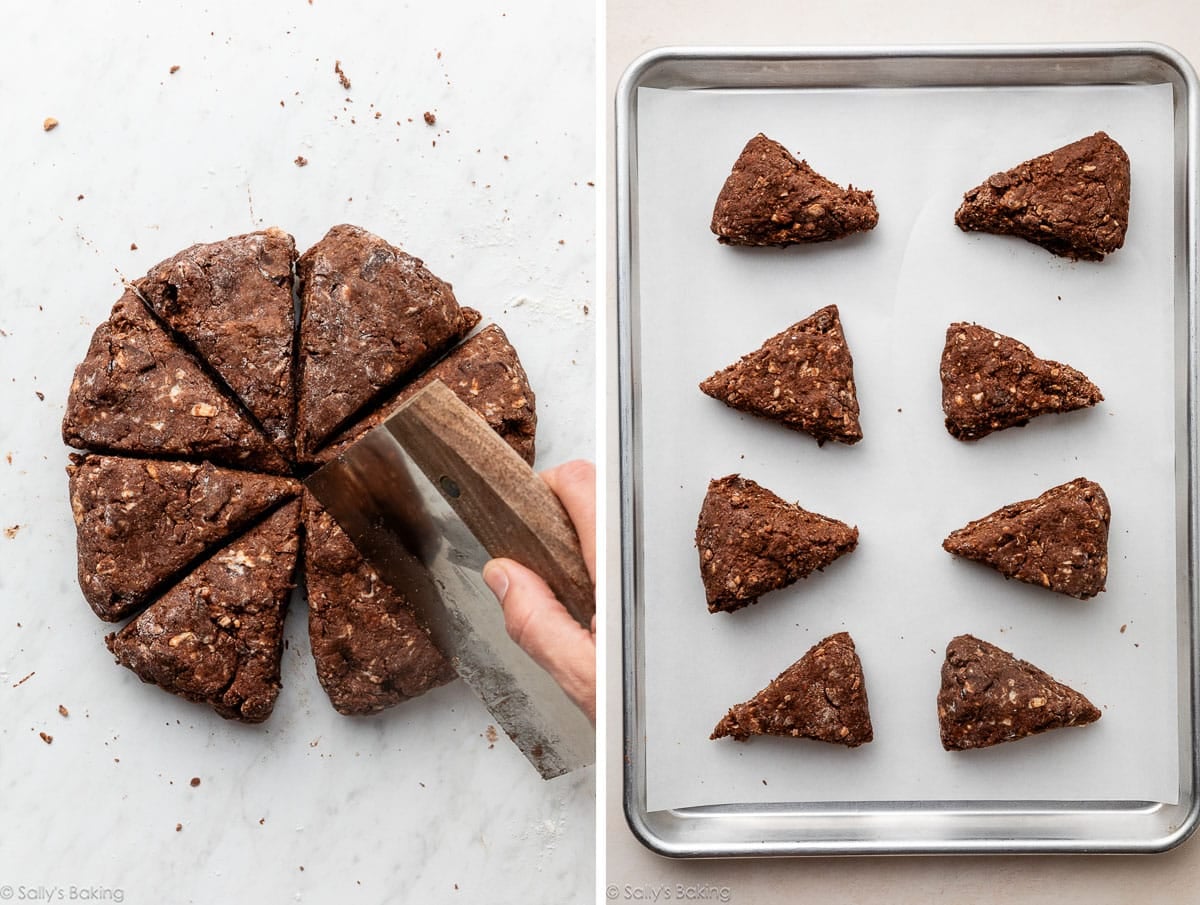
Form the dough into a disc, then cut it into 8 wedges.
My Best Scone Tips
For flaky scone centers and crisp, crumbly edges, keep the dough as cold as possible. Cold butter creates steam as the scones bake, producing tall, flaky layers instead of flat, spread-out scones. Chilling the shaped scones for at least 15 minutes before baking is one of my favorite tricks, and you can even refrigerate them overnight for an easy breakfast the next morning.
Another trick I now use is the same one you’ll find in many of my muffin recipes (including these triple chocolate muffins) and many pie recipes: start baking at a higher temperature, then reduce it after a few minutes.
Why? That initial burst of heat helps the scones rise upward before the butter has a chance to melt, then the lower temperature allows the centers to finish baking without drying out.
In short, here are my tips for making chocolate scones with impeccable texture that hold shape:
- Keep the butter as cold as possible.
- Handle the dough gently. Do not overwork the dough.
- Chill the shaped scones before baking.
- Bake at an initially high temperature, then reduce it.
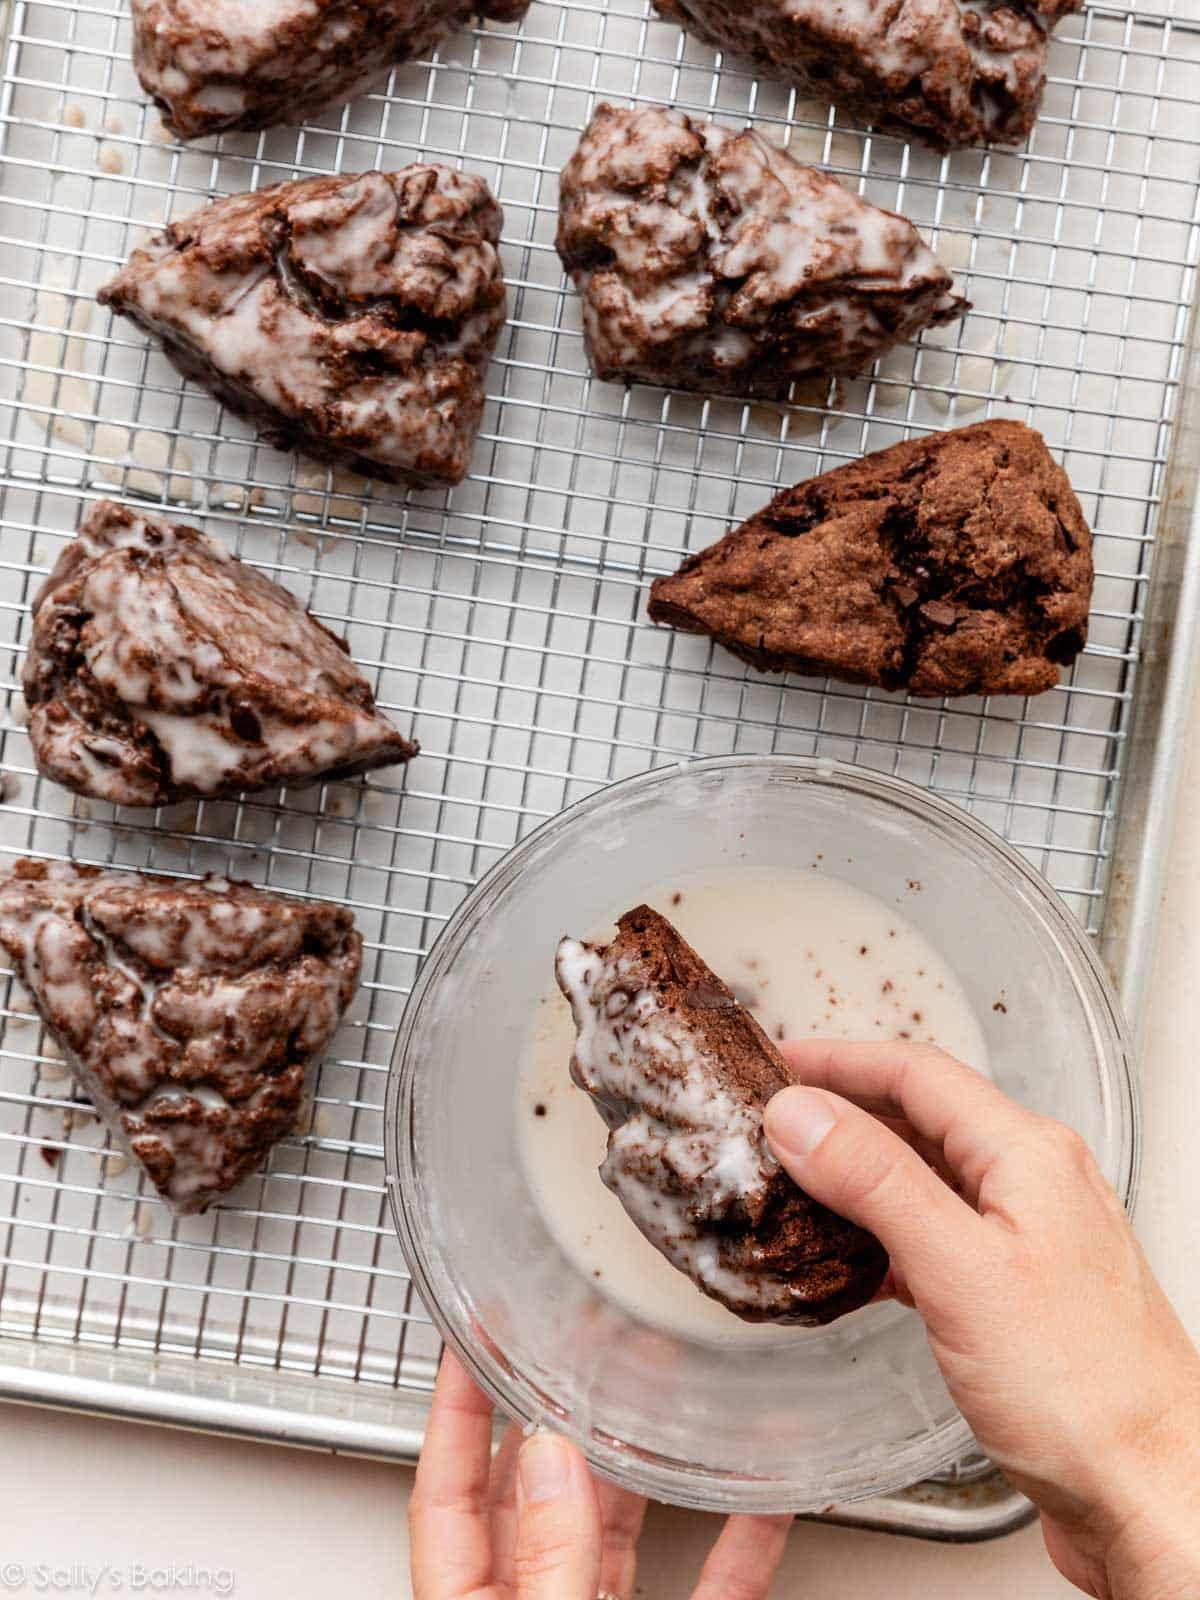
Don’t Skip the Dip in Vanilla Glaze
This might seem like an unnecessary step, but it serves an important purpose.
Chocolate baked goods can dry out quickly because cocoa powder naturally absorbs a lot of moisture. During recipe testing, I found that a quick dip in a thin glaze locks in moisture while adding just enough sweetness.
Use water (or brewed coffee!) instead of milk so the glaze stays thin enough to coat the scones lightly rather than creating a thick icing.
The Triple Chocolate Finishing Touch
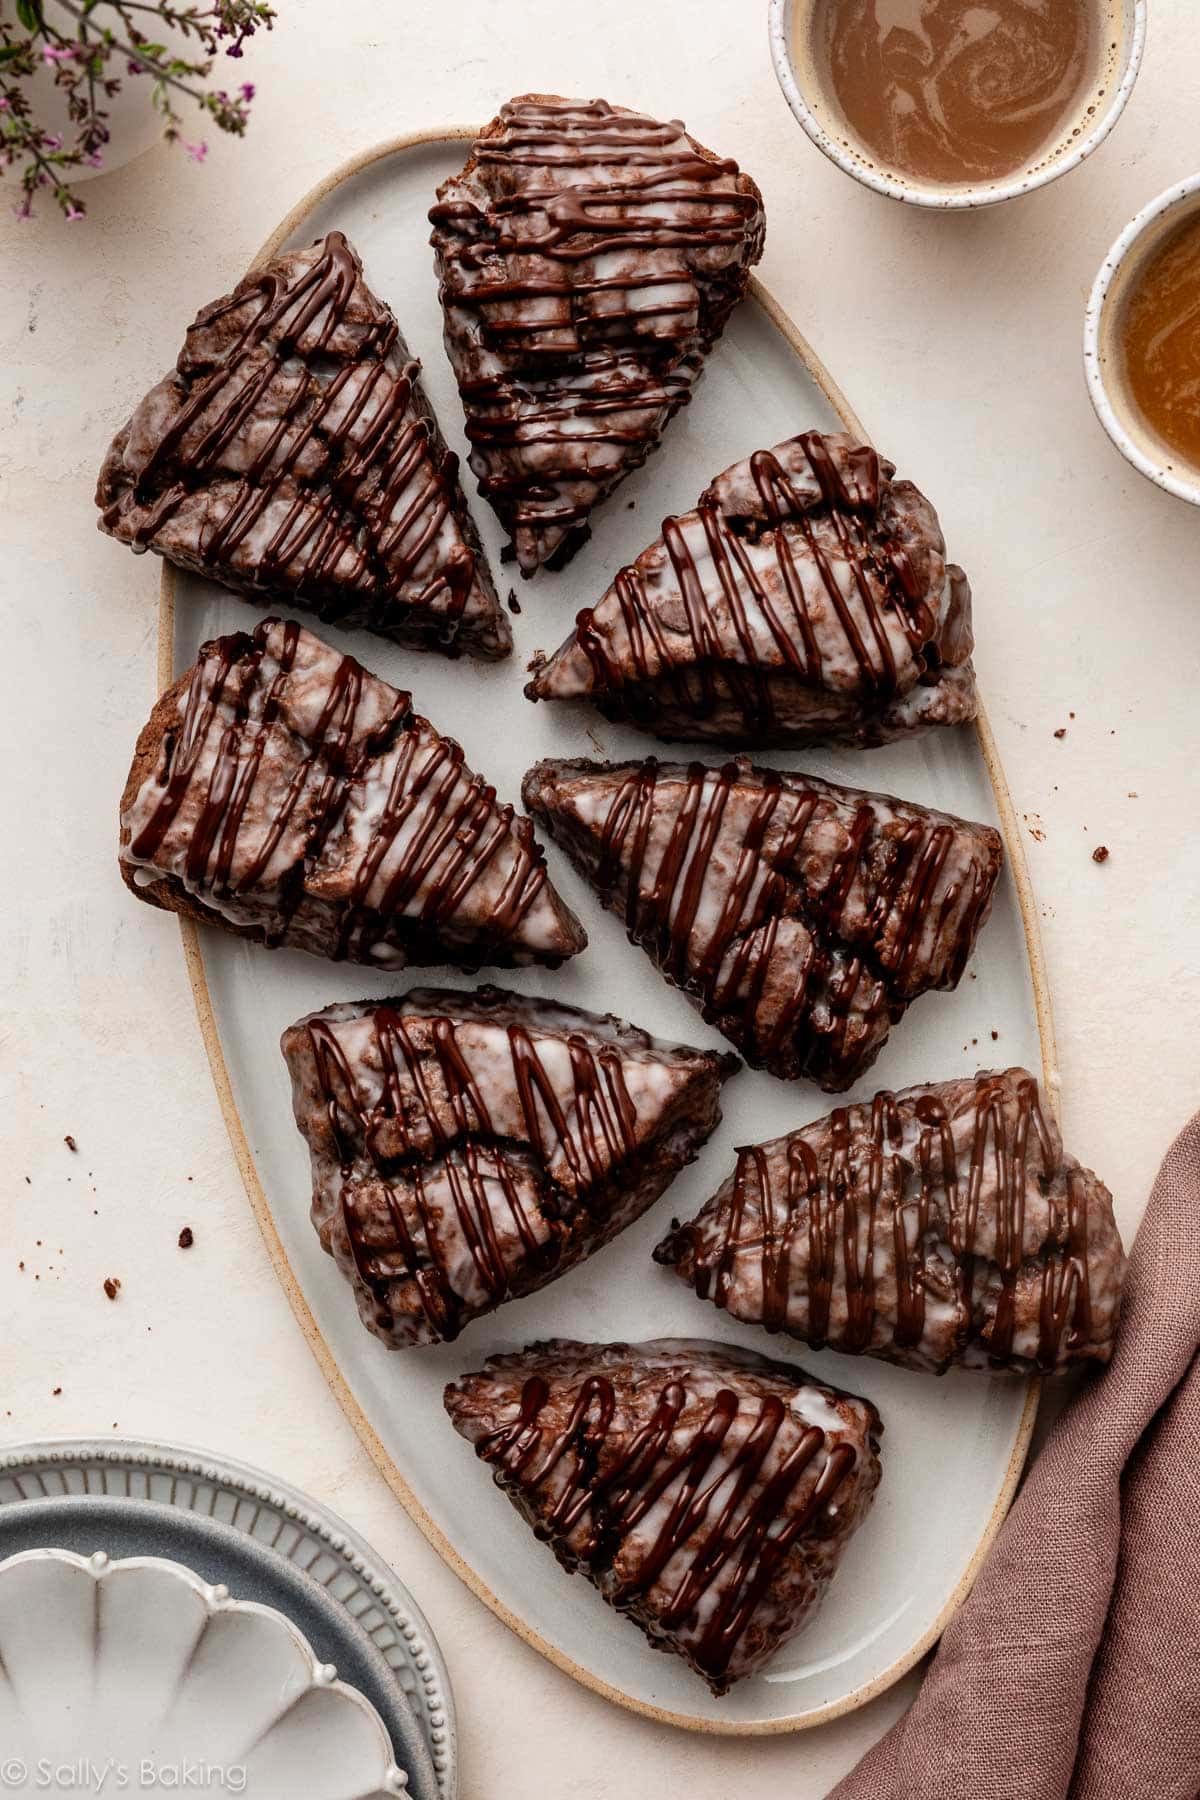
The vanilla glaze seals in moisture, but the chocolate drizzle takes them over the top!
Once the glaze sets, drizzle melted semi-sweet chocolate over the scones for the third layer of chocolate flavor. If you’re a chocolate lover, it’s absolutely worth the extra few minutes. Triple chocolate scones need triple the chocolate!
Variations
Want to change them up? Try adding:
- Espresso powder for deeper chocolate flavor
- Toasted pecans or walnuts
- White chocolate chunks
- A sprinkle of flaky sea salt after the chocolate drizzle sets
Yes. Chocolate chips work well in the dough, though chopped baking chocolate melts into larger, gooier pockets. For the drizzle, baking chocolate melts much more smoothly than chocolate chips.
Scone dough is naturally a little shaggy. Gently press it together with your hands before adding extra liquid. If it still won’t hold together, add heavy cream just 1 teaspoon at a time. (And be sure to properly measure your flour and cocoa powder, so you don’t accidentally use too much.)
Absolutely. Refrigerate the shaped scones overnight or freeze them for later. Bake directly from the refrigerator or freezer.
The butter likely became too warm before baking. Start with very cold ingredients and chill the shaped scones before they go into the oven.



Triple Chocolate Scones
- Prep Time: 30 minutes
- Cook Time: 22 minutes
- Total Time: 1 hour
- Yield: 8 scones
- Category: Breakfast
- Method: Baking
- Cuisine: American
Description
These rich triple chocolate scones are crisp around the edges, soft and tender inside, and packed with melty chocolate chunks. Finished with a light vanilla glaze and chocolate drizzle, they’re like brownies for breakfast. Read through the recipe before beginning. Refrigerate the shaped scones for at least 15 minutes before baking, to help prevent the scones from over-spreading.
Ingredients
- 1 and 2/3 cups (209g) all-purpose flour (spooned & leveled)
- 1/3 cup (27g) unsweetened natural or Dutch-process cocoa powder
- 1/2 cup (100g) granulated sugar
- 2 and 1/2 teaspoons baking powder
- 1/2 teaspoon ground cinnamon
- 1/2 teaspoon salt
- 1/2 cup (8 Tbsp; 113g) unsalted butter, frozen
- 1/2 cup + 1 Tablespoon (135g/ml) heavy cream, cold
- 1 large egg, cold
- 1 and 1/2 teaspoons pure vanilla extract
- 6 ounces (170g) semi-sweet chocolate, coarsely chopped*
Glaze & Topping
- 1 cup (120g) confectioners’ sugar
- 1 teaspoon pure vanilla extract
- 2 Tablespoons (30g/ml) water (black coffee works too!)
- one 4-ounce (113g) bar semi-sweet chocolate, coarsely chopped*
Instructions
- Whisk the flour, cocoa powder, sugar, baking powder, cinnamon, and salt together in a large bowl. Grate the frozen butter using a box grater. Add it to the flour mixture and combine with a pastry cutter, two forks, or your fingers until the mixture comes together in pea-sized crumbs. Place in the refrigerator or freezer while you mix the wet ingredients.
- Whisk the heavy cream, egg, and vanilla extract together in a small bowl. Drizzle over the flour mixture, add the 6 ounces of chopped chocolate, and then mix until everything appears moistened.
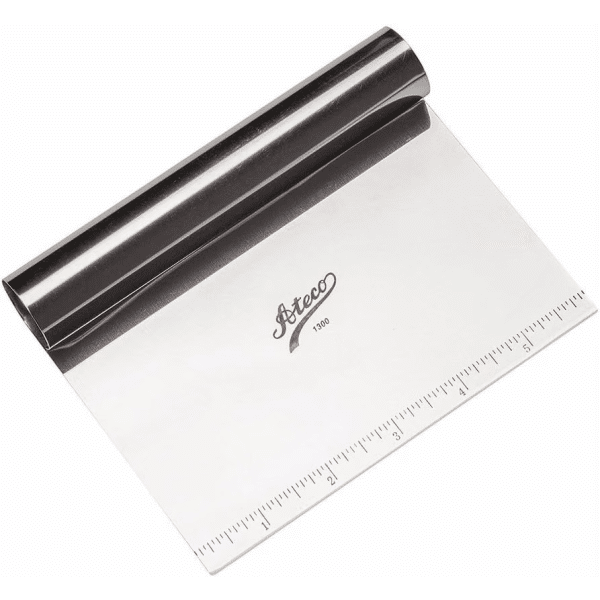
- Pour the dough onto the counter and, with floured hands, work it into a ball as best you can. The dough will be sticky. If it’s too sticky, add a little more flour. If it seems too dry, add 1 more teaspoon of cold heavy cream at a time until it comes together. Press the dough into an 8-inch disc and, with a sharp knife or bench scraper, cut into 8 wedges.
- Place scones on a plate or lined baking sheet (if your refrigerator has space!) and refrigerate for at least 15 minutes and up to 1 day.
- Meanwhile, preheat the oven to 425°F (218°C).
- Line a large baking sheet with parchment paper or a silicone baking mat. After refrigerating, arrange the scones 2-3 inches apart on the prepared baking sheet(s).
- Bake for 5 minutes. Without removing the scones from the oven, reduce the oven temperature to 400°F (204°C) and continue baking for 16–17 minutes, or until the edges and tops are set. The scones are done when a toothpick inserted into the center comes out clean or with a few moist crumbs. Keep in mind that melted chocolate on the toothpick is not wet dough.
- Remove from the oven and cool for a few minutes while you prepare the glaze.
- Make the glaze: Whisk the confectioners’ sugar, vanilla, and water together. Dip the warm scones into the glaze and place on a wire rack with a baking sheet or paper towels underneath to catch the glaze as it drips down. The glaze will set after several minutes, but you can serve the scones warm. Before serving, melt the remaining 4 ounces of semi-sweet chocolate in the microwave in 15 second increments, stirring after each increment until melted. Drizzle over the scones.
- Store leftover scones at room temperature for up to 2 days or in the refrigerator for up to 5 days.
Notes
- Freeze Before Baking: Freeze scone dough wedges on a plate or baking sheet for 1 hour. Once relatively frozen, layer them in a freezer-friendly bag or container. Bake from frozen, adding a few minutes to the bake time. Or thaw overnight, then bake as directed.
- Freeze After Baking: Freeze the baked and cooled scones before topping with glaze and chocolate drizzle. I usually freeze them in a freezer-friendly bag or container. To thaw, leave out on the counter for a few hours or overnight in the refrigerator. Warm in the microwave for 30 seconds or on a baking sheet in a 300°F (149°C) oven for 10 minutes. Before serving, top with the glaze and chocolate drizzle.
- Overnight Instructions: Prepare scones through step 3. Cover and refrigerate overnight. Continue with the recipe the following day.
- Special Tools (affiliate links): Glass Mixing Bowl | Whisk | Box Grater | Pastry Cutter | Silicone Spatula | Bench Scraper | Baking Sheet | Silicone Baking Mat or Parchment Paper | Cooling Rack
- Over-spreading: Start with very cold scone dough. Expect some spreading, but if the scones are over-spreading as they bake, remove the baking sheet from the oven and use a silicone spatula to gently press them back into their triangle shapes. Return to the oven and continue baking.
- Chocolate: Use baking chocolate sold as 4-ounce bars in the baking aisle, such as Ghirardelli, Lindt, or Baker’s brands. 1 heaping cup semi-sweet chocolate chips may be substituted for the chopped chocolate in the scones. Chocolate chips can be tricky to melt into a smooth, pourable consistency, so I recommend using a chocolate bar for the drizzle. The drizzle is optional.












Reader Comments and Reviews
Can this recipe be doubled?
Hi Kate, for best results, we’d recommend making two separate batches rather than doubling. That prevents over- or under-mixing the added volume.
This is only my third time making scones and these are my favorite. Like eating brownies! I didn’t even use a glaze or icing. They are nice and moist with a crispy edge.
Can I skip the cinnamon for these and your chocolate chip scones?
Hi Amy, you can leave out the cinnamon if you prefer.
Is there a way to grate the last one inch of frozen butter without scraping nails/skin?
I was unable to ‘dunk’ the scones in the glaze as they started to break apart, so I just poured the glaze over the top (so sides & bottom weren’t covered). The scones are delicious but it was time consuming (over 2 hours from start to finish) to make. Thanks for any help you can give me on my questions.
Hi Susan, We are glad you enjoyed the scones! You can try using a fork to hold that last little bit of butter to grate it, or if it gets very small and even a fork won’t work, you can finely chop that last little bit with a knife. I hope this helps!
Froze mine for 15 mins and they are beautifully risen. Quite tall!
Read through the recipe, I used chocolate chips and they do not drizzle. Had to make more.
Great recipe!
Hi Sally,
Thank you for all the tips and recipes about scones! I am baking these for christmas and would like to pack them as gifts. The thing is, is the choc drizzle the harden type or will go mushy in the plastic wrap if i make them a day ahead.
I really hope you will read my message!!Thx!
Hi! I was just wondering if you could exchange the all-purpose flour for almond and coconut flour.
Hi Ginny, I don’t recommend using almond or coconut flour in place of all purpose. Either would completely change the texture and way these scones bake. We haven’t personally tested this with an alternate flour but I have heard from others who tried an all purpose gluten free (1:1) flour with success. Let us know you try it!
Hi Sally,
I used this as a base, and changed the cocoa powder for matcha powder. How do you prevent scones from becoming too crumbly?
I made these scones with a combination of chocolate chips and espresso chips. I made the glaze using coffee instead of water and I topped them with chocolate sugar. They were absolutely decadent!!! I love your scone recipes! I also made the pumpkin scones and I added raisins and nuts and they were delicious.
First chocolate scones I’ve ever made. They are seriously good, thank you for the recipe.
I absolutely loved this scones! They’re amazing! It was the first time ever that I tried to make scones and turn out surprisingly easy.
Made these for the May challenge and my kids were so excited! It even inspired my 4th grader to ask me to teach him how to make scones.
My dough was very sticky so I added more flour and they were easier to work with but maybe not as tender as they could have been. Since discovering scones, I think I’ve made 7 or so batches and I still am working on that perfect texture!
My husband and I have never had a scone before, actually my husband has never even heard of scones before…LOL. I made these for the baking challenge and let me tell you they are divine!!! My husband loves them so much that he’s already asked me to make more to take to his friends at work. Thank you Sally for your amazing recipes and getting us to try new things!
I have made these multiple times and my kids and I just love them
Can I substitute the heavy cream for half and half?
Hi Shruti! Yes, you can, but the scones don’t taste as rich. 🙂
Would I be able to add sliced or chopped fresh strawberries to this recipe? Thank you!!
I can’t see why not. Yum!
I’m really wanting to make a chocolate covered cherry scone, Would substituting some chopped frozen cherries for the chopped chocolate work with this recipe?
Yes! I think it would work and be delicious! Let me know how they turn out 🙂
I’d definitely cut the baking time down by several minutes; mine were in less than 20 minutes and they burned on the bottom! Will definitely try again, but not bake as long.
I don’t have a grater or food processor with me now so can I cut the butter into cubes, freeze them for about 30 minutes, then cut them in?
Loved these scones!! I made them with a chai glaze (just brewed some yummy tea in place of water) for some extra kick– complemented the chocolate of the scones very well 🙂
These scones were AMAZING!!! I have tried to make scones before and have not had much success. These scones were so easy to make and the taste was out of this world. I made them for my husband’s birthday and he was elated. Thanks for giving us an excuse to eat chocolate for breakfast!
Sally, I just made these for a gift and they are delish!! I used hershys chocolate bar for the drizzle and coffee for the glaze! Yum!
This a one fantastic scone recipe! My family and I love it! My 6-year-old even asked for them for his birthday dessert. I find that to completely cover the scone in glaze, it’s best to make a double batch of the glaze. Then, pour a little of that glaze in a glass pie dish or something similar. Place a scone on top of the glaze in the pan, then continue spooning some glaze from the bowl (and from the pan too) to completely cover it. Then, lift it out with a pie server, and set it over a cooling rack that’s over a cookie sheet. I found this was the easiest way to completely cover the scone in glaze without trying to dunk it. Thanks so much for sharing this awesome recipe!
Sally,
I just made these this morning. My new obsession lately has been making all different types of scones. These rank right up there as the moistest, fluffiest scones to date. I followed your recipe to a “T” and they look exactly like your photos. Halfway through drizzling the chocolate, I sampled one and realized that they don’t even need the drizzle, so I left a few with just the glaze. Amazing recipe!!! These have made scone lovers out of people who have told me that they don’t care for scones. That’s the best part of all! Have a great day, Vicki
OH. MA. GAH! I just made these this morning and I think I’ve died and gone to heaven. The hint of cinnamon in there just totally does it for me. I used some black Chocolate Cappuccino coffee to make the glaze and I’m just speechless. I’m also about to go into sugar overload/carb coma…..but it was worth it!
Best scones I’ve ever had. My husband agrees! I didn’t change a thing about the recipe. Sally, I don’t know how you do it! Please post more scone recipes!
I made your amazing looking scones today. I followed your recipe, frozen butter, heavy cream and all, but I used chocolate chips. I have not glazed them yet. At the halfway point of cooking, I went to turn the cookie sheet and found butter bubbling around the scones. They had spread out a lot. I wiped up as much of the butter as I could.
I baked them for a total of 20 minutes. They are flat, hard and burnt. They did not rise like yours either. The dough came together easily/quickly and I didn’t have to add more cream.
I have been baking scones for years. First time this has happened to me. I would appreciate any suggestions, comments……
These look fabulous, but ugh, grating butter! I really HATE grating butter. Even when it’s been in the freezer for an hour, it all disintegrates within about 30 seconds. What’s the secret to doing it right? I usually just give up and rub it in!
No secrets, really! Maybe freeze your butter a little longer than 1 hour. I keep some butter in the freezer, jus tot have when I want to make scones.
Sally, I saw this recipe and had to make it right away. I used 2 Tbsp of coffee in the glaze like you suggested and it adds a whole different (and amazing) dimension to the scones. Love love love this recipe and it will definitely be made again and again in my kitchen. Now I have to work on giving them away before I eat them all myself!
Hi Sally! Can I make this in a cake pan or pie tin? Or should it just be in a circle?
Hi Alexis– baked in a cake pan, you won’t really get that crispy, crumbly crust on the edges of the individual scones. Simply bake as directed on a baking sheet.