

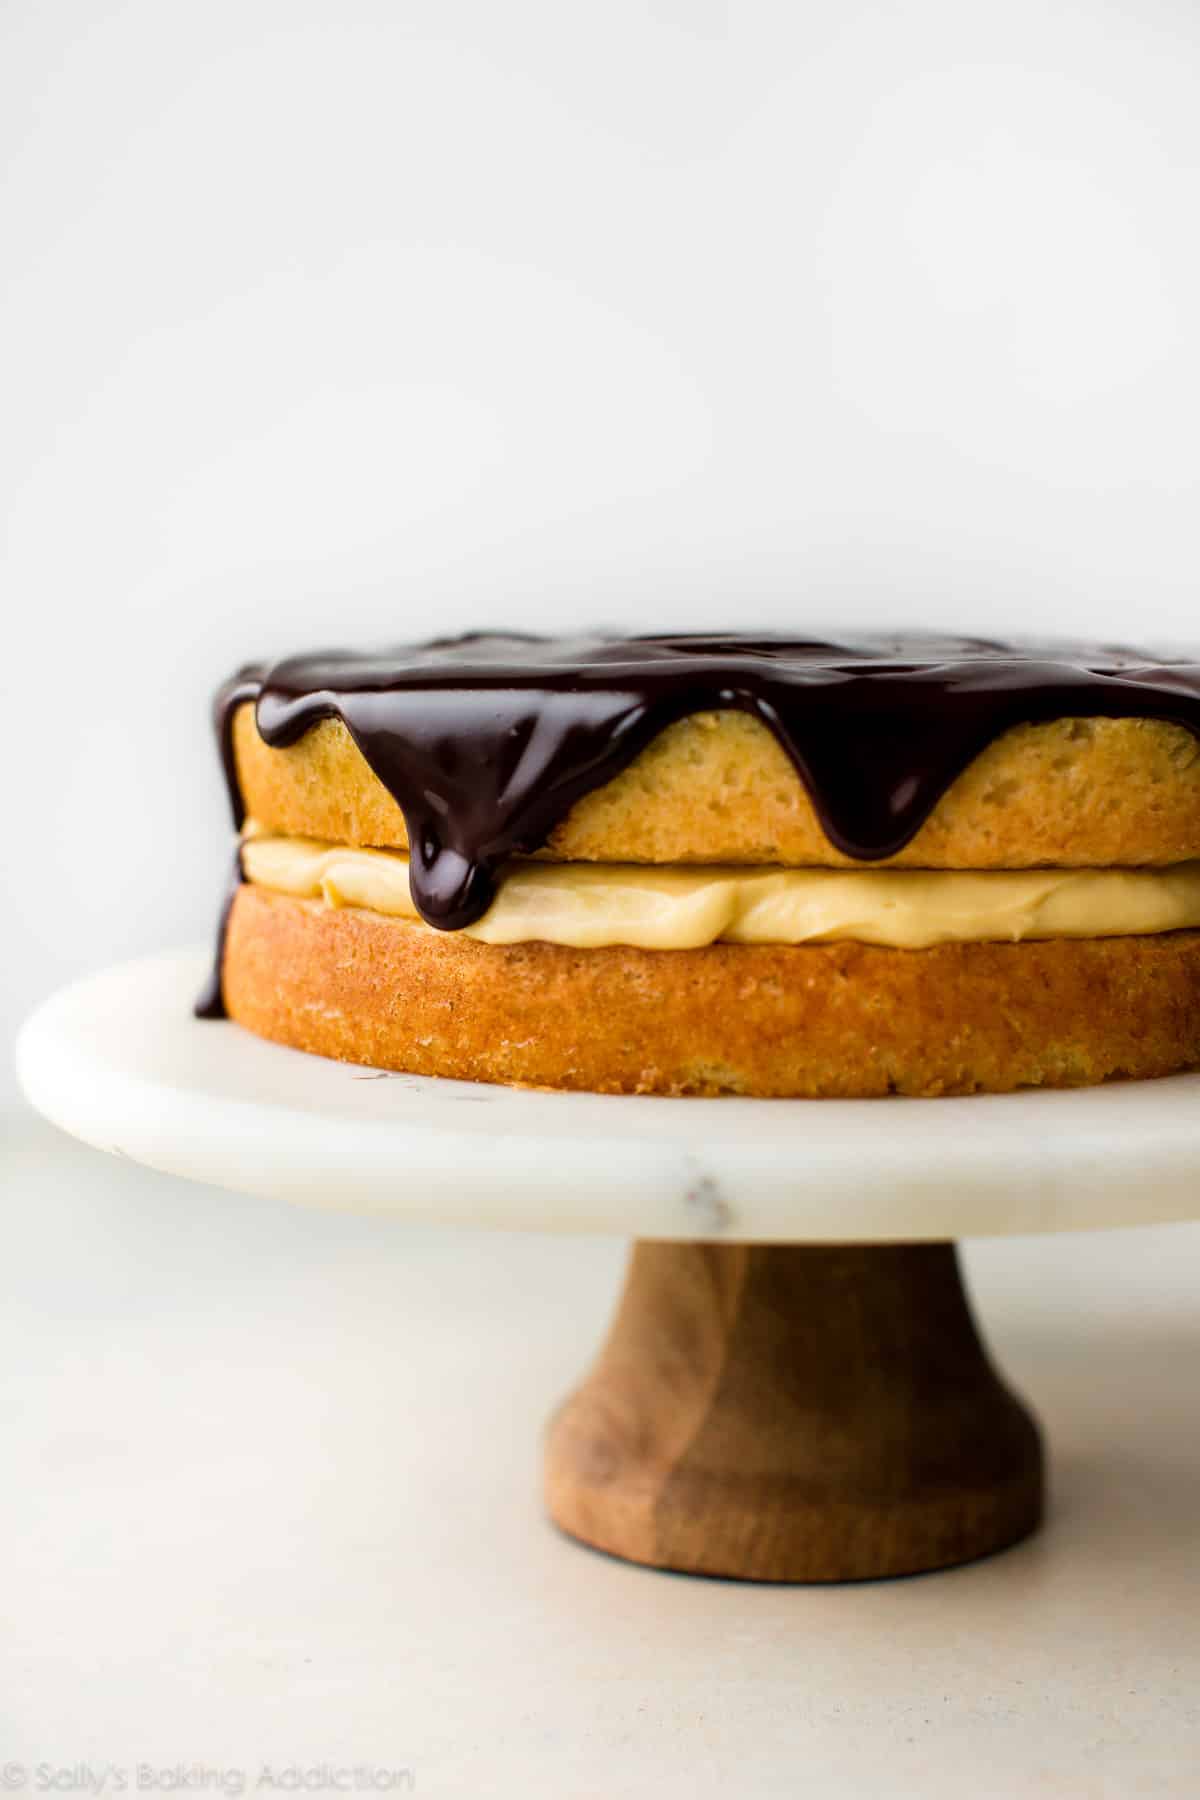
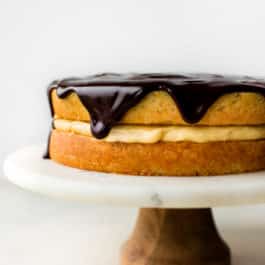
Allow us to present to you with Boston cream pie! This airy sponge cake is filled with rich pastry cream and topped with a shiny chocolate ganache glaze. It’s supremely decadent, satisfying, and melt-in-your-mouth delicious.
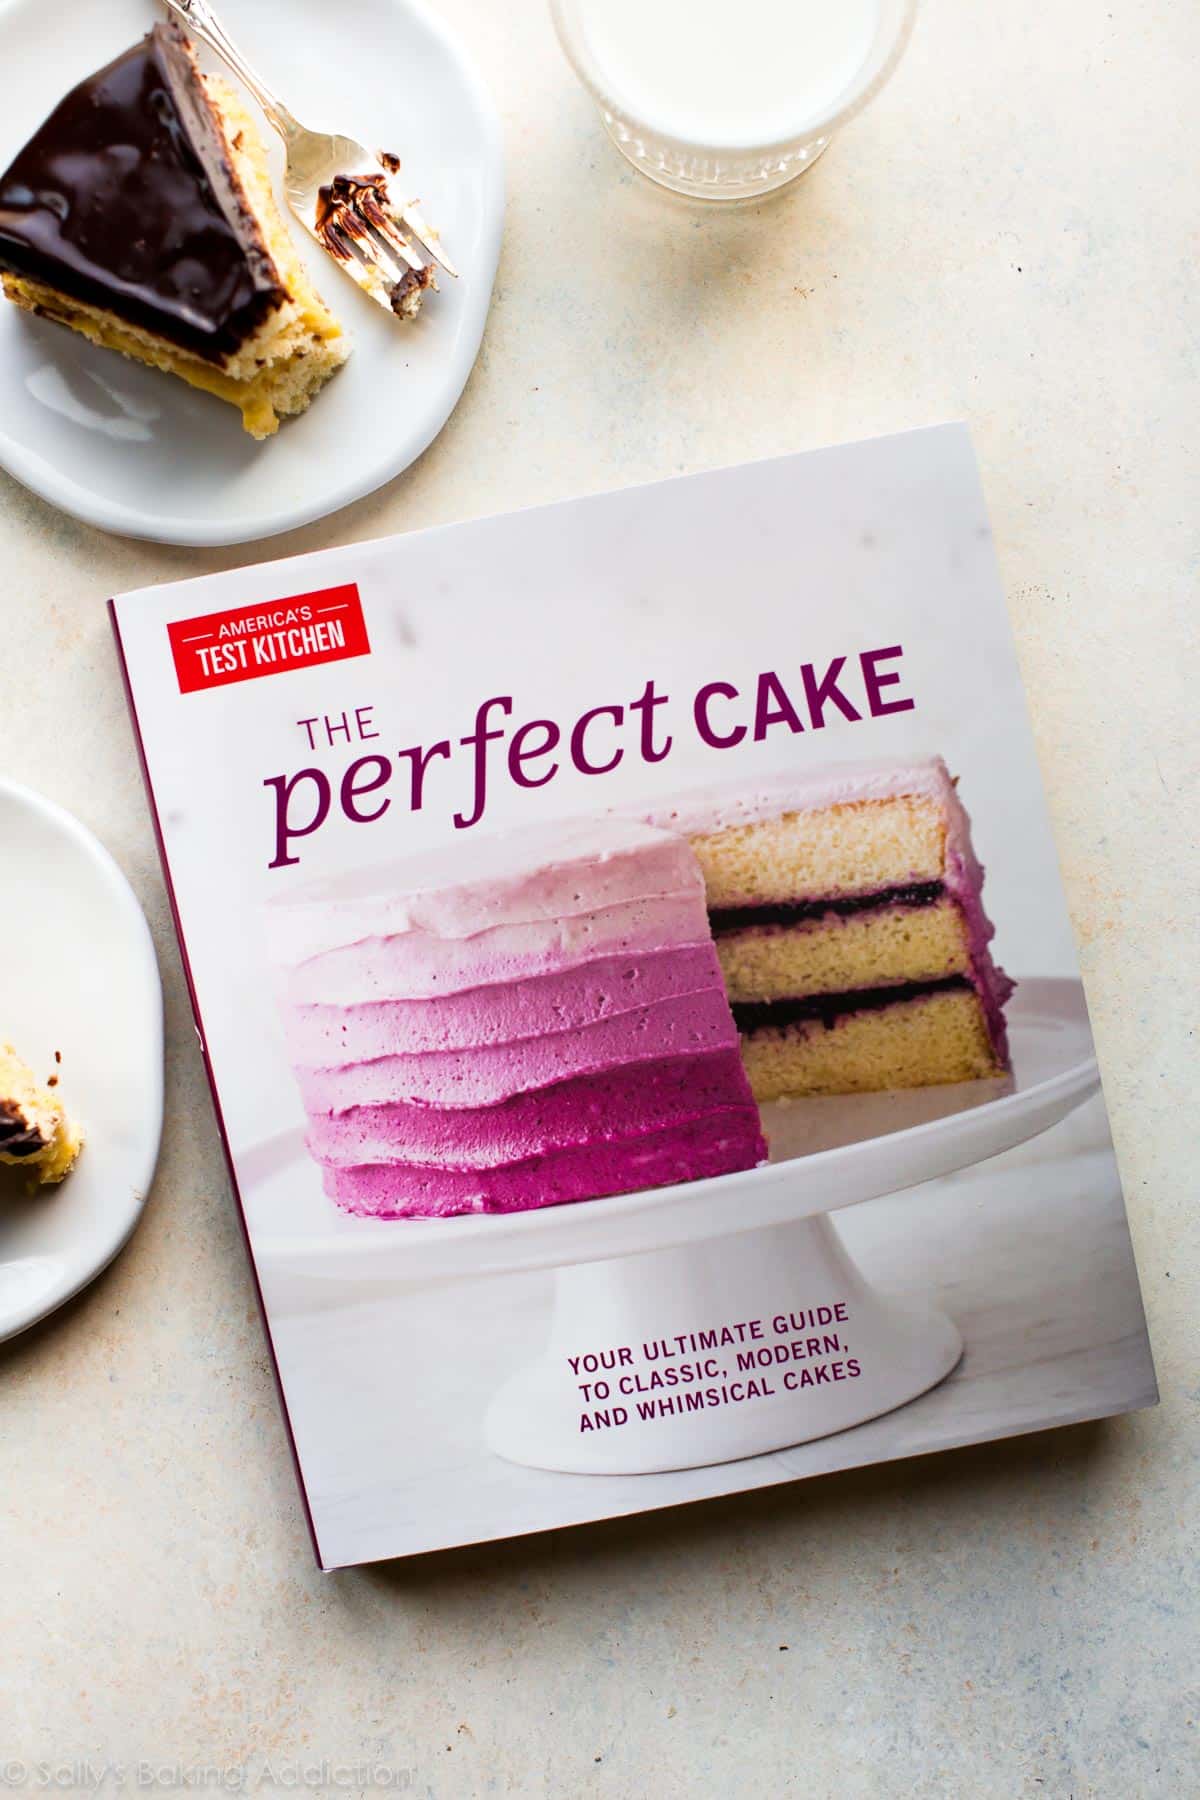
Our bookshelves are full of cookbooks, but we can say with 100% honesty that our go-tos are generally authored by America’s Test Kitchen. After all, America’s Test Kitchen and its knowledgeable test cooks, editors, and cookware specialists put the time and effort into perfecting recipes, a practice we value and respect.
Their cookbook The Perfect Cake boasts more than 240 kitchen-tested cake and cupcakes recipes ranging from a yellow sheet cake and tres leches cake to rainbow cake and bananas Foster cake. It’s the kind of cookbook that compels you to jump out of your seat, run to the kitchen, and grab the flour. So if you enjoy baking cakes, you need this cookbook.
One recipe in particular stole our hearts: Boston cream pie. We knew that if anyone could do this classic recipe justice—completely from-scratch—it’s ATK.
What is Boston Cream Pie?
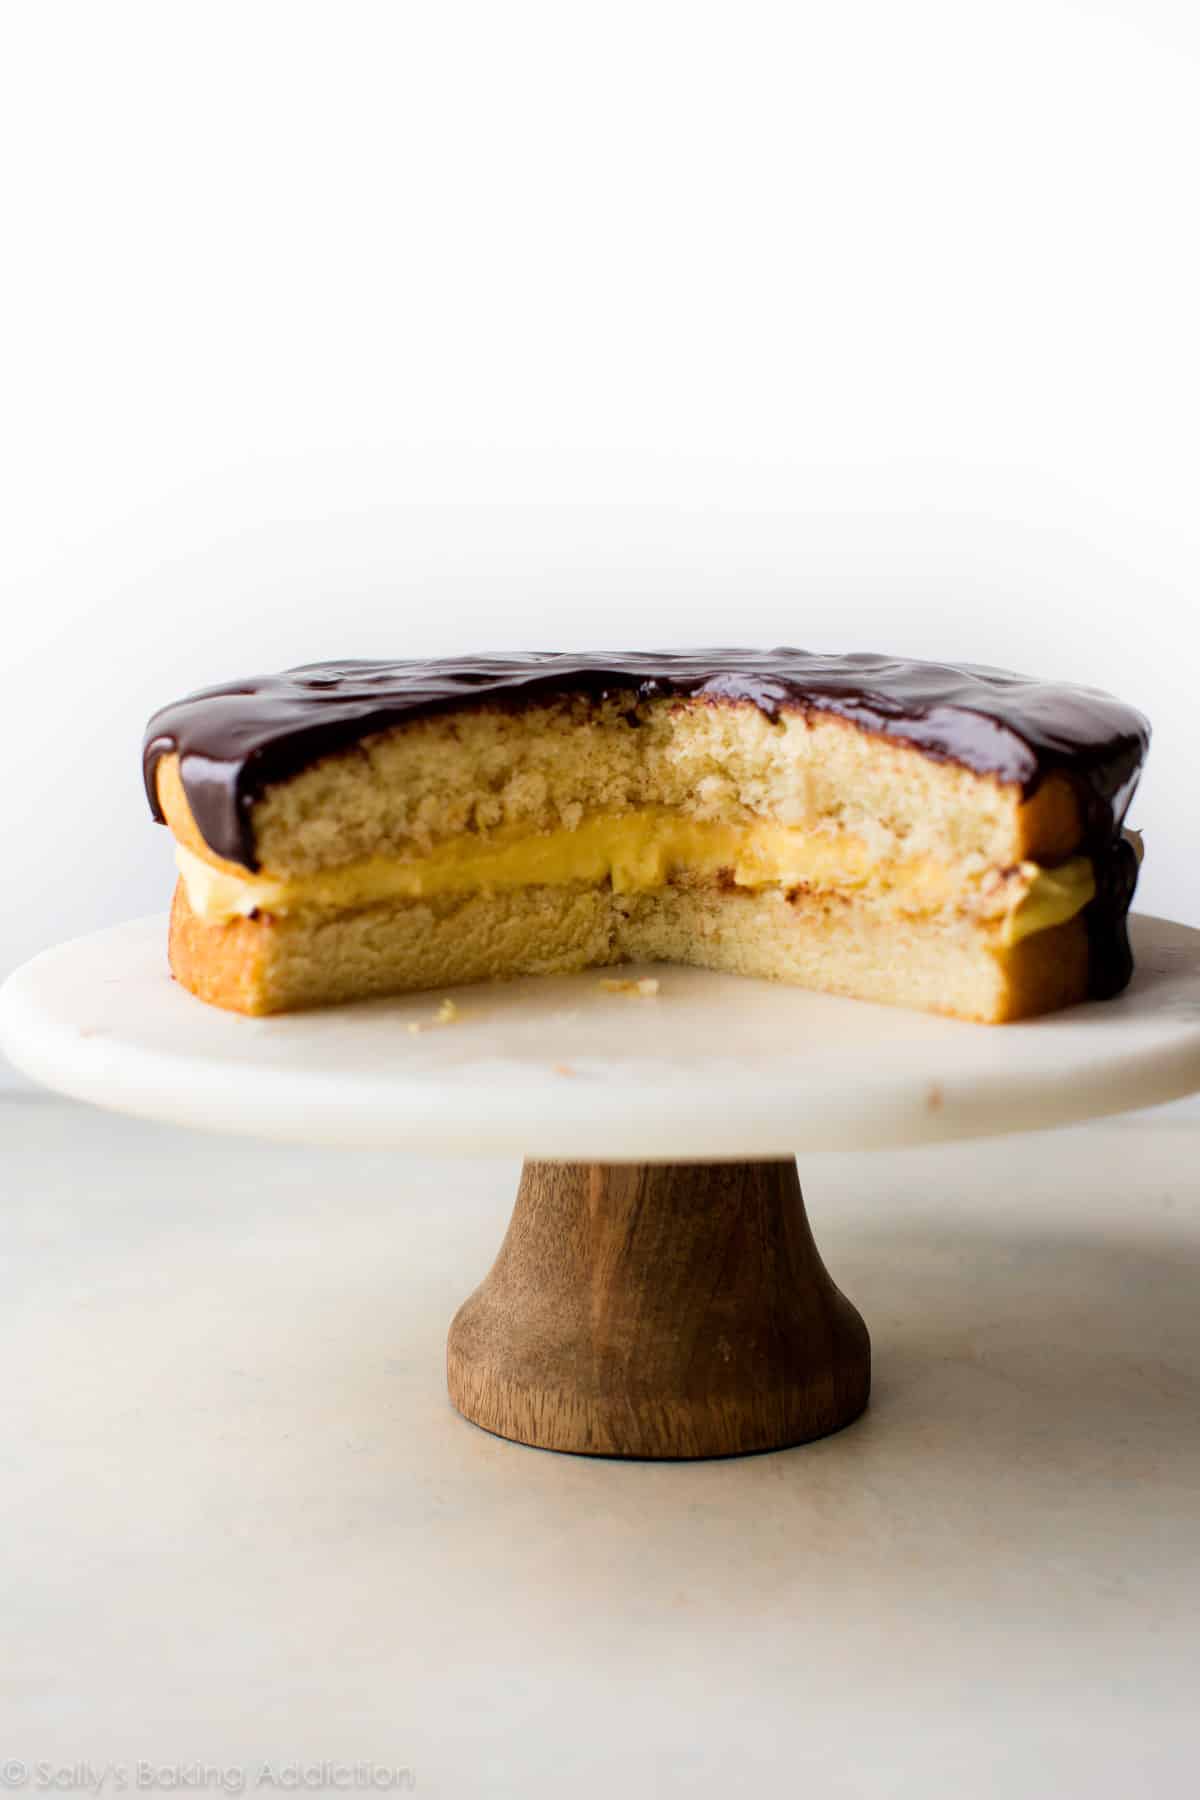
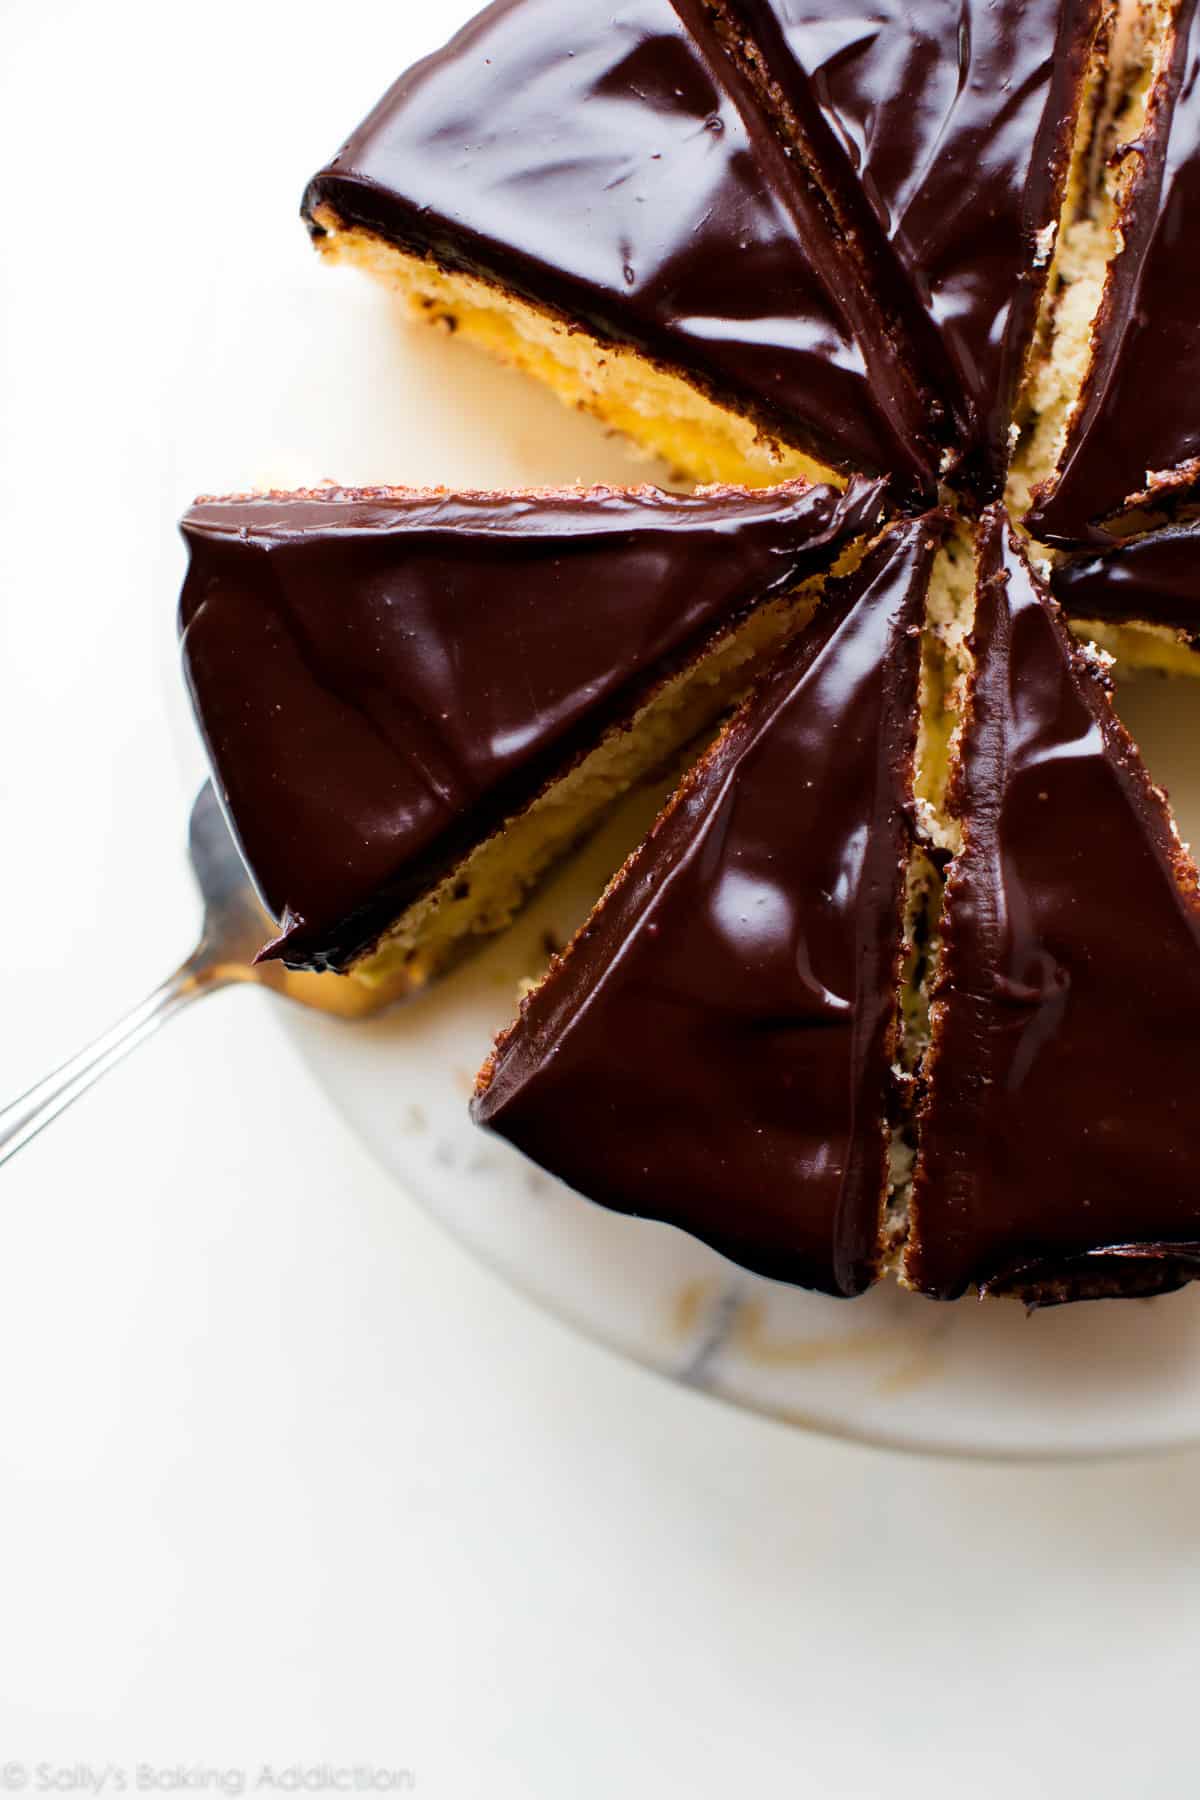
The “pie” in Boston Cream Pie is a bit of a misnomer. This show-stopping dessert was originally dreamed up in the 1800s, back in the day when pies and cakes were both baked in pie plates, and names were used interchangeably. The cake features custard or pastry cream sandwiched between two rounds of buttery cake and is finished with chocolate glaze. It’s incredible.
Boston Cream Pie Recipe Details
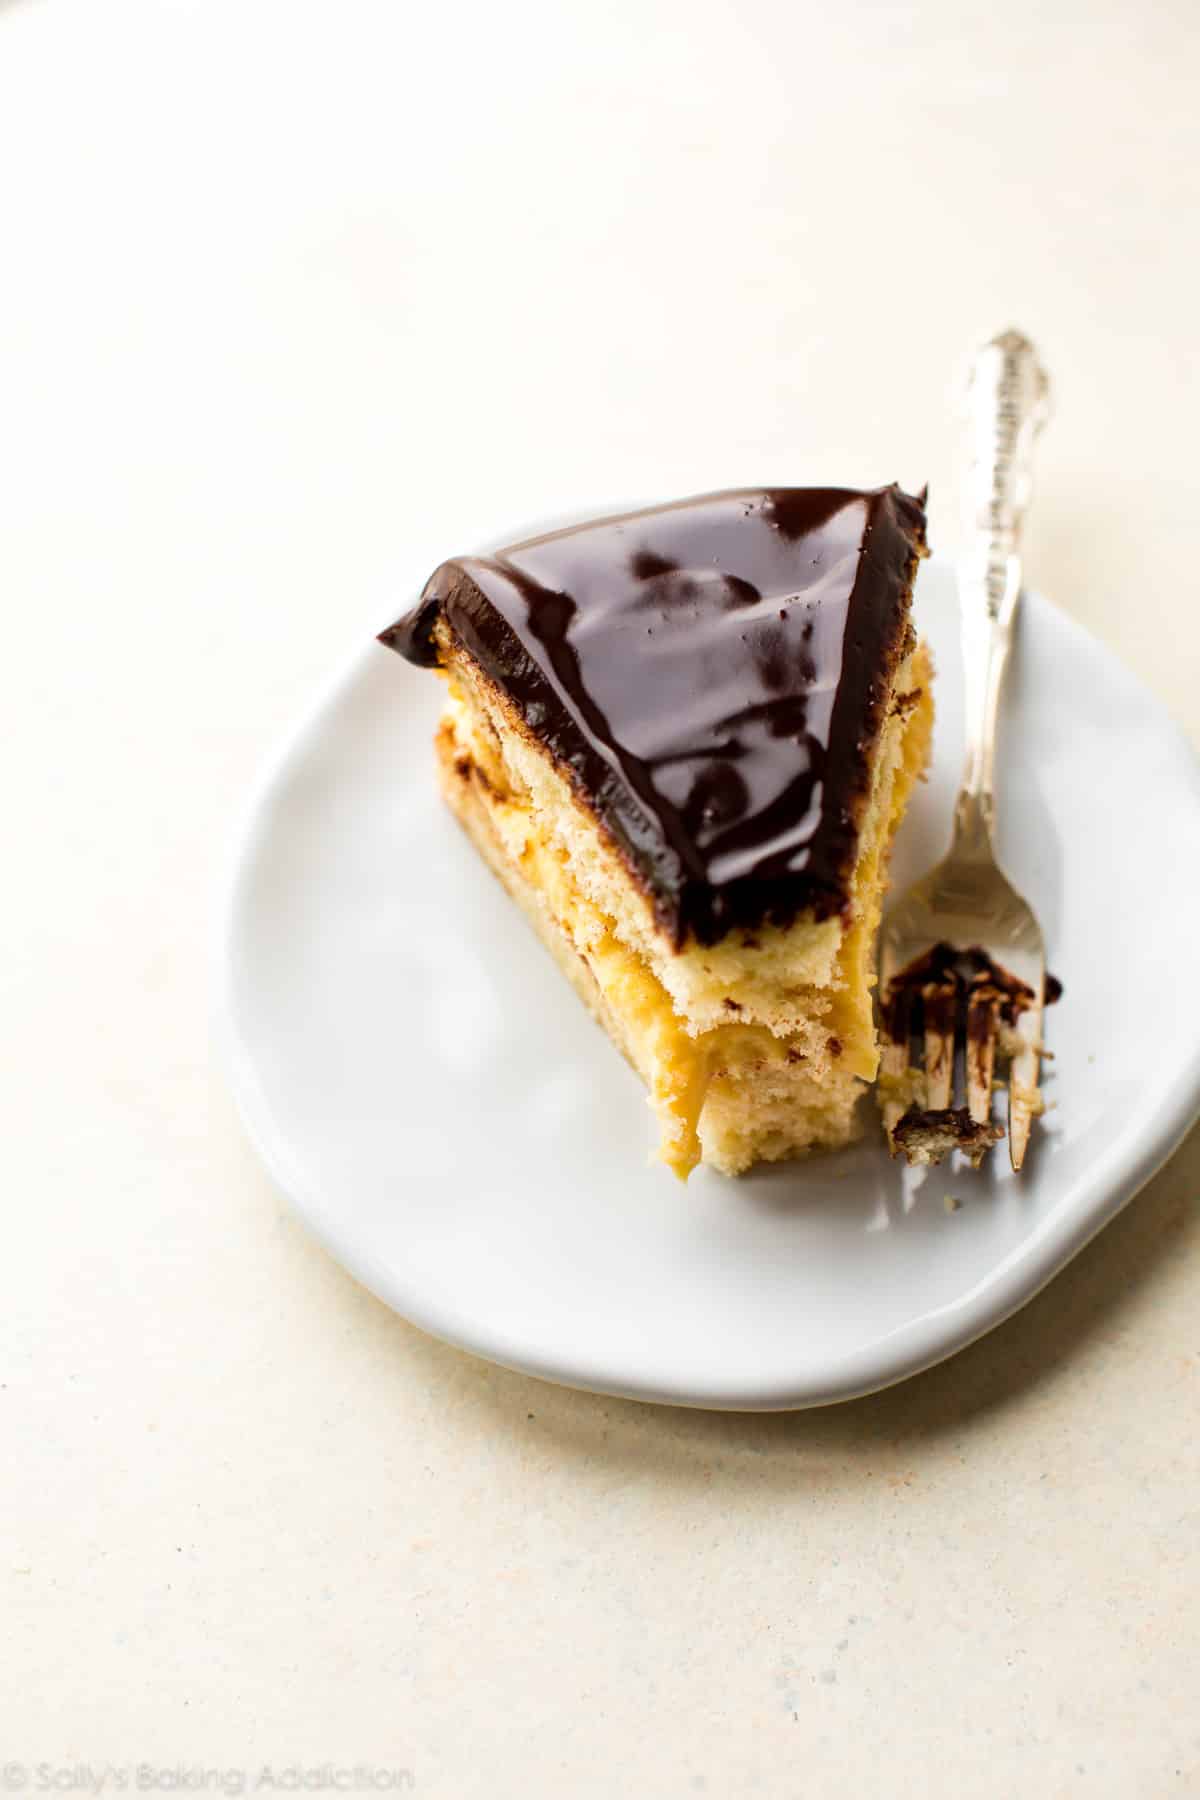
- Texture: The sponge cake itself is light and springy, nicely offsetting the rich pastry cream and silky chocolate glaze.
- Flavor: We have buttery sponge cake, vanilla pastry cream, and deep chocolate flavors to satisfy taste buds. These classic flavors work wonderfully together—what a trio!
- Ease: This Boston cream pie may seem intimidating if you’re unprepared, but don’t be discouraged! We’ve provided some helpful tips, careful directions, step-by-step photos, and a video tutorial to guide you through the process. Turns out, Boston cream pie isn’t terribly difficult if you break the recipe down into 3 parts: 1) pastry cream 2) sponge cake 3) chocolate glaze
- Time: Set aside 6 hours to complete this recipe, which includes a lot of waiting as the components bake, cool, etc. This dessert definitely requires some time to make, but you just can’t rush perfection.
Recipe Testing: What Works & What Doesn’t
Considerations when making the pastry cream. The recipe begins with a version of my homemade pastry cream. Made with life’s best ingredients (butter, egg yolks, vanilla extract, and sugar), this buttery sweet cake filling is everything you might imagine it to be. We often use it instead of peanut butter mousse when making these homemade eclairs, and we use a variation of it in mille-feuille.
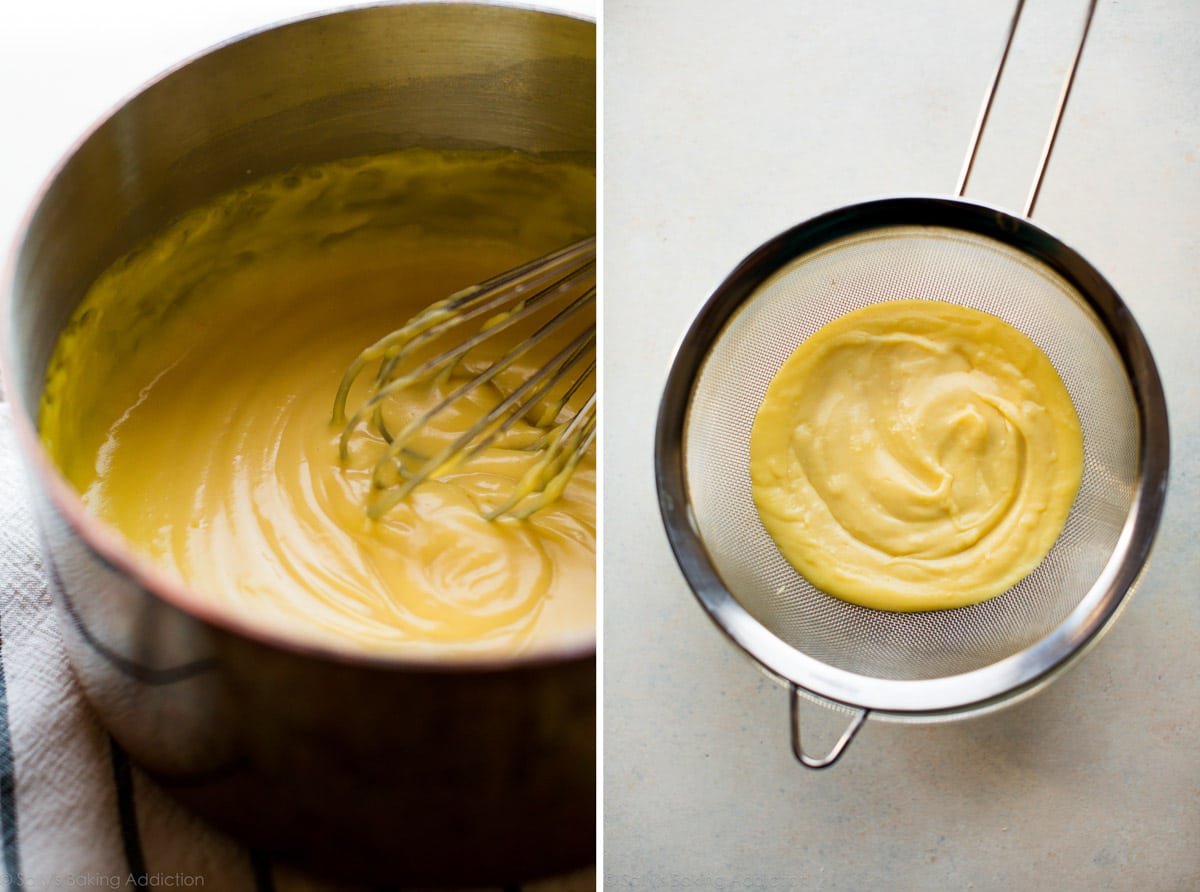
The egg yolks must be gently cooked and tempered with warm half-and-half. And remember: you’ll need to whisk the pastry cream constantly as it cooks and thickens. Then, allow the vanilla pastry cream to cool completely before spreading it on the cake.
Here are a few key points to remember:
- Pastry cream will be thick right off the stove.
- For a smooth cream, strain to rid any lumps.
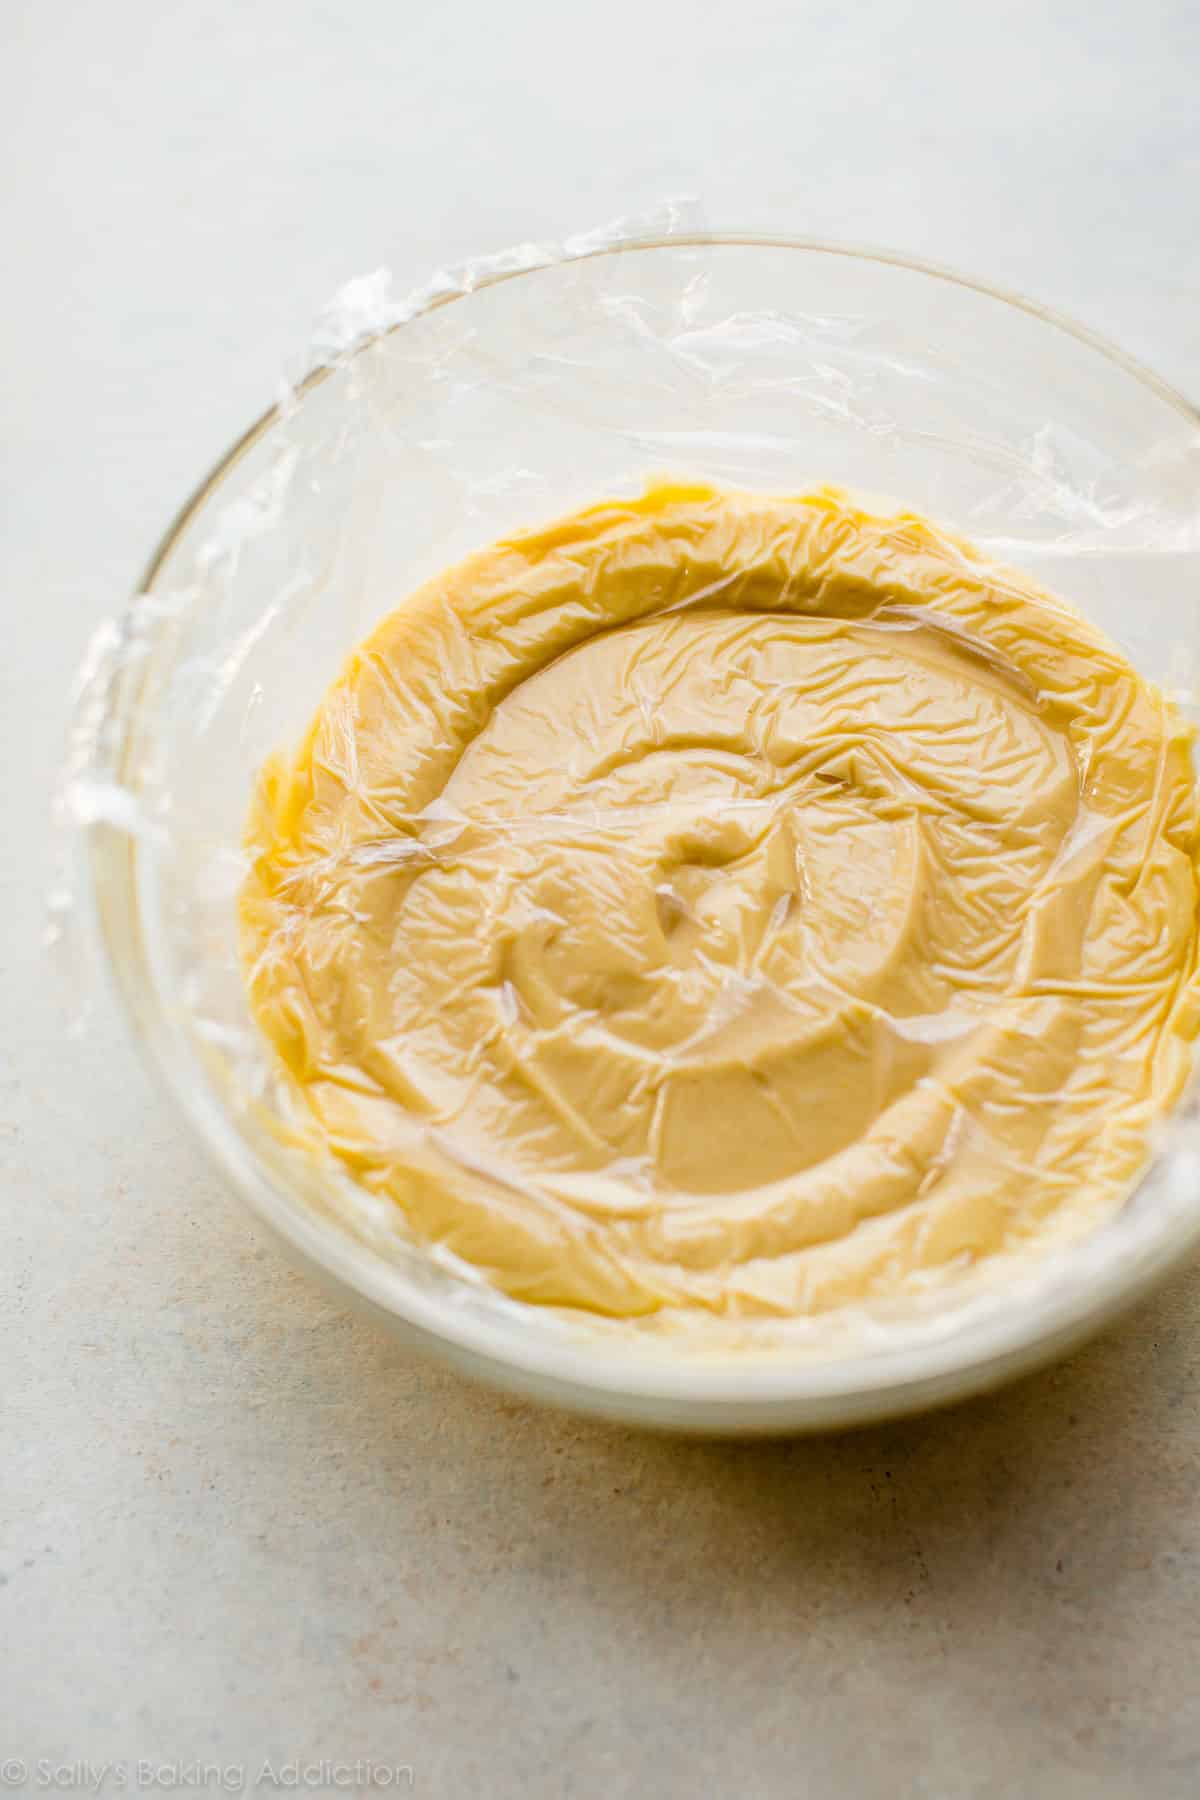
- Place plastic wrap on the surface when cooling.
If you want to save time on the day of serving, the pastry cream can be made in advance. You can watch us prepare the pastry cream in the recipe video below, which is helpful if you’ve never tempered eggs before.
How to make sponge cake. Sponge cakes are known for their delicate and airy texture, thanks to (1) a high egg-to-flour ratio and (2) the air beaten into the eggs. America’s Test Kitchen employs the “hot milk sponge cake” method, which skips the egg separation and the meticulous folding. Instead, you whisk a warm butter + milk mixture into whipped eggs + sugar, then whisk in the cake’s dry ingredients. The warm milk keeps the butter melted, thus allowing it to mix seamlessly into the batter. And since we’re whisking together just 3 bowls of ingredients, this is an excellent recipe for sponge-cake beginners. We truly appreciate this simplified method, since this recipe does have a number of steps.
The sponge cake’s ingredients are pretty similar to the pastry cream’s ingredients. This is what we LOVE MOST about baking. It’s the same ingredients, just beaten, mixed, and cooked in different ways. Magic.
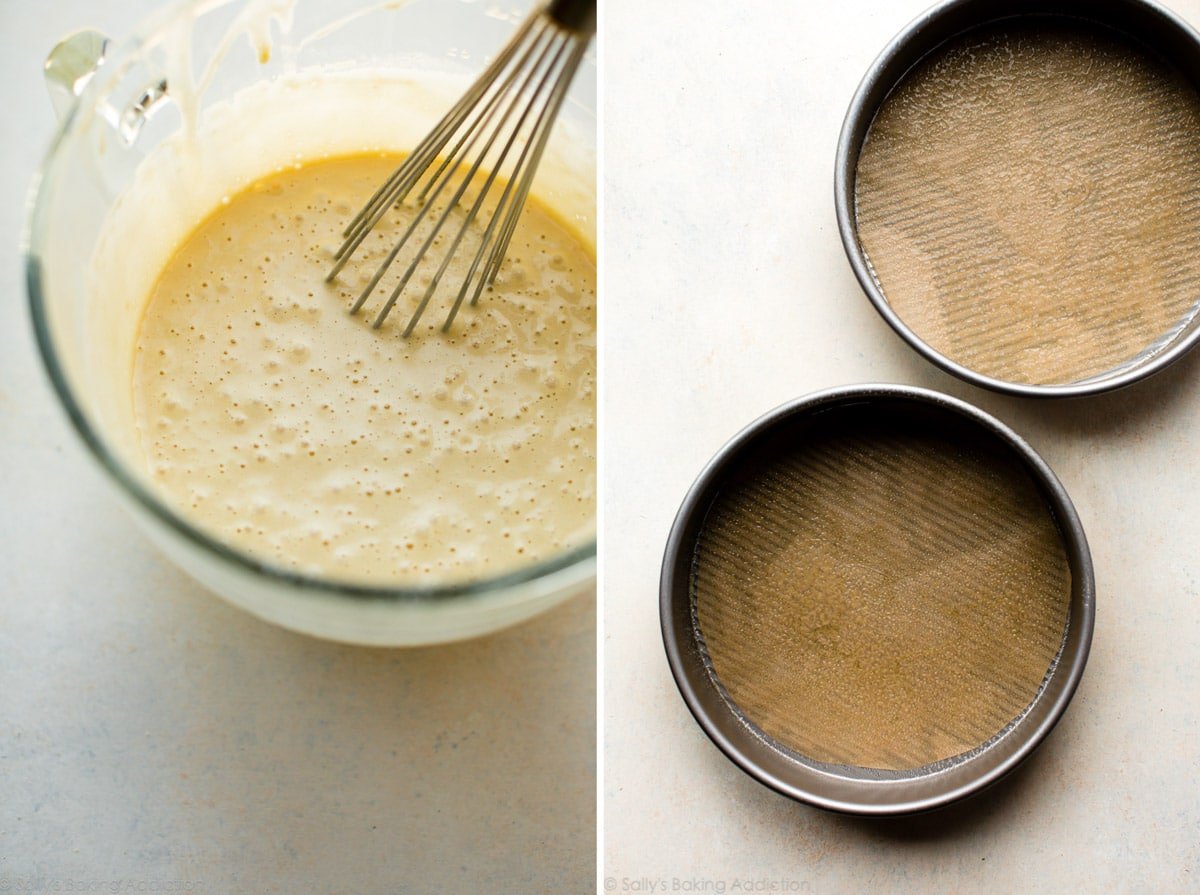
- Don’t make our mistake! By skipping over a few words in the recipe, we managed to ruin our sponge cakes… twice! That’s four 9-inch cakes completely destroyed. Line the cake pans with parchment paper. While you’re at it, grease the pans before and after they’ve been lined with parchment paper. Don’t even think about the shortcuts! If it’s helpful, see this parchment paper rounds for cakes video & post. You may be tempted to grease the pans and skip the parchment paper, but the cakes WILL stick. See this Recipe Testing blog post for proof!
By the way, if you love sponge cakes, you’ll enjoy this impressive Vertical Cake.
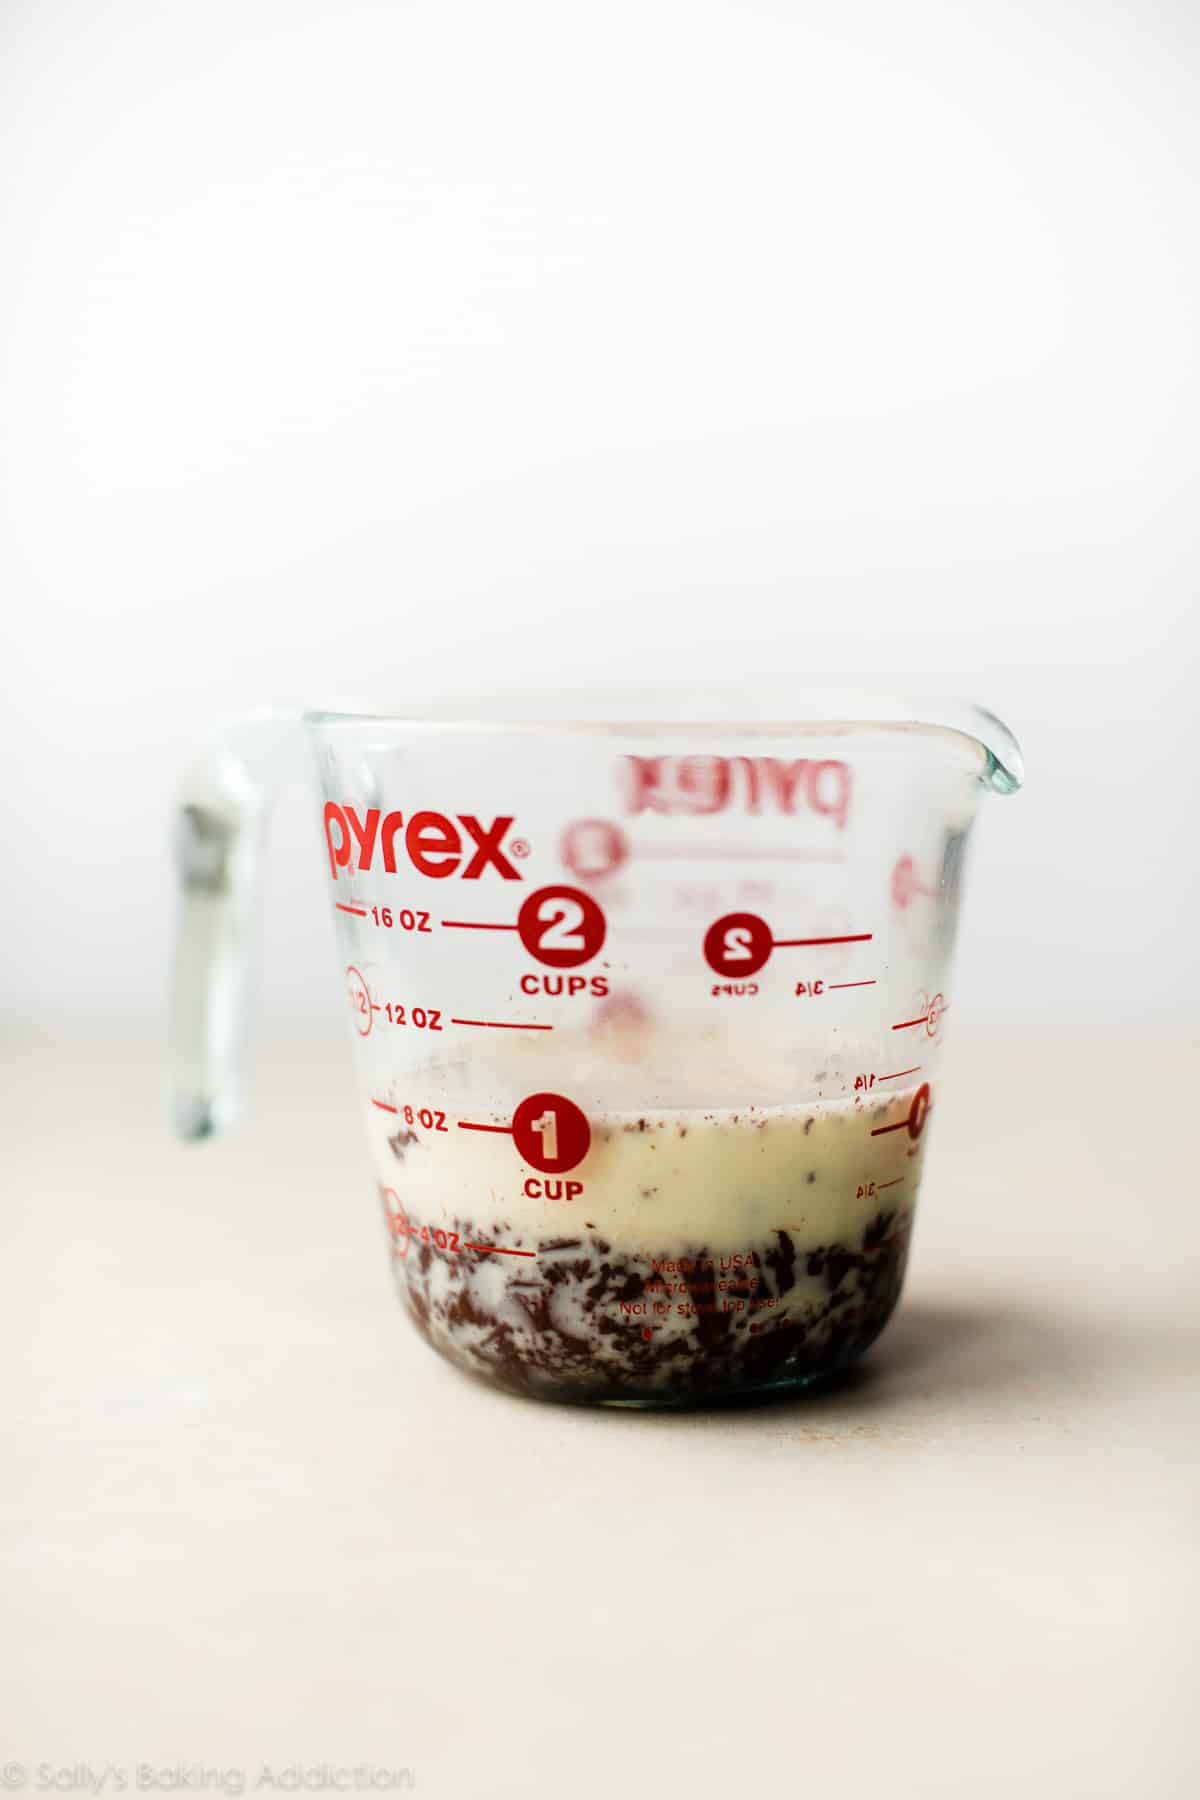
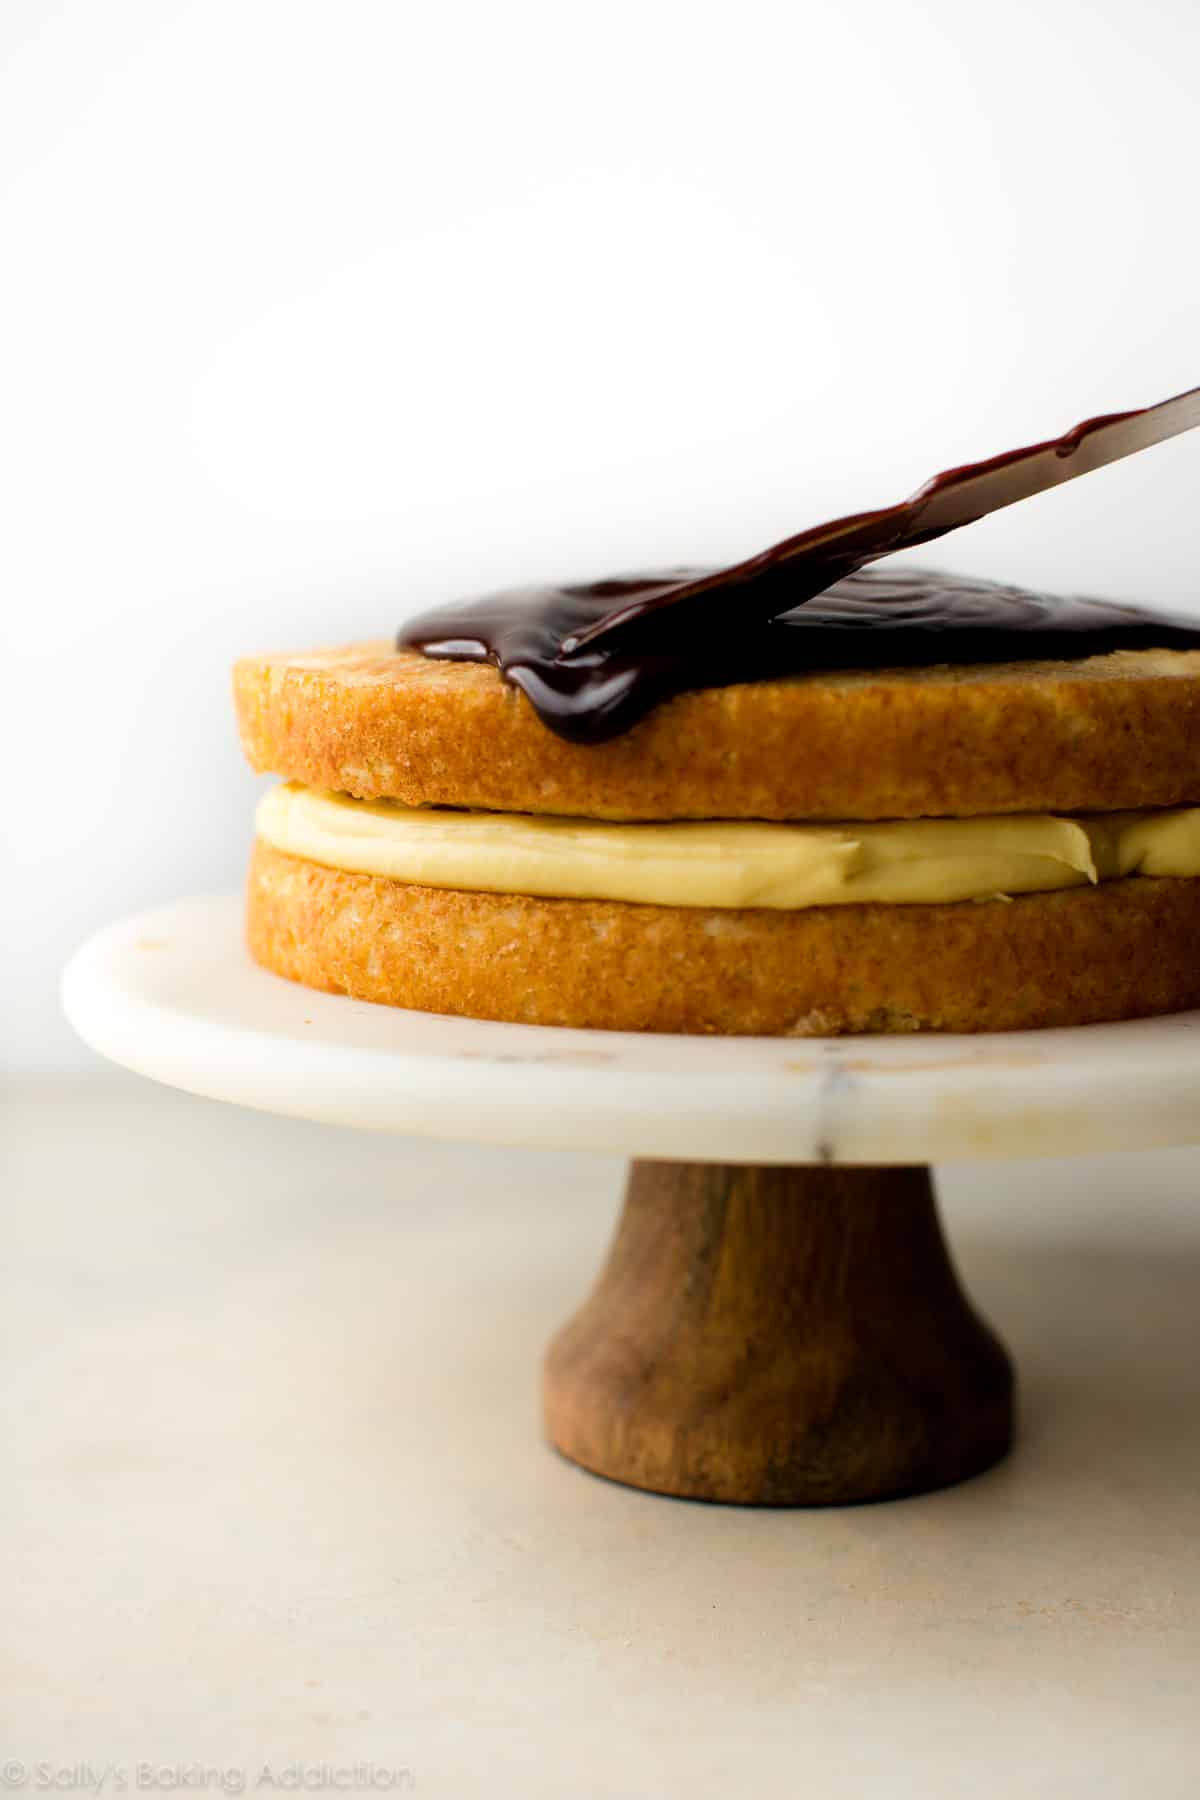
Making the chocolate glaze. Rounding out our Boston cream pie is a veil of chocolate glaze, an extra glossy version of chocolate ganache. Made with 3 ingredients, this chocolate glaze is velvety and smooth—and if you set it aside for a few minutes before stirring, it’s also thick enough to cling to the sides of the cake. You’ll heat heavy cream and a bit of corn syrup together on the stove before pouring the mixture over finely chopped chocolate. Any dark, bittersweet, or semisweet chocolate can be used. The corn syrup adds sweetness, so avoid anything very sweet. The corn syrup also provides shine and sticking power to the glaze, and I highly recommend its addition. Honey should make a nice substitution, though I haven’t tried it myself.
Believe us, this cake is worth the effort.
Overview: How to Make Boston Cream Pie
You can find the full printable recipe towards the end of this post. We include the following summary so you can prepare yourself for all of the involved steps.
- Read the recipe and watch the video first. Many of the little steps are either time-sensitive or require cooling.
- Make the pastry cream. Heat half-and-half over medium heat. Meanwhile, whisk the egg yolks, sugar, and salt in a bowl until smooth. Whisk in flour until combined and thick. Whisk 1/2 cup warm half-and-half into the yolk mixture, then slowly whisk the tempered yolk mixture into the half-and-half in the saucepan. Cook until the mixture thickens. Remove from heat and whisk in butter and vanilla. Strain through a fine mesh strainer set over a bowl. Cover with plastic wrap and refrigerate until set.
- Preheat the oven. Grease 2 9-inch cake pans, line with parchment paper, then grease the parchment paper. You must use parchment! See the recipe note.
- Make the cake. Whisk flour, baking powder, and salt in a small bowl. Heat milk and butter over the stovetop or in the microwave, then stir in the vanilla. Whisk eggs and sugar together, add the hot milk mixture, and mix until combined. Whisk in the dry ingredients.
- Bake the cakes. Divide batter evenly between the pans. Bake until light brown and a toothpick inserted into the center comes out clean. Set aside to cool.
- Assemble the cake. Remove the pastry cream from the refrigerator 20 minutes before assembling the cake. Place a bottom cake layer on your cake stand or serving plate. Spread pastry cream evenly on top. Place the second cake layer on top and gently press down. Refrigerate until needed.
- Make the glaze. Heat heavy cream and corn syrup in a small saucepan. Place chocolate in a heatproof glass bowl. Pour the hot cream over the chocolate and set aside for 5 minutes to soften the chocolate. Whisk until smooth.
- Pour glaze into the center of the cake. Spread glaze to the edges of the cake. Refrigerate the cake, uncovered, for at least 2 hours before slicing and serving.
More Classic Recipes We Love
- Apple Pie
- Banana Cream Pie
- Chocolate Soufflé
- Angel Food Cake
- Choux Pastry
- Dark Chocolate Mousse Cake
Boston Cream Pie
- Prep Time: 4 hours
- Cook Time: 30 minutes
- Total Time: 6 hours
- Yield: serves 10-12
- Category: Cake
- Method: Baking
- Cuisine: American
Description
Completely from-scratch with homemade pastry cream, buttery sponge cake, and shiny chocolate glaze, this classic Boston cream pie recipe is supremely decadent and satisfying.
Ingredients
Pastry Cream
- 2 cups (480ml) half-and-half
- 6 large egg yolks, at room temperature
- 1/2 cup (100g) granulated sugar
- 1/8 teaspoon salt
- 1/4 cup (31g) all-purpose flour (spooned & leveled)
- 1/4 cup (4 Tablespoons; 56g) unsalted butter, cut into 4 pieces
- 1 and 1/2 teaspoons pure vanilla extract
Sponge Cake
- 1 and 1/2 cups (188g) all-purpose flour (spooned & leveled)
- 1 and 1/2 teaspoons baking powder
- 3/4 teaspoon salt
- 3/4 cup (180ml) whole milk
- 6 Tablespoons (85g) unsalted butter
- 1 and 1/2 teaspoons pure vanilla extract
- 3 large eggs, at room temperature
- 1 and 1/2 cups (300g) granulated sugar
Chocolate Glaze
- 1/2 cup (120ml) heavy cream
- 2 Tablespoons light corn syrup
- 4 ounces (113g) bittersweet chocolate, finely chopped
Instructions
- Read the recipe and watch the helpful video above before beginning as there are many little steps that are time sensitive or require cooling.
- Make the pastry cream: Heat half-and-half in a medium saucepan over medium heat until simmering. Meanwhile, whisk egg yolks, granulated sugar, and salt together in a bowl until smooth. Add flour and whisk until combined. Mixture will be thick. Whisk about 1/2 cup half-and-half into yolk mixture to temper, then slowly whisk tempered yolk mixture into half-and-half in the saucepan. Reduce heat to medium-low and continue to cook, whisking constantly, for 5 minutes as the mixture thickens. (America’s Test Kitchen instructs for 7-8 minutes, but mine began thickening quickly.)
- Increase heat to medium and cook, whisking vigorously, until bubbles burst on the surface, about 1 minute. Remove from heat and whisk in the butter and vanilla extract until combined. Pastry cream will be thick. Strain through a fine-mesh strainer set over a bowl. Press plastic wrap directly on surface of pastry cream and refrigerate until set, at least 2 hours and up to 24 hours.
- Preheat the oven to 325°F (163°C). Grease two round 9-inch cake pans, line with parchment paper rounds, then grease the parchment paper. Parchment paper helps the cakes seamlessly release from the pans. (If it’s helpful, see this parchment paper rounds for cakes video & post.)
- Make the cake: Whisk flour, baking powder, and salt together in a small bowl. In the microwave or on the stove, heat milk and butter together until butter has melted. Stir in the vanilla extract. Cover loosely to keep warm. In a large bowl using a hand mixer or a stand mixer fitted with a whisk attachment, whip the eggs and granulated sugar together on high speed until light and creamy, about 4 minutes. Add hot milk mixture and whisk by hand until combined, then whisk in the dry ingredients. Batter will bubbly on top and somewhat thick, similar to pancake batter.
- Divide batter evenly between 2 pans. Bake until the tops of cakes are light brown and a toothpick inserted in the center comes out clean, about 20-22 minutes.
- Remove cakes from the oven and set on a wire rack. Allow to cool completely in the pan. As the cakes cool, check the pastry cream in the refrigerator. If it’s too thick, it won’t easily spread and could tear the cake. I remove pastry cream from the refrigerator about 20 minutes before assembling the cake.
- Assemble the cake: Once cakes are cool, run a thin knife around the edges to release them from the pans. Place bottom cake layer on your cake stand or serving plate. Spread pastry cream evenly on top. Place second cake layer on top and gently press down to adhere to the pastry cream. Refrigerate cake while preparing the chocolate glaze.
- Make the glaze: Heat heavy cream and corn syrup in a small saucepan over medium heat until just simmering. As it heats up, place chocolate in a heat-proof glass bowl with a pouring spout (I use this 2-cup liquid measuring cup). Once simmering, remove cream from heat and pour over chocolate. Let sit, covered, for 5 minutes. Gently whisk until smooth.
- Pour glaze into the center of cake. Spread glaze to the edges of cake allowing it to gently drip down the sides. Refrigerate cake, uncovered, for at least 2 hours (and up to 24 hours) before slicing and serving. If chilling for longer than 2 hours, allow cake to come to room temperature before slicing and serving.
- Cover leftover cake tightly and store in the refrigerator for 5 days.
Notes
- Make Ahead Instructions: You can prepare pastry cream up to 24 hours in advance. See step 3. Baked and cooled cakes can also be prepared 24 hours in advance. Cover and store at room temperature, then continue with step 8. In order to maintain the proper consistency of the chocolate glaze, I recommend preparing right before pouring over cake. However, the entire assembled cake with chocolate glaze on top can be stored for up to 24 hours. See step 10. Pastry cream can weep and break if frozen, so I do not suggest freezing this cake. You can, however, freeze the baked and cooled cake layers for up to 3 months. Thaw overnight before using.
- Special Tools (affiliate links): Glass Mixing Bowls | Whisk | Fine-Mesh Strainer | 9-inch Round Cake Pans | Electric Mixer (Handheld or Stand) | 2-cup Liquid Measuring Cup | Icing Spatula | Cake Carrier (for storage)
- Substitutions: Each ingredient is crucial to the finished cake. I do not recommend substitutions, though you can get away with using the same amount of whole milk instead of half-and-half in the pastry cream. This may be more convenient since whole milk is used for the sponge cake.
- Egg Whites: Lots of leftover egg whites! Make a scramble or use some in any of these recipes.
- Corn Syrup: Feel free to leave out the corn syrup, though it’s what adds shine and sticking power to the glaze. You can try substituting with honey.
- Chocolate: Any dark, bittersweet, or semi-sweet chocolate is a wonderful choice for the chocolate glaze. The corn syrup adds sweetness, so avoid anything very sweet.
- Parchment Paper: Parchment paper is a MUST for lining the cake pans. I failed this recipe 2x before discovering how crucial the parchment paper is. All cakes were ruined until I lined the cake pans with parchment paper on the 3rd try. Parchment paper guarantees the cakes will seamlessly release from the pans. If it’s helpful, see this parchment paper rounds for cakes video & post.
- Recipe reprinted in partnership with America’s Test Kitchen from The Perfect Cake


Reader Comments and Reviews
I made this yesterday, it came out great, one of the tastiest and most attractive desserts I’ve made! I used a vanilla bean instead of extract, infused it into the hot milk for 15 minutes. I need more practice getting the ganache to drip down the sides just right. But that means I get to make it again! 🙂
Sally, I made your Boston Cream Cake for Easter 2019 and not only were the directions easy to follow, but the cake was simply delicious. I’m so happy I decided on making this cake and will continue to bake your beautiful desserts. Thank you.
Hi Sally!
Do you think this pastry cream would work as a filling in your eclairs recipe?
Yes! That would work!
Making this now for tomorrow. Step three says cool cake in pans. Step ahead just says cover and store room temperature… but I’m not sure if I should remove from pan??? Before covering for overnight. I’m afraid they will stick if I leave overnight. Even though I double greased with parchment.
Hi Monica! You may remove the cakes from the pans once they are relatively cool, then store covered overnight.
I made this by request for my boyfriend’s birthday cake. He always requests something a little fancier for the occasion and we saw this on Cook’s Country. It was soooo much easier to make than I thought it would be. Delicious! I was a little lazy and didn’t strain my cream, but it was just for us, and he didn’t seem to notice. Thanks for sharing!
Any suggestions for high altitude baking this Cake/Pie? And why is it call Boston Cream PIE?!
Boston cream pie, I learned, was a cake dreamed up back in the 1800s and is called pie because the most common bakeware item over 160+ years ago was a pie plate 🙂
I wish I could help, but I have no experience baking at high altitude. I know some readers have found this chart helpful: https://www.kingarthurflour.com/learn/high-altitude-baking.html
I made this today.. everything worked out beautifully except the topping. I did perfect ratios and it just wasn’t as thick as pictured. I let it sit and decided to try again and was still pretty runny. I tried to add more chocolate but then it was too bitter. Eventually I mixed the two I made together & went for it and it didn’t drip as pretty as pictured but it stayed on. My kids were licking the spoon so I guess the bitterness wasn’t too noticeable.
For me the cake took a bit longer as well.. maybe 26 min.
For a first try I think it was a success!
Thanks for the recipe
Just made this over the weekend- WOW!!! Hands down my new favorite Sally recipe (and that’s saying something because I bake a lot of Sally’s amazing recipes)! If you’re reading this and you’re on the fence about making it – DO IT! It’s so so so worth every minute and every dirty dish. Sally thanks again for yet another incredible recipe ❤️
I made this for my husband’s birthday this weekend. I had a little bit of trouble with the pastry cream – it wasn’t thick enough – but that didn’t take away from how AWESOME it turned out. It was a huge hit, one of the best cakes I’ve tried. I just put a smaller amount of the thinner pastry cream between the cake layers, and then served it scooped on the side of each cake slice more like a custard. It was SO good. (And now I have a new goal of mastering pastry cream!)
Making this cake tomorrow for Thanksgiving! Fingers crossed it turns out! For the glaze, it doesn’t need any setting time other than the 5 minutes while the chocolate melts, correct? I’ve not yet been able to make a successful ganache and I want to get this one right! 🙂
Hi Celeste, Once you whisk it smooth it’s ready to pour over the cake! Then AFTER it’s on the cake refrigerate cake, uncovered, for at least 2 hours as per step 10. Enjoy!
Sally thanks a million. Kyle my six year old has used your recipe, watched your video and made the cake and pastry cream, only the glaze to make in the morning. He is entering it for his first “bake off” contest, to raise money for Macmillan cancer support. He thought the instructions were great.
His adaption was to make a chocolate collar!
We love your recipes.
I love this SO much! Please tell Kyle best of luck in the bake off! 🙂
Love this recipe! I’d never actually had Boston Cream Pie but found it absolutely delicious. I did make the mistake of not cooking my pastry cream long enough; I was concerned about overcooking it and didn’t let it cook the full five minutes, so it ended up a little runny. Still delicious, though. Now I know for next time!
Just made the pastry cream. Thickened up really quickly but then thinned out after i added butter and vanilla. Hopefully it will set up…if not I’ll eat it as pudding because it was yummy. Making cake later or tomorrow morning. I actually saw this episode of ATK and wanted to make it-how great that I followed your directions-more user friendly I think!
Last week’s blackberry cream cheese coffee cake was inhaled by my dessert loving family! Thanks!
It should be a little thicker than pudding. I recommend cooking a little longer next time. Wait until it’s the thickness you want. 🙂