This is one of the easiest ways to prepare homemade soft pretzels and the results are extra delicious. The soft pretzel dough only needs to rest for 10 minutes before shaping. The quick baking soda boil gives the pretzels their traditional flavor. Make sure you watch the video for how to shape pretzels!
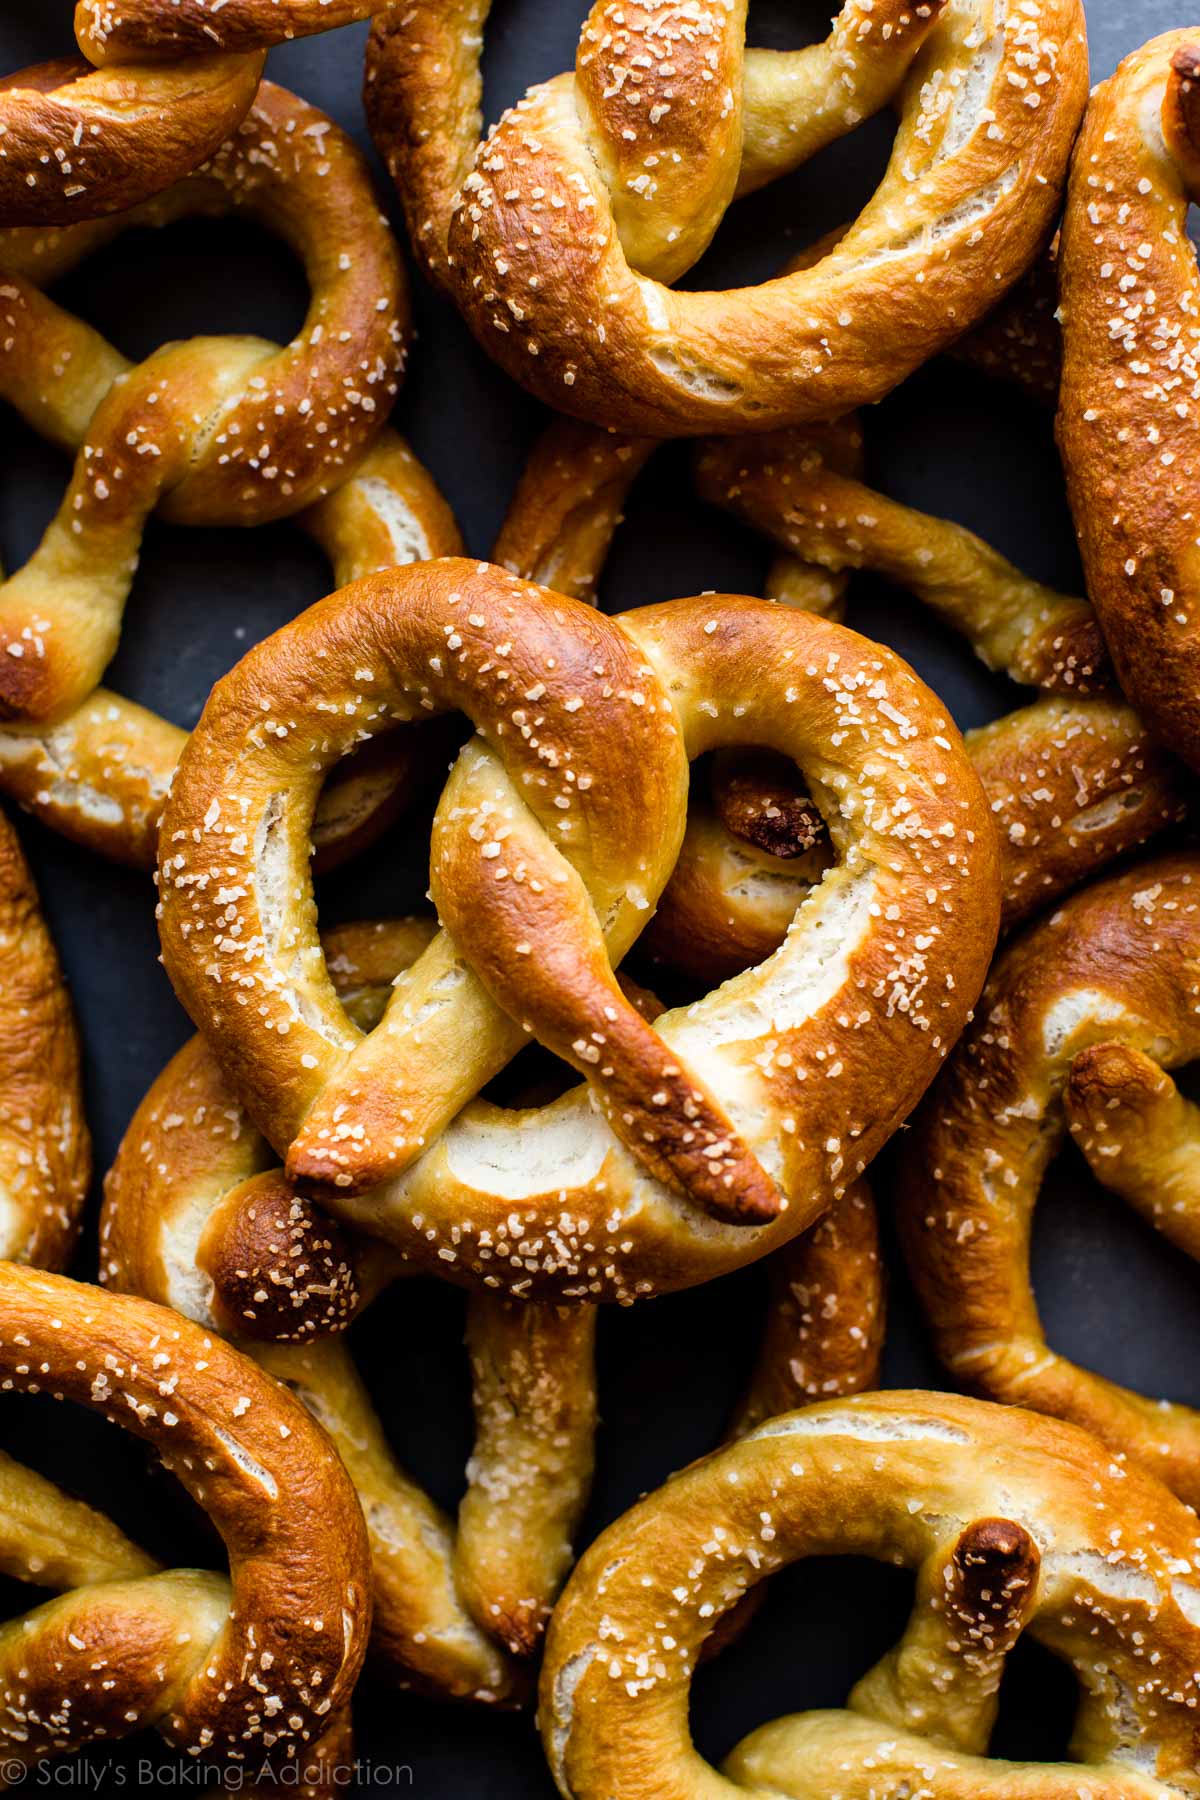
Homemade soft pretzels are nothing new around here because this recipe has been a reader favorite for years. The dough requires just 6 ingredients and there’s hardly any rise time, so not only are these easy, they’re pretty quick too. In fact, I remember feeling pleasantly surprised at the ease and speed the first time I made them—it took us only 30 minutes to make 1 batch! Over the years, I’ve added a smidge of melted butter to the dough for improved flavor. Furthermore, we’ve introduced the baking soda bath. While it sounds strange, this step is what gives pretzels that iconic flavor, chewy texture, helps deepen their golden color in the oven, and locks in the super soft interior. If you get the water boiling ahead of time, it really only adds 5 minutes to the entire process. We do it every time now. It’s worth it!
We’ve also made them soft pretzel bites, soft pretzel knots (with various toppings), jalapeño cheddar pretzels, and soft pretzel rolls from this simple dough. We’ve also jazzed them up as crab pretzels. There’s no wrong way to shape a pretzel, but let’s stick with tradition today. I promise you’ll no longer feel intimidated working with yeast, shaping pretzels, or the baking soda bath. Even if you have zero skill in the kitchen, you can make these homemade soft pretzels.
STEP BY STEP PHOTOS
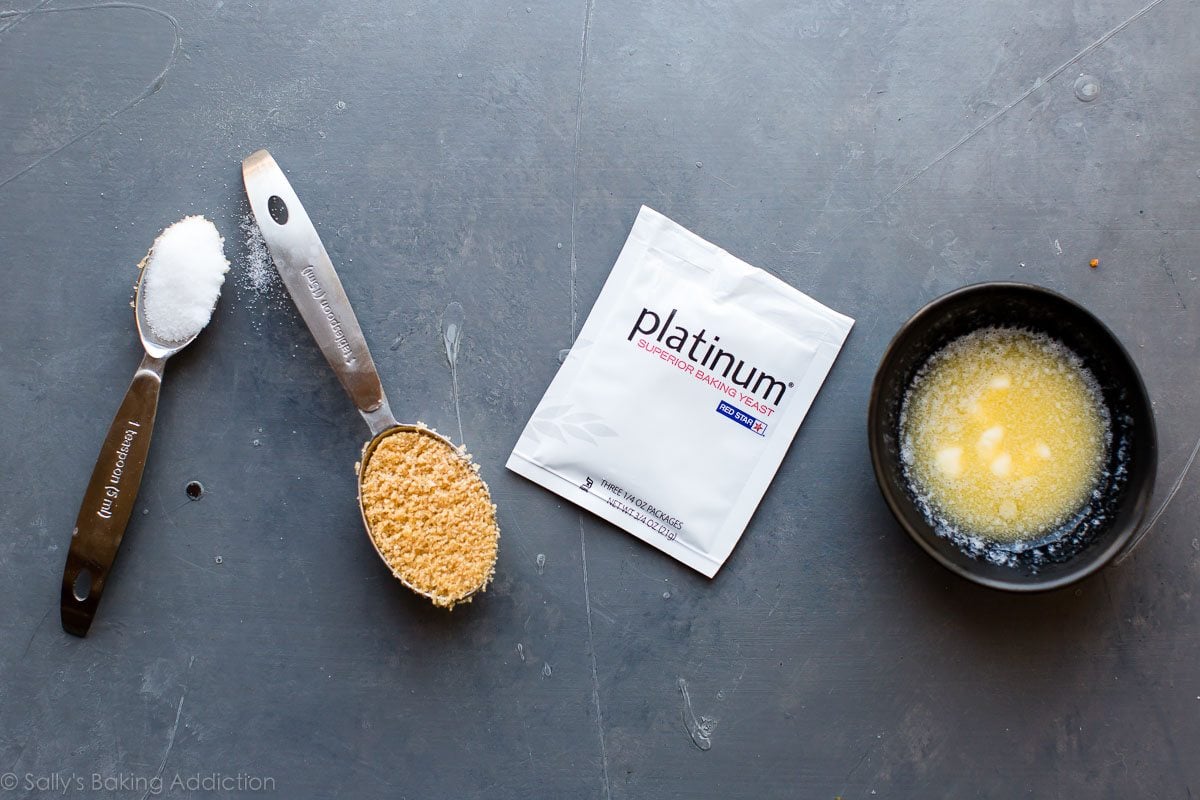
Let’s chat about the dough. You need the simplest, most basic ingredients possible and I guarantee each one is in your kitchen right now. Warm water, 1 packet yeast, melted butter, brown or regular granulated sugar, salt, and flour.
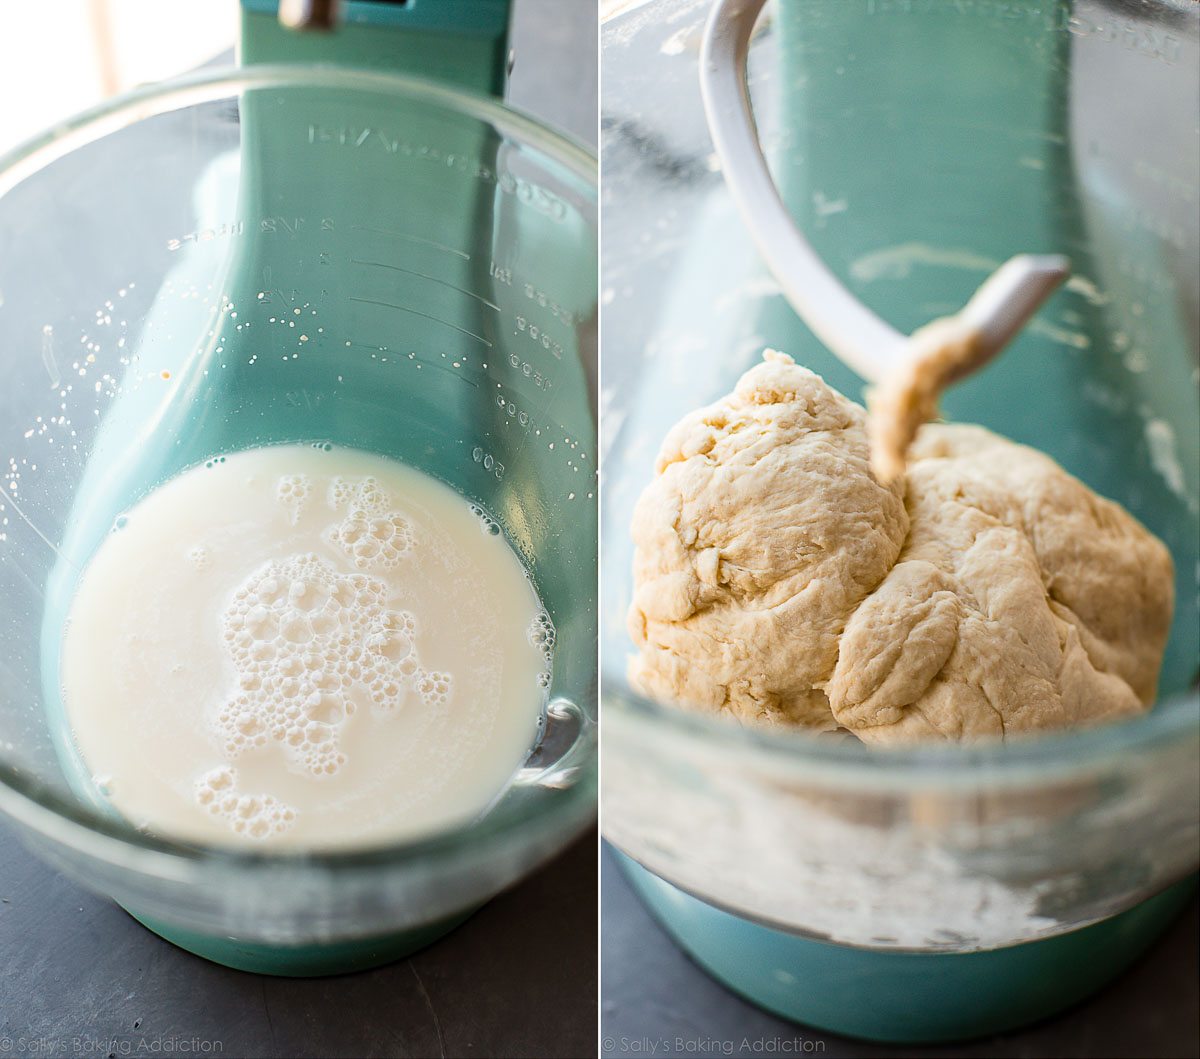
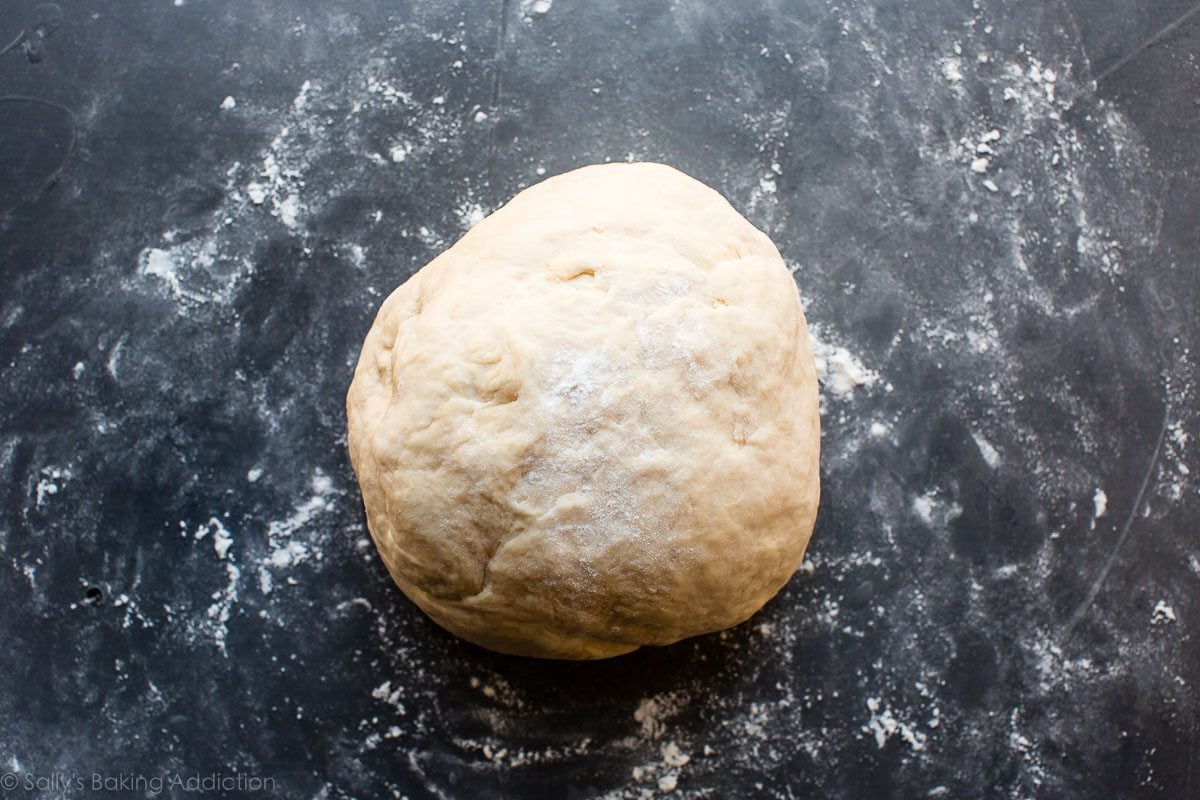
Let the yeast foam in the warm water for a few minutes, then add the rest of the ingredients and mix. You can use a stand mixer fitted with a dough hook attachment, a hand mixer, or—like you’ll notice in the video below the recipe—no mixer at all. Work with what you have in the kitchen. And if you need extra help with kneading, see my full How to Knead Dough video tutorial.
Guess what? You don’t have to wait to let this dough rise. YES! Well, we’ll let it rest for 10 minutes while you get the baking soda + water boiling on the stove but that’s it. Don’t have any patience? This is the recipe for you. By the way, did you know that some pretzel recipes call for rising overnight? They’re remarkable pretzels but I’m satisfied with this ultra quick dough!
How to Shape Homemade Soft Pretzels
Now it’s time to shape.
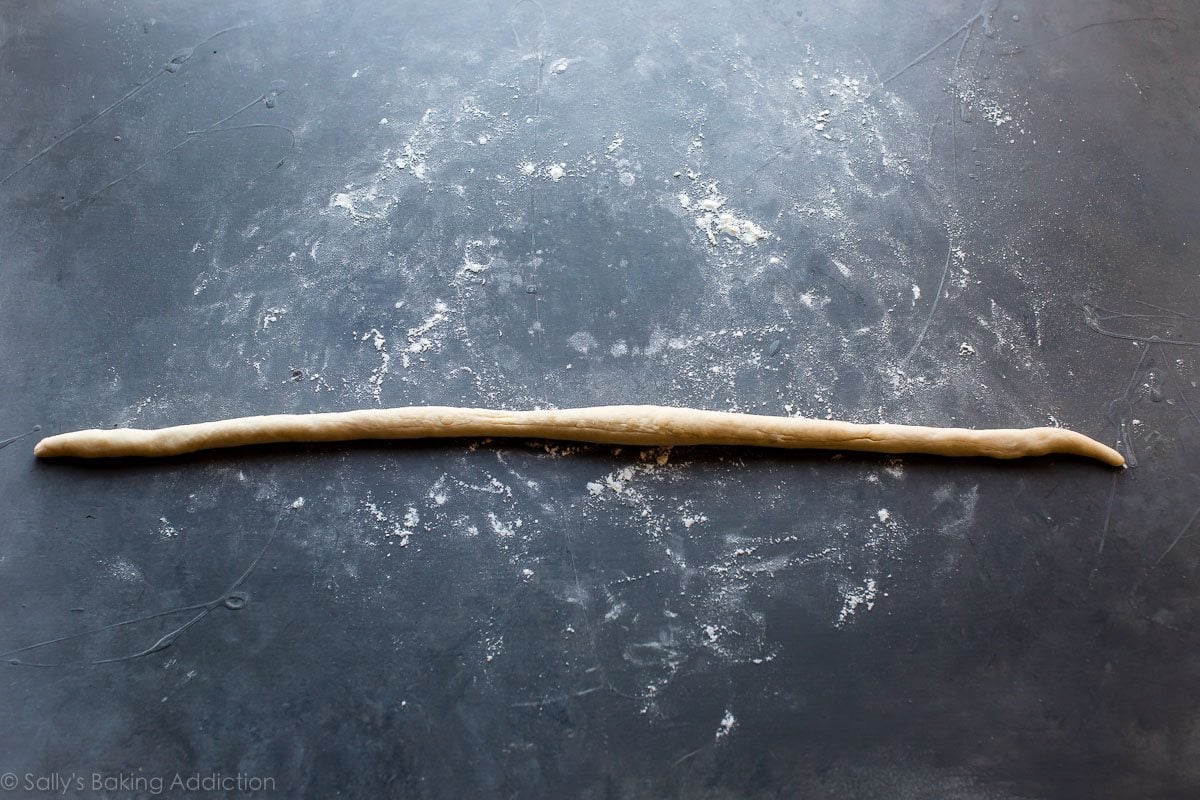
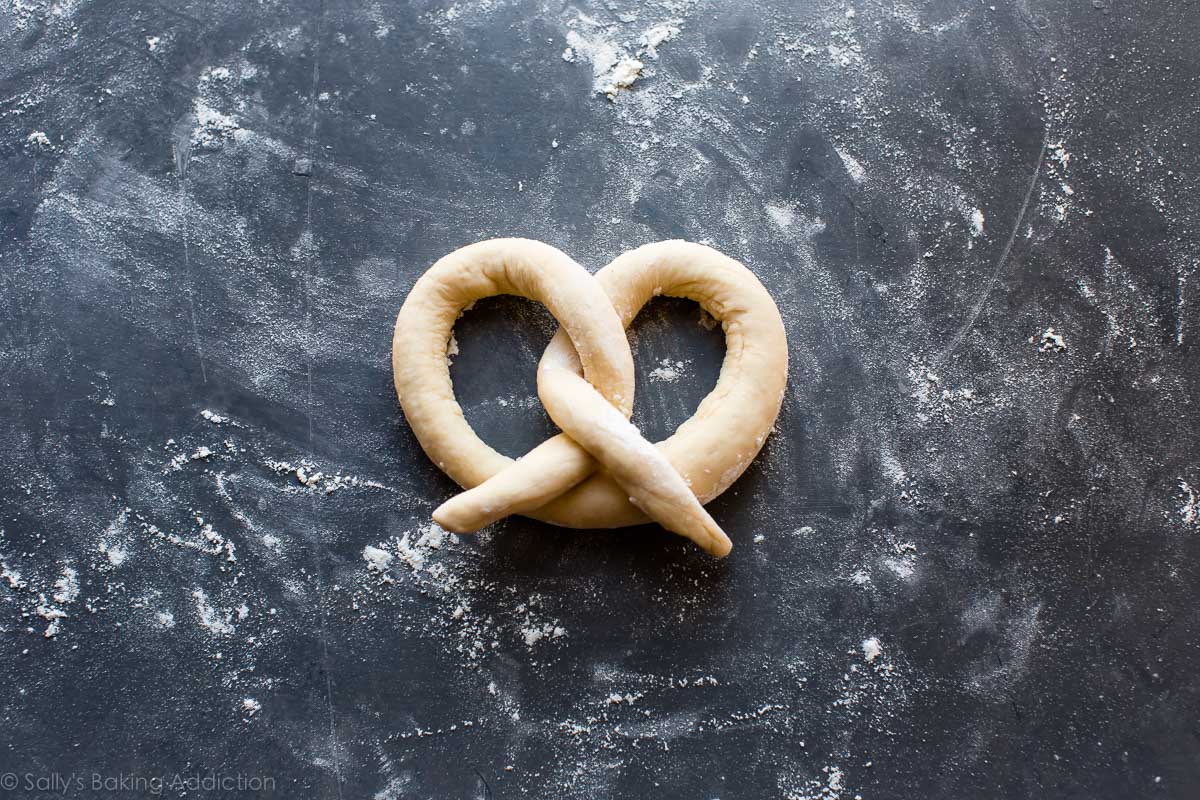
Roll 1/3 cup of dough into a long 20-22 inch rope.
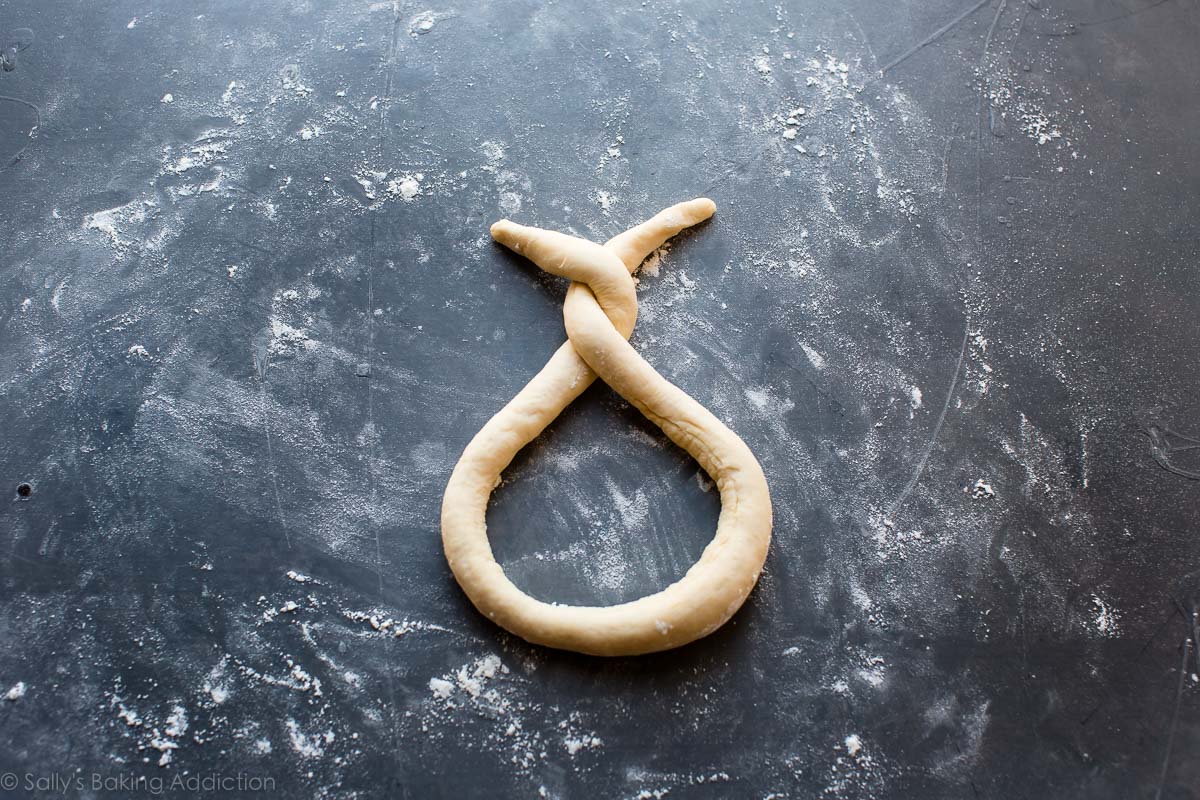
Twist the ends and bring the ends down. That’s a pretzel!
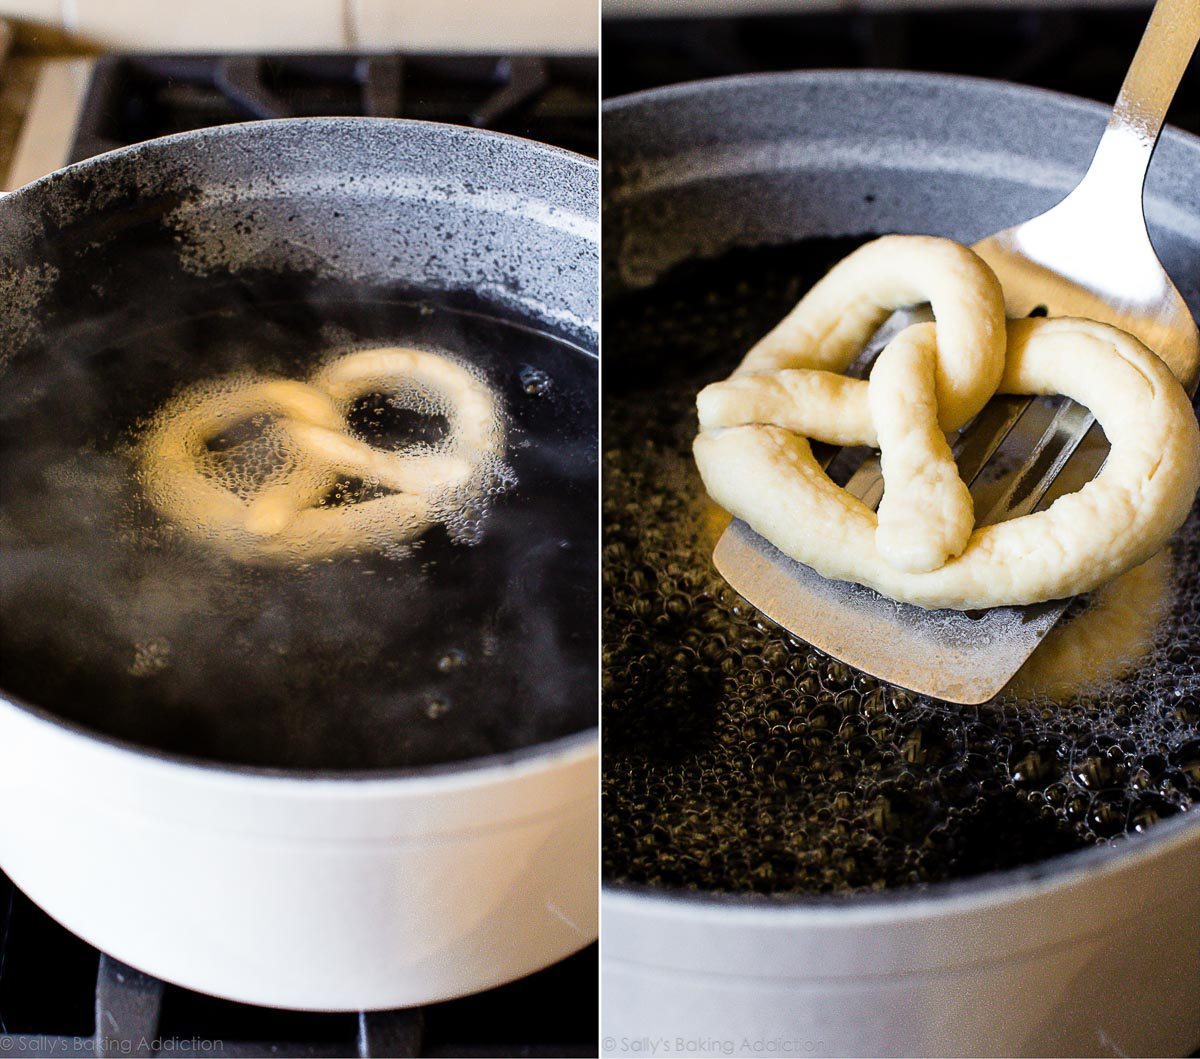
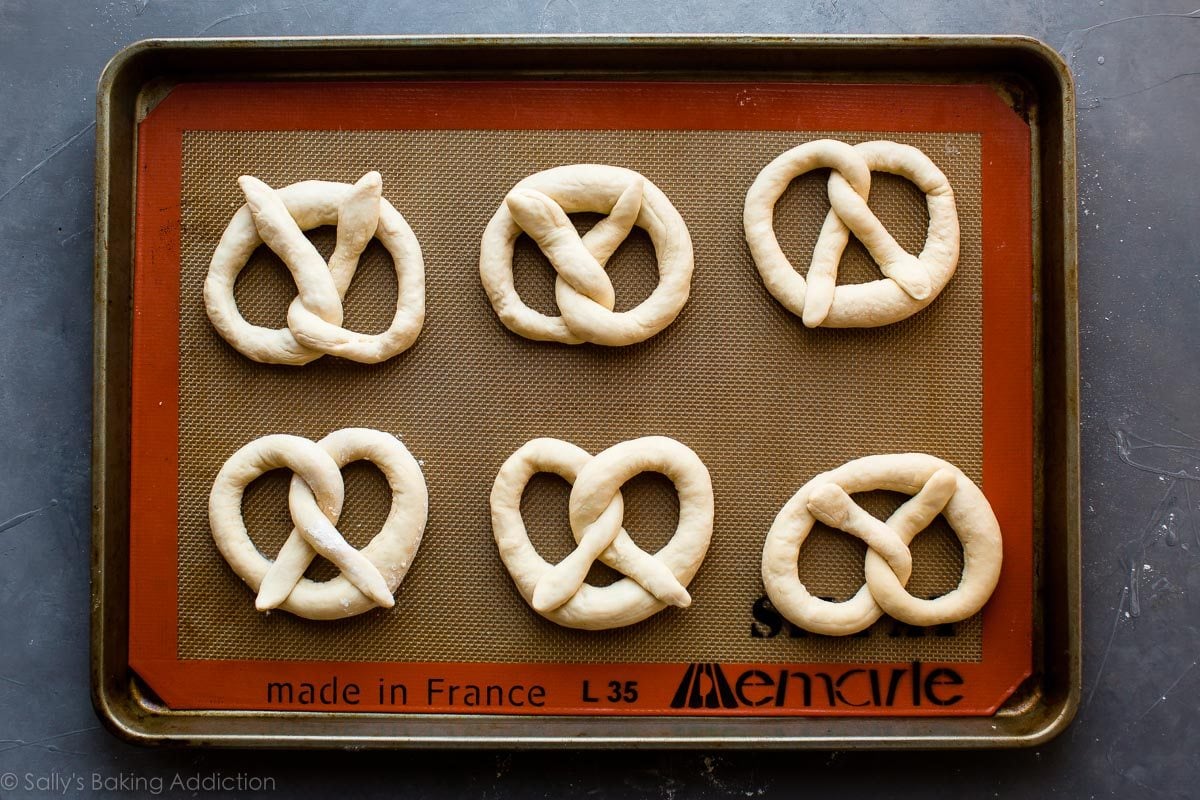
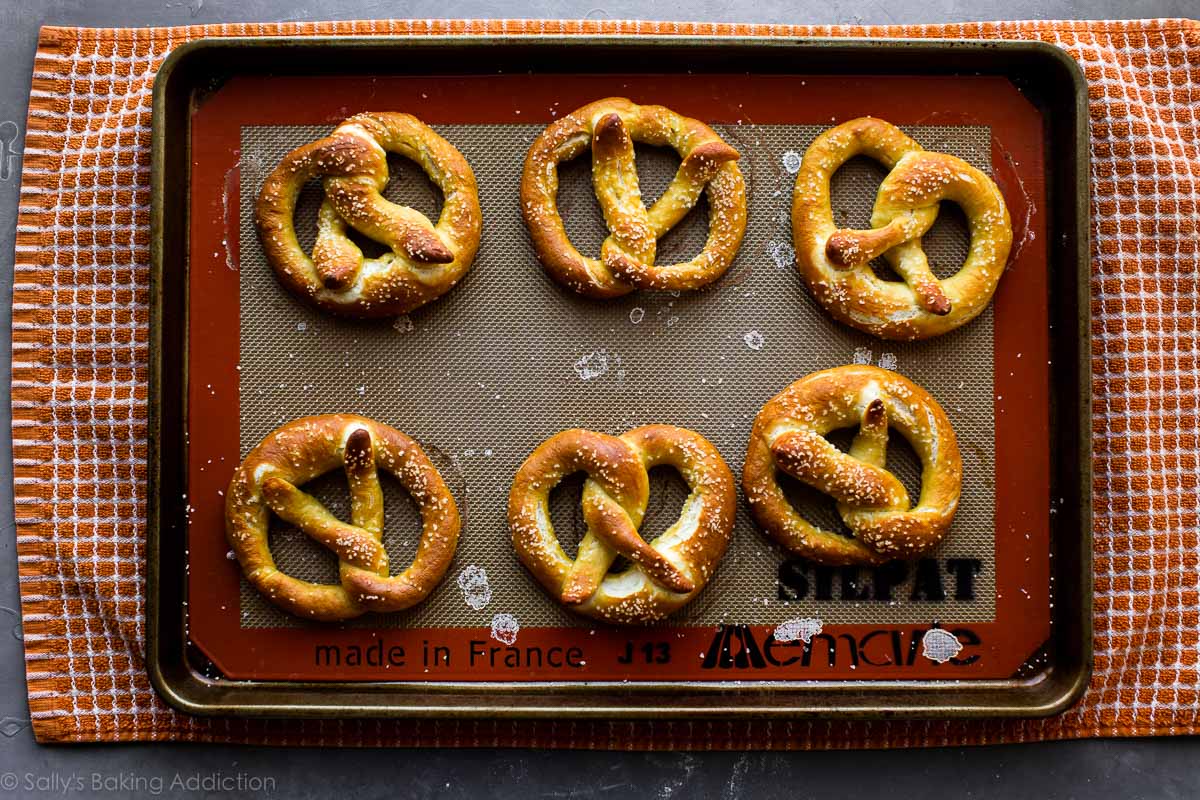
Now drop the pretzels into the boiling water + baking soda. Let them boil for 20-30 seconds each, then place onto a baking sheet. This pretzel dough makes 12 regular size soft pretzels, so I use 2 baking sheets. 6 on each.
Sprinkle with salt and bake in a hot oven. That’s it, you’re done.
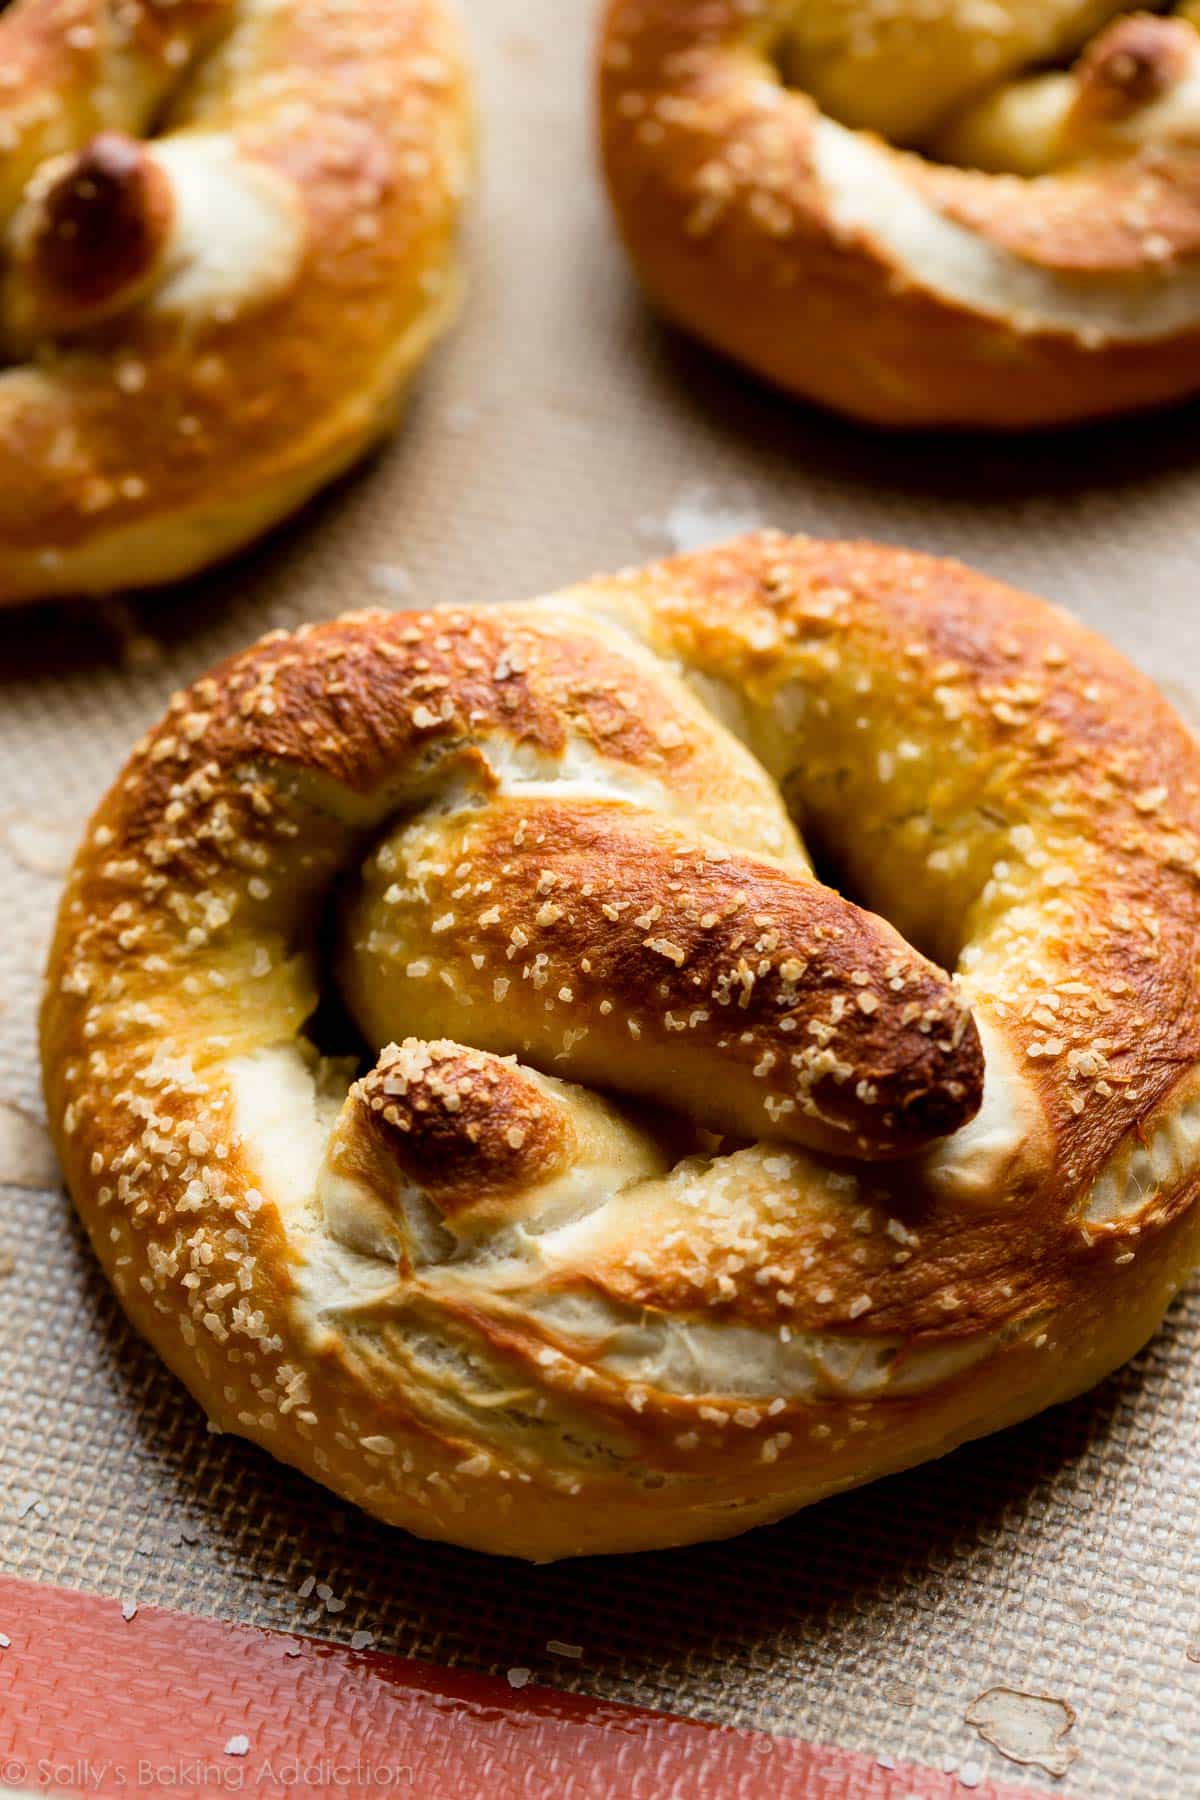

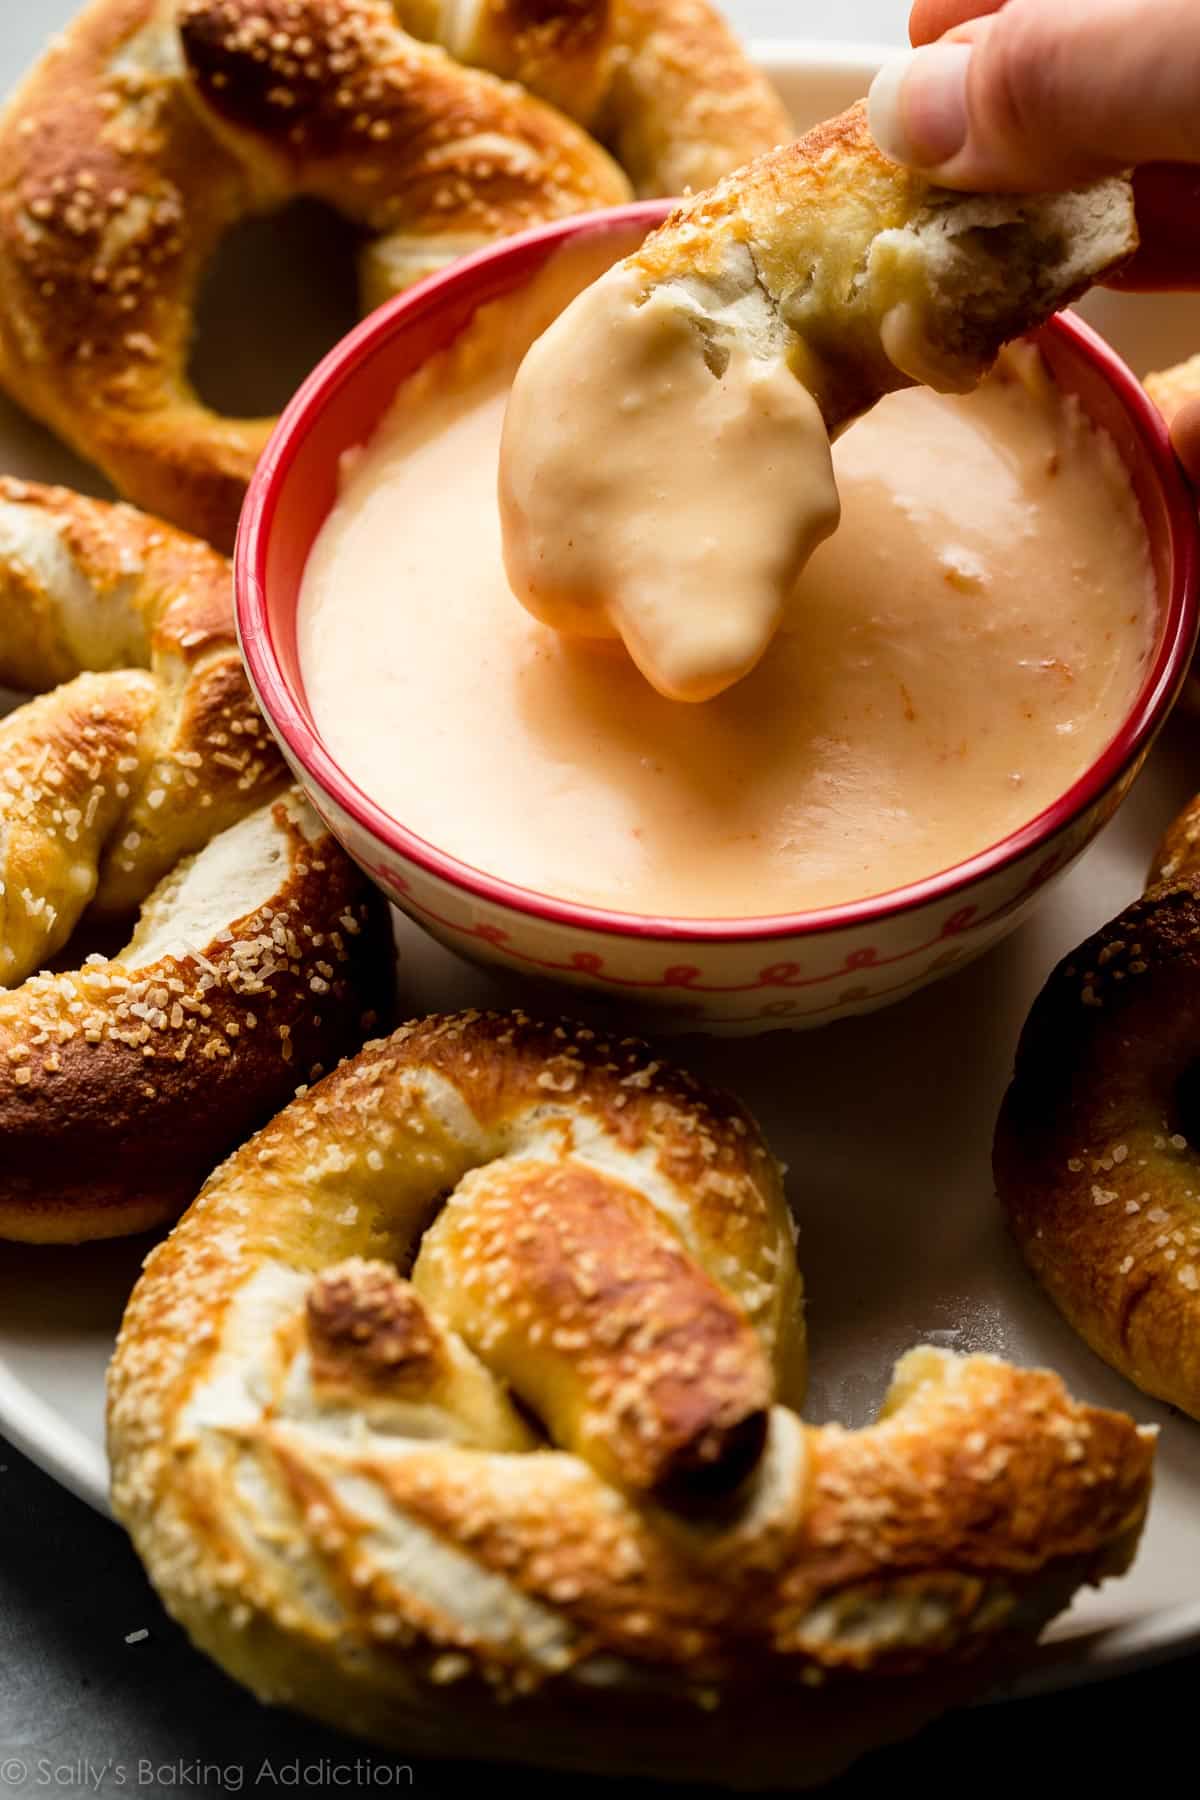
And if you want to kick your soft pretzel status into major high gear, add some spicy nacho cheese sauce.
Print
Easy Homemade Soft Pretzels
- Prep Time: 25 minutes
- Cook Time: 15 minutes
- Total Time: 40 minutes
- Yield: 12 pretzels
- Category: Snacks
- Method: Baking
- Cuisine: American
Description
This is one of the easiest ways to prepare homemade soft pretzels and the results are extra delicious! The dough is a family recipe and only needs to rest for 10 minutes before shaping. The quick baking soda boil gives the pretzels their traditional flavor. Make sure you watch the video for how to shape pretzels!
Ingredients
- 1 and 1/2 cups (360ml) warm water (lukewarm– no need to take temperature but around 100°F (38°C) is great)
- 2 and 1/4 teaspoons (7g) instant or active dry yeast (1 standard packet)
- 1 teaspoon salt
- 1 Tablespoon brown sugar or granulated sugar
- 1 Tablespoon (14g) unsalted butter, melted and slightly cool
- 3 and 3/4-4 cups (469-500g) all-purpose flour (spooned & leveled), plus more for hands and work surface
- coarse salt or coarse sea salt for sprinkling
Baking Soda Bath (See Recipe Note)
- 1/2 cup (120g) baking soda
- 9 cups (2.13L) water
Instructions
- Whisk the yeast into warm water. Allow to sit for 1 minute. Whisk in salt, brown sugar, and melted butter. Slowly add 3 cups of flour, 1 cup at a time. Mix with a wooden spoon (or dough hook attached to stand mixer) until dough is thick. Add 3/4 cup more flour until the dough is no longer sticky. If it is still sticky, add 1/4 – 1/2 cup more, as needed. Poke the dough with your finger—if it bounces back, it is ready to knead.
- Knead the dough: Keep the dough in the mixer and beat for an additional 5 full minutes, or knead by hand on a lightly floured surface for 5 full minutes. (If you’re new to bread-baking, my How to Knead Dough video tutorial can help here.) If the dough becomes too sticky during the kneading process, sprinkle 1 teaspoon of flour at a time on the dough or on the work surface/in the bowl to make a soft, slightly tacky dough. Do not add more flour than you need because you do not want a dry dough. After kneading, the dough should still feel a little soft. Poke it with your finger—if it slowly bounces back, your dough is ready to rise. You can also do a “windowpane test” to see if your dough has been kneaded long enough: tear off a small (roughly golfball-size) piece of dough and gently stretch it out until it’s thin enough for light to pass through it. Hold it up to a window or light. Does light pass through the stretched dough without the dough tearing first? If so, your dough has been kneaded long enough and is ready to rise. If not, keep kneading until it passes the windowpane test.
- Shape the kneaded dough into a ball. Cover lightly with a towel and allow to rest for 10 minutes. (Meanwhile, I like to get the water + baking soda boiling as instructed in step 6.)
- Preheat oven to 400°F (204°C). Line 2 baking sheets with parchment paper or silicone baking mats. Silicone baking mats are highly recommended over parchment paper. If using parchment paper, lightly spray with nonstick spray or grease with butter. Set aside.
- With a sharp knife or pizza cutter, cut dough into 1/3 cup sections (about 75g each).
- Roll the dough into a 20-22 inch rope. Form a circle with the dough by bringing the two ends together at the top of the circle. Twist the ends together. Bring the twisted ends back down towards yourself and press them down to form a pretzel shape.
- Bring baking soda and 9 cups of water to a boil in a large pot. Drop 1-2 pretzels into the boiling water for 20-30 seconds. Any more than that and your pretzels will have a metallic taste. Using a slotted spatula, lift the pretzel out of the water and allow as much of the excess water to drip off. Place pretzel onto prepared baking sheet. Sprinkle each with coarse sea salt. Repeat with remaining pretzels. If desired, you can cover and refrigerate the boiled/unbaked pretzels for up to 24 hours before baking in step 7.
- Bake for 12-15 minutes or until golden brown.
- Remove from the oven and serve warm with spicy nacho cheese sauce.
- Cover and store leftover pretzels at room temperature for up to 3 days. They lose a little softness over time. To reheat, microwave for a few seconds, or bake at 350°F (177°C) for 5 minutes.
Notes
- Make Ahead & Freezing Instructions: Baked and cooled pretzels freeze well for up to 3 months. To reheat, bake frozen pretzels at 350°F (177°C) for 20 minutes or until warmed through or microwave frozen pretzels until warm. The prepared pretzel dough can be covered and refrigerated for up to one day or frozen in an airtight container for 2-3 months. Thaw frozen dough in the refrigerator overnight. Refrigerated dough can be shaped into pretzels while still cold, but allow some extra time, about 1 hour, for the pretzels to puff up before the baking soda bath and baking.
- Special Tools (affiliate links): Electric Stand Mixer or Glass Mixing Bowl | Wooden Spoon | Baking Sheets | Silicone Baking Mats or Parchment Paper | Pizza Cutter | Large Pot (such as a Dutch oven)
- Baking Soda Bath (Step 6): The baking soda bath is strongly recommended because it helps create that chewy texture and distinctive pretzel flavor. If skipping, brush the shaped and unbaked pretzels with a mixture of 1 beaten egg + 1 Tablespoon of dairy or nondairy milk. This is known as an egg wash. Sprinkle the brushed pretzels with salt. The egg wash will help the salt stick. If you don’t have an egg, simply brush with 2 Tablespoons of dairy or nondairy milk.
- Cinnamon Sugar Pretzels: Skip the coarse salt topping (and skip the egg wash, see note above, if you aren’t doing the baking soda bath step). Bake as directed in step 7. Meanwhile, melt 4 Tablespoons (60g) of unsalted or salted butter (your choice). Brush the baked and warm pretzels with melted butter then dip the tops into a mix of cinnamon and sugar. I usually use 3/4 cup (150g) of granulated sugar and 1 and 1/2 teaspoons cinnamon. Cinnamon sugar pretzels are best served that day because due to the melted butter topping, they become soggy after a few hours.
- Reference my Baking with Yeast Guide for answers to common yeast FAQs.


My son and I made this recipe tonight! It was delicious, and I plan to share our experience on my blog (with a link of course)! Thanks!
My super picky son said delicioso and ate 4 of them!
Wonderful, like everything else on this page!
I have made this recipe so many times and every time it was great! 10/10 do recommend it! (btw when in the baking soda bath count to 30. the first two times I counted to twenty and it was much crispier when counting to 30)
This is the best recipient I’ve used
Could I turn these into bite size pretzels?
Hi Sabrina, absolutely—here’s our pretzel bites recipe!
I made this today. I tried rolling the dough out to make the ropes. I couldn’t for the life of me get it done. So I did it in between my hands which was tiring. I added some more flour to my counter but couldn’t do it. Any tips for the next time?
Hi Wendy, how was the texture of the dough? If it was too tough, it’s possible there was too much flour in the dough drying it out. Rolling between your hands is a great option if rolling it out on the counter wasn’t working. Hope you enjoyed the pretzels and thank you for giving them a try!
Made today and wow, not only easy but taste great too! How do I get them to look more golden brown like pretzels- mine were rather pale but tasted great.
Hi Kristen, the water bath definitely helps deepen their golden color in the oven.
I loved. And thank you
I made these and everyone LOVED them. This recipe is very easy and fantastic!
The result was amazing! I am definitely going to make this again I do recommend glazing the end result with a light coating of butter thoI was a bit nervous using so much baking soda but it was so worth the amount at the end
Wonderful recipe! I’m just wondering can I use bread flour instead of all purpose or would they be too chewy?
Hi Sofia! You can definitely use bread flour instead of all-purpose flour in this pretzel recipe. Same amount with no other changes to the recipe. Bread flour yields even chewier pretzels.
Hello, can you refrigerate the dough before boiling? I teach Culinary Arts and we only have 55 min classes. I don’t think we will make it to the boiling step on day 1. TIA
Hi Bri, yes you can refrigerate the dough covered overnight. The prepared pretzel dough can be covered and refrigerated for up to one day… Refrigerated dough can be shaped into pretzels while still cold, but allow some extra time, about 1 hour, for the pretzels to puff up before the baking soda bath and baking.
Hi Sally!
I just tried this recipe for the first time and we loved the flavor! I definitely had to add a bit more flour but still when I went to remove them from the silicone mat to boil, they were too soft and lost their shape 🙁 they also didn’t raise as much in the oven. Any ideas on how to improve them?
Thank you!!!
Hi Rosalba, I’m just seeing your question now and I’m glad you tried these! Happy to help for next time. I recommend kneading the dough a bit longer, to really help soften it and develop the gluten a bit more. I suggest that because more kneading can help produce a softer, loftier bread (and, in this case, pretzel!), and also make the dough a little easier to work with. Try kneading for closer to 6-8 minutes. I think you’ll notice a difference.
I have made these several times and they are always a big hit. So delicious.
Can you freeze these pretzels after you have boiled and salted them? If so, how long would you bake from frozen?
Hi Blake, Baked and cooled pretzels freeze well up to 2-3 months. To reheat, bake frozen pretzels at 350°F (177°C) for 20 minutes or until warmed through.
The dough was easy to handle, and baked up gorgeous. I’m wondering about a variation that has grated cheddar cheese in the dough and grated cheese sprinkled on top… I’m going to experiment.
Best pretzels I’ve ever eaten, easy to follow recipe, excellent results!
We added some shredded cheese (no coarse salt) because my daughter is obsessed with cheese and they turned out great!
This is a great recipe. I had fun making it. It inspires to do more bread making.
These pretzels were easy to make and delicious. They turned out perfect.
Shout out from Italy. Hard to find these pretzels here. I miss them dunked in cheese sauce. Decided to find a recipe and made yours. Absolute hit!!! Easy…few ingrediants and tummy VERY happy. Thanks!!!!
I helped my son to follow-up the recipe, the pretzelithe came out nice after baking, Lovely
Can I use bread flour instead of all purpose flour? Looks amazing!!
Hi Brittani! You can definitely use bread flour instead of all-purpose flour in this pretzel recipe. Same amount with no other changes to the recipe. Bread flour yields even chewier pretzels.
Absolutely best pretzels!!! My family loved them!!! Better than any we have ever bought
Thank you very much for the soft pretzel recipe, I varied it by one small detail , They came out great!. Even if I wouldn’t have made that one small change , that didn’t affect your recipe, they still would have been the same. Really didn’t know that soaking them in a baking soda solution was as important as it is .Thank you again for letting me have this recipe. Sincerely Kerry.
This is the easiest pretzel recipe that you can follow. My boys love this sooo much. My 14 year old live to help me just so he could get first dibs on the biggest pretzel. Goes great with spicy mustard ❤️
Great recipe I have made these 3 times already .. family loves them Thank you for a great recipe. followed exactly as written
We are gluten free, but my husband and neighbors LOVED these pretzel. Followed the recipe to a T and they come out perfect! Thank you!
This was easy and delicious, I’m going to make this again!
Haven’t TRYED this Pretzel recipe as yet.. But it looks wonderful.. I know we’re gonna love them ..My grandson well love them I know