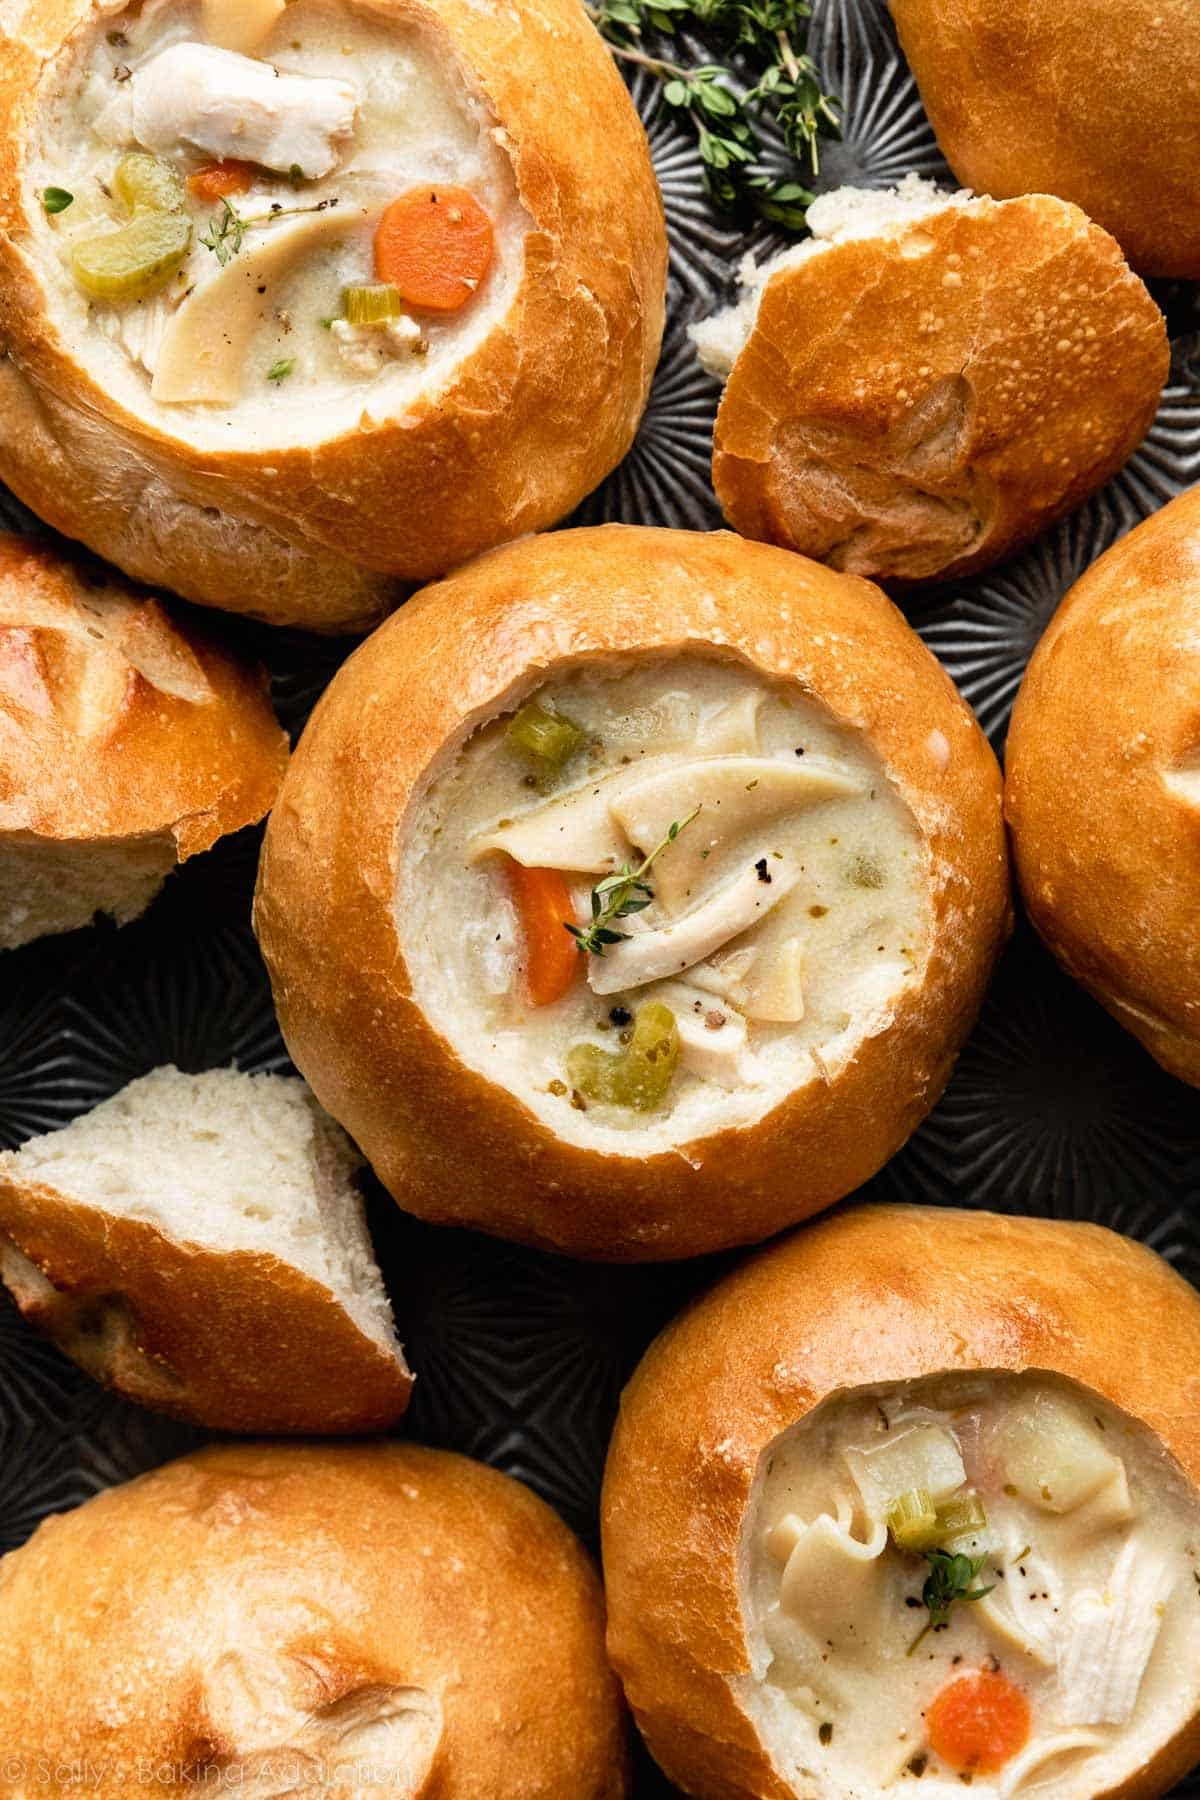
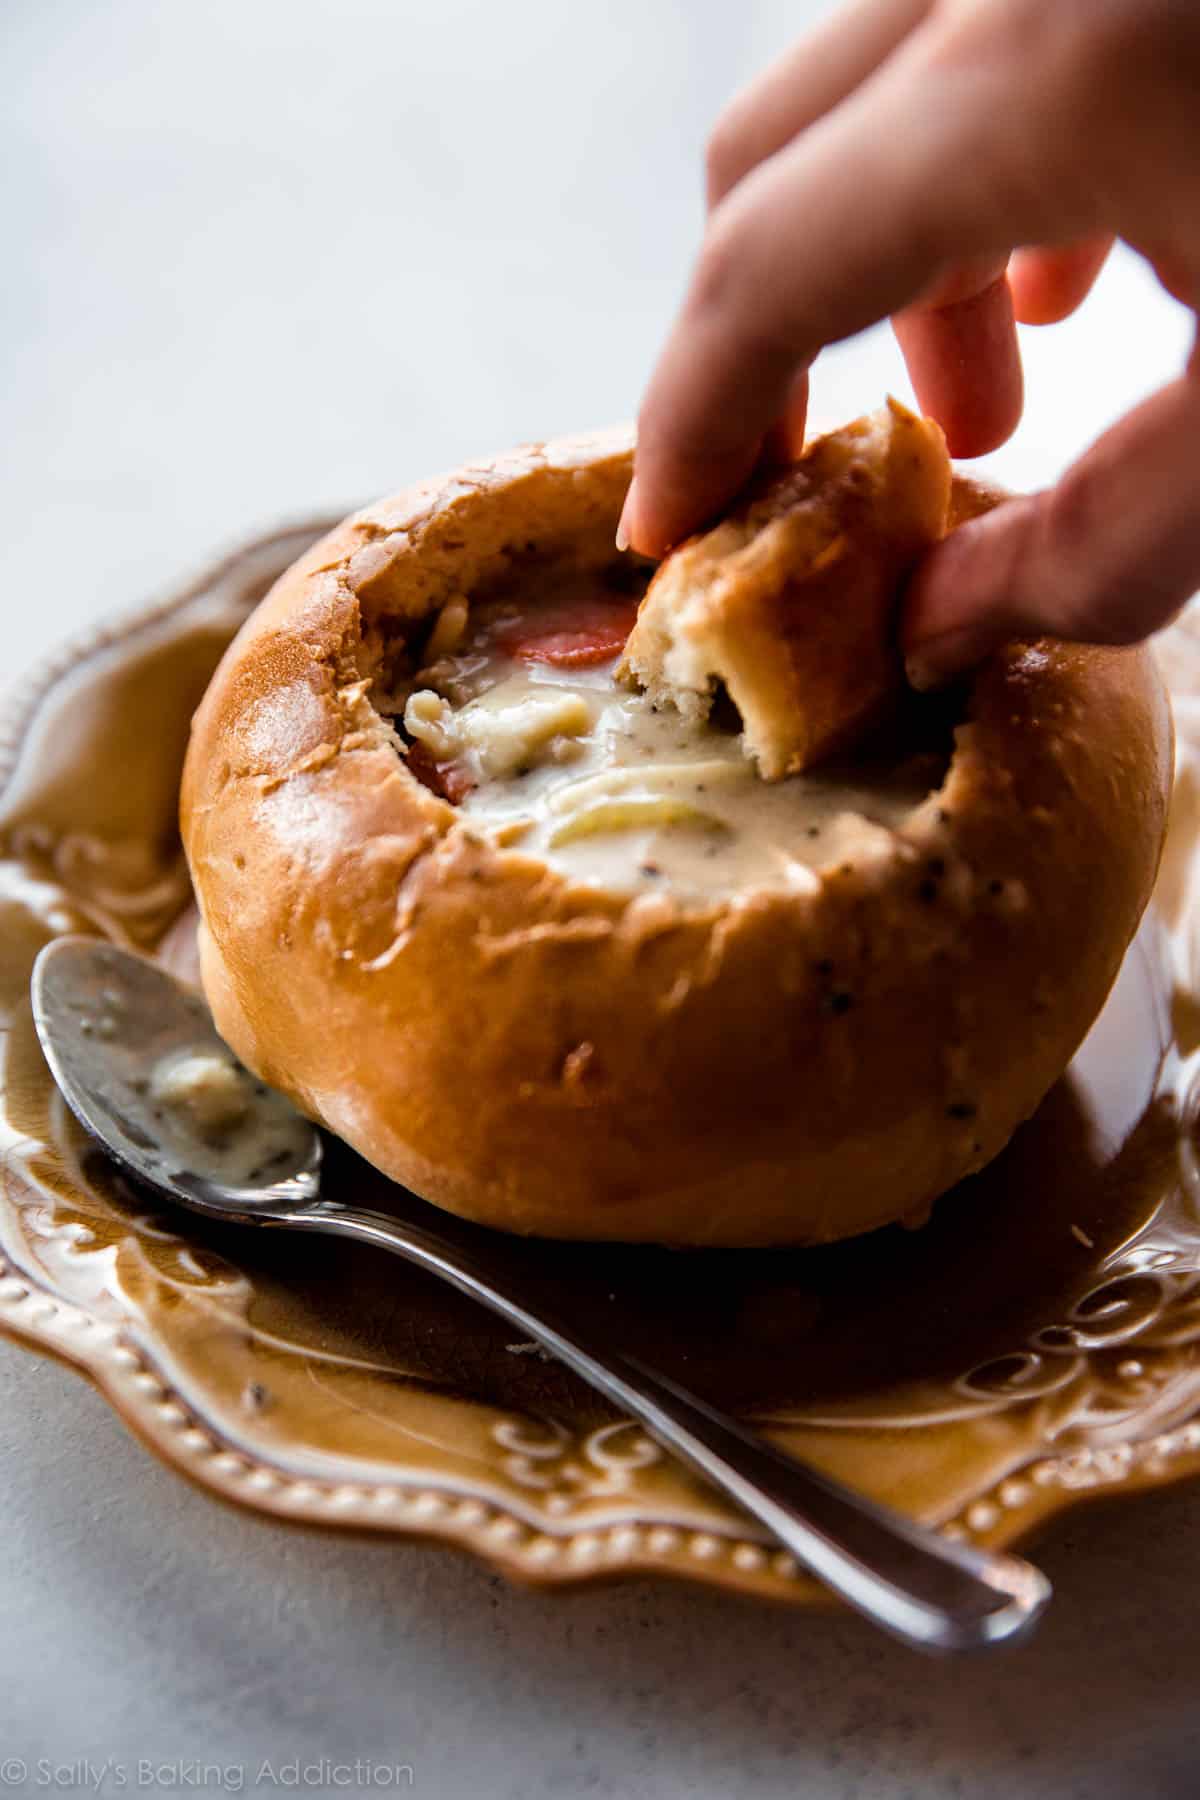
These homemade bread bowls are crisp on the exterior and extra soft inside. They’re made from a basic, yet versatile bread dough using everyday ingredients. This recipe yields 6 bread bowls, but you could use this dough for pizza crust or smaller dinner rolls instead. See notes in the full recipe.
This recipe is brought to you in partnership with Red Star Yeast.
Tie on your aprons, gather your determination, and heat up that creamy soup. Let’s dive right into homemade bread bowls!
Ingredients in Bread Bowls
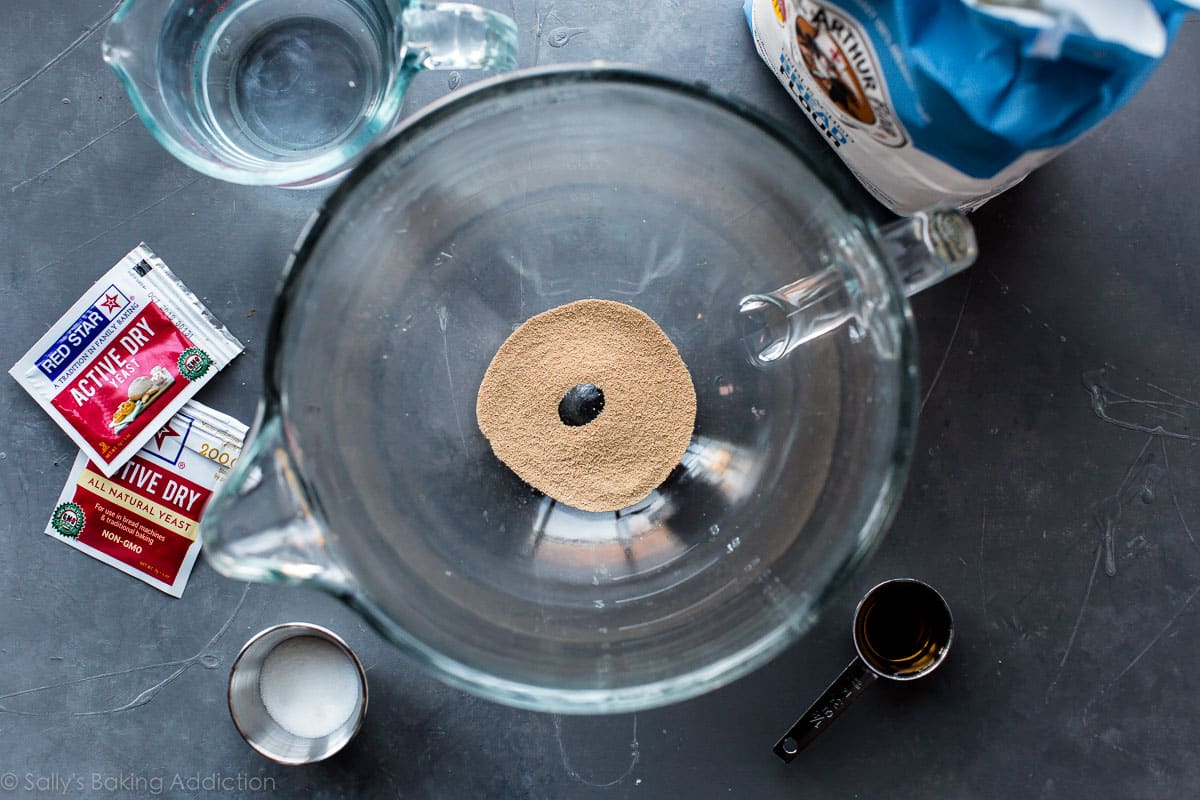
- Yeast: We use active dry yeast to make bread bowl dough. I highly recommend using a quality yeast like Red Star Yeast—it’s always my go-to brand for the best tasting breads!
- Water: 2 and 1/4 cups is the perfect amount. Use warm water to cut down on rise time, about 110-115°F. Anything over 130ºF kills the yeast.
- Sugar: 2 teaspoons of sugar “feed” the yeast which create carbon dioxide bubbles and allow the dough to rise.
- Salt + Olive Oil: Salt and olive oil add flavor and richness.
- Bread Flour: Bread flour contains a lot of protein which helps form a chewier, denser, and, well, more bread-like… bread. (Technical terms.) We want a strong and crusty bread for our bread bowls and bread flour will help us achieve that.
If you’re a bread beginner, don’t be nervous about yeast. It’s just another ingredient added to the dough. We’re not doing anything special with it. We’re just mixing it with water. The magic happens during hands-off time.
Overview: How to Make Bread Bowls
Bread-making probably seems impossible, but think of it this way: it’s one of the most basic foods. Just simple ingredients mixed together, left alone to work some magic, shaped, and baked. That’s the process and it’s 100% something you can handle.
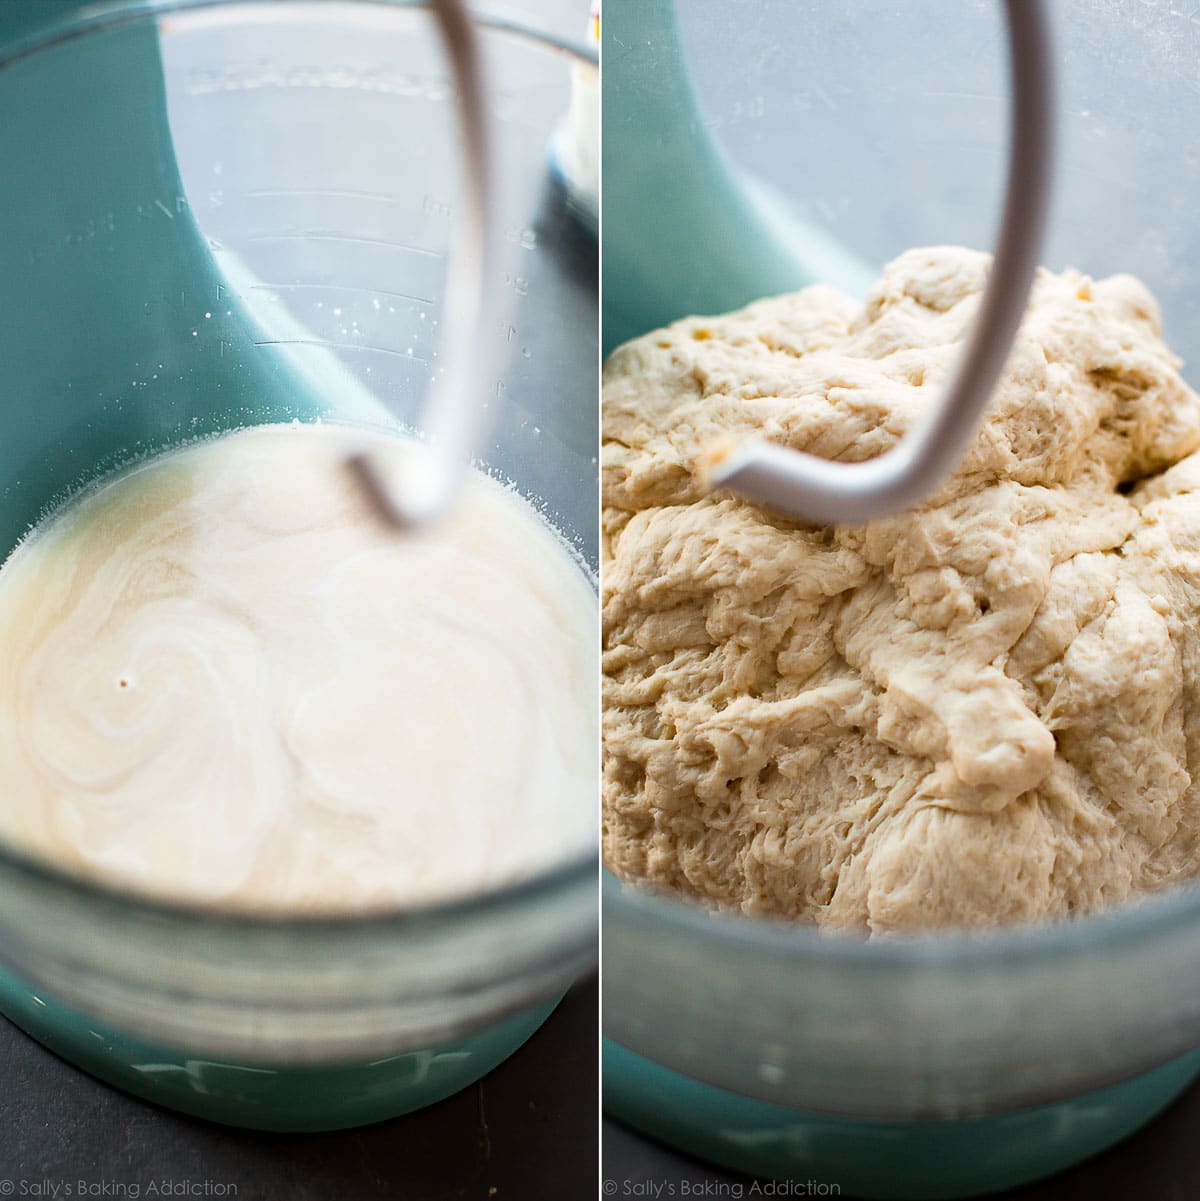
- Mix the dough ingredients together. You can use a mixer or do this by hand. The dough should be thick, yet soft—and only slightly sticky.
- Form the dough into a ball. On a lightly floured surface, shape the dough into a ball and place it into a large, greased bowl.
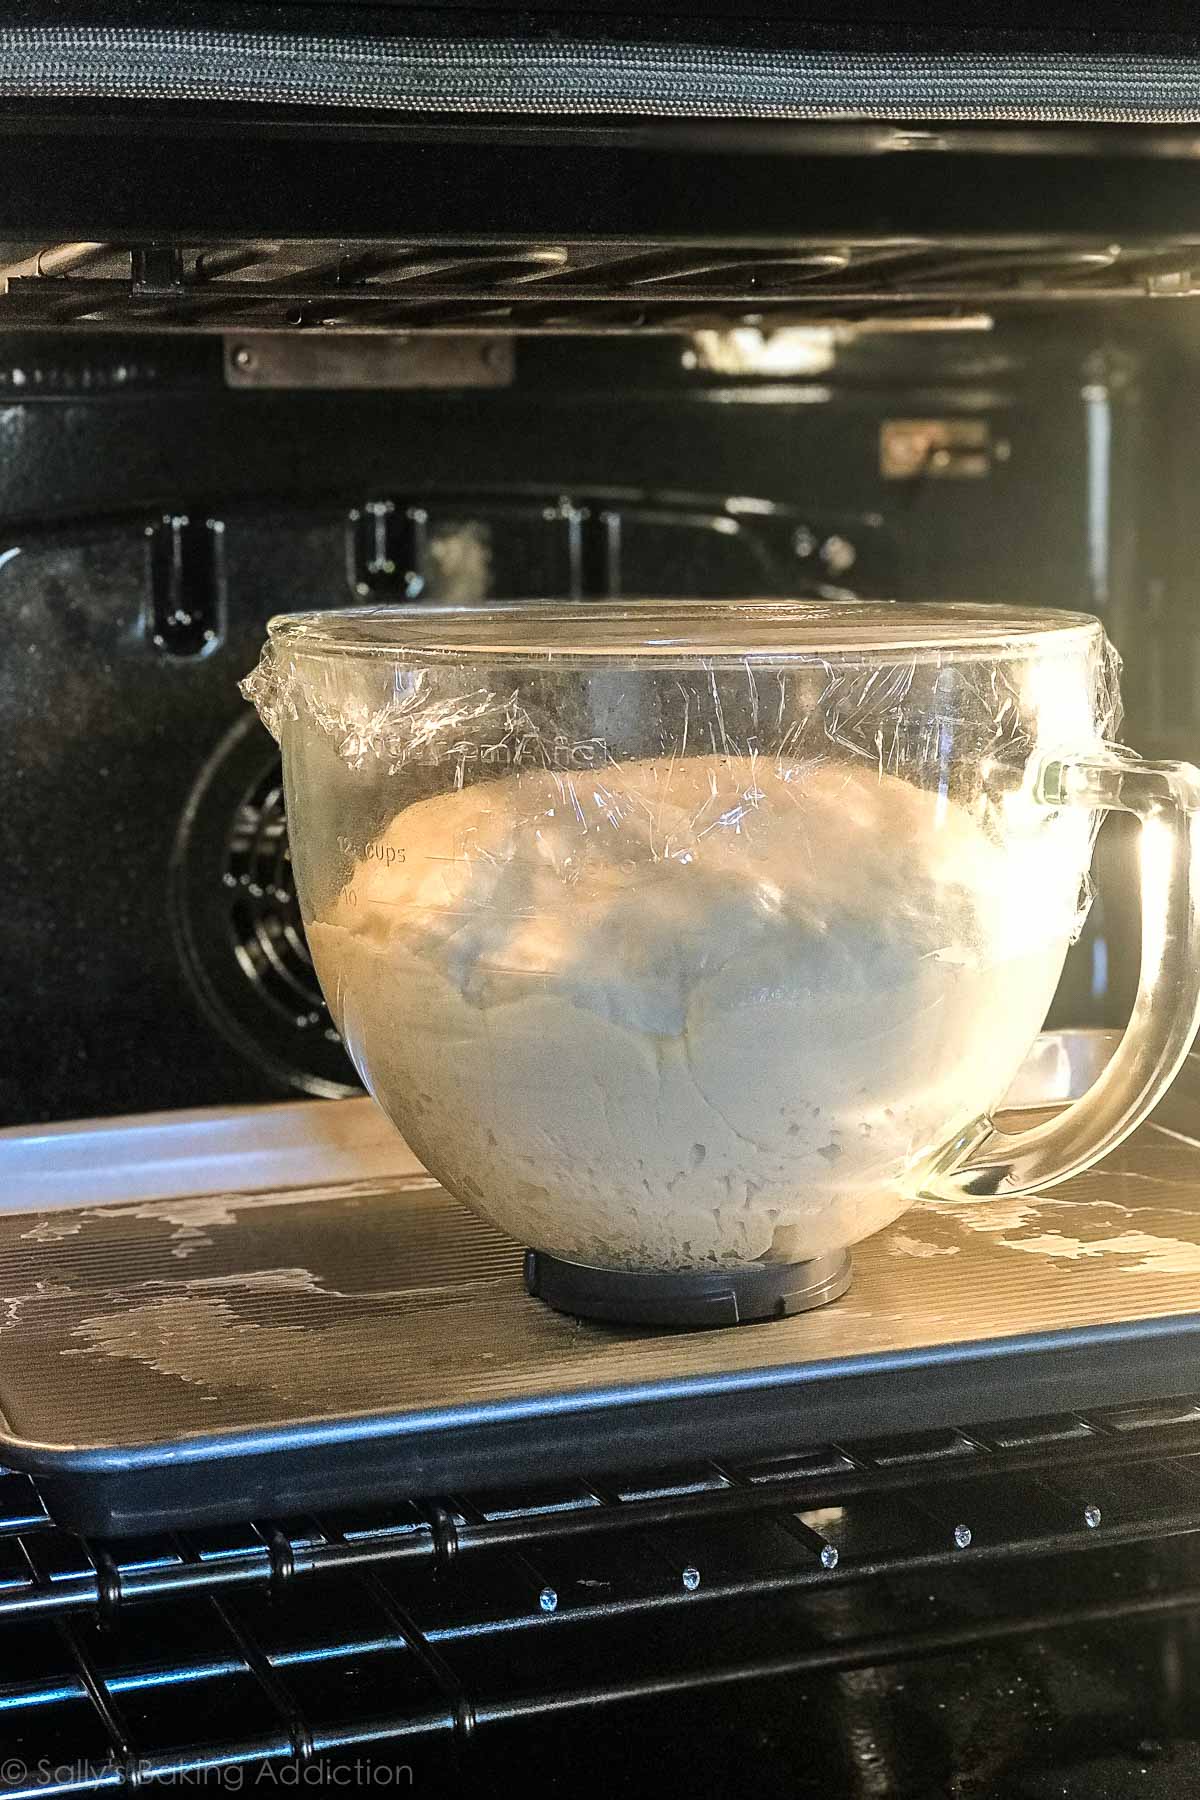
- Let the dough rise. Cover the dough and let it rise in a warm environment until doubled in size, about 90 minutes.
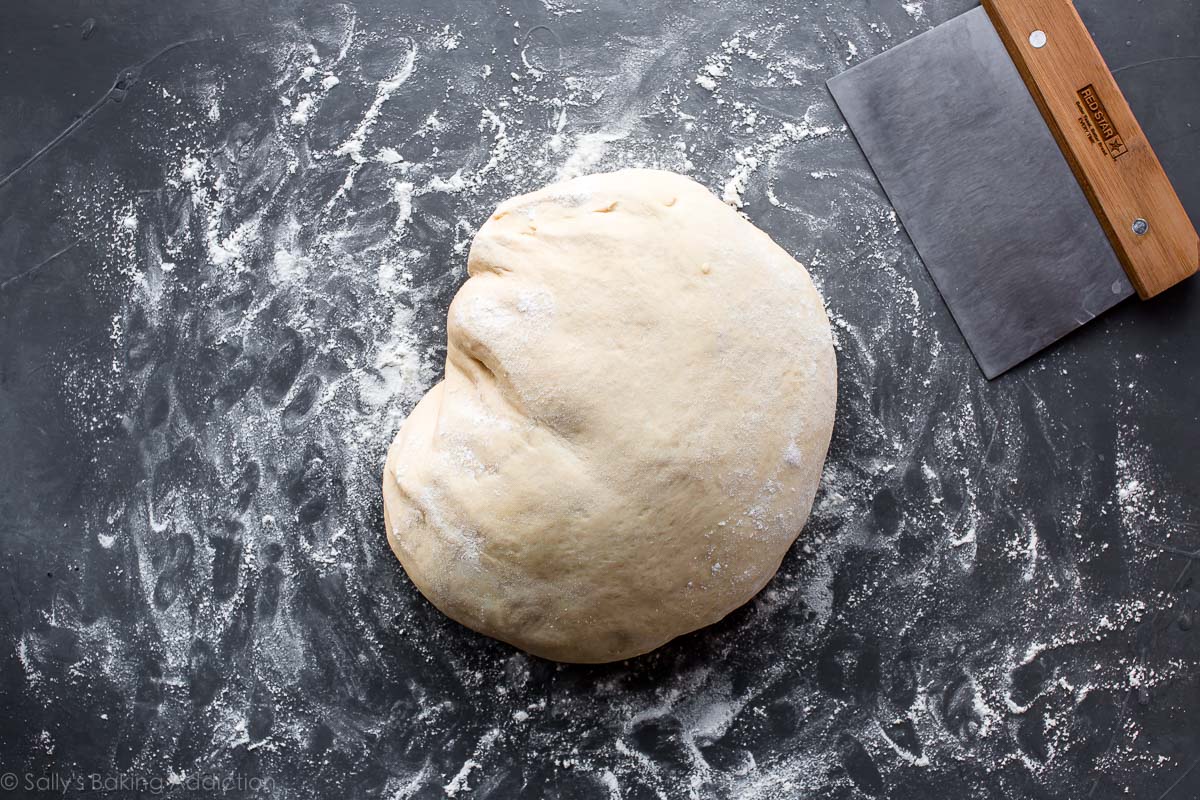
- Punch down the dough. Place it onto a lightly floured surface.
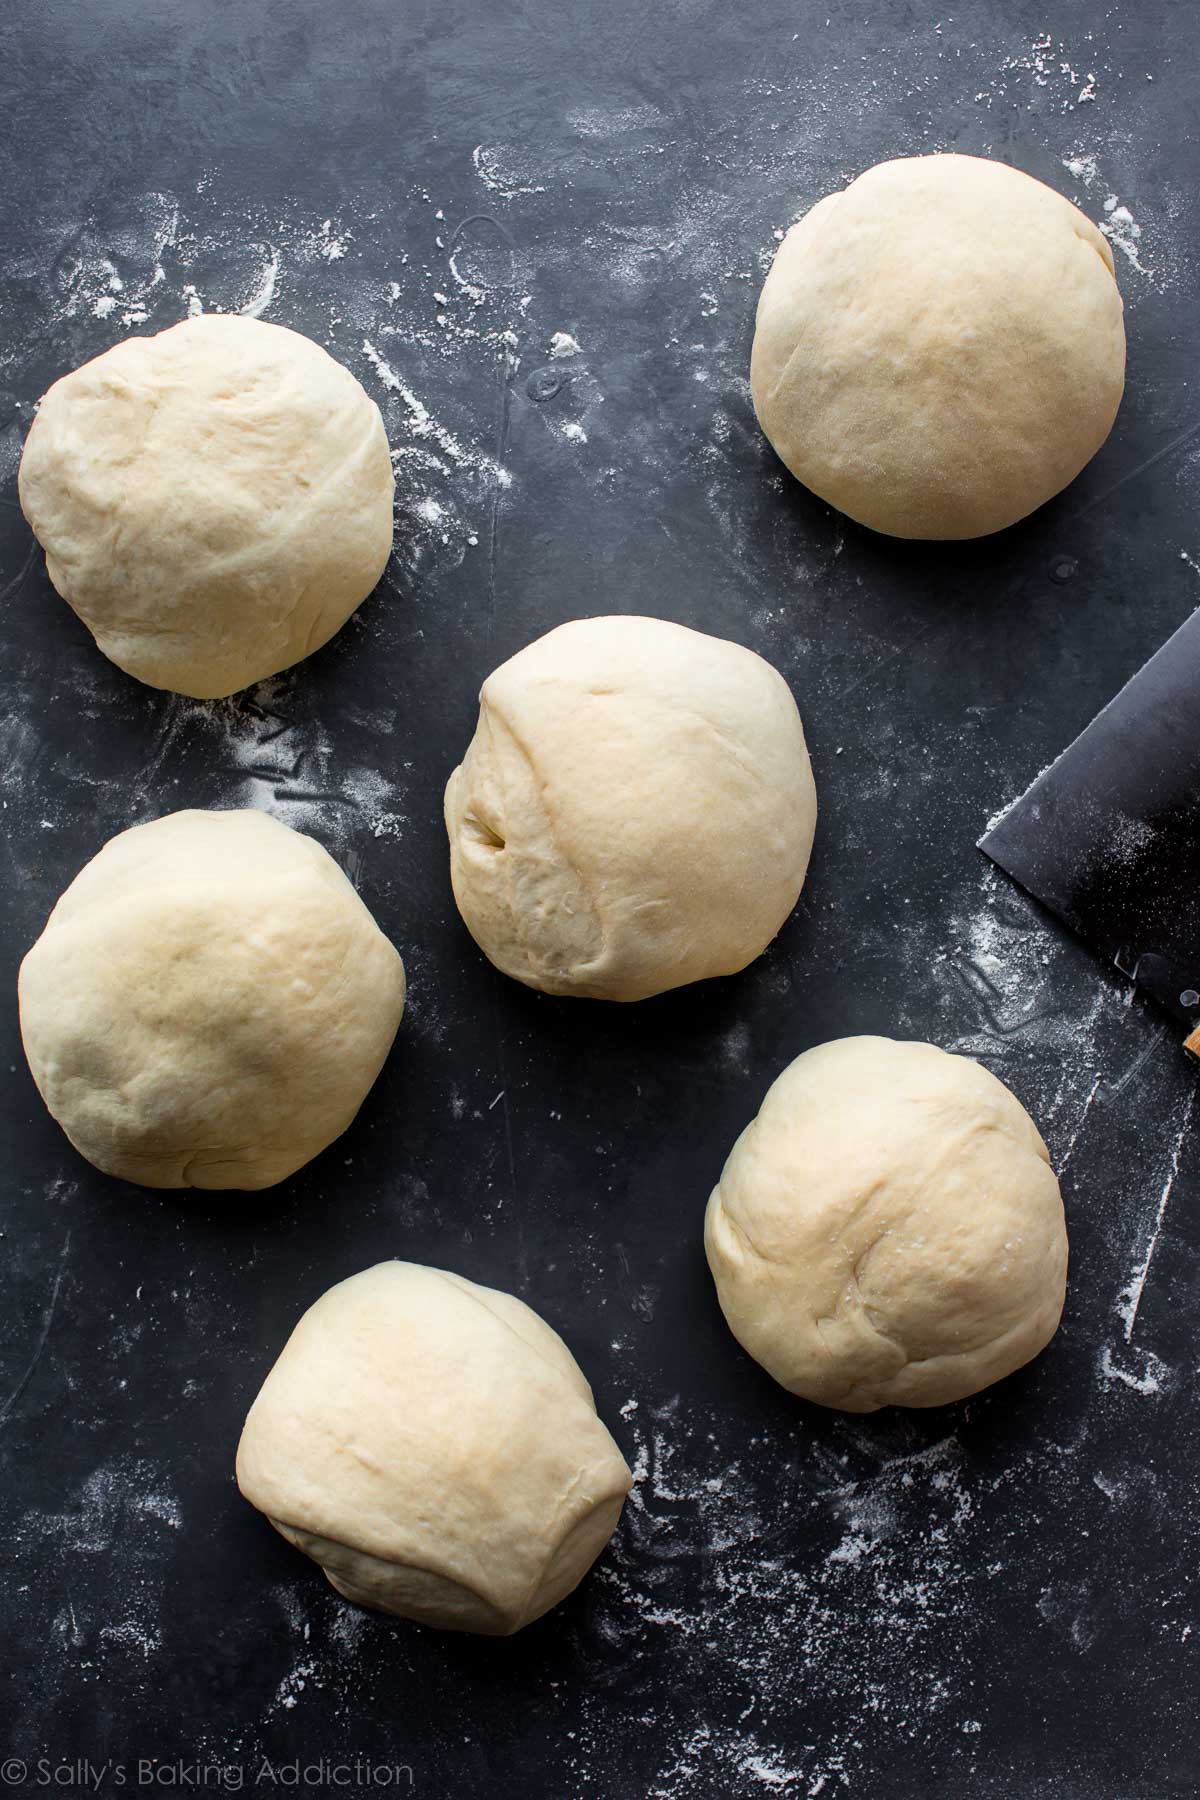
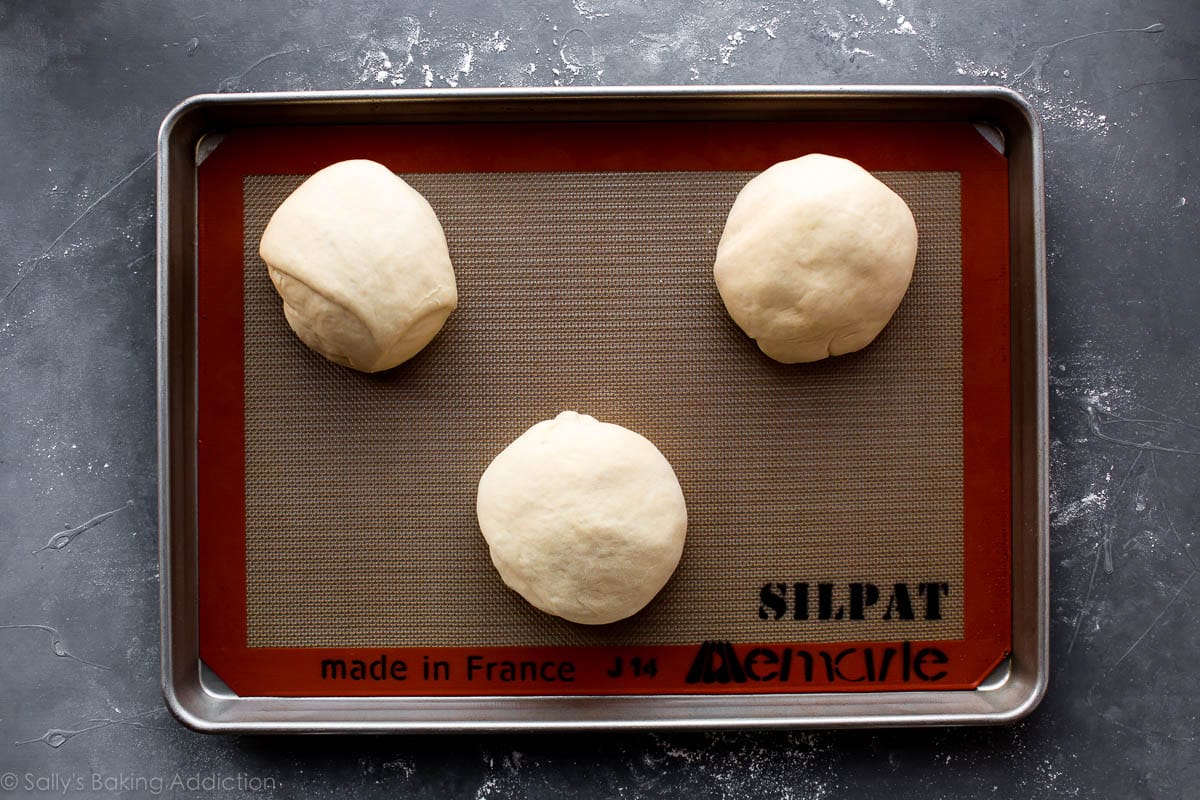
- Cut the dough into 6 even pieces. Form each into a ball. Place on prepared baking sheets—3 dough balls per sheet.
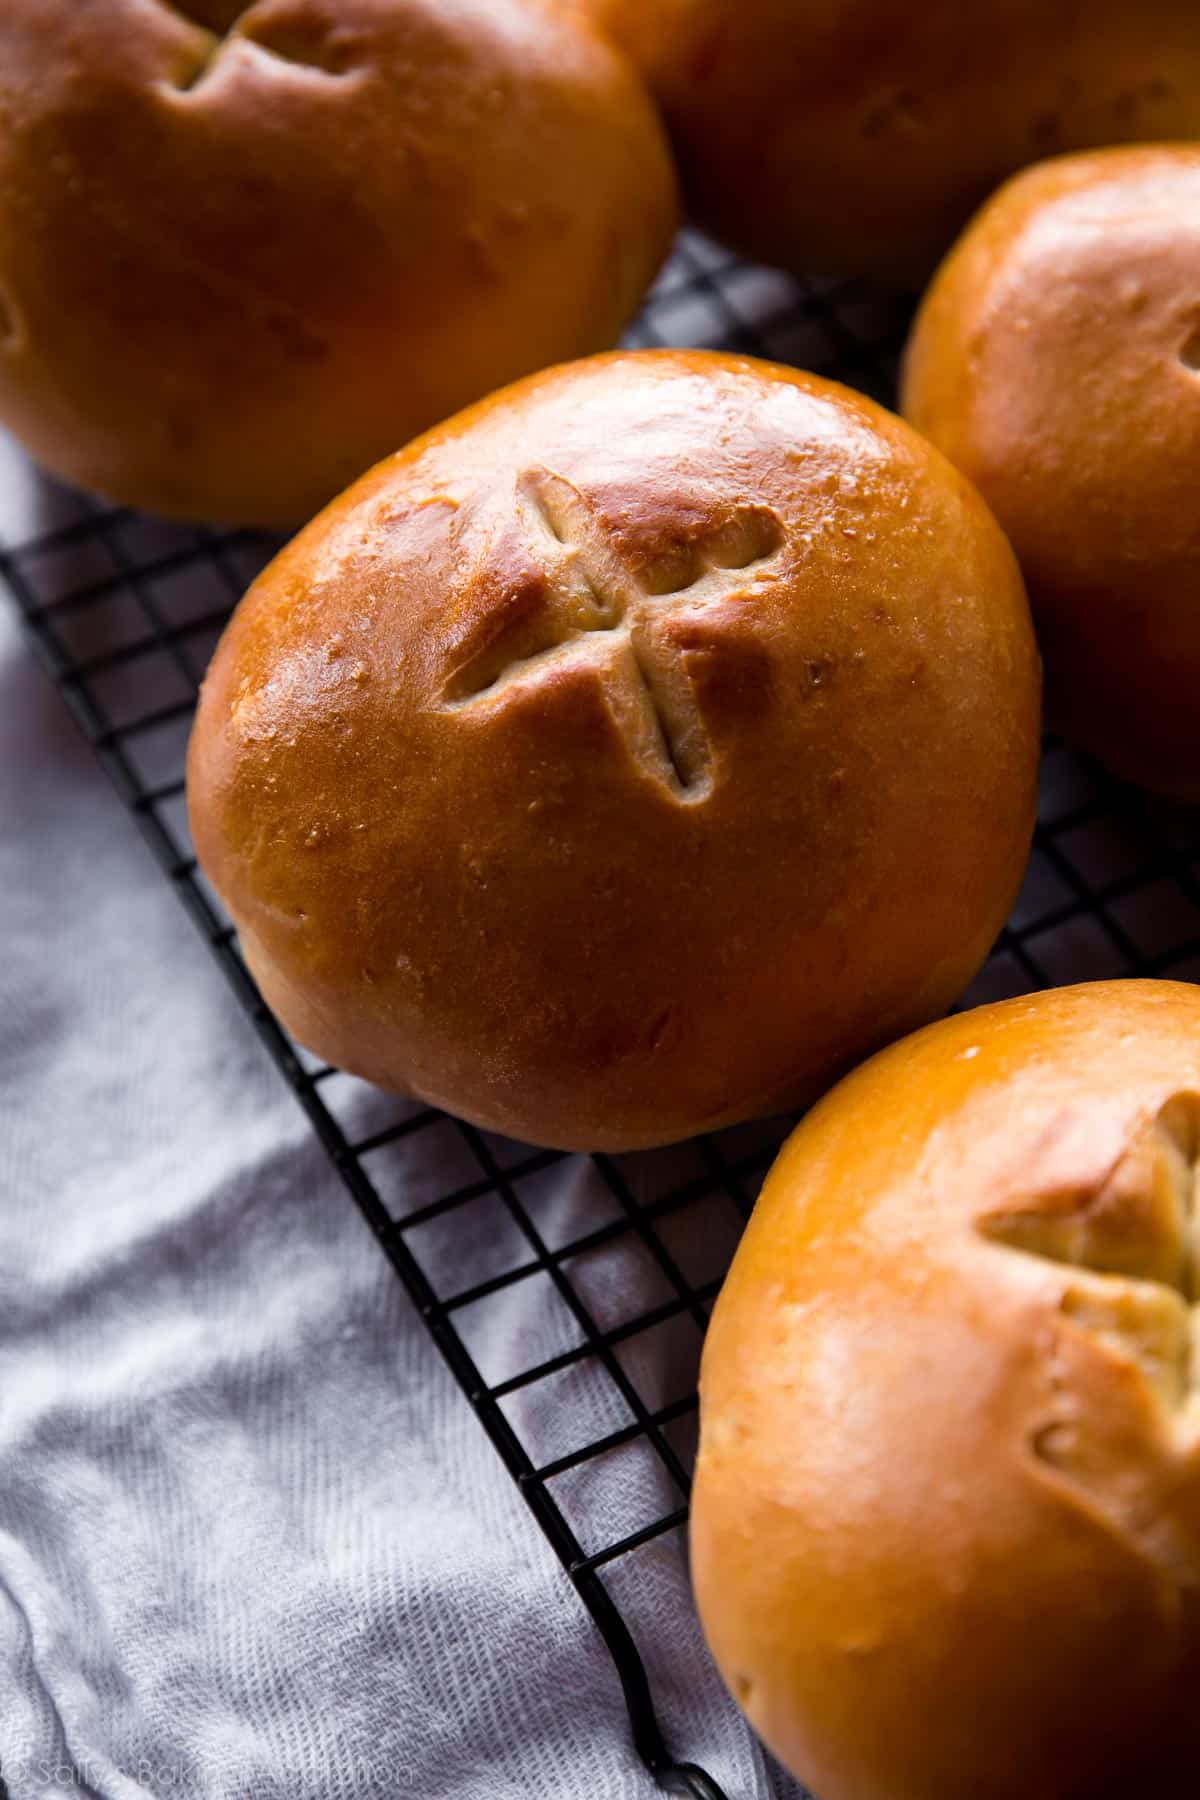
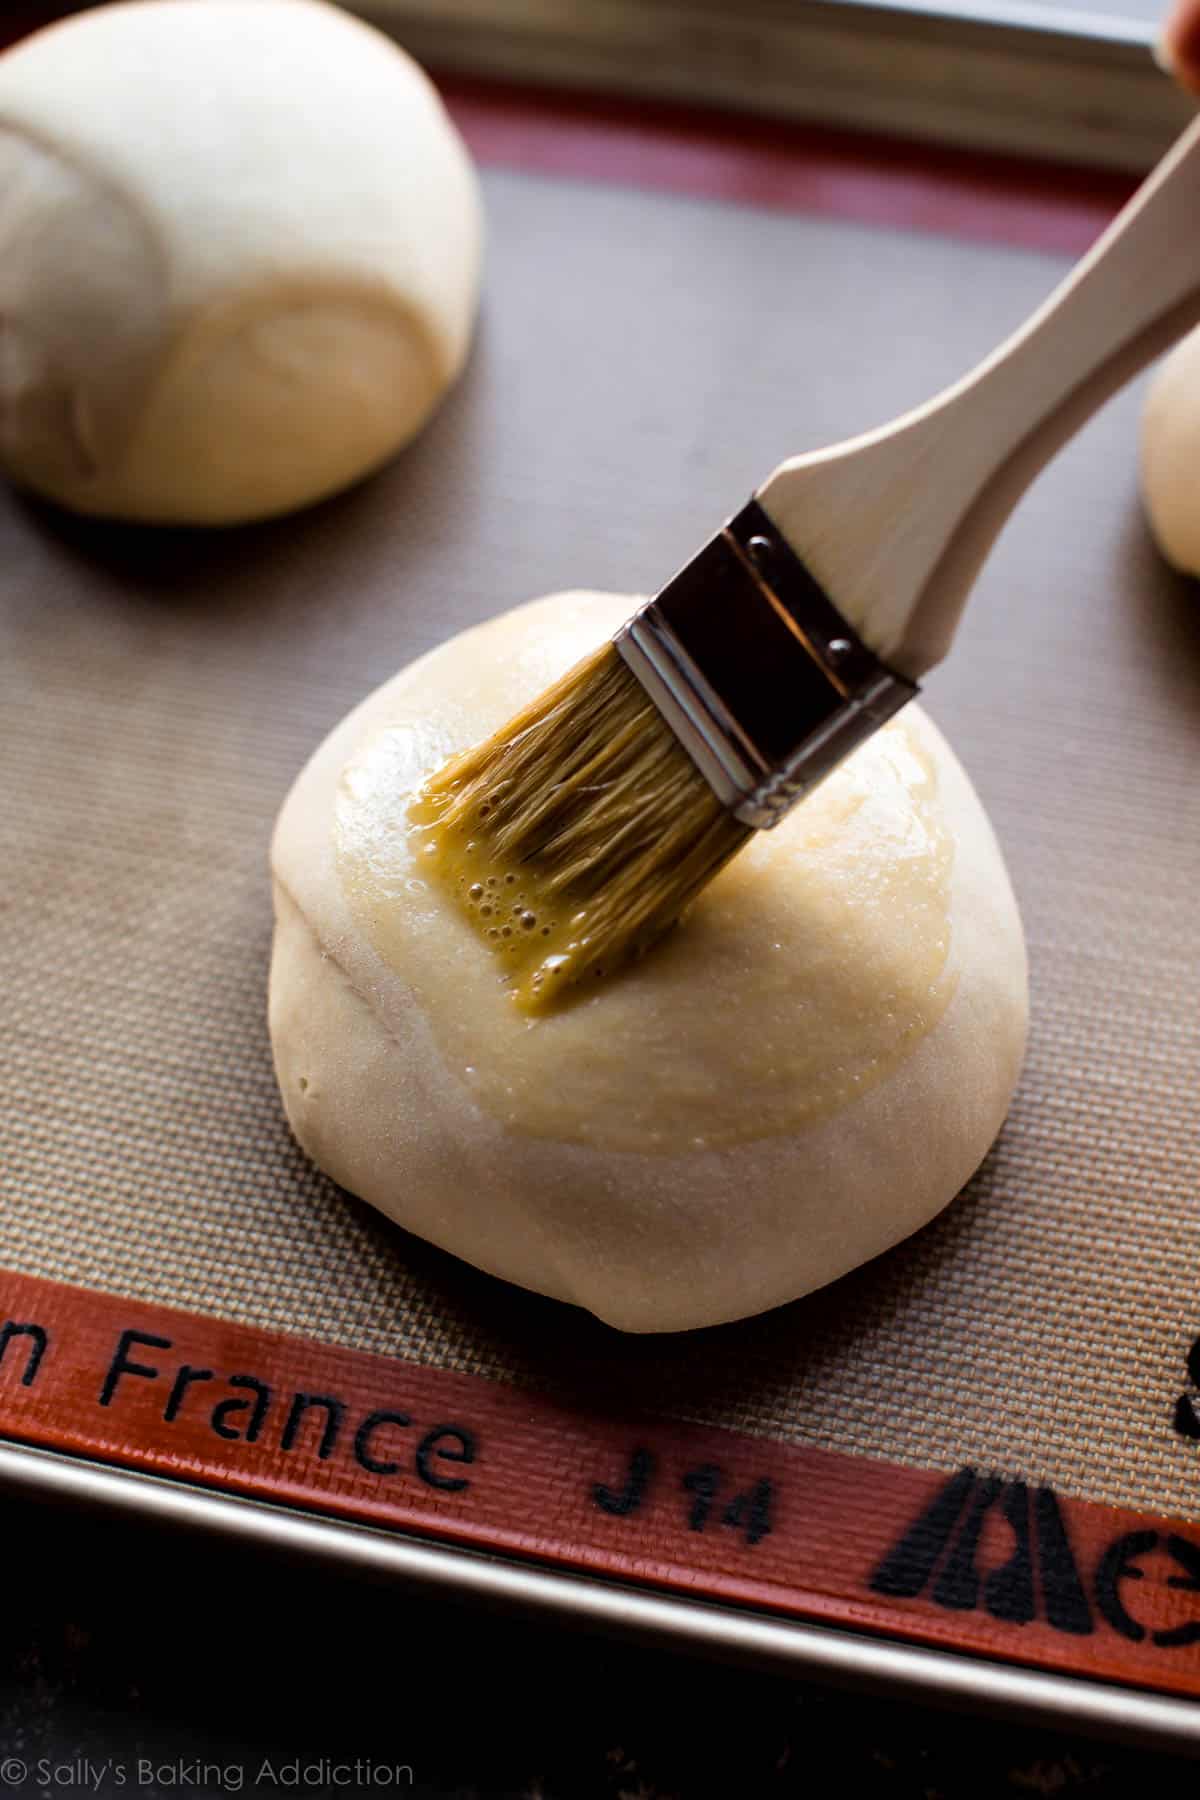
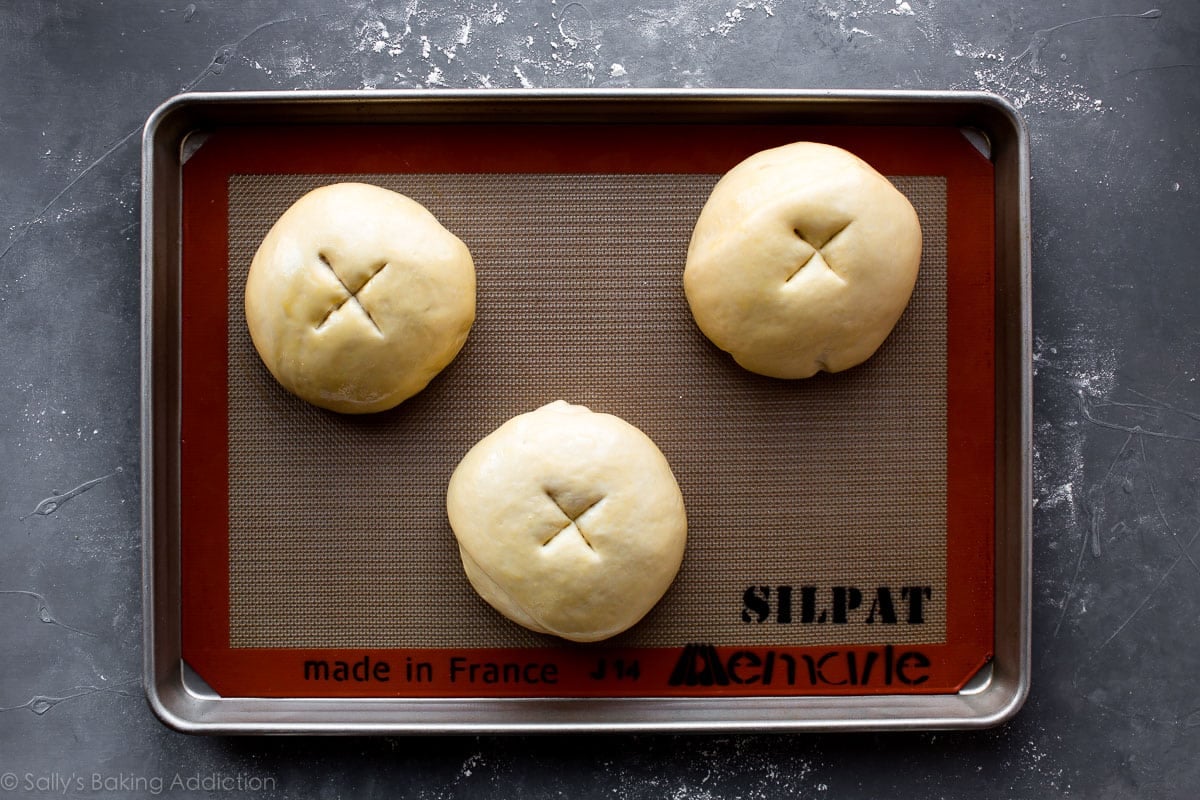
- Score an X into each. Lightly brush the tops of each dough ball with egg wash and use a sharp knife to score an X into the tops of each. The egg wash is what makes them so shiny! If not eating as a bread bowl, the X makes it easy to tear into pieces. Ease of breaking apart is crucial in a bread lover’s world.
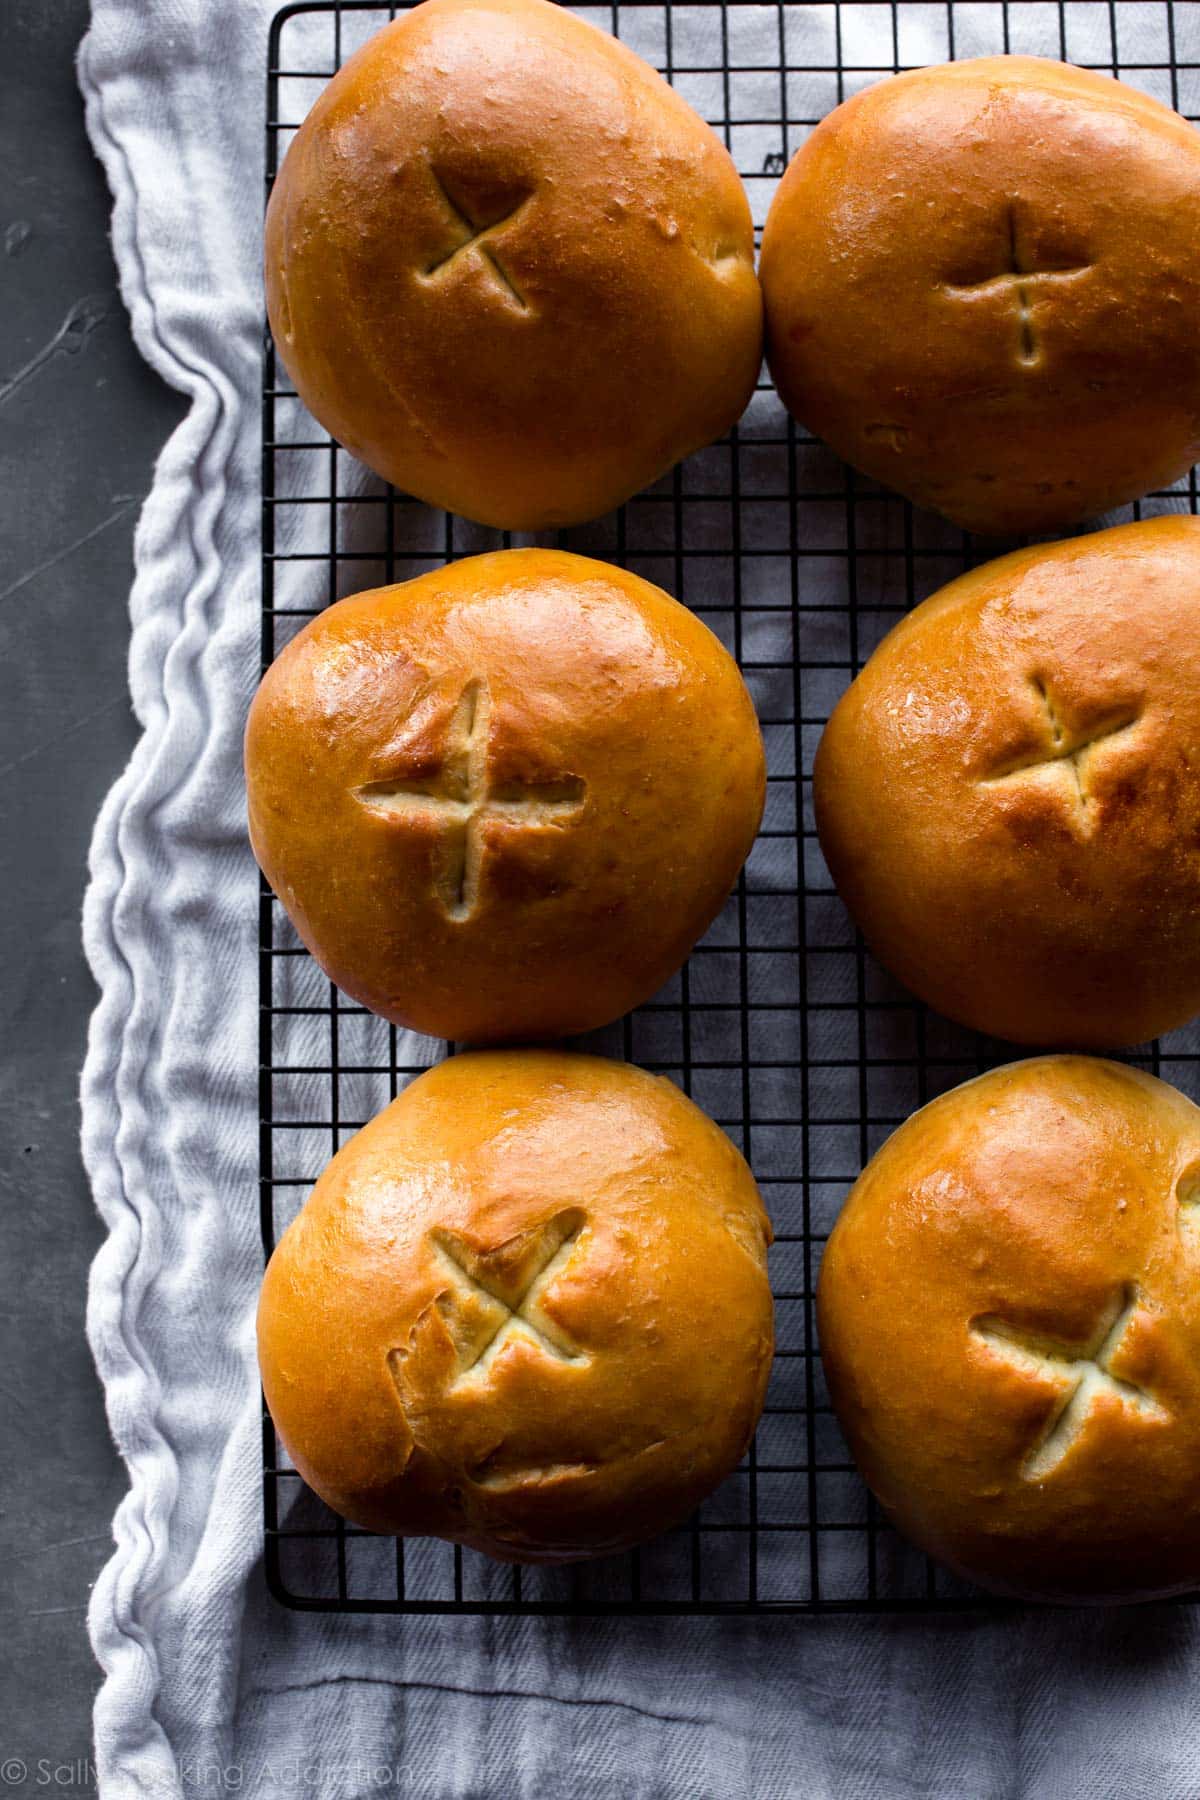
- Bake. These bread bowls take about 30 minutes to bake.
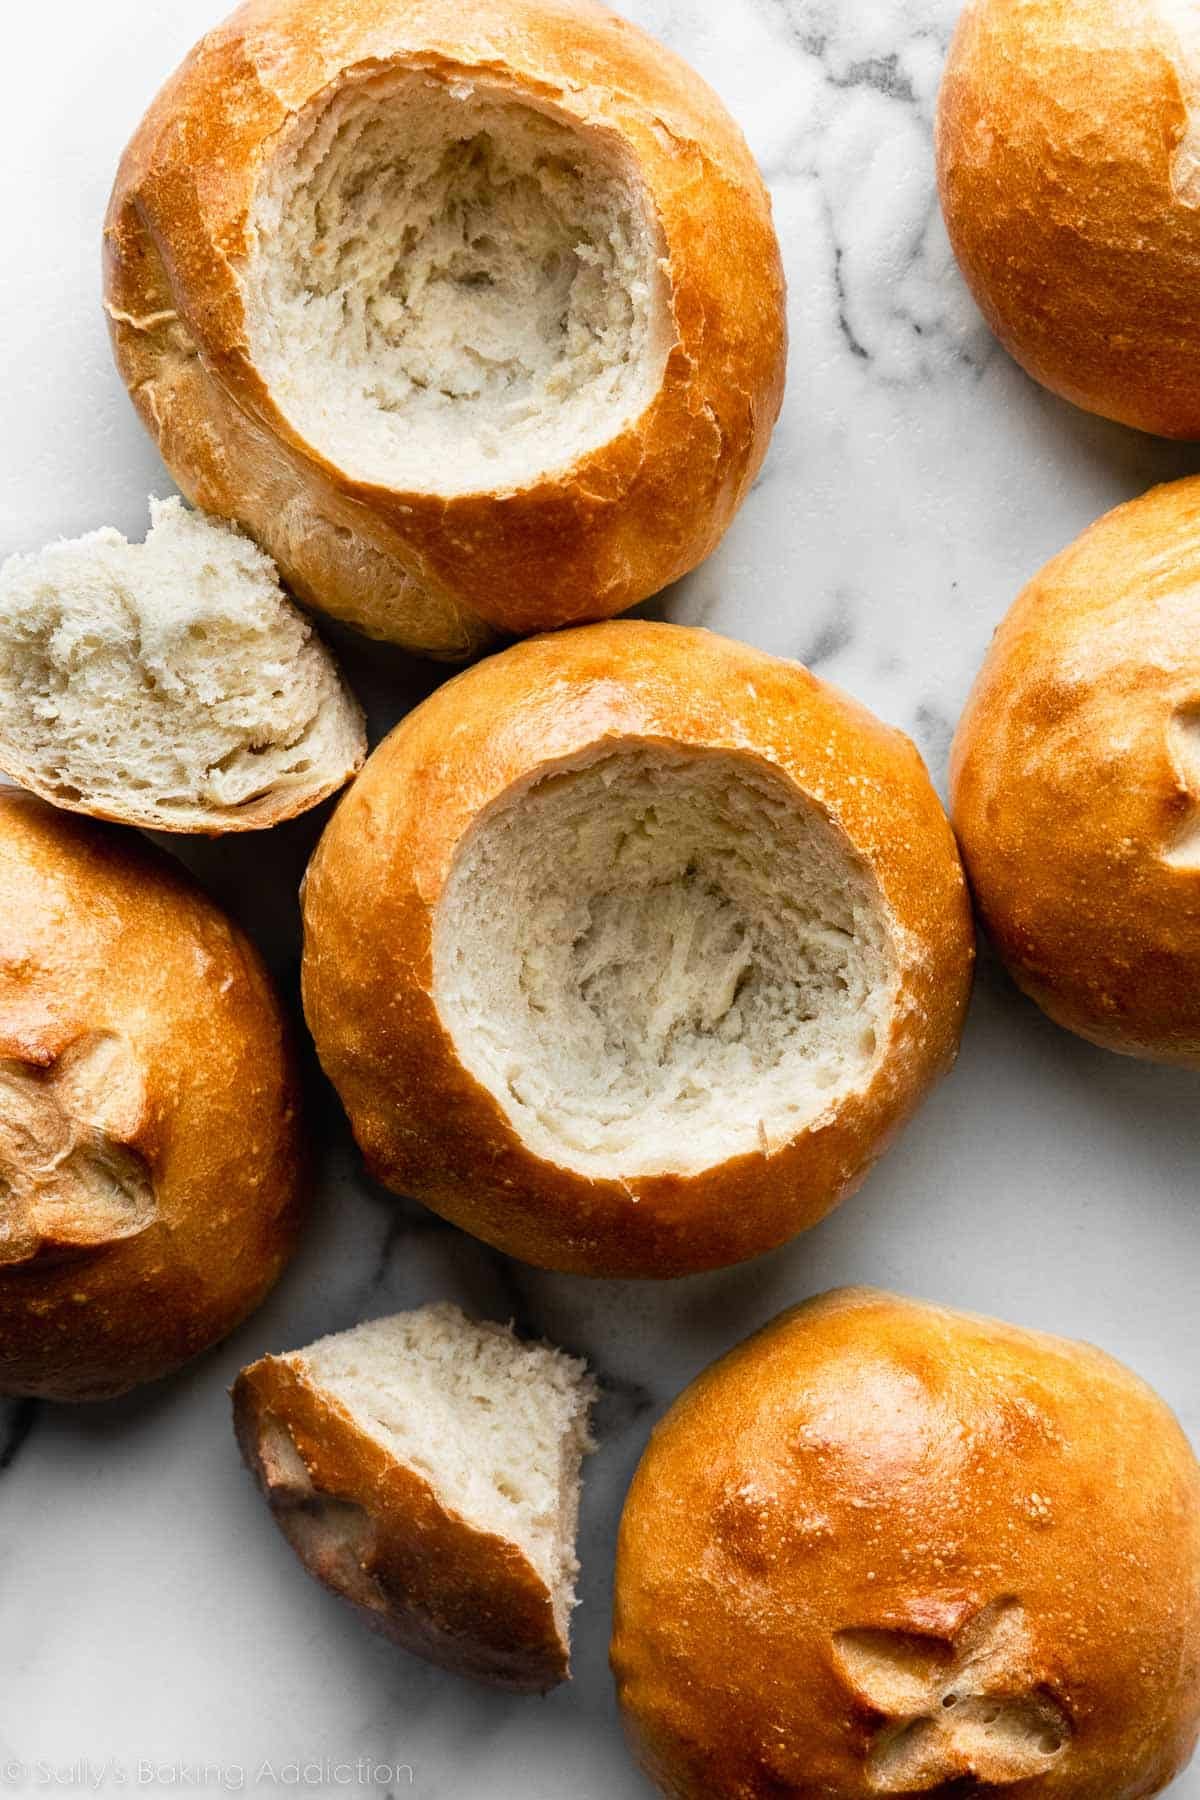
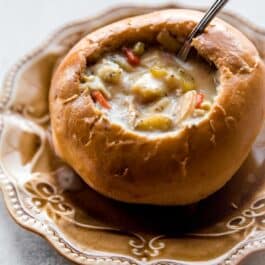
- Cut out the tops. When cool enough to handle, cut a large round out of the top of each bread bowl. Scoop out the center (save the center to dunk into soup!) and fill with soup.
This is A Basic Bread Dough
The dough we’re using to make bread bowls is a very basic bread dough. Made with common ingredients that most bakers have on hand, it’s simple, wholesome, and incredibly versatile. In fact, you’ll find the same ingredients in my sandwich bread and homemade pizza dough recipes. Using the same basic ingredients in varying amounts—like flour, yeast, water, and salt—produces incredibly different results!
Bread bowl dough is a lean dough, which means that it’s prepared without fat and produces crusty bread such as focaccia, homemade bagels, and artisan bread. On the other hand, rich doughs make soft breads such as Nutella babka, dinner rolls, and glazed doughnuts. When I’m making softer and fluffier bread, I typically use all-purpose flour, milk instead of water, and add additional fat like eggs and/or butter. More fat usually means the dough takes longer to rise. Today’s bread bowls are a particularly “lean” dough, so the rise time is quicker.
There’s no need to activate the yeast for this dough (basic, remember?)—which is when you add a pinch of sugar to the warm liquid/yeast to ensure that the yeast is active or not. Modern yeast is most likely active and ready to go. Just check the expiration date on the package.
Use This Dough for Anything
After the dough rises, you’ll shape the dough into 6 balls and bake them. You’re not limited to bread bowls though! This dough can easily turn into a couple pans of traditional dinner rolls, crusty loaves of bread, or even a few pizza doughs. You can add seasonings like garlic powder (my suggestion!), Italian seasoning, onion power, rosemary, etc. So many ways we can enjoy fresh bread with this simple and versatile recipe.
One batch of bread bowl dough makes:
- 24 dinner rolls
- 3 crusty loaves of bread
- 4 12-inch pizza crusts
See my recipe notes below the recipe for detailed instructions for making each variation, as well as my make ahead and freezing tips.
What to Serve in Bread Bowls
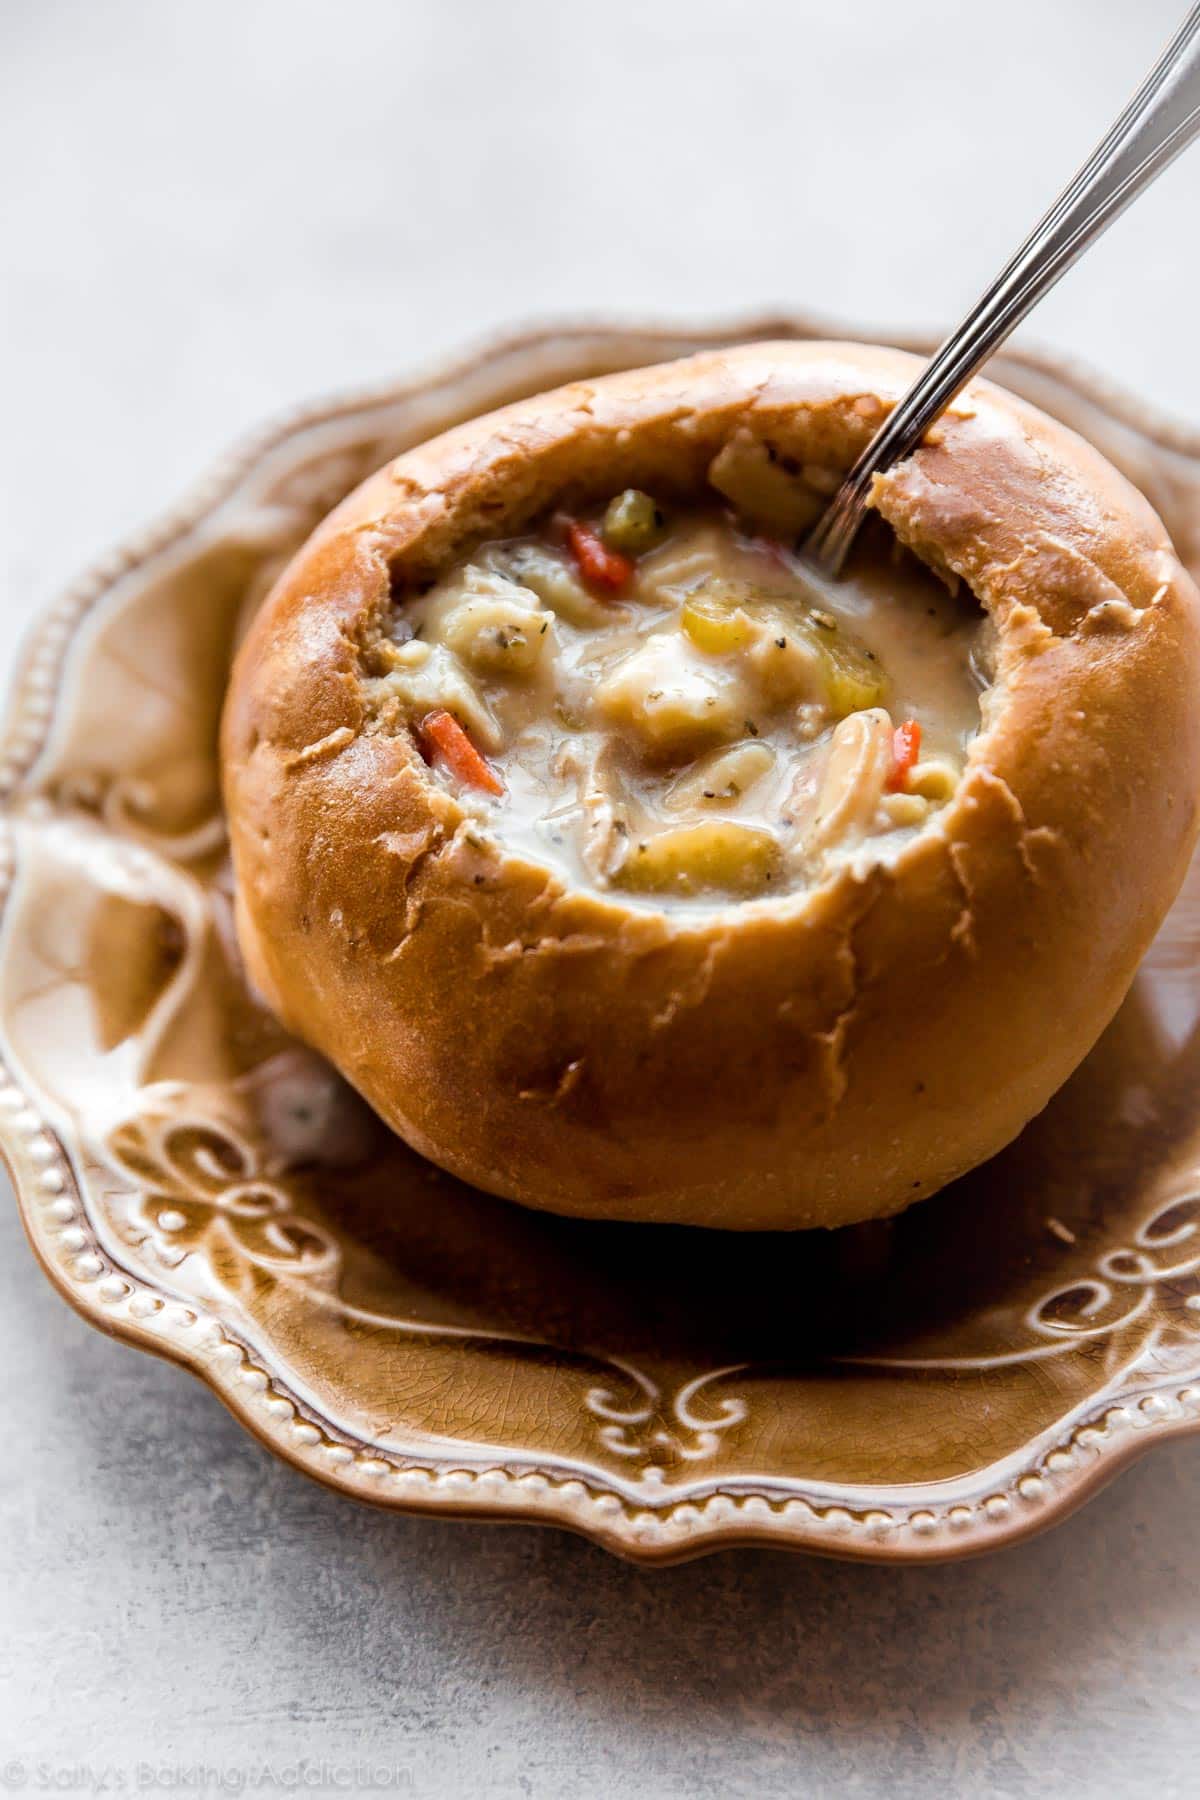
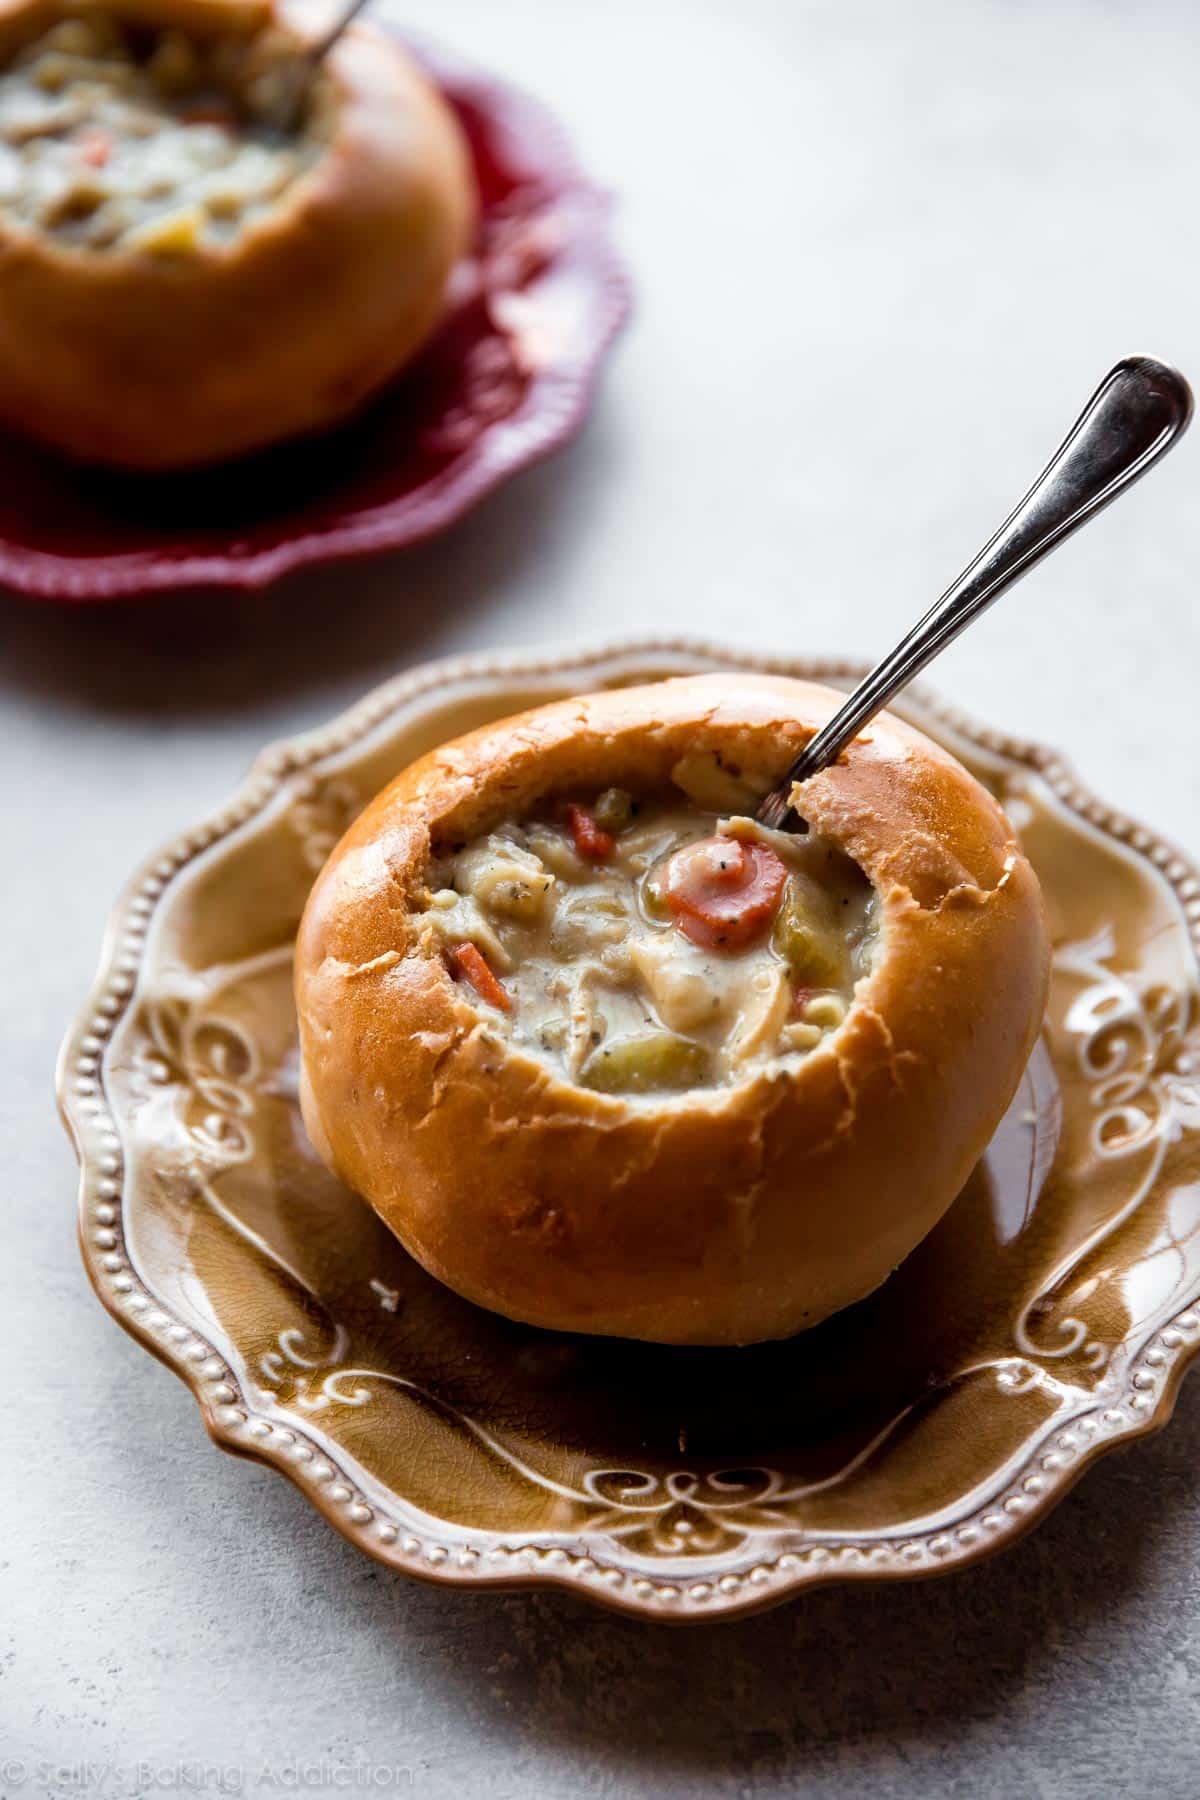
The options are endless when considering what to serve in homemade bread bowls. A few of my favorites are crab dip or Maryland crab soup, roasted garlic and bacon spinach dip, minestrone soup, slow cooker chicken chili, and creamy chicken noodle soup (pictured inside today’s bowls). Here are all of my soup recipes for even more inspiration!
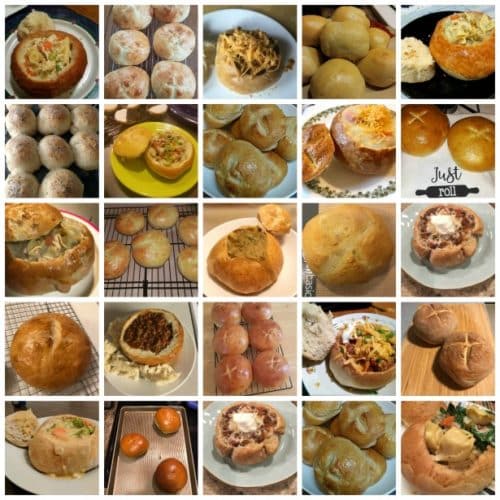
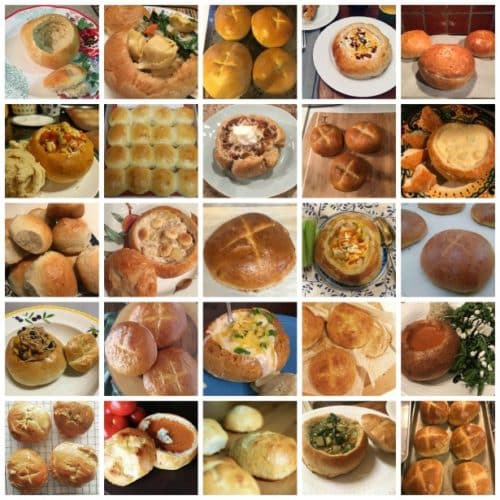
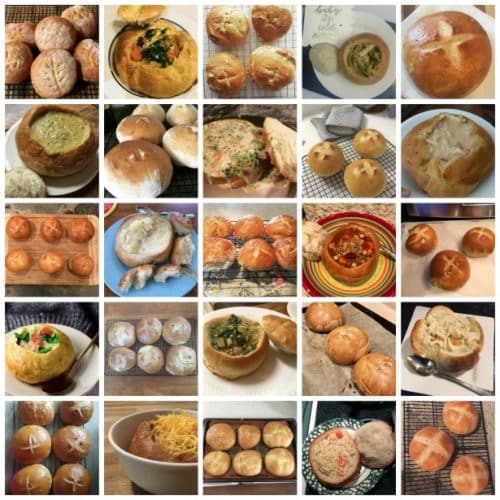
See Your Homemade Bread Bowls
Feel free to email or share your recipe photos with us on social media. 🙂
Homemade Bread Bowls
- Prep Time: 2 hours
- Cook Time: 30 minutes
- Total Time: 2 hours, 30 minutes
- Yield: 6 large bread bowls
- Category: Bread
- Method: Baking
- Cuisine: American
Description
Homemade crusty and soft bread bowls- a delicious basic dinner roll recipe you should hold onto!
Ingredients
- 2 packets Red Star® Active Dry Yeast (4 and 1/2 teaspoons)
- 2 and 1/4 cups (540ml) warm water (110°F – 115°F)
- 2 teaspoons granulated sugar
- 2 teaspoons salt
- 2 Tablespoons (30ml) olive oil
- 6 cups (780g) bread flour (spooned & leveled), plus more for hands and surface*
- egg wash: 1 large egg beaten with 1 Tablespoon water or milk
Instructions
- Pour the warm water over yeast in the bowl of a stand mixer fitted with a dough hook attachment. Or, if you don’t have a stand mixer, a regular large mixing bowl. Whisk together and allow to sit for 5 minutes. Cover the bowl with a towel. The mixture should be frothy and foamy after 5 minutes.
- If you do not have a mixer, you can mix by hand in this step. With the stand mixer running on low speed, add the sugar, salt, olive oil, 4 cups of bread flour, and seasonings (if using, see recipe note). Beat on low speed for 1 minute, then add remaining 2 cups of flour.
- Knead the dough: Keep the dough in the mixer and beat for an additional 5-6 full minutes, or knead by hand on a lightly floured surface for 5-6 full minutes. (If you’re new to bread-baking, my How to Knead Dough video tutorial can help here.) If the dough becomes too sticky during the kneading process, sprinkle 1 teaspoon of flour at a time on the dough or on the work surface/in the bowl to make a soft, slightly tacky dough. Do not add more flour than you need because you do not want a dry dough. After kneading, the dough should still feel a little soft. Poke it with your finger—if it slowly bounces back, your dough is ready to rise. You can also do a “windowpane test” to see if your dough has been kneaded long enough: tear off a small (roughly golfball-size) piece of dough and gently stretch it out until it’s thin enough for light to pass through it. Hold it up to a window or light. Does light pass through the stretched dough without the dough tearing first? If so, your dough has been kneaded long enough and is ready to rise. If not, keep kneading until it passes the windowpane test.
- Turn it out onto a lightly floured surface and form into a ball. Then place into a large greased bowl, turning once to grease the top. (I just use the same mixing bowl—remove the dough, grease it with nonstick spray or olive oil, put the dough back in.) Cover the bowl with plastic wrap and place it in a warm environment to rise until doubled, about 90 minutes. Tip: For the warm environment on a particularly cold day, heat your oven to 150°F (66°C). Turn the oven off, place the dough inside, and keep the door slightly ajar. This will be a warm environment for your dough to rise. After about 30 minutes, close the oven door to trap the air inside with the rising dough. When it’s doubled in size, remove from the oven.
- Once doubled in size, punch down the dough to release any air bubbles. Remove dough from the bowl and turn it out onto a lightly floured surface. Punch down again to release any more air bubbles if needed.
- Using a sharp knife or dough scraper, cut into 6 even pieces. Form each into a large ball.
- Line 2 large baking sheets with parchment paper or silicone baking mats. Place 3 dough balls onto each. Cover lightly and set aside to rest for 20 minutes as the oven preheats.
- Preheat oven to 400°F (204°C). Brush each dough ball with egg wash and, using a sharp knife, score an X into the tops of each.
- Bake for 30 minutes or until golden brown. For a more accurate test for doneness, the bread bowls are done when an instant-read thermometer reads the center as 195°F (90°C).
- Cool until ready to handle. The longer you cool, the easier they are to cut open. For serving, cut a large round out of the top of each bread bowl. Scoop out the center (save the center to dunk into soup!) and fill with soup.
- Cover and store leftover bread bowls at room temperature for a couple days or in the refrigerator for 1 week. You can also freeze the baked bread bowls for up to 3 months, then thaw overnight in the refrigerator. Bring to room temperature before serving.
Notes
- Make Ahead Instructions: After dough has risen in step 3, punch down the dough inside the mixing bowl and cover the bowl tightly with plastic wrap. Refrigerate overnight or for up to 2 days, then remove from the refrigerator and continue with step 4. OR freeze for up to 2 months, then allow to thaw overnight in the refrigerator and continue with step 4.
- Special Tools (affiliate links): Stand Mixer or Large Mixing Bowl and Wooden Spoon or Silicone Spatula | Whisk | Dough Scraper | Baking Sheets | Silicone Baking Mats or Parchment Paper | Pastry Brush | Instant-Read Thermometer
- Whole Wheat Flour: I do not recommend using whole wheat flour in this dough. If desired, you can replace up to 1 cup of bread flour (about 130g) with whole wheat flour.
- Half Recipe: You can halve this recipe to make only 3 bread bowls. Or make the dough as written and freeze half for later use (see make ahead tip).
- Adding Flavor: I love adding a little flavor to the bread dough. I tested the recipe with a couple teaspoons of garlic powder and could hardly taste it. (Though I could certainly smell it.) I increased to 1.5 Tablespoons and it left a light and lovely garlic flavor. Adding garlic powder is optional, but tastes wonderful in the bread. If it pairs nicely with your soup of choice, definitely add it. You can also add 1-2 Tablespoons Italian seasoning or rosemary, or a Tablespoon of onion powder.
- Dinner Rolls: Makes 24 rolls, which is likely more than you need, but you can freeze half of the dough for later. Prepare dough through step 4. Instead of forming into 6 balls in step 5, divide the dough in half. Freeze half of the dough for later use (see make ahead tip) and form the other half into 12 balls. Place balls in a greased 9×13 baking pan. Cover lightly and set aside to rest for 20 minutes. Brush with egg wash, score with an X if desired (not necessary) and bake at 350°F (177°C) for 25-28 minutes or until the tops and edges are golden brown.
- Pizza Dough: Makes 4 12-inch pizza crusts, which is likely more than you need, but you can freeze half of the dough for later. Prepare dough through step 4. Instead of forming into 6 balls in step 5, divide the dough in half. Freeze half of the dough for later use (see make ahead tip) and form the other half into 2 large balls. Cover lightly and set aside to rest for 20 minutes. Flatten each ball of dough 1 at a time on a lightly floured surface or on a silicone baking mat. You could also do this directly on your greased pizza pan. Flatten and stretch into a 12-inch round circle. Brush with a little olive oil (no need for egg wash). Add toppings and bake in a super hot oven at 475°F (246°C). Pizzas typically take 12-15 minutes.
- Crusty Bread Loaves: Makes about 3 loaves of crusty bread. Prepare dough through step 4. Instead of forming into 6 balls in step 5, divide the dough into 3 pieces. You can freeze 1 or 2 pieces for later use (see make ahead tip). Round into a ball as best you can and place onto a lined baking sheet. Cover lightly and set aside to rest for 30 minutes. The dough will spread out a bit. Brush with egg wash, score with an X, and bake at 400°F (204°C) for 30 minutes or until the tops and edges are golden brown.
- Reference my Baking with Yeast Guide for answers to common yeast FAQs.
Begin with quality yeast.
Pour warm water on top, give it a minute to combine and froth up, then add the rest of the dough ingredients. You know the dough is ready when it no longer sticks to the sides of the bowl.
Let it rise in a warm environment until (roughly) doubled in size, about 90 minutes. I use my oven for this warm environment. See step 3 above.
The dough will be filled with air. Punch the dough down to release those air bubbles. You’ll be left with a super soft dough. ↓
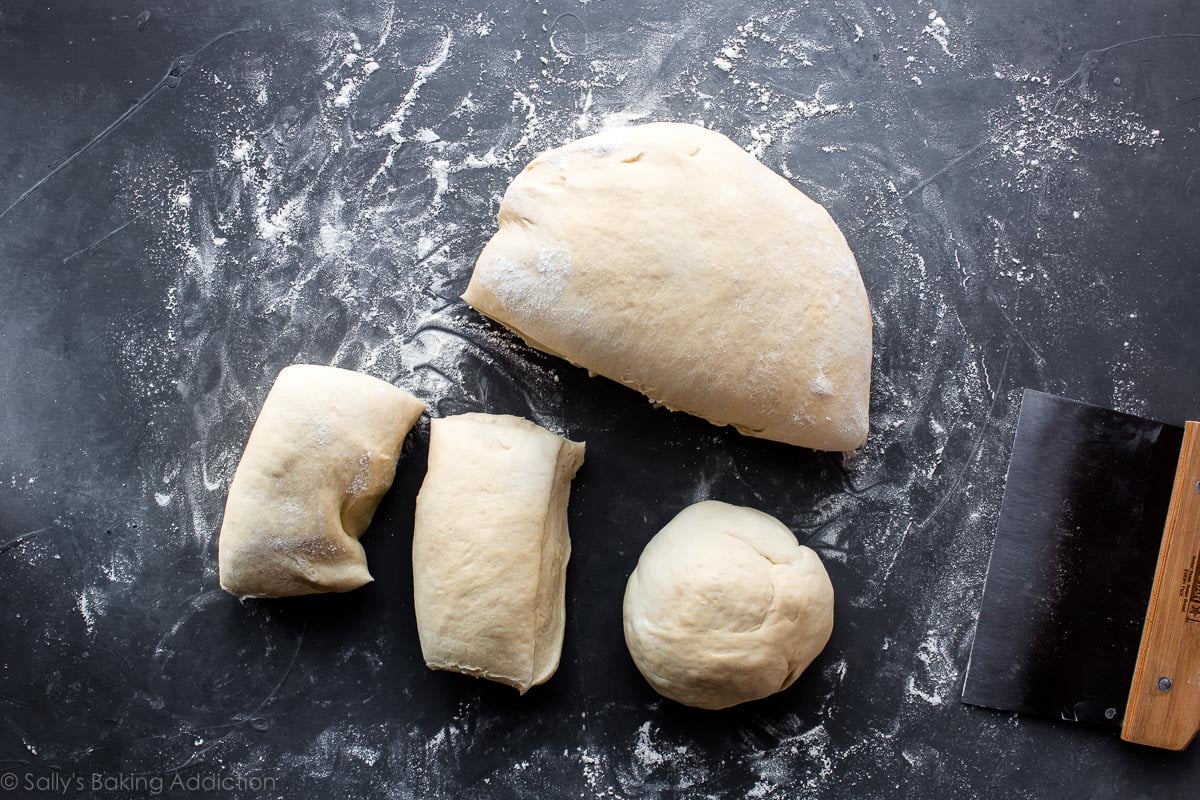
Divide the dough into 6 equal pieces, about the size of a softball, and round them into balls as best you can.
Use 2 baking sheets. Place 3 balls on each.
Cover lightly with a tea towel, plastic wrap, aluminum foil, etc. Let the dough rest for about 20 minutes.
Brush with egg wash. The egg wash helps create a crisp golden brown crust.
Score an X on the top of the unbaked rolls. This helps the rolls expand.
Bake until golden brown.
Carve out a deep hole in the bread. Doesn’t need to be perfect. Just use a knife.
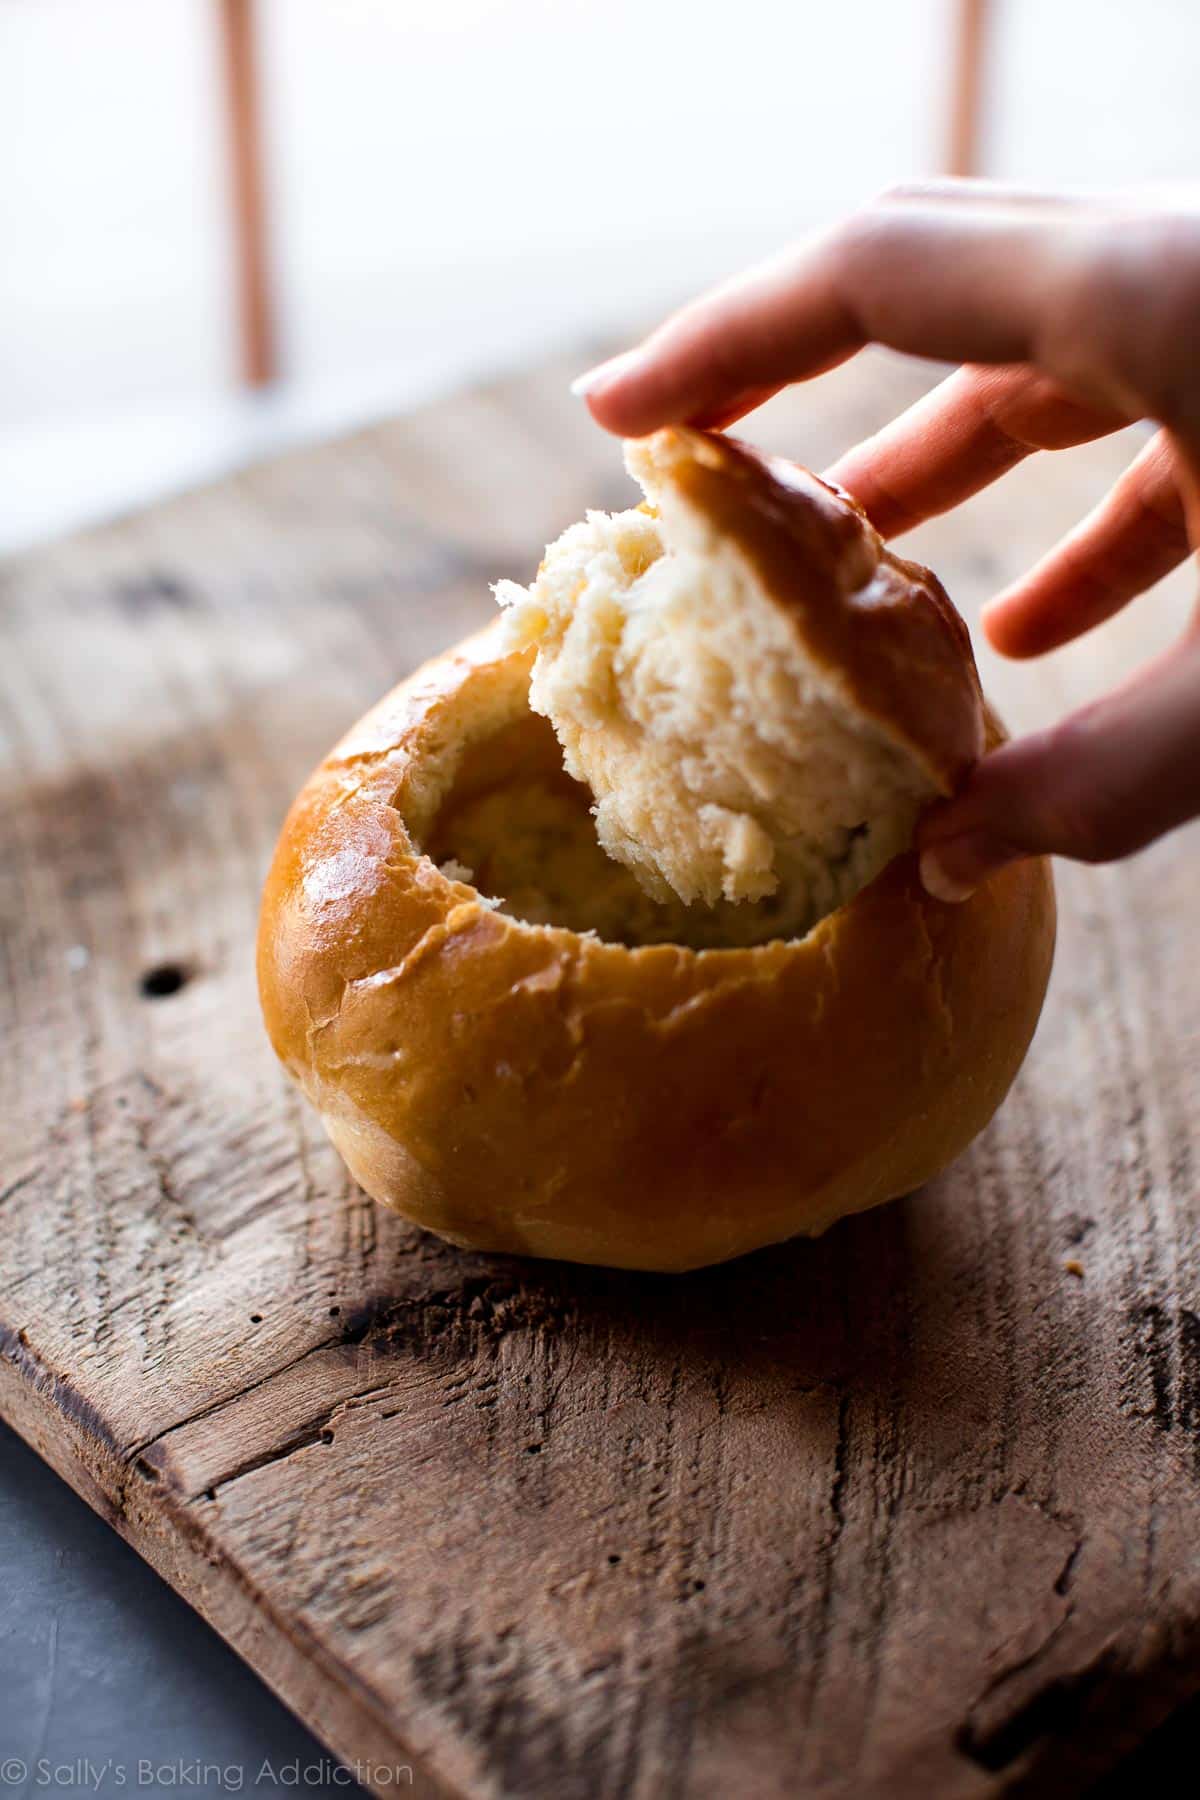
Add your soup and enjoy.


I just want to say, I’ve never made any kind of bread before, and like many, find the prospect intimidating, but the wording in this recipe is so comforting and encouraging, and just… thanks. I’m going to try it.
I had to add a lot of water to even get the dough to stick together. I assume that it needs to be at least a little on the dry side in order to hold its shape while baking, so I added just enough to get the dough to properly stay together. But prepared as written, I don’t think I would have been able to work with it.
Hi! Is it possible to make the bowls bigger? If so, would you recommend doing a single recipe and making 4 bowls or doubling it and making 6? Thanks!
Hi Josh, you can make them larger. I recommend following the dough as written and dividing into 4 sections for 4 bread bowls. I’m unsure of the exact bake time for the larger size.
It is possible!! I doubled the recipe making four large bread bowls per recipe, made the dough in separate bowls at the same time, as doubling it in the same bowl would have been too much for my mixing bowl to handle. Cut each ball into four pieces to make 8 total and cooked in the oven for 40 minutes. Turned out perfect.
Hi Cynthia! When you made 4 larger bowls per recipe, how big were they? I’m wanting to make one to put spinach dip in for several people to share. Thanks!
Can a bread maker be used for the mixing and rising?
Hi Sandy! A few readers have commented on this recipe saying they’ve had success using it on the normal dough cycle, though we haven’t tested it ourselves.
Excellent recipe! So much good information. I made 2 batches and did 5 bowls because there were 5 of us. So delicious they only lasted 2 days…this will be a regular. The bowls held their shape even when people went up for a 2nd helping of chili. Thank you!
Hi Sally thanks for all of these wonderful recipes. I have 10 pounds of all purpose flour. Pandemic made me buy all of this flour. So will I be able to get a decent crusty loaf of Italian bread for sandwiches?
Yes you can use all purpose flour Helen, they just won’t be quite as chewy.
Hello! I was thinking about making these for some personal spinach dip appetizers in their own little bread bowls (so no sharing). Do you think this makes enough dough that if I divided them into 12 they would be decent enough size for that? You say you can make 24 dinner rolls so I feel like half way between a dinner roll and a bigger bread bowl would work. Thoughts?
Hi Dara, what a great idea. This yields a lot of dough and would be plenty for 12 smaller “dip” bowls. The bake time will be shorter since the bowls will be smaller.
Even just an hour in the oven at 200 degrees was enough to half bake my bread, even with leaving the door open and it didn’t even rise to twice size before a light crust started to form.
Yeast dies if it gets too warm (138* F and up). It sounds like that’s what happened to the yeast in your dough since you placed it in a 200* F oven. Without living yeast, your dough most definitely will not rise. You probably need to find another warm spot to let your dough rise that isn’t quite that hot. I have had success placing my bowl of dough in my garage on top of the washing machine on a warm day. I live in southeast Texas…so it gets pretty hot. When the weather is cold, I put it on my bathroom counter with a small heater going on the floor and I shut the door. It warms the room up to about 80-90* F and my dough rises pretty quickly. I hope you give it another try because fresh bread is amazing!
Flawless! The egg wash made me a tad nervous, but it was a great addition. I mixed by hand and kneaded the dough for about 10 minutes to get the smooth dough built up. The hardest part of this recipe is waiting for the bowls to cool before cutting them open to ladle soup inside.
This is my go to recipe. It always turns out perfect!
Oh my goodness – these are amazing! I made them twice, and they came out perfect both times. The first batch was for broccoli cheddar soup, and the second time around I made French onion, cut the bread bowls open and toasted the tops, then cut them into cubes, topped with Gruyere and browned them up under the broiler for a few minutes. Absolute heaven – thanks for the great recipe!!
I don’t have a stand mixer, so I literally used my hands to mix everything together. The dough seems very, very dry. Your dough looked really soft and just a tiny bit sticky, whereas mine had no stickiness at all. I’ve got them rising in the oven now, fingers crossed that I didn’t screw em up!
I made these for beef stew bowls tonight, and they came out great. The taste and texture is perfect, but the bowls are smaller than I wanted. Next time, I’ll try doubling the recipe to make bigger bowls.
Dude approved! Super easy recipe and beyond delicious! Do not pass this up and cook it tonight!!
This is delicious!
Made this today for dinner this evening. Fresh out of the oven! My goodness these are so good. This recipe was just so easy to follow. And the results are…re: delicious!
Thank you.
p.s. the addition of the garlic powder….sooo good. Family is gonna love it.
Hi, what about adding fresh onions or garlic or some herbs? Will that change the texture and baking time?
Hi Rhonda, We haven’t tested this recipe with fresh onion, but love adding garlic powder, onion powder, or even Italian seasoning among other herbs! See the recipe note “adding flavor” for details.
Thanks so much for this recipe! This was my first time making bread, and it turned out so perfectly! It was so delicious, and easy to follow for a beginner like me. Thank you so much!!
Thank you so much for this delicious recipe. Our son absolutely loves New England Clam Chowder in a bread bowl. I used Fleishmann’s Instant Yeast because that was all that I had on hand and they still turn out great. I want to use my bread machine for kneading and rise, so I used 2/3 of the recipe to make 4 bread bowls. The size was perfect! My son said that they were better than Panera’s bread bowls
I bought RapidRise Instant Yeast – it says: Simply add to dry ingredients – then follow your recipe – no need to hydrate in water. When would I add it in the Bread Bowl recipe?
Thanks
Hi Margaret, I still recommend following this recipe as written, including step 1 and the warm water. It doesn’t hurt the process or the dough and it will still ensure your rapid rise yeast is active.
I was the sous chef for my 10 year old son tonight- his dinner choice. He loved decided the seasoning combo. We had regular flour but added additional vital wheat gluten. With his creamy tortellini soup, the bread bowls didn’t disappoint! This was by far the best bread bowl recipe I have tried!
What recipe did you use for your chicken soup? It looks delicious!
Hi Hailey, The pictured soup is Light Creamy Chicken Noodle Soup.
This recipe was amazing! We love bread bowls and can never find them in the store. I decided to give it a try and they came out perfect! I only had all-purpose flour and they were still great. Thank you for the recipe and step by step photos!
Hi Sally. Love all your recipes and videos. Have a question on the homemade bread bowls. My dough when I formed into a ball and put it on the cookie sheet just went flat, they were not round and were very shallow, not suitable for soup. What did I do wrong or should I do differently? Thanks so much for your time
Hi Stacey, thank you! A firmer/sturdier dough should help and extra flour will help you achieve that. I recommend an extra 1/2 – 3/4 cup of flour in the dough.
Hi Sally!!! Love love love your recipes. Iv’e made more of your recipes during this quarantine than I have in the last couple of years…
Question: I could only find Fresh Active Yeast. The little squares are .6 oz. how can I use it in this recipe? Please help!!
Hi Maria, In my Baking with Yeast Guide there is a section called Cake Yeast Vs Dry Yeast. In that section I link to a conversion chart. Enjoy!
I am making this right now for homemade clam chowder tonight! Question though, I’ve never used yeast before. All I have is instant yeast, and I’ve heard it’s 1:1 interchangeable with active dry yeast, just don’t need the water. But the dough is obviously just dry without water…do I add the same amount of warm water for instant yeast???
Hi Rachel, You can use instant yeast without making any changes to the recipe. The rise time will be a little shorter.
This is my favorite recipe I’ve ever made. My husband can’t stop talking about it, and my kids all gobbled them down with my potato broccoli cheese soup. Thank you for a winner!
I have NEVER EVER even tried to attempt to make homemade bread bowls, although I’ve been feigning for some. So, since this recipe seems pretty easy for me as a beginner, I’m DEFINITELY going to try it in the next couple of days. I CAN HARDLY WAIT!!! Thank you so much.
This was something I never done before (I’m not a bread person) and it turned out quite fun! My daughter was fascinated that we can eat bowls in edible “vessels.” Highly recommend this recipe! Which reminds me – I found a couple soup recipes on Sally’s blog that I should make the bowls to go with them!
I made this tonight. I cut the recipe in half, intending to make 3 bread bowls.
My balls ended up spreading a bit too much so we’re too low and wide to use for soup, but we each got our own individual loaf of bread instead. It was one of the best friends I have ever. My dough ended up spreading a bit too much and were too low and wide to use for soup, but we each got our own individual loaf of bread instead. It was one of the best breads I have ever made. The amount of flour ended up being just right. The only thing I had to change was redoing my yeast because the temperature listed in the recipe seems to be too hot and it didn’t get for me. Once I lowered it a bit, it was fine. Thank you for a great recipe and for making my kitchen smells like bread. The only thing I had to change was redoing my yeast because the temperature listed in the recipe seemed to be too hot and it didn’t get for me. Once I lowered it a bit, it was fine. Thank you for a great recipe and for making my kitchen smell like bread.
I think my yeast must have been bad. Never rose. Baked it anyway, it was delicious, but VERY dense. The flavors are spot-on, will just hope for better yeast next time!
My 9 year old made a half recipe for chili bowls…fun, easy, and delicious! So much fun for her. Accidentally added the full amount of sugar, instead halving it. It turned out delicious and so pretty!