

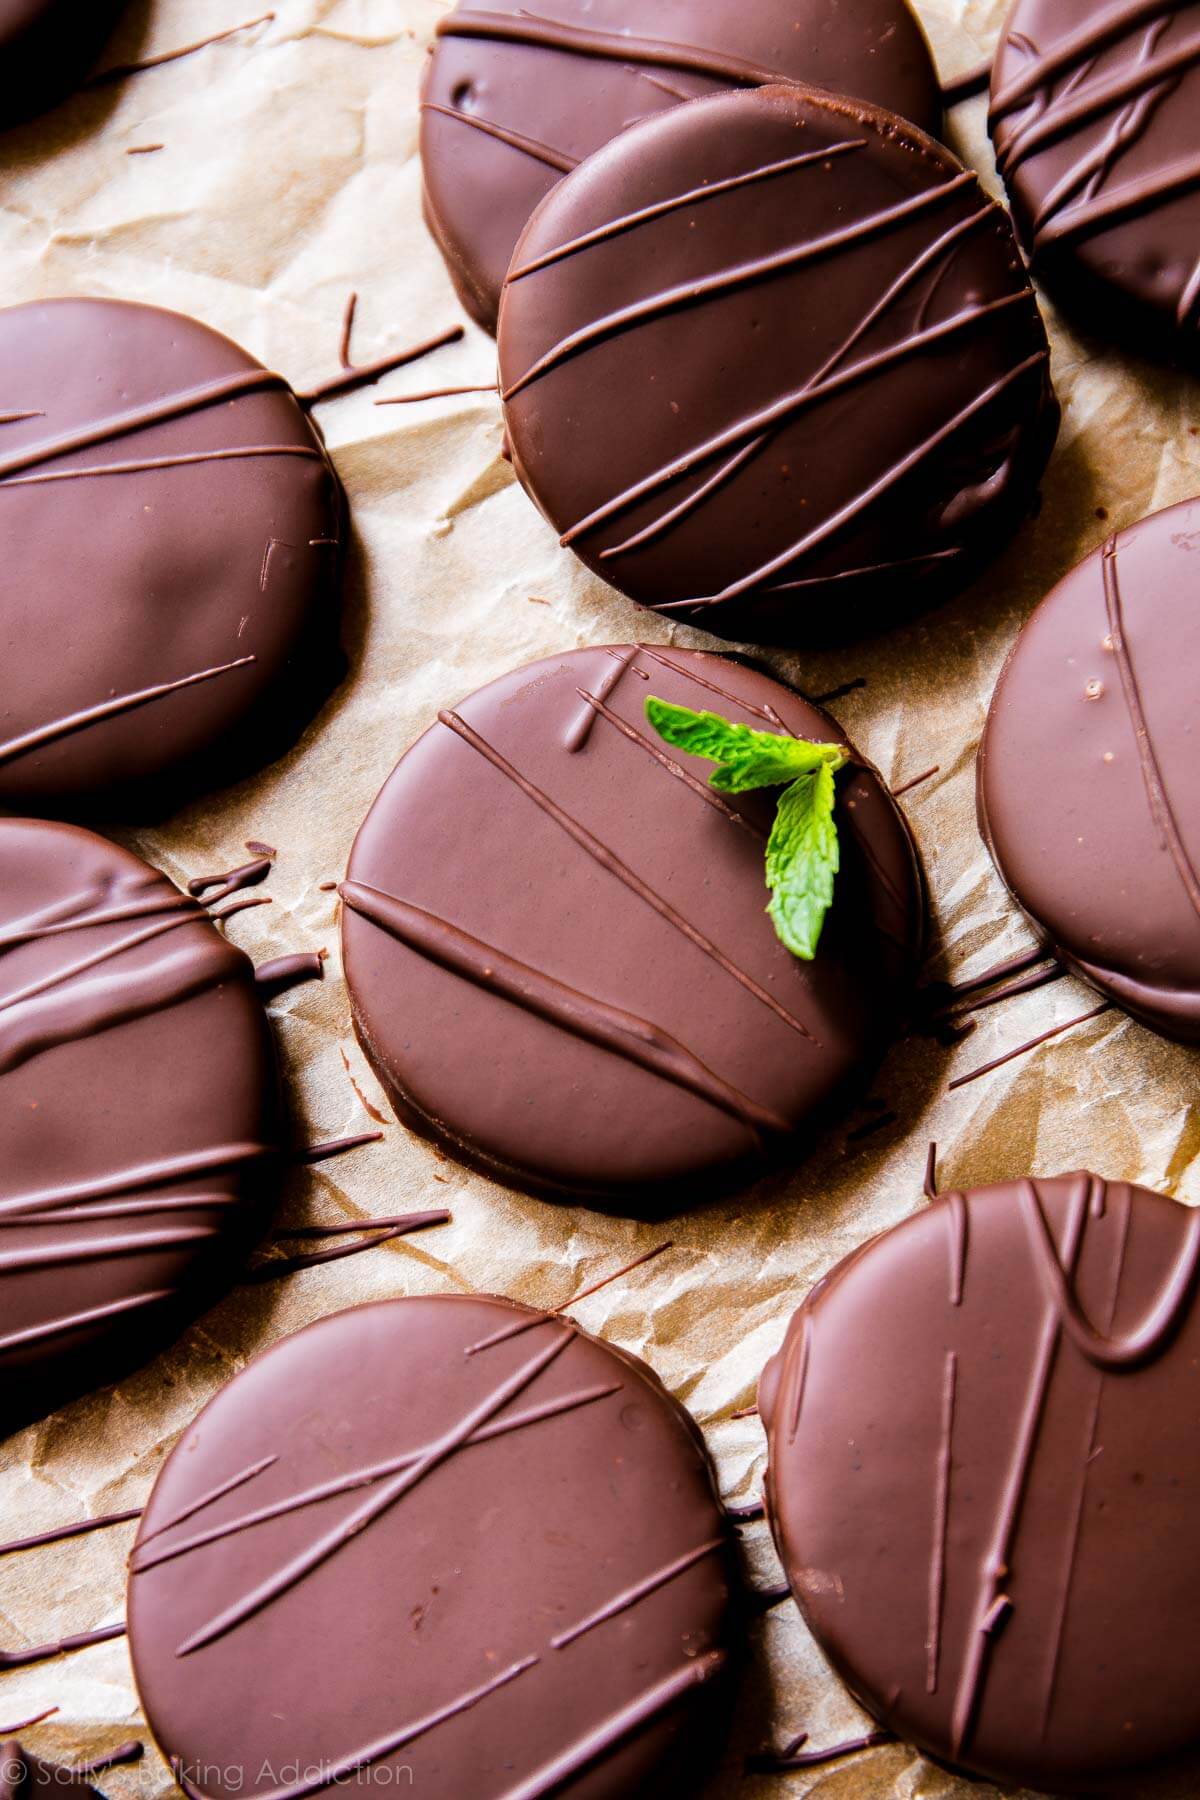
Homemade thin mint cookies come together using my chocolate sugar cookies recipe, a splash of peppermint extract, and a divine coating of chocolate. You’ll love these copycat thin mint cookies for when you have a craving and there’s no Girl Scout Cookie box to be found.
We can all agree that thin mints are the crème de la crème of the girl scout cookie world. Nothing tastes quite like a COLD thin mint cookie. We’re talking straight out of the freezer for that ultimate cool mint chocolate cookie experience. I was never a girl scout growing up, but my sisters were both girl scout “brownies” (that’s a thing!), so every March our freezer would be full of thin mint cookies.
Do you prefer your thin mints cold as well? If so, wait until you taste these homemade thin mint cookies after hanging out in the freezer for awhile. 🙂
Which, I’d like to add so there is no confusion, I fully support girl scout troops! I still purchase several boxes from my friend’s daughters and from the sweet troops outside my grocery store.

These Homemade Thin Mint Cookies Are:
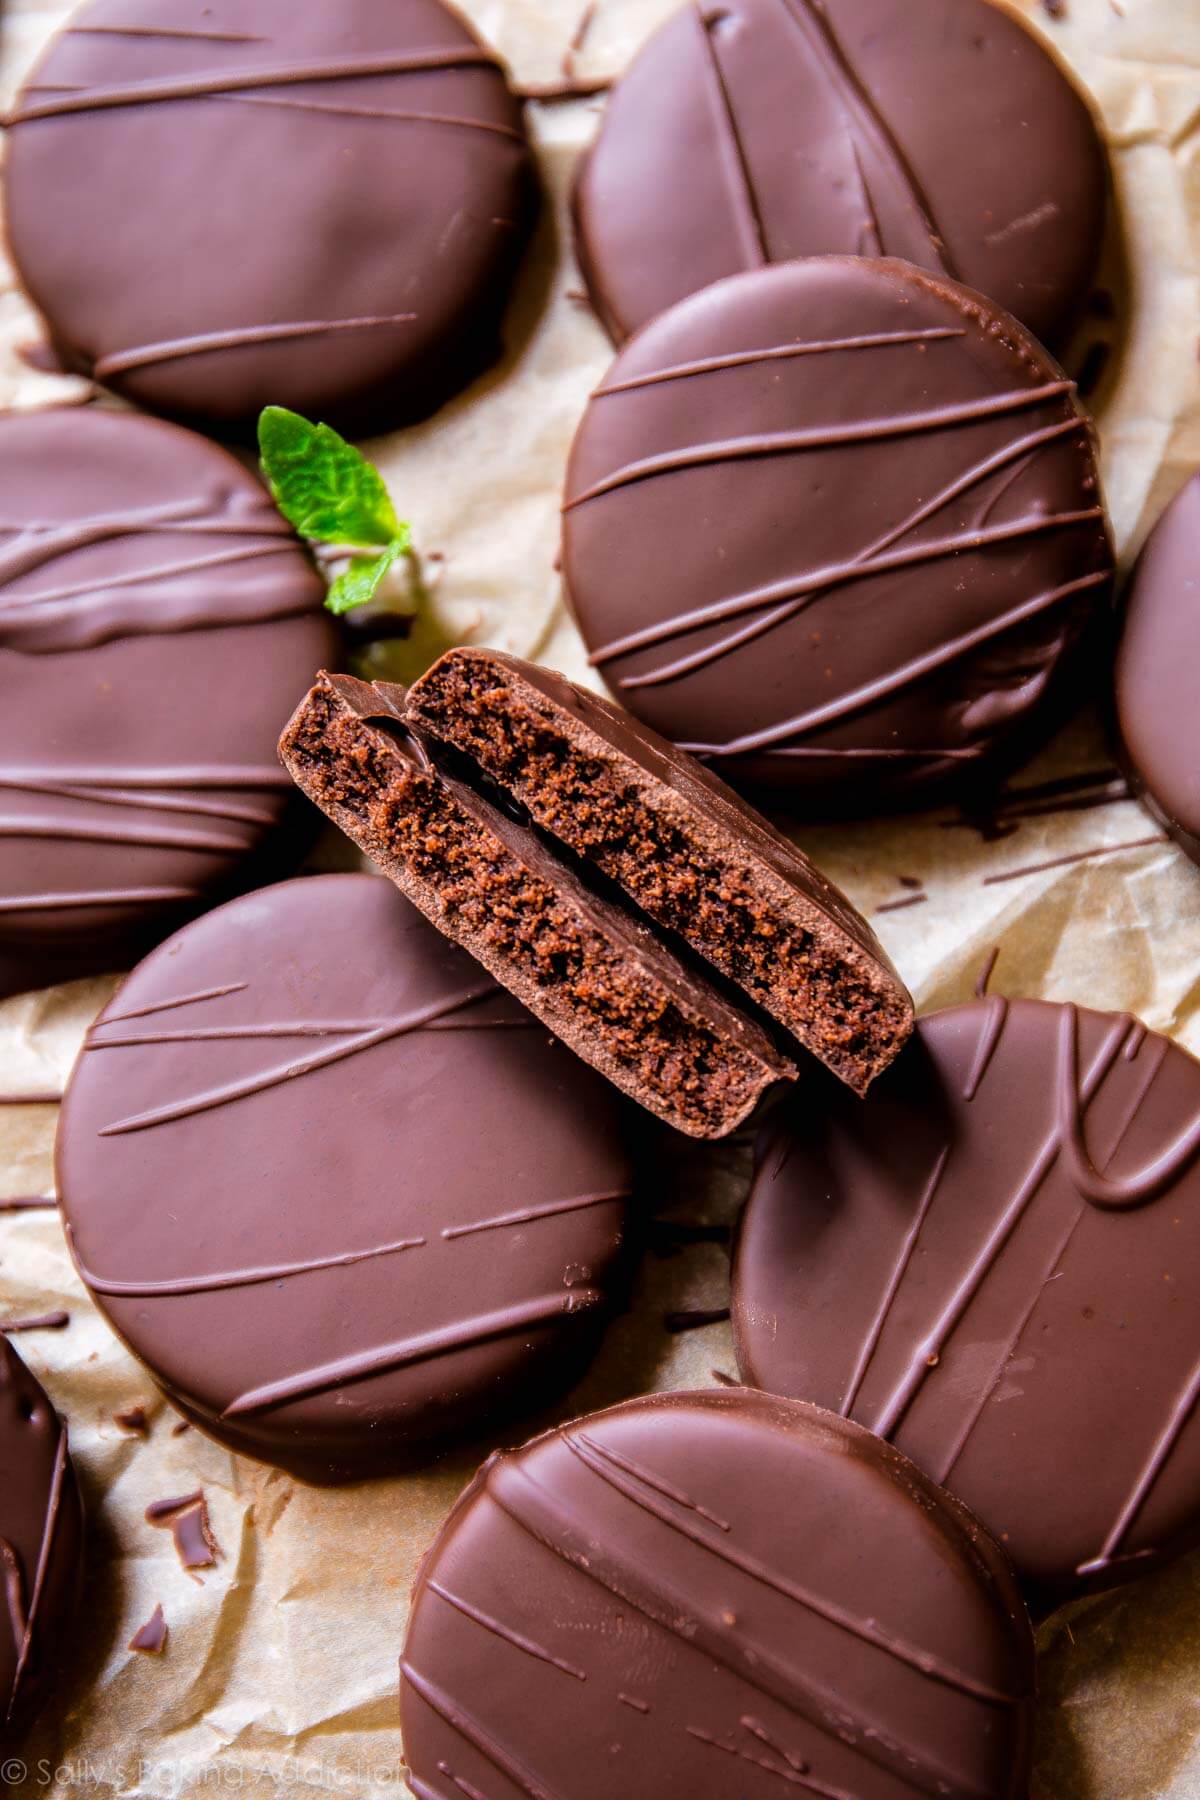
- Slightly crunchy in the centers
- Perfectly pepperminty
- Packed with tons of delicious chocolate
- Dunked in a delightful mint chocolate coating
- Easier to make than they look
- Delicious straight out of the freezer
Video Tutorial
Use My Chocolate Sugar Cookies As the Base
Thin mint cookies are essentially a crunchy mint and chocolate flavored cookie coated in chocolate. To make them at home, you need a flat and round chocolate sugar cookie to cover in chocolate. I love using my recipe for chocolate sugar cookies to make homemade thin mint cookies—just like classic sugar cookies, but with cocoa powder subbed in for some of the flour. This gives the cookies their rich chocolate flavor.
To the chocolate sugar cookie dough, we add a scant 1/4 teaspoon of peppermint extract. Remember, that stuff is potent and a little goes a long way.
This is a simple, straightforward recipe and since it is homemade—it doesn’t use any unnecessary ingredients like high fructose corn syrup or artificial color.
If you love chocolate + peppermint together in these cookies, I know you’ll love this mint chocolate cake just as much!
How to Make Homemade Thin Mint Cookies
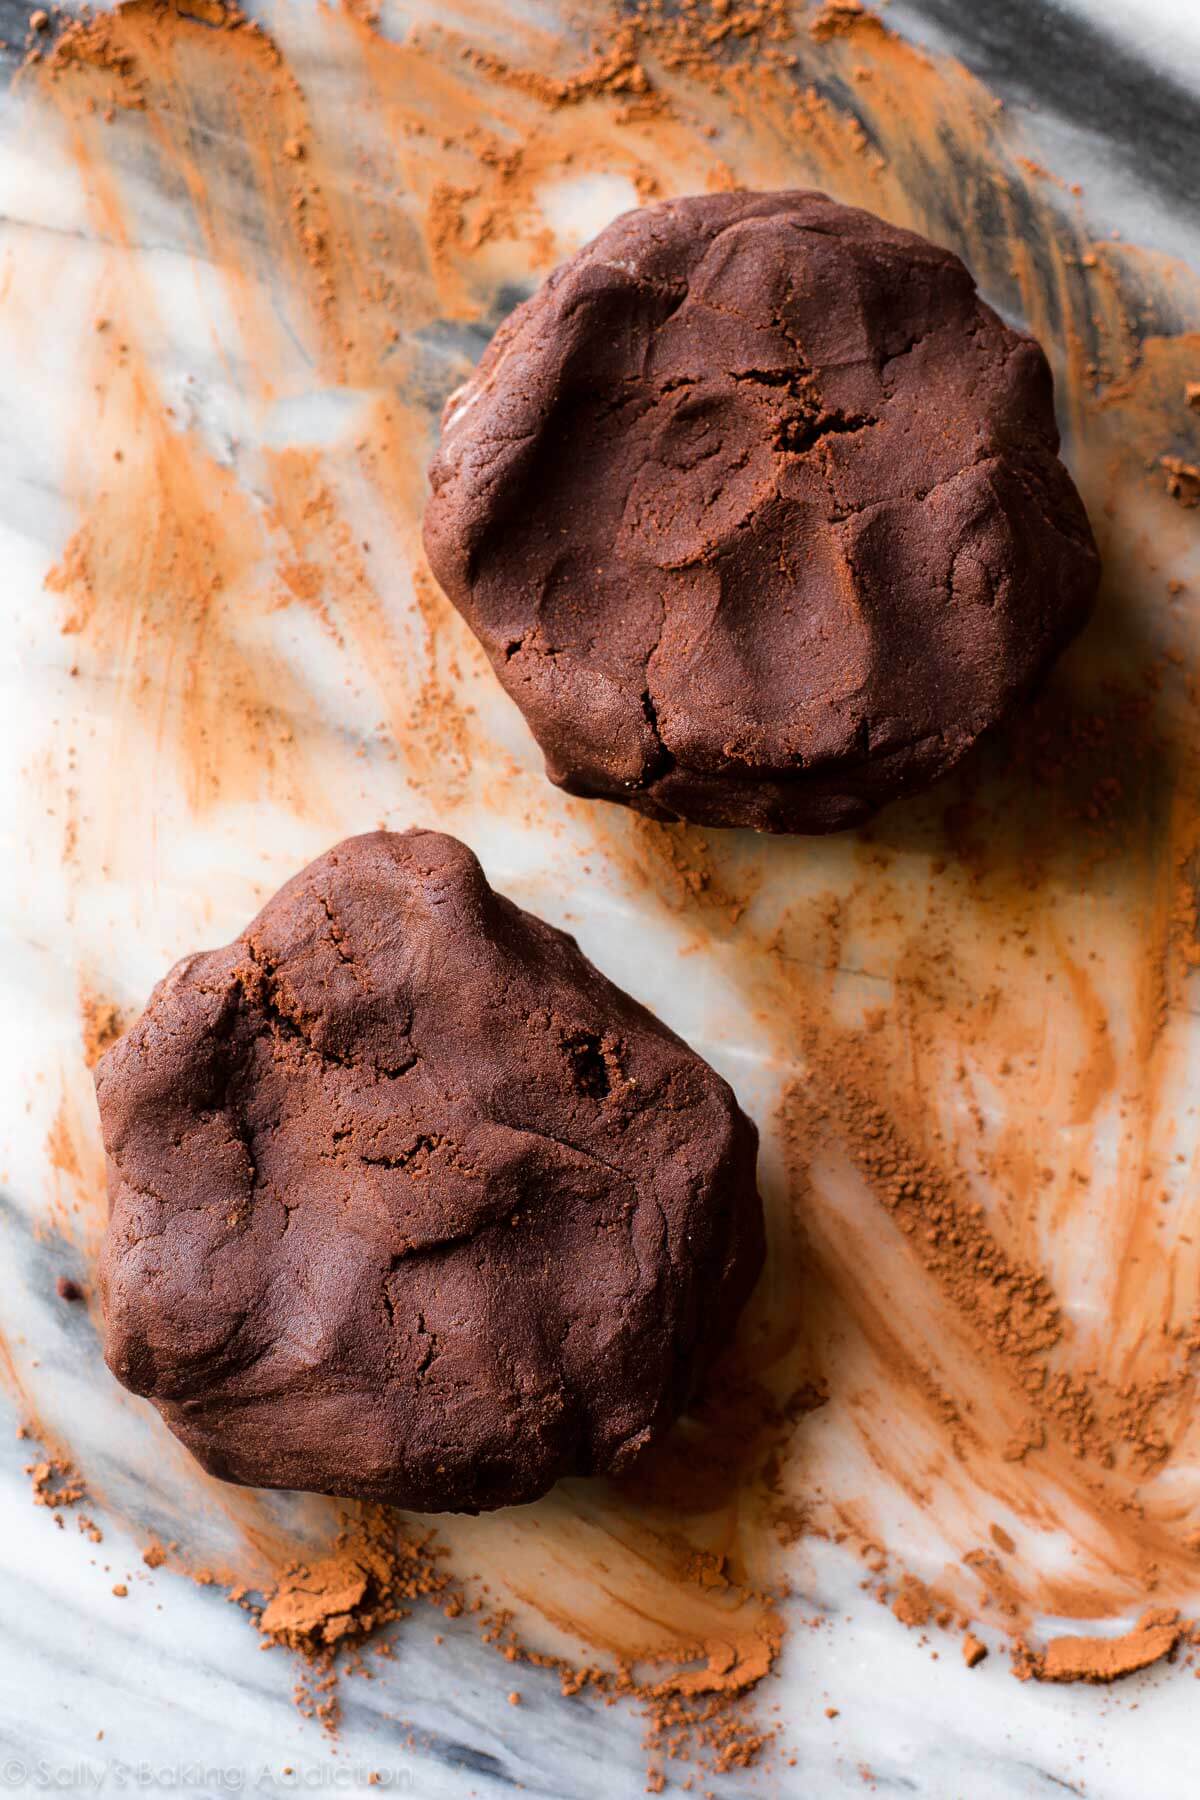
- Make the chocolate sugar cookies dough.
- Divide the dough into 2 equal parts. Using a rolling pin, roll each to about 1/4-inch thickness on a piece of parchment. Refrigerate the dough for at least 1 hour—chilling is mandatory.
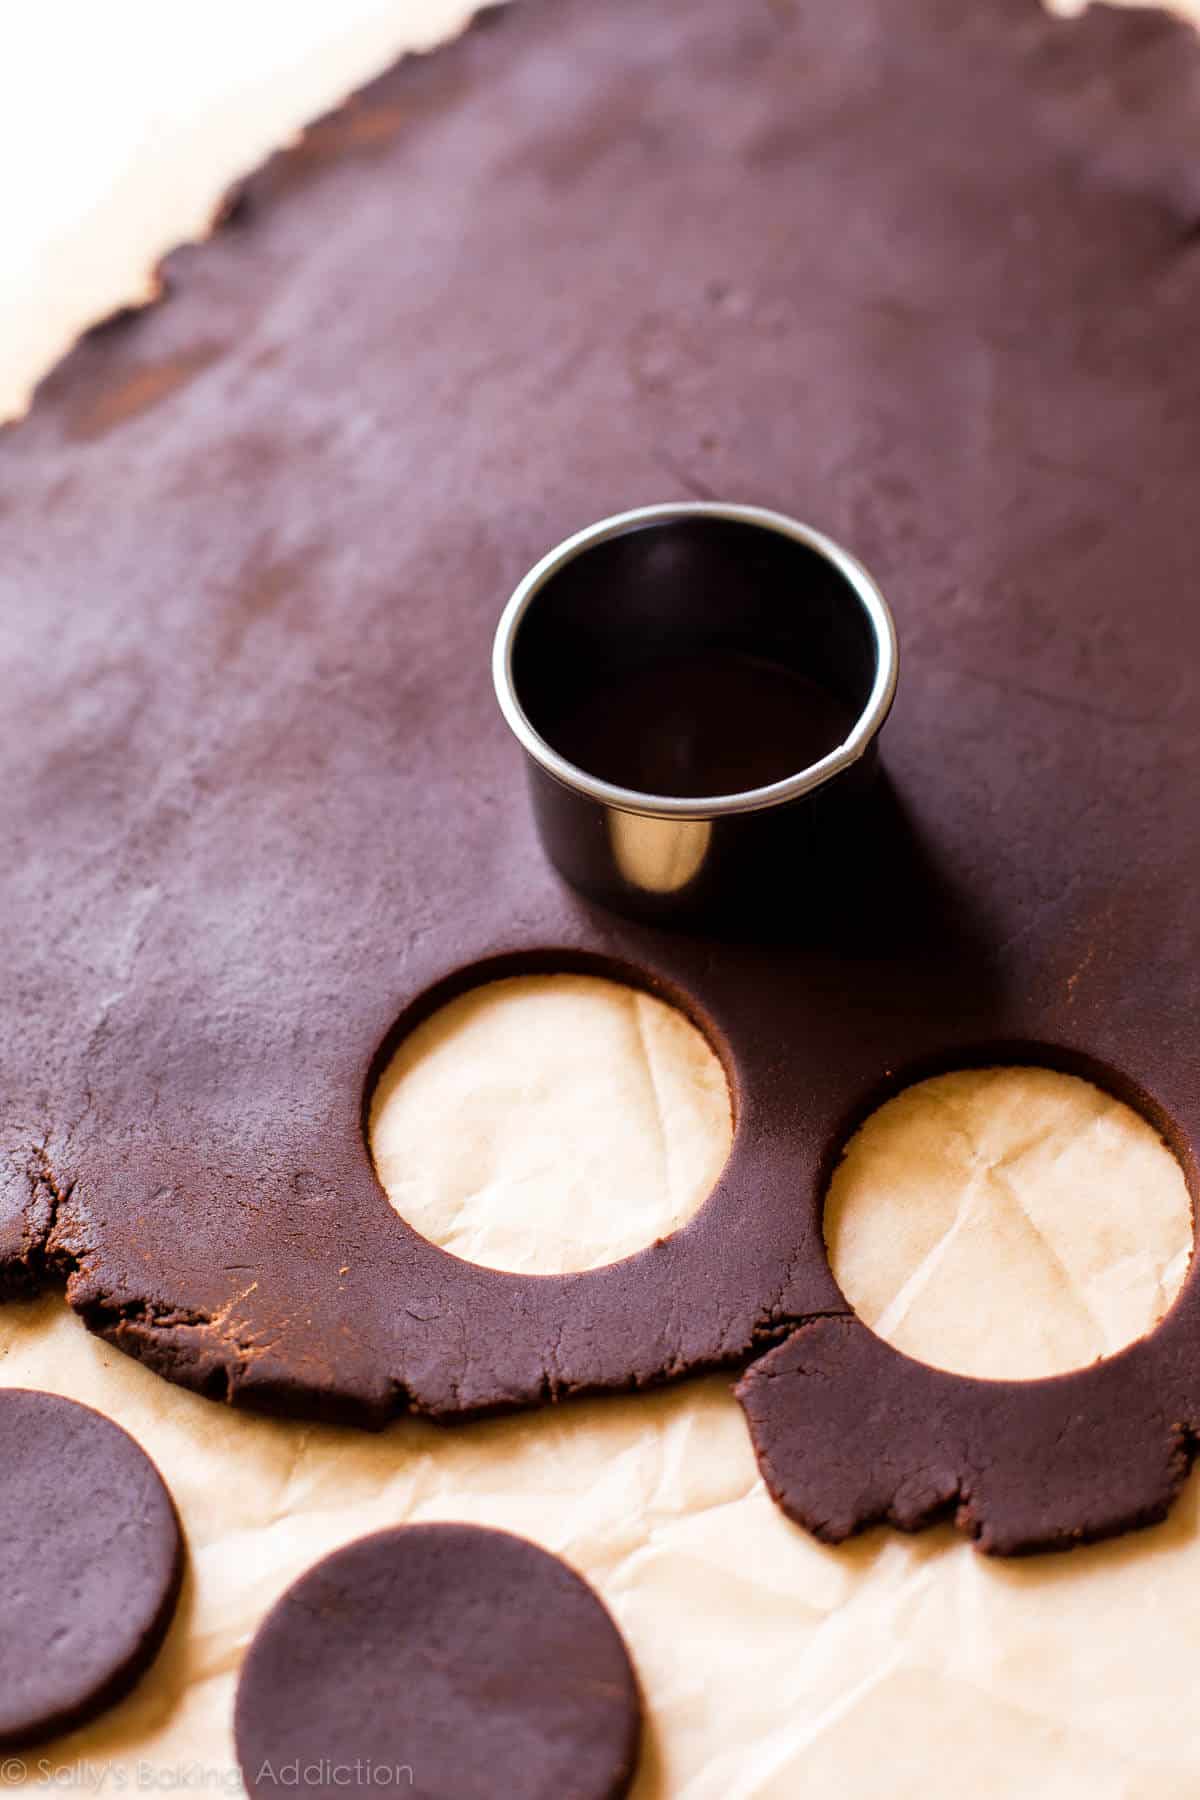
- Cut the cookie dough into circles. Use a 2-inch round cookie cutter. Re-roll the remaining dough and continue cutting until all is used.
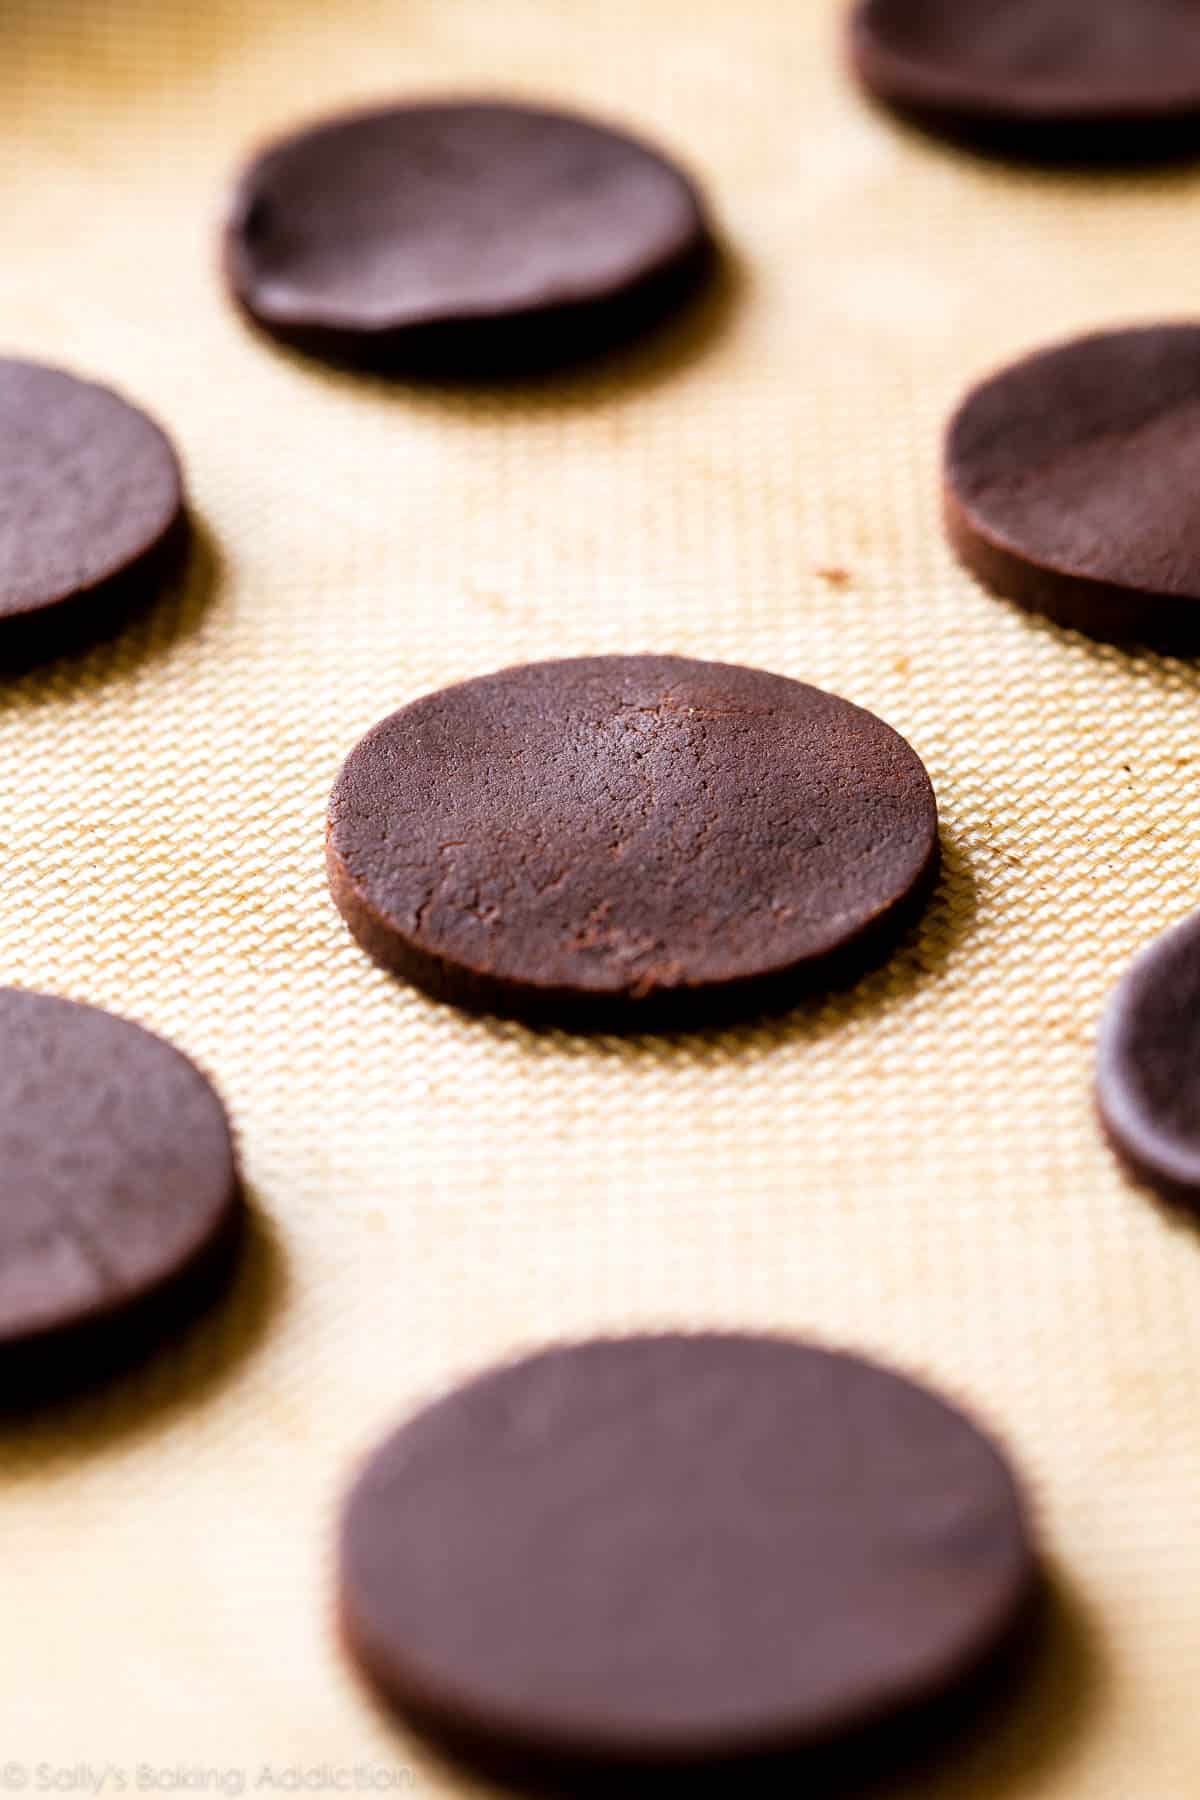
- Bake.
- Let the cookies cool completely.
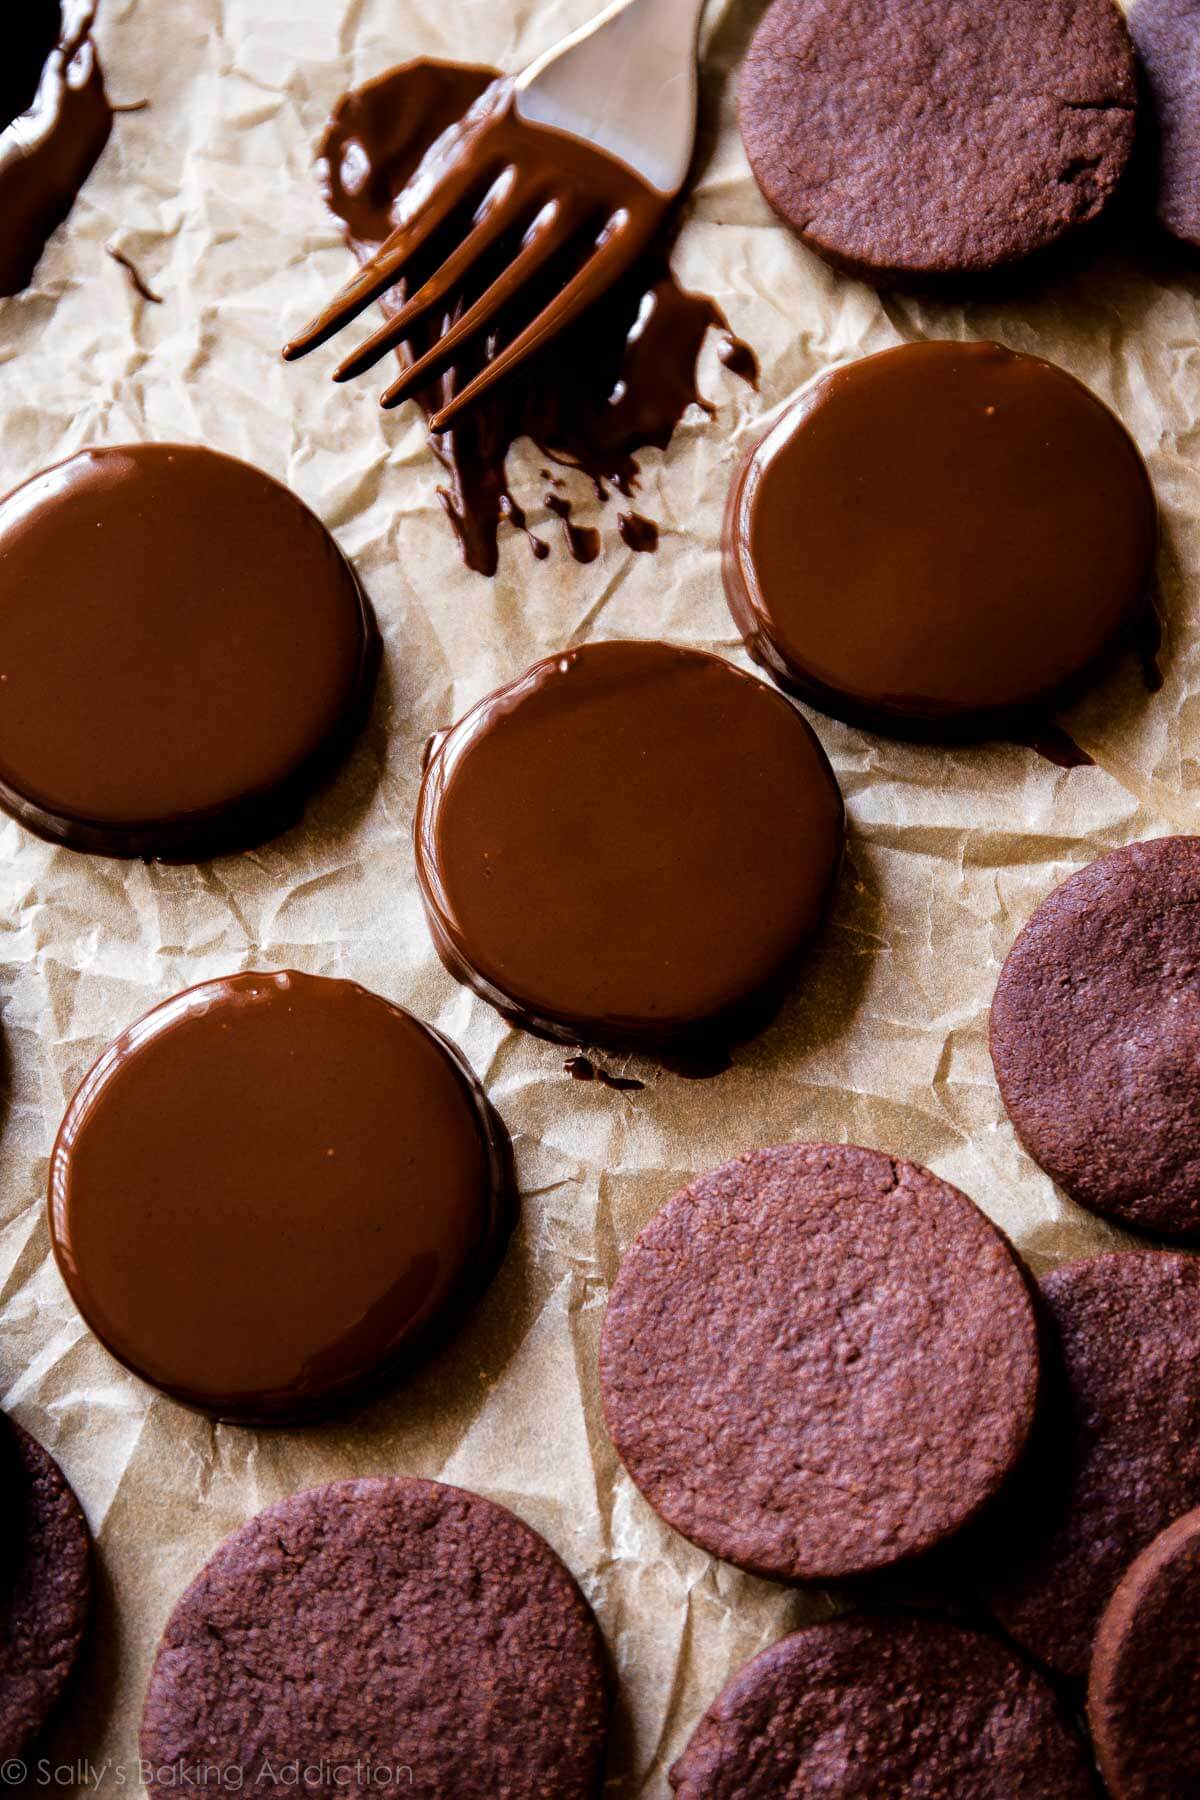
- Make the chocolate topping.
- Dip each cooled cookie completely into the chocolate. Use a fork to lift out and let any excess chocolate drip off. Place each cookie onto a lined baking sheet and repeat the process for the remaining cookies. Refrigerate the baking sheet to help the chocolate set.
Best Cookie Cutter To Use
You need a round cookie cutter that’s approximately 2 inches in diameter. I had trouble finding one this small sold individually, so I purchased a set. Any of these options would work wonderfully (affiliate links): Ateco round cookie cutter set, Fox Run biscuit cutter set, or Ateco 2.5-inch round cutter.
- You might have better luck finding a 2.5-inch round cookie cutter—anything around 2-3 inches is perfect for these homemade thin mint cookies. Remember, the bigger your cookie cutter, the fewer cookies you’ll get out of each batch.
Mint Chocolate Coating
After the cookies cool, cover them in chocolate. Since there’s so much chocolate in every bite, make sure you’re using a quality brand. I really like Baker’s brand baking bars, Ghirardelli baking bars, or even Trader Joe’s “pound plus” chocolate bars. When it comes to coating candies and cookies in chocolate, always steer clear of chocolate chips. They don’t melt into the proper consistency for dipping or coating.
Flavor the chocolate with a little peppermint extract for a cool minty flavor. Add a little oil to the chocolate as well. Why are you adding oil? Extracts are alcohol based, so to prevent the pure chocolate from seizing, you need to add a little fat (aka oil). You can also use peppermint oil instead of extract. In which case you won’t need the added oil. Oil also helps thin out the chocolate, so the cookies are easier to dip.
Drizzle any leftover chocolate coating on top of the cookies. No such thing as too much chocolate!
Helpful tip: Use a fork to help dunk each cookie. When lifting the cookie out of the bowl of melted chocolate, let any excess chocolate drip off through the fork’s prongs. If the cookie gets stuck on the fork, a toothpick is helpful to slide the cookie off.

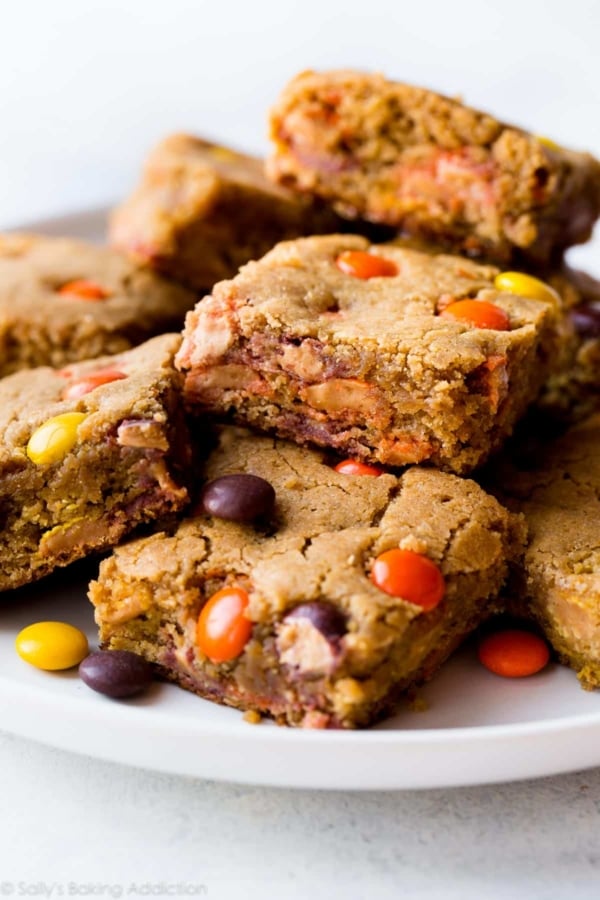
More Homemade Cookie Recipes
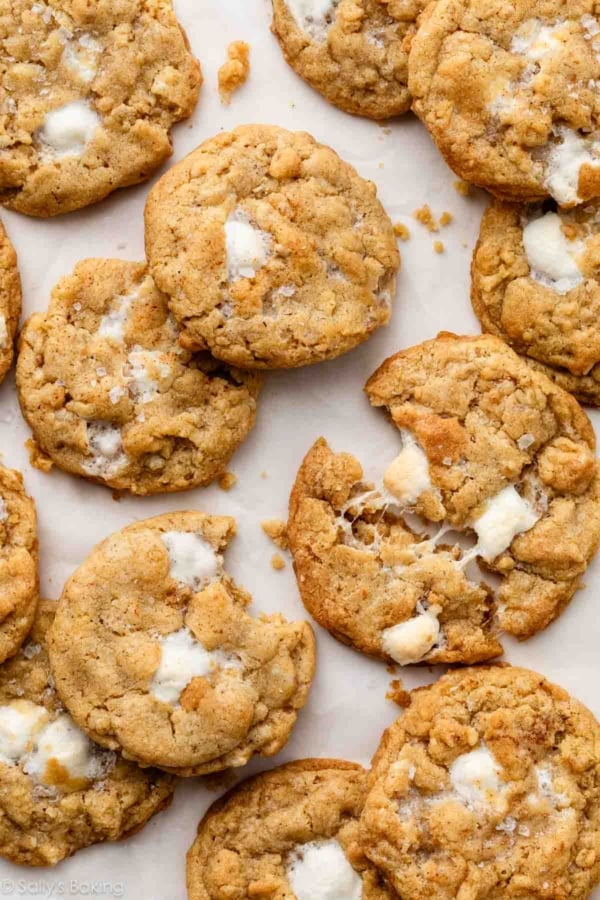
- Oatmeal Creme Pies
- Fudge Stripe Cookies
- Peanut Butter Cookies
- Peanut Butter Oatmeal Sandwich Cookies (just like Nutter Butters!)
- Butter Cookies and Chocolate Butter Cookies
- Chocolate Chip Cookies
- Homemade Oreos

Homemade Thin Mint Cookies
- Prep Time: 2 hours 15 minutes
- Cook Time: 8 minutes
- Total Time: 3 hours 15 minutes
- Yield: 36 2-inch cookies
- Category: Cookies
- Method: Baking
- Cuisine: American
Description
Here’s exactly how to make homemade thin mint cookies using a simple from-scratch cookie dough recipe with cocoa powder, real chocolate, and peppermint. Try them cold or out of the freezer—they’re incredible!
Ingredients
- 3/4 cup (12 Tbsp; 170g) unsalted butter, softened to room temperature
- 1 cup (200g) granulated sugar
- 1 large egg, at room temperature
- 1 teaspoon pure vanilla extract
- 1/4 teaspoon peppermint extract*
- 1 and 1/2 cups (188g) all-purpose flour (spooned & leveled)
- 3/4 cup (62g) unsweetened natural cocoa powder (or dutch process)
- 1 teaspoon baking powder
- 1/8 teaspoon salt
Topping
- 14 ounces (395g) quality semi-sweet chocolate, coarsely chopped
- 1/2 teaspoon canola or vegetable oil
- 1/4 teaspoon peppermint extract*
Instructions
- Make the cookies: In a large bowl using a handheld mixer or stand mixer fitted with a paddle attachment, beat the butter for 1 minute on medium speed until completely smooth and creamy. Add the granulated sugar and beat on medium high speed until fluffy and light in color. Beat in the egg, vanilla extract, and peppermint extract on high speed. Scrape down the sides and bottom of the bowl as needed.
- Sift the flour and cocoa powder together in a medium bowl. Whisk in the baking powder and salt until combined. On low speed, slowly mix into the wet ingredients until combined.
- Divide the dough into 2 equal parts. Roll each portion out onto a piece of parchment to about 1/4″ thickness. Stack the pieces (with parchment paper between) onto a baking sheet and refrigerate for at least 1 hour. Chilling is mandatory. If chilling for more than a couple hours, cover the top dough piece with a single piece of parchment paper. You can chill up to 2 days.
- Once chilled, preheat oven to 350°F (177°C). Line 2-3 large baking sheets with parchment paper or silicone baking mats. Remove one of the dough pieces from the refrigerator and using a 2-inch round cookie cutter, cut in circles. Transfer the cut cookie dough to the prepared baking sheet. Re-roll the remaining dough and continue cutting until all is used.
- Bake for 8-10 minutes or until the edges appear set. The cookies will seem very soft in the centers. Make sure you rotate the baking sheet halfway through bake time. Cool on baking sheet for 5 minutes, then transfer to a wire rack to cool completely before dipping in chocolate.
- Once the cookies are cool, begin the topping: Melt the chopped chocolate and oil together in a double boiler or (carefully!) use the microwave. For the microwave, place the chocolate and oil in a medium heat-proof bowl. Melt in 15 second increments, stirring after each increment until completely melted and smooth. Once melted, stir in the peppermint extract. Dip each cooled cookie completely into the chocolate and use a fork to lift out. Tap the fork gently on the side of the bowl to allow excess chocolate to drip off. Place cookie onto a parchment or silicone baking mat-lined baking sheet. Place the baking sheet into the refrigerator to help the chocolate set. Once set, enjoy!
- Cover and store leftover cookies at room temperature for up to 2-3 days or in the refrigerator for up to 1 week. The cookies taste delicious cold. I love eaten straight from the freezer!
Notes
- Make Ahead & Freezing Instructions: Cookies freeze well up to 3 months. Thaw overnight in the refrigerator if desired. You can chill the cookie dough for up to 2 days (step 3). You can also freeze the cookie dough before rolling for up to 3 months. Then allow to thaw overnight in the refrigerator. Then allow to come to room temperature for about 1 hour. Then roll and continue with the recipe as directed.
- Special Tools (affiliate links): Electric Mixer (Handheld or Stand) | Rolling Pin | Baking Sheet | Silicone Baking Mat or Parchment Paper | Cooling Rack | Double Boiler or Glass Mixing Bowl | Round Cookie Cutters (such as Ateco Round Cookie Cutter Set, Fox Run Biscuit Cutter Set, or Ateco 2.5-Inch Round Cutter)
- Peppermint Extract: Avoid using mint extract; I find it more resembles the taste of spearmint toothpaste than anything else. Peppermint extract has that wonderful cool mint flavor which pairs wonderfully with chocolate.
- Slice ‘n’ Bake Option: I’ve been getting questions about using this recipe as a slice ‘n’ bake cookie to avoid rolling out the dough. This is doable, just keep in mind the dough is a little sticky. Roll the cookie dough into two 2-3 inch diameter logs, then chill for at least 1 hour as directed above. Slice each into 16-18 cookies, then continue with step 5.


Reader Comments and Reviews
I made these today but as of now have not dipped them BECAUSE they came out so soft. I even baked them for longer. My oven is calibrated and recently cleaned so I can’t blame it on either of those as being the culprit. I don’t know if I did something wrong but they just don’t have the crunch that thin mints should have. They are just too soft!
Thank you.
Hi Lisa, These cookies are a bit softer than their namesake. If you like them crunchier you can definitely roll them out a bit thinner and bake them for a minute or two longer. I hope this helps!
Can I use chocolate chips for the chocolate coating?
I don’t recommend chocolate chips. They contain a stabilizer which helps them to maintain their shape – perfect for cookies but they won’t melt down evenly!
Would this work using a cookie press? Rather than rolling out the dough.
Hi Emily! This dough could likely work in a cookie press right after it’s made, but I would chill the shaped cookies before baking to ensure they hold their shape.
Hi Sally, would it be okay flavor-wise to add coconut oil into the coating instead of canola?
Yes, melted coconut oil will work!
Mine didn’t come out crunchy. Does that mean I should bake them longer than the 8 min?
Yes, you can bake them a minute longer if you want them to be crunchier!
These were awesome! As I was finishing my last frozen thin mint, I realized that this recipe would work perfectly for ice cream sandwiches. It’s the perfect texture, especially after putting the iconic fork marks on it . And the options would be limitless!! (Mint, espresso, white chocolate, all the different ice cream options and sprinkles of course)
I bet you already have a perfect recipe for copy cat ice cream sandwiches already and I’ll search now.
Thank you for teaching me how to bake!
Hi Sally! Mint and chocolate is one of my favorite flavor combinations, so I definitely need to make these someday! I was wondering if I could sandwich two cookies around a mint icing to really mimic the girl scout version? I feel like the icing would really boost the mint flavor and give a nice texture contrast. Thanks!
Absolutely! Let me know how the sandwiches turn out.
I love Thin Mints and these turned out perfectly. I used a circle cutter that was about 1 3/4 inches and one batch made 53 cookies! I used mint chocolate for the coating, and they turned out delicious! Thanks for another great recipe!
will milk chocolate be okay for the coating? or would it affect the taste too much?
Definitely! Milk chocolate and mint are delicious together.
I veganized this recipe by replacing the egg with a flax “egg” (1 tablespoon flax + 3 tablespoons water) and vegan butter. Delicious!
Can I ask please if the finished biscuit should be soft or crunchy inside. Not sure if I should have baked them for longer?
Crunchy!
Cookie Review: so tasty!! Big hit. I mid a little bit of Andes chocolate into the dip for a little of extra mint. I was too afraid to add more extract. Minimal spread when baked. I was able to make it about 4 dozen cookies with 1 batch. Will definitely make more.
Lastly, I love this site!! Huge fan. I have never had any problems with any recipe on this site. I usually do a lot of research before I bake. I Will search multiple versions of the same recioe and then patch them together and make test batches before an event. With Sallys I know I can trust any recipe on the site. No test run needed!! I can make anything on here and have faith it will come out great. I have have never trusted a stranger so whole-heartedly lol. Thank you Sally. I love what you do.
Sally, I have to say, you have never… NEVER let me down. Your recipes are on point and my heart could burst with excitement just knowing that I can trust you to the end with your recipes. Thank you, THANK YOU for sharing your amazing talent with the world so it could find its way into my little home in Utah. You are amazing. I made these today and am dead. Died, I’m dead, just dead. Incredible!!!!! THANK YOU!!!!!!!!!!
Hi Sally,
I just finished making these and they taste good but I had some problems. The cookie texture was soft and not crispy at all even though I rolled them to a 1/4″ (I measured it). Any idea why?
Also, like others mentioned, the dipping chocolate was super thick and very hard to “dip” into, which then made my soft cookies fall apart. I had to smear chocolate on and it looks very messy. I used Ghiradelli so it wasn’t cheap chocolate. Are the measurements of oil correct? I’m not sure why mine would be so thick.
Delicious! I didn’t have peppermint extract so I just finely crushed up some peppermint candy for the topping and the cookies came out great. These are amazing chilled on their own or with vanilla ice cream.
Thank you for the recipe, will definitely keep this one on hand
Glad it worked for you that way! I think the extra crunch on top would be delish!
Made these and the cinnamon roll cookies for the first time for a New Year’s Eve party. These thin mints were outstanding! I made a log and sliced it instead of using cookie cutters. Most time consuming part is the dipping. I ran out of dipping chocolate even though I used a pound, but had the candy dipping chocolate on hand. Added peppermint extract and it worked great. I used the microwave and it worked perfectly. I smashed up some candy canes and put the crumbs on tops of cookies before the chocolate hardened. Looked and tasted like the chocolate covered Joe Joes at Trader Joes, only available during the holidays. Great recipe! I much prefered it to the cinnamon roll cookies which were just ok, not my favorite.
Baked a batch of these cookies. Baked as written except use of peppermint oil instead of extract.
Recipe is definitely a keeper. Cookie holds it shape; has clean sharp edges; and good crumb (crisp exterior, chewy interior). Rolled to 1/4″ and cut with 2″ round.
I’d like to bake a crunchy version of this cookie, so I’m going to try a twice bake. I’m thinking sans peppermint oil, a crunchy version would make a great chocolate cookie crust for an ice cream pie or cheese cake.
This is a wonderful recipe. Sally, I have made a dozen of so of your recipes and always have high expectations, but this blew me away, and I am so excited to ship these cookies to my relatives in their Christmas cookie packages! SO glad I tried out this recipe instead of studying for finals!!
I accidentally sampled several (or more, whoops) cookies while they were cooling so had some leftover chocolate after I had finished dipping. I used the double boiler that I melted the chocolate in to heat up some milk and make peppermint hot chocolate at the end – wasting no chocolate and enjoying a delicious warm drink.
Also, life hack for college students everywhere trying to cut ~2″ circles for cookies: use a shot glass if you don’t have a cookie cutter. You may have to gently cut the dough out of the glass, but the cookie will come out relatively symmetrical!
I made these last week and everyone loved them! Thank you for sharing with your fellow baking addicts!
These cookies tasted great but didn’t turn out as expected. The cookies were softer than that of a thin mint but I don’t mind that. The dipping chocolate was really thick. It was nothing like shown in the picture. I followed the directions and it was still thick. I tried adding a little more oil but it was still too thick. I didn’t want to add anymore oil bc I didn’t want it tasting oily. Because it was so thick, I couldn’t dip it. I had to spread the chocolate on top and couldn’t coat the bottom 🙁 I did add a little more peppermint extract to the chocolate dip because it didn’t have enough mint flavor, in my opinion. Overall, a great recipe and I will definitely try it again.
I made these yesterday! They were very successful! I used the slice and bake method, and it actually ended up producing almost 60 cookies! I ran out of chocolate, so there are still some waiting to be covered, but overall a great recipe! Thanks!
Hi Sally! Question, are these cookies crunchy like traditional thin mints? I’ve made your sugar cookies before and they come out soft in the middle with crisp edges, which I love! Just wondering if these have that “snap” of the girl scout version?
These are crunchy, yes. You can always bake them an extra minute or two to make them even crunchier!
Instead of rolling out the dough and using cookie cutters (if we don’t have them) could we roll dough into a log, chill, and then thinly slice?
Absolutely! 2-3 inch diameter.
Hi Sally, I’m going to use peppermint oil, do I have to put 1/4 teaspoon? The recipe calls for 1/4 teaspoon peppermint extract. Thanks
Oil is more concentrated in flavor, so I recommend 1/8 teaspoon in each the cookie dough and chocolate.
I’m adding a request to the one from Bailey for tips on dipping the cookies in chocolate. Yours look so beautiful! I always end up throwing out anything that I’ve dipped because I can’t seem to get the coating smooth and even, and regardless of how something tastes, if it doesn’t look good, out it goes Could you possibly give a step-by-step tutorial on dipping the cookies? Do you put them in the chocolate upside down or right side up? Are they completely submerged? Do you keep the chocolate warm over hot water? Any tips or advice would be helpful and appreciated. I can’t tell you how many buckeyes I’ve thrown out because the coating didn’t work out well.
Sadie, not a problem! Here’s what I do– if I use the double boiler to melt the chocolate, I keep it over very very low heat as I’m dipping to keep it warm. I always recommend a double boiler for this very reason- keeping your chocolate warm is important. Then I place the cookie in the melted chocolate– full submerged. I use a fork to gently push it down underneath the chocolate. I use the fork to lift it straight up, tap the fork against the edge of the double boiler pot (gently!) to let excess chocolate drip off– quite a few taps. Then I lay the cookie on the lined baking sheet and use a toothpick to help slide it off the fork. Does this help?
Buckeyes are a different story because they are not fully submerged into chocolate. Place the buckeye on a small fork and lower into the chocolate so “most” of it is submerged. If it falls off the prongs, grab another fork to place it back on. Then lift it out, tap to let excess chocolate fall off, then slide onto the lined baking sheet with a toothpick. It takes practice! Half of mine usually look questionable!
These look fantastic, I think I’ll make them this weekend! Quick question, when I dip things like this in chocolate, I always have a hard time getting them off the fork and onto the parchment paper without smudging the coating. Any tips?