

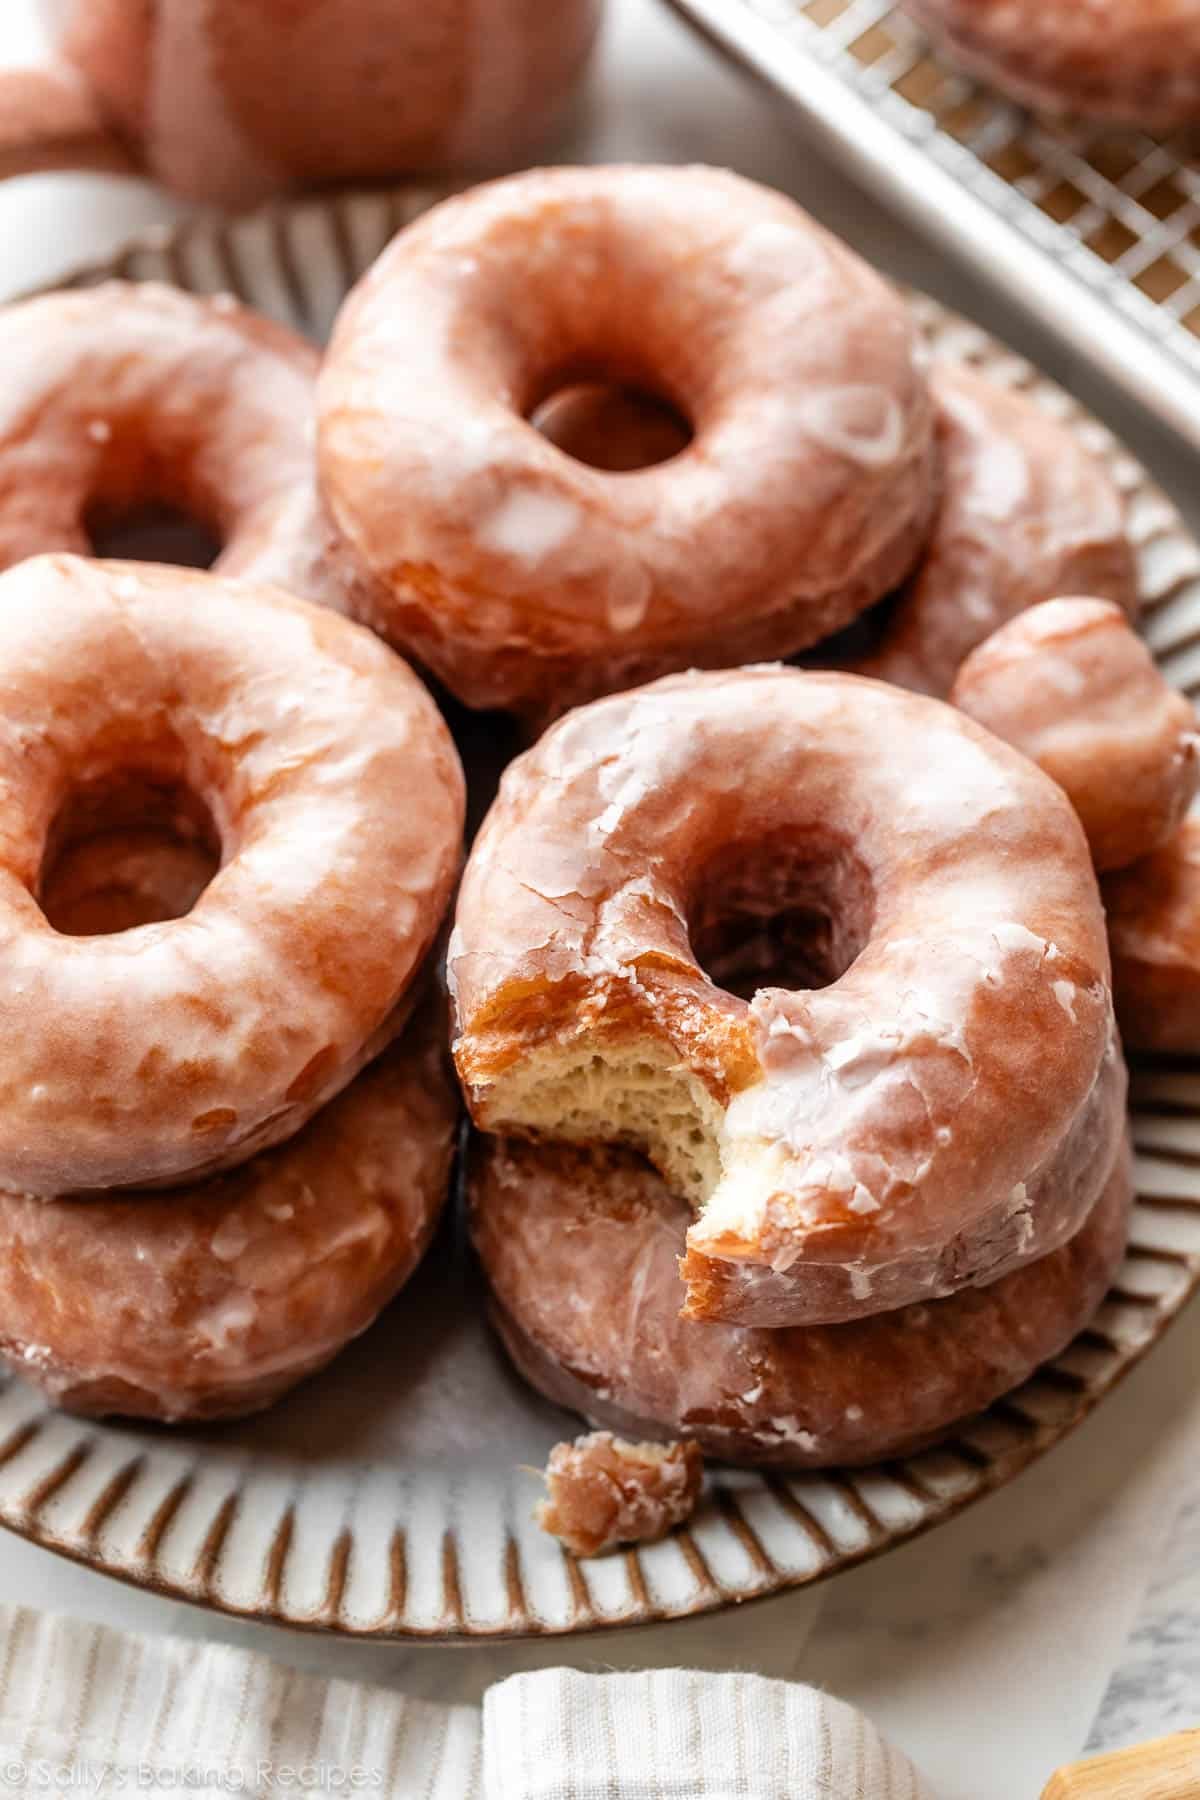
Making homemade glazed doughnuts is easier than you think, but requires a little patience. Ready in about 2.5 hours, these taste like doughnuts from your favorite bakery, but they’re made in the comfort of your own home. For doughnut success, follow my step-by-step photos, helpful success tips, and video tutorial. Using this same doughnut dough, you can create other flavored frosted doughnuts too!
I originally published this recipe in 2016 and have since added new photos, a video tutorial, and more helpful success tips.
With that signature bakery taste and texture, doughnuts from a doughnut shop are incredibly delicious and indulgent. When you can’t pick up your favorite doughnuts, why not make them at home instead? They’ve always been a baking bucket list recipe for me, and today I’m taking you on a deep dive into homemade doughnuts—fried, sugary, old-fashioned, and comforting. I originally shared this recipe in 2016, and I now have more step-by-step photos and a video tutorial to guide you.
There’s a lot to cover today, so let’s get started!
These Homemade Glazed Doughnuts Are:
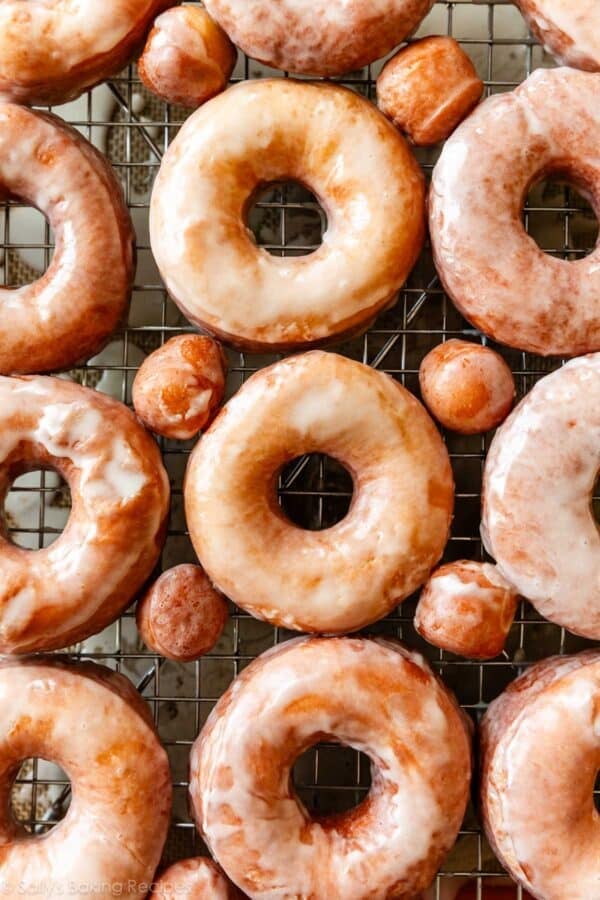
- Soft and sweet
- Flavored with a little nutmeg
- Completely from scratch
- Ready in about 2.5 hours (most of this is rise time!)
- A fun and delicious weekend project
- Perfect for sharing
One reader, Sue, commented: “I just made these doughnuts. I usually make my grandmother’s old fashioned doughnuts, but these may be my new favorite. These are absolutely perfect. Easy to make. They are a hit! Five stars all the way! ★★★★★“
Best Ingredients to Use for Homemade Doughnuts
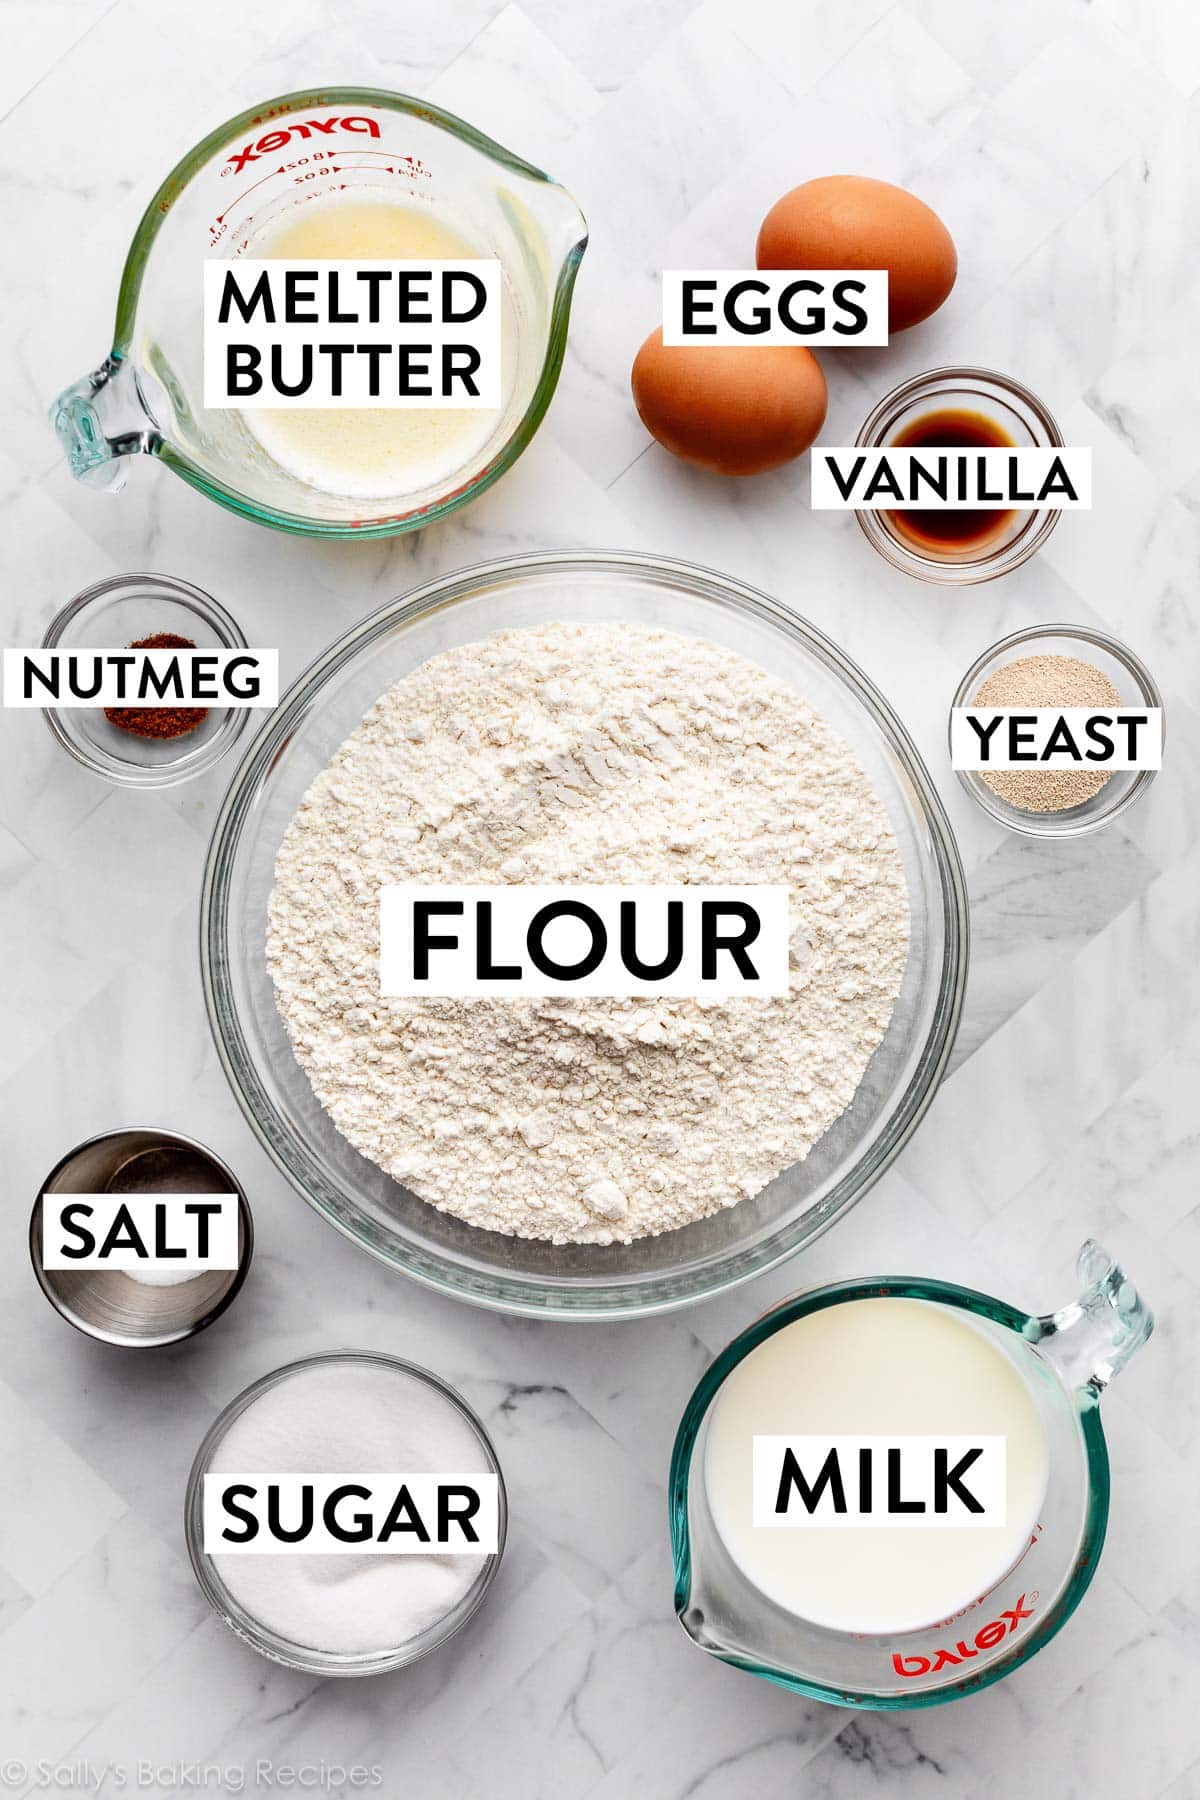
This is a straightforward, no-frills yeasted dough. You need just a few ingredients to begin:
- Milk: Liquid activates the yeast. Whole milk is a must for a super tender dough—or you can try buttermilk. Lower-fat or nondairy milks work in a pinch, but the doughnuts aren’t as flavorful or rich.
- Yeast: You can use active dry yeast or instant yeast. If using an instant yeast, your rise time will be a little shorter.
- Sugar: Sugar sweetens the doughnuts, but it also feeds the yeast, increases its activity, and tenderizes the dough.
- Eggs: Eggs provide structure and flavor.
- Butter: Melted butter promises enhanced flavor.
- Salt & Vanilla Extract: Both add flavor. You could even try using homemade vanilla extract!
- Nutmeg: A little nutmeg is the secret ingredient to that cozy, comforting bakery taste. If you’ve ever made my chocolate chip muffins, you know it adds a delicious pop of flavor!
- Flour: All-purpose flour is the dough’s structure. You’ll be tempted to add more and more flour as you mix the dough, but don’t. You want a very soft, pillowy dough for soft, pillowy doughnuts. The dough can still be slightly sticky. When kneading, use extra flour on your hands and work surface.
Are You a Yeast Beginner?
Reference this Baking with Yeast Guide whenever you work with baker’s yeast. I include practical answers to all of your common yeast questions.
Overview: How to Make Homemade Glazed Doughnuts
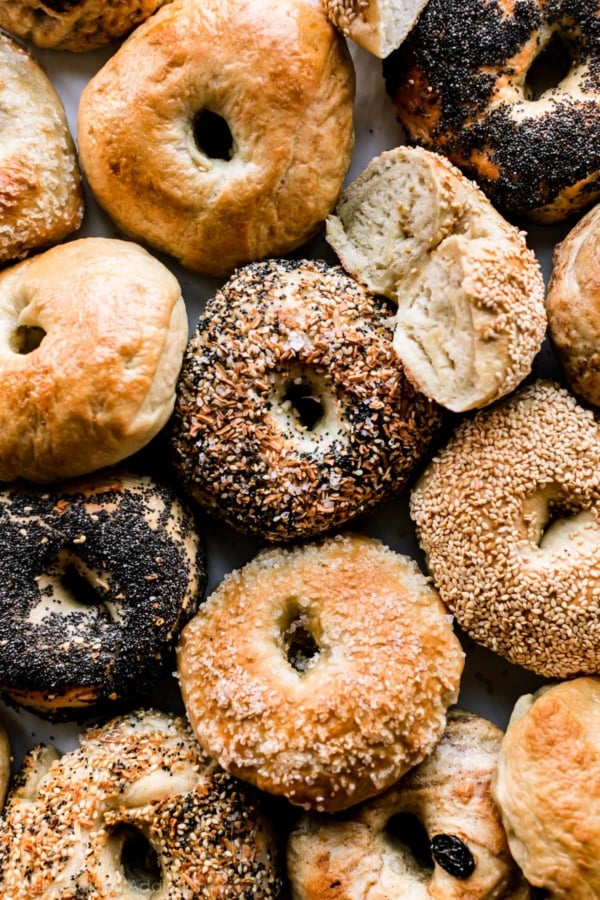
Let me walk you through the process so you understand what you’re doing. Homemade glazed doughnuts seem a little intimidating, but I assure you—they’re really not! I find they’re much easier than, say, homemade bagels and homemade English muffins.
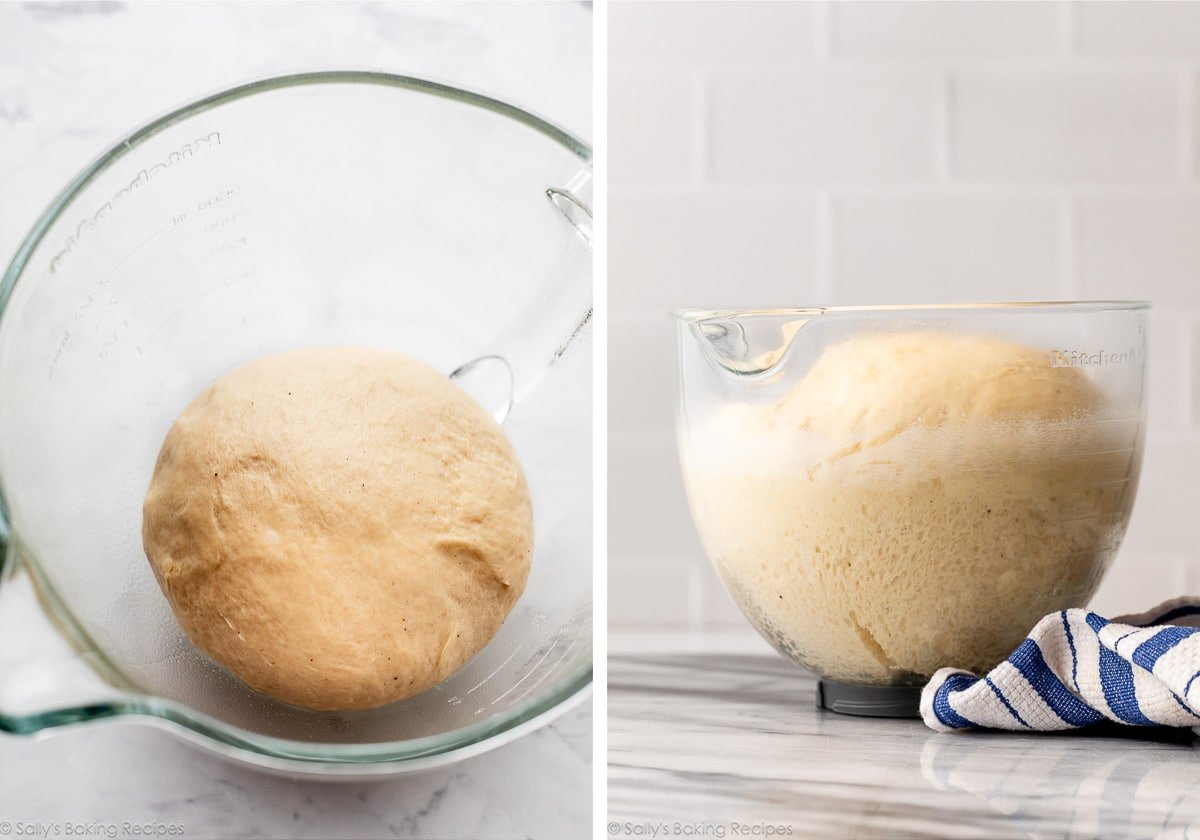
Prepare the dough. The dough comes together with a mixer. You can also make the dough by hand, but it requires a bit of arm muscle. After the dough comes together in the mixing bowl, knead it for 5–7 minutes. If you’re new to yeasted doughs, my how to knead dough post and video can help with this step.
Let the dough rise. In a relatively warm environment, the dough rises in about 90 minutes.
Punch down the dough to release the air.
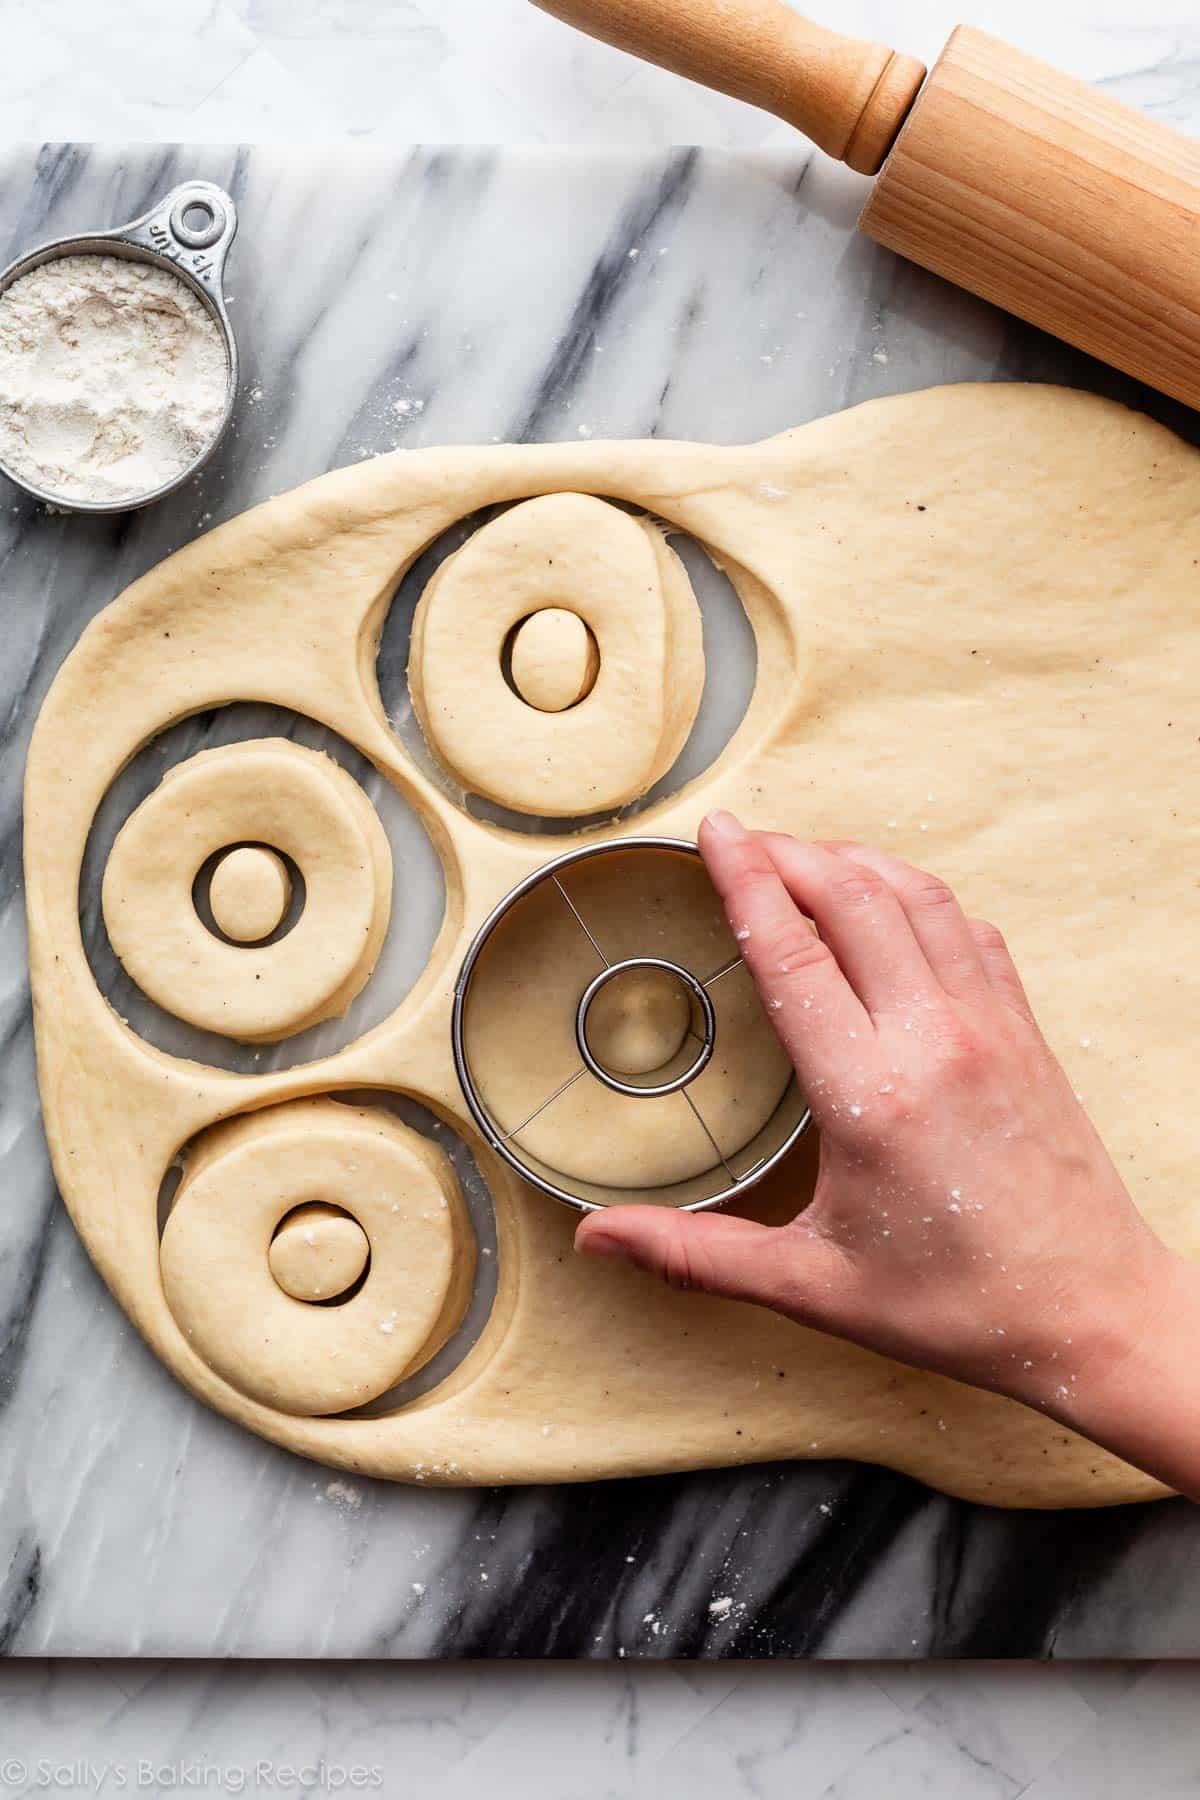
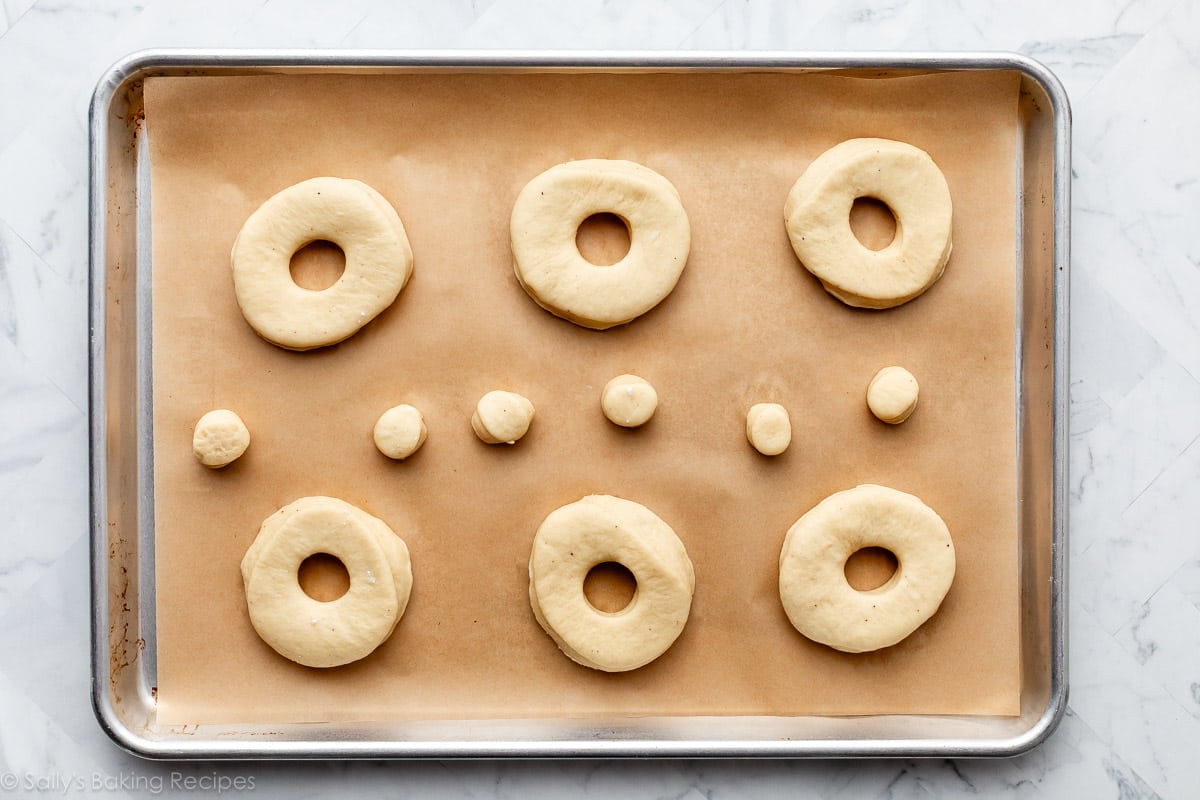
Roll & cut into doughnuts. Roll the dough out to 1/2-inch thickness. Cut the doughnuts using a 3–3.5-inch doughnut cutter. Line 1 or 2 baking sheets with parchment paper or a silicone baking mat. Place doughnuts (and doughnut holes!) onto the lined baking sheet(s), then lightly cover and allow to rest for 30 minutes as you heat the oil.
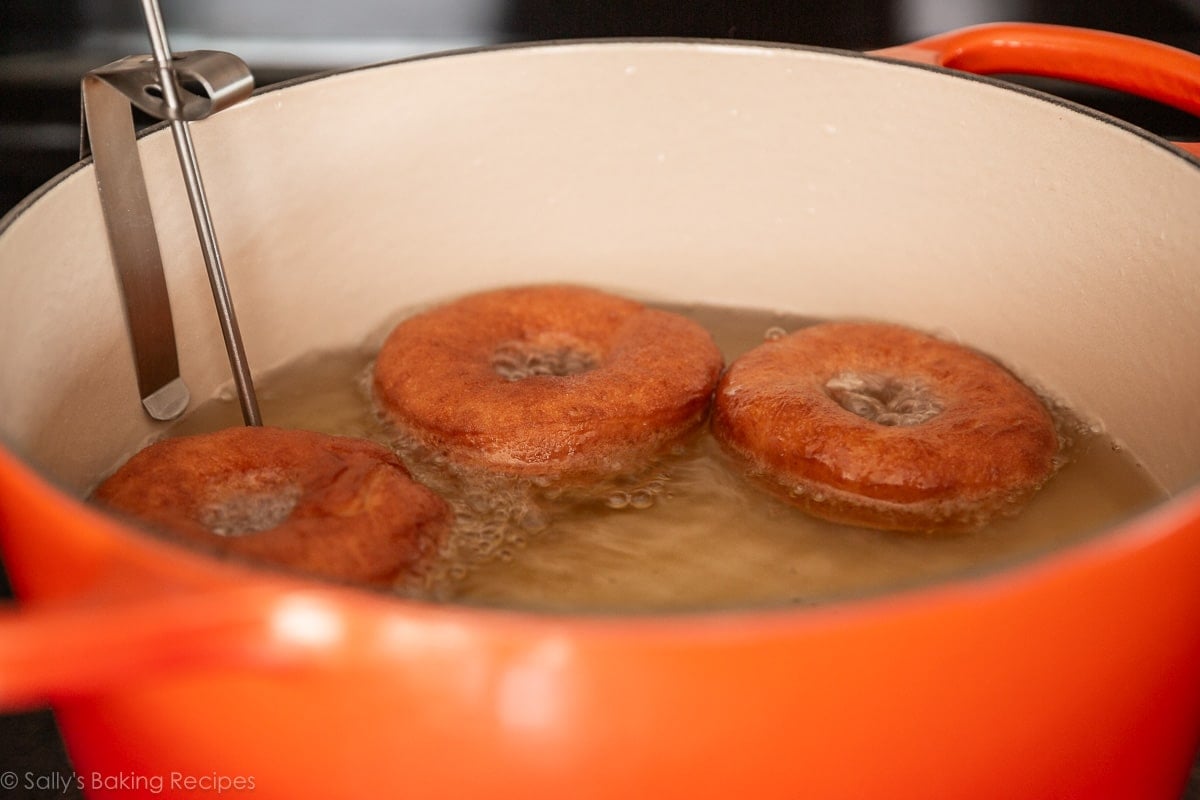
Prepare the oil. Using a heavy-bottomed pot or Dutch oven and an oil thermometer, heat vegetable oil to 375°F (191°C).
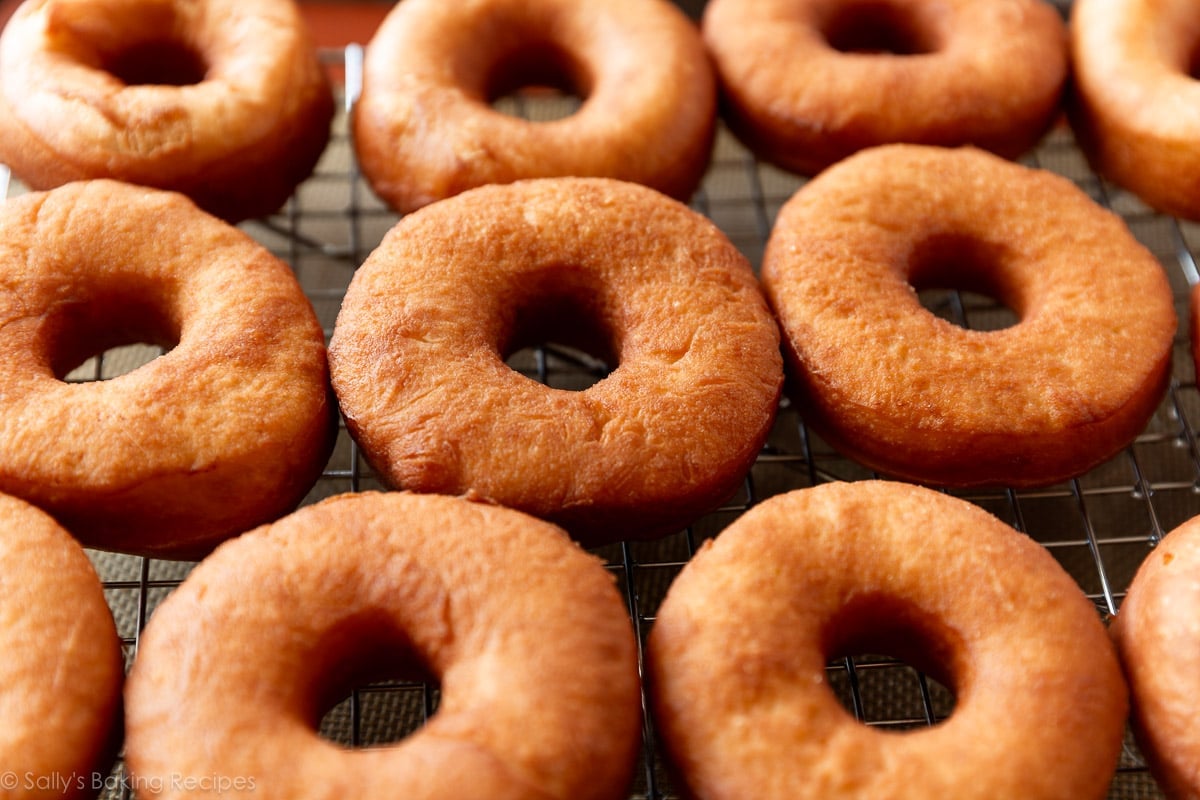
Fry the doughnuts. Working with 2–3 doughnuts at a time, cook for 1 minute on each side. Carefully remove from the oil and place onto prepared rack. Repeat with remaining doughnuts. (See my recipe note about making the doughnut holes.)
How to Make the Glaze for Donuts
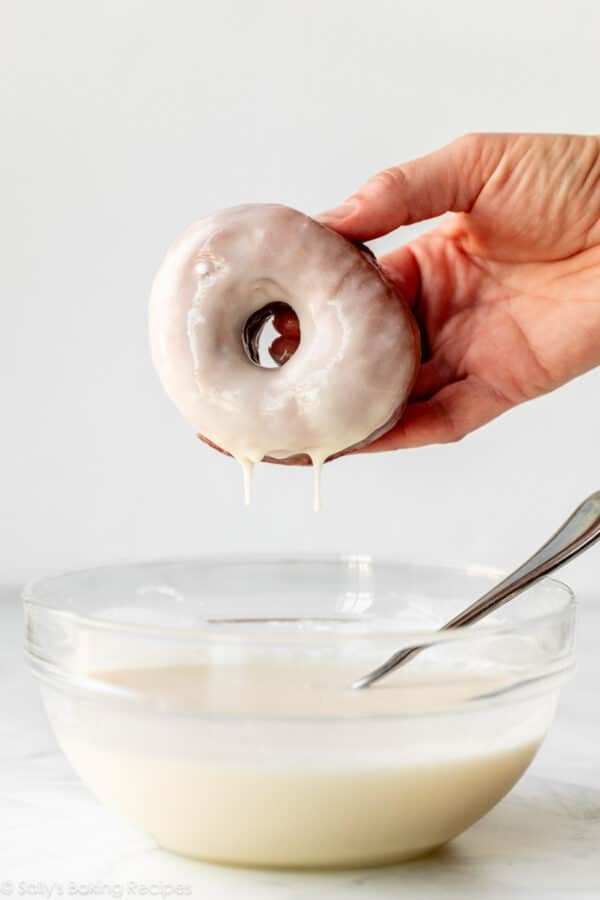
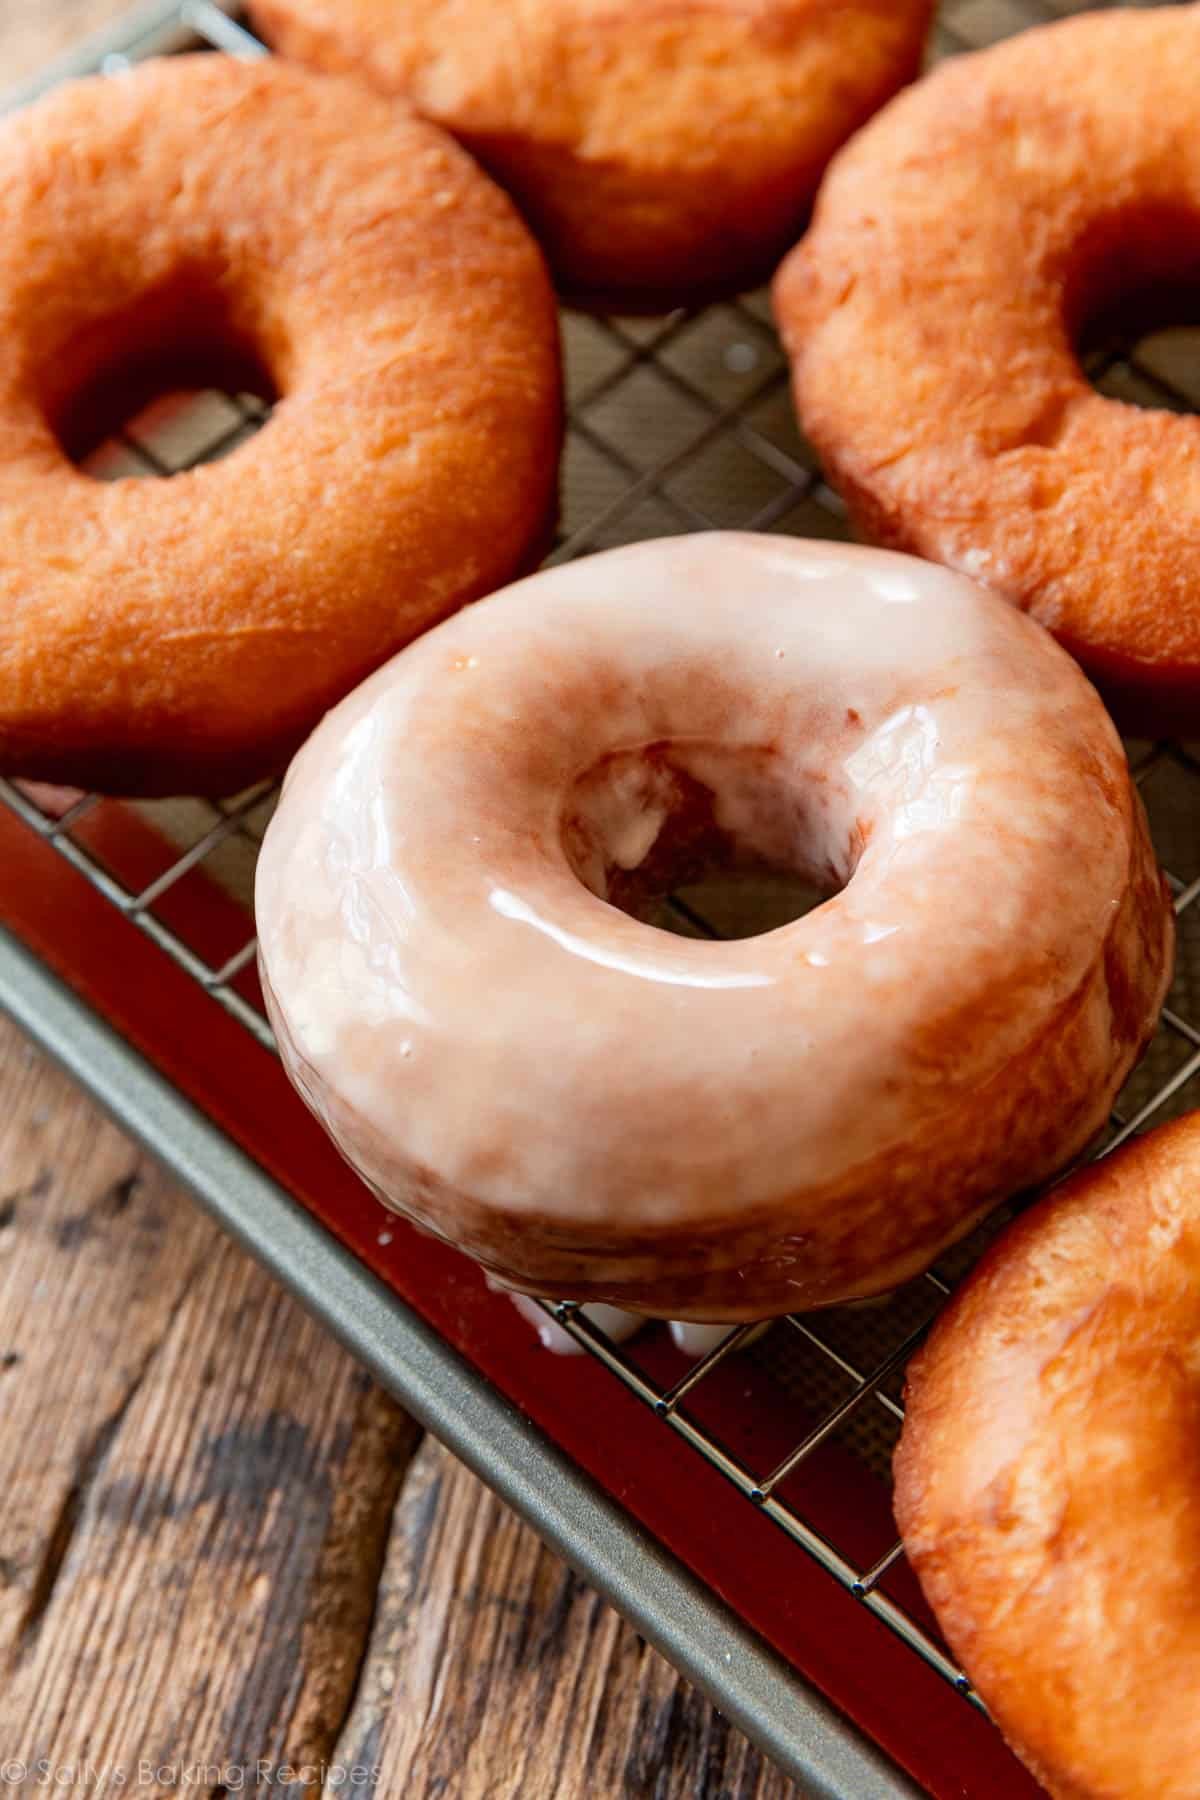
Make a simple 3-ingredient glaze: just milk or cream, confectioners’ sugar, and vanilla extract. This part couldn’t be easier; literally just whisk the 3 ingredients together. Dunk each side of the warm doughnuts into the glaze. The glaze will set in about 20 minutes.
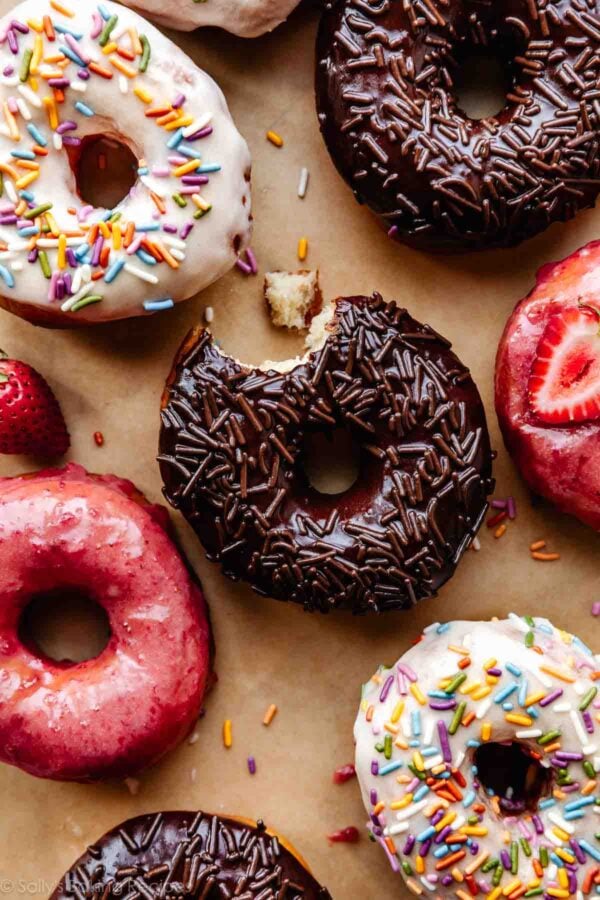
Looking for other flavors? Try my strawberry, chocolate, and vanilla donut frostings or you might enjoy my maple bacon doughnuts!
This Dough Is Best for Frying
I don’t recommend baking this dough—this dough is best for frying in oil. If you’re looking for a baked donut, try crumb cake donuts, pumpkin donuts, cinnamon sugar donuts, or lemon poppy seed donuts instead. Here are all of my donut recipes.
Yes, absolutely. You’ll need a 3-inch biscuit or doughnut cutter without a hole in the center. Use the dough recipe below. Reduce the oil temperature to 350°F (177°C). Fry doughnuts for 1.5–2 minutes on each side, making sure to lower the stove’s temperature if the oil starts to get too hot. Let doughnuts cool for 5–10 minutes before filling. Jams or pastry cream are excellent fillings! Add filling to a piping bag fitted with a long tip such as Ateco 230. Insert the piping tip into the doughnut and fill until the doughnut feels heavy.
This dough is best for frying in oil. You can try using the air fryer, but the donuts will taste more bread-like, and more like baked donuts. For ideal results, I strongly recommend following the recipe.

Homemade Glazed Doughnuts
- Prep Time: 2 hours, 10 minutes
- Cook Time: 10 minutes
- Total Time: 2 hours, 30 minutes
- Yield: 12 donuts and 12 holes
- Category: Breakfast
- Method: Frying
- Cuisine: American
Description
Making homemade glazed doughnuts is easier than you think, but requires a little patience. Ready in about 2.5 hours, these taste like doughnuts from your favorite bakery, but they’re made in the comfort of your own home. For doughnut success, follow my step-by-step photos, helpful success tips, and video tutorial below.
Ingredients
- 1 cup (240ml) whole milk, warmed to about 110°F (43°C)*
- 2 and 1/4 teaspoons (7g) instant or active dry yeast (1 standard packet)*
- 1/3 cup (65g) granulated sugar, divided
- 2 large eggs
- 6 Tablespoons (85g) unsalted butter, melted and slightly cooled
- 1 teaspoon pure vanilla extract
- 1/4 teaspoon ground nutmeg
- 1/2 teaspoon salt
- 4 cups (500g) all-purpose flour (spooned & leveled), plus more as needed
- 1–2 quarts vegetable oil*
Donut Glaze
- 2 cups (240g) confectioners’ sugar, sifted
- 1/3 cup (80ml) heavy cream, half-and-half, or whole milk
- 1/2 teaspoon pure vanilla extract
Instructions
- Prepare the dough: Whisk the warm milk, yeast, and 1 Tablespoon sugar together in the bowl of your stand mixer. Loosely cover and allow to sit for 5–10 minutes until foamy and frothy on top. *If you do not own a stand mixer, you can do this in a large mixing bowl, and in the next step, mix the dough together with a large wooden spoon/silicone spatula. It will take a bit of arm muscle. A hand mixer works, but the sticky dough repeatedly gets stuck in the beaters. Mixing by hand with a wooden spoon or silicone spatula is a better choice.*
- Add the remaining sugar, the eggs, butter, vanilla, nutmeg, salt, and 2 cups (about 250g) flour. Beat on low speed for 1 minute. Scrape down the sides of the bowl with a silicone spatula as needed. Add remaining flour and beat on medium speed until the dough comes together and pulls away from the sides of the bowl, about 2 minutes. If needed, add more flour, 1 Tablespoon at a time, until the dough pulls away from the sides of the bowl. Don’t add too much flour, though. You want a slightly sticky dough.
- Knead the dough: Keep the dough in the mixer and beat for an additional 5-7 full minutes, or knead by hand on a lightly floured surface for 5-7 full minutes. (If you’re new to bread-baking, my How to Knead Dough video tutorial can help here.) If the dough becomes too sticky during the kneading process, sprinkle 1 teaspoon of flour at a time on the dough or on the work surface/in the bowl to make a soft, slightly tacky dough. Do not add more flour than you need because you do not want a dry dough. After kneading, the dough should still feel a little soft. Poke it with your finger—if it slowly bounces back, your dough is ready to rise. You can also do a “windowpane test” to see if your dough has been kneaded long enough: tear off a small (roughly golfball-size) piece of dough and gently stretch it out until it’s thin enough for light to pass through it. Hold it up to a window or light. Does light pass through the stretched dough without the dough tearing first? If so, your dough has been kneaded long enough and is ready to rise. If not, keep kneading until it passes the windowpane test.
- Let Dough Rise: Lightly grease a large bowl with oil or nonstick spray. Place the dough in the bowl, turning it to coat all sides in the oil. Cover the bowl and allow the dough to rise in a relatively warm environment for 1.5–2 hours or until double in size. (For a tiny reduction in rise time, see my answer to Where Should Dough Rise? in my Baking with Yeast Guide.)
- Shape Doughnuts: When the dough is ready, punch it down to release the air. Remove dough from the bowl and turn it out onto a lightly floured surface. Using a rolling pin, roll the dough out until it is 1/2 inch thick. Using a 3–3.5-inch doughnut cutter, cut into doughnuts. Re-roll the scraps and cut more. *If you don’t have a doughnut cutter, you can use 1 large + 1 smaller circle cookie cutter (large should be about 3 and 1/2 inches).
- Line 1 or 2 baking sheets with parchment paper or silicone baking mats. Place doughnuts and doughnut holes on each. Loosely cover and allow to rest for 30 minutes as you heat the oil. They will rise a bit as they rest. Place a cooling rack over another baking sheet.
- Pour oil into a large heavy-duty pot fitted with an oil thermometer. Turn stove on to medium heat. Heat oil to 375°F (191°C). Add 2–3 doughnuts at a time and cook for 1 minute on each side. Carefully remove with a metal slotted spatula or metal slotted spoon. Be sure to lower stove’s temperature if oil temperature is rising; you want it to stay at 375°F (191°C). Wear kitchen gloves if oil is splashing. Place fried doughnuts onto prepared rack. Repeat with remaining doughnuts, then turn off heat.* (See Note for doughnut holes.)
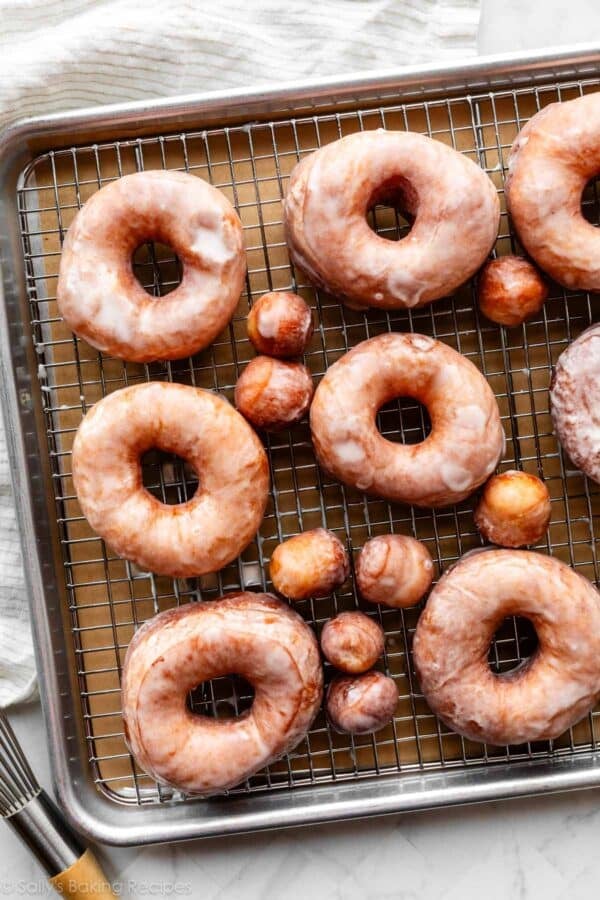
- Make the glaze: Whisk all the glaze ingredients together. Dip each warm doughnut (don’t wait for them to cool!) into the glaze, making sure to coat both sides. Place back onto prepared rack, as excess glaze drips down. After about 20 minutes, the glaze will set.
- Doughnuts are best enjoyed the same day. You can store leftover doughnuts in an airtight container at room temperature or in the refrigerator for another day or two.
Notes
- Freezing Instructions: Prepare recipe through step 5. Freeze shaped doughnuts for up to 3 months. On the day you serve them, let the doughnuts thaw and rest at room temperature for about 4–5 hours. Fry as directed. You can also freeze the fried doughnuts (unglazed). Allow them to cool completely, then freeze for up to 3 months. Thaw in the refrigerator or at room temperature, then reheat as desired (microwave is great) and dunk in freshly made glaze.
- Overnight Instructions: Complete dough through step 3. Instead of allowing to rise in a warm environment in step 4, place the covered dough in the refrigerator overnight (8–12 hours). The next morning, remove from the refrigerator and allow to rise in a warm environment until doubled. The dough will lightly rise in the refrigerator overnight, so the rise the next morning won’t take too long. After rising, continue with step 5.
- Special Tools (affiliate links): Electric Stand Mixer | Large Heavy Bottomed Pot or Dutch Oven | High-Heat Thermometer (I love this thermometer, too) | 3–3.5-inch Doughnut Cutter (I like this one and this one) | Baking Sheets | Silicone Baking Mats or Parchment Paper | Metal Slotted Spatula | Cooling Rack | Glass Mixing Bowl | Whisk
- Doughnut Holes: Add holes to hot oil and fry until golden, about 30 seconds, on each side.
- Milk: Whole milk is a must for the most tender dough—or you can try buttermilk. Lower-fat or nondairy milks work in a pinch, but the doughnuts aren’t as flavorful or rich.
- Yeast: If using an instant yeast, your rise time will be a little shorter. Reference my Baking with Yeast Guide for answers to common yeast FAQs.
- Oil: The amount of oil really depends on how wide or tall your pot is. You want oil to fill about 1/3 of the pot. I use a little more than 1 quart for my 4 and 1/2-quart Dutch oven.
- Leftover Oil: Do not pour used oil down the sink drain. Allow to cool, then pour into an empty container (a funnel is useful here) and discard in the trash or reuse it.
- Adapted from Mark Bittman and Top Pot Doughnuts


Reader Comments and Reviews
Made these with a friend today and they turned out amazing! The recipe was easy to follow, and they tasted good plain before we frosted and decorated them! We used some fun shapes as well as the standard donut shape. Can’t wait to make again!
The donuts were amazing! and super easy to make.
Amazing! Can I use Gluten free all purpose flour with Xathan Gum?
We haven’t tested that but please let us know if you do!
I see the recipe calls for “whole milk”. What exactly is that and can you substitute other types of milk?
Hi Sheila, whole milk is full fat dairy milk. Whole milk is a must for the most tender dough– or you can try buttermilk. Lower fat or nondairy milks work in a pinch, but the doughnuts aren’t as flavorful or rich.
Loved the glazed donuts. I made this yesterday and had the leftover for tea today. It turned out really well and was easier than i thought. I like how soft the dough was and it rose really well.
Thank you Sally.
I’m giving 5 stars-I know it’ll be fantastic, as all your recipes are. ♥
Will this recipe also work with non hole donuts? Would like to fill them with Boston creme.
Hi Raquel, Yes you can make these round and fill them. Enjoy!
amazing!
Can you make chocolate glaze to go on top?
Hi KD, we can’t see why not. You might enjoy the chocolate glaze from these baked banana donuts.
Great recipe!! Tried the airfyer and it was average but in the oil it’s amazing. A nice sugar and cinnamon mix goes well too. Well done!
Really great recipe!! Will make these again! Was easy to make and follow the recipe.
I made them twice, but because the first time I used water that was too hot, it “killed” the yeast and the dough did not rise as expected. Even like that, they were great. The second time I used lukewarm water and the dough was perfect
Every time I do the second roll of the dough to get more donuts the dough retracts on me and they end up much smaller than the first batch. Is there a way to avoid this?
Taste wise they are amazing!
Hi Rebecca, the gluten in the dough just needs to settle after all that handling. Lightly cover the dough and walk away for 10 minutes, then return to the dough. It will be much easier to handle after that short rest.
Please don’t roll risen dough. You’re venting the CO2 the yeast put in there. Just use your fingers to push it wider lightly and stretch it, like pizza bakers do. The leftover dough can not be used anymore. If you combine it, you can still deep-fry it up, but it won’t be the same thing, no matter what.
That’s why, where I’m from, we just use shapes that leave no leftovers. (We cut them unto strips and make those into knots. Or pretzel shapes. Strips in any case.)
can I use a manual doughnut maker instead of shaping it myself?
Nutmeg really is the secret to a doughnut that has that authentic, doughnut taste. Love the texture of these!
I substituted unsweetened applesauce for butter and thought they turned out amazing!! I only did donut holes so far and will freeze the rest but YUM!
Just made these with my children for Channukah. We didn’t make a hole and filled with jelly and Nutella for traditional Sufganiyot. So delicious and easy to make will go into my Channukah folder for future use. Thank you!
Can I double the recipe or should I just make this recipe twice to get 24 donuts?
Hi Aljerome, for best taste and texture, we recommend making two separate batches rather than doubling.
These were very easy to make! The kids loved them. They remind me of toutons that I usually make with homemade bread dough 🙂
Hi, do you know how many calories are in one donut or bagel?
(I made some into bagels as they tasted bready)
We don’t usually include nutrition information as it can vary between different brands of the same ingredients. Plus, many recipes have ingredient substitutions or optional ingredients listed. However, there are many handy online calculators where you can plug in and customize your exact ingredients/brands. Readers have found this one especially helpful: https://www.verywellfit.com/recipe-nutrition-analyzer-4157076
Sally, can I use just egg yolks for this recipe? Or could you suggest a recipe that I can use egg yolks, I don’t want them to go to waste.
Thank you
Hi! Here are my published recipes that use only or extra egg yolks. I don’t recommend only egg yolks in these doughnuts– you need the whole eggs.
Hi Shonda, Thank you for trying this recipe. Did you make any changes to the recipe or ingredient substitutions? You can start by adding a few extra tablespoons of sugar and see how that goes, but we haven’t tested this.
I made the dough last night and fried them this morning. This will be a repeat dish weekly. Just loved them.
How did you do the dough the night before? I’m assuming you made it, refrigerated it, and then set out to rise the next morning? How long did the rise take?
i did it with the air fryer. it turned out as good!❤️
Can I use semi-skimmed milk instead?
Hi Samantha, whole milk is a must for the most tender dough– or you can try buttermilk. Lower fat or nondairy milks work in a pinch, but the doughnuts aren’t as flavorful or rich.
Hi, I made the doughnuts today. They were so easy to do and sure a keeper recipe.thank you so much. Another batch tomorrow again.
Absolutely love this recipe! I’ve tried it so many times and it has always turned out so good, my kids love them! Thanks Sally!
these are super good ! my family loves them
This recipe is amazing!! Works like krispie cream donuts would strongly recommend!
Hi Sally – great recipe as always. I love your recipes, and one I was hoping to find but not here (yet?) is for old fashioned buttermilk bar style doughnuts. I have very fond memories of these from my local bakery growing up (Torrance Bakery in So Cal) and have struggled to find many recipes online. Just in case you fancy having a go at them 🙂
I tried this recipe. Kneaded by hand and its simply amazing. Thank you for sharing 🙂
I tried this today..came out really well…thank you Sally..