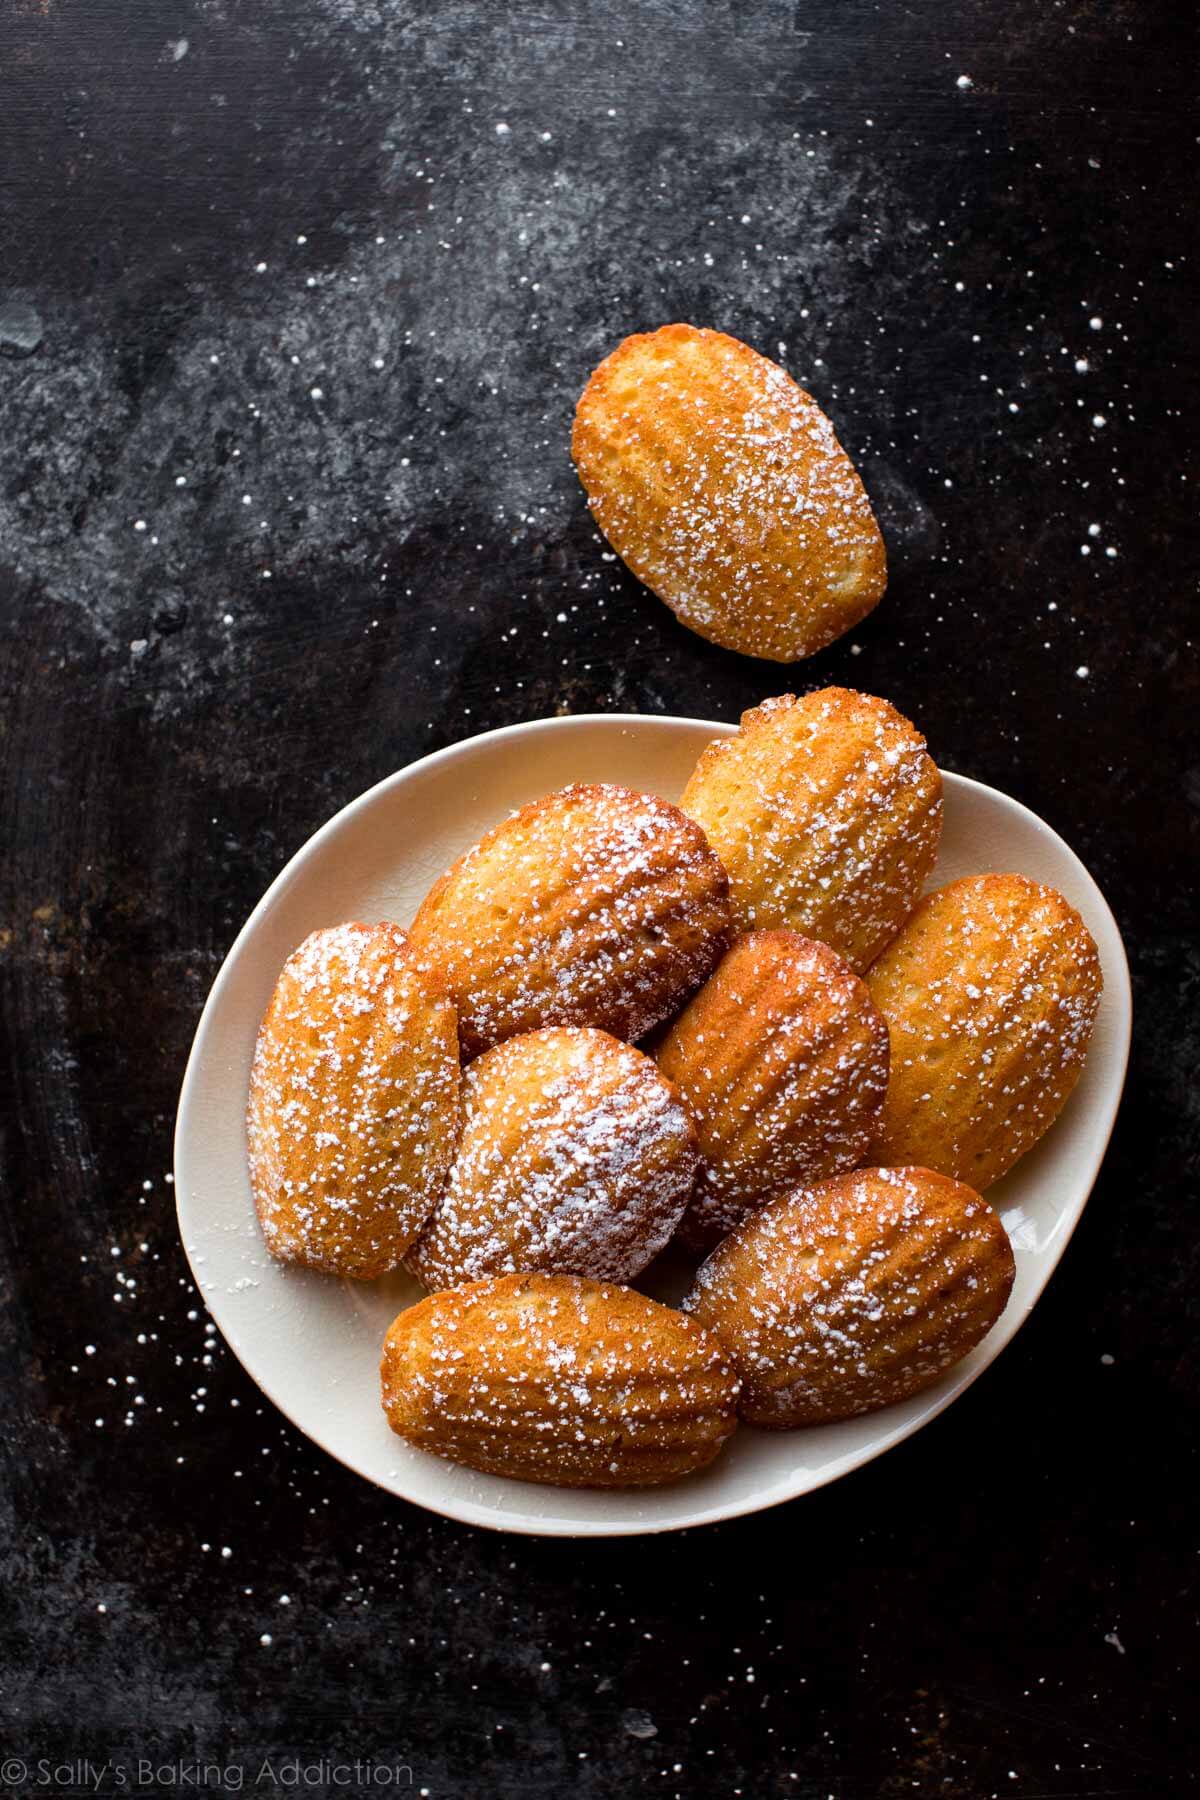
2018 baking goal = let’s step outside our comfort zone. Let’s start with a favorite baking bucket list recipe of mine: madeleines.
Equipped with determination, I studied and tested and retested and retested some more until I figured out the big question that is madeleines. While their fancy appearance and classy name can be intimidating, these airy teacakes require the most basic ingredients. They aren’t difficult, but they do demand your attention, patience, and precision. And a solid (very detailed) recipe to produce the light texture doesn’t hurt either!
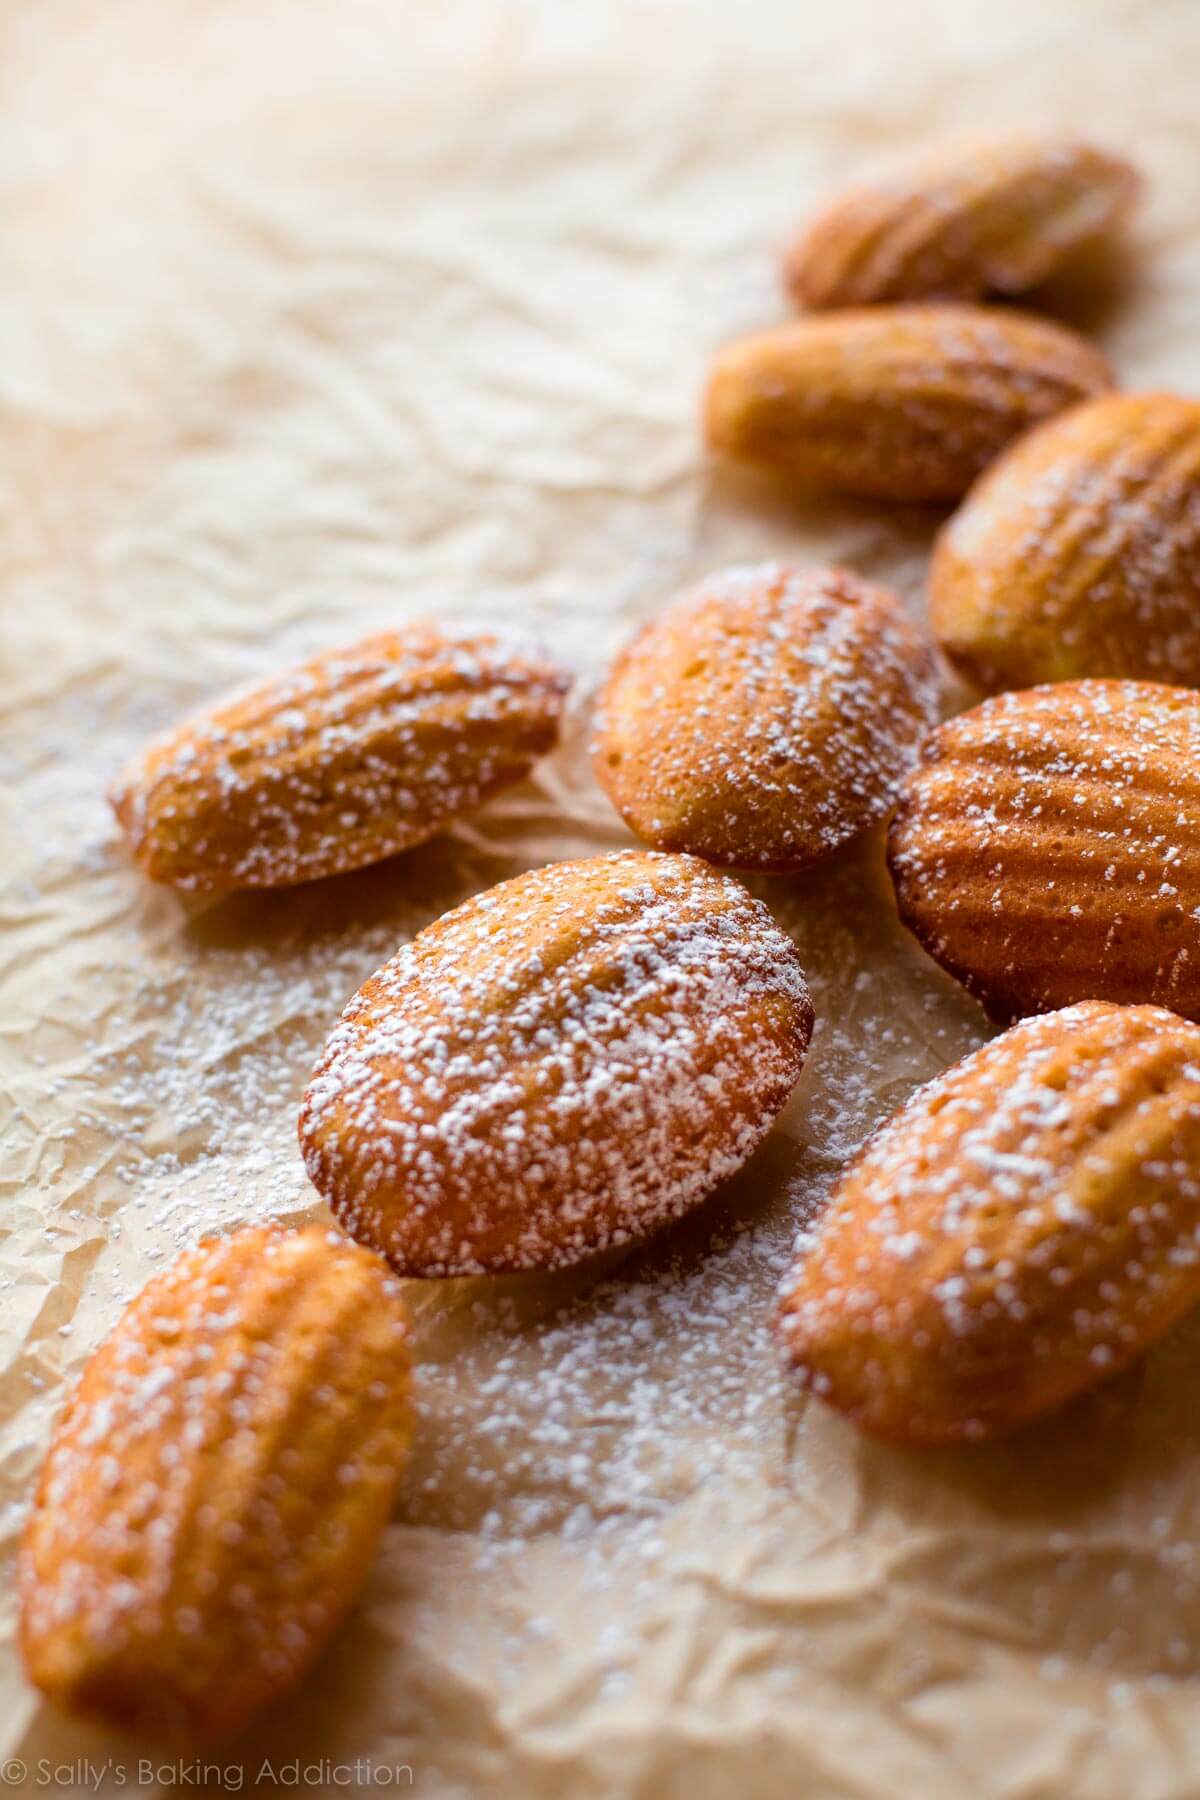
Let’s figure this out first: are madeleines cookies or itsy bitsy cakes? A big debate! They’re a delicate little butter cake that most people refer to as cookies. However you categorize them, madeleines are known for their beautiful and distinct scalloped shell shape and need nothing more than a sprinkle of confectioners’ sugar on top. Though a dunk in dark chocolate is nice too!!
Let’s dive in. This is a lengthy post, but I think it’s important to discuss what works and what doesn’t work so you can truly understand what you’re doing in the kitchen. We’re going to walk through the process together with step-by-step photos, detailed instructions, and then the madeleine recipe is at the bottom of this post. Break out your madeleine pan. We’re doing this!
Basic Process
In this great big world, there are MANY ways to make madeleines. This is how we’re doing it today, a recipe based off of Julia Child’s. Madeleines start with a sponge-like batter, called a genoise in European baking, and get most of their lift and volume from beaten eggs. The base of our desserts is usually creamed butter and sugar. With madeleines, however, beating the eggs and sugar together is the most crucial and particular step. We’ll beat them for 8 minutes to really whip in enough air. We’ll add a little flavoring to the madeleine batter: lemon zest and a little vanilla extract, both optional. Then in a separate bowl, we’ll toss a little flour, baking powder, and salt together. We will delicately fold the flour mixture into the beaten egg mixture. Why emphasis on the delicate? We don’t want to deflate the eggs we just beat, do we?? Finally, we’ll mix in some melted butter. So as not to deflate the airy batter with a whole mess of heavy melted butter, mix *some* of the madeleine batter into the melted butter, then add it all into the madeleine batter for final mixing. If that confused you, step pictures are coming. The melted butter gives mads their classic taste, as well as a lovely shiny appearance when they finish up in the oven. If you’re feeling confident, go ahead and brown the butter. Yum!
We’ll spoon the batter into a madeleine pan. And that’s the catch! You need a specific pan. I know what you’re thinking. Is it really worth buying a new pan for just 1 type of recipe? Yes. If you’re into mads, it’s worth the $12. Here’s the pan I own and highly recommend along with all the other people on Amazon!!
Can I bake madeleines in another pan? Sure! A mini muffin pan works, but the texture of the little cakes will be different, they will be similar to brown butter berry tea cakes. I found that you really need the scallop pan to produce the iconic crisp edges.
The Batter
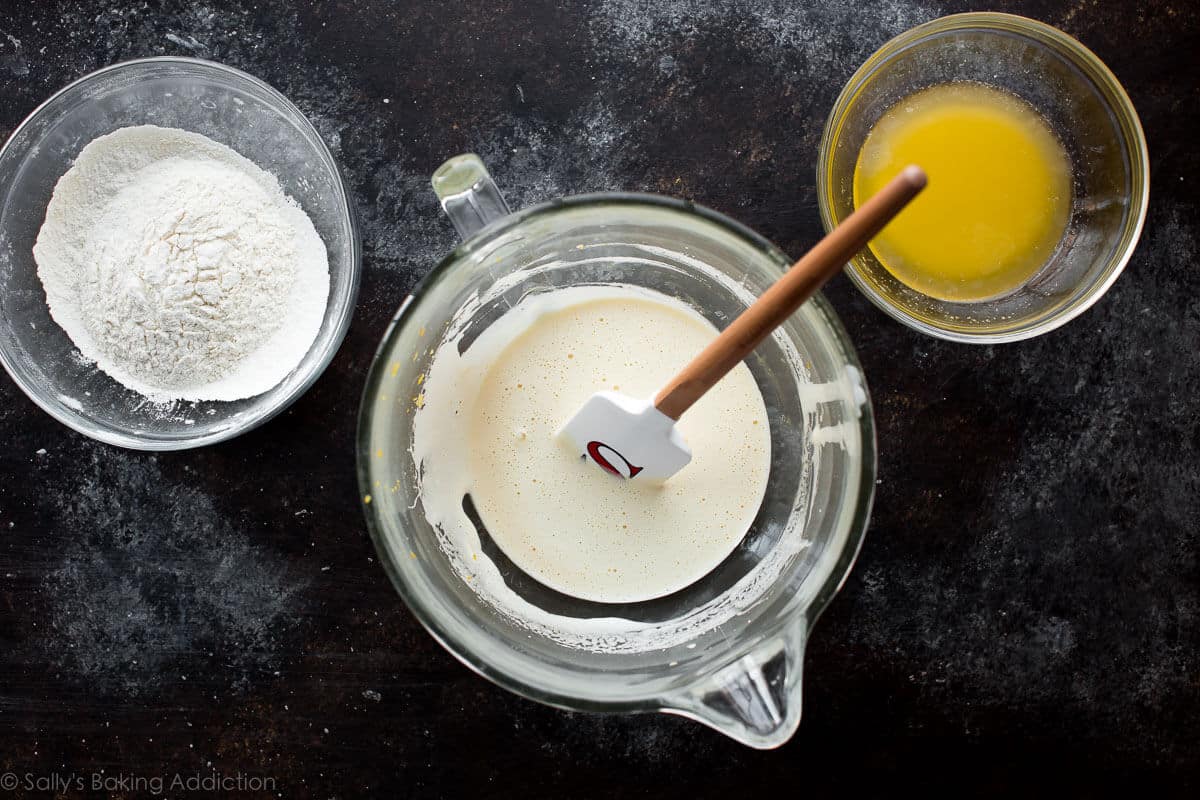
You see the photo above? It shows that there are 3 components to the recipe. The flour mixture, beaten egg mixture, and melted butter. Tip: when you’re ready to begin, melt the butter first so it has at least 8 minutes to slightly cool before using. Remember, we are whipping the eggs for 8 minutes.
Like I mentioned, the most particular step in madeleine baking is whipping the eggs long enough. You’ll need room temperature eggs. Cold eggs won’t reach the volume we need for madeleines. You’ll know you whipped the eggs long enough when the mixture is thick and pale. And this might be the most helpful clue– when the beater is raised, a ribbon of batter will fall back into the bowl. Aka the ribbon stage!
So now that the eggs (+ sugar, lemon zest, and vanilla) are beaten… let’s continue.
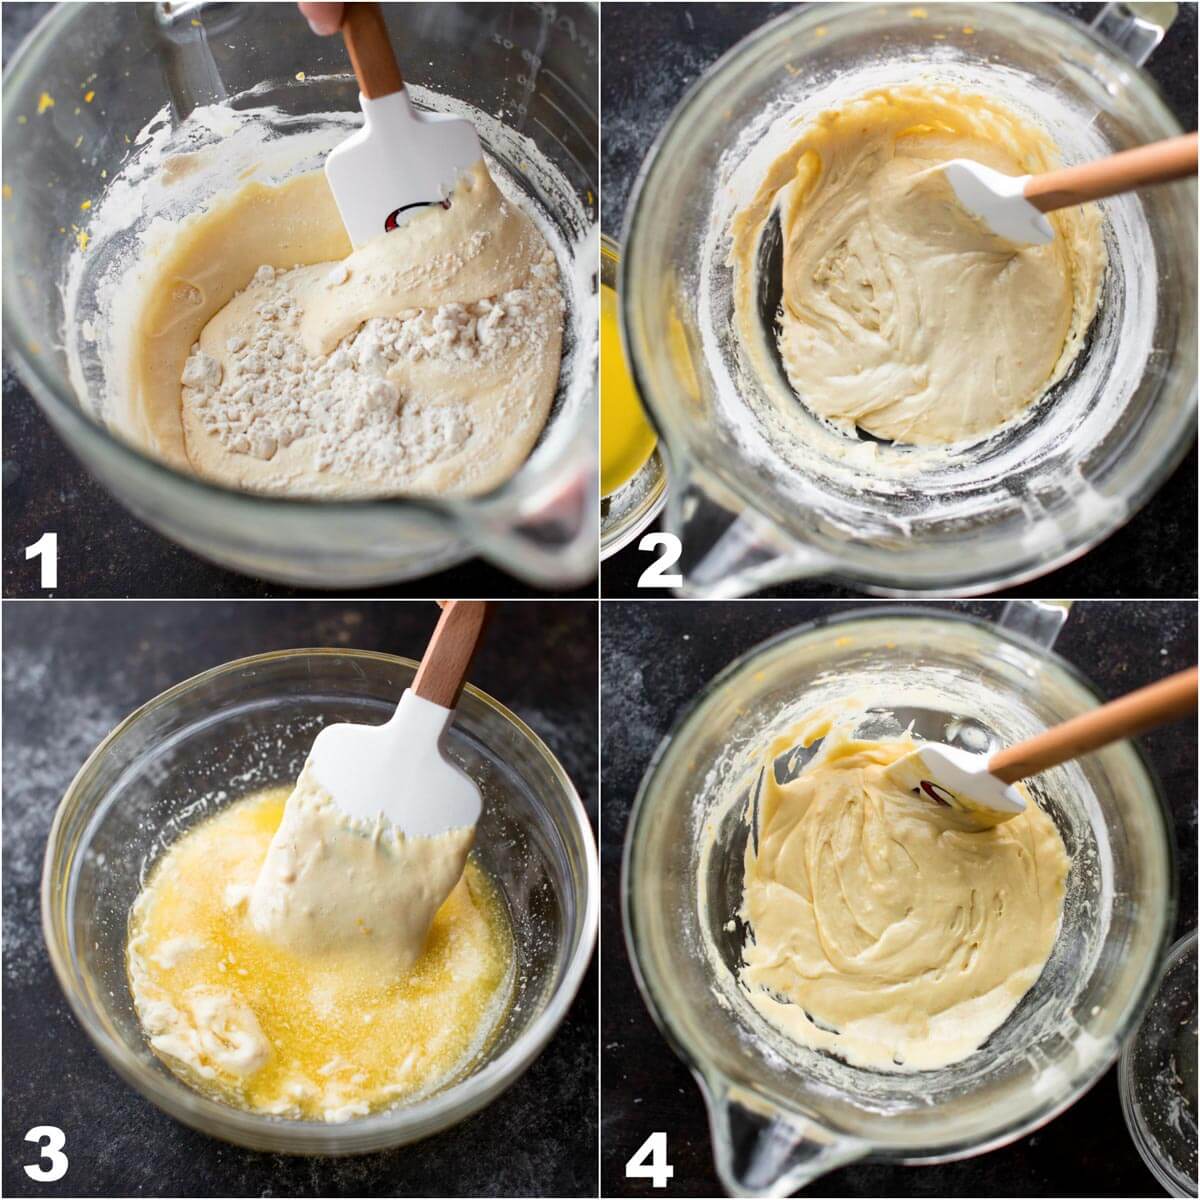
In the photo above, we are (1) folding the dry ingredients into the beaten egg mixture, making sure we aren’t deflating the eggs. When we’re all done, our batter will look like photo (2). Then (3) we’ll take some of that batter and mix it into the melted butter. Then (4) we’ll mix that into the rest of the batter.
We’re doing everything slowly and delicately.
Chilling the Batter
Just like most of the cookie doughs in our repertoires, madeleine batter needs to chill out before baking. Letting the batter rest in the refrigerator ultimately helps the mads rise up taller in the oven. Taller usually means fluffier, which is exactly what we’re shooting for. But don’t chill the batter for too long and here’s why: the butter will solidify again. And when baked, the madeleines won’t rise up as tall which negates the whole point of chilling the batter! Good thing madeleines are delicious because they sure do have lots of rules.
I find 30-60 minutes in the refrigerator is the sweet spot.
Preparing the Pan
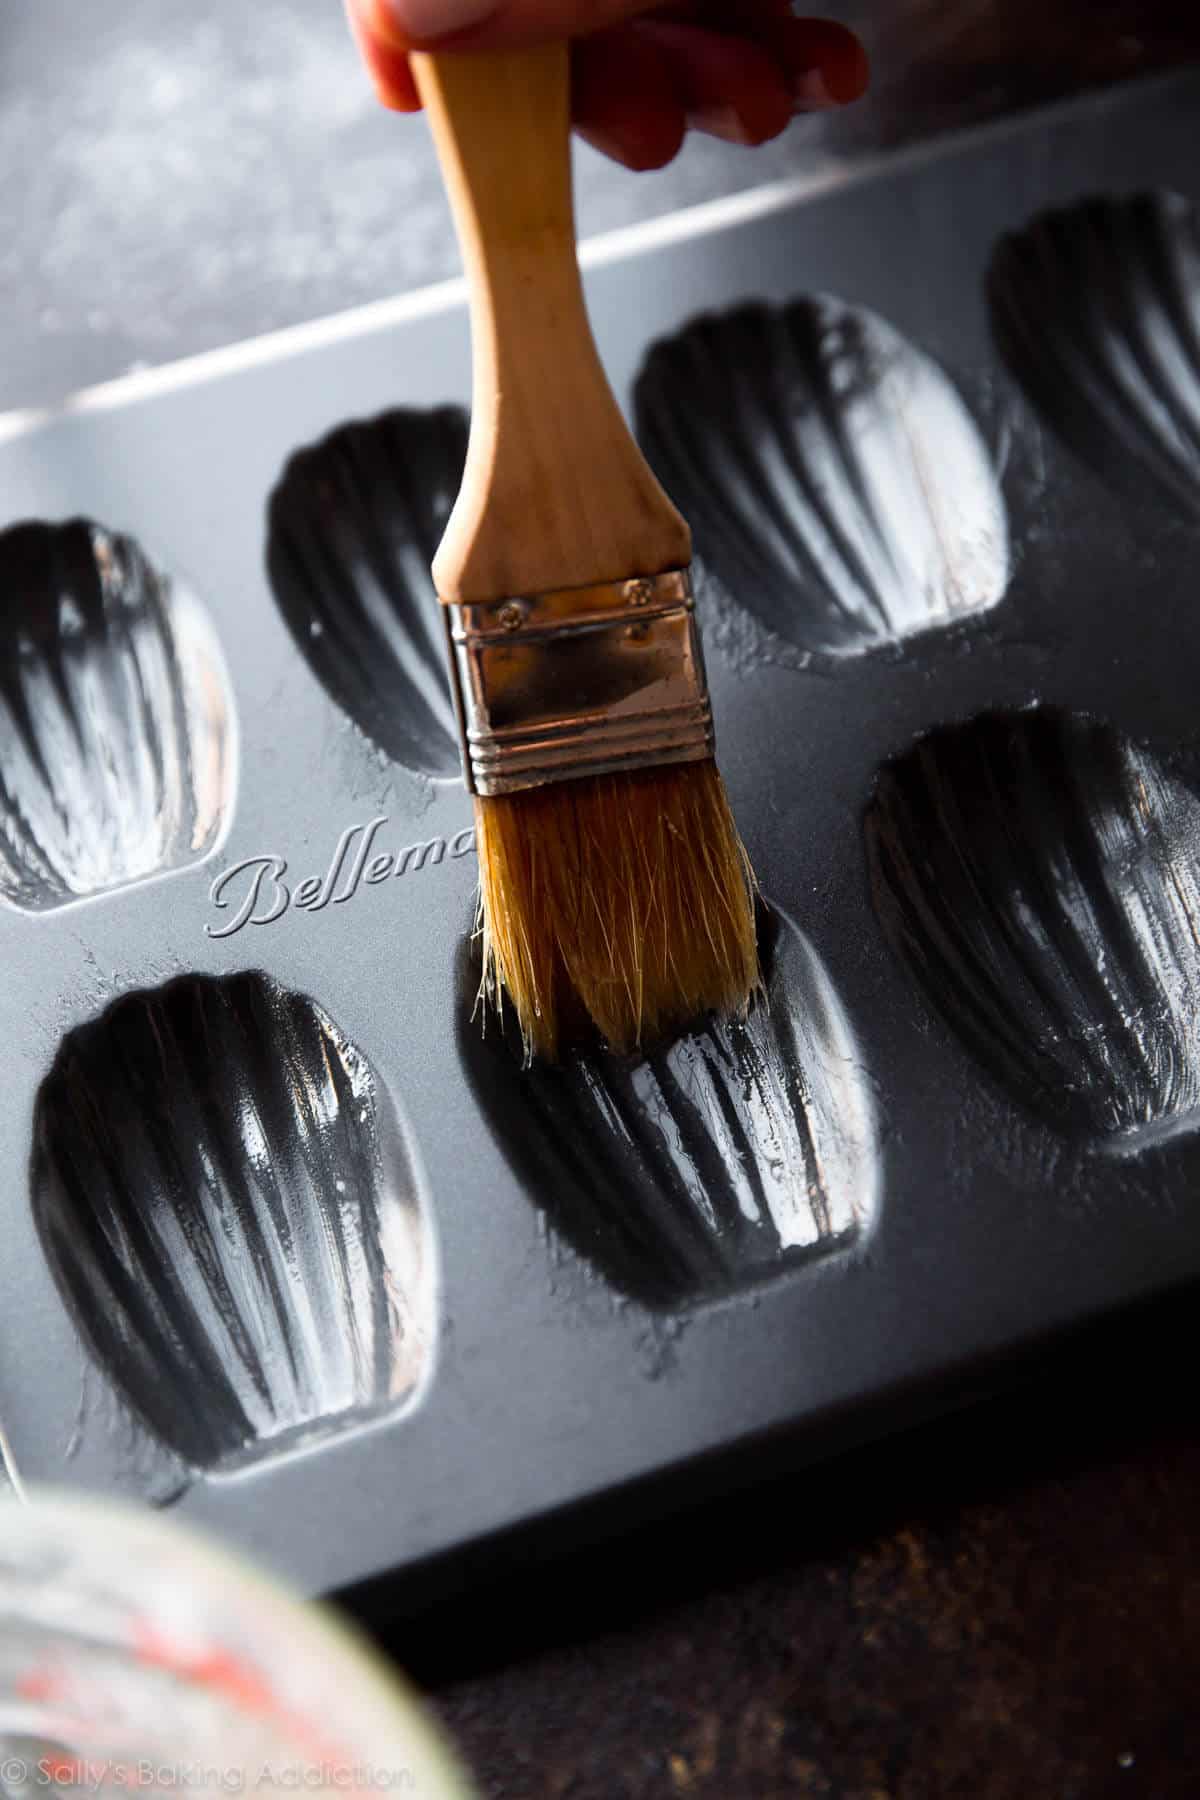
Many madeleine recipes call for greasing the madeleine pan regardless if you’re using a nonstick madeleine pan or not. I tested a few ways: nonstick spray, buttering and flouring, and just buttering. Honestly, nonstick spray worked absolutely fine but brushing the pan with melted butter gave the mads a lovely crisp and buttery crust. I wasn’t fond of the butter + flour preparation because the flour either burned or left a residue on the baked cookies. Just my opinion.
A pastry brush comes in handy!
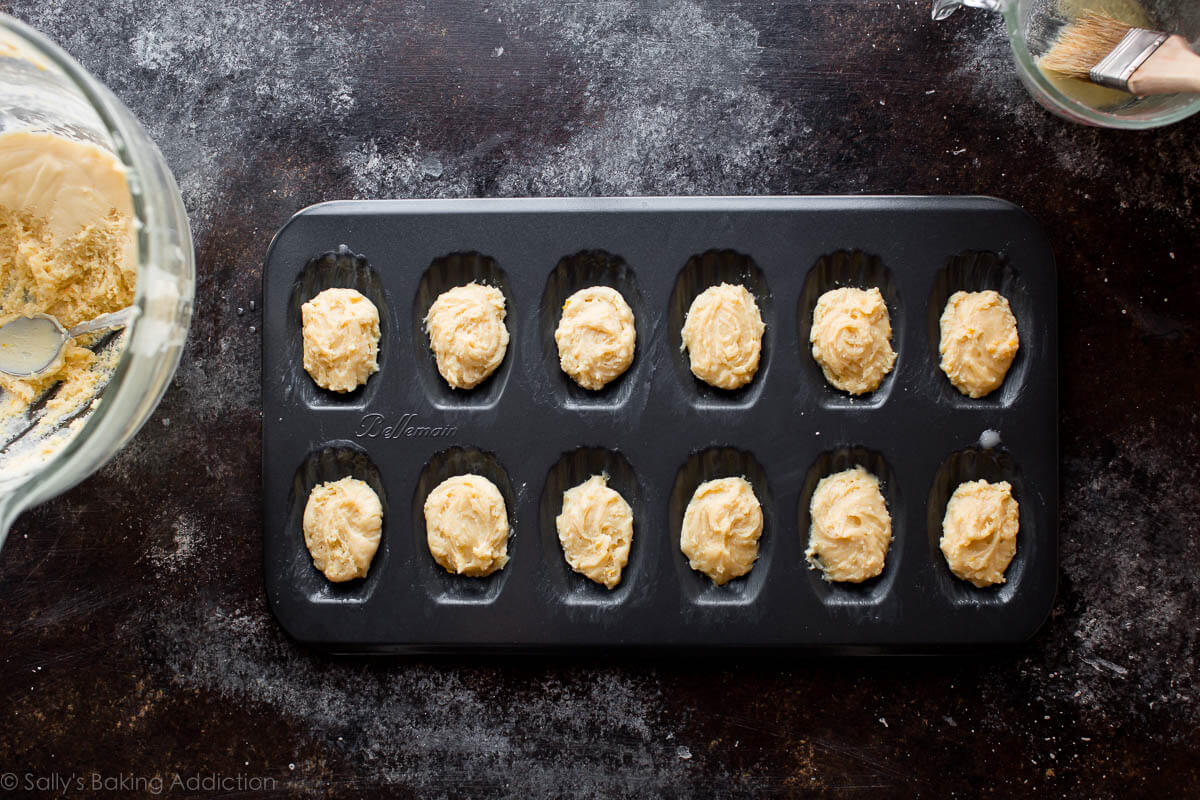
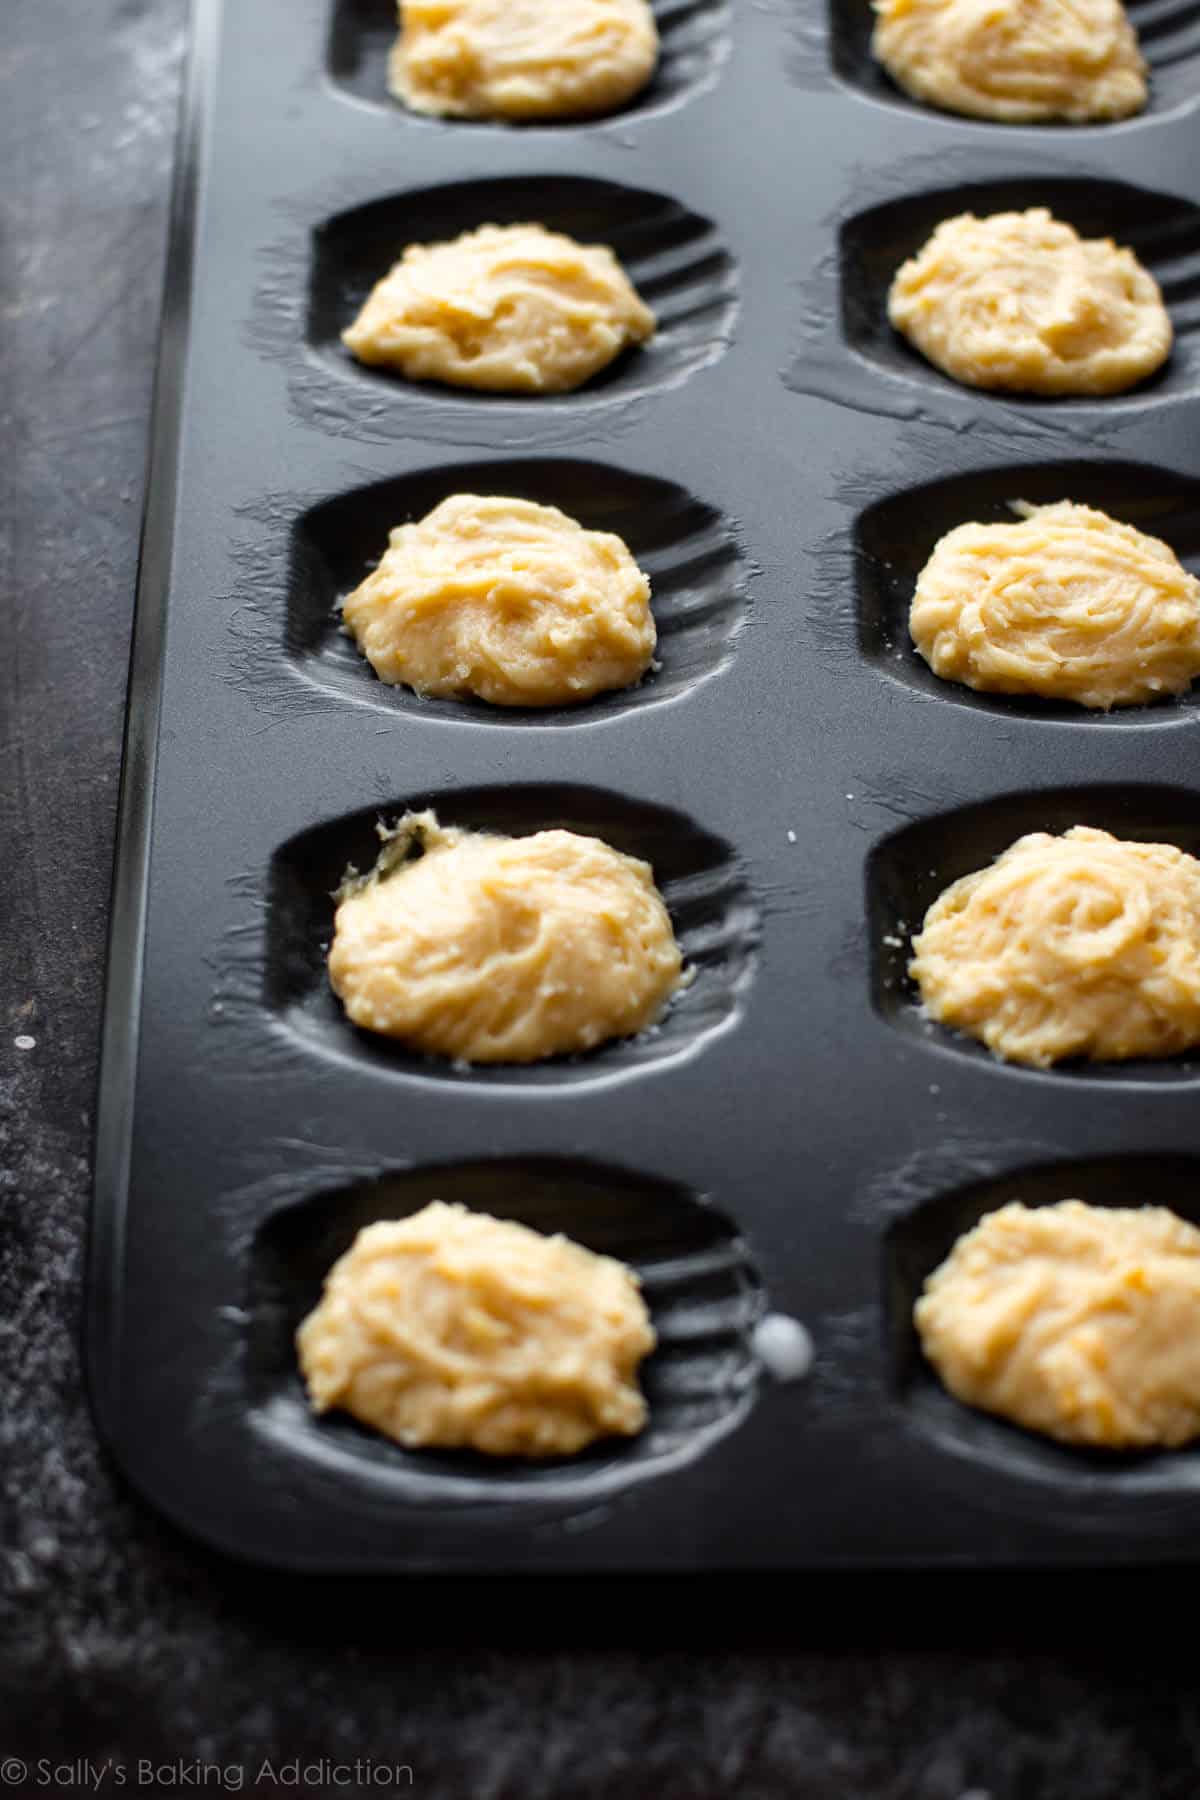
How much batter per cookie? I found 1 heaping Tbsp was plenty. Use a basic spoon and just plop it right into the center of the scallop shell, just like this:
I tested madeleines at varying oven temperatures and settled on 350°F (177°C). Anything higher than that burned the edges without properly cooking the centers.
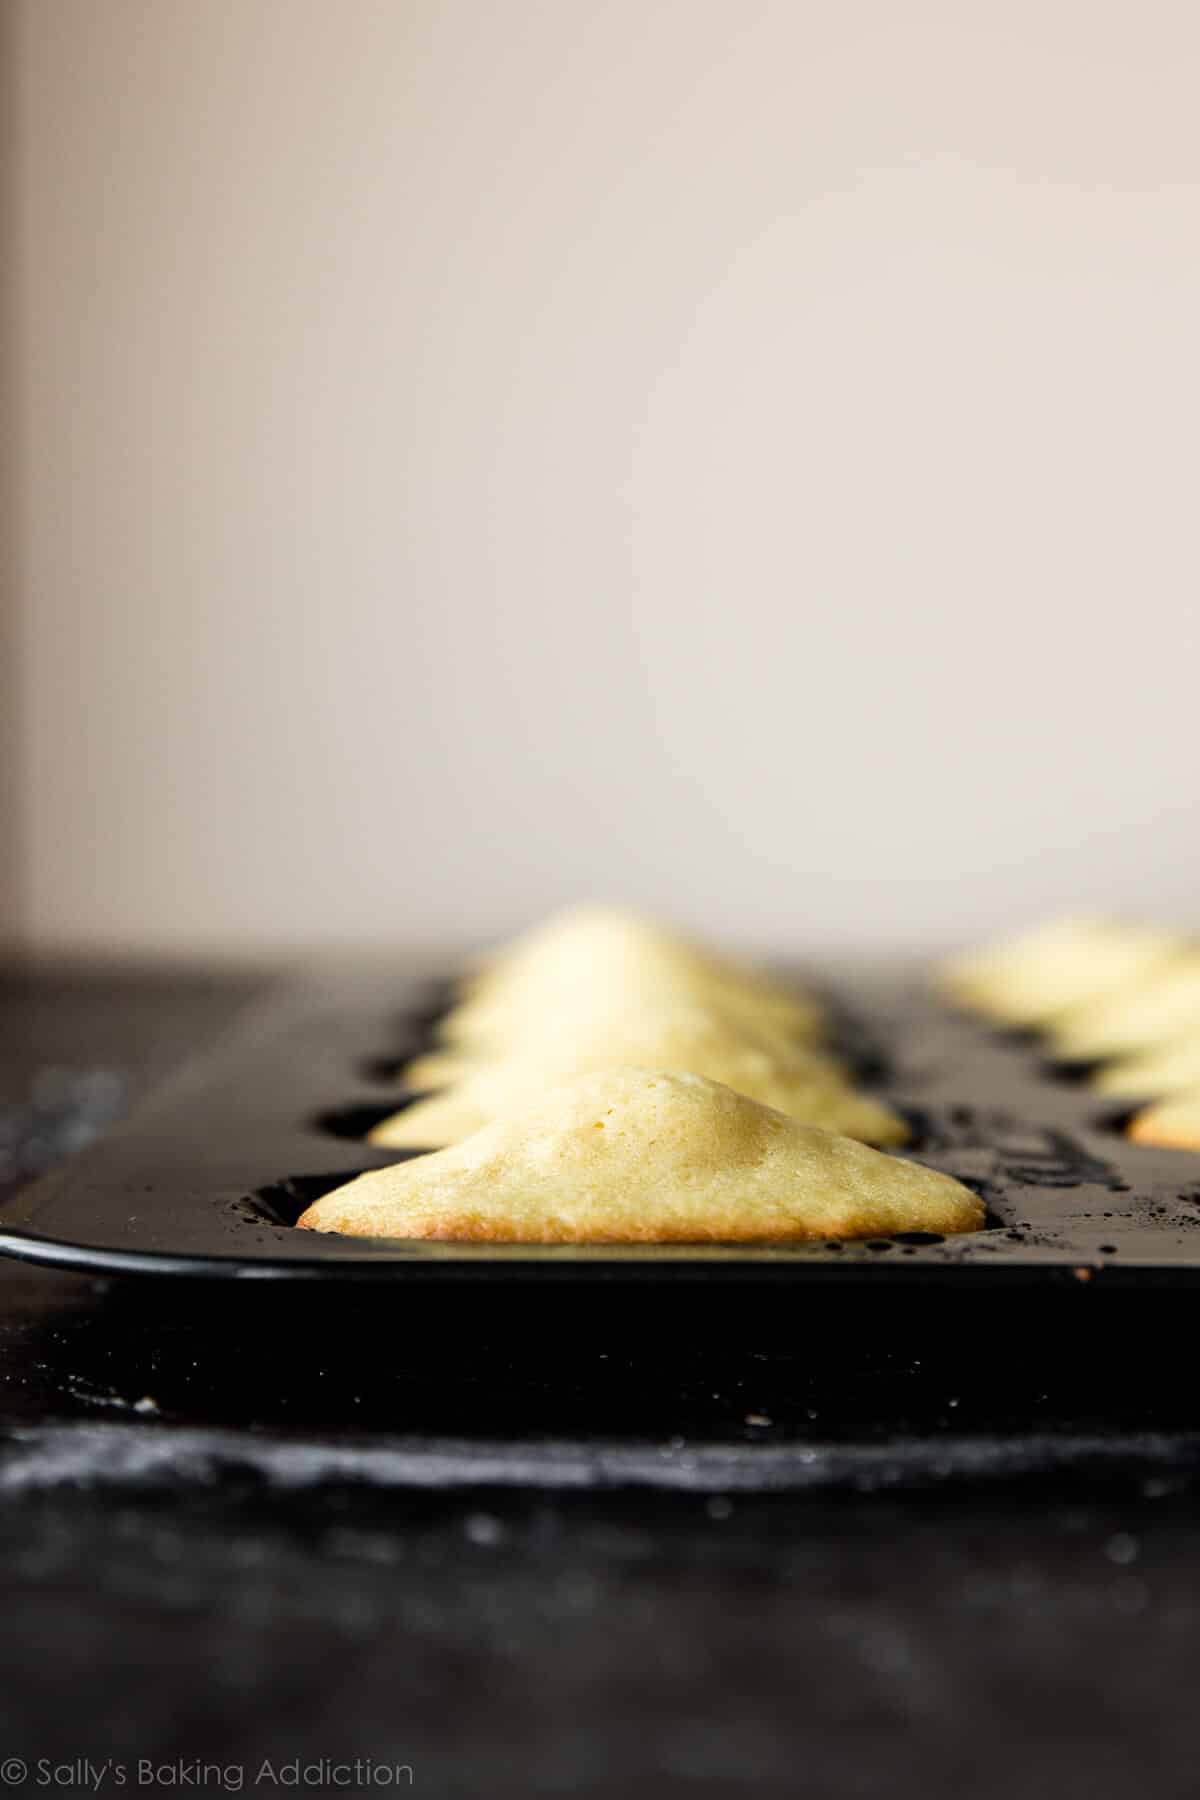
Look at that rise! This is called the belly, hump, or bump of a madeleine.
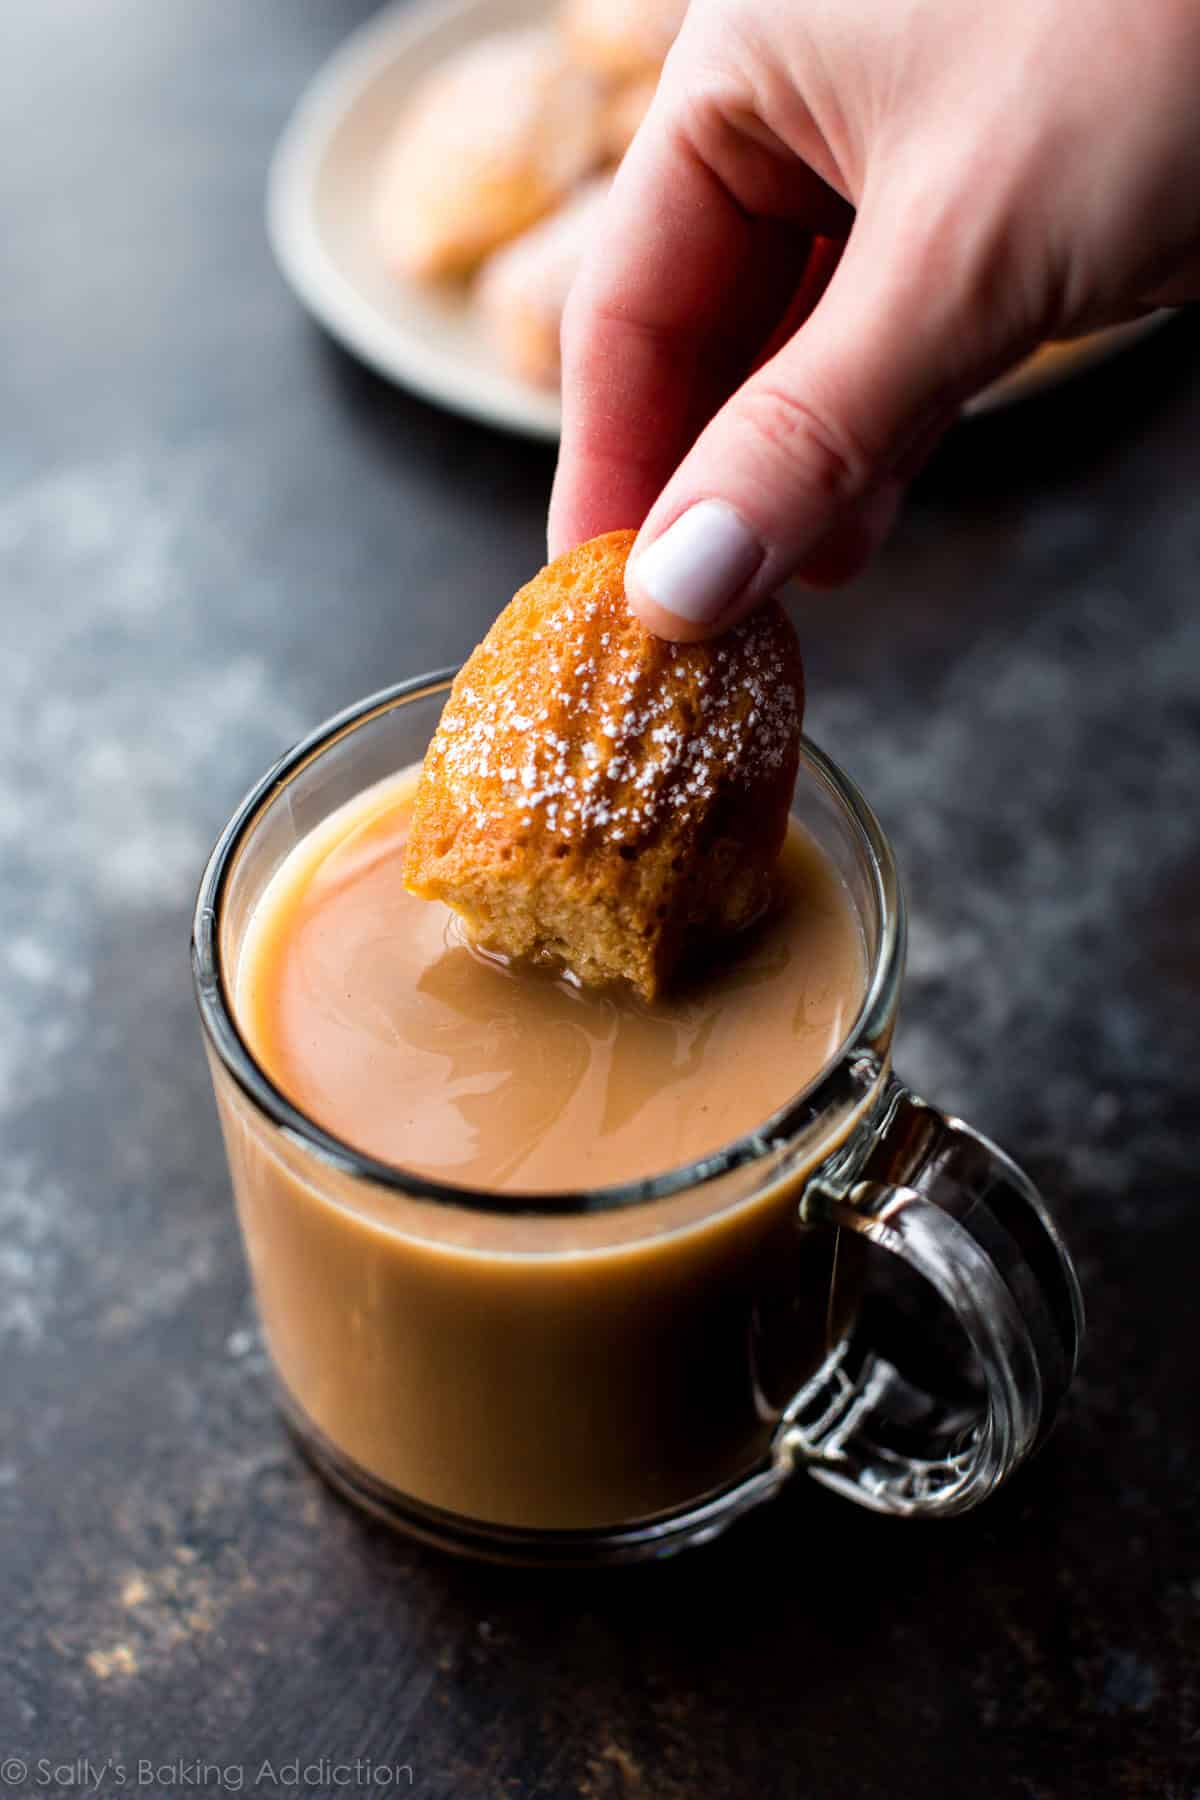
Madeleines are best right out of the oven. They’ll lose a lot of moisture overtime, so I suggest baking and enjoying them fresh. I had lots of madeleine rocks on my hands after a day or 2. (Dunk them in coffee… still good!)
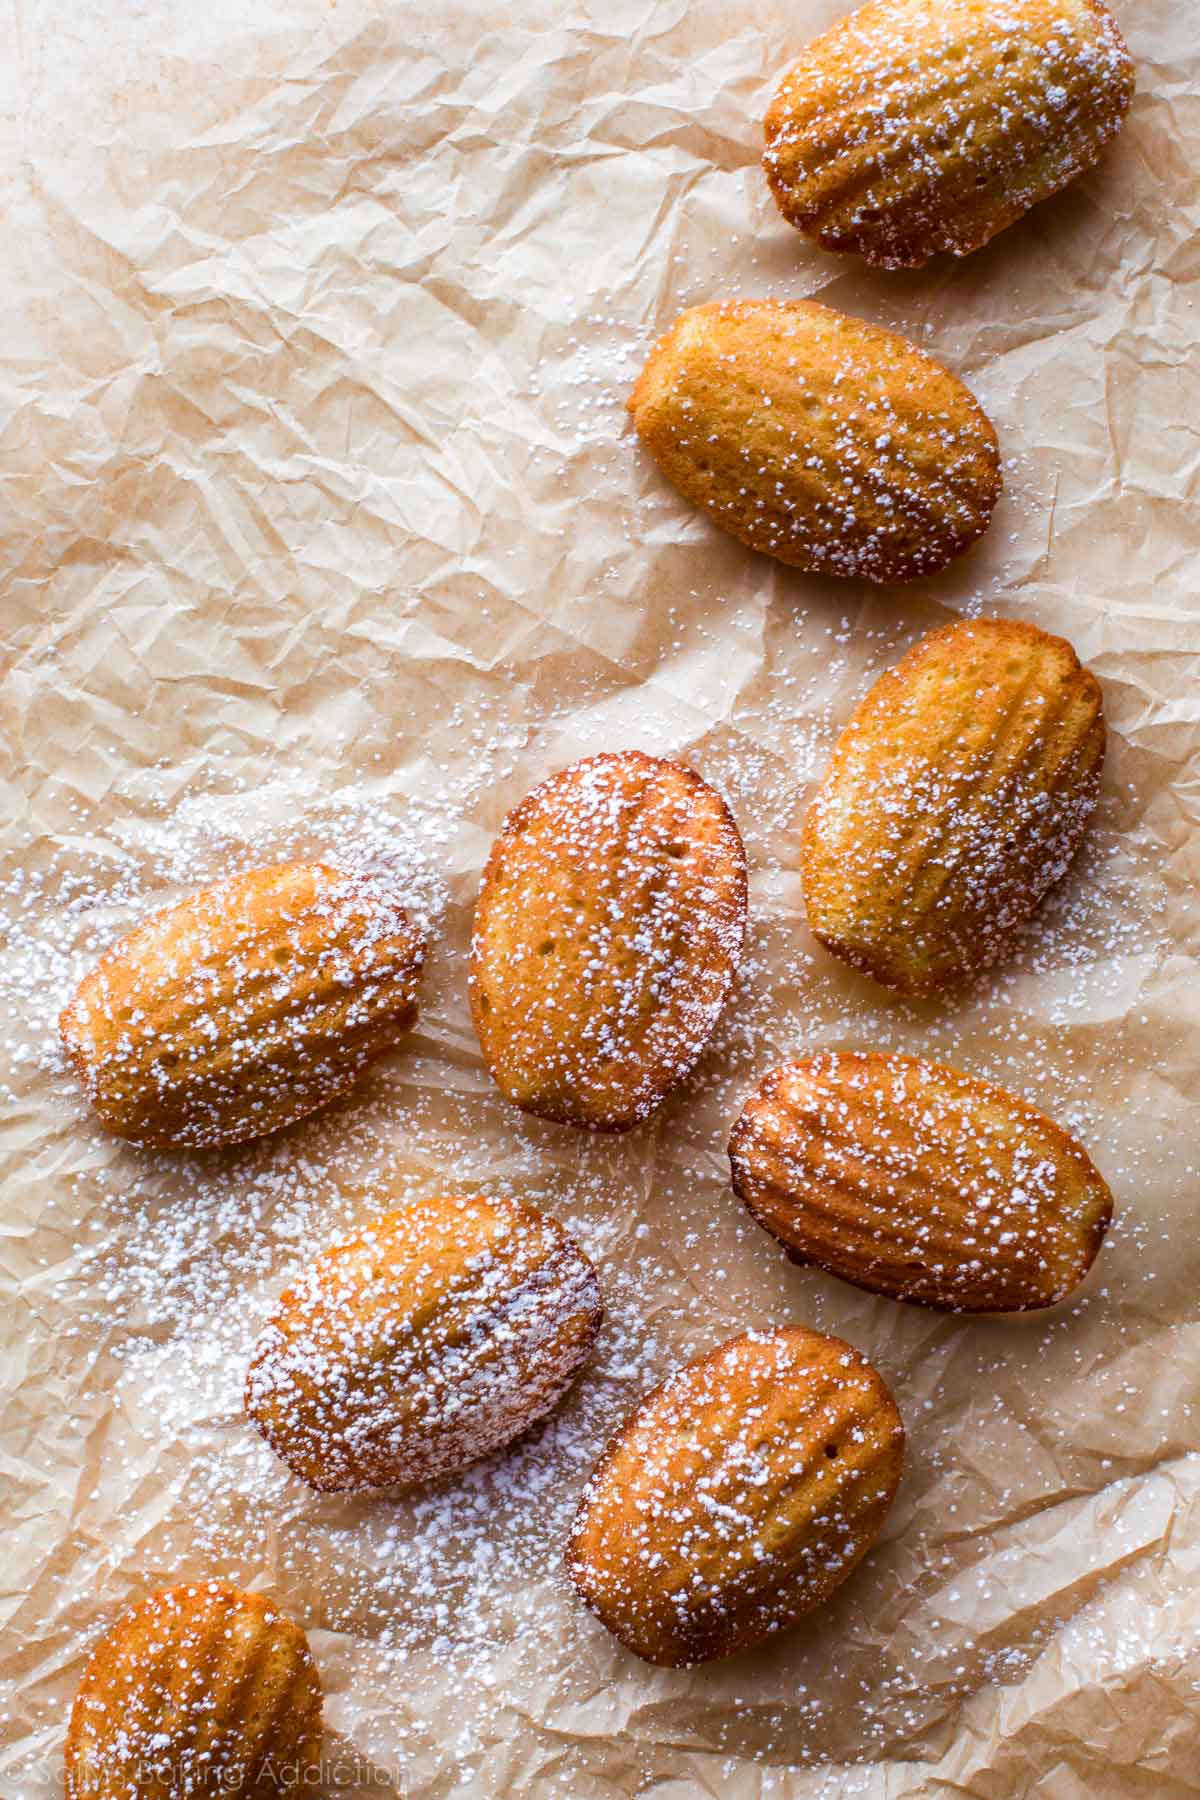
So Are They Worth the Fuss?
Yes, I definitely think so! Laced with fresh lemon zest and finished with confectioners’ sugar, their texture is undoubtedly unique. Delightfully crisp edges, buttery scallops, and a subtly sweet airy teacake inside. To say they’re delicious is an understatement. They’re remarkable. A French pastry I never thought I could recreate in my own kitchen. They always on my list of Mother’s Day recipes and great for any type of shower, celebration or event. Invite some friends over, brew some coffee, pour some tea, and bake them together. It’s a fun baking experience!
If you read the recipe and use these pictures as your guide, you’ll be gifted with these fancy treats too. If, somewhere along the way, your batter gets a little too heavy—no fret. Your mads will taste more like poundcake, but they’ll still be worth it.
Do you have a favorite madeleine recipe? Or any other tips and tricks? I’m pretty happy with these, but would love learning from any madeleine experts!
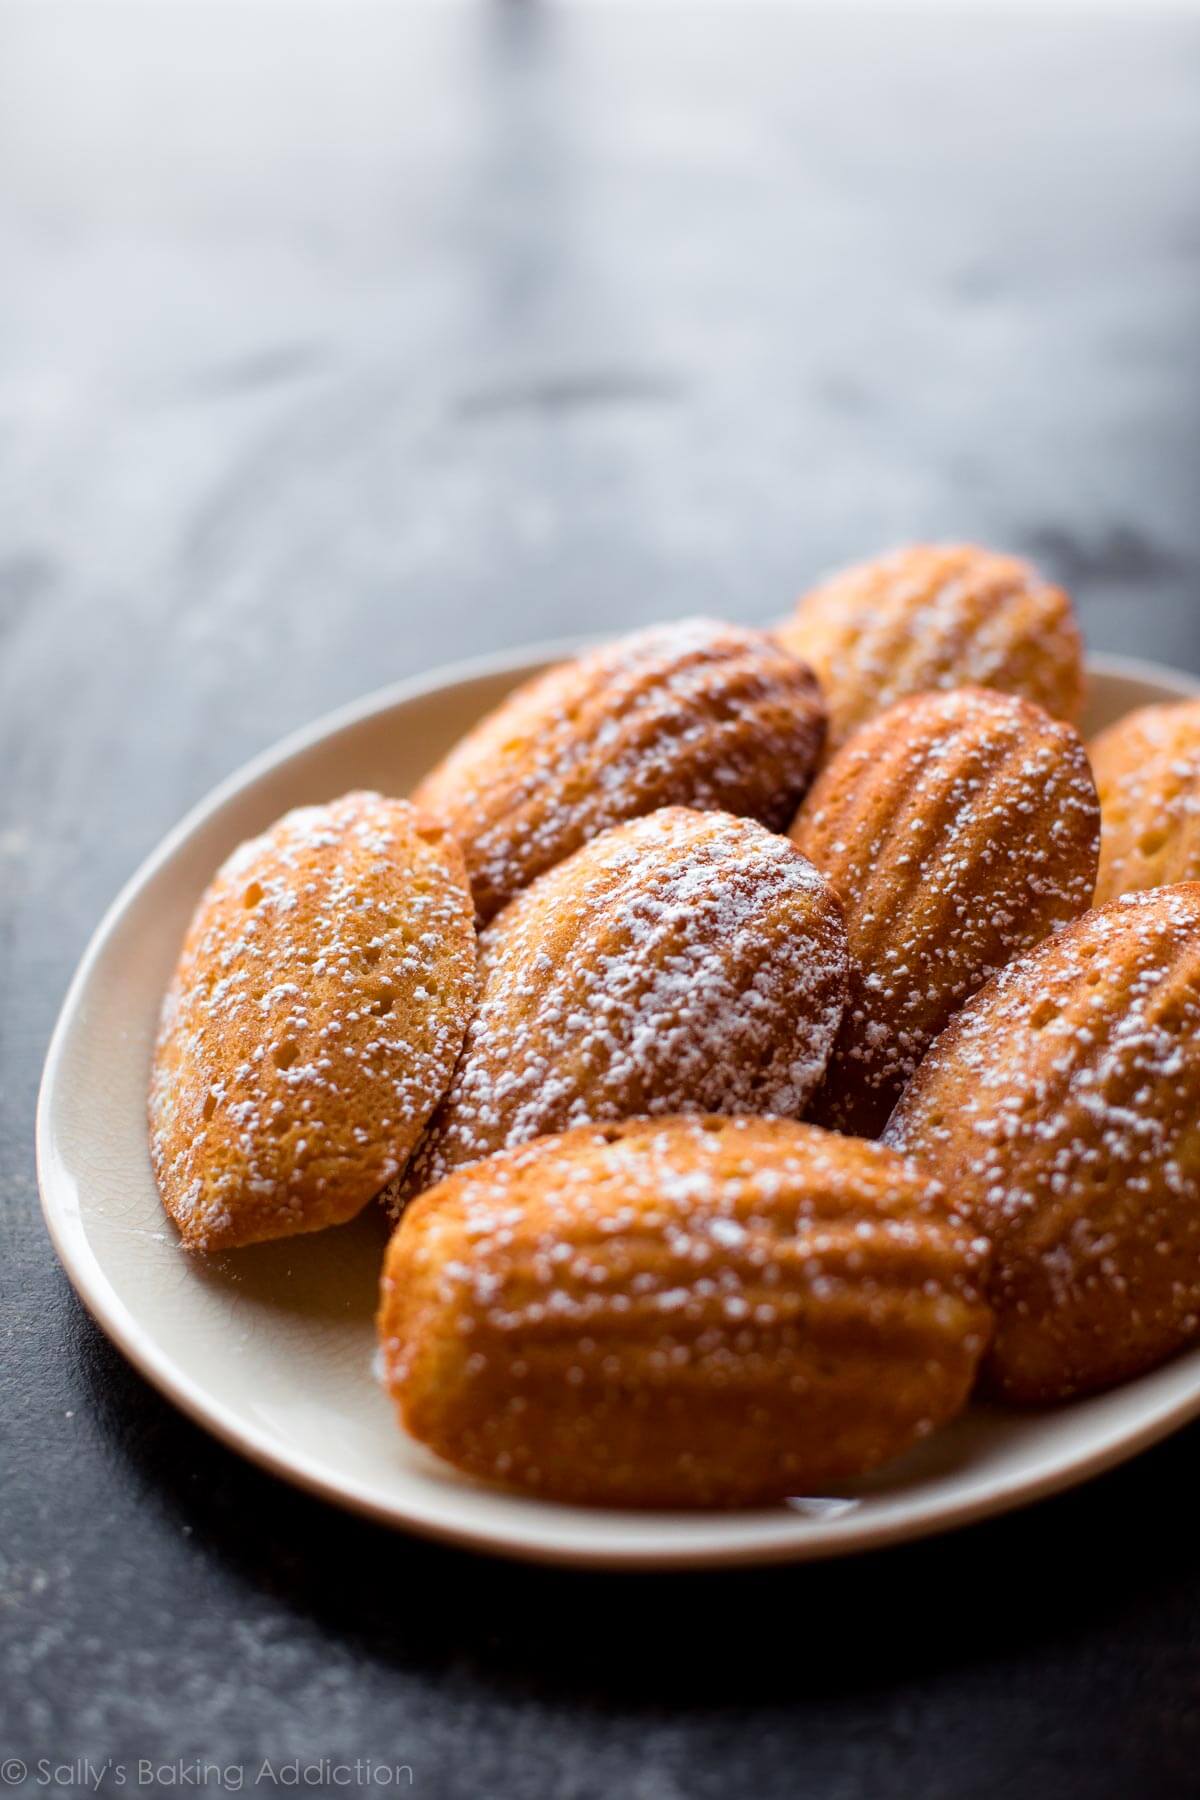
By the way, I can’t finish this post without two more things:
- The history of madeleines. 🙂
- Ross: Oh really? Did she tell you he plays the recorder, recites poetry, and bakes madeleines? Monica: Ohhhh how are they? Ross: Lighter than air… but that’s not the point!

Madeleines
- Prep Time: 1 hour, 15 minutes
- Cook Time: 12 minutes
- Total Time: 1 hour, 30 minutes
- Yield: 18-20 cookies
- Category: Cookies
- Method: Baking
- Cuisine: French
Description
Light & airy homemade madeleines with delicious buttery lemon flavor.
Ingredients
- 1/2 cup (8 Tbsp; 113g) unsalted butter (plus another 2 Tbsp (28g) for the pan)
- 2 large eggs, at room temperature
- 1/2 cup (100g) granulated sugar
- 2 teaspoons lemon zest
- 1 teaspoon pure vanilla extract
- 1 cup (115g) sifted all-purpose flour* (spooned & leveled)
- 1/2 teaspoon baking powder
- 1/8 teaspoon salt
- optional: confectioners’ sugar for sprinkling on top
Instructions
- Read the post above for explanations and step-by-step pictures. It will help you!
- Melt the butter in a large bowl and set aside to slightly cool as you prepare the rest of the batter. You can melt it in the microwave or melt it/brown it on the stovetop then transfer to a large bowl.
- Using a handheld or stand mixer fitted with a whisk attachment (didn’t notice a difference using either one), beat the eggs and sugar together on high speed for at least 8 minutes. The mixture will be thick, pale, and form ribbons when you lift the beater(s). Beat in the lemon zest and vanilla extract until combined. (The remaining ingredients are mixed together by hand; you no longer need the mixer.)
- Whisk the flour, baking powder, and salt together in a small bowl. Using a silicone spatula, gently fold into egg mixture. I suggest carefully folding in half of the flour mixture, then folding in the other half. (Instead of dumping it all in at once.) Make sure you’re handling this batter with care. It’s very delicate.
- Stir 1/4 cup of the batter into the melted butter. It will take a minute to fully incorporate. Then stir it all into the rest of the batter. The batter will be thick, silky, and shiny.
- Cover the batter and chill in the refrigerator for 30-60 minutes. Try not to chill any longer than this as the butter in the batter will begin to solidify.
- During the last few minutes of chilling, preheat the oven to 350°F (177°C).
- Melt the remaining 2 Tablespoons butter. Using a pastry brush, lightly brush the madeleine pan with melted butter. I find that greasing the pan is necessary even if you’re using a nonstick pan. We want to avoid any chance of sticking.
- The batter will be quite airy and spongey after resting. This is good! Do not try to deflate it. Spoon 1 generous Tablespoon of batter into the center of each scalloped well. No need to spread it to the edges. Just plop it in the center. (Cover and refrigerate remaining batter if you do not have 2 madeleine pans to bake the batter all at once.)
- Bake for 10-12 minutes. The madeleines are done when the tops spring back after lightly pressed with your finger. Invert the pan onto the counter. Transfer the warm madeleines to a wire rack to lightly cool.
- Dust with confectioners’ sugar, if desired, before serving. Madeleines are best enjoyed right after baking, so I don’t have any make-ahead tips. They dry out very quickly; I find baked and covered madeleines lose their texture even after 1 day! For this reason, I don’t recommend freezing them either. You’ll lose a lot of texture.
Notes
- Special Tools (affiliate links): Citrus Zester | Glass Mixing Bowl | Electric Mixer (Handheld or Stand) | Whisk | Silicone Spatula | Pastry Brush | Madeleine Pan | Cooling Rack | Fine Mesh Sieve
- Flour: Sift flour before measuring.
- Adapted from From Julia Child’s Kitchen (I reduced the sugar, oven temperature, sifted the flour, added baking powder, and did not flour the pan)


Hi, just made these… I own a couple of moulds for mini madeleines – so the recipe was enough for 2 ½ trays, so 50+ mini… DELICIOUS! will make them again…
I found these overly oily compared to the French recipes.
This recipe and the instructions are amazing! Thank you Sally! How do I give it 6 stars? 🙂
Great tasting recipe, but I’m having a hard time getting ones with a “clear” shell shape, and the “bump” is nonexistent, even though the texture is perfect. Any recommendations?
Hi Emily, Make sure that you chill the dough for at least 30-60 minutes, but not much longer. Colder, thicker dough will help guarantee that scalloped appearance and a nice rise (bump). However, too long can cause the butter to solidify again. Thanks so much for giving the madeleines a try!
Real easy recipe compared to another one I have. Made in morning and took as desert to a dinner meeting. Had no zest at All so left it out. But I used two cookies placed jam in the middle and dipped one end in chocolate. Everyone loved them
Made these today. Taste great. I used a silicone special madeleine pan, greased with melted butter, however the ridged shell design didn’t appear. What did I do wrong?
Hi Anne! We’ve never used a silicone Madeleine pan so can’t offer much advice. We’ve never had an issue with the shell design showing up with a traditional pan!
Can I let the batter sit in the fridge overnight (made at around 6pm and baked at around 6am)?
Thanks
Caroline
Hi Caroline! The butter will solidify too much if left overnight. It’s best to only chill the batter 30-60 minutes.
My family and I love this recipe!
Hi everyone can I skip the eggs?
Hi Amandeep, the whipped eggs are a crucial part of this recipe and we don’t recommend leaving them out. If you do decide to try any substitutes, we’d love to know how it goes.
Amazing recipe! This was my first attempt at making Madeleines, and they came out near-perfectly! The only adjustment I made was to halve the amount of lemon zest, as I wanted the lemon flavor to be more of a subtle hint than anything else. Oh, and I wasn’t able to incorporate the batter into the melted butter. I stirred vigorously for three minutes, and I had a homogeneous emulsion floating on top, but when I poured it into the big bowl, there still was a lot of pure melted butter underneath. However, incorporating that into the batter was no big deal.
In one aspect I disagree with the recipe: I made the second batch eight hours after the first one, keeping the batter in the fridge the entire time. If anything, they came out better than the first batch. I did not spot any lumps of solidified butter in the batter, and moreover, I don’t know why this would hurt: many pastry recipes have you use butter that is softened but not melted. Someone once explained this to me that the butter melting during the baking process gives rise to many tiny air pockets, making the result even fluffier. Not sure if this is true, but many other Madeleines recipes on the internet call for leaving the batter in the fridge overnight, so it’s unlikely to do much harm.
It turned out too good. Crispy and soft.. thank you so much
These are fabulous. I didn’t use baking powder and they still raised up.
I plan to make these. I have had them before and they are fabulous. I don’t have a Madeline pan so I have to find one .
Some tricks I use to get the bump are to chill the batter overnight, pipe filling into the molds only up to 3/4 full, then put the filled pan in the refrigerator for one hour, and put directly onto the oven rack and not on a tray. Bake the madeleines at 425 degrees for 5 minutes then lower the oven temperature. It’s the initial thermal shock of the cold pan and batter in the very hot oven that guarantees the bump!
Did anyone else above use a regular madalaine pan? I did, buttered it generously with a pastry brush and softened butter- made sure to get in a all the scalloped groves, and the madeleines STUCK TO THE PAN. ughhhhh. Perhaps butter and flour? Chill longer than 60 min? Suggestions?
Hi sally
Just wondering If I freeze the batter how long will it last
Hi Olivia, I do not recommend freezing this batter.
I really enjoyed this recipe, I actually took half of the batter and mixed in a tiny bit of cocoa powder. It was sooooooo good when I swirled it together, highly recommend although mine didn’t really taste like the store-bought madeleines, but delicious nonetheless. AND I used some extra homemade buttercream for the butter part and it worked great!
We devoured 2 pans worth in five minutes
Can I change everything about your recipe, including ingredients, type of pan, etc. and still expect the same result????
LOL, sometimes reading the questions and reviews is as entertaining as reading the recipes. I know you won’t print this because of the sarcastic nature of it, but oh brother – some people. 😉
You all rock by the way. I haven’t had a single fail when baking your recipes, and I have baked many of them. Always enjoyed by family and friends.
I halved this recipe to make 12 Madeleines and they were small, but absolutely delicious! Perfect recipe, thanks so much!
Can i replace granulated sugar with caster sugar and vanilla extract with vanilla essence? do i need to adjust the quantity?
Pure vanilla extract is ideal for the best flavor, but you can use vanilla essence if needed in a pinch. Caster sugar is also OK to use– I wouldn’t change the amount of either.
This recipe was lovely! I made it two times, first time with following the recipe exactly, and the second time I didn’t put lemon zest, and I dipped them in melted chocolate after they had baked and cooled off.
As always, a lovely recipe and very detailed explanations, ensuring that anyone can follow despite their skills in the kitchen!
My only wish this Christmas was to get a madeleine pan, as madeleines are one of my all-time favorite baked treats, and I’ve wanted a pan for at least a dozen years but could never justify buying one for myself. Wish granted, I used this recipe with gluten-free flour (Bob’s 1:1), and 2 tsp lemonade instead of zest (no lemons on hand, oops). They came out so perfect that, two days later, my husband made a special request for me to make more. This second batch, I had the brainy idea to use 1 tsp lemonade and 1 tsp limoncello. They just came out of the oven and are out-of-this-world amazing.
Your blog is my go-to for all baking recipes. Thank you!
Hi Sally. Just wanna drop a note to say you’re 2 of my all time fav food bloggers and your recipes are DA real deal. Thanks again for all that you do!
Is lemon zest a must or optional? my son didnt like the lemon taste…is there substitutions or will it taste differently if i dont put in the lemon zest
Hi Sherryl, The lemon zest is optional, you can leave it out with not other changes.
I am curious what salt you use when baking – sea, kosher, or table?
Hi CB, Unless otherwise mentioned, we use regular table salt in our recipes.
Hi Sally!
My Mads are coming out of the oven with crispy brown edges and quite buttery. Am I putting too much butter in the molds? Otherwise they seem perfect, but just not so pretty!
Hi Michelle! Too much butter, or a slightly too hot oven temperature (we always recommend using an in-oven thermometer) would cause crispy brown edges. Both easy fixes for next time!
I was so excited to try this recipe! I thought I had a lemon at home and only had oranges. I used orange zest instead and they turned out beautifully.
Hi there! I wanted to read the history of madeleines but the page produced an error 404 – page not found. Can you fix that and let me know?
Thanks so much for letting us know, Lynda! The link has been updated.
I love this recipe.
It’s my go to if I want to make a treat.
I’ve substituted half the flour for almond or hazelnut meal which worked beautifully.
I’ve been wanting to try my hand at madeleines for forever, and after getting a madeleine pan for Christmas, I decided to attempt them today with the help of my favorite baking blog. This recipe was so easy to follow and the madeleines turned out beautifully! Light and fluffy with a bit of crisp on the edges. Thank you as always for the wonderful instructions!
Would earth balance margarine be a sub for those who can’t have dairy? Also. Can they be frozen ?
Hi Jennifer, We haven’t tested this recipe with a dairy free butter but let us know if you try anything. We don’t recommend freezing them because you’ll lose a lot of texture.
I make it with earth balance all the time – I use the unsalted (blue box) and it turns out just fine!
what should i use if i don’t have the pan
Hi Anindya, see section titled “Can I bake madeleines in another pan?” A mini muffin pan works, but the texture of the little cakes will be different.