

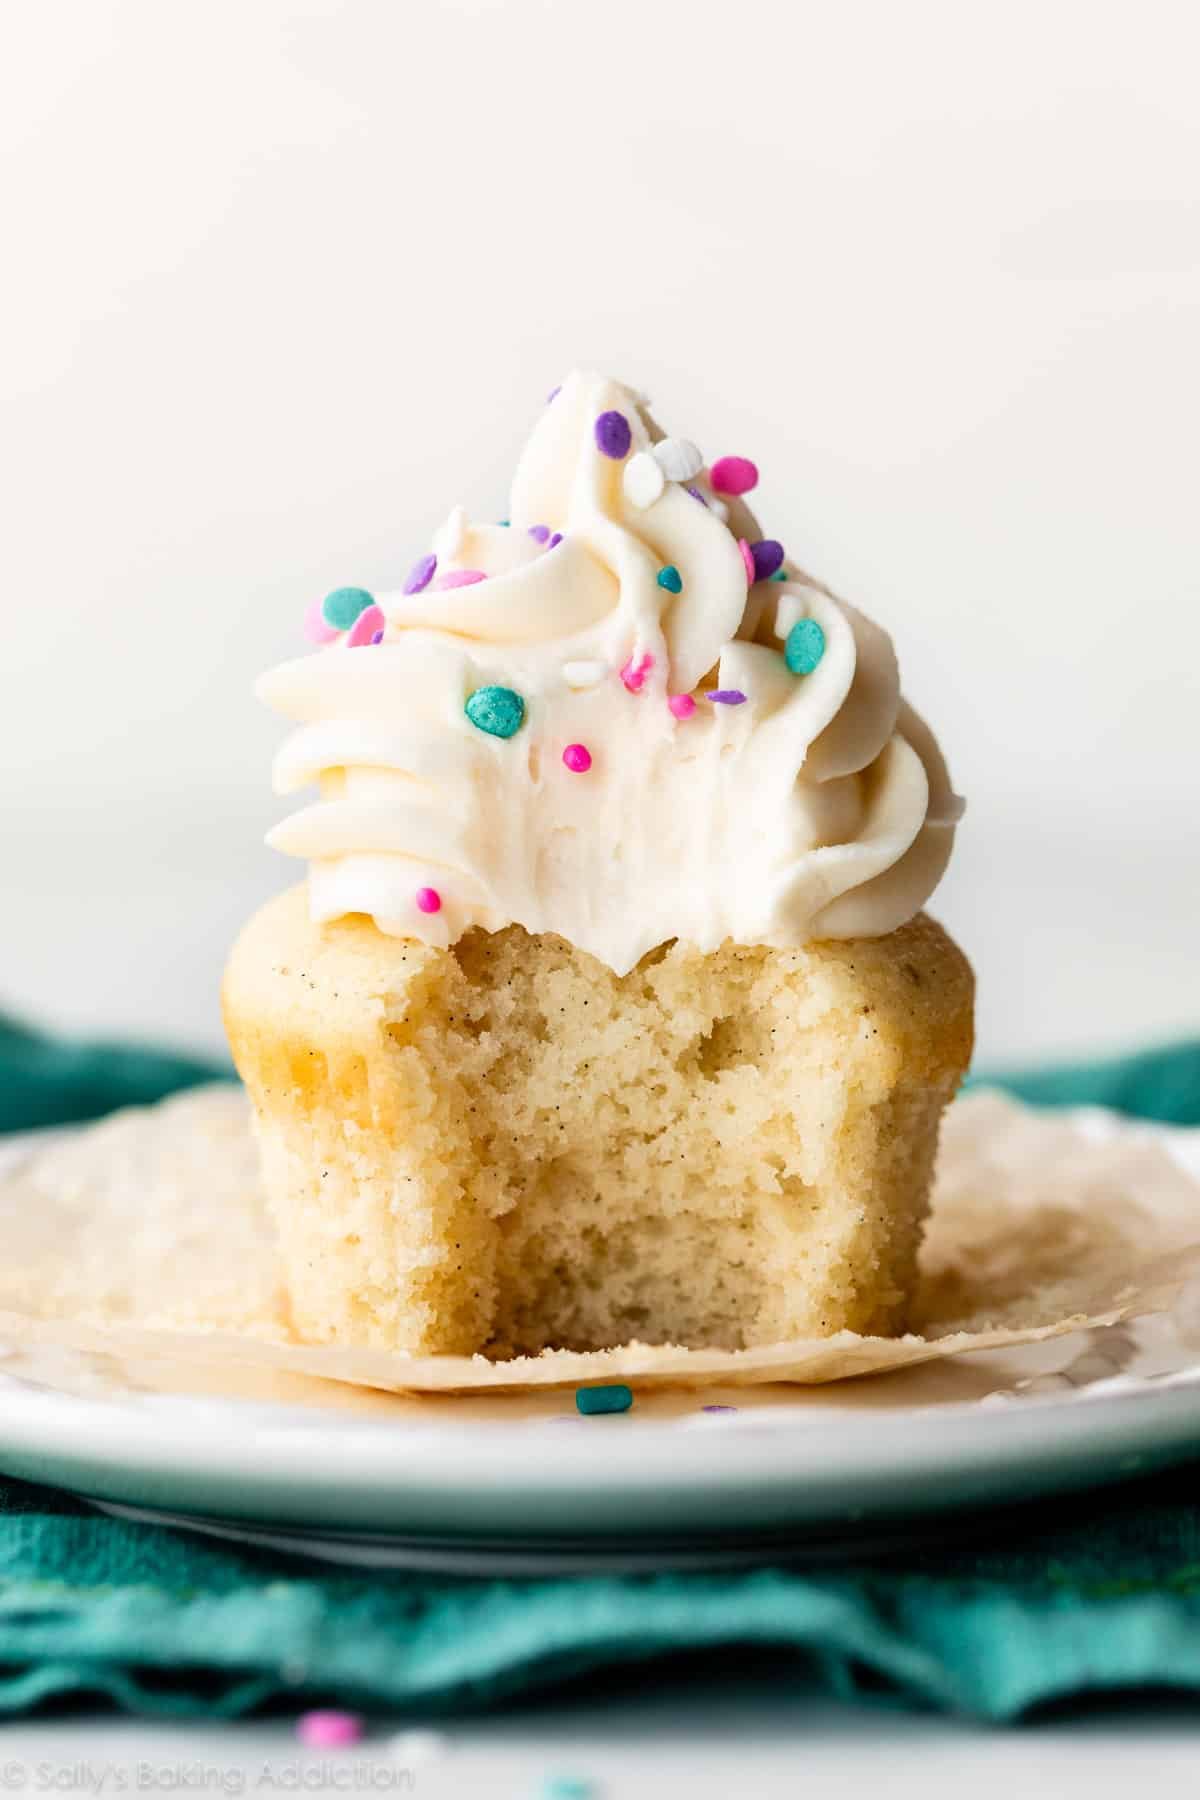
Recipe: Vanilla Cupcakes
With dozens of cupcake recipes published on my website and in my cookbooks, I figured it was time I shared my best cupcake baking tips together in 1 place.
I compiled a list of my top 10 tips and baking advice, all geared toward helping you bake a better batch. Get your ovens preheated, my friends, because you’ll have the baking itch after reading this!
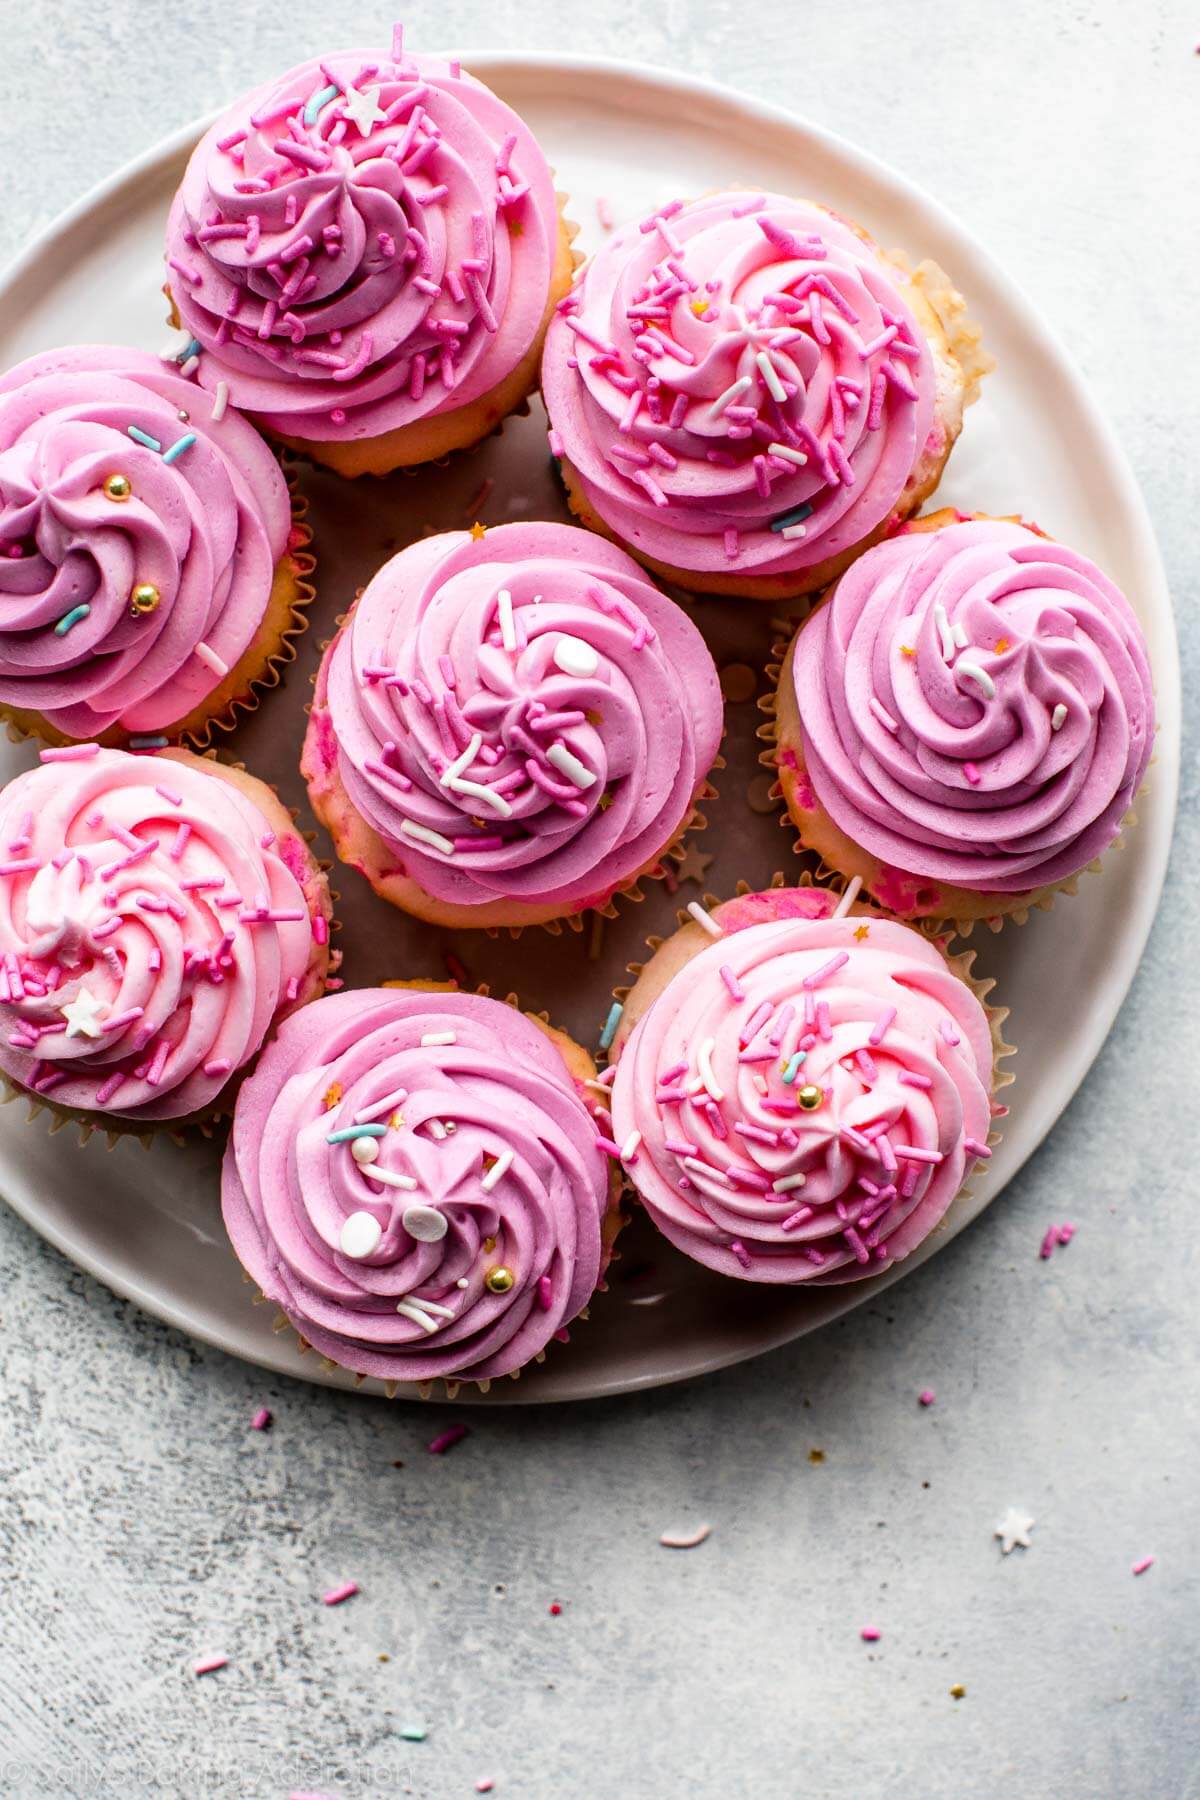
Recipe: Confetti Cupcakes with Pink Frosting
1. Follow the Recipe
Well, duh. This sounds pretty obvious, right? Well actually… no! We often substitute ingredients in recipes based on what we have. Subbing out eggs, reducing sugar, using liquid sweetener instead, all-purpose instead of cake flour, baking soda for powder (no! don’t do it!), egg whites instead of whole eggs, etc. I do not recommend doing this unless the recipe states. Don’t sabotage your time, effort, and money! Ingredients are needed for a reason and, more often than not, a cupcake recipe fail is because the recipe wasn’t properly followed. I’m guilty too!
I always recommend following a recipe the first time you try it, then making alterations as you see fit the next time.
2. Room Temperature Ingredients
This one could get a little too long so I’m just going to direct you to my entire post on why room temperature ingredients are important. To sum it up: “room temperature” isn’t listed next to ingredients for fun. There’s science and legitimate reason behind it. If a recipe calls for room temperature ingredients, use room temperature ingredients. See the article I linked in this paragraph for more explanation. 🙂

Recipe: Apple Cupcakes with Salted Caramel Frosting
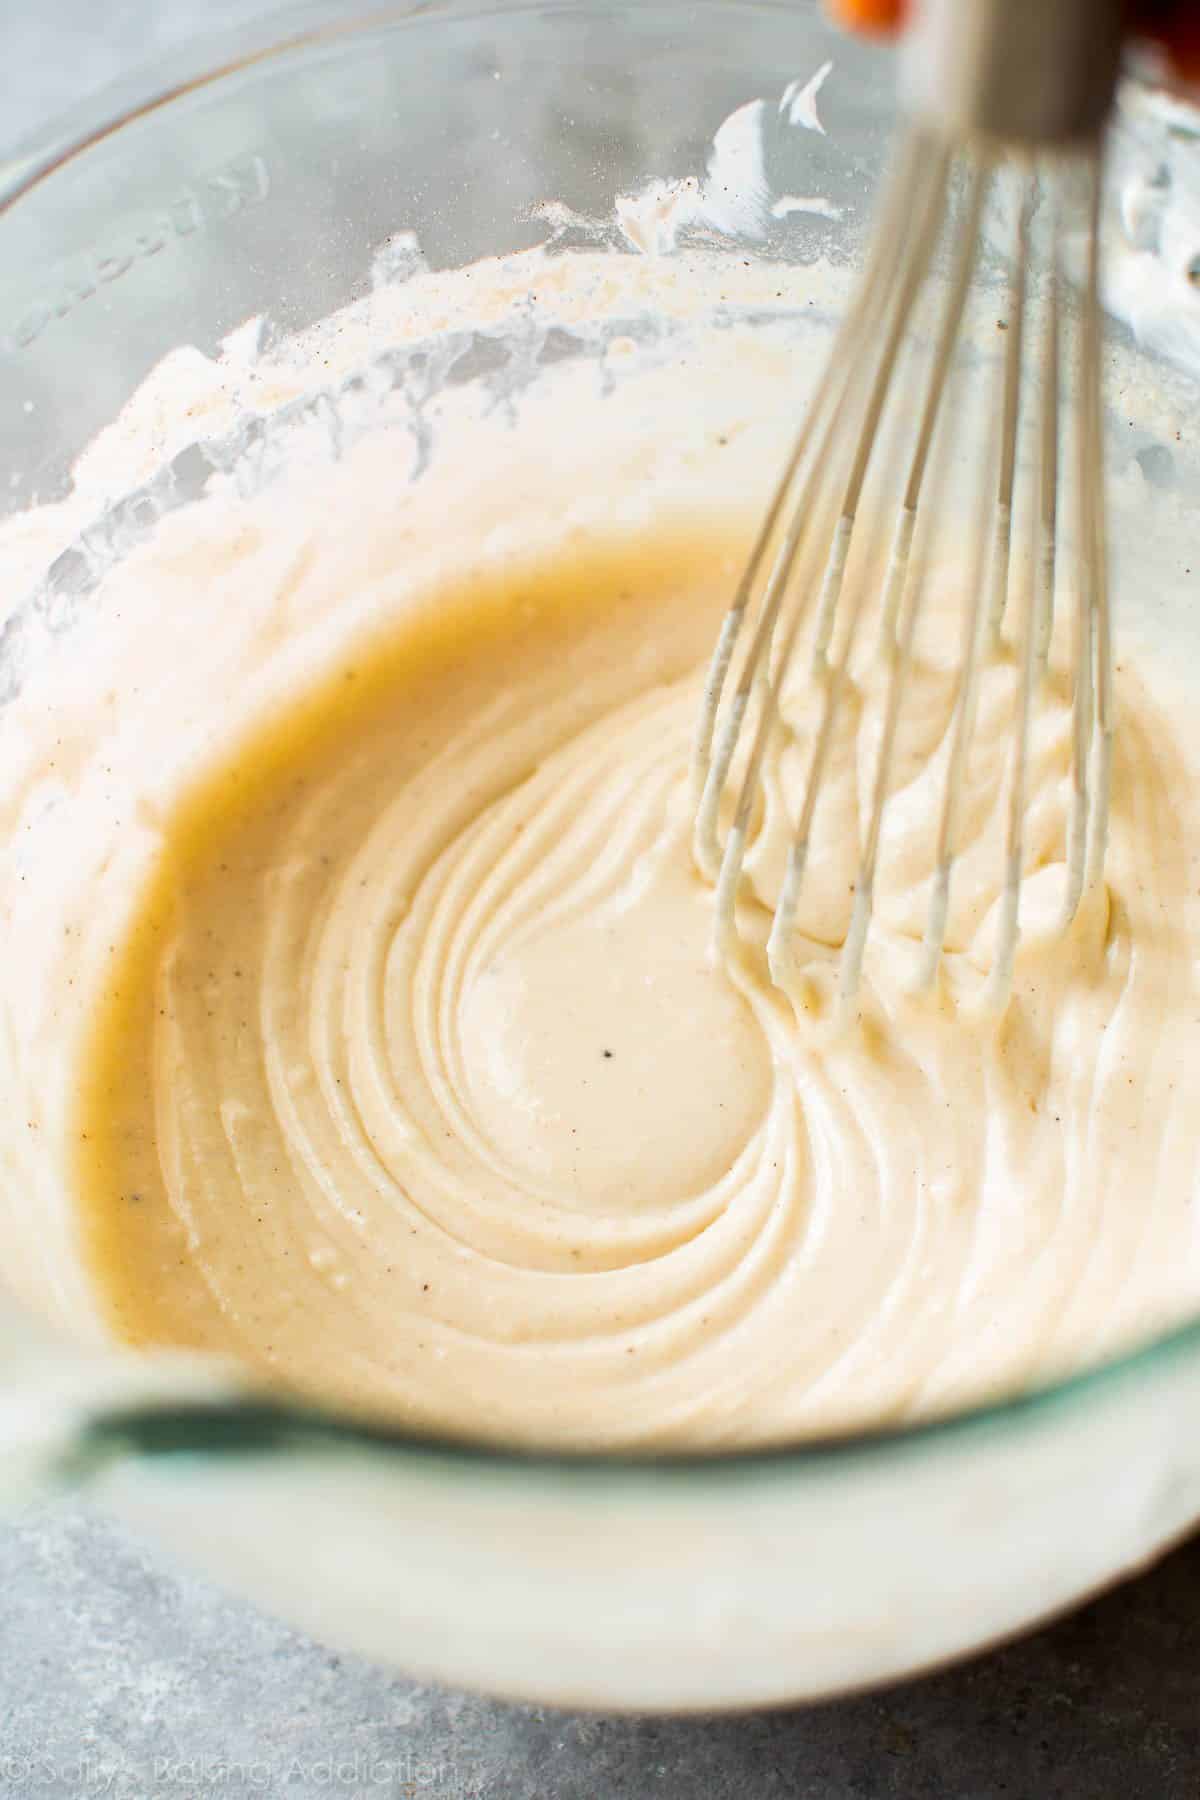
3. Don’t Over-mix, Don’t Under-mix
Not too much, not too little. Make sure you’re mixing the cupcake batter together *just until* the wet and dry are combined. Overmixing batter, whether that’s for cakes, cupcakes, breads, muffins, etc, lends a tough-textured baked good. Don’t turn on the mixer then leave the room. Goodness no!
Not to get all NERDY on ya or anything (hi, have we met?) but if you overmix the batter, you run the risk of over-developing the gluten. This results in squat-looking cupcakes, dense-textured cupcakes, and heavy-tasting cupcakes. Mix just until there are no more pockets of flour. And maybe a few more seconds to rid any big lumps.
Likewise, don’t undermix—obviously we want all of the ingredients incorporated together.
4. High Quality Cupcake Liners
Did you know that a cupcake liner is kind of a big deal?!?! Seems silly, right? I started using higher quality + grease-proof liners a few years ago. My cupcakes stopped sticking to the sides of the wrapper (ugh I hated that!!) and the liners no longer oozed grease. If the cupcake liner feels cheap, it probably is cheap. I swear by these parchment paper liners or any quality liners labeled “grease-proof.”
For a little pizazz, I love these!!
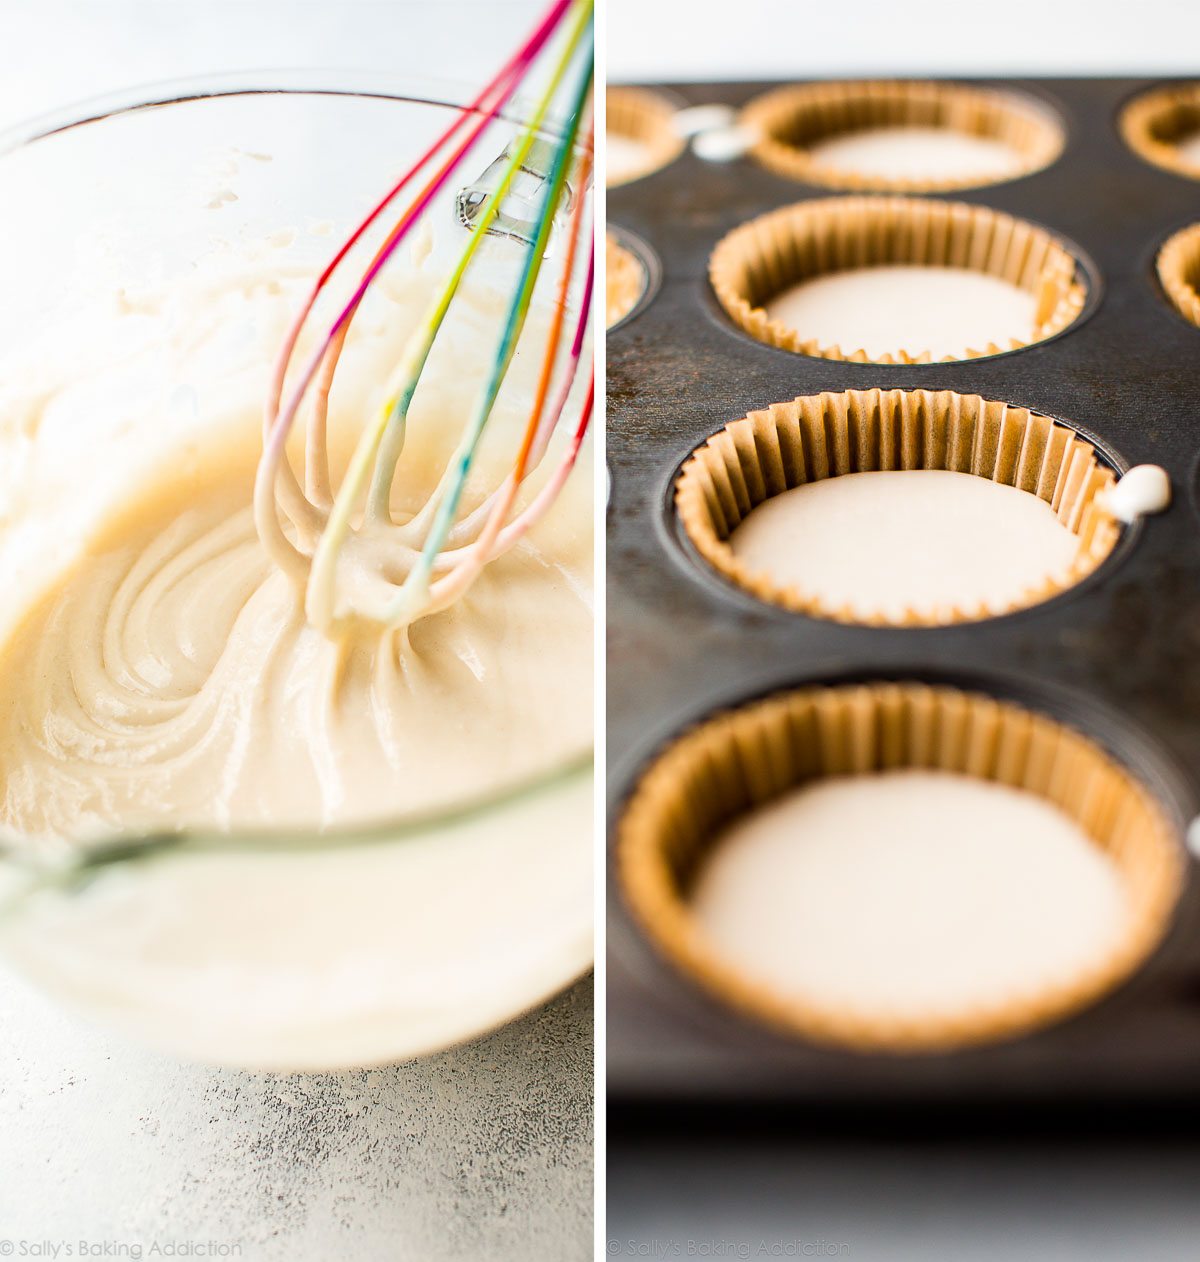
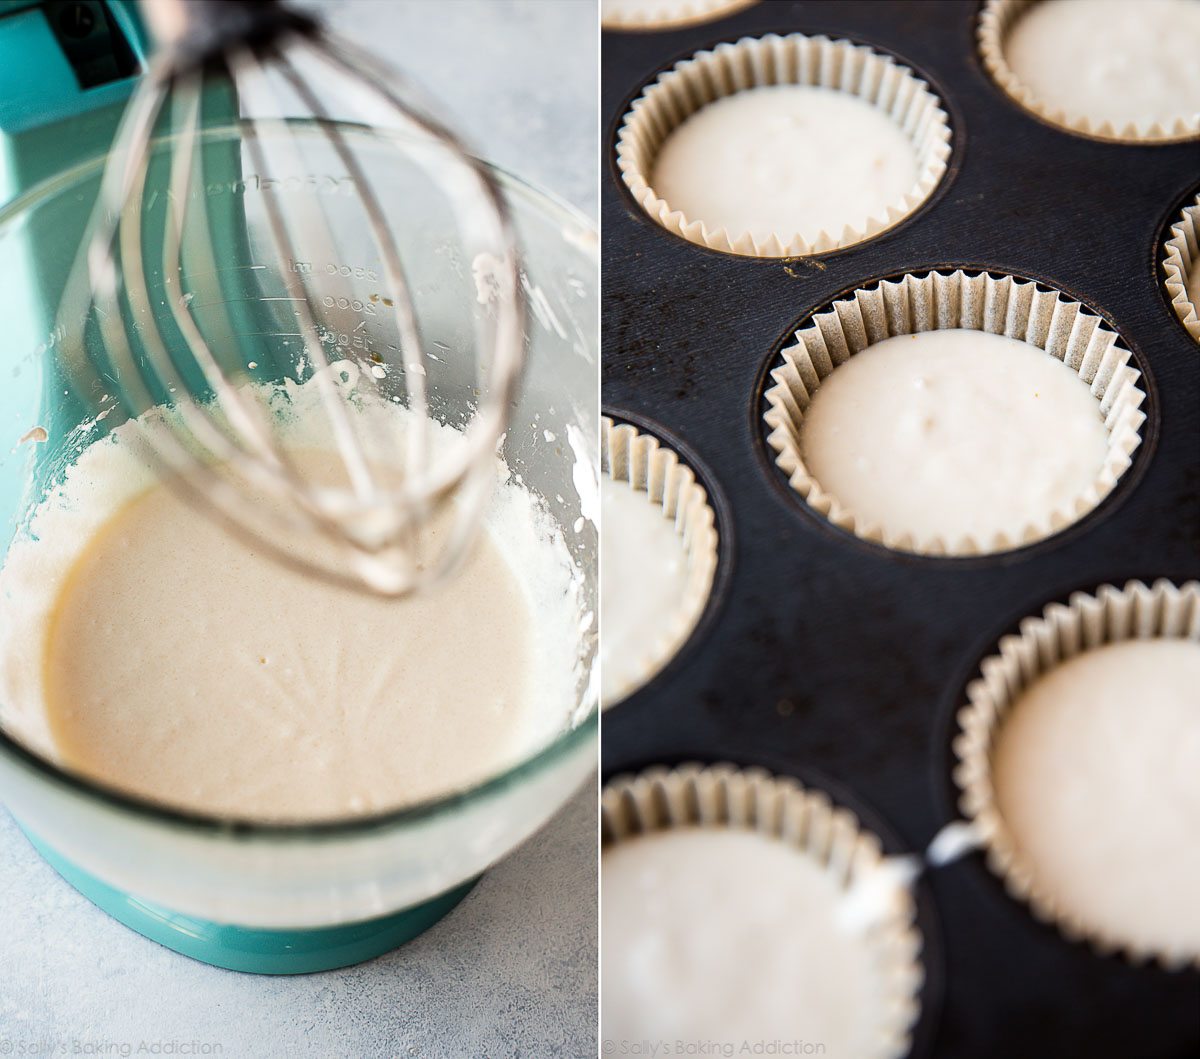
5. Fill Cupcake Pans Appropriately
Did you know this one simple step can make or break your batch? It’s often something we overlook completely—just pour/scoop batter into the cupcake wrappers and bake. Well, depending on the recipe, you could be over-filling or under-filling the liners. This leads to:
- cupcakes that rise up, then sink
- cupcake “mushroom tops”
- overflowing
Unfortunately, most recipes don’t tell you how far to fill your liners. My general rule? 2/3 full (about 3 scant Tablespoons). All of my cupcake recipes turn out when filled this high—with the exception of my chocolate cupcakes. 1/2 full is imperative there!
If the batter is very thin, use a bowl that has a spout and pour the batter into each cup. If the batter is thick, use a large spoon or an ice cream scoop if you prefer.
6. Oven Thermometer, Every Time
Unless you have a brand new or regularly calibrated oven, your oven’s temperature is likely inaccurate. Isn’t that crazy?? When you set your oven to 350°F, it might not really be 350°F inside. It could only be off by a little—10 degrees or so. Or more than that—100 degrees or even more. While this might not seem like a big deal to you, it is a huge problem for baked treats!
A temperature mismatch results in dried-out baked goods. Burnt uneven cakes and cupcakes. Heavily browned or undercooked in the centers. And as you know, when it comes to baking, accuracy is everything; there is little room for error. Having an oven whose temperature is off can ruin your baked good, not to mention the time, energy, and money spent. The inexpensive remedy is an oven thermometer. Place it in your oven so you always know the actual temperature. Trust me!
Do you have a convection oven? Read #7 in my best baking tips.
7. 1 Batch in the Center
Only 1 batch at a time in the very center of the oven. I know that sounds crazy!! But my reason is because you get the best possible results when the oven only concentrates on that 1 batch. If you absolutely need to bake more than one batch at a time, make sure you rotate the cupcake pans from the top rack to bottom rack a couple times in the baking process to encourage even browning. And turn the pans around as well. Ovens have hot spots!
But if you’re only baking 1 batch: center of the oven. That’s the oven’s magic spot.
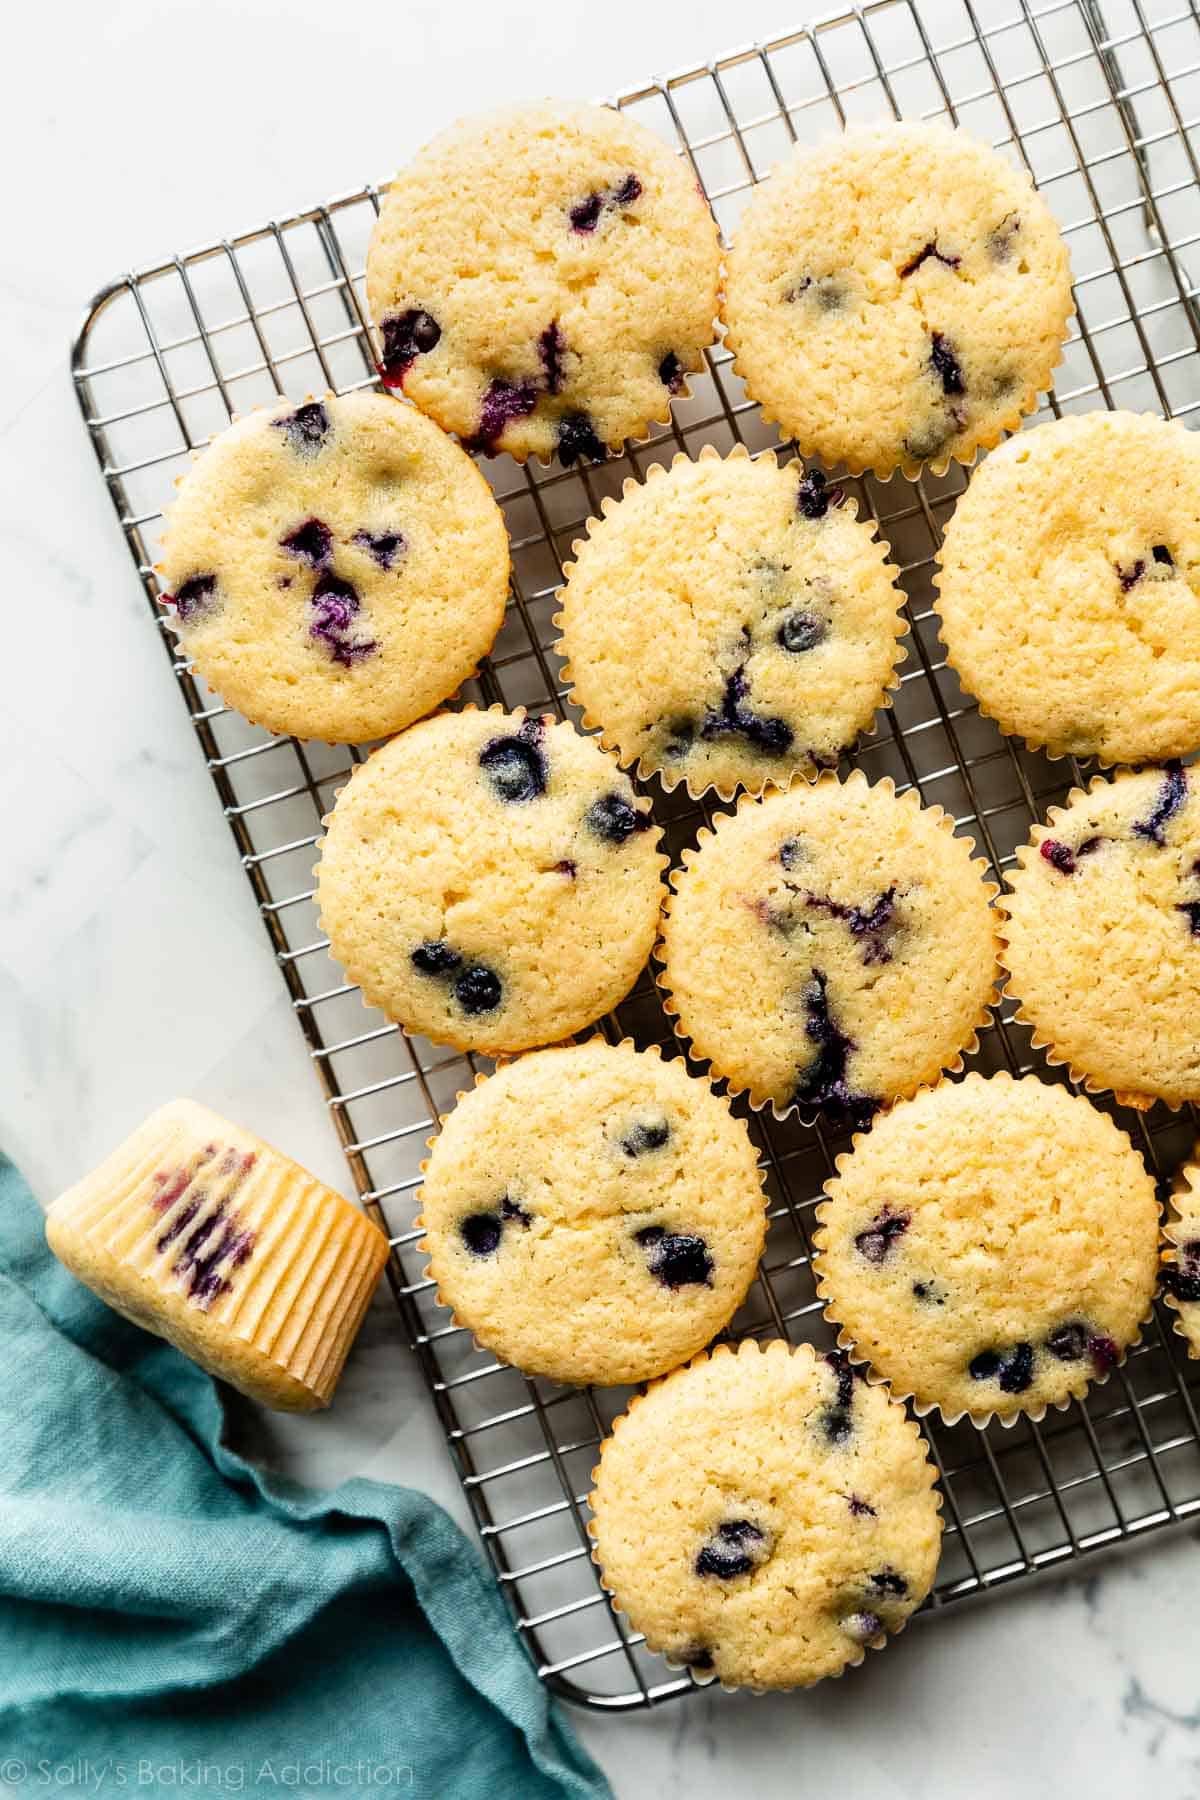
Recipe: Lemon Blueberry Cupcakes
8. Bounce-Back Test
You can determine if a batch of cupcakes is done in the oven by testing with a toothpick, right? You know, sticking a toothpick into the center of the cupcake and if it comes out clean, they’re done? Sure that works. But here is what I always do instead. And you don’t need to waste time and fumble around for a toothpick!
Remove the cupcakes from the oven or leave them in, your choice. Gently press down on the cupcake. If the cupcake bounces back completely, they are done. If your finger left a dent in the cupcake, they need more time. So easy. I always do this!
And this nifty little trick can be used on muffins as well.
9. Allow to Cool Completely
This sounds like a no-brainer, but we’re often in a rush—myself included. Especially when I need to photograph a cupcake recipe! Decorating cupcakes before they are completely cool is, well, a recipe for disaster. The frosting will melt. Whenever I need a batch of cupcakes to cool down on the fly, I let them cool for 10 minutes inside the cupcake pan. Then I remove them from the pan and stick each cupcake in the freezer for about 20 minutes. They’re cool and ready for decoration. Easy and quick.
10. Store Properly
Unfrosted cupcakes are wonderful left at room temperature for a few days. Cover them tightly and they’ll stay soft, moist, and fluffy until you’re ready to decorate them. After you frost them, they’re OK for a day or two at room temperature, but should be refrigerated after that. I always let cupcakes come to room temperature before serving. The cupcake itself tastes best that way!
Traveling with cupcakes? I love this cupcake carrier. Sturdy, tall tops (for tall frosting!), and keep the cupcakes in place.
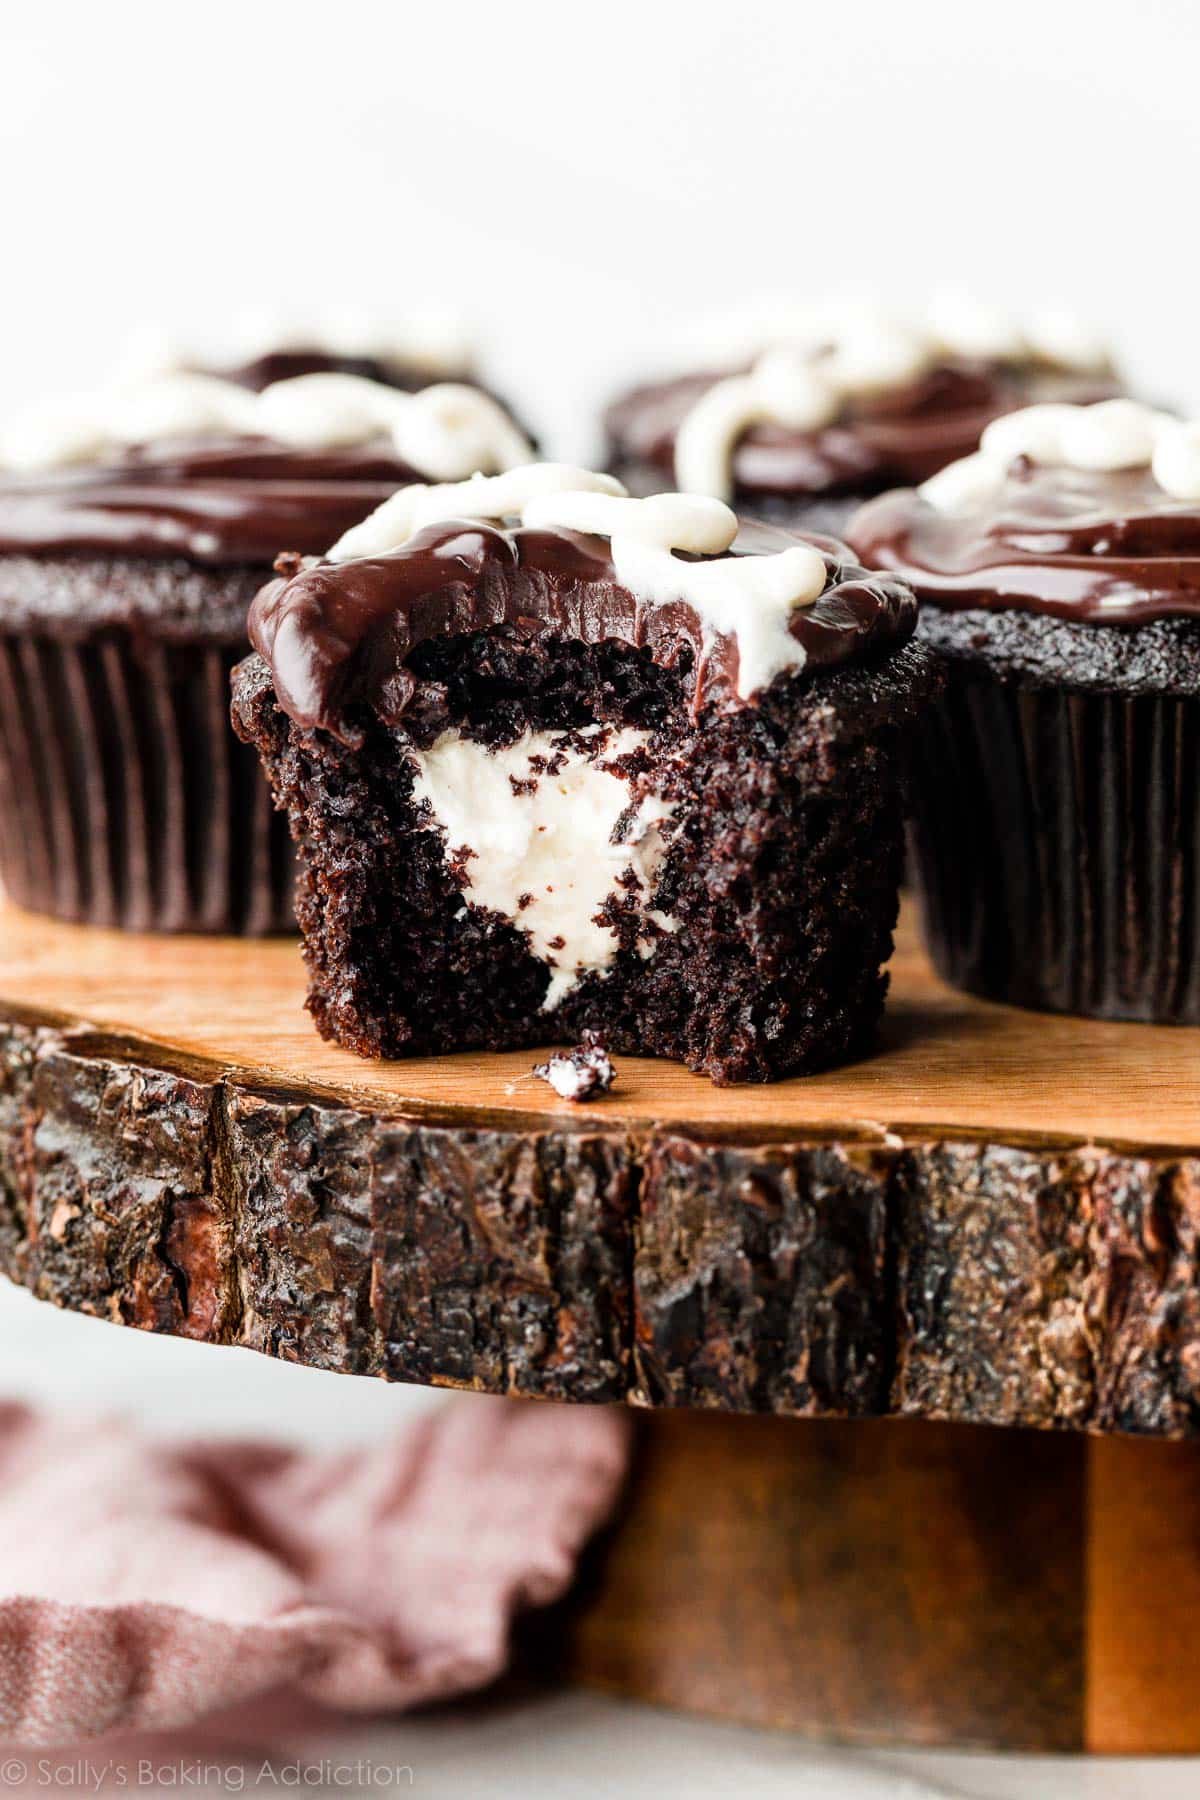
Recipe: Cream-Filled Chocolate Cupcakes
Interested in filling your cupcakes like the ones pictured above? See my How to Fill Cupcakes post for everything you need to know.
Make your next batch your BEST BATCH!
Further reading:
- My 10 Best Baking Tips
- Top 5 Cookie Baking Success Tips to Improve Your Next Batch
- How to Properly Measure Baking Ingredients
- Why Room Temperature Ingredients Make a Difference
- Stock Your Kitchen with These 8 Best Baking Pans
- 14 Best Baking Tools Every Baker Needs
- How to Cream Butter & Sugar


Reader Comments and Reviews
I like your narrative, fun to read and good advice. I am a seasoned baker. but I still learned something new doing this recipe. Thank you
Hi Sally
I’m going to be trying your recipe for pumpkin cupcakes with cream cheese frosting, I couldn’t find the pumpkin purée so I will be using the 100 percent pumpkin in the can, would that work as well?
Hi Dawn, Pumpkin puree is 100% pumpkin. Pumpkin pie filling has sugar, spices, and other additives.
Is this a recipe that can be doubled or tripled if you need a large number of cupcakes, or should they be made a batch at a time to prevent over mixing?
Hi Darcee, we always recommend making separate batches for that reason!
I love all of your recipes! I live in the Colorado Rockies at an elevation of 7600ft. I use the King Arthur high altitude guide for the adjustments, and all of my baked goods come out perfectly!
Hi Sally! I’ve tried many of your cakes and they’ve all turned out beautifully. Now I’m going to try out your Super Moist Chocolate Cupcakes for my birthday. Just wanted to check what you think of silicon baking cups? That’s what I use for your muffins, would they work OK with cupcakes?
Hi Namali, We have not tested any of our cupcakes in silicone baking cups but let us know if you try it out!
I actually did the pistachio cupcakes as minis last weekend and used one pan aluminum one pan silicone. The silicone ones required quite a bit more time in the oven, even with a pan underneath for support. They needed at least 5 more minutes than the aluminum pan, and might have been even more. They all turned out delicious though!
I made the Super Moist Chocolate Cupcakes (OMG divine) in a 12-hole aluminum pan plus two silicone cups. The ones in the silicone cups did take a little bit more time for me too, BUT I think that’s because they were closer to the oven door (it’s warmer in the back) and they had a little more batter. Taste and texture were the same. BUT they were harder to get out of the silicone cups to decorate and I was worried I’d break them. Otherwise it worked out fine 🙂
Any changes for high altitude? (5280)
Hi Patricia, I wish we could help, but have no experience baking at high altitude. Some readers have found this chart helpful: https://www.kingarthurflour.com/learn/high-altitude-baking.html
Just thought I would respond to this. You definitely have to make alterations at high altitude. I make lots of Sally’s desserts and we love them. But unfortunately, cakes and cupcakes are finicky at high altitude. My best advice is to search specifically for a high altitude cupcake recipe online. I wish I could post a picture of the difference between Sally’s chocolate cupcakes and a specific high altitude cupcake that I made in the same day. It’s like day and night. Just don’t want another high altitude person to feel disappointed with the results. It’s not you (or Sally), it’s our crazy altitude.
Would you add this to all of your cupcake recipes?? Mix together ½ teaspoon of white vinegar with ½ teaspoon of baking soda in a small bowl. In one recipe, you said, “Once the mixture starts to react, quickly fold it into your cupcake batter. This will help keep your cupcakes moist, light, and airy.”
Hi Joy. I’m trying to find where I have written that. I can’t recall. Can you let me know which cupcake recipe instructs that?
I’d love to bake your cupcakes for a bake sale. Can I double or triple batch them? And how would I go about freezing and defrosting with or without frosting? Thank you!
Hi Serenity, we typically recommend making 2 separate batches rather than doubling for best results (and to prevent over or under mixing). Frosted or unfrosted cupcakes can be frozen up to 2-3 months. Thaw overnight in the refrigerator.
Thank you!