

Learn how to make a beautiful naked cake with fresh berries and vanilla buttercream. This chic cake decorating style is much simpler than it looks. Follow my success tips and watch the helpful video tutorial to create your own naked cake.
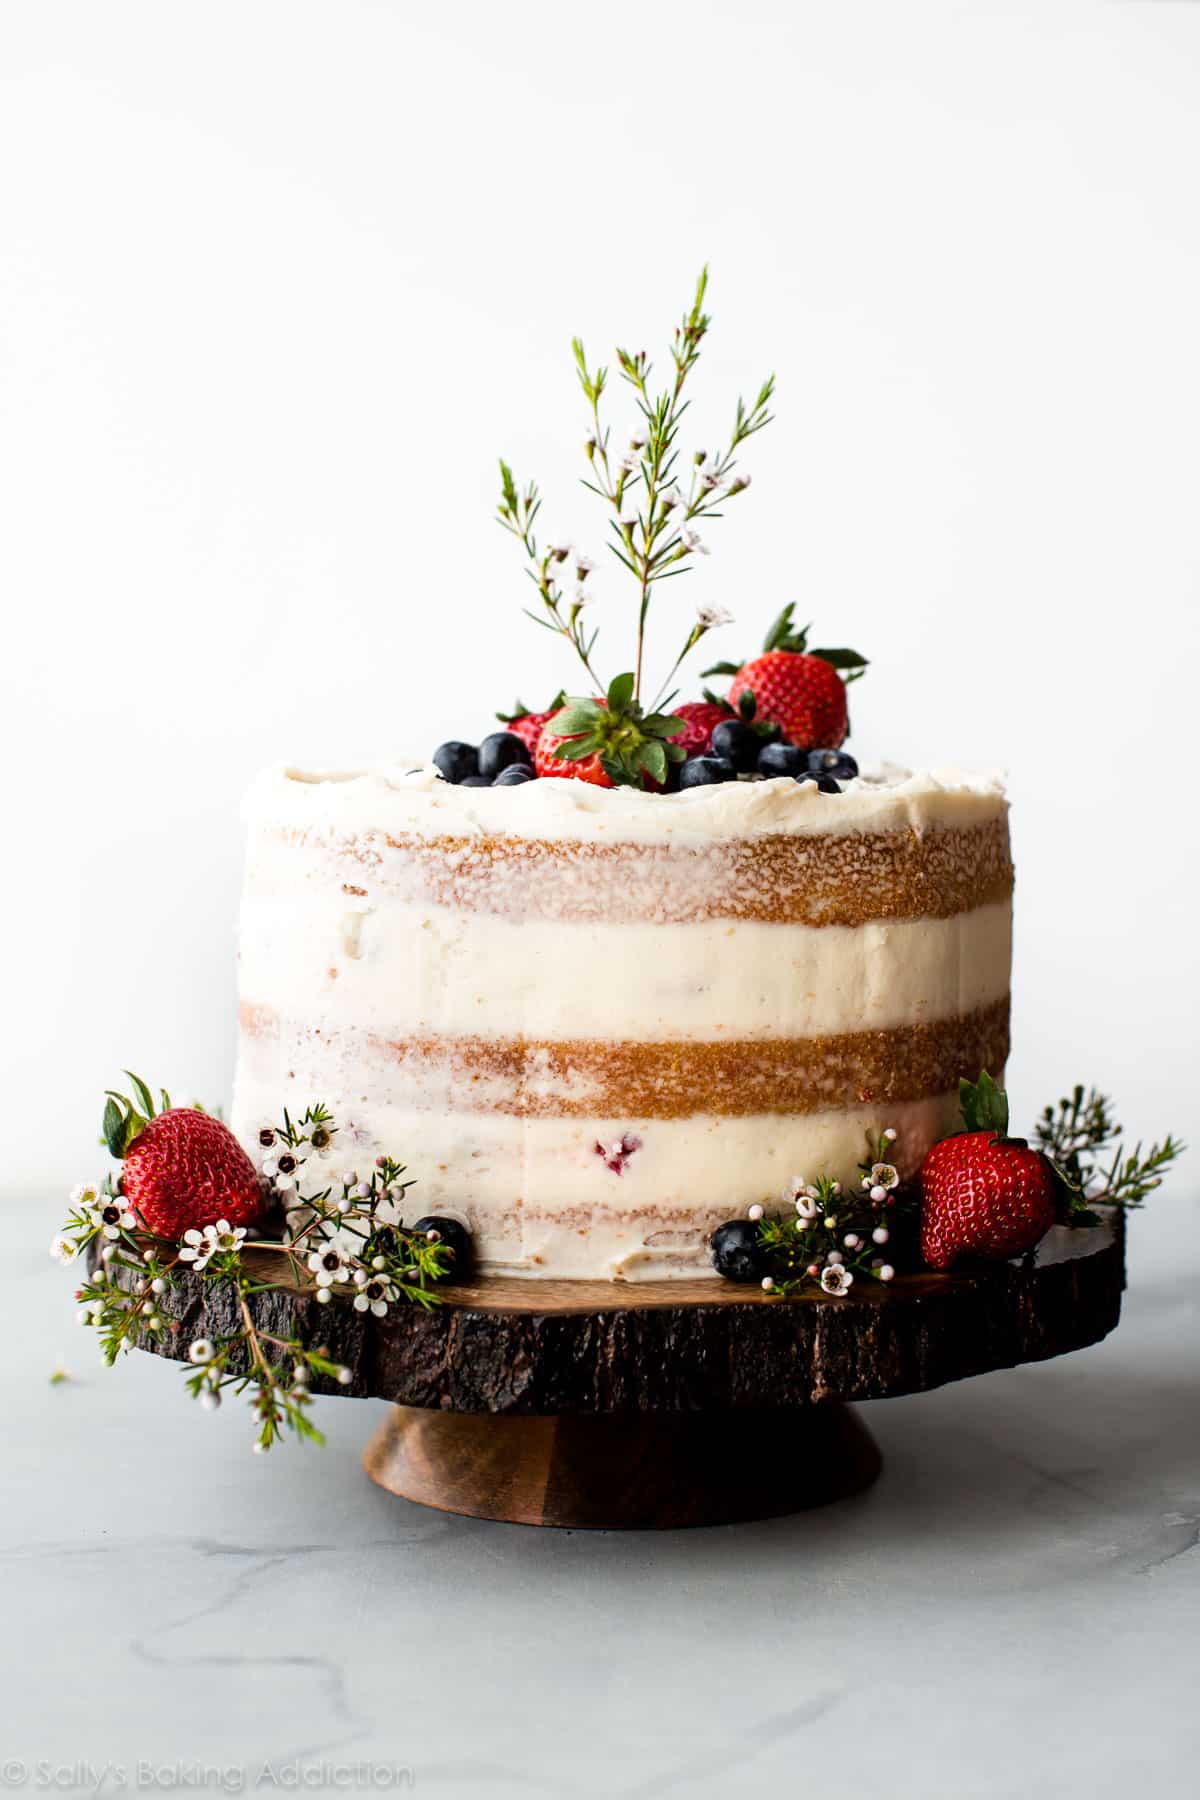
Today we’re baking, designing, and styling naked cakes. I’m sharing my tips for decorating a naked cake, a video showing you how, the vanilla cake recipe I used, plus plenty of inspiration for you to get started. There’s a lot of ground to cover, so let’s get right to it!
Vanilla Naked Cake Details
- Yield: 3-layer 9-inch cake
- Style: semi-naked / naked cake
- Skill level: intermediate (but approachable)
- Best for: celebrations, weddings, birthdays
- Frosting: vanilla buttercream
What Is a Naked Cake?
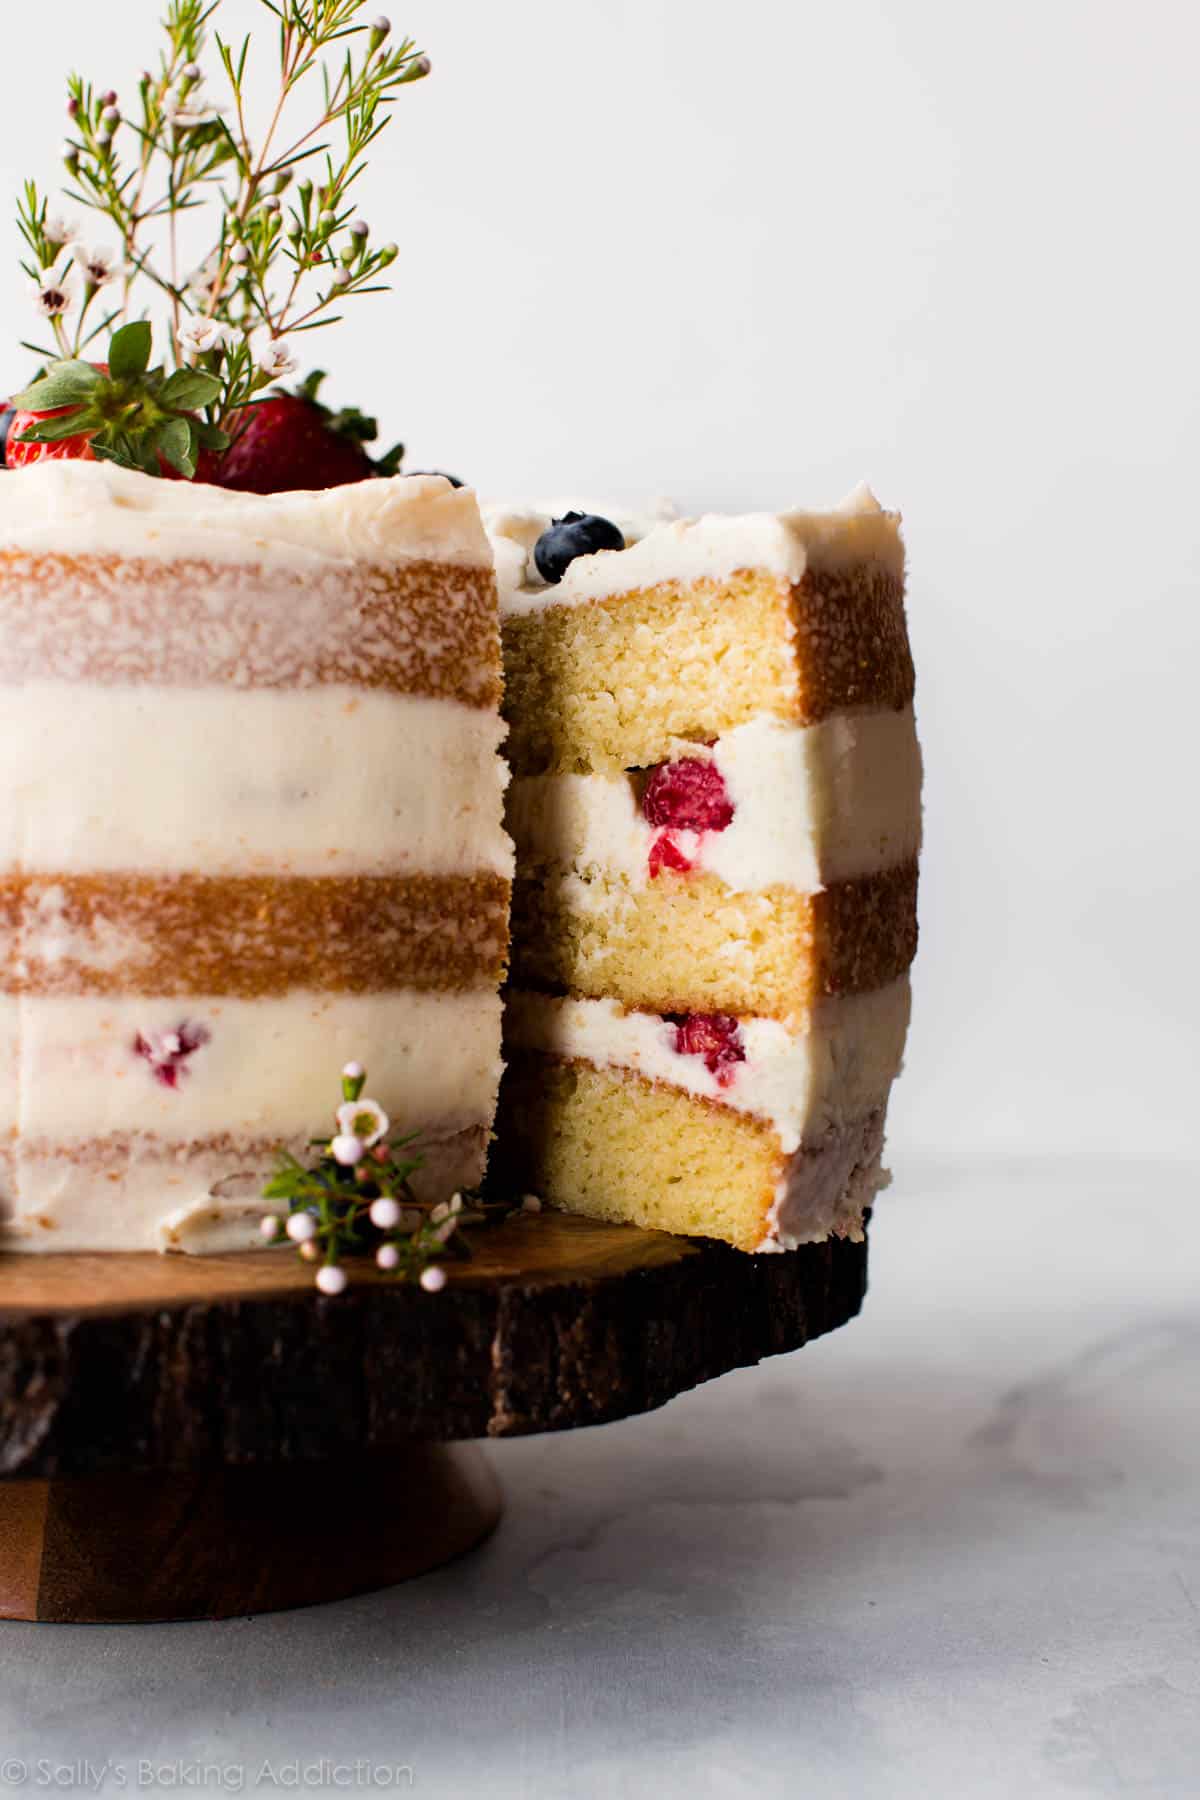
A naked cake is a layered cake with minimal frosting on the outside, allowing the cake layers to show through. This simple decorating style creates a rustic yet elegant look, making it popular for weddings, birthdays, showers. It’s also easier to assemble and decorate than fully frosted layer cakes, making it a great choice for beginner bakers.
Milk Bar owner Christina Tosi is credited with starting the trend back in 2013 when she began highlighting the cake layers, instead of just the frosting. Now naked cakes are a bakery staple!
Unlike fully frosted layer cakes, naked cakes use only a thin layer of frosting around the sides—or sometimes none at all—which gives them a lighter taste and a rustic-chic minimalist appearance.
What I love about the style is that you have creative control. You can decorate the naked cake in your own unique way, which makes this recipe 100x more fun.
There are 2 Types of Naked Cakes
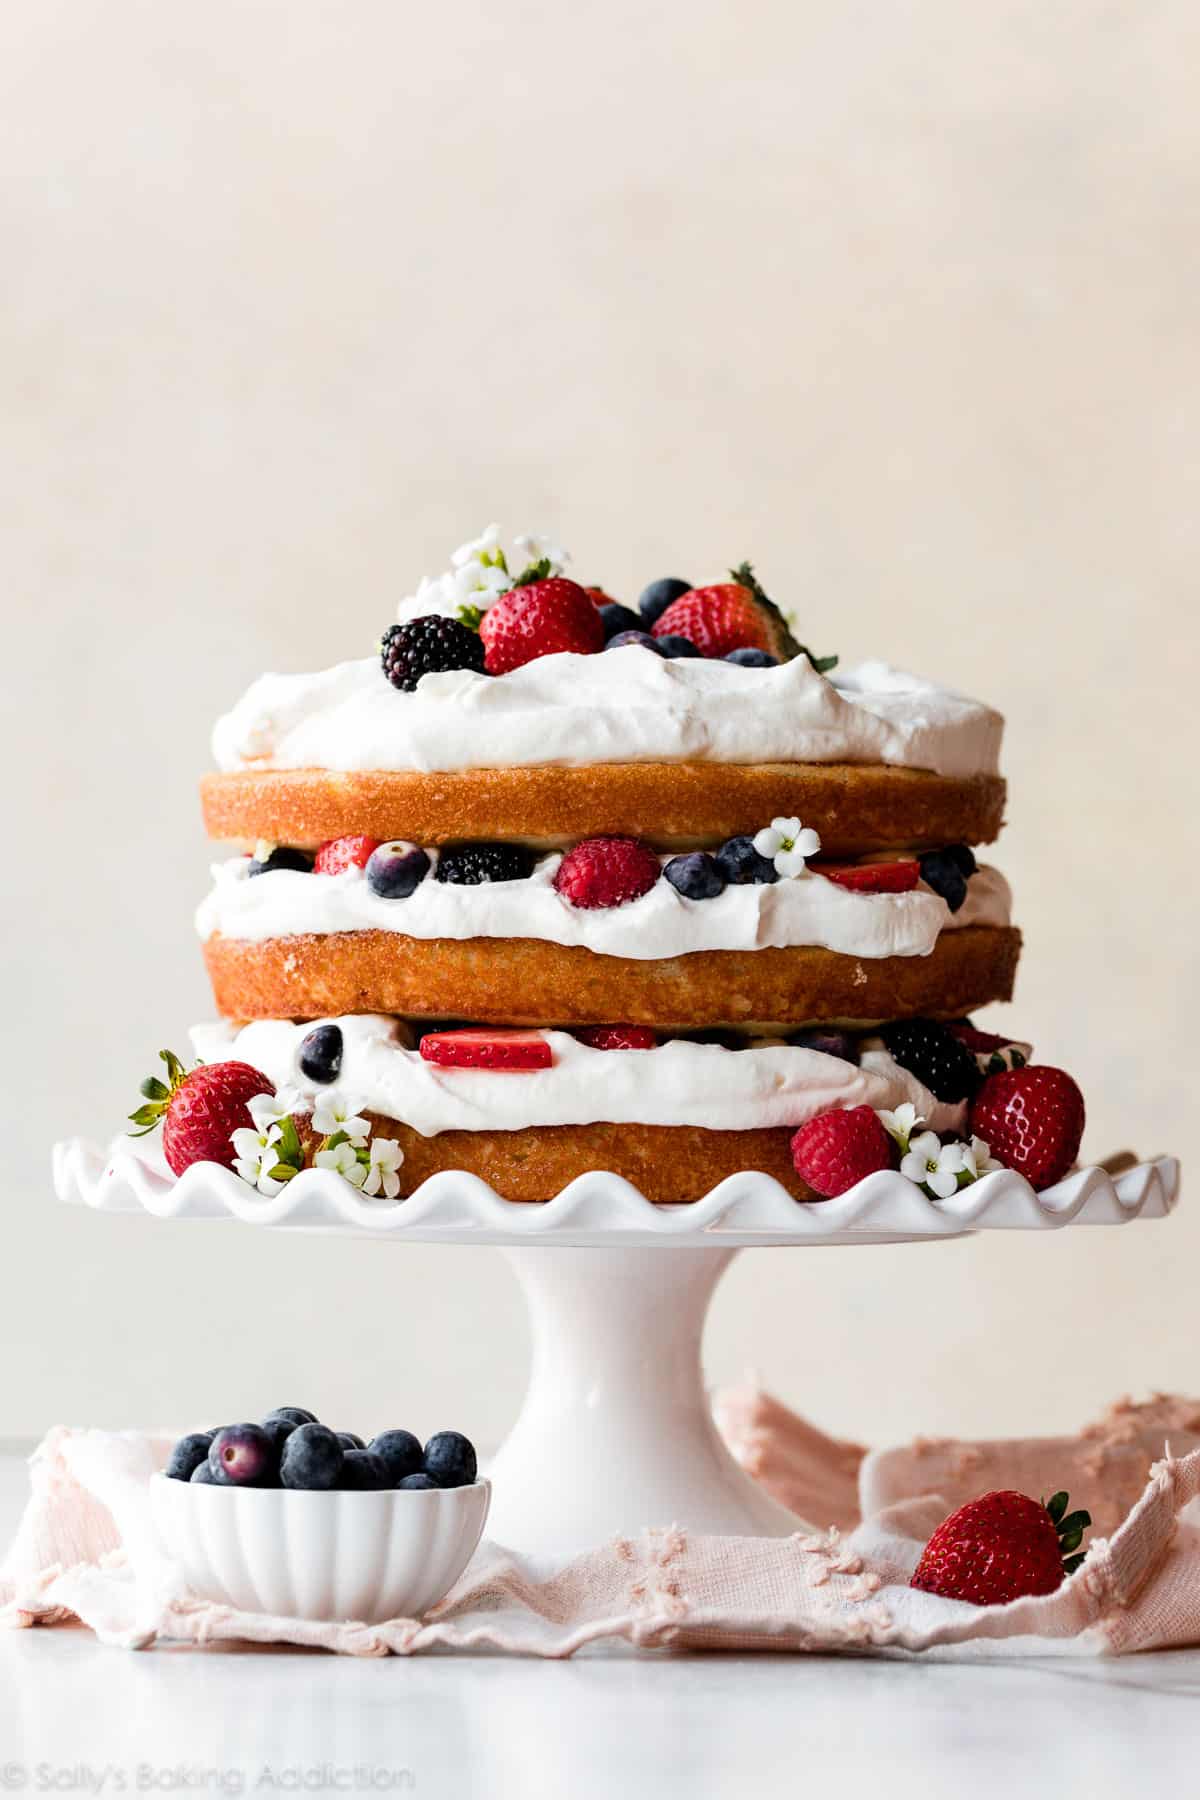
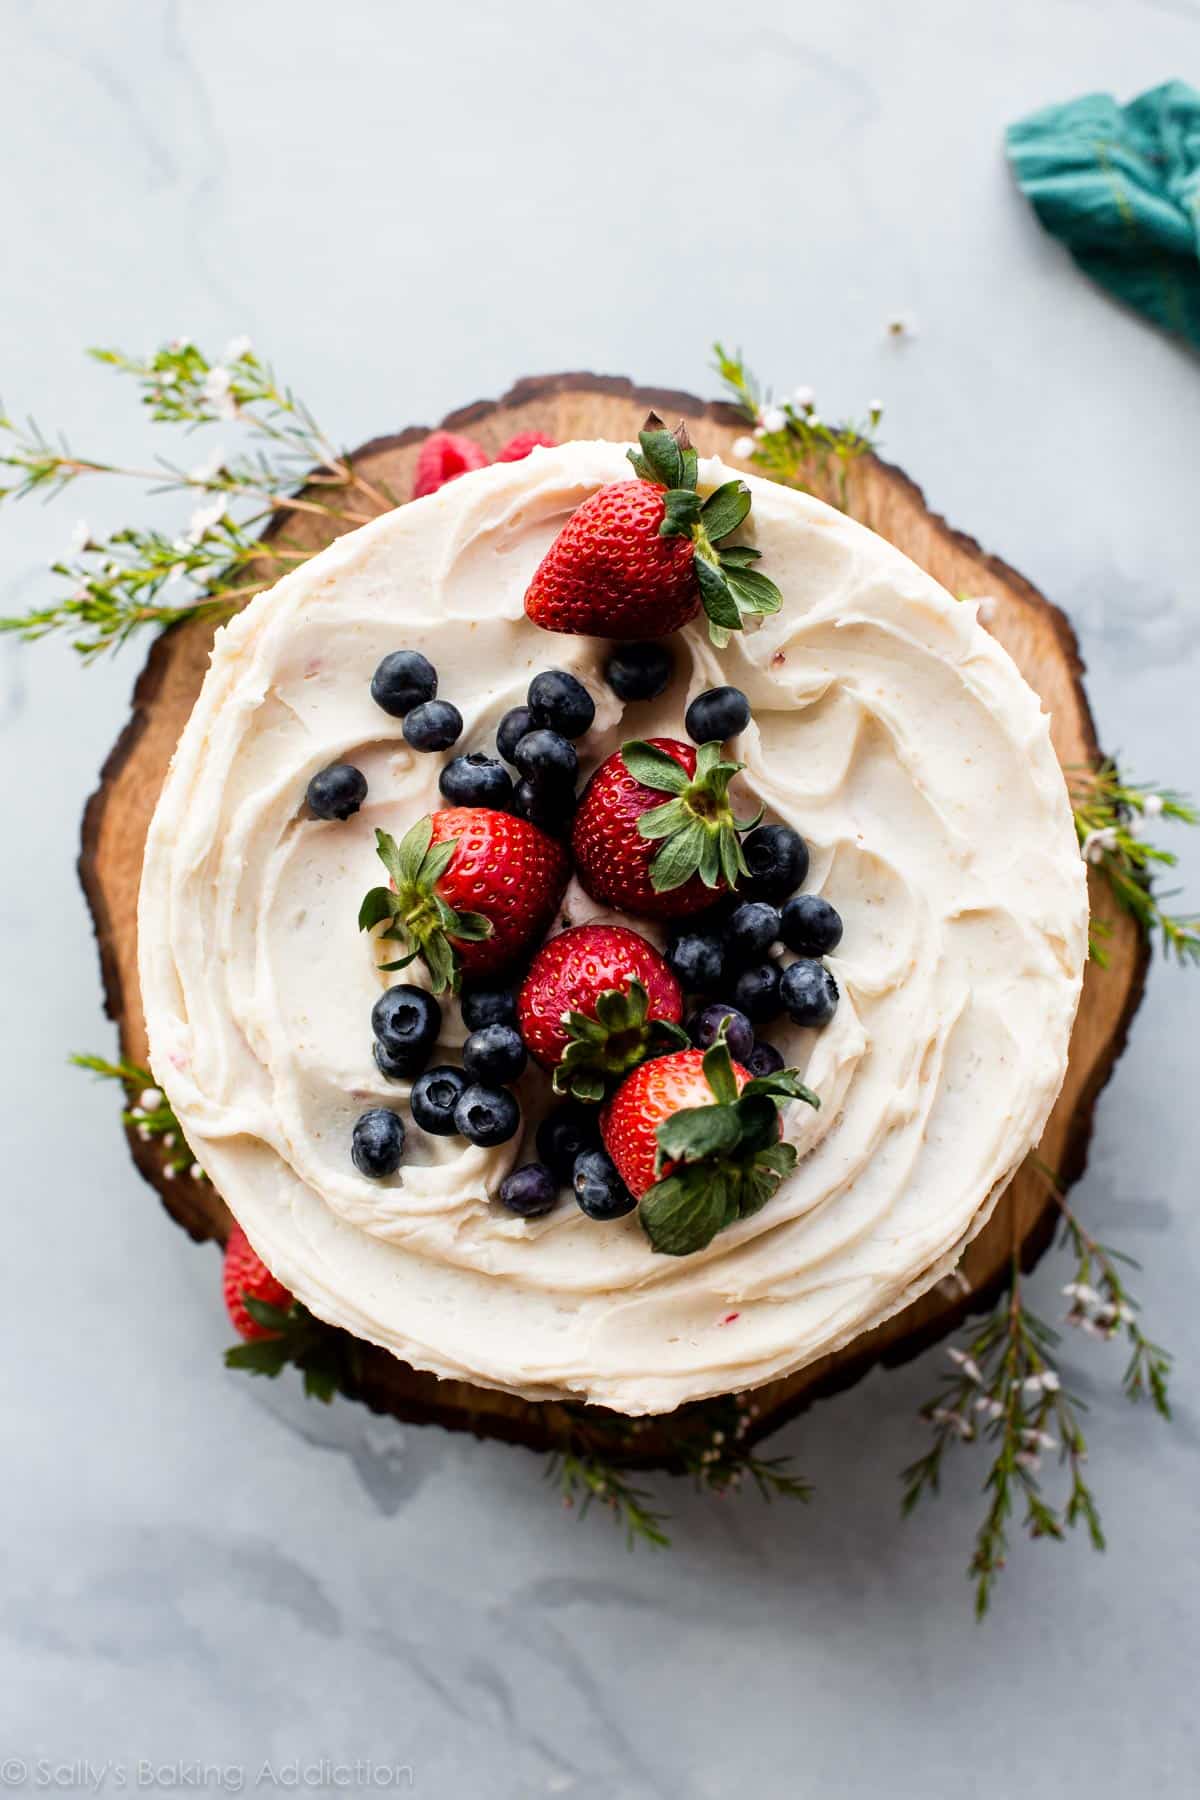
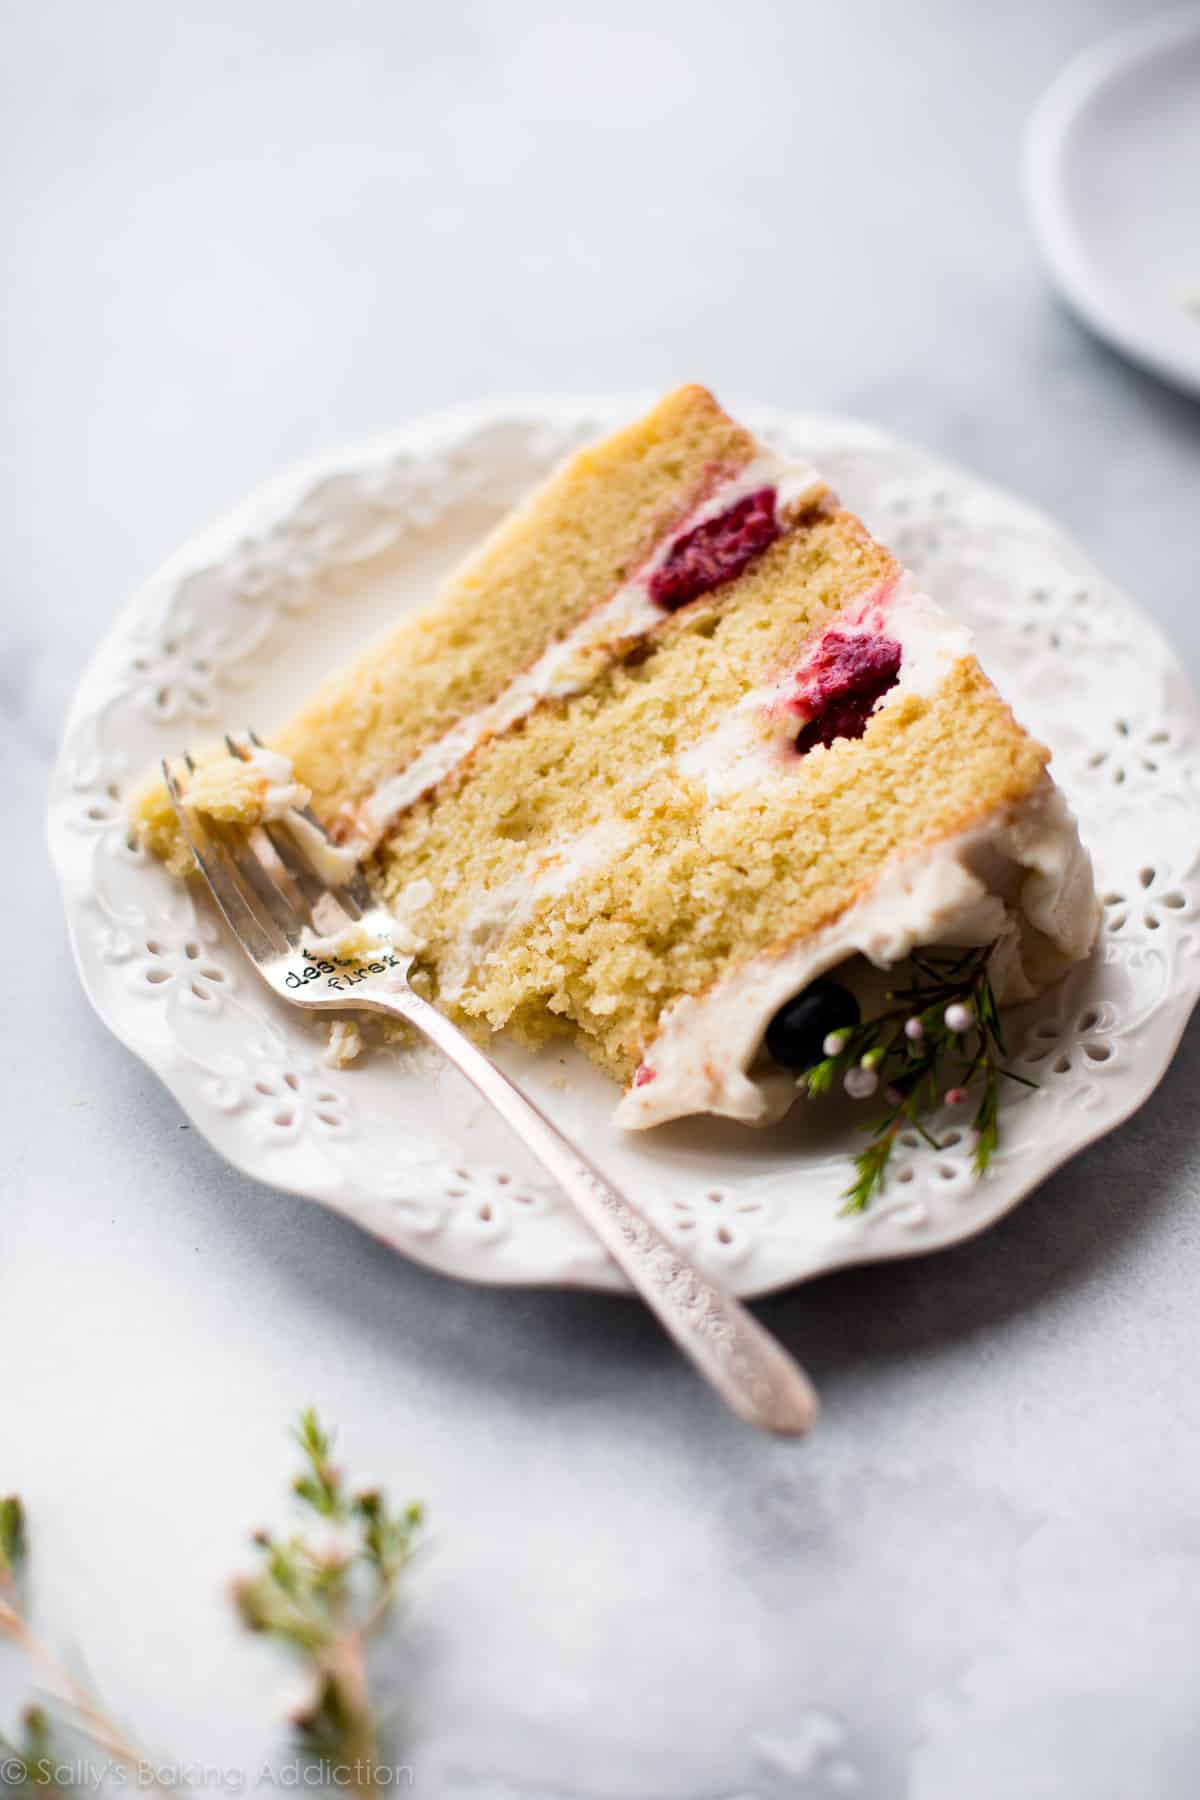
There are 2 types of naked cakes. The cake in today’s photos is called a semi-naked or “half-dressed” cake. There’s a minimal amount of frosting swiped around the sides. So in other words, a semi-naked cake is a crumb-coated cake. Or you can simplify the design even further with a true naked cake. This means the sides of the cake are bare, like my fresh berry cream cake. (Pictured below.)
Both styles are simple, approachable, and beautiful.
Overview: How to Make a Vanilla Semi-Naked Cake
Let’s focus on a semi-naked cake because that’s how I decorated the cake in today’s recipe.
- Make the cake. To begin, you’ll need a layer cake. You can use any of my layer cake recipes, the vanilla layer cake recipe below, or any layer cake recipe you love. The vanilla cake recipe I include below is similar to my vanilla cake recipe, but it has more structure to support the naked cake decorating style. Cake recipes that yield three or four layers provide enough height to work with, but you can easily decorate a two-layer cake this way. Tiered cakes are great too—like my homemade wedding cake.
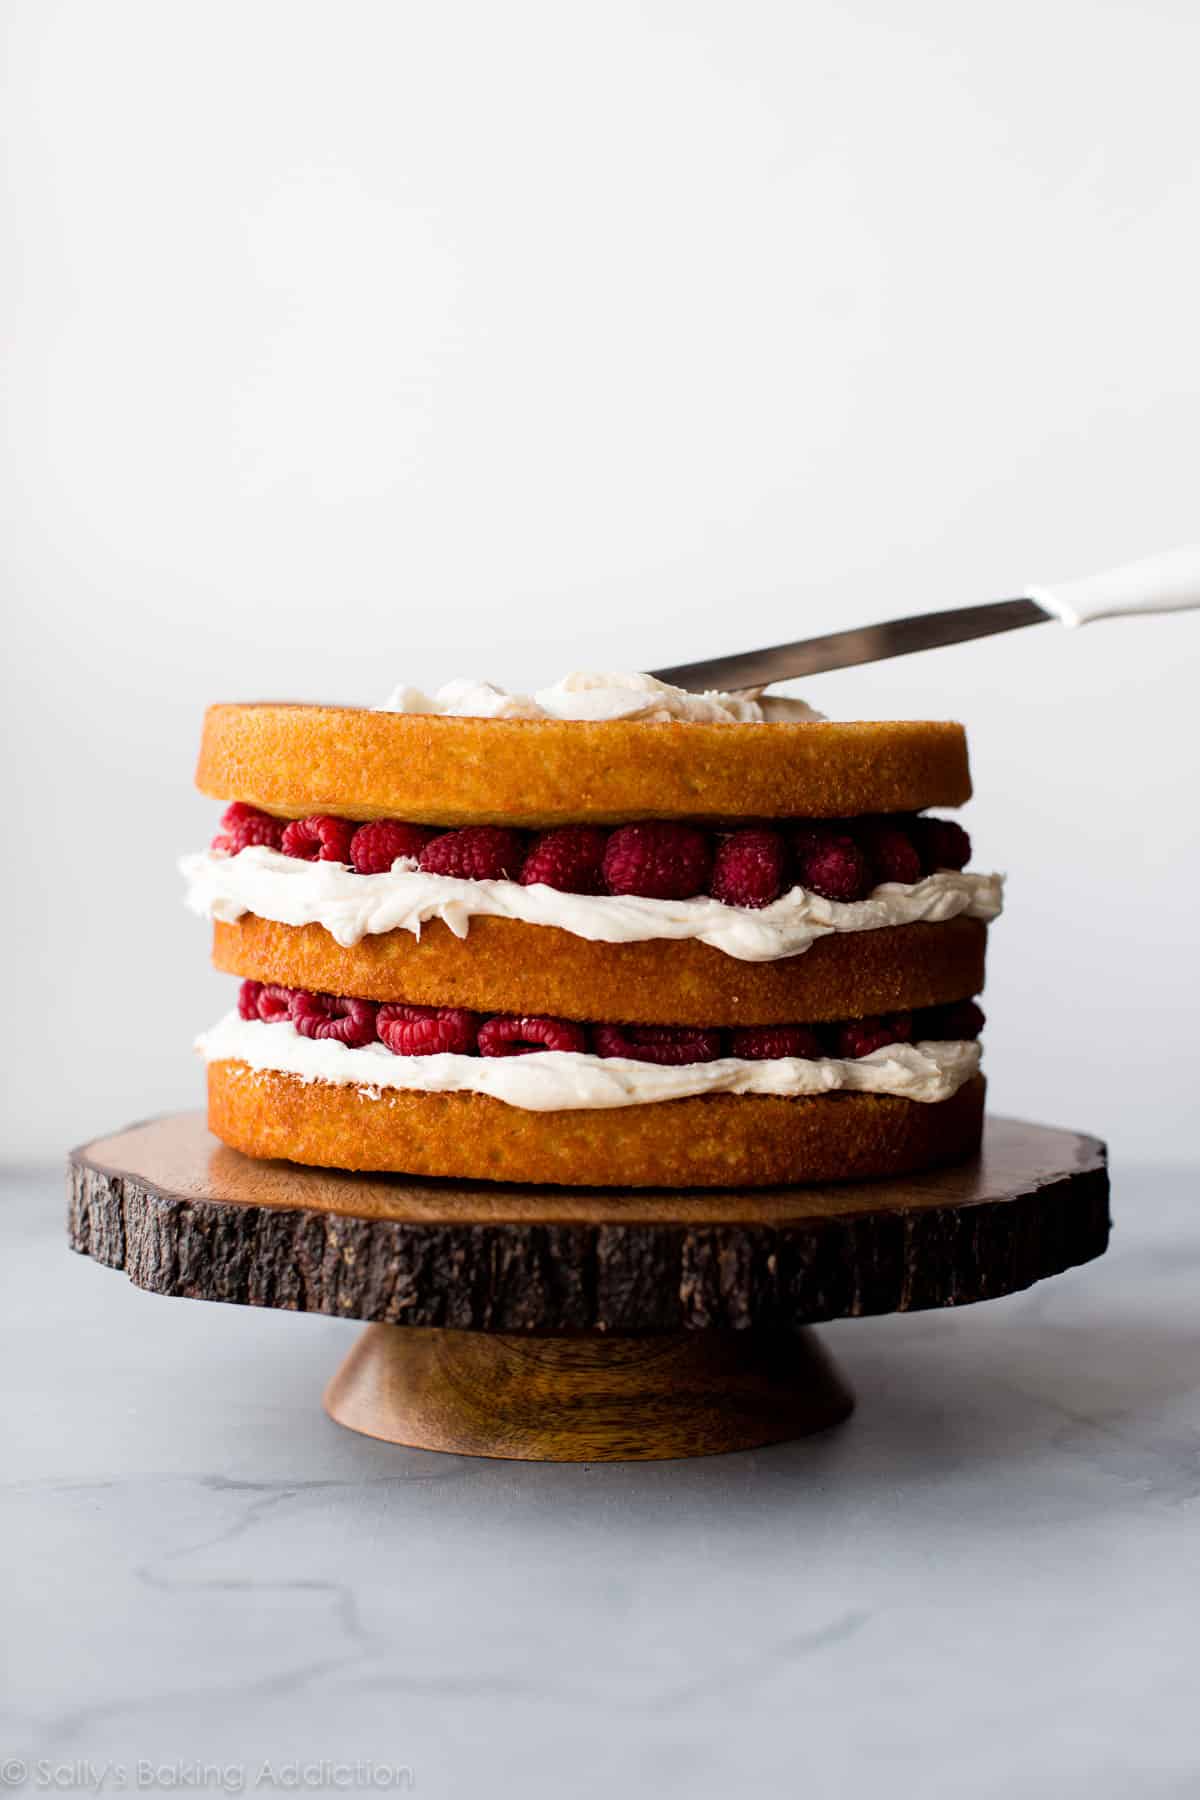
- Add berries. I dotted fresh raspberries between my cake layers. Admittedly, I only dotted them around the edges because I ran out of raspberries. But I love how they peek out the sides. The fresh raspberries also provide a lovely texture variation. If you decide to do this as well, note that the raspberries will leak some juice around the edges after a day or so. I would leave the berries out if you’re making this cake in advance for a party or celebration.
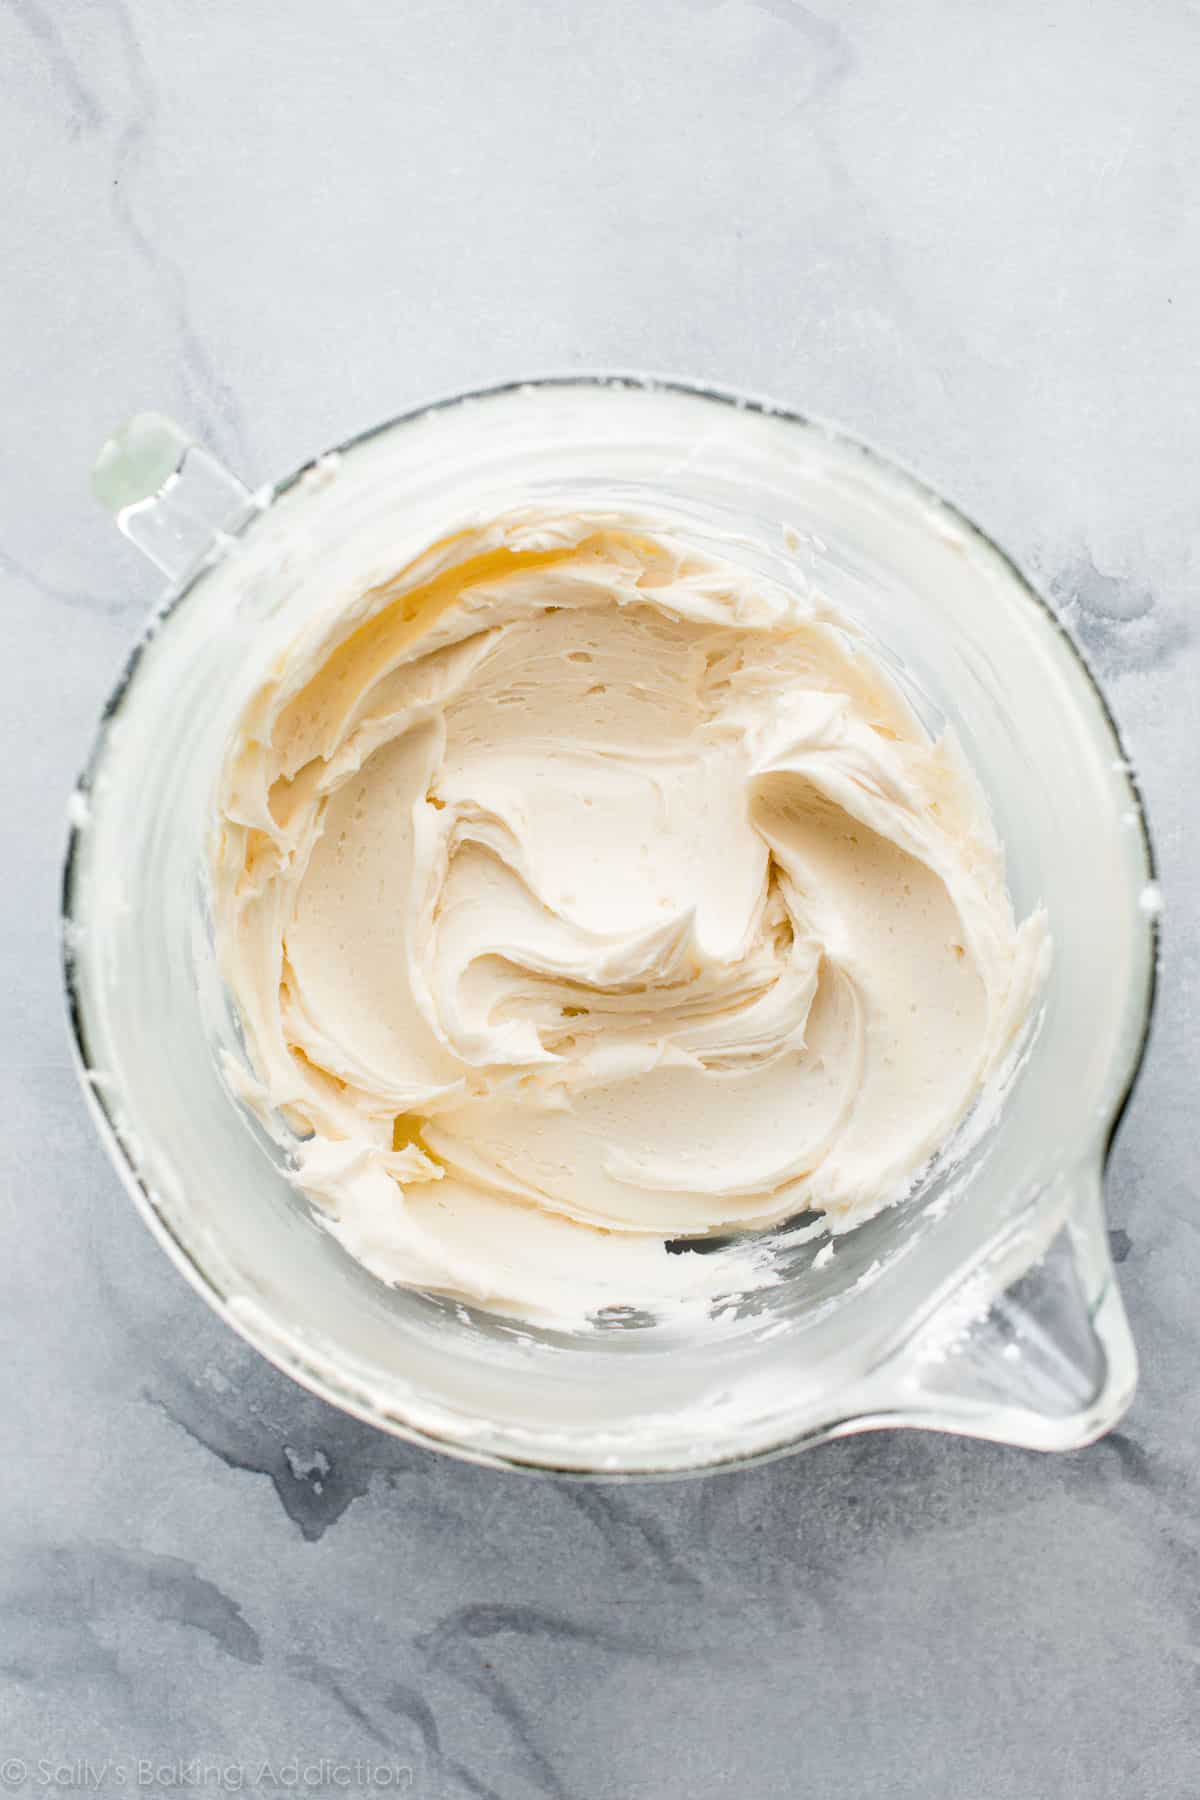
- Frost the cake. Vanilla buttercream is my favorite for the half-dressed cake style. It’s simple and shows off the semi-exposed cake layers as well as the cake’s decorative pieces. The frosting recipe below is similar to my vanilla buttercream recipe, only with a higher ratio of ingredients to make a larger amount of frosting.
5 Success Tips for Homemade Naked Cakes
- Make a plan. Think about what style of cake you want—naked or semi-naked—as well as how many layers you want your cake to be, and if you’ll want extra frosting for decorative piping on top. This will determine how much frosting you need.
- Prepare your cake pans appropriately. Use quality cake pans and grease them well (I use nonstick spray) so the cakes release easily. I always use parchment paper rounds to line my greased cake pans, and then spray those as well. For even layers, ensure each pan has an equal amount of batter. The easiest and most accurate way to do this is to use a kitchen scale. Place your cake pan on top and begin pouring batter into the pan—repeat for all pans, making sure each pan weighs the same.
- Level your cakes. Level off the top of each cake layer so both sides are flat. This is important because flat and even layers add stability to your finished cake. You can use a cake leveler or large serrated knife. I always use my serrated knife. You can watch me do this in my video tutorial for how to assemble layer cakes.
- Keep it simple. Make it easy on yourself! My recipe and instructions are simple and straightforward. I’ve seen many naked cake recipes that call for a soak in simple syrup to prevent it from drying out. You can absolutely take this route, especially if you’re making a true naked cake, but I don’t find it necessary if your cake is moist to begin with (like my vanilla cake below). Instead of piping frosting between each cake layer, use an icing spatula to spread the frosting—another timesaver and simplified step. The frosting recipe below yields about 4.5 cups (1080g). Use 1.5 cups (360g) between each layer and 1.5 cups on top & around the sides.
- The refrigerator is your best friend. Always chill your naked cake in the refrigerator for a few hours before slicing and serving. Why? This stabilizes all of your hard work! It helps the frosting adhere to the cake, as well as ensures a neater slice. Then you can set the cake out at room temperature for your party or celebration.
3 Helpful Tools for Decorating
Here are a few tools I find especially helpful for decorating a semi-naked cake.
- Straight spatula: A lot of cake decorators use an offset spatula to apply frosting on a cake, but I prefer a straight spatula. Maybe it’s the way my hands work, but it’s just easier for me to use.
- Bench scraper: Use this for running around the sides of the cake to smooth out the frosting.
- Cake turntable: This is optional. I did NOT use it for the cake pictured today, but you can watch me use it in the video tutorial. Transfer your decorated cake to a cake stand by using these cake circles—I use one in the video.
Mix and Match Cake and Frosting Recipes
Mix and match the below cake flavors and frostings to create your own unique naked cake.
Cake Flavors: These cakes are all pretty moist, so I wouldn’t worry about them drying out—especially if you choose the semi-naked/crumb coat look.
- Vanilla cake (below)
- Chocolate cake
- German chocolate cake
- Strawberry cake
- Banana layer cake
- Lemon cake
- Carrot cake
- Red velvet cake
- Spice cake (see recipe note for layer cake)
- Pumpkin cake (see recipe note for layer cake)
Frosting Flavors
- Vanilla buttercream (below)
- Cream cheese frosting
- Chocolate buttercream
- Strawberry buttercream
- Lemon buttercream
- Peanut butter frosting
- Rainbow chip frosting
- Brown butter cream cheese frosting
Helpful tip: Freeze any leftover frosting for up to 3 months and thaw in the refrigerator for next time.
Naked Cake Decoration Ideas
I recommend starting simple, then adding from there. The possibilities are endless! Here are some of my favorite decorations to use:
- Fresh flowers. Use flowers that haven’t been sprayed with pesticides. Avoid strong-smelling flowers as the smell may linger on the cake. And if you can find edible flowers, that’s even better!
- Fresh berries or fruit
- Smaller sweet treats like candies, cookies, meringues, and chocolates
- Candied citrus slices
- Candied pecans
- Fresh herbs, such as mint sprigs
- Cinnamon sticks
- Sugared cranberries
- Sprinkles
- Chocolate or white chocolate curls
Of course you’ll need a cake stand to show off your stunning masterpiece! Here are a few I love: wood slice cake stand (similar to what I have), white cake stand, and marble cake stand.
Get creative, let your inner cake artist shine, and most of all… have fun!
A naked cake is a layer cake with little to no frosting on the outside, leaving the layers partially or completely exposed.
No, not at all. It’s often easier than fully frosted cakes because it requires less precision.
Yes, and here is how I recommend doing so. The cake layers can be baked, cooled, and covered tightly at room temperature 1 day ahead. Likewise, the frosting can be prepared then covered and refrigerated 1 day in advance. Assemble and frost the cake the next day shortly before you are ready to serve. The frosted cake can be refrigerated for up to 1 day. For longer storage, see recipe Notes for freezing details.
You can cover and store leftover cake at room temperature for up to 1–2 days or in the refrigerator for up to 1 week. You can also freeze leftover cake slices for up to 3 months.


Vanilla Naked Cake
- Prep Time: 45 minutes
- Cook Time: 25 minutes
- Total Time: 6 hours
- Yield: 12 servings
- Category: Cake
- Method: Baking
- Cuisine: American
Description
This naked cake is simply stunning with fresh berries, vanilla cake, and vanilla buttercream.
Ingredients
- 3 and 3/4 cups (443g) sifted all-purpose flour* (spooned & leveled)
- 2 teaspoons baking powder
- 3/4 teaspoon baking soda
- 1 teaspoon salt
- 1 and 1/2 cups (340g) unsalted butter, softened to room temperature
- 2 cups (400g) granulated sugar
- 5 large eggs, at room temperature
- 1 Tablespoon pure vanilla extract (yes, Tbsp!)
- 1 and 3/4 cups (420g/ml) buttermilk, at room temperature*
- optional: 1–2 cups (120–250g) fresh raspberries (or other berry, see Note)
Vanilla Buttercream
- 1 and 1/2 cups (340g) unsalted butter, softened to room temperature
- 5.5–6 cups (660–720g) confectioners’ sugar
- 5–6 Tablespoons (75–90g/ml) heavy cream
- 1 teaspoon pure vanilla extract
- 1/4 teaspoon salt
- optional garnishes (see post above for inspiration!)
Instructions
- Preheat oven to 350°F (177°C). Grease three 9-inch round cake pans, line with parchment paper rounds, then grease the parchment paper. Parchment paper helps the cakes seamlessly release from the pans. (If it’s helpful, see this parchment paper rounds for cakes video & post.)
- Make the cake: In a large bowl, whisk the flour, baking powder, baking soda, and salt together. Set aside. Using a handheld or stand mixer fitted with a paddle or whisk attachment, beat the butter and sugar together on medium-high speed until smooth and creamy, about 3 minutes. Scrape down the sides and bottom of the bowl with a silicone spatula as needed. On medium-high speed, add 1 egg at a time, beating well after each addition. Beat in the vanilla extract. Scrape down the sides and bottom of the bowl as needed.
- With the mixer on low speed, add the dry ingredients in three additions, alternating with the buttermilk, beginning and ending with the dry ingredients, and mixing each addition just until incorporated. Do not over-mix. The batter will be smooth, velvety, and slightly thick.
- Pour the batter evenly into the prepared pans and smooth the tops. For even cake layers, use a kitchen scale and weigh the cake pans for accuracy. You should have around 8 cups of batter total (a little over 1800g), so each cake pan should have about 2 and 2/3 cups (a little more than 600g) of batter.
- Bake for 25–26 minutes or until the cakes are baked through. To test for doneness, insert a toothpick into the center of the cake. If it comes out clean, it’s done. Allow cakes to cool completely in the pans set on a cooling rack. The cakes must be completely cool before frosting and assembling.
- Make the frosting: In a large bowl using a handheld mixer or stand mixer fitted with a whisk or paddle attachment, beat the butter on medium speed until creamy—about 2 minutes. Add 5 and 1/2 cups (660g) confectioners’ sugar, 5 Tablespoons (75g) heavy cream, vanilla extract, and salt with the mixer running on low speed. Gradually increase to high speed and beat for 3 full minutes. Add 1/2 cup (60g) more confectioners’ sugar if frosting is too thin, 1 more Tablespoon cream if frosting is too thick, or a pinch more salt if frosting is too sweet. Yields about 4.5 cups (1080g) of frosting.
- Assemble and decorate the cake: Watch the video for a tutorial on assembling and decorating this naked cake. First, using a large serrated knife, slice a thin layer off the tops of the cakes to create a flat surface. Discard (or crumble over ice cream!). Place 1 cake layer on your cake stand, cake turntable, or serving plate. Spread 1 and 1/2 cups (360g) of frosting evenly on top. If using, dot half of the raspberries around the rim. Flatten them down into the frosting as best you can so the cake layer on top is sturdy. Top with 2nd cake layer and evenly cover the top with another 1 and 1/2 cups of frosting and more (flattened!) raspberries around the rim. You can sprinkle a few leftover raspberries in the center, too. (Like I did in the video.) Top with the third cake layer. Spread the remaining frosting on top and all around the sides using an icing spatula. Use a bench scraper to smooth out the frosting on the sides of the cake. If you’re making a fully naked cake, spread the remaining frosting on just the top of the cake. If you have leftover frosting, you can freeze it for up to 3 months.
- Decorate the cake with garnishes.
- Refrigerate the cake for at least 2–3 hours or up to 1 day before slicing and serving. If chilling for more than a few hours, loosely cover with plastic wrap (or the lid of a cake carrier) after 1 hour of refrigeration. (The frosting will “set” after about 1 hour and the plastic wrap won’t really ruin your frosting at that point.) And if you’re chilling for more than a few hours, I suggest decorating with garnishes right before serving, so they look fresh.
- Cover and store leftover cake at room temperature for up to 1–2 days or in the refrigerator for up to 1 week.
Notes
- Make Ahead Instructions: The cake layers can be baked, cooled, and covered tightly at room temperature overnight. Likewise, the frosting can be prepared then covered and refrigerated overnight. Assemble and frost the cake the next day when you are ready to serve. The frosted cake can be refrigerated for up to 1 day—see step 8. The frosted cake can also be frozen for up to 2–3 months. Thaw overnight in the refrigerator and bring to room temperature before serving.
- Special Tools (affiliate links): Electric Mixer (Handheld or Stand) | Glass Mixing Bowls | Whisk | 9-inch Round Cake Pans | Icing Spatula | Bench Scraper | Cake Turntable | Cake Carrier (for storage)
- Flour: Sift flour before measuring.
- Buttermilk: If you don’t have buttermilk, you can make a DIY buttermilk substitute. Add 1 Tablespoon (15g/ml) of white vinegar or lemon juice to a liquid measuring cup. Then add enough whole milk to the same measuring cup until it reaches 1 and 3/4 cups (420g/ml). (In a pinch, lower-fat or nondairy milks work for this soured milk, but the cake won’t taste as moist or rich.) Stir it around and let sit for 5 minutes. The homemade “buttermilk” will be somewhat curdled and ready to use in the recipe.
- Raspberries: The raspberries will leak some juice around the edges after a day or so. Leave the berries out if you’re making this cake in advance for a party or celebration.
- Room-Temperature Ingredients: All refrigerated items should be at room temperature so the batter mixes together easily and evenly. Learn more about why room-temperature ingredients are important.
- I used this cake recipe for my checkerboard cake. The cake layers are slightly thicker here because this cake is 3 layers instead of 4. If you want to make the naked cake as a 4-layer cake, divide the batter evenly among 4 cake pans and bake for 23–24 minutes or until a toothpick comes out clean.












Reader Comments and Reviews
If I wanted to make this ahead of time, would i be able to make the layers of the cake and freeze them individually as discs a few days prior? Then let them thaw 75% of the way before layering/decorating and then serving?
Hi Maggie, here’s our guide to freezing cakes!
can you use 2 10 inch pans instead
Hi Crystal, we haven’t tested this recipe for 10 inch pans but this cake pan sizes guide will help you determine how much batter to use.
Can I do two 8″ and two 6″ with this recipe?
Hi Ann, here’s everything you need to know about cake pan sizes and conversions.
I’ve made this cake before and it’s delicious. I’m looking to make it again with two 9″ pans and then using 6″ for the rest so I can stack them. Do you think I would get two 6″ cakes from the third 9″ one? And guessing I should reduce the baking time, and maybe keep the temp consistent?
I am also considering using only 6″ pans to make it a smash cake for my 1 year old. Same questions – # of pans, temp and timing, if you are able to help. Or should I just follow your 6″ cake recipe (which I think you might have!) Thanks for any insight!
Hi Julia! Here is everything you need to know about converting recipes to different Cake Pan Sizes. We would use our 6 inch cake recipe for the 6 inch cake!
Can I make the cake and frost it a day ahead? Was going to make it for a shower but won’t have time in the morning to frost and decorate it.
Hi Sue, absolutely! Store well covered in the refrigerator up to 1 day ahead of time.
Wow cake
I made this cake for my Daughter and her fiancé’s engagement party. I am, in no way, a baker, but everyone loved it, and thought it looked very professional! I will definitely bake again, as Sally’s instructions are very good and easy to follow xx
I’m now baking for a baby shower, wish me luck x
I have made this cake I cant count how many times, I worked in a 38 bed ICU as RNCManager – I baked for the nurses / staff on their birthdays – it was most requested and loved by so many !!
Wonderful cake, love the presentation – simple but also beautiful .
Thank you Sally – I use so many of your recipes !! Have not had a bad one yet !!!
can i make cupcakes with this recipe?
Hi Charlotte, yes, you can use this batter to make cupcakes if you wish. Fill only 2/3 full to avoid spilling over the sides. Bake at 350 degrees for about 19–22 minutes, or until a toothpick inserted in the center comes out clean. Or, here’s our vanilla cupcakes recipe.
Thank you. Love this recipe . Made it for one son’s wedding and making it for a daughters wedding this month. She wanted some cup cakes too.
very beautiful cake, I was asked to make a similar one for a wedding. Can I find out what kind of flowers these are?Thank you❤️
Hi Ramute, we believe they are called wax flowers, but aren’t certain!
I absolutely love this recipe! I’m making it for the second time now and can’t recall if I took it out of the fridge before serving.
Last time I made it, it was winter and now it’s the dog days of August. Should I take it out of the fridge much before serving?
Hi Stephanie, you can take it out of the refrigerator and bring to room temperature just before serving. Hope it’s a hit!
I have now made this cake 3x. I am making small adjustments only for variety- and having fun with that. The cake, as the recipe stands Is EXCELLENT. It is ?denser than your average cake, which I believe is intentional to support the layers and raspberries etc. I dont usually like buttercream- but am eating this with a spoon. I 100% love this recipe.
Hi there! Can I make this cake with gluten free flour instead?
Hi Samantha! We haven’t tested this recipe with gluten free flour, so we’re unsure of the results. The texture will likely be different. Many readers have has success using 1:1 gluten free all purpose flours like Bob’s Red Mill or Cup4Cup in our recipes.