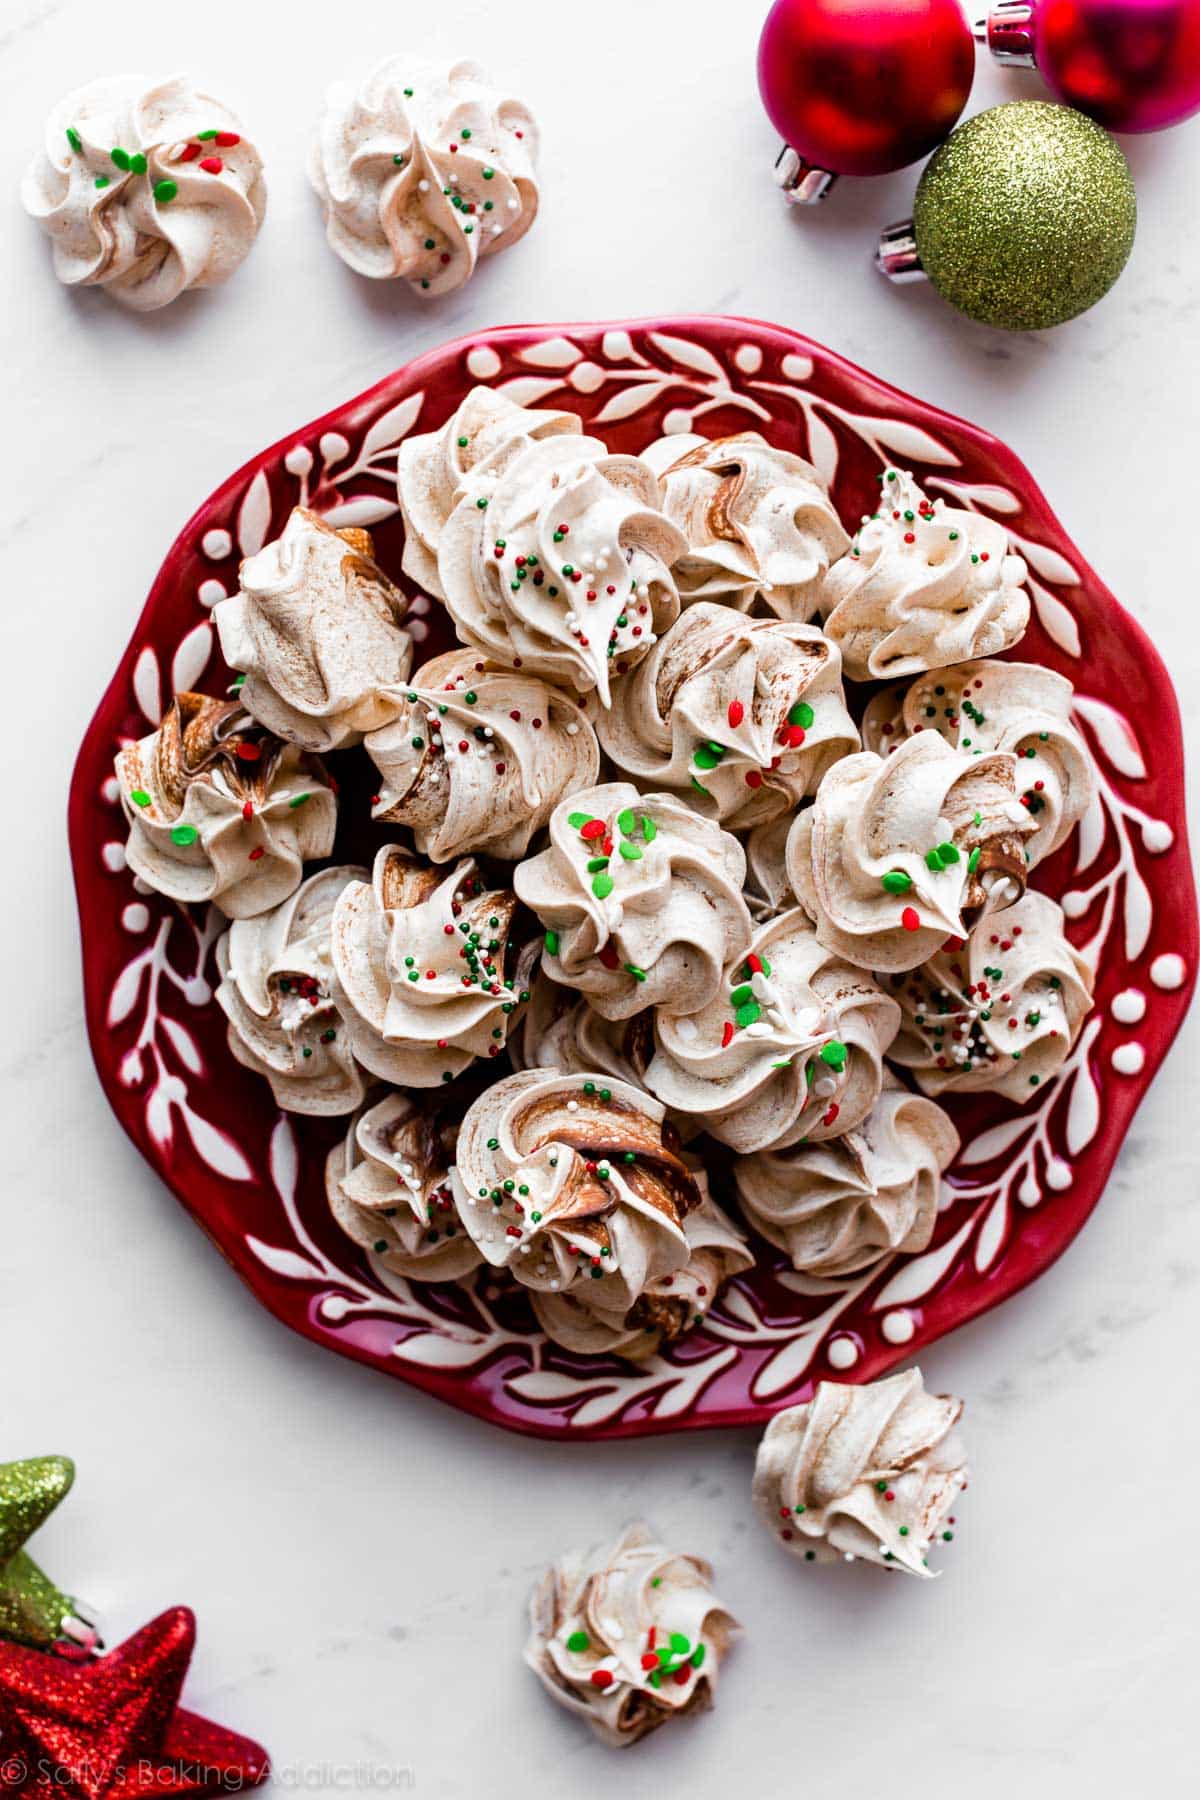
These chocolate swirled meringue cookies are made from just 5 ingredients. Delightfully crisp on the outside with a melt-in-your-mouth texture inside, these naturally gluten free chocolate meringues are simply irresistible. Follow the recipe closely because these require precision. Use my video tutorial, step-by-step photos, and success tips as your guide.
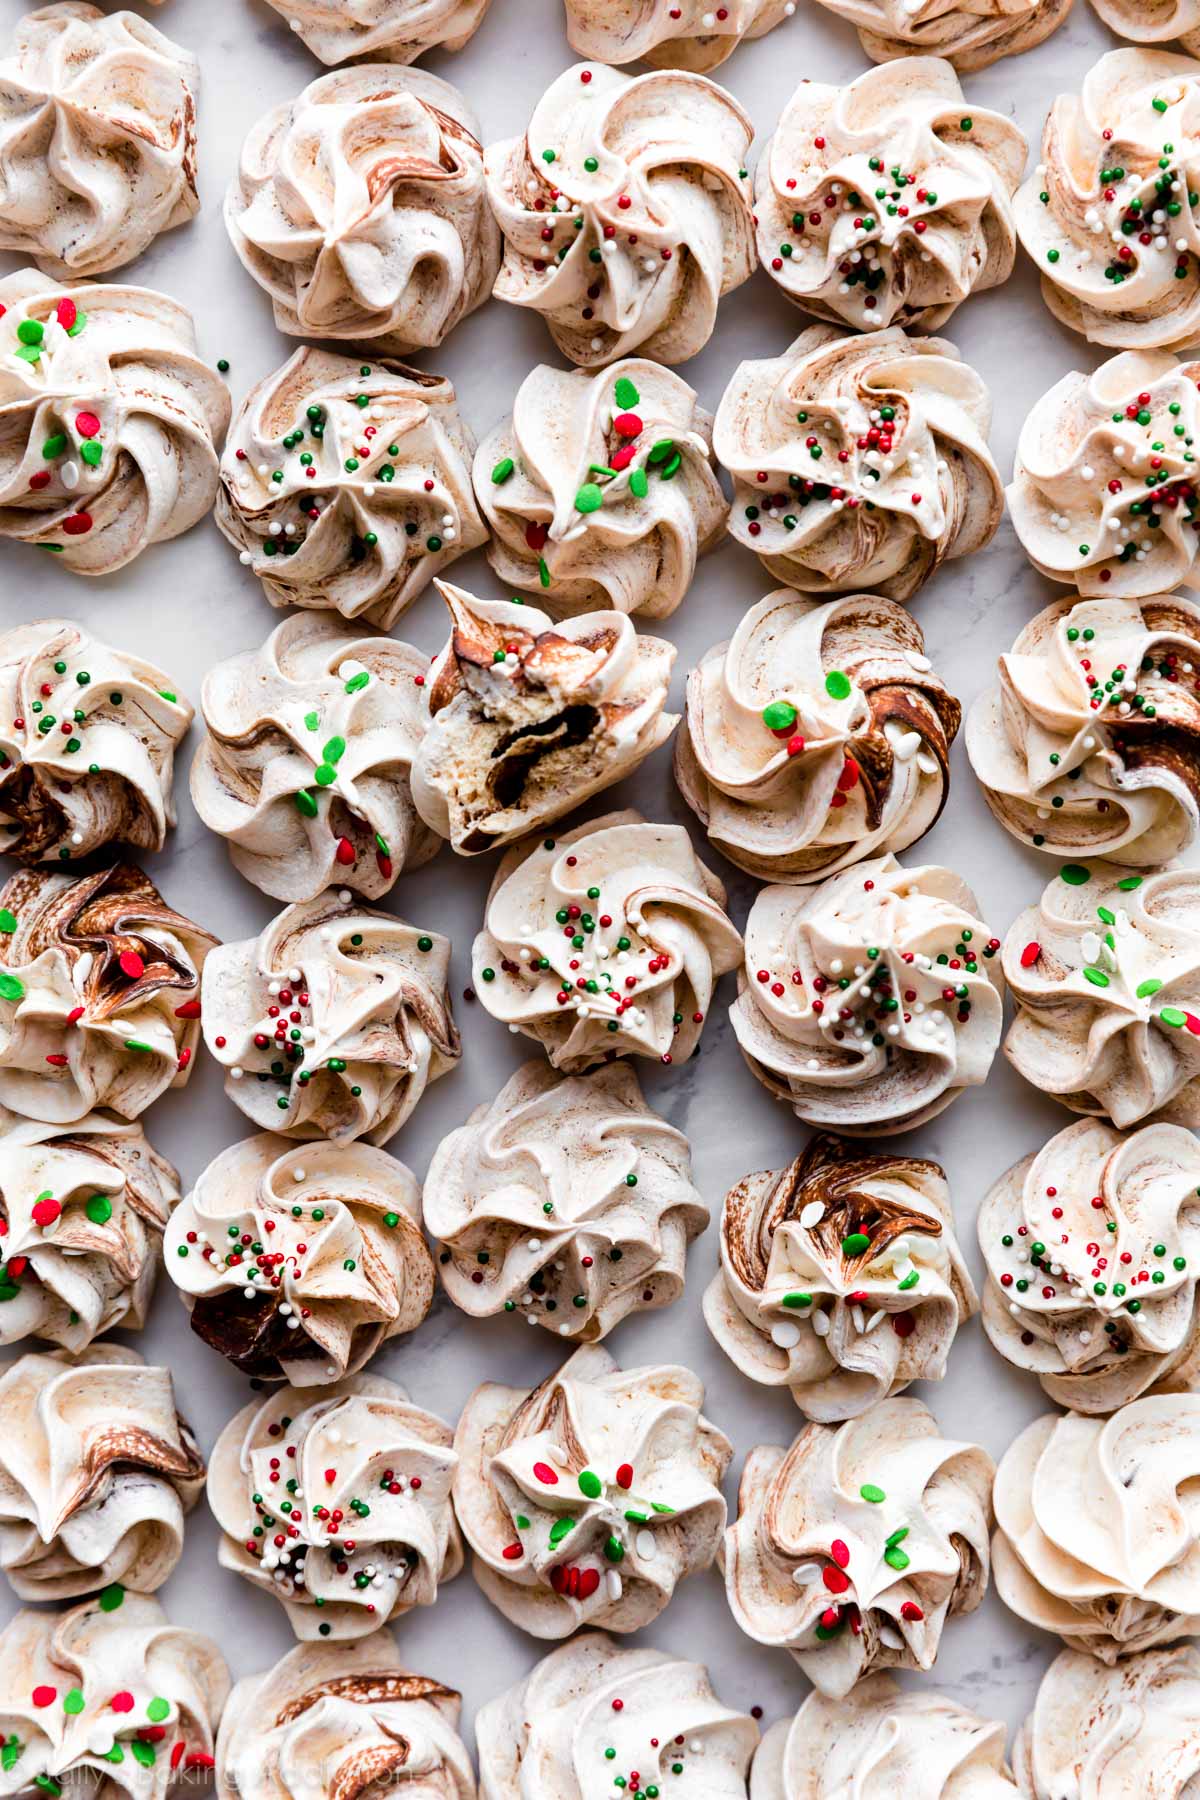
This recipe is part of my annual holiday cookie countdown called Sally’s Cookie Palooza!
What are Meringues?
Though they’re enjoyed throughout the year, meringues are extra special on holiday cookie trays. Made mostly from egg whites and sugar, meringue cookies are piped onto baking sheets and baked at a low temperature for a considerably longer time than most other cookie recipes. The low temperature guarantees the shaped meringues won’t immediately melt. Rather, they’ll crisp up on the edges while remaining puffy, light, and cloud-like in the centers. Think of a meringue cookie as an extra mini pavlova. Perfect for tea parties, paired with coffee or hot chocolate, and lovely as a decoration on cakes! 🙂 They’re also a gluten free dessert recipe—it’s always nice to have a gluten free option or two in your usual lineup of Christmas cookies!
Though I have a recipe for classic fairy-like meringues in Sally’s Cookie Addiction, I wanted to publish a meringue cookie recipe with swirls of real chocolate. If you’ve enjoyed regular meringues, wait until you taste them with chocolate baked and swirled throughout.
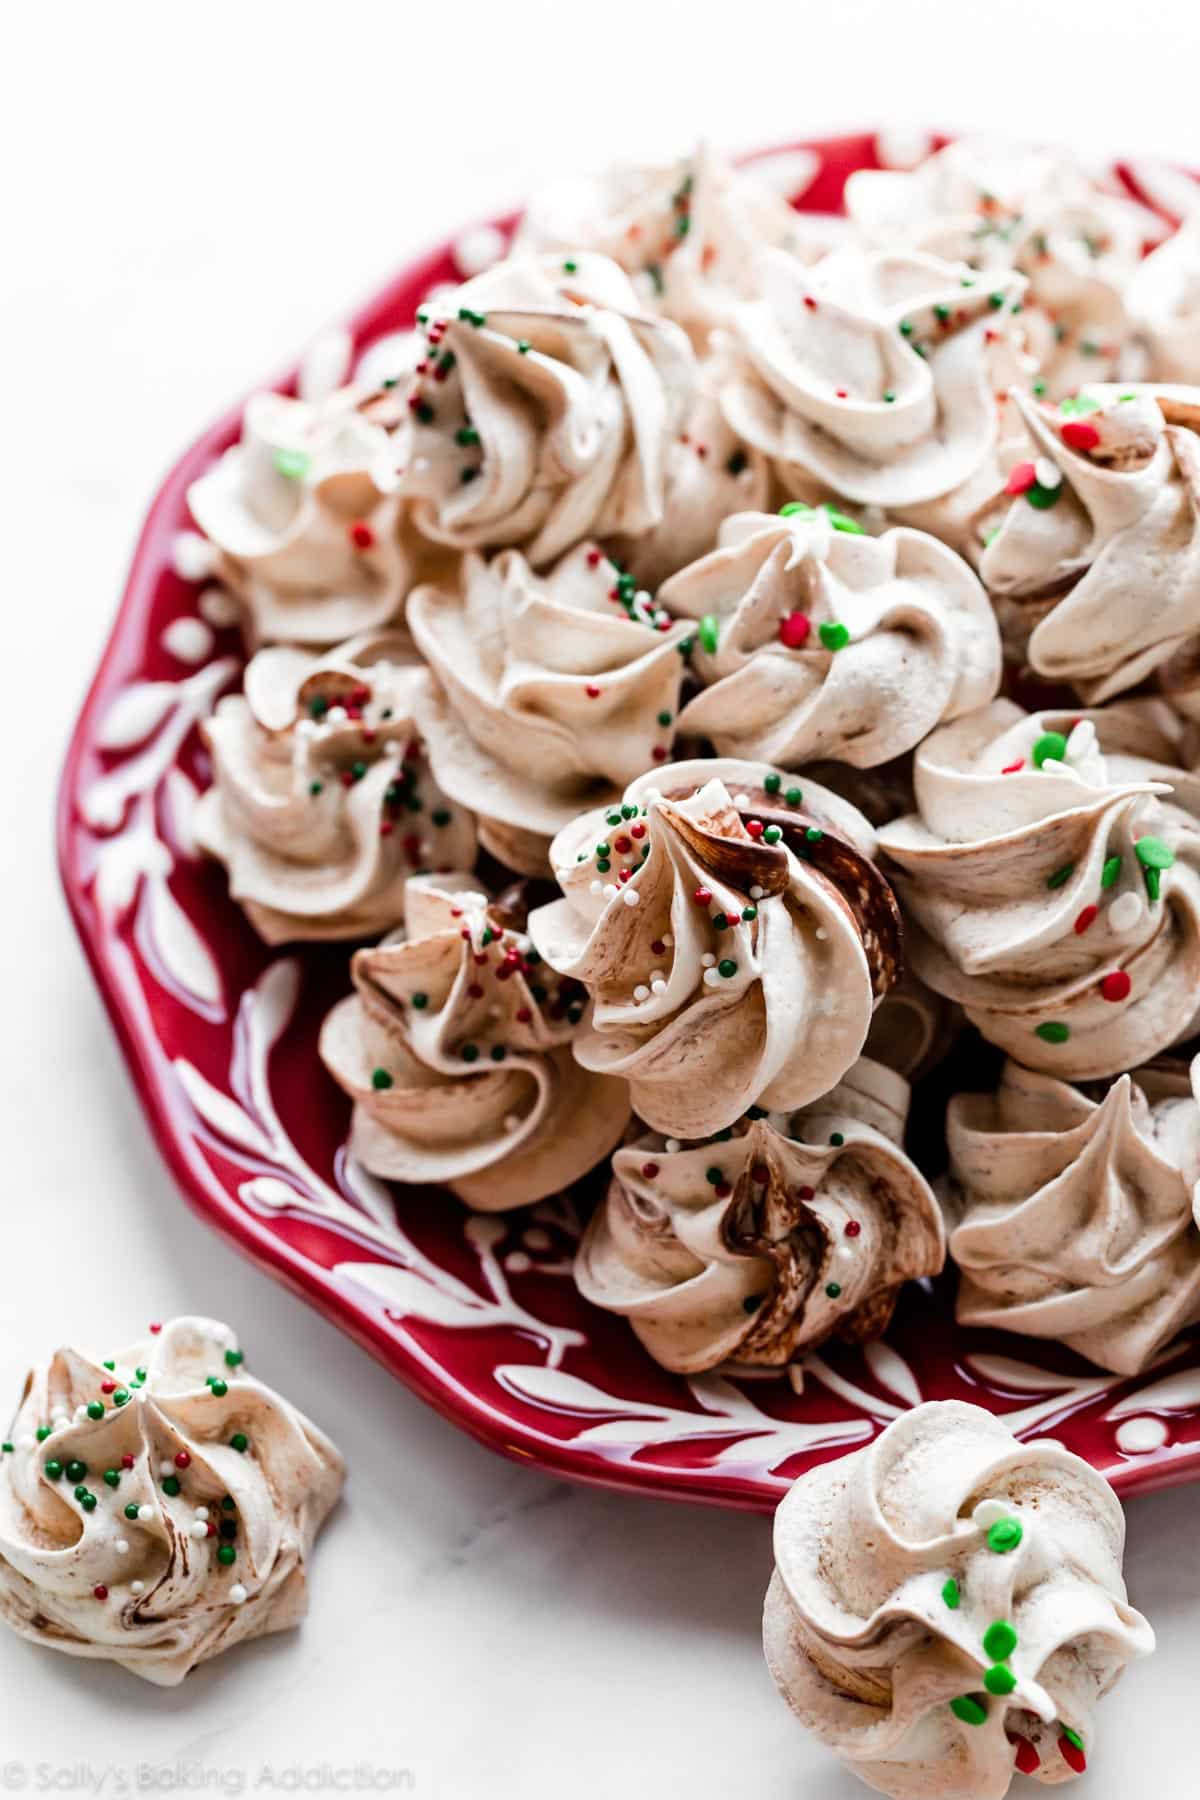
These Chocolate Swirled Meringue Cookies Are:
- Light-as-air
- Sweet & swirled
- Naturally gluten free
- Delicate, yet crisp
- Swirled with real chocolate
- Topped with sprinkles
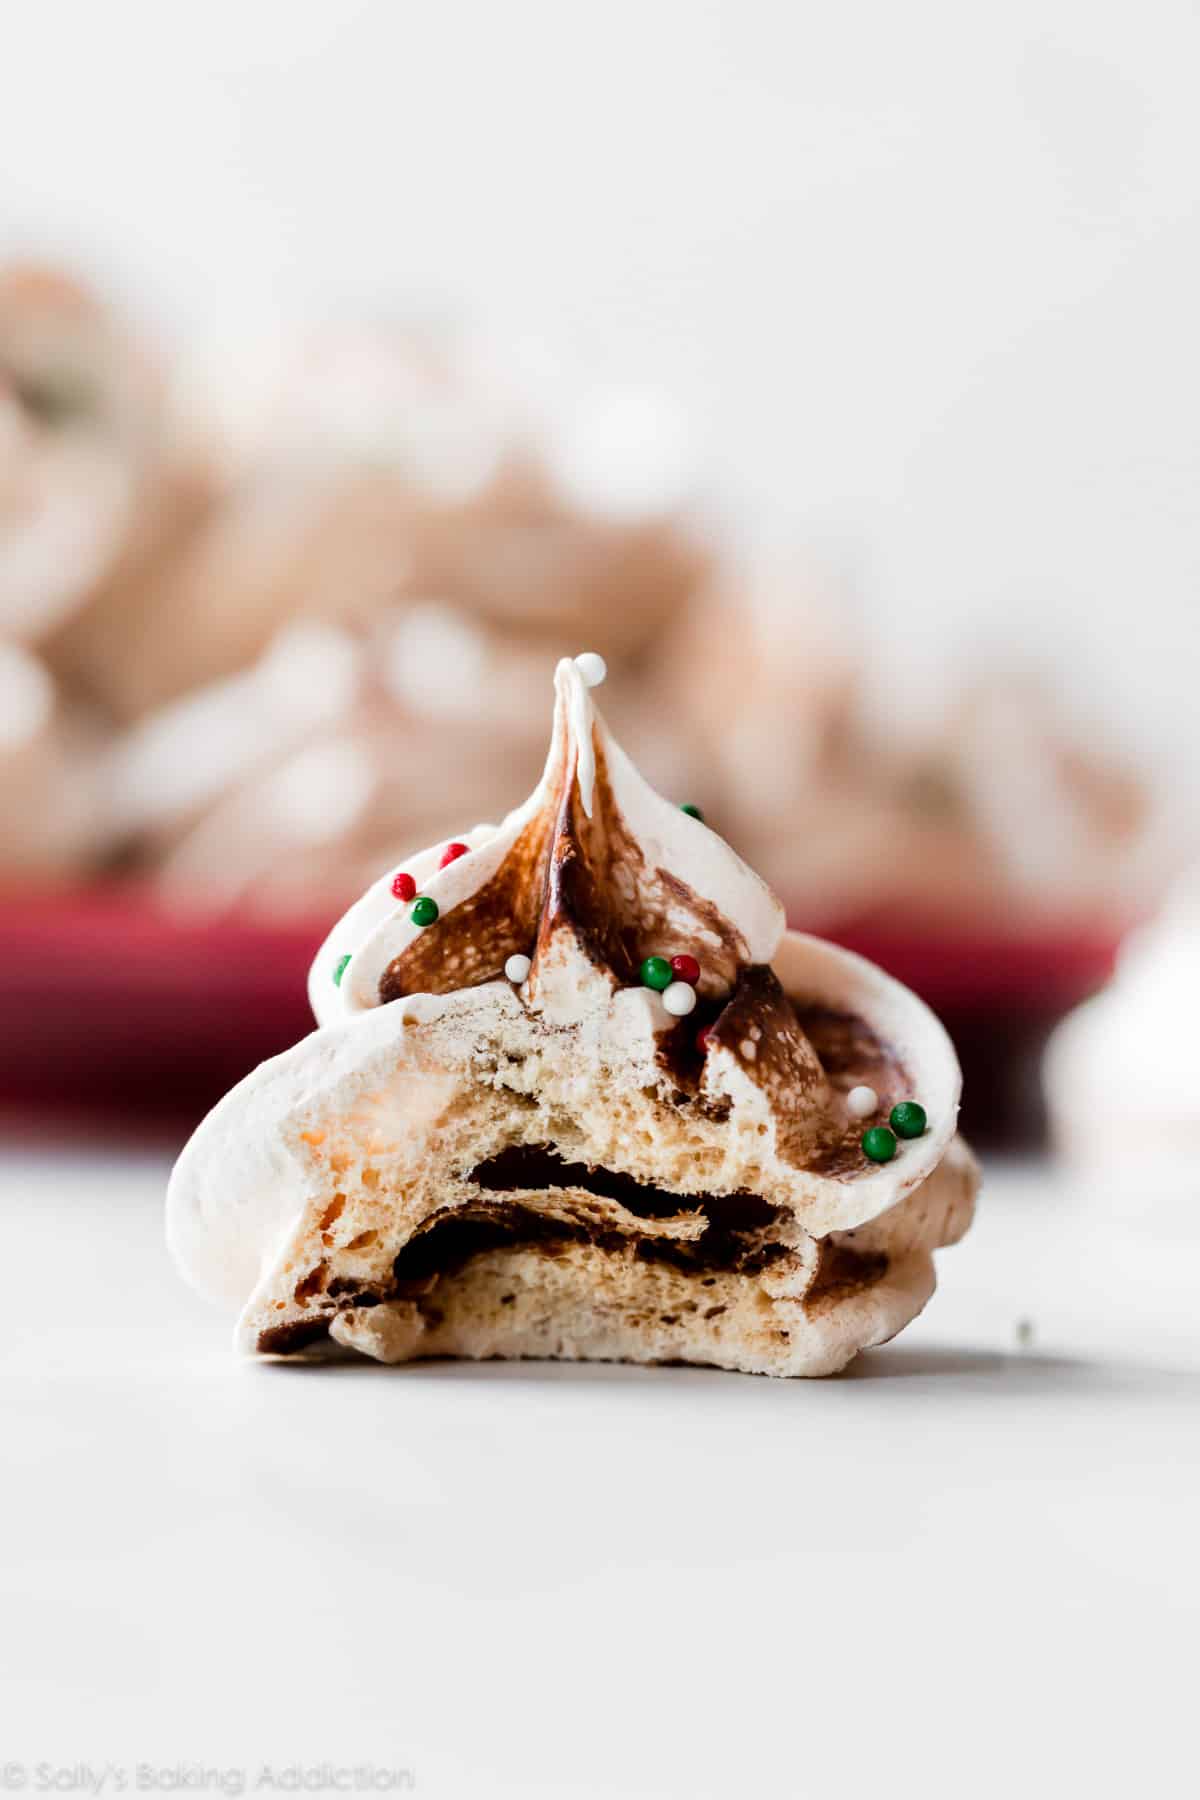
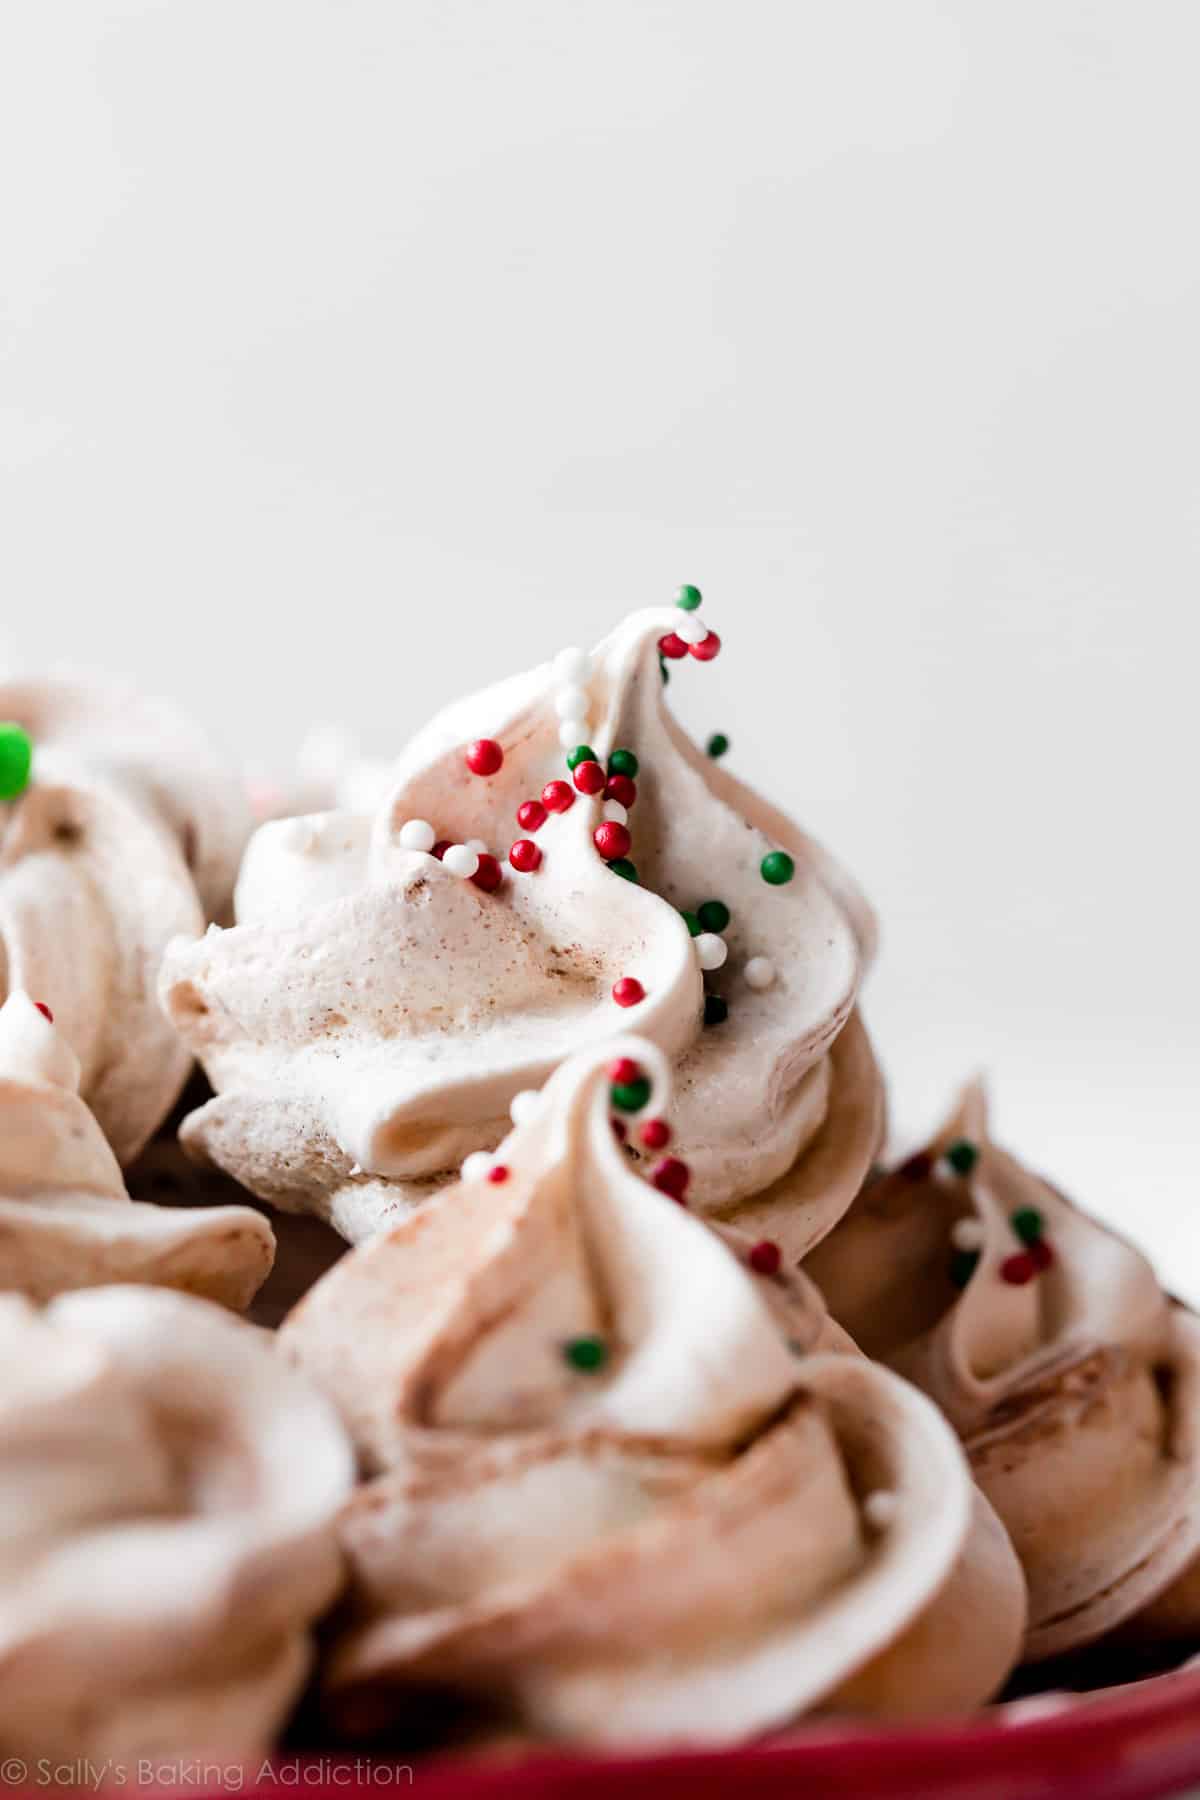
Each bite is light, yet irresistibly crisp. The centers are hollow in spots and literally melt in your mouth. That’s why these cookies have been loved for so long—they’re just that good.
Meringue Ingredients
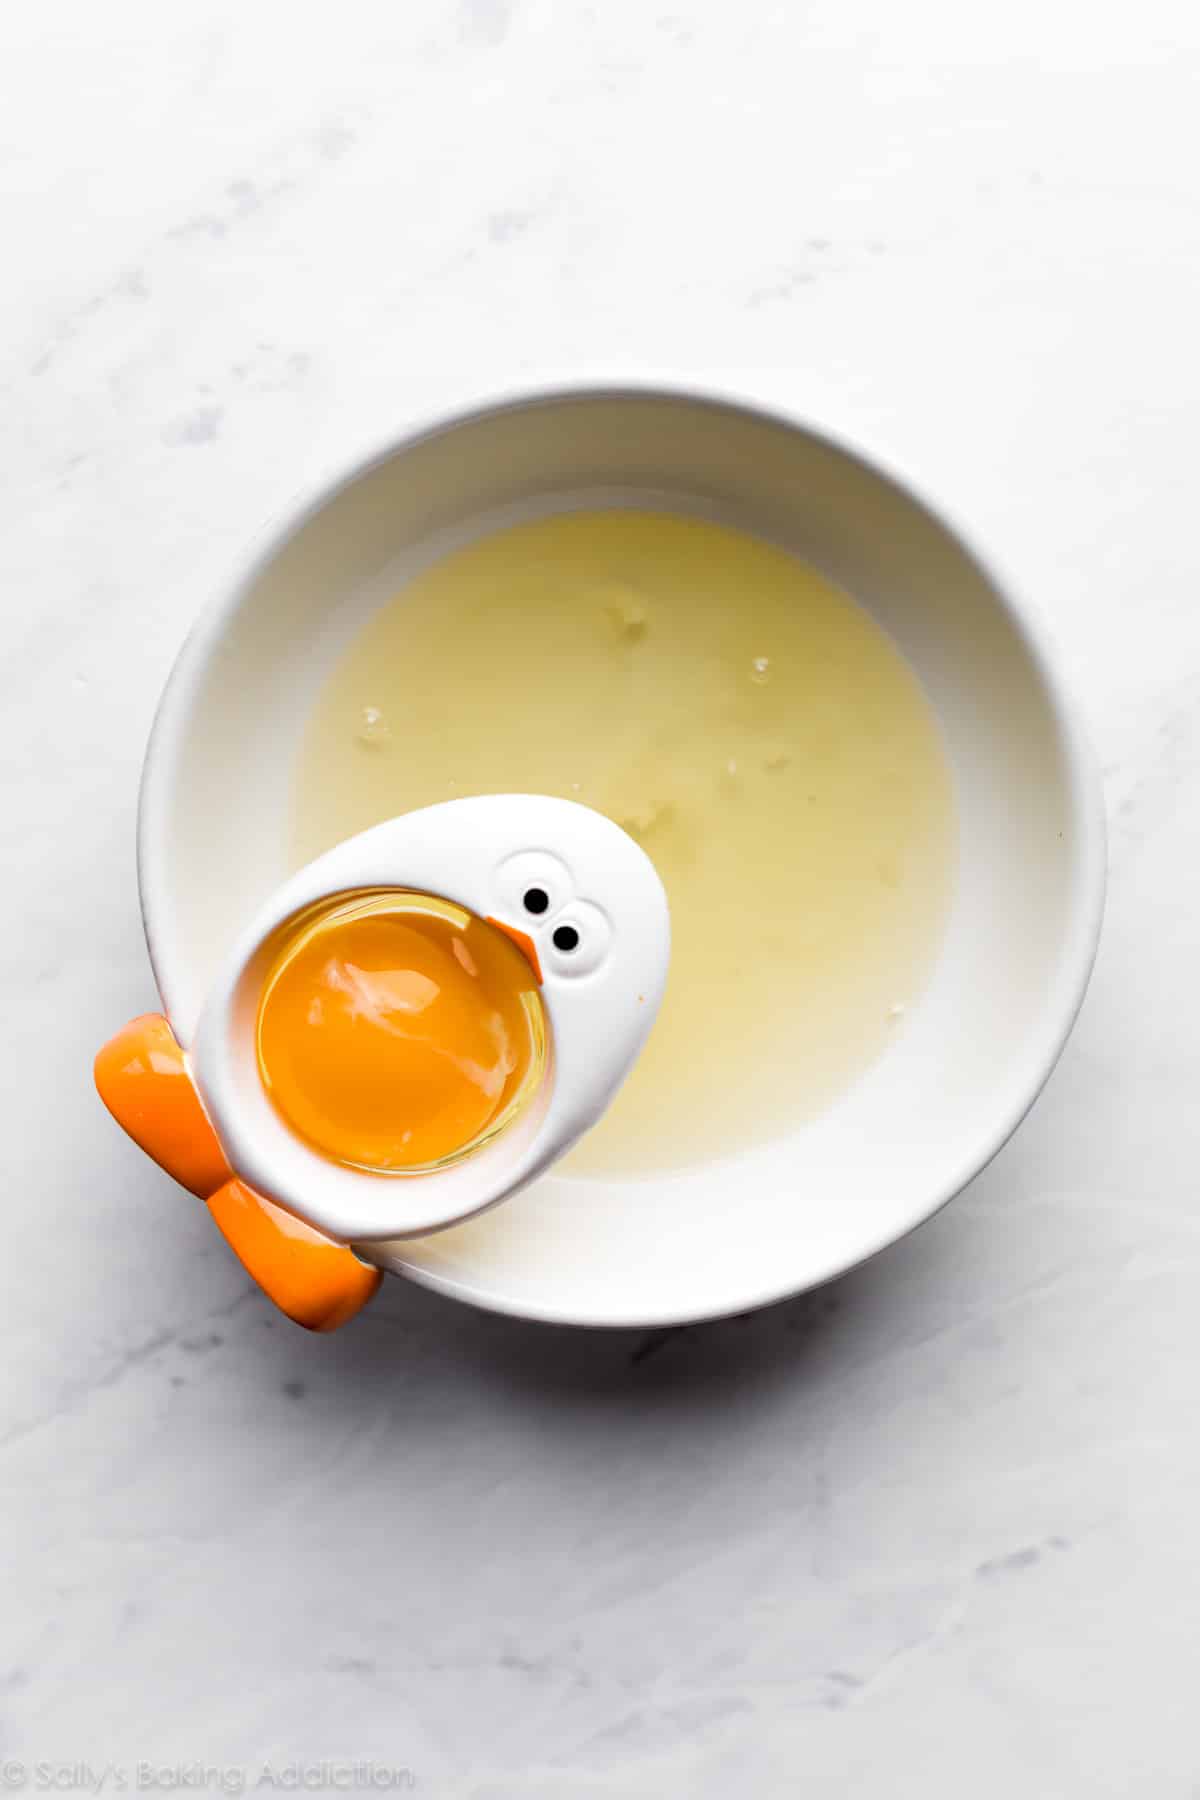
- Egg Whites: Beaten into stiff peaks, egg whites are the base of meringue cookies. Just as I recommend when making French macarons, use fresh eggs instead of carton egg whites. Here are all my recipes using egg yolks. Eggs separate much easier when they’re cold, but room temperature egg whites whip into a higher volume. Separate the eggs right out of the refrigerator, then let the egg whites sit for about 30 minutes before starting.
- Cream of Tartar: The acidity in this crucial ingredient helps the egg whites hold onto air and, like the sugar, helps prevent the egg whites from collapsing. If you’re making snickerdoodles or angel food cake, you already have this ingredient on hand. It’s sold with the spices. Because the chocolate can weigh down the batter, I use a little more cream of tartar in today’s recipe than the recipe in my cookbook.
- Salt: Salt offsets the sweetness.
- Sugar: Without sugar, the protein molecules in egg whites will collapse. Additionally, sugar helps achieve the delightfully crisp texture. (Sugar is so much more than a sweetener!) You can use regular granulated sugar in this meringue cookie recipe.
- Chocolate: You need 2 ounces of pure melted chocolate. Pick up a 4 ounce baking chocolate bar, such as Bakers or Ghirardelli, then melt half of it. You can even melt the leftover 2 ounces and dip your cooled meringues into it. No waste!
I strongly recommend using an egg separator (isn’t it cute?!). You don’t want any egg yolks in the bowl—the slightest drop of fat will prevent the egg whites from properly stabilizing. An egg separator is an inexpensive but super handy tool in the kitchen.
How to Make Chocolate Swirled Meringue Cookies
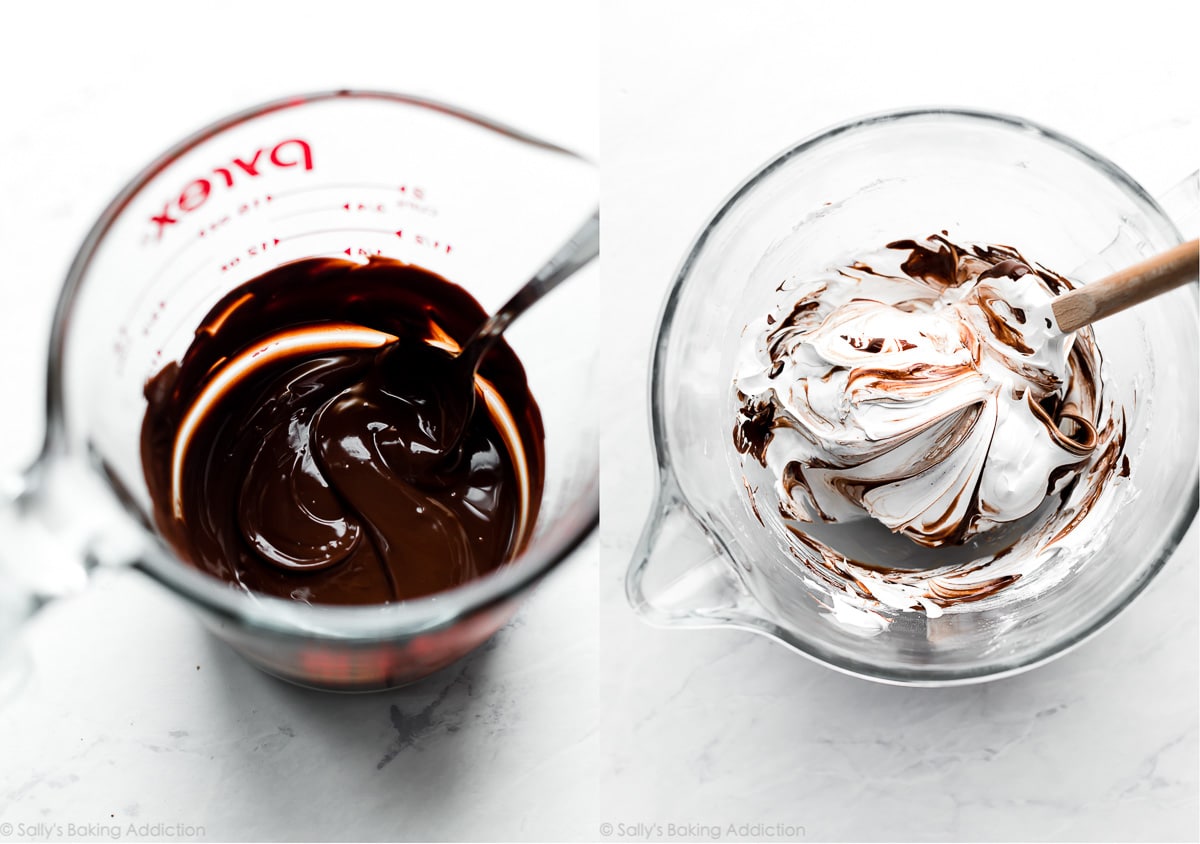
- Melt the chocolate. I recommend doing this first because the chocolate needs to cool down before folding into the meringue batter.
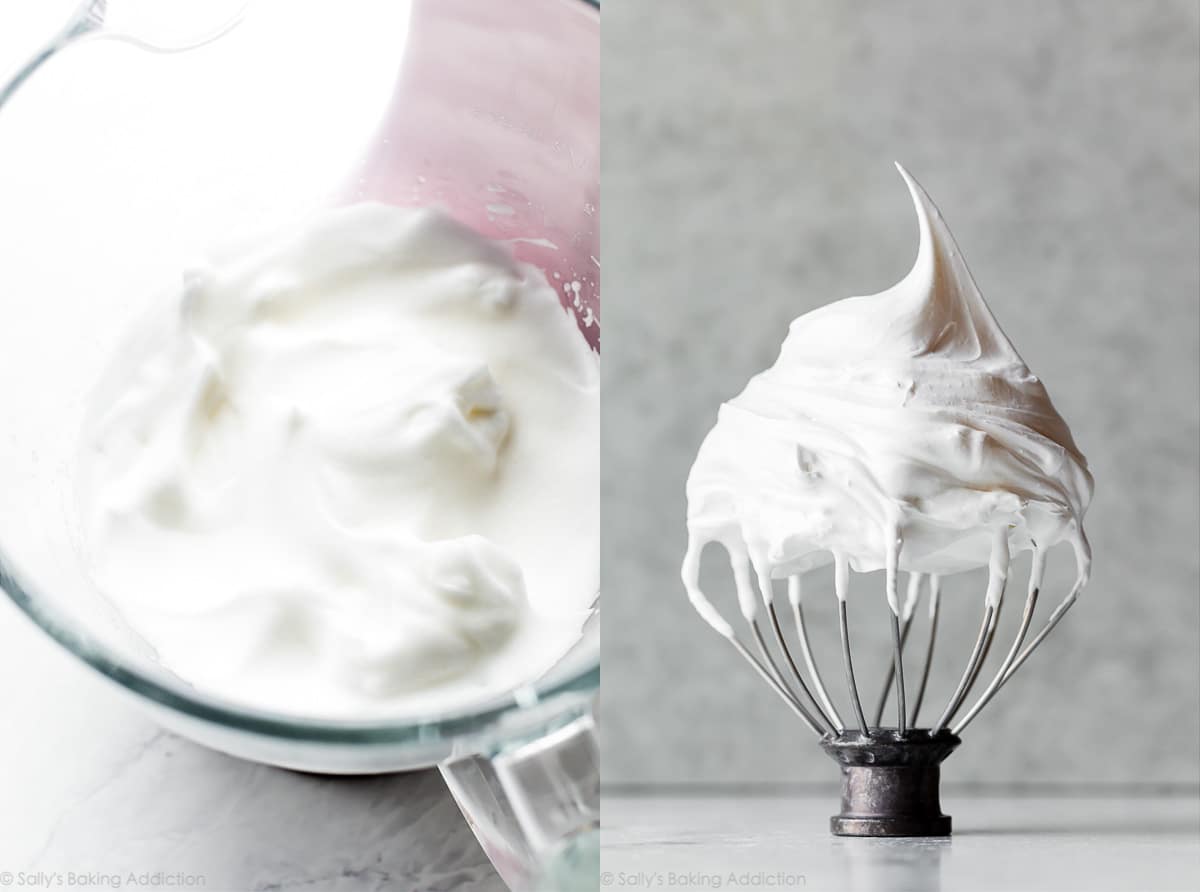
- Beat the egg whites, cream of tartar, and salt together. On high speed, beat these ingredients into soft peaks, pictured below on the left.
- Gradually add the sugar. Beat on high speed into stiff peaks. Stiff peaks hold their point when you lift up the whisk attachment. See picture below on the right.
- Fold in the melted chocolate. You want swirls all throughout the batter.
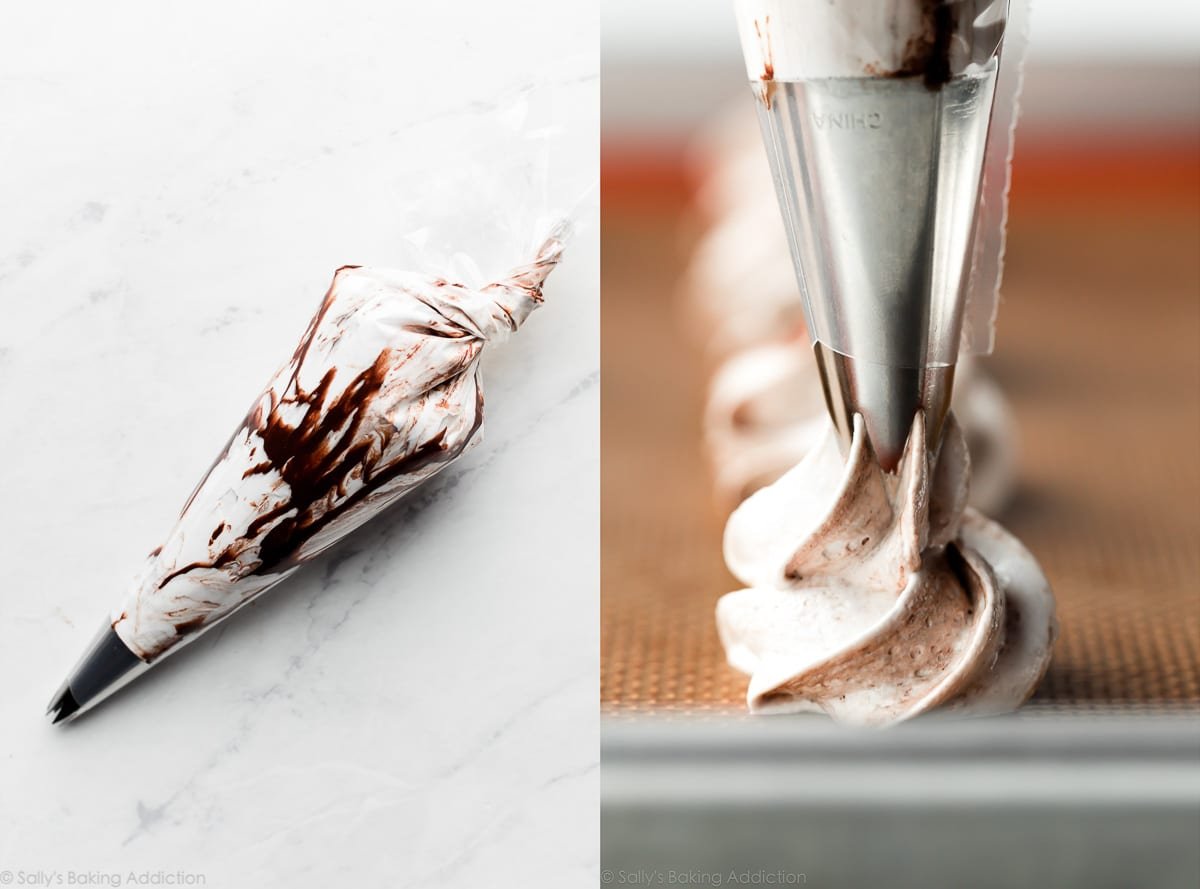
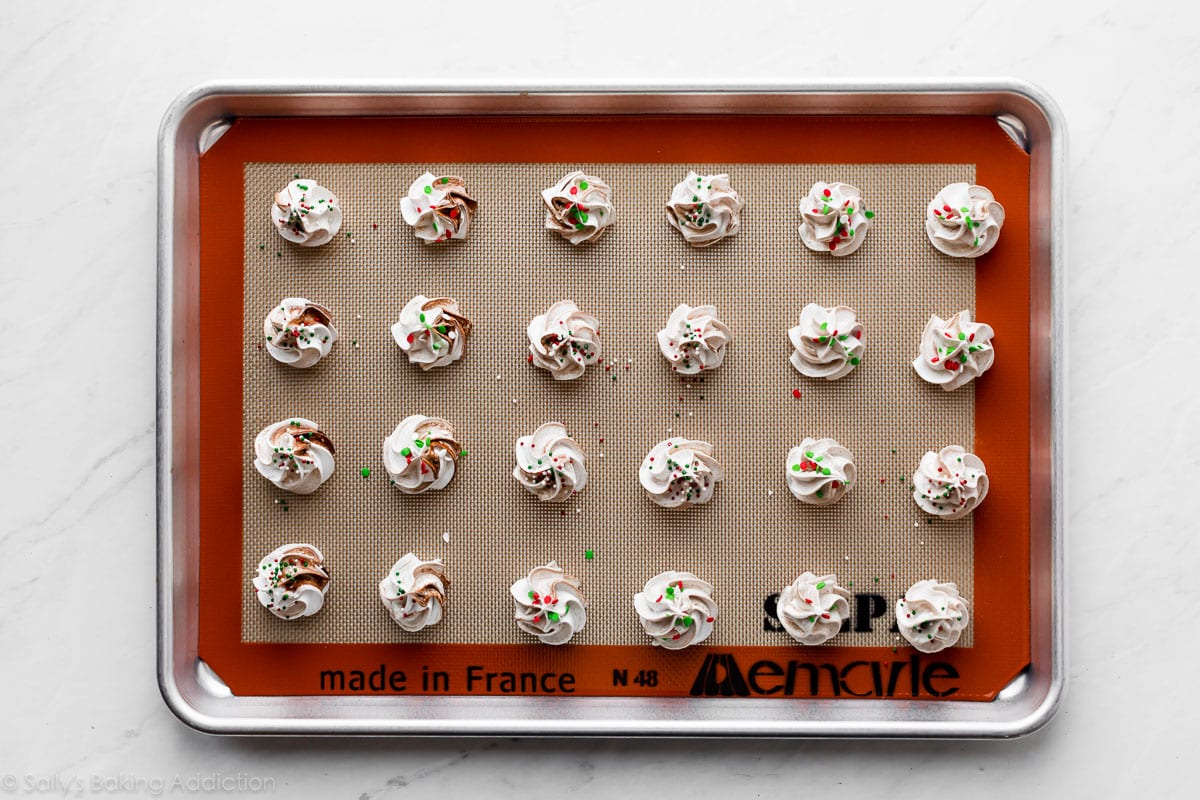
- Pipe onto baking sheets. I recommend using an open star tip and piping little 1.5 inch swirls. You can watch me do this in the video tutorial above. Feel free to add sprinkles on top of the piped cookies.
- Bake at a low temperature. These cookies take 1 and 1/2 hours at 250°F (121°C).
- Partially cool the meringues in the oven. Turn off the oven and let the cookies sit in the cooling oven for about 30 minutes.
- Cool the meringues completely. Remove meringues from the oven. They can cool completely right on the baking sheets.
Soft peaks, then stiff peaks:
Fold in the chocolate:
You can even drizzle some of the melted chocolate right into the open piping bag before spooning in the meringue batter. That’s what I did for this particular batch:
Success Tips for Chocolate Swirled Meringue Cookies
- No fat in the mixing bowl. Though we’ll add chocolate to the batter after the egg whites have reached stiff peaks, we can’t have ANY fat in the mixture prior to that. As you may remember from my lemon meringue pie, fat will prevent the egg whites from reaching those crucial peaks. Use a glass or metal mixing bowl. (Plastic can hold onto fat residue.) Wipe your mixing bowl completely clean and use an egg separator. Separate the egg whites one at a time and place the egg white in the mixing bowl before separating the next. This way, if a yolk breaks in one of them, you don’t waste the whole batch. (If an egg yolk breaks, use that for scrambled eggs the next morning!)
- Follow the recipe closely. Each ingredient is crucial. No substitutions.
- Don’t make meringues on a humid day. Weather can affect how your meringues set up before and during baking. Make meringues on a dry day to help guarantee they’ll beat into stiff peaks and crisp up in the oven.
Sally’s Cookie Palooza
This recipe is part of my annual cookie countdown called Sally’s Cookie Palooza. It’s the biggest, most delicious event of the year! Browse dozens of cookie recipes over on the Sally’s Cookie Palooza page including:
- Stained Glass Window Cookies
- Spritz Cookies
- Snowball Cookies
- Chocolate Butter Cookies
- Coconut Macaroons
- Hot Cocoa Cookies
and here are my top 10 cookie baking tools if you’re looking for recommendations!
Chocolate Swirl Meringue Cookies
- Prep Time: 20 minutes
- Cook Time: 1 hour, 30 minutes
- Total Time: 2 hours, 30 minutes (includes cooling)
- Yield: 3 dozen
- Category: Desserts
- Method: Baking
- Cuisine: American
Description
These chocolate swirled meringue cookies are made from just 5 ingredients. Follow the recipe closely because these require precision. Use my video tutorial, step-by-step photos, and success tips as your guide.
Ingredients
- 2 ounces (55g) semi-sweet chocolate, finely chopped
- 3 large egg whites (120g), at room temperature (see note)*
- 1/4 teaspoon cream of tartar
- 1/8 teaspoon salt
- 2/3 cup (130g) granulated sugar
- optional: sprinkles
Instructions
- Preheat oven to 250°F (121°C). Line two large baking sheets with parchment paper or silicone baking mats. Set aside.
- Melt the chocolate first so it can cool down before folding into the batter. You can melt the chocolate in a double boiler or the microwave. If using the microwave: place the chopped chocolate in a medium heat-proof bowl. Melt in 20 second increments, stirring after each increment until completely melted and smooth. Set aside.
- In a completely clean residue-free large glass or metal mixing bowl, using a handheld mixer or stand mixer fitted with a whisk attachment, beat the egg whites, cream of tartar, and salt together on high speed until soft peaks form, about 2 minutes. With the mixer running on high speed, slowly add the sugar and beat until stiff glossy peaks form, about 2 more minutes. Do not over-beat.
- Gently fold in the chocolate. To maintain swirls, you don’t want to completely mix it in. Don’t worry if you don’t use all 2 ounces—you can add some to the piping bag in the next step.
- Add an open star piping tip (I recommend Wilton 1M) to your piping bag (disposable or reusable). Drizzle any leftover chocolate along the inside of your piping bag (this is optional). Add the meringue batter. It won’t all fit, so only use half to start.
- Pipe 1.5 inch swirls until you use up all the batter. See the video tutorial above if you need a visual. The cookies don’t spread, so you can pipe them just 1-2 inches apart. Top each with sprinkles, if desired.
- Bake for 1 and 1/2 hours. (You can bake both baking sheets at once.) Do not open the oven as the meringues bake. Turn off the oven after 1.5 hours and let the meringues sit inside as the oven cools for 30 minutes or until the oven has cooled completely.
- Remove meringues from the oven and cool completely on the baking sheets. Once cool, use a flat spatula to remove the meringues from the baking sheets.
- Cover and store meringues at room temperature for up to 2 weeks.
Notes
- Make Ahead & Freezing Instructions: Meringues stay fresh and taste wonderful for up to 2 weeks, so they’re a great cookie to make a week or so ahead of time. Baked meringues freeze well for up to 1 month. Since they are delicate, I recommend carefully arranging them in a sturdy freezer-friendly container instead of a freezer bag. Thaw at room temperature inside the container.
- Special Tools (affiliate links): Baking Sheets | Silicone Baking Mats or Parchment Paper | Double Boiler or Mixing Bowl | Electric Mixer (Handheld or Stand) | Egg Separator | Piping Bag (Reusable or Disposable) | Open Star Piping Tip (I used a Wilton 1M for the pictured cookies)
- Chocolate: For the best results, use half of a 4 ounce “baking chocolate” bar found in the baking aisle. I prefer Bakers or Ghirardelli brands. You can use semi-sweet, bittersweet, or even milk chocolate. Do not use chocolate chips, as they contain stabilizers preventing them from melting into the proper consistency.
- Egg Whites: For best success, I recommend using fresh eggs instead of carton egg whites. Here are all my recipes using leftover egg yolks. Eggs separate much easier when they’re cold, but room temperature egg whites whip into a higher volume. Separate the eggs right out of the refrigerator, then let the egg whites sit for about 30 minutes before starting. Separate the egg whites one at a time and place the egg white in the mixing bowl before separating the next. This way, if a yolk breaks in one of them, you don’t waste the whole batch.
- No piping tip or piping bag? No problem! Simply use a spoon to spoon 1.5 inch mounds 2 inches apart on the baking sheet.


Is there a way to make just plain vanilla meringues without the chocolate?
Hi Lily, you can simply leave out the chocolate. No need to replace with anything, though 1 teaspoon of vanilla extract would be tasty. You can add it with the cream of tartar and salt.
My melted chocolate kept clogging my piping tip. Could I use a hazelnut chocolate spread instead?
Hi Vanessa, what type/brand of chocolate are you using? We’ve never had the chocolate harden so quickly. We usually use ghirardelli or bakers baking chocolate bars. We haven’t tried this with a hazelnut chocolate spread, but let us know if you do!
This happened to me too, I used bakers chocolate. They were delicious but the nozzle clogging was definitely frustrating! I live in a dry, cold climate, so I’m not sure if that has something to do with it. I’d still make them again in a heartbeat 🙂
I just finished making these! This recipe is perfect and my cookies look exactly like the ones in the photo! I am so happy with the result. Thank you 🙂
Hi Sally, I do generally love all of your recipe but these turned out a bit hard and deflated for me. I’ve had good outcomes with other recipes that use caster sugar and lower temps but then this is the first time I’ve added chocolate. I’m not sure what I did wrong :/
Hi Asli, thank you so much for giving these cookies a try. We’re happy to help troubleshoot. There are a few factors that can contribute to deflating meringues, like not beating long enough, beating too long, adding the sugar too fast, a drip of egg yolk in the mix, or grease residue in the mixing bowl. Could any of those be the culprit for your batch? The cookies definitely have a crisp to them, but if they sunk and deflated, this could make them seem a bit dense/hard. Hope this is helpful!
These were the first meringue cookies I ever made. They were absolutely PERFECT! I loved them so much that I went on a meringue hunt for more meringue cookies to devour. That was 1 year and roughly 8 recipes ago . Some added more egg, some added more sugar or cream of tarter. Other recipes cooked them longer some hotter. The one thing they all had in common was they were all a fail! Some were outright fails others were just okay. NONE came out as well as these did. After trashing 2 different batches this week I remade these yesterday and achieved perfection! I will never try another. Thanks Sally for doing all the hard work for us by perfecting the recipes you share.
Hi Suzy, we’re so glad these turned out great for you! Happy baking.
Sooooo delicious! Making these today for the second time in two weeks.
In the oven right now – kitchen smells sooooooo good, know they will be delicious! Can hardly wait until they come out!
I used dairy-free chocolate and that must set up much faster than regular milk chocolate. I couldn’t pipe them because the chocolate immediately became solid set in the bag and clogged the tip.
I ended up just scooping them by tablespoon. No where near as pretty as I had hoped!
I’ll try again next time with dairy!
I am looking forward to trying this recipe! I love meringues so much!! Can I substitute with white chocolate? Would I need to make any adjustments?
Hi Chrisy, absolutely! Hope they’re a hit with your family.
I want to try and make these like Christmas trees for a holiday party. Can I use green gel food coloring? or with the chocolate folded in just ruin the color?
Hi Samantha, adding food coloring shouldn’t be an issue, though it will be swirled with the chocolate so may become a bit muddled. Let us know if you give it a try!
Hello! What would be the ideal temperature for the chocolate before mixing in? Thank you!
Hi Lauren, I’d say anywhere around 90°F (32°C) would be fine.
What would I change to make them not chocolate—just vanilla?
Hi Deb, you can simply leave out the chocolate. No need to replace with anything, though 1 teaspoon of vanilla extract would be tasty. You can add it with the cream of tartar and salt.
Not sure what I did but they all ended up empty inside. 🙁 taste great w a crispy shell around air.
Meringue cookies have hollow spots inside, that’s expected– see the photo. If the the outside was crispy and did they held their shape it sounds right! If not, there could be a few other factors including not beating long enough, beating too long, adding the sugar too fast, a drip of egg yolk in the mix, or grease residue in the mixing bowl. Perhaps any of those? We are glad you enjoyed the taste!
Sally,
I made these three times and each one came out hollow. The first batch I made exactly as you write it; the second I made the same way but decreased the bake time; and the third I didn’t whip enough but baked anyway. All came out delicious but your biting a shell of a cookie. Do you know what I did wrong?
Hi Amber, Meringue cookies have hollow spots inside, that’s expected– see the photo. Was the outside crispy and did they hold their shape? If not, there could be a few other factors including not beating long enough, beating too long, adding the sugar too fast, a drip of egg yolk in the mix, or grease residue in the mixing bowl. Perhaps any of those?
i loved this resapee so much
LOVE all your recipes and want to make these meringues , but will make them approx.
6″ in diameter. how will the cook & rest time change? thanks so much! Pam
Hi Pam, We have never tested this exact recipe that large. The bake times will probably be close to our Pavlova recipe (follow the directions for mini pavlovas).Let us know if you give it a try!