

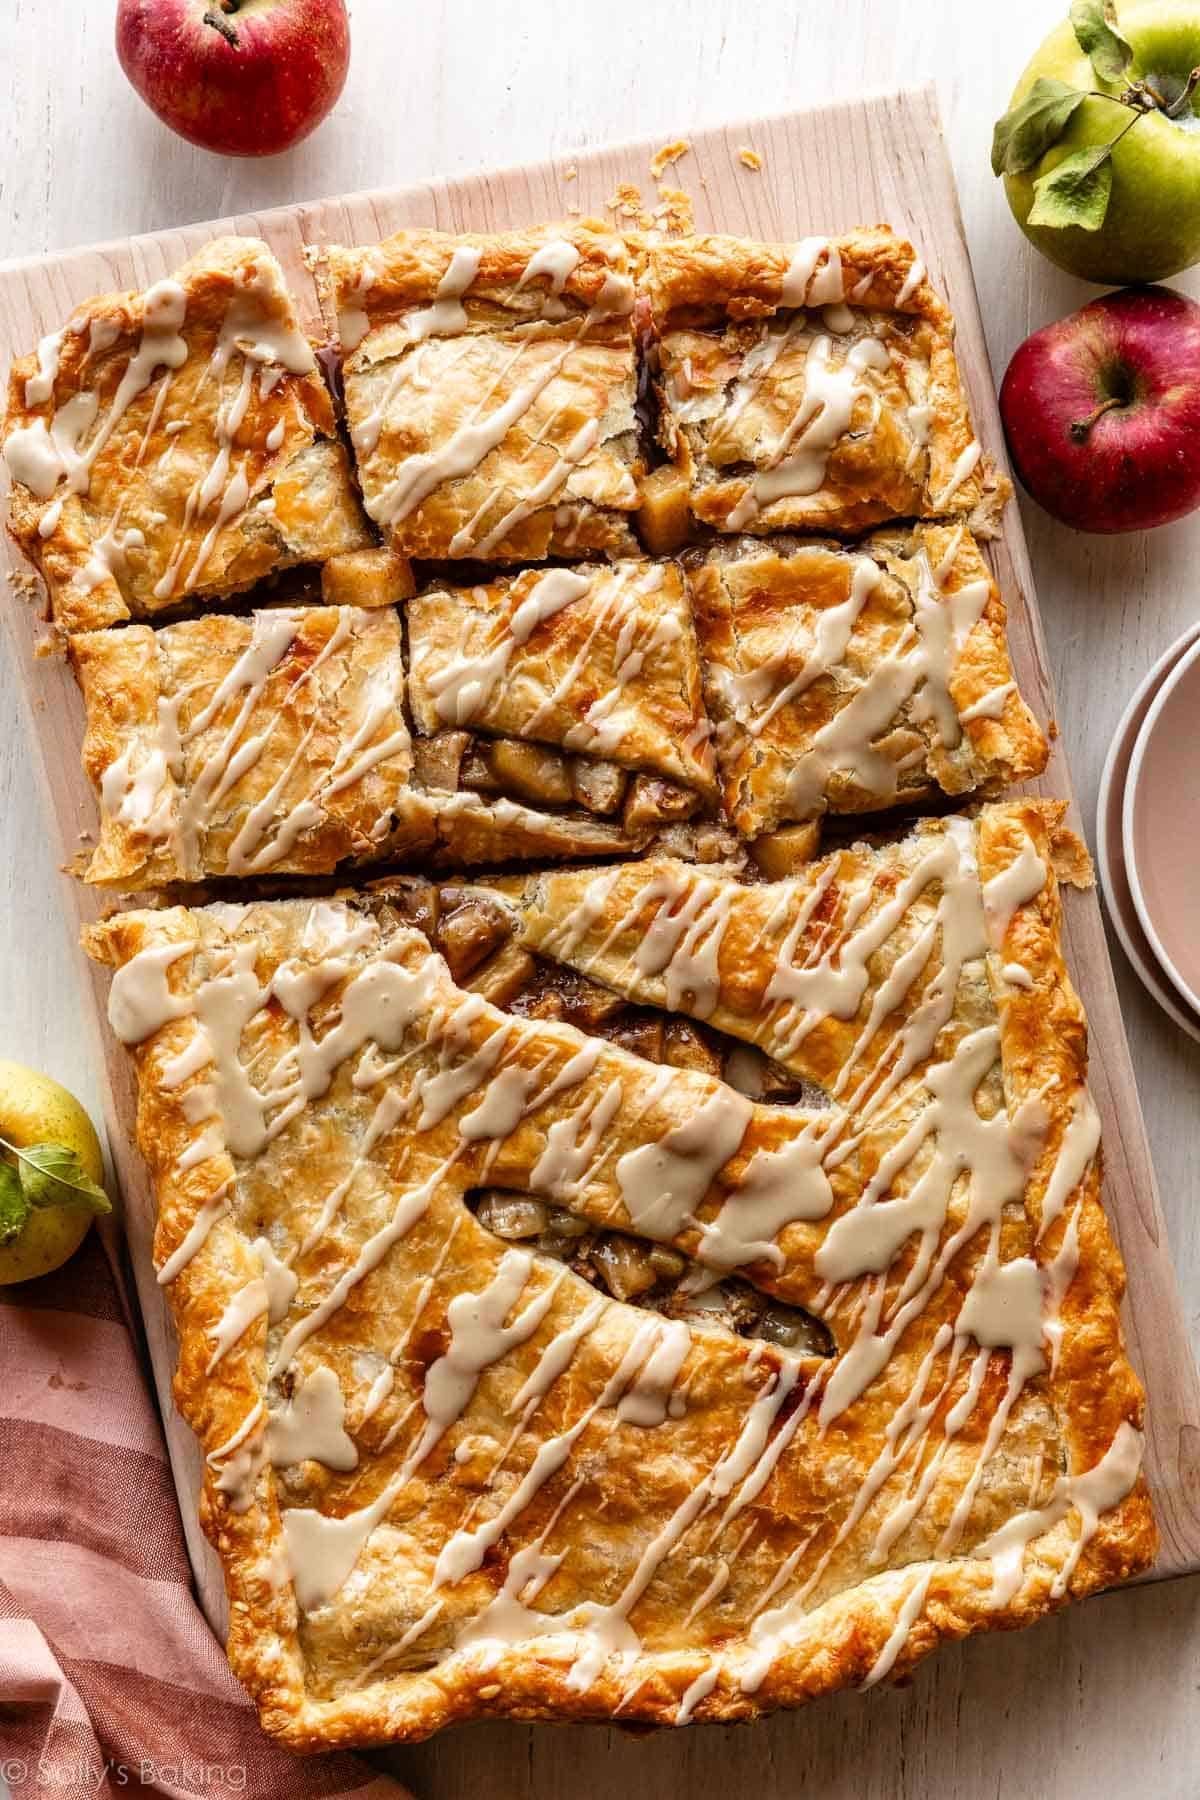
With a homemade buttery double crust, spiced apple filling, and a drizzle of maple icing, apple slab pie is always a crowd pleaser. Follow my step-by-step photos below for pie success!
I originally published this recipe in 2016 and have since updated it with new photos, recipe improvements, and additional success tips.
Apple pie is my all-time favorite dessert, so I have quite a few varieties on my website and in my cookbook. I love it in all forms, and today we’re making a generously sized version!
This apple slab pie has everything we love about classic apple pie, but it’s baked in a sheet pan and made to share. We’re talking a buttery, flaky double crust, a generous layer of cinnamon-spiced apples, and a sweet maple glaze drizzled over the golden top. (Salted caramel would be wonderful, too!)
It’s like a giant glazed apple pop tart you can cut into squares, making it especially easy to serve a crowd.
Why You’ll Love This Apple Slab Pie
- It feeds a crowd: Baked in a 10×15-inch jelly roll pan, this apple slab pie yields about 15–18 servings.
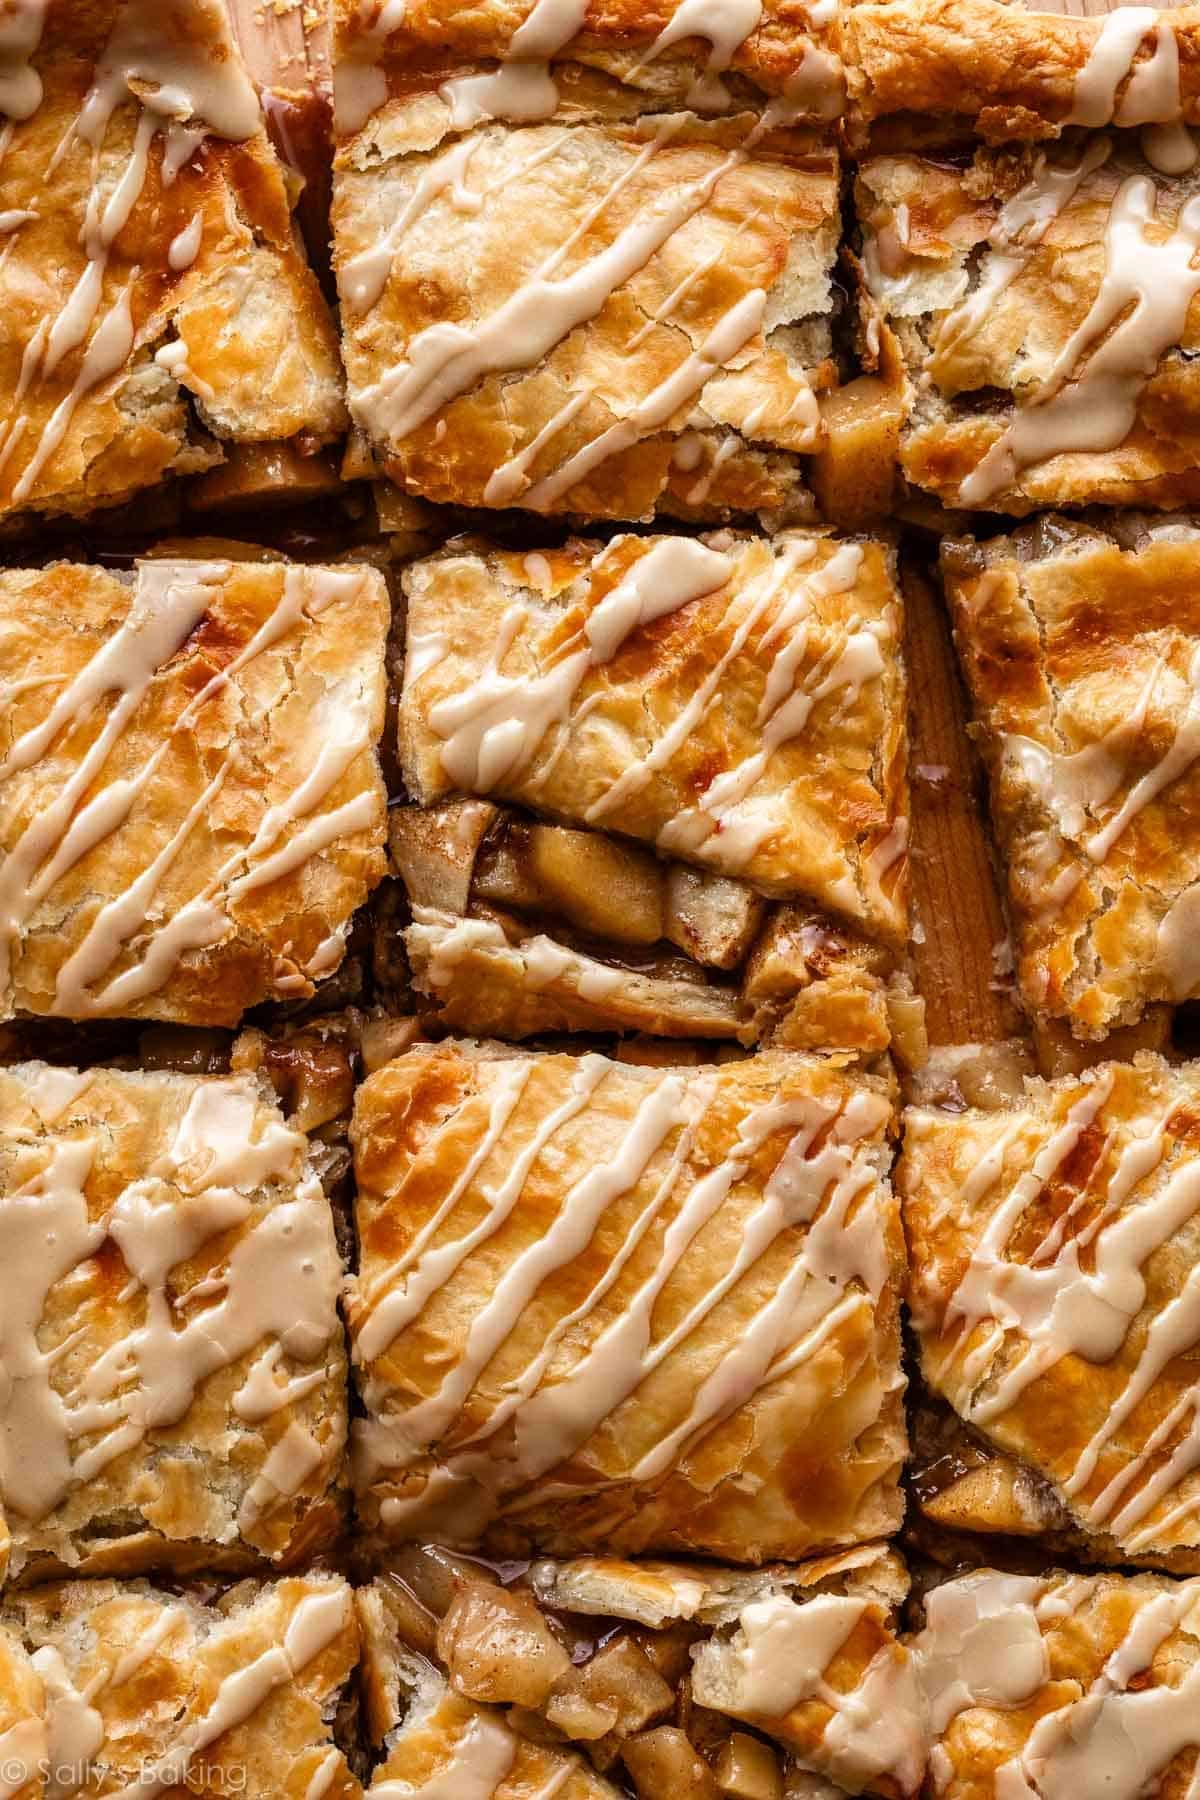
- Extra flaky crust in every bite: A double crust surrounds the apple filling, so there’s plenty of buttery pastry to go around. Plus, the slices are thinner than regular apple pie, so you get a higher ratio of crust to filling. If you’re a crust person, slab pie is for you!
- Classic apple pie filling: Fresh apples, sugar, flour, lemon juice, vanilla, and warm spices—the gang’s all here!
- Simpler pie dough shaping: There’s no need to fuss over a perfectly round pie, lattice top crust, or intricate pie crust designs. Slab pie is wonderfully forgiving!
- Easy to slice and serve: Cut the cooled pie into squares or rectangles instead of traditional pie wedges.
- That maple icing! A simple 4-ingredient glaze adds a sweet maple finish that pairs beautifully with the apples and buttery crust.
- Make-ahead friendly: Prepare the pie dough well in advance, or bake the entire pie a day before you plan to serve it.
What Is Apple Slab Pie?
A slab pie is essentially a larger, flatter version of a traditional double-crust pie. Instead of shaping the dough in a round pie dish, you roll two portions of pie dough into rectangles, layer them in a sheet pan with the filling in between, and bake until the crust is golden. Finish with a glaze.
Think of a giant pop-tart, but homemade. That’s what this is!
Because slab pie is thinner than a traditional apple pie, the ratio of crust to filling is a little different. That means more flaky pastry in every bite, which is especially good news for anyone who loves pie crust as much as I do!
Slab pies are also very practical. They’re easier to cut into portions, simple to transport, and perfect for holidays, potlucks, and other occasions when you’re serving a group!
Slab Pie Crust
Start this recipe with the same pie crust used for mixed berry slab pie. This pie crust recipe is essentially my traditional all butter pie crust, but scaled up. It’s tender, flaky, and manageable, especially for pie crust beginners. You know I’m a cheerleader for the shortening and butter combination in pie crust, but I find this particular butter crust is fantastic for slab pie. I prefer a butter-and-shortening crust for intricate pie crust designs, but we’re keeping things simple today.
The pie dough must chill for a couple hours, so it’s best to prepare it in advance. You can refrigerate it for up to 5 days or freeze it for up to 3 months.
Apple Slab Pie Filling
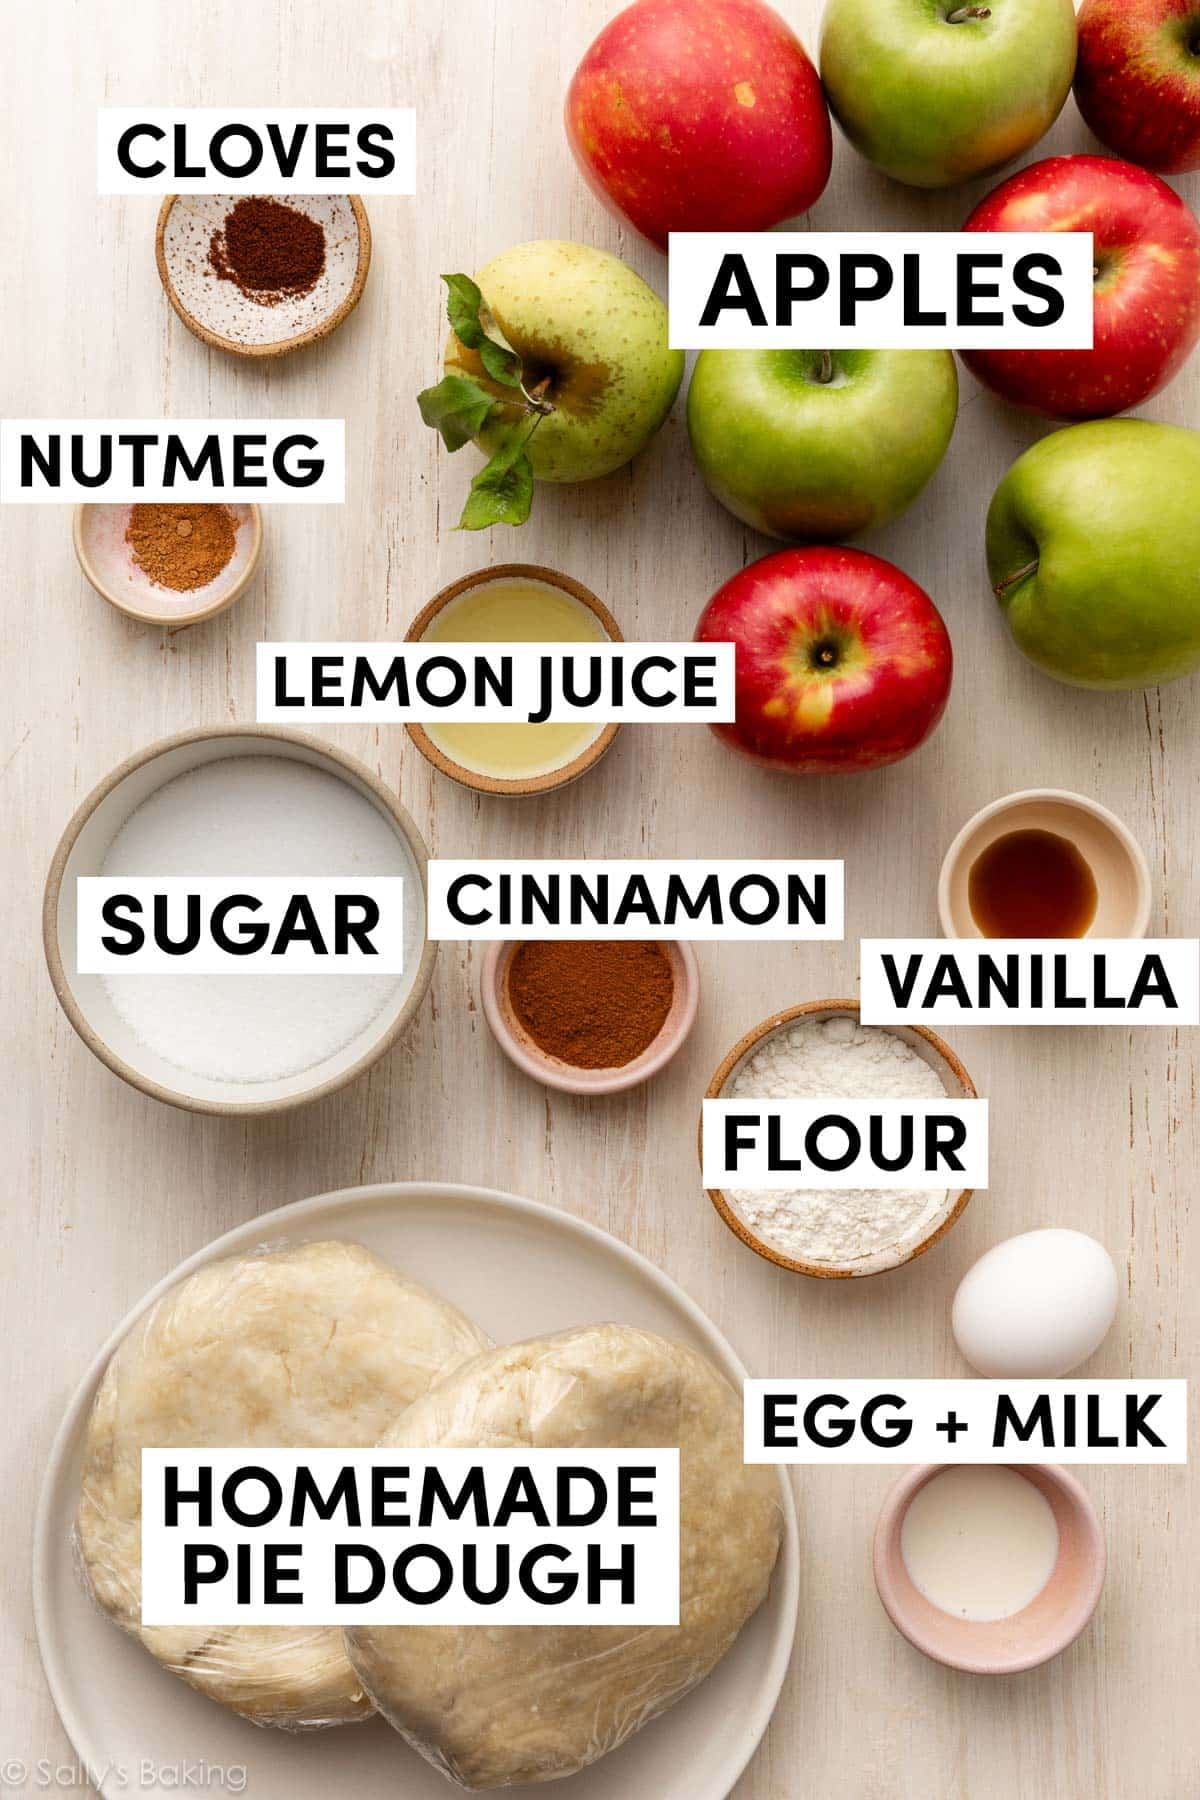
Familiar apple pie ingredients in today’s slab pie:
- Apples: I always recommend using a mix of tart and sweet apples for more complex flavor in each bite. My favorite combination is Honeycrisp + Granny Smith. For more options, see The Best Apples for Baking.
- Sugar: Sweetens the apples and helps create a flavorful filling as they bake.
- Flour: Thickens the apple juices as the pie bakes, helping the filling hold together when you slice it.
- Lemon Juice: Adds brightness and helps keep the apples from browning.
- Vanilla Extract: Vanilla rounds out the flavor of the apples and warm spices. Try using homemade vanilla extract.
- Cinnamon, Nutmeg, & Cloves: Classic apple pie spices!
You’ll also need an egg wash (egg + milk) for brushing on top of the pie, plus maple syrup, confectioners’ sugar, and a little more milk and vanilla for the topping.
Cut the Apples Into Bite-Sized Pieces
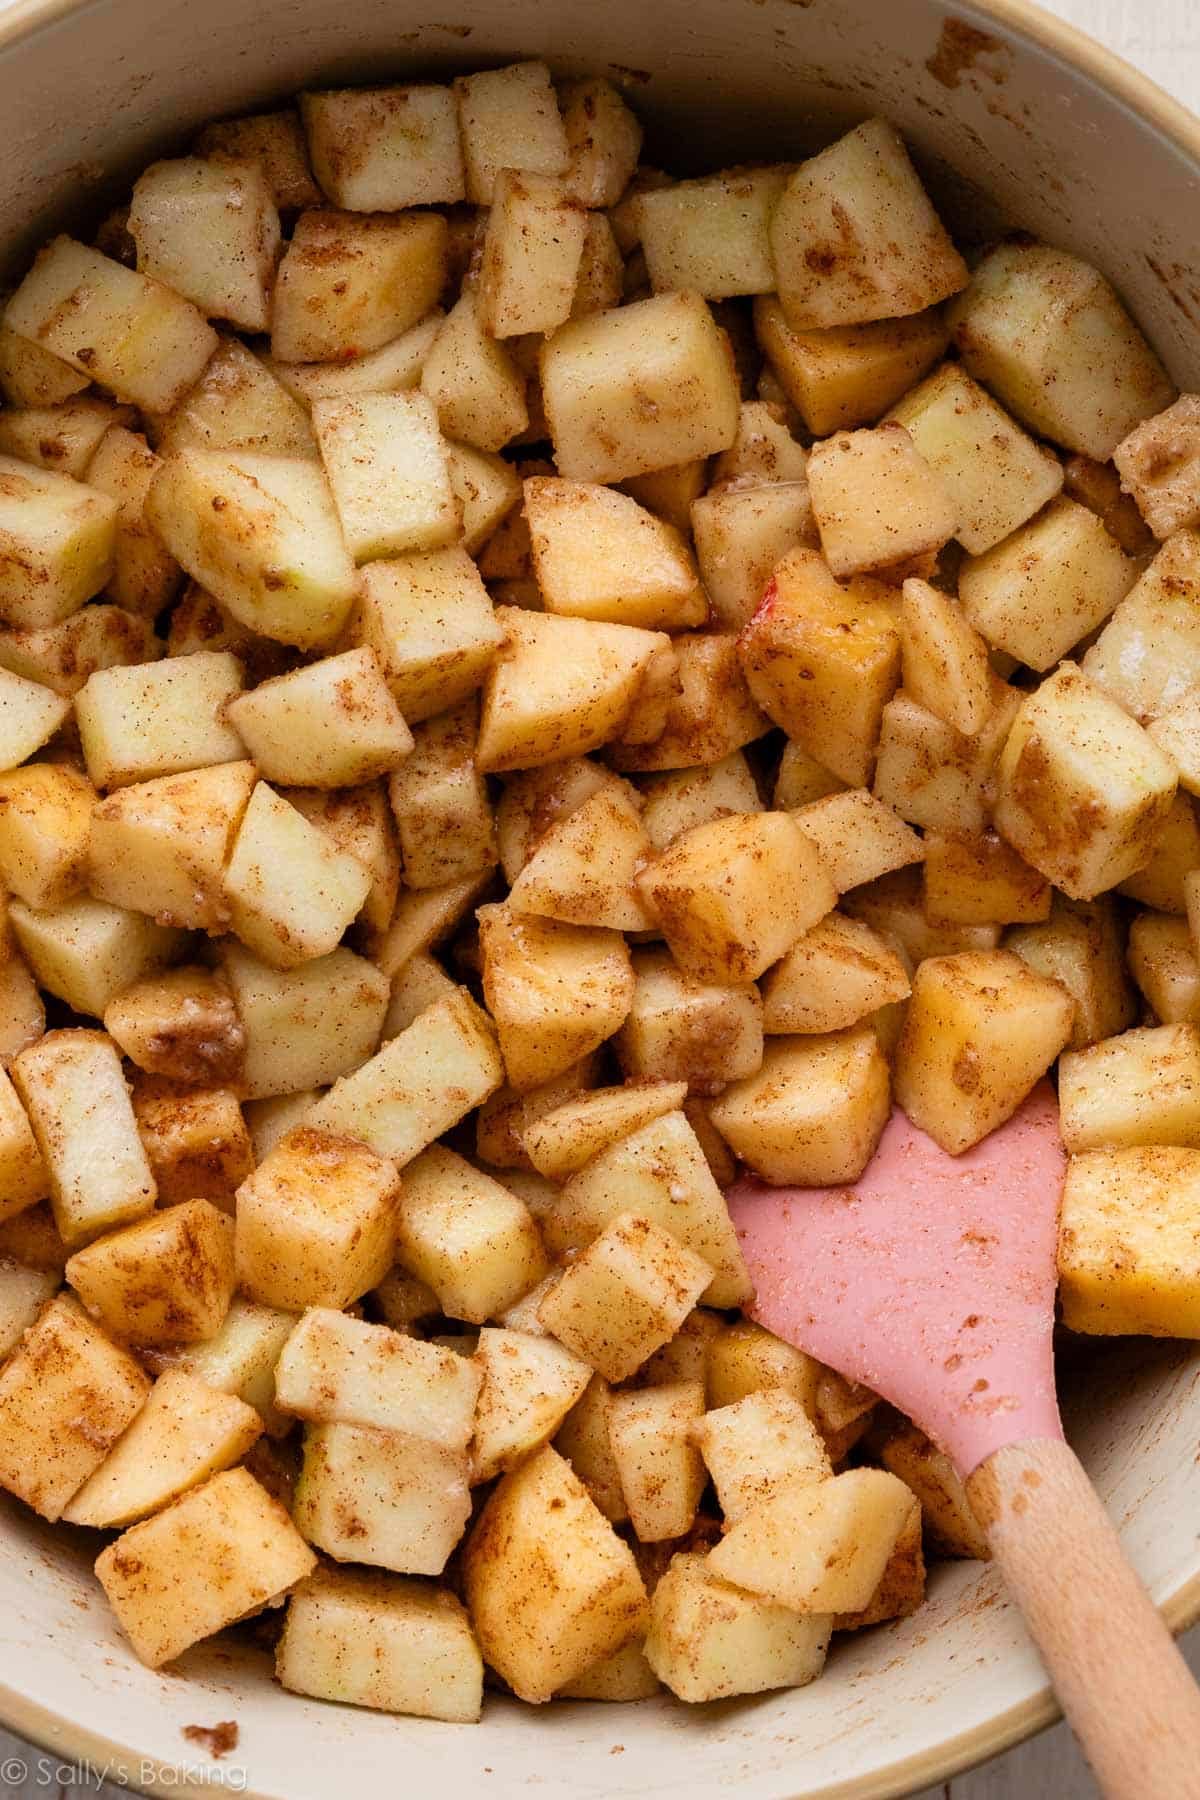
Peel the apples before chopping them into bite-sized pieces. I find bite-sized pieces, rather than thin slices, are best for sheet pan pies. (Same way I recommend cutting them for apple crisp.) Because slab pie is relatively thin, bite-sized chunks make it easier to distribute the filling evenly and get apples in every bite. The same rule applies for apple hand pies.
Toss the apples together with the rest of the filling ingredients:
Assemble the Apple Slab Pie
Roll out your 2 portions of pie dough into large rectangles, about 13×18 inches in size and 1/8 inch thick. The crusts don’t have to be perfectly rectangular, but they need to be at least that large to cover the 10×15-inch baking pan with some overhang all the way around.
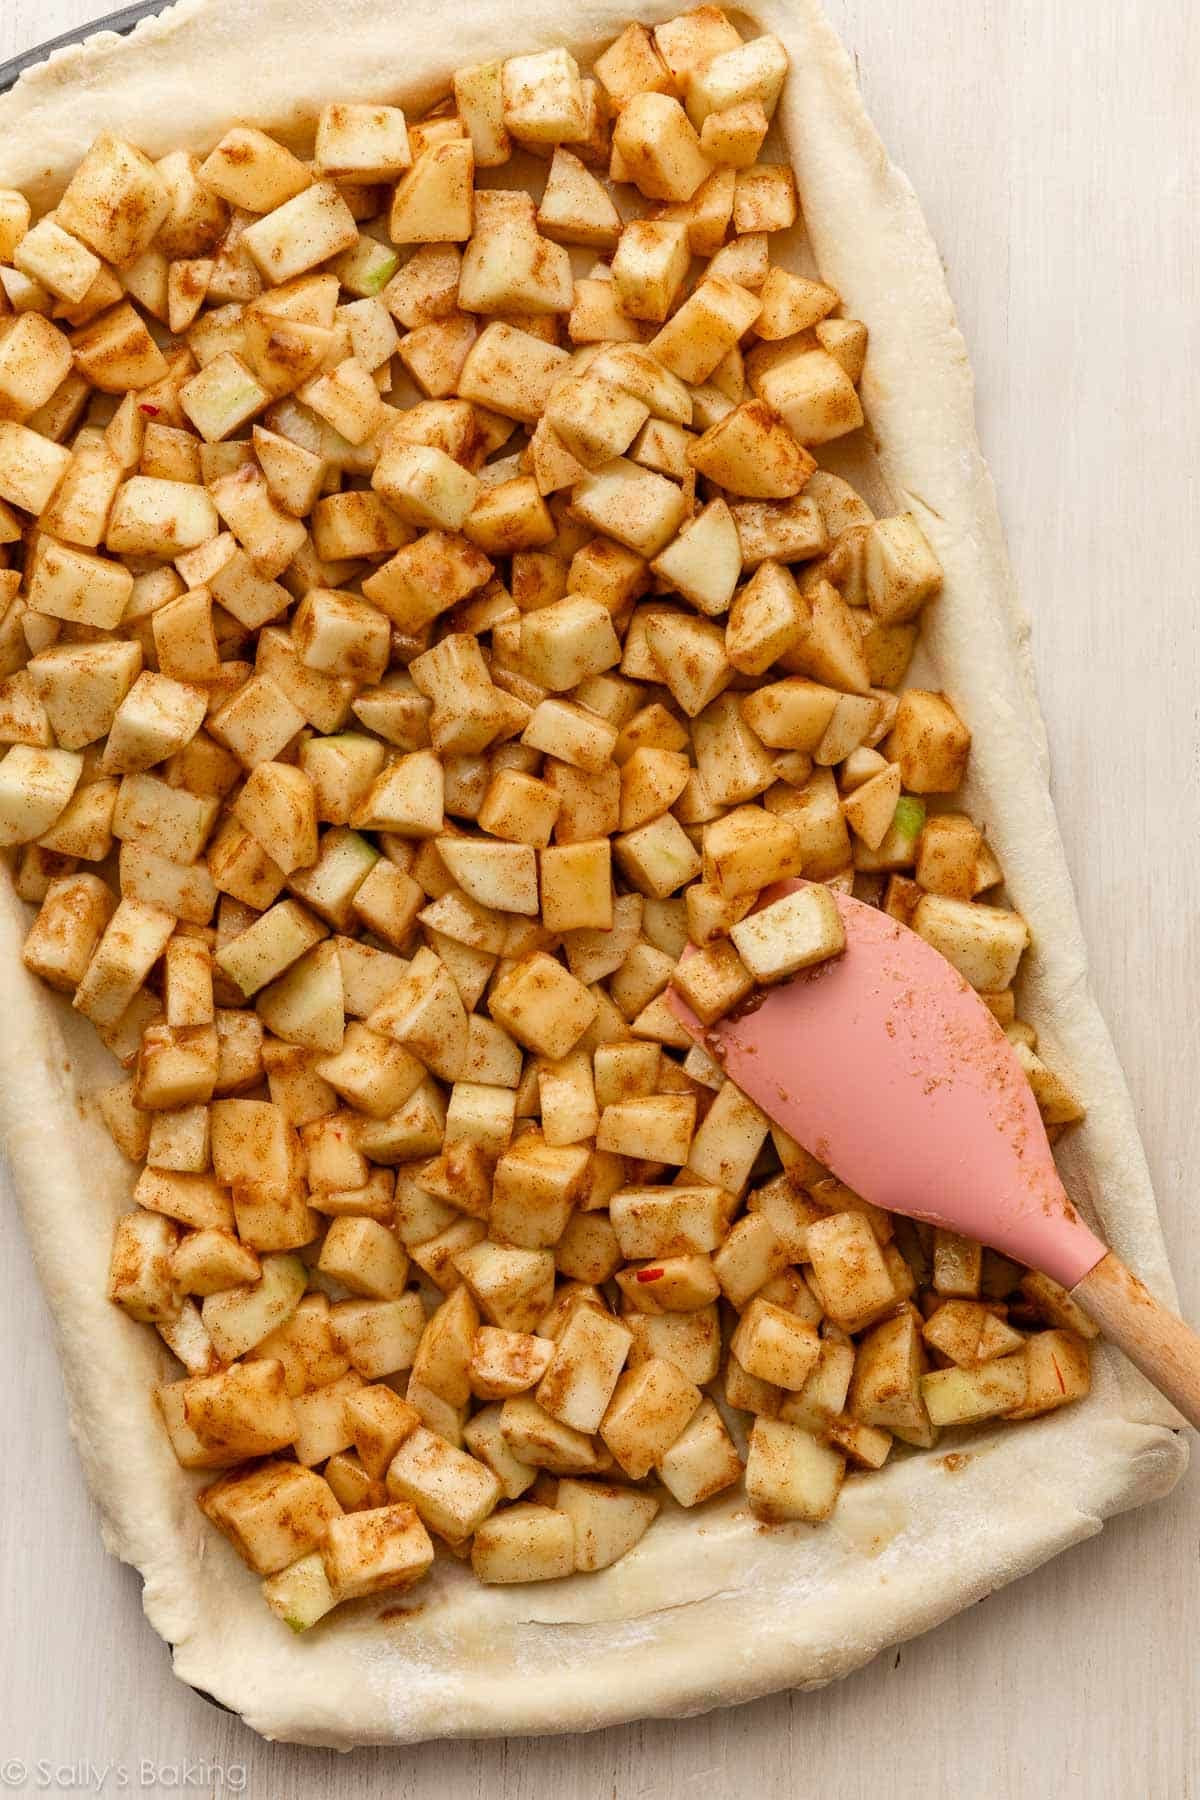
Once you spread the apple pie filling evenly on top of the bottom crust, carefully drape the second crust on top, like you’re covering it with a blanket. Night-night, apples!
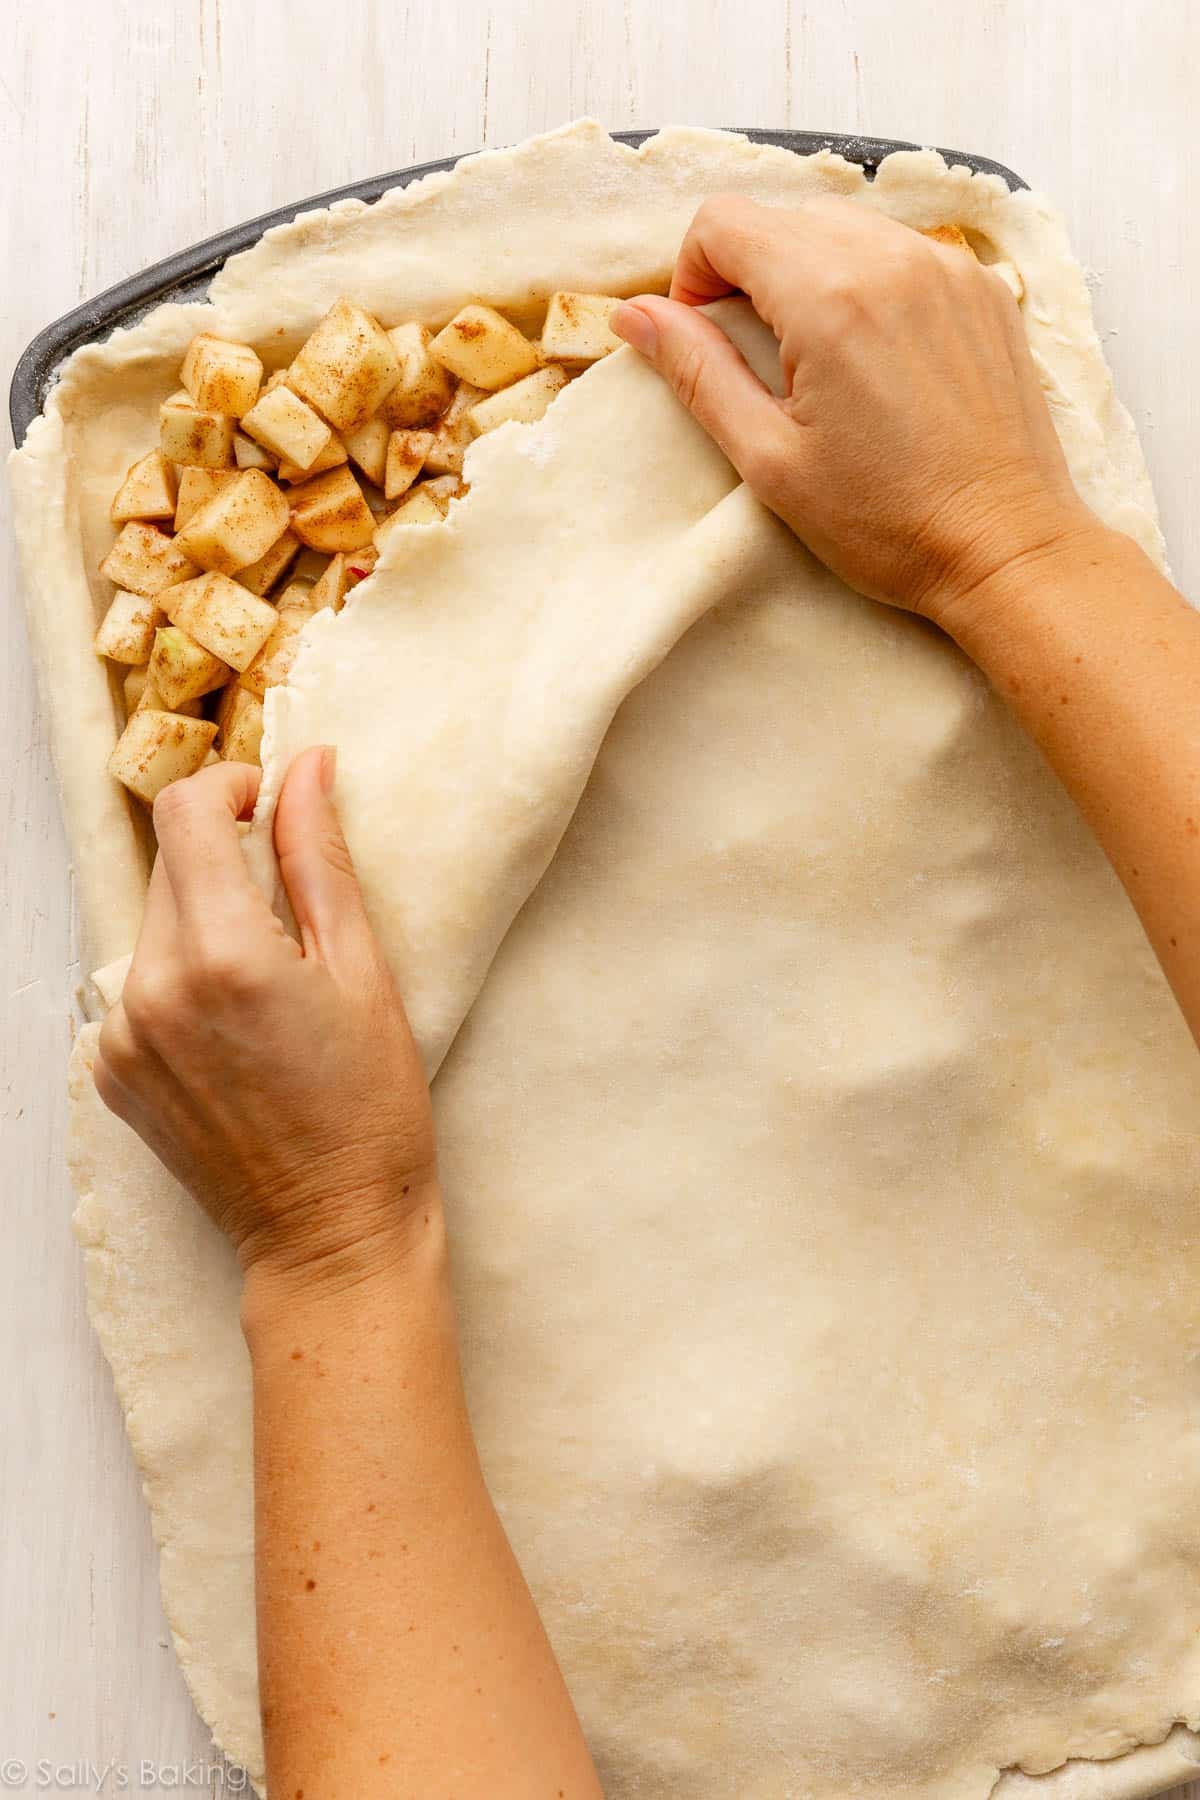
Fold the overhanging bottom crust up and over the edges of the top crust, then press the two layers together to seal:
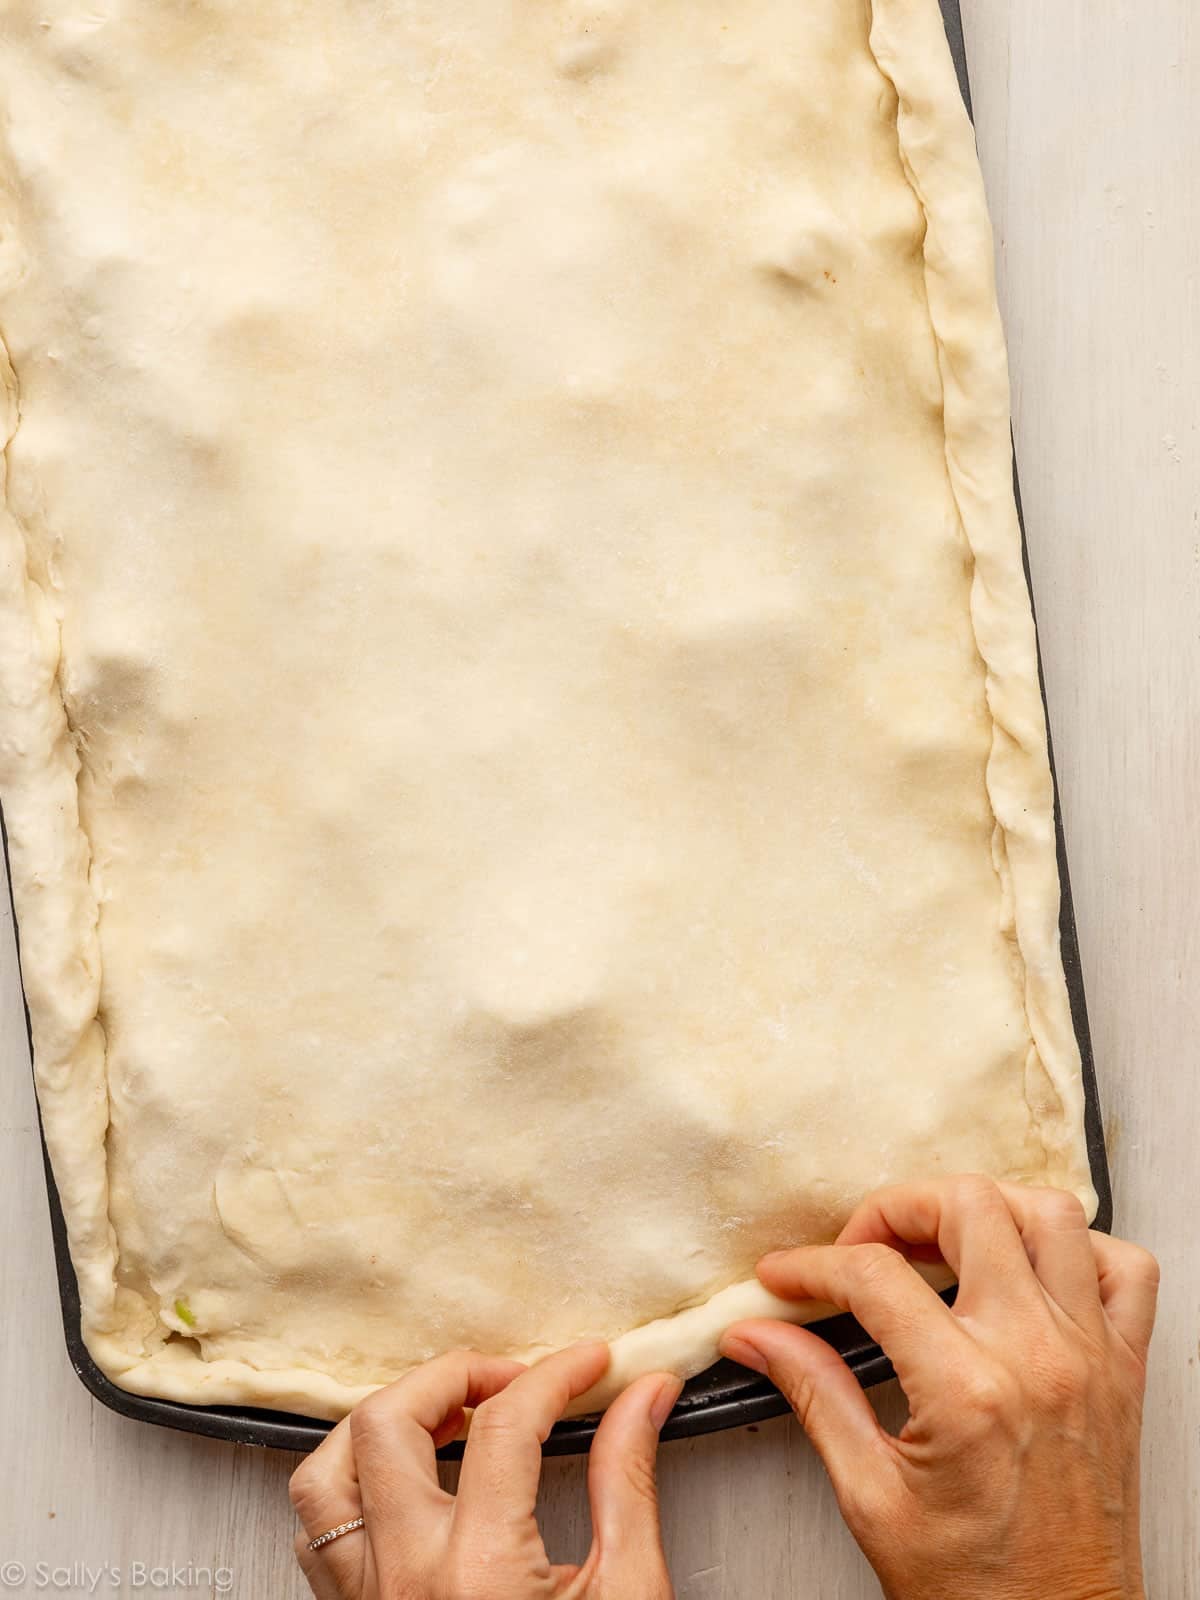
Best Pan for Apple Slab Pie
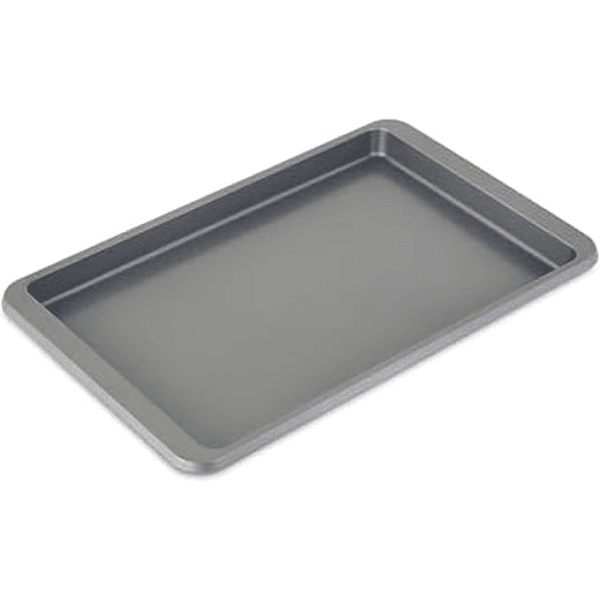
A 10×15-inch jelly roll pan is ideal for this recipe because the sides help support and shape the pie. You could also use a larger rimmed baking sheet, such as a half sheet pan, and shape the pie free-form, keeping it around 10×15 inches. Don’t stretch the dough to fill the larger pan, and be sure to seal the edges well!
If you have one, the 10×15-inch size is the same pan you need for pumpkin bars and pumpkin slab pie, too.
You can flute or crimp the edges however you like. See my how to crimp and flute pie crust tutorial if you need help with this step.
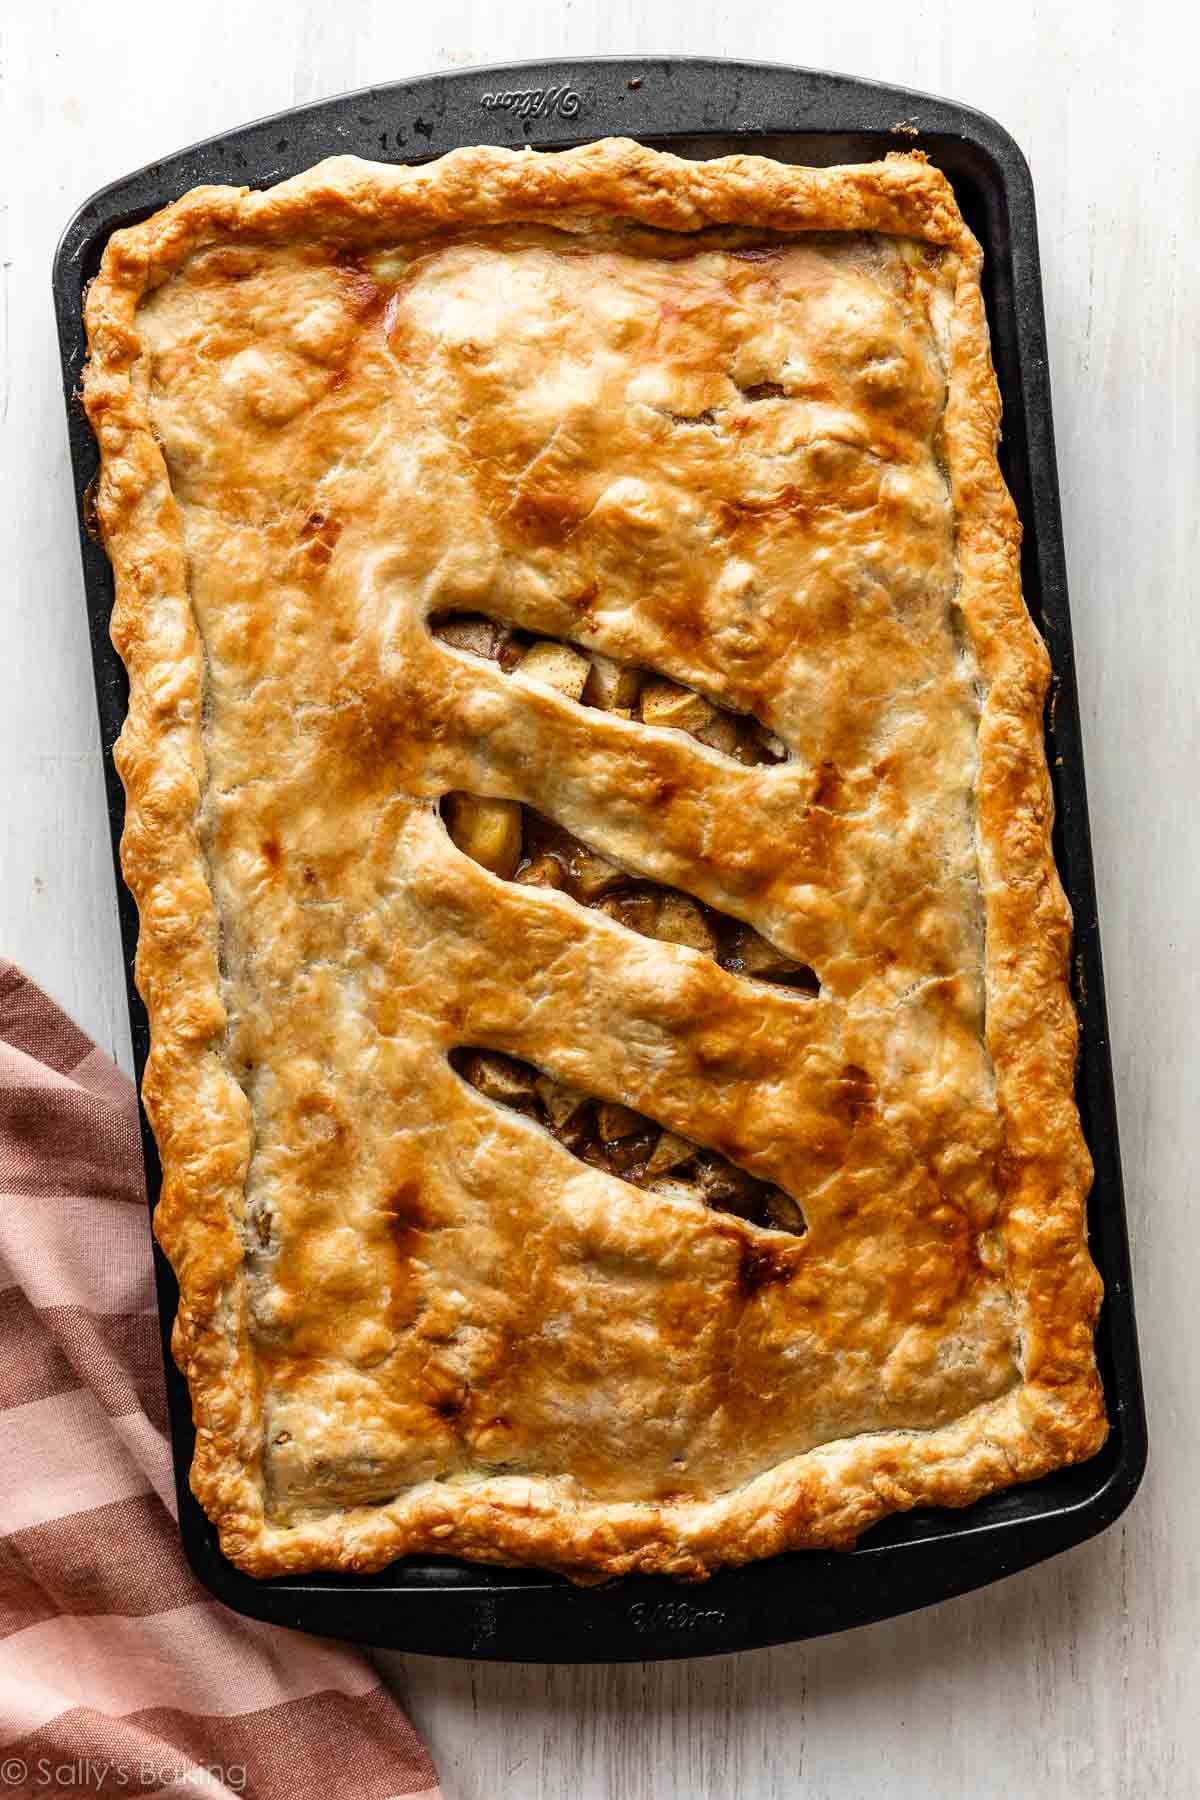
Finally, brush the entire top crust and edges with a thin coating of egg wash for a shiny, golden finish! Use a sharp knife to make a few slashes in the top crust. Vents help the apple filling cook and help prevent steam from becoming trapped beneath the crust. (Something you don’t have to worry about when you make a lattice-topped apple pie.)
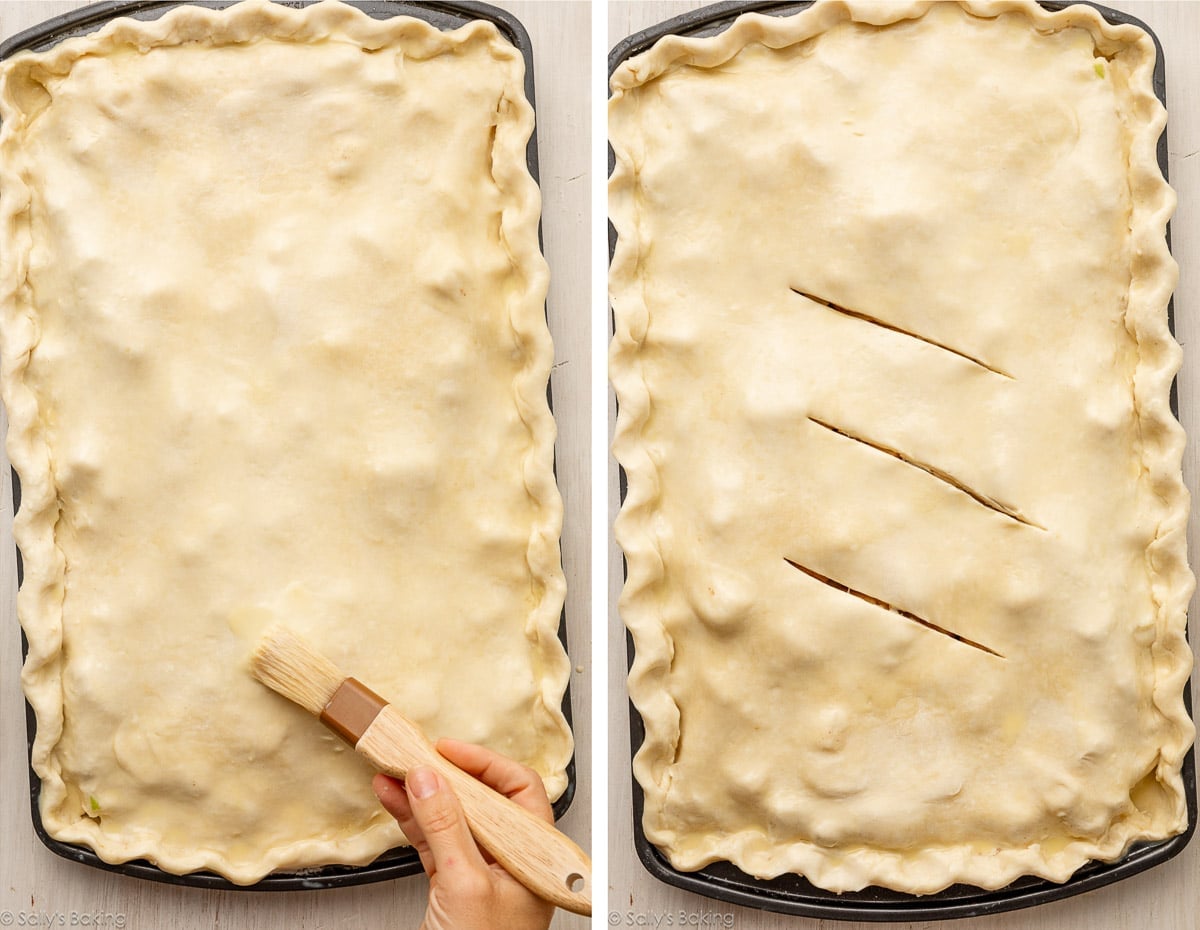
Because it’s thinner than traditional apple pie, this slab pie takes about 45 minutes to bake through. The hardest part is waiting for it to cool before you slice into it. Let it cool for at least 2–3 hours so the filling has time to settle and thicken for neater slices. It can still be a bit warm when you slice it!
I promise apple slab pie is worth the wait.
Optional Maple Icing
You only need 4 ingredients (confectioners’ sugar + pure maple syrup + milk + vanilla) and 2 tools (bowl + whisk) for this easy maple icing.
You want it thick enough to leave visible ribbons across the crust but thin enough to flow easily from a spoon. I love how it soft-sets on top of the cooled pie crust.
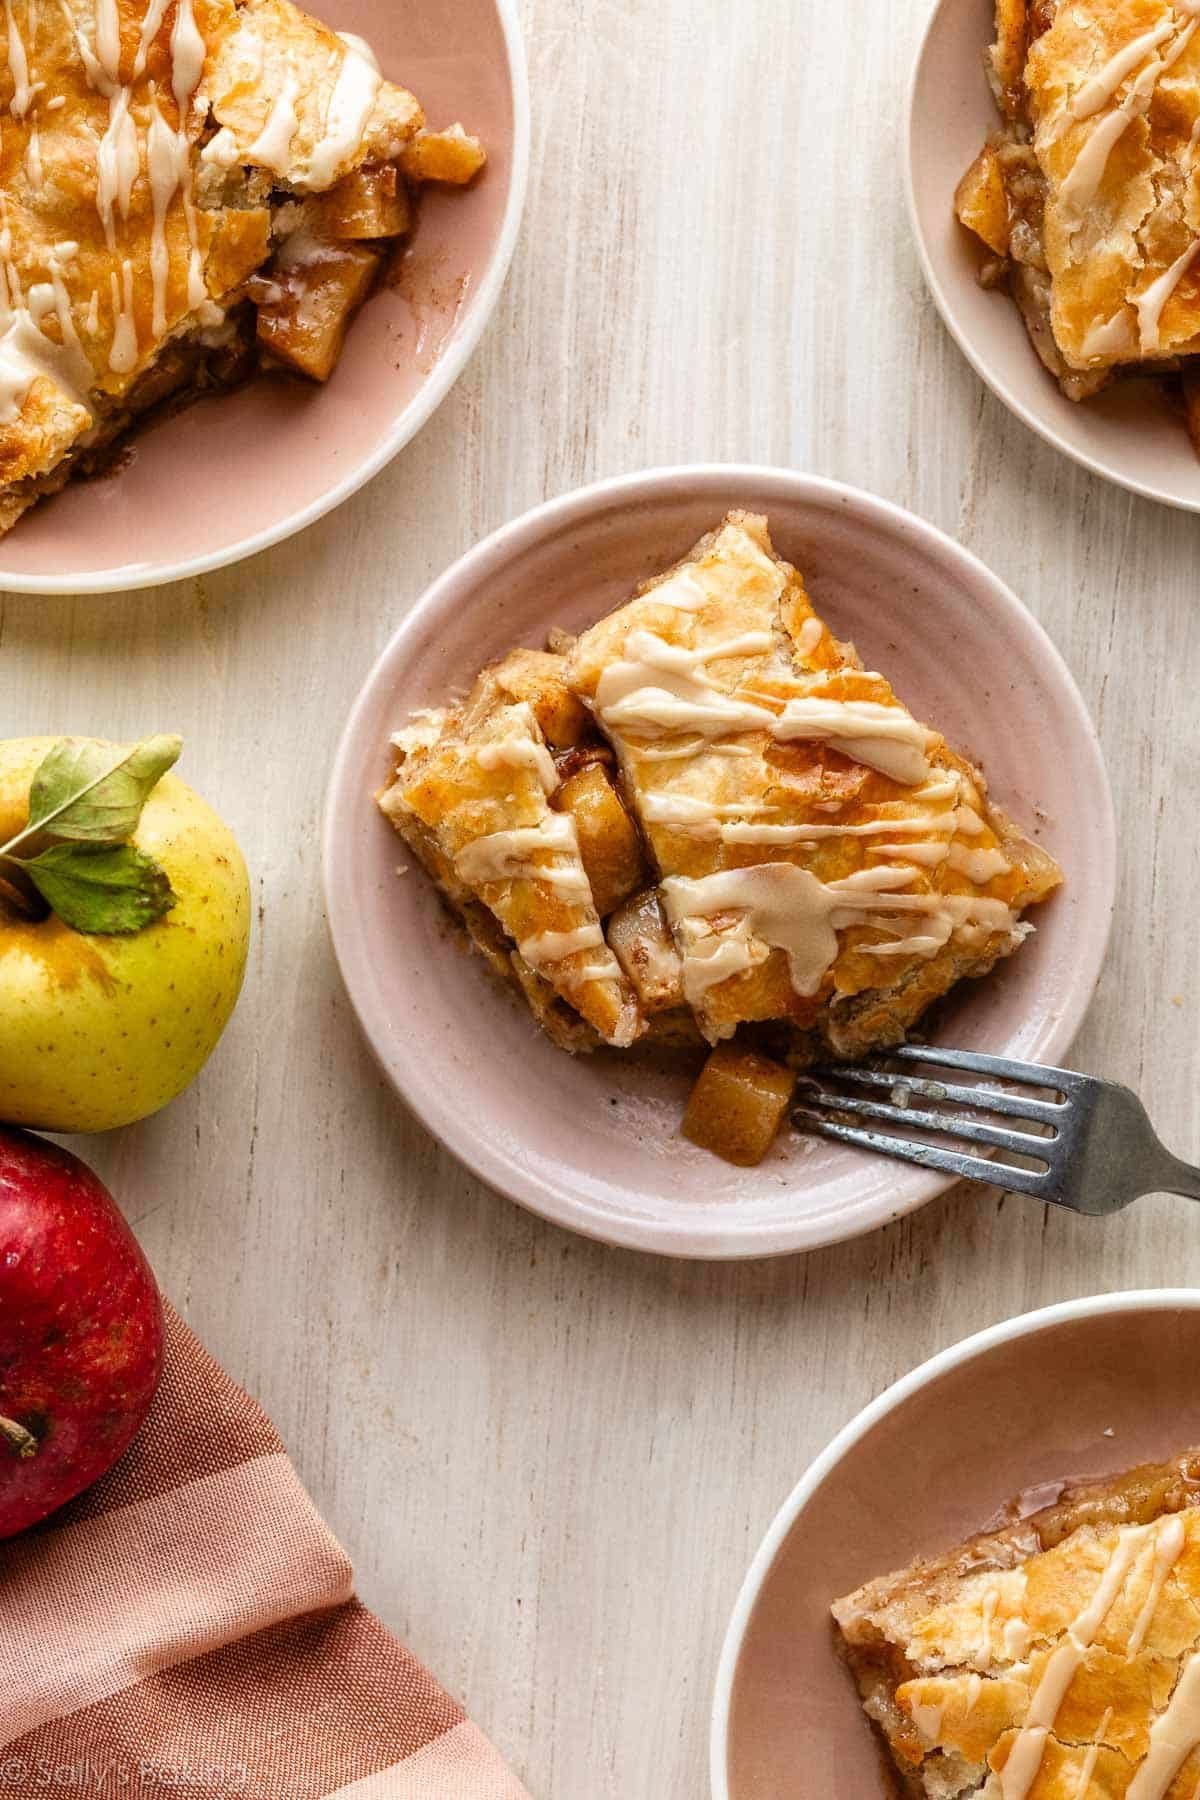
Instead of maple icing, serve with a drizzle of salted caramel, a dollop of homemade whipped cream, or a scoop of ice cream. Or maybe you’re an apple-pie-with-cheddar-cheese kinda person? Any way you serve it, you (and your whole crew!) will LOVE this apple slab pie.
For another fun square-shaped alternative to apple pie, try my apple pie bars!
Apple Slab Pie Tools



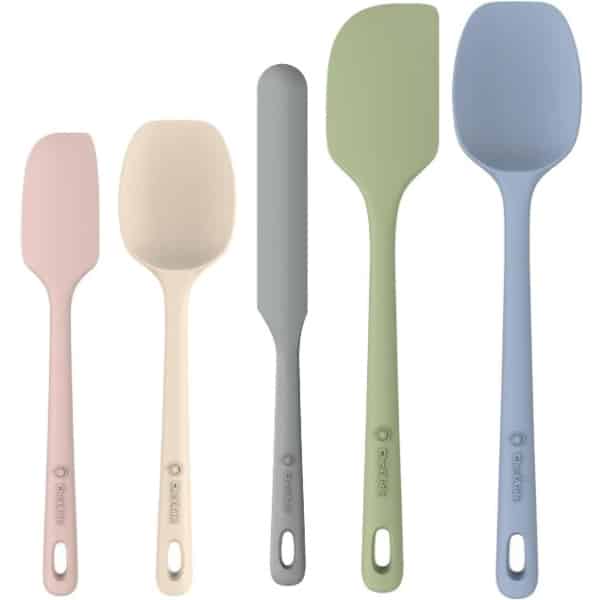
Pastry Brush
This recipe is part of Sally’s Pie Week, an annual tradition where I share a handful of new recipes that fit into the pie/crisp/tart category. Join the community below!
Print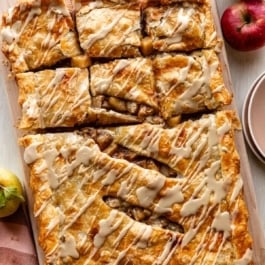
Apple Slab Pie with Maple Icing
- Prep Time: 3 hours
- Cook Time: 45 minutes
- Total Time: 6 hours (including chilling & cooling)
- Yield: about 15-18 slices
- Category: Pie
- Method: Baking
- Cuisine: American
Description
With a buttery, flaky double crust, spiced apple filling, and a drizzle of maple icing, this apple slab pie is perfect for feeding a crowd. Prepare the pie dough in advance so it has plenty of time to chill before rolling and assembling the pie.
Ingredients
Crust
- 4 cups (500g) all-purpose flour (spooned & leveled), plus more for shaping
- 1 and 1/2 teaspoons salt
- 1 teaspoon granulated sugar
- 1 and 3/4 cups (28 Tbsp; 396g) unsalted butter, very cold and cubed
- 3/4 cup (180g/ml) ice water, plus more as needed
- egg wash: 1 large egg, lightly beaten with 1 Tablespoon (15g/ml) milk
Filling
- 10 cups (1200g) peeled and chopped apples (about 7–8 medium apples)
- 2/3 cup (133g) granulated sugar
- 1/4 cup (31g) all-purpose flour
- 2 Tablespoons (30g/ml) fresh lemon juice
- 1 teaspoon pure vanilla extract
- 1 and 1/2 teaspoons ground cinnamon
- 1/4 teaspoon ground cloves
- 1/4 teaspoon ground nutmeg
Maple Icing (Optional)
- 3/4 cup (90g) confectioners’ sugar, sifted
- 2 Tablespoons (40g) pure maple syrup
- 1–2 teaspoons milk or heavy cream
- 1/2 teaspoon pure vanilla extract
- optional: pinch of salt, to taste
Instructions
- Make the pie crust: In a large bowl, whisk together the flour, sugar, and salt. Using a pastry cutter or two forks, cut the butter into the mixture until it resembles coarse meal with pea-sized bits of butter (a few larger pieces are OK). Drizzle the cold water over the entire surface of the flour mixture, 1 Tablespoon (15g/ml) at a time, and stir with a silicone spatula or wooden spoon after every Tablespoon added until the dough begins to come together in large clumps. Do not add any more water than needed to achieve this. Transfer the dough to a floured surface. Using floured hands, gently bring the dough mixture together into a ball. Avoid overworking the dough. If it feels too dry or is too crumbly to form a ball, dip your fingers in cold water and then continue bringing the dough together. If it feels too sticky, sprinkle on a little more flour and continue bringing it together. Using a sharp knife or bench scraper, cut the dough in half. It’s OK to eyeball it. Gently flatten each half into a 1-inch-thick disc. Wrap each disc tightly in plastic wrap. Refrigerate for at least 2 hours and up to 5 days.
- Preheat the oven to 375°F (190°C).
- Make the filling: In a large bowl, stir together the apples, sugar, flour, lemon juice, vanilla, cinnamon, cloves, and nutmeg. Set aside.
- Roll out the chilled pie crust: Remove 1 disc of pie dough from the refrigerator. Keep the other in the refrigerator as you work. On a lightly floured work surface, roll the dough out into a (roughly) 13×18-inch rectangle. Make sure to turn the dough about a quarter turn after every few rolls. Carefully place the dough into a 10×15-inch jelly roll pan; there will be overhang on the sides—trim it to be about 1 inch. Smooth the crust out so it fits nicely into all the corners of the pan.
- Spread the filling evenly on top of the bottom crust. Place the pan in the refrigerator while you roll out the top crust.
- Remove the second disc of pie dough from the refrigerator and roll it out in the same manner and size as the first. Drape it over the filling and fold the bottom crust’s overhang up and over the edges. Seal them shut with your fingers and flute or crimp the edges. Lightly brush the top and edges of the crust with egg wash. Cut a few vents in the top of the crust.
- Bake the slab pie for 40–45 minutes or until the crust is golden brown and you can see the filling bubbling through the vents. Place the baked slab pie on a cooling rack and cool for at least 2-3 hours. It can still be slightly warm when you slice into it.
- Make the icing, if using: In a medium bowl, whisk together the confectioners’ sugar, maple syrup, a teaspoon of milk/cream, and the vanilla. If you’d like the icing thinner, whisk in another teaspoon of milk. Taste. Add a pinch of salt, if desired. Drizzle the icing over the pie. Cut into slices and serve.
- Cover leftovers tightly and store in the refrigerator for up to 4 days.
Notes
- Make Ahead & Freezing Instructions: The pie dough can be prepared up to 5 days in advance and refrigerated, or frozen for up to 3 months. Thaw frozen dough overnight in the refrigerator before rolling it out. You can also bake the pie 1 day in advance. Cool completely, cover tightly, and refrigerate overnight. Bring to room temperature and add the icing before serving. To freeze the baked pie, cool completely, cover tightly with a layer of plastic wrap and a layer of aluminum foil, and freeze without icing for up to 3 months. Thaw overnight in the refrigerator, bring to room temperature, and add the icing before serving.
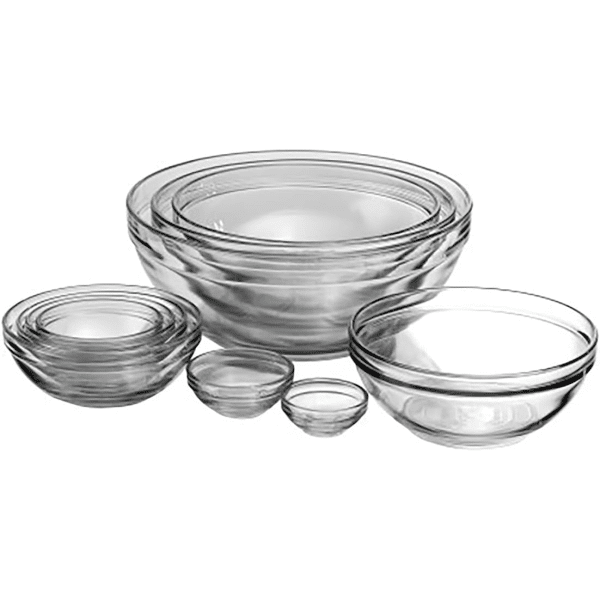
- Special Tools (affiliate links): Kitchen Scale | Glass Mixing Bowls | Whisk | Pastry Cutter | Silicone Spatula or Wooden Spoon | 10×15-inch Jelly Roll Baking Pan | Rolling Pin | Pastry Brush | Cooling Rack
- Pan Size: Use a 10×15-inch jelly roll pan with sides about 1-inch high. If using a larger rimmed baking sheet, such as a half sheet pan, shape the pie to approximately 10×15 inches rather than stretching the dough to fill the pan. Seal the edges well to help prevent the filling from leaking out.
- Apples: Use a mix of tart and sweet apple varieties for the best flavor, such as Granny Smith and Honeycrisp. Here are the best apples for baking.













Reader Comments and Reviews
Will this work with store bought pie crust? Thanks!
Hi Serenity! We haven’t tested this recipe using store bough crusts, you’ll need more than two standard size crusts, since you’re rolling them to an 18×13 inch rectangle.
You can’t go wrong with these. They were a hit this afternoon with our friends.
Made this for a FriendsGiving potluck at work. Only problem was I only had about 900gms of apple! So added a 12 Oz bag of fresh cranberry to make up the difference. Decided to throw in some orange zest to compliment those. The rest of the recipe as written. Huge success, loads of compliments!
Thanks Sally. Always lovely recipes 😋
I followed the recipe exactly, using Land O Lakes butter and King Arthur flour. The crust was greasy and more chewy than flaky. The filling was good but I was disappointed with the overall outcome. I am an experienced pie baker but this is my first time making an all butter crust, so maybe my expectations were skewed.
The highlight of the recipe for me was the maple glaze. Amazing!
Maple icing, and I saw your comment for vanilla icing. Do you have any other icing/glaze recipes you would recommend to pair with this pie?
I’m looking forward to trying this recipe, I’ve never made a bad recipe from SBA — my immediate go-to and first to recommend to others! 🩵
Hi Nicole, the brown sugar glaze from our apple Bundt cake would also be delicious here. We hope you enjoy the pie!
This crust recipe did not work at all for me! I had to add a lot more water for it to even come together then after chilling and rolling it out it was still really dry! Huge waste of ingredients… I’m still trying to bake it to see how it turns out but I thought there must have been a misprint in the recipe but I see that it’s worked for others so not sure what happened. Every other recipe I have tried from this site has turned out great!
I was recently diagnosed with Alpha Gal syndrome, and must avoid dairy.
do you think I could sub butter and milk with plant based?
Hi Susan, we aren’t expert dairy free bakers and haven’t tested this recipe with dairy free substitutions. Let us know if you try anything!
Sally- I haven’t made this yet as I am just ordering the correct size pan. None of mine are 1” deep 🙄. But wondering if it is adaptable to use puff pastry?
Hi Joan, we can’t see why not! We haven’t tested it, though.
Can we bake just the filling without the crust to get a Cinnamon apple side dish similar to the kind you can get at steak houses? I’ve had no luck finding one that’s as good as those but would love to make at home!
Hi Melanie, We haven’t tried it but can’t see why not. You could also cook it on a stovetop similar to how we pre-cook the apples in this apple pie. Let us know what you try!
Hi
I have a ceramic slab pie baking dish 9×13 that I would prefer to use versus the jelly roll 10×15 pan. Will that work and what recommendations to temp and baking time would you suggest?
Hi, I’d stick with the 10×15-inch metal jelly roll pan for this recipe. A 9×13-inch dish is too small for the full recipe, and I prefer metal for this slab pie because it helps the bottom crust bake properly. I haven’t tested a smaller version, so I don’t have specific baking instructions to share. If you’d like to try this regular apple pie recipe in a 9×13 baking dish with a top pie crust (no bottom pie crust), that could work better.
My bag of flour says that one cup weighs 152 grams, 4 cups would be 608 grams. Which should I follow, your weight or the weight on the bag of flour? I often find this to be the case for many recipes. The weight on the recipe does not match my bag of flour and I never know which to follow. Thanks for your help/expertise on this matter.
Hi Jackie, we’re happy to help clarify. Flour weight can vary quite a bit depending on how it’s measured, the brand, humidity, and even scooping technique, so grams will always give the most accurate and consistent results. In our test kitchen, 1 cup of all-purpose flour consistently weighs about 125g, and since our recipes are written using those measurements, we’d recommend following those you see in the recipe for best results. We hope this helps!
Is it possible to use a “leaf cookie cutter” top crust instead of the one in the recipe?
Hi Amy, you can cut out shapes (like leaves) from the rolled-out dough for the topping, yes!
Thank you so much!!
Could you put parchment underneath the bottom layer to just lift it all off at once to a serving platter after cooked & cooled?
Hi Lela, absolutely, you can use a piece of parchment paper under the pie.