

Reference this Baking with Yeast Guide whenever you work with baker’s yeast. I include practical answers to all of your common yeast questions.
Welcome to your complete guide to Baking with Yeast.
Many of you have responded to a question I asked recently… what baking recipe intimidates you the most? A majority say yeast breads.
Baking with yeast used to intimidate me too. Something about yeast seems really scary! And, what’s worse, some yeast recipes are complicated and arduous. But once I began to understand that yeast is simply another ingredient in the bowl, my fears subsided. And if you begin with easy yeast recipes, your confidence builds.
Whether you’re a beginner baker or pro, it’s important to understand how yeast works. I urge you to read through this guide where I answer many common yeast questions. I wrote this in partnership with Red Star Yeast, so you can be confident the information is very helpful. I’ve worked with Red Star Yeast for years because it’s my preferred brand!
It’s time to tackle your fear of yeast and bread baking! 🙂
What Is Yeast?
Yeast is a living organism. It needs food and moisture to thrive. There are 2 main forms of yeast: brewer’s yeast and baker’s yeast. Brewer’s yeast is used primarily in beer making and baker’s yeast is used in baking. Yeast feeds on sugar and converts it into alcohol and carbon dioxide through fermentation. Alcohol is useful in beer making and carbon dioxide is responsible for stretching and expanding the dough, something we see as the dough rises. Yeast fermentation also provides the flavor and texture you expect in yeast-raised recipes.
There Are 2 Main Types of Baker’s Yeast
- Wet Yeast – Also known as Cake Yeast, Fresh Yeast, or Compressed Yeast
- Dry Yeast – Sold as Active Dry and Instant Yeast
Cake Yeast vs Dry Yeast
Cake yeast is wet yeast sold in block or “cake” form. It’s active and highly perishable. To use cake yeast, crumble over dry ingredients or dissolve in the liquid used in the recipe. Today, cake yeast is only available in limited stores.
Dry yeast, on the other hand, has a longer shelf life because it’s been dried out. It’s granulated and sold in little packets or loose in a jar. It is in a dormant state and if the package isn’t opened yet, can be stored at room temperature. Dry yeast requires different liquid amounts and temperatures than cake yeast.
Here is a helpful cake yeast & dry yeast conversion table.
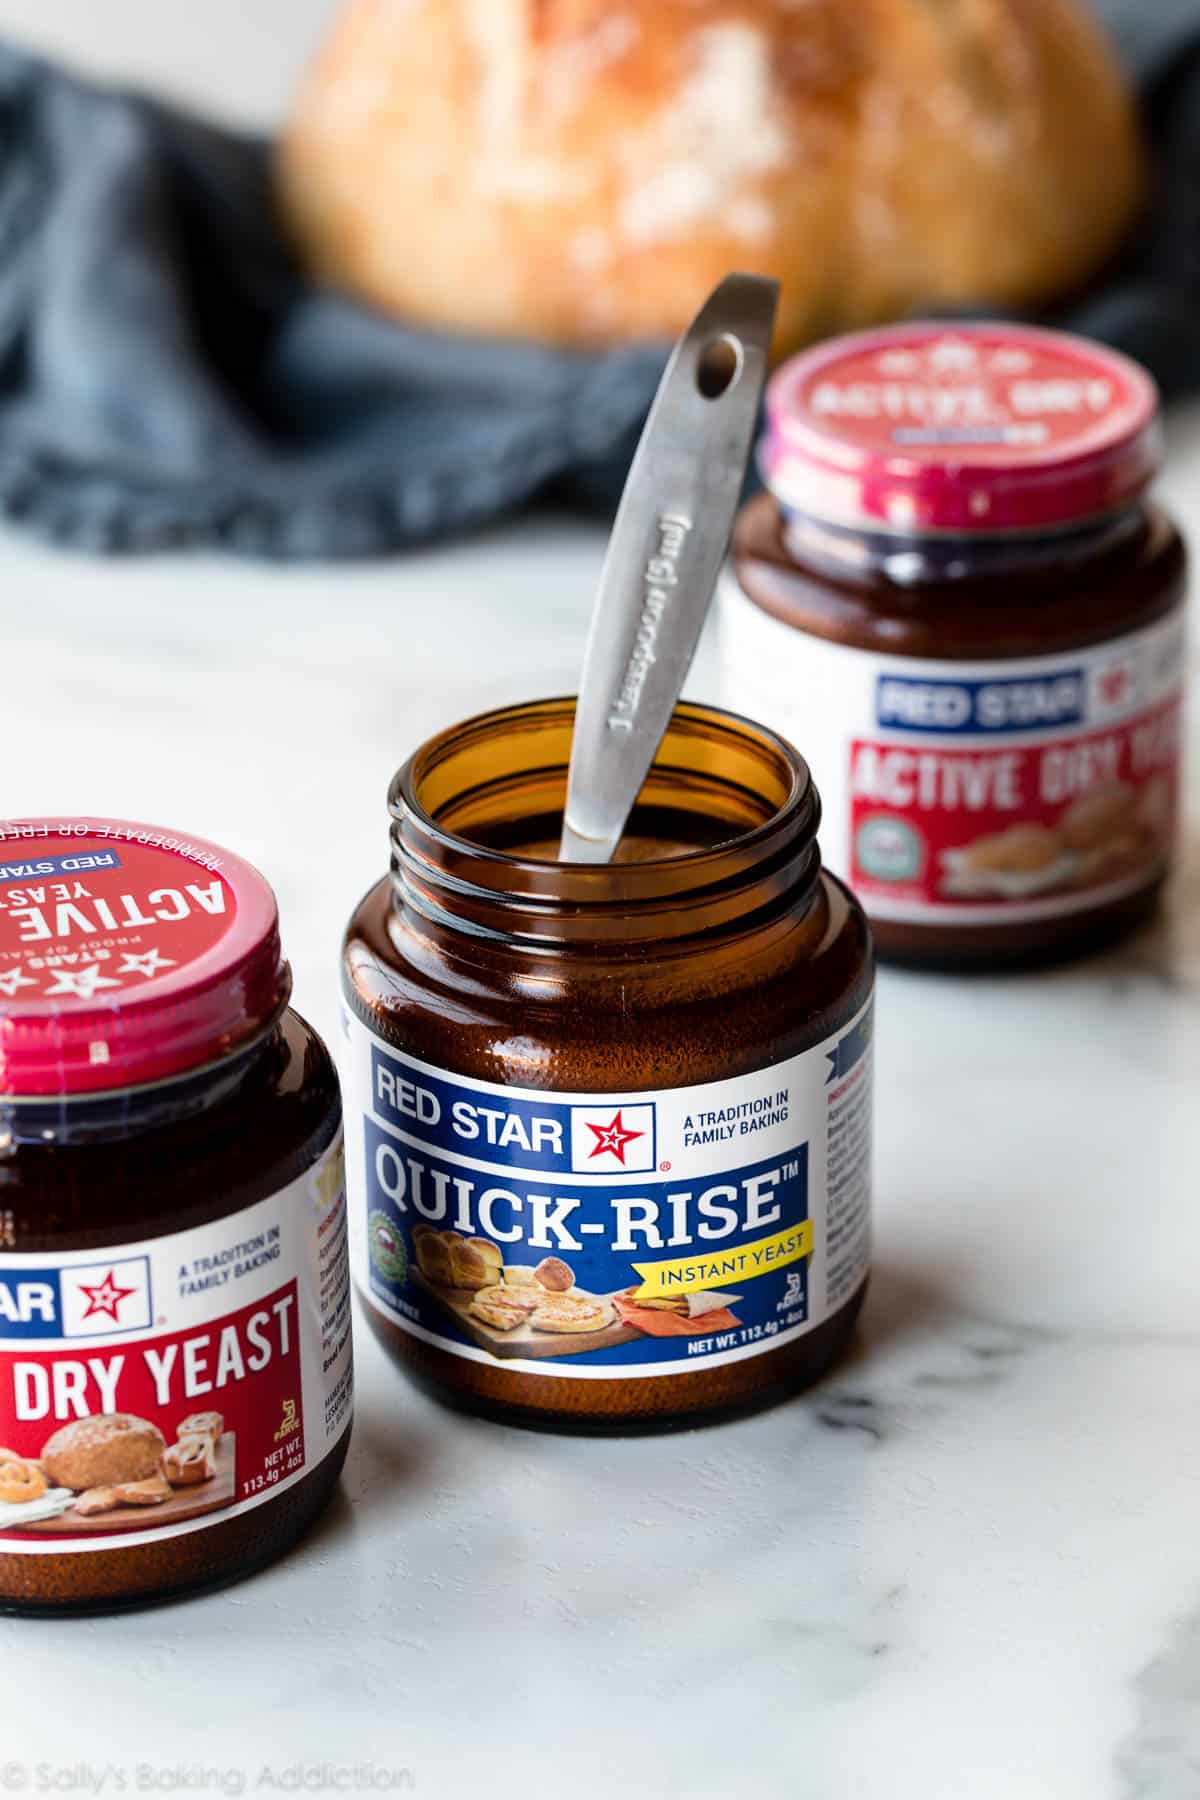
Types of Dry Yeast
Because it’s most common, we’re focusing on dry yeast in this Baking with Yeast Guide. There are two types of dry yeast available: active dry yeast and instant yeast. They both require liquid to “wake” out of their dormant state.
- Active Dry Yeast
- Instant Yeast – Also known as Fast-Rising Yeast or Fast-Acting Yeast
Red Star Platinum Yeast
This is, by far, my preferred yeast! Platinum Yeast from Red Star is an instant yeast blended with natural dough improvers. These dough improvers are naturally occurring enzymes derived from protein in wheat flour. They strengthen the dough and build tolerance to variations in flour strength and the baking process (kneading, rising, etc.) As a result, the dough traps more of the leavening being produced by the yeast for an overall better rise and better volume in the finished baked good. Most of the yeast recipes on my website are made with Platinum Yeast from Red Star. It’s fantastic for yeast beginners.
Can I Substitute Active Dry Yeast for Instant Yeast and Vice Versa?
Yes. Active dry yeast has a moderate rate of rising and instant dry yeast has a faster rate of rising. Active dry and instant yeast can be used interchangeably in recipes (1:1); just keep an eye on your dough so it doesn’t rise too much.
Can I Store Dry Yeast in the Freezer?
Yes, you can store dry yeast in the freezer. The experts at Red Star Yeast actually recommended it! Place the yeast towards the back of the freezer so it’s not exposed to temperature changes when you open the door. To thaw, measure the amount you need and set it on the counter for 45–60 minutes before using. The colder it is, the longer it will take to “get going.”
Do I Refrigerate or Freeze Dry Yeast After Opening?
Dry yeast is perishable. Once your package is opened, the yeast must be refrigerated or frozen in an airtight container. Use within 4 months if refrigerated and 6 months if frozen.
What Is Proofing Yeast?
Proofing dry yeast is sometimes a step in a recipe. This step is basically just “proving” that the yeast is alive and active. You dissolve the contents of the packet in warm water or milk with some sugar. After 5–10 minutes, the mixture should be foamy and frothy on top. If not, the yeast is dead and should be tossed. However, if used before the expiration date, this step isn’t really necessary with modern active dry or instant yeast. Still, some recipes call for it, just to be extra certain the yeast is alive. (If using quality, unexpired yeast, it usually is!)

How Is Yeast Used in Baking?
When combined with liquid and sugar, yeast makes dough rise. Yeast, while also providing flavor, creates carbon dioxide in the dough. This stretches and expands it. Yeast thrives in warm temperatures, which is why warm liquid is usually used to make yeasted bread dough. However, hot liquid can kill the yeast—around 135°F (57°C) or higher. A good rule of thumb: if it’s too hot to touch, it’s too hot for the yeast.
Yeast is also effective in cooler temperatures, but it requires more time to expand the dough. In some cases, a slower rise time is preferred because more flavor is produced in the process. In some of my bread recipes, we use cooler liquid and a long rise time, and may even require the dough to rest in the refrigerator, to purposely slow the yeast’s activity and develop the flavor and texture. For example, this artisan bread, seeded oat bread, olive bread, and no-knead pizza bread.
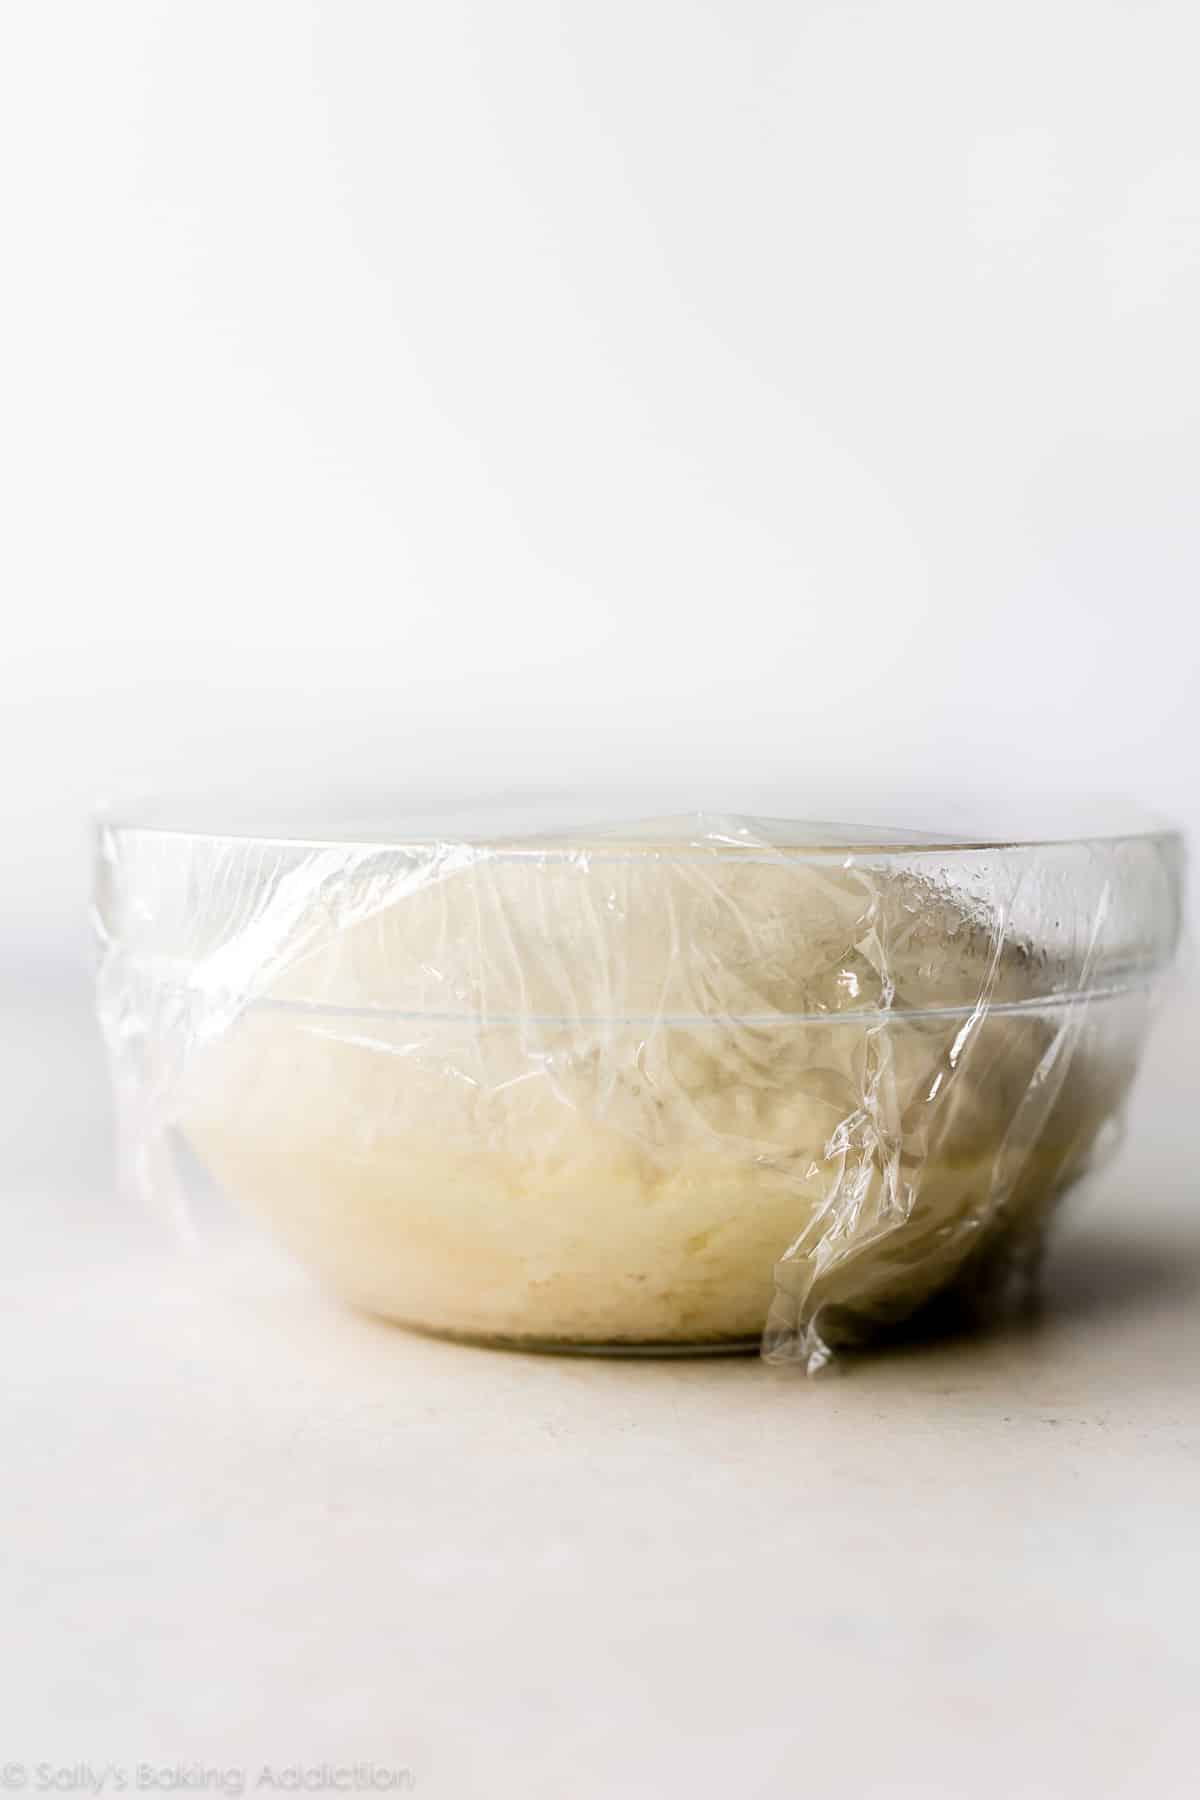
Where Should Dough Rise?
Most yeasted bread recipes will instruct you to cover your bowl of dough and place it in a warm, draft-free place. This crucial time is when the yeast ferments the sugar into carbon dioxide and alcohol. The kitchen counter is fine, but if you’re pressed for time, you can speed up the rising process by placing the dough in a slightly warm oven. Here’s how:
Preheat the oven to 150°F (65°C), then immediately turn the oven off. Wait a few minutes, then place the covered bowl of dough inside the oven with the door cracked open. This will be a warm environment for your dough to rise. After about 30 minutes, close the oven door to trap the air inside with the rising dough.
Here is more information on dough rising.
What if My Dough Isn’t Rising?
There are a few factors that prevent your dough from rising:
- Temperatures are too cold. Place dough in a warmer environment.
- Yeast is expired or dead. Start over with new yeast.
- Liquid in the dough was too hot, which killed the yeast. Start over with new dough.
- Too much flour or sugar in the dough. Be mindful of your measurements and remember that it’s ok for dough to be a little sticky. Don’t over-flour.
- Type of flour. Flours with higher protein content have superior dough (gluten) forming and rising properties. Here is more information on flour types.
- Kneading not enough or too much.
How Do I Knead Dough?
Kneading dough is a common step in bread baking. You can knead dough with your hands or in a stand mixer with a dough hook. A stand mixer obviously makes the job hands-off and easier, but kneading by hand is gratifying… and a great stress reliever too! I have a full tutorial with a video about how to knead dough that can help with this step.
Kneading the dough serves a couple purposes. First, it incorporates air into the dough. It also encourages the proteins in the flour and moisture in the dough to link together, forming a strong gluten network, which is essential for retaining the gas produced by the yeast. Gluten is what makes bread deliciously chewy.
What Is a Typical Yeast-to-Flour Ratio?
One packet of dry yeast (2 and 1/4 teaspoons, or 7g) will raise up to 4 cups (500g) of flour.
What Does It Mean to Let Dough Rest?
It’s beneficial to let dough rest after working or shaping it. Cover the dough with a clean towel or plastic wrap and set it aside. This little “nap” allows the gluten to relax and settle, and makes dough easier to shape.
For example, if you’re trying to roll out dough to certain dimensions for cinnamon rolls and the dough keeps shrinking back as you try to roll it out, cover it and let it rest for 5–10 minutes, then try rolling it out again. It should be easier to get it to the dimensions you’re aiming for after it’s had a rest.
Where Do I Begin?
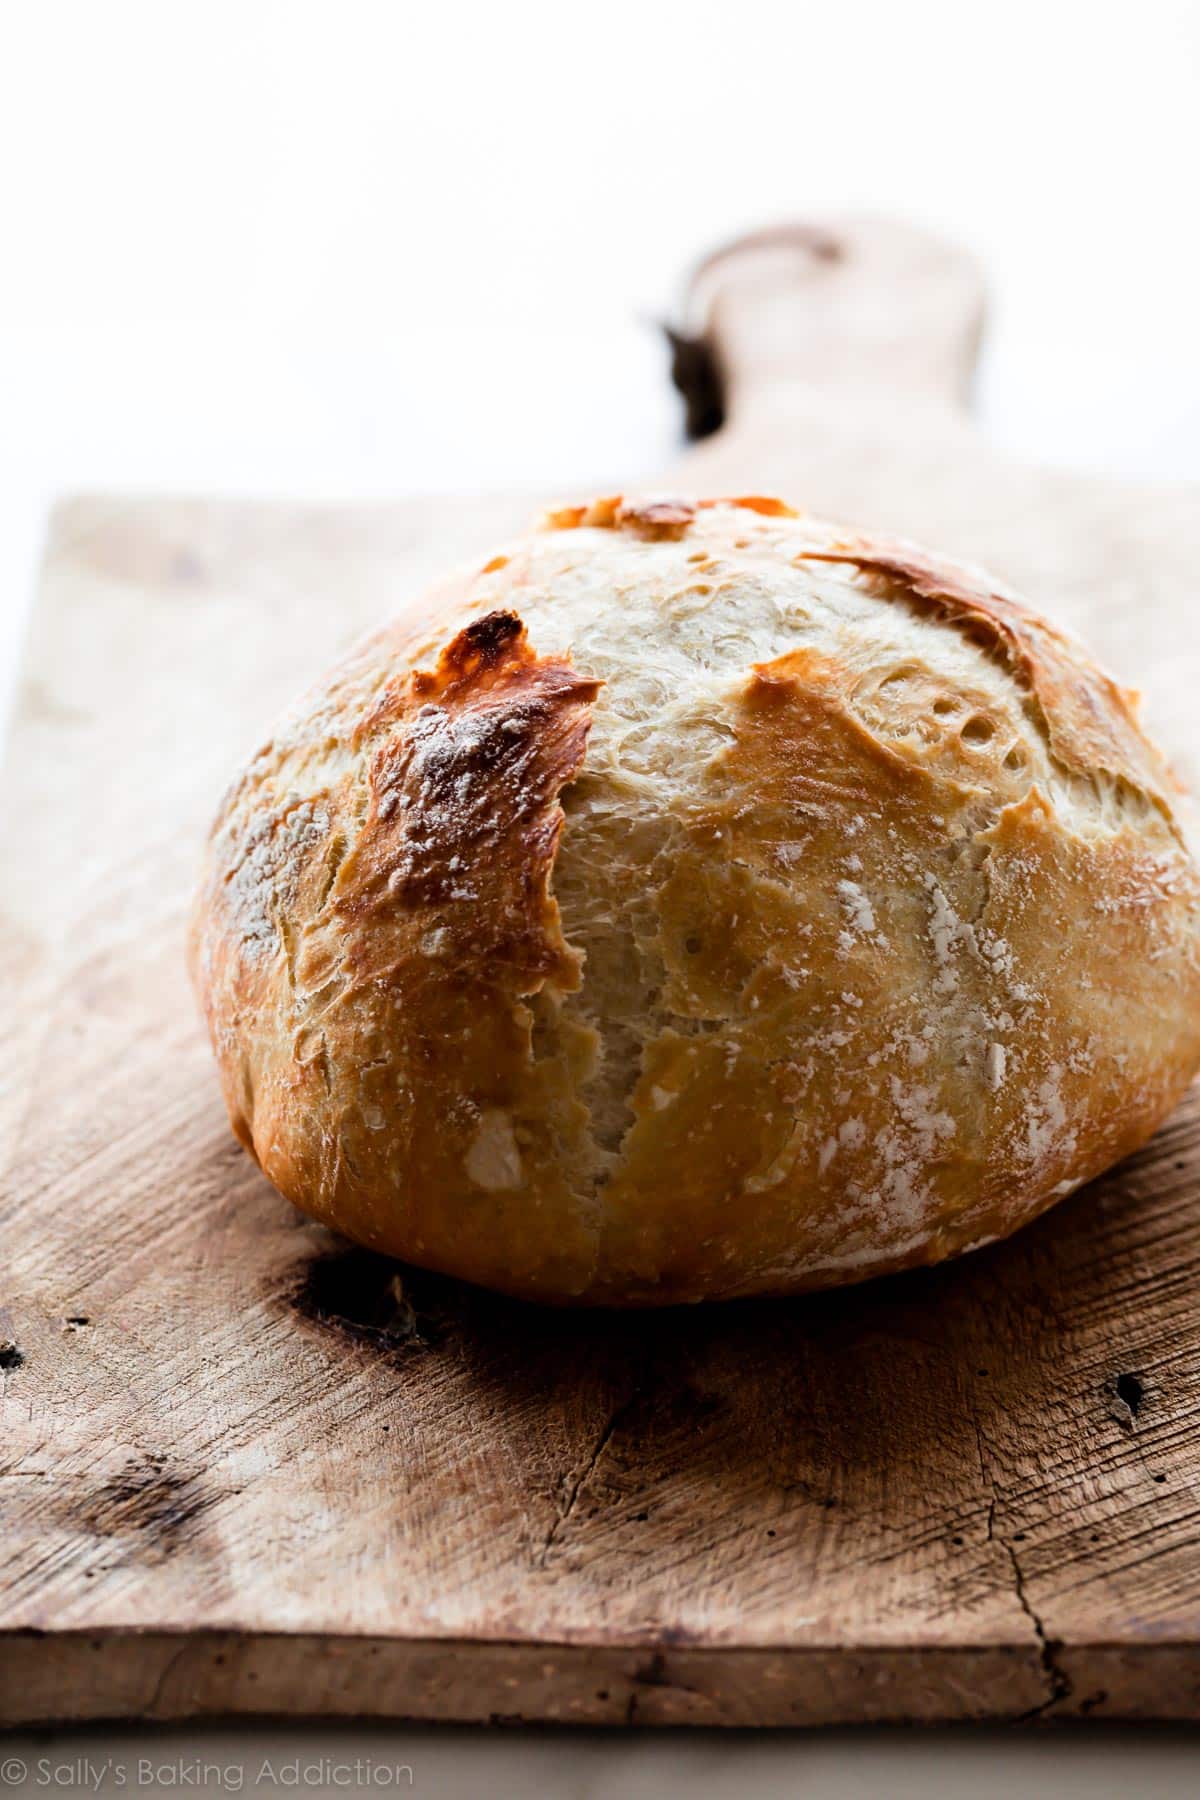
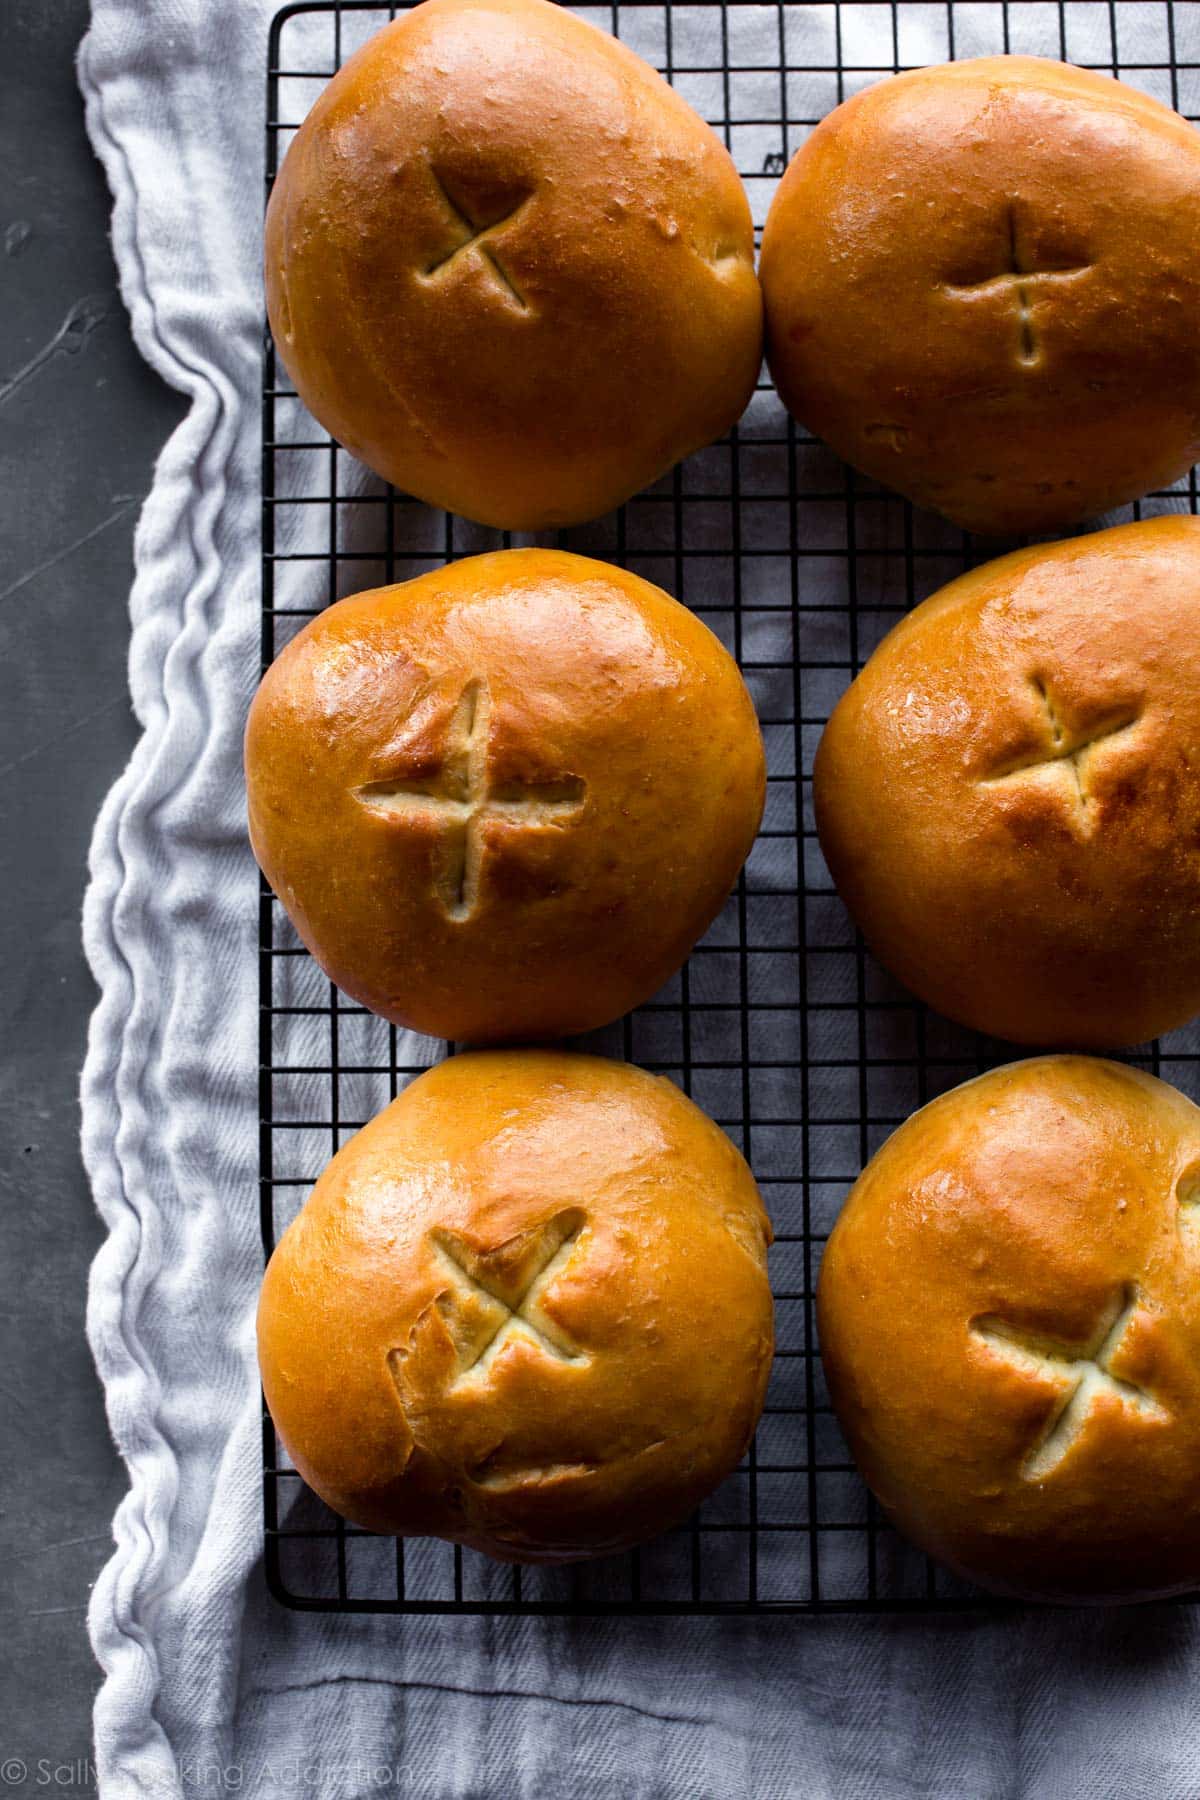
Now that you have a better grasp on baking with yeast, start with an easy recipe: Cranberry Nut No-Knead Bread. (Pictured above without the cranberries and walnuts.)
This no-mixer, no-knead bread recipe comes together in 1 bowl with very little hands-on work. It’s a great recipe to begin the day before because it requires at least 12 hours to raise the dough, so just let it sit on your counter.
I also have a 4-ingredient homemade artisan bread that requires very little hands-on work and a 4-ingredient homemade ciabatta bread for more of a challenge.
More Favorite Easy Yeast Recipes:
- Cinnamon Rolls: Shaped yeast doughs, such as cinnamon rolls, lemon blueberry babka, and dinner rolls, usually require 2 rises. This easy cinnamon rolls recipe skips 1 rise, so it cuts the time in half. I also have a recipe for traditional overnight cinnamon rolls.
- Flatbread Dough: Make thin-crust-style pizza with this 45-minute flatbread dough. My homemade pizza dough is also very easy, though it’s thicker and requires a slightly longer rise time. Both have great flavor.
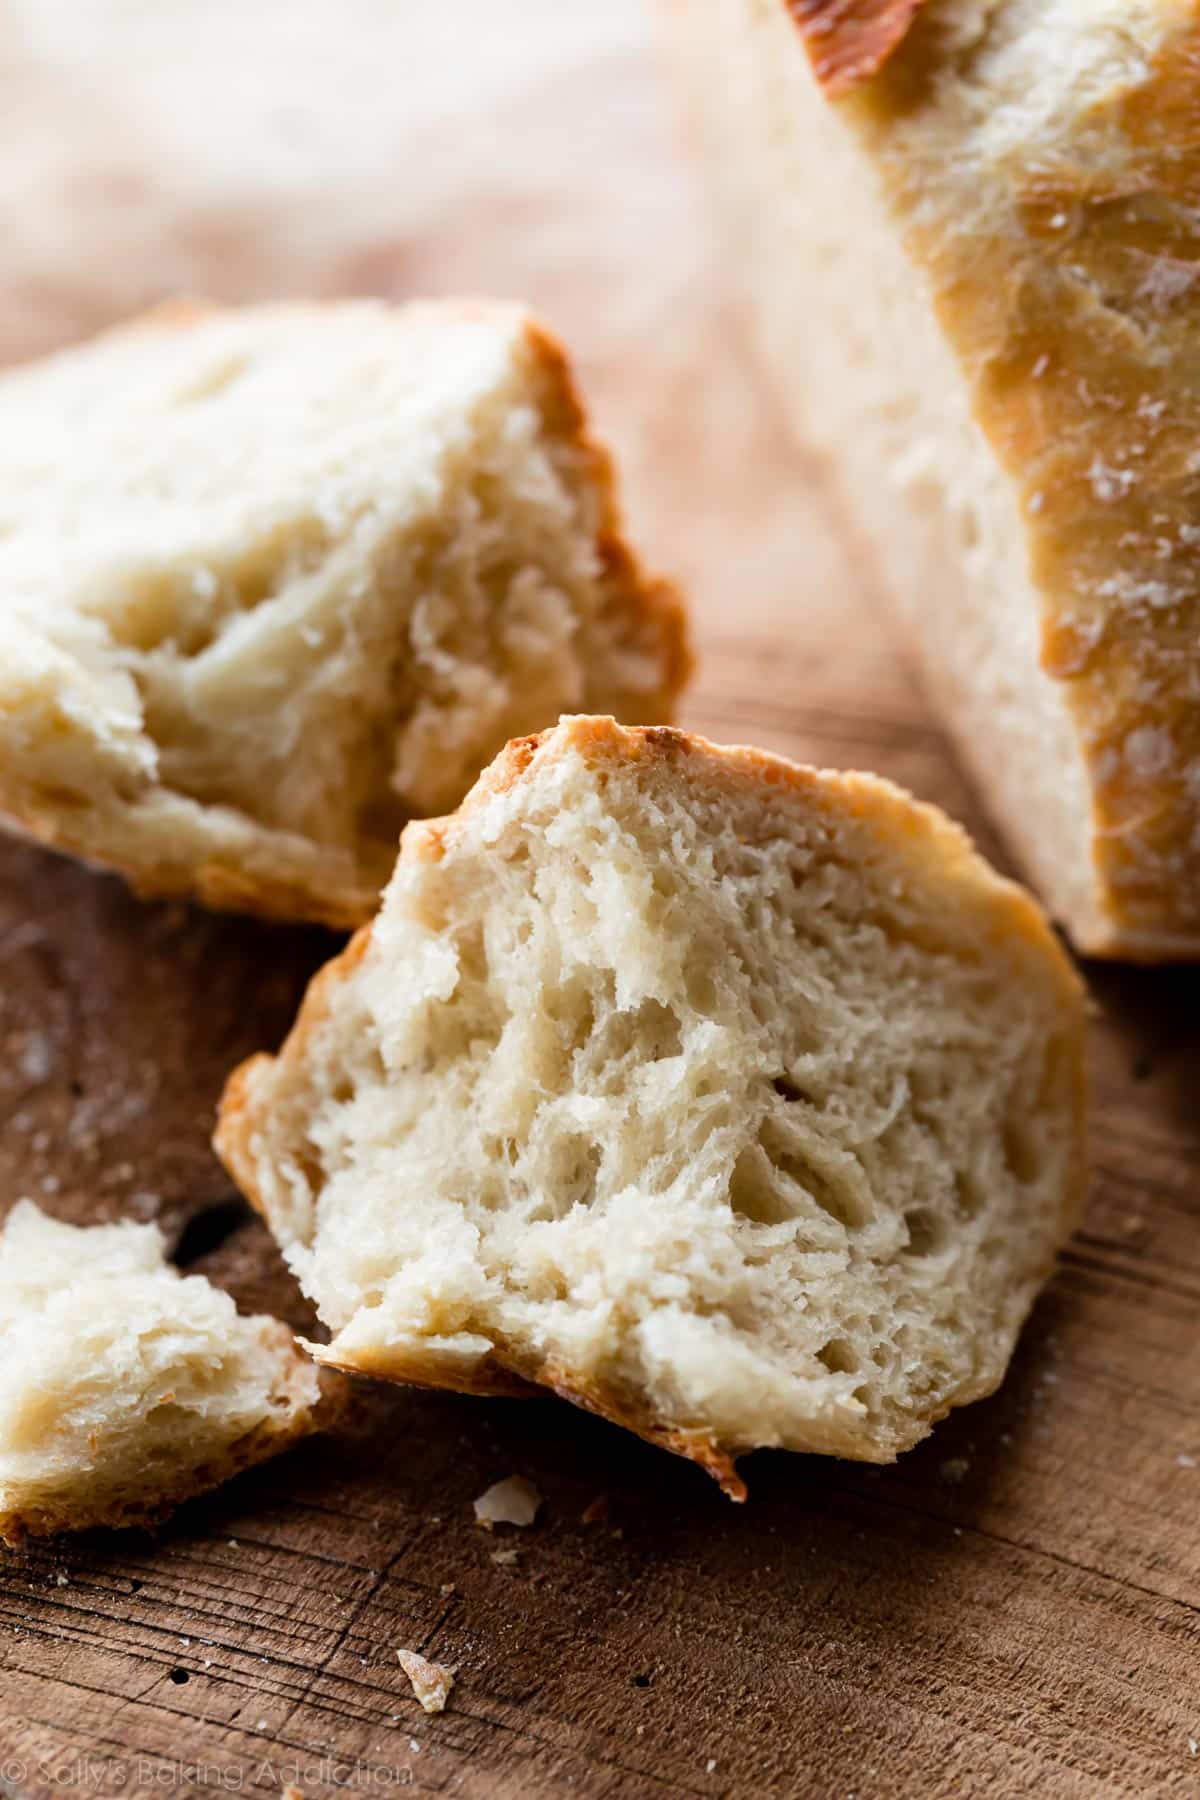
- Homemade Bread Bowls: Pictured below. This is a very basic bread dough that you can flavor and use for many recipes. See the recipe Notes.
- Soft Pretzels: This pretzel dough only needs to rest for about 10–30 minutes before shaping, so you can have homemade soft pretzels in under an hour!
Q: Was this guide helpful to you?
More Helpful Baking Tips


Reader Comments and Reviews
Dear Sally, why does the bread rise in the oven very well, but when you take it out it sinks?
Hi Martha! It sounds like the bread you are baking is under-baked. Breads that are baked through should sound hollow when gently tapped and hold their shape as they cool.
Love this blog, helps so much. Twenty five years ago I used to make bread for a small deli and it was great and I was good at it. But now when doing it at home I have trouble, I can’t seem to get it to turn out. My question is some breads require alot of kneading, others say not to over knead, what is the defining of too much kneading, and which type of breads typically take more kneading (example does something like dinner rolls take more kneading time or less than something like bagels?). I understand it’s about the gluten, but what I don’t understand is when you want to knead alot or not 🙂 Thanks for your help!
Hi Pam! This is a great question. Leaner doughs without much fat usually don’t need to be kneaded quite as long as rich doughs (those with fat like eggs, milk, and/or butter). Sometimes doughs are too sticky to knead and these usually require a notably long rise/rest time, but they’re also meant to be sticky so you achieve those soft airy pockets of air. (Such as with my artisan bread recipe.) The Spruce Eats website has a very helpful article called “The Science Behind Kneading Dough” that you’ll find interesting– give it a quick search!
Thank you so much for your tips on baking with yeast. I have been baking my aunt’s recipe for sticky buns for years and always had a problem with the left-over rolls not being yeasty-textured, but more like biscuits. Since your great suggestion for the Red Star Platinum yeast, the issue has been solved! Also, my bread machine bread has a wonderful texture and the bread stays fresher so much longer than using regular yeast! I will never go back to regular yeast, unless in a direr emergency. Your hints and tips have saved me so many times. Thank you, thank you, thank you!!!
Hi Sally!
I loved this intro thread into baking with yeast. Just one question, or comment here. You suggested if your yeast kept in the freezer to let it come to room temp 30-40 minutes. I have never done this, I just measure from freezer to bowl. Haven’t had any issues yet, does this make a big difference?
I guess I should try and answer my own questions *laughs*
Thank you Sally for all your hard work!!
Hi Shelli! Doesn’t make a huge difference either way, I just prefer for my ingredients (except for the liquid, of course) to be close to room temperature when I’m baking bread– unless otherwise stated in the recipe.
Hi Sally… great info. 3 questions. 1, does storing yeast in the fridge or freezer allow you to extend the “use by” date? 2, my grandmother’s roll recipe had cake yeast. I have played with ingredient quantities and ratios to convert to dry yeast but the rolls lack the strong yeast flavor I remember. Is it my conversion, or is that just the difference in taste of fresh vs dried yeast? 3, can you over-rise yeast and how would you know?
I have an old family receipe that ask for crumble yeast added to dough for nut rolls. I think yeast use to come in a square . How would I use dry yeast in package?
Hi Cathy, I believe you are referring to cake yeast (see above in the post). You can still find it in some speciality grocery stores if you want to use your family’s recipe! Dry yeast requires different liquid amounts and temperatures than cake yeast, so it would require some recipe testing to make the swap.
Hi Sally! What is the best way to heat up the milk for the initial proofing step to the right temperature? When I microwave it, the temp changes depending on if I’m holding the thermometer in the milk or if I let the thermometer sit in the glass cup (touching the bottom) I’ve tried heating the milk on the stovetop also and have noticed a higher reading if the thermometer is touching the bottom of the pan. What do you find is the easiest way for this step? Thanks!
Hi Brenda! I recommend just using the microwave. Depending on the amount of milk, heat it for 30-60 seconds then stir it up. Measure the temperature halfway down into the liquid, not at the bottom of the dish or the surface.
Thank you Sally! You have the best baking blog! I’m learning so much more now! Thank you!
Hi Sally,
thank you for this yeast baking guide – it is immensely helpful. I do have a question about long rising times. Every time I let dough sit & rise for longer than 2 hours, it forms a dark and harder crust on top. I have tried it with plastic foil, moist towels, dry towels, and another warm bowl as covers – but nothing works for me. Do you have any suggestions on what I am doing wrong?
Hi Sonja, It sounds like your dough is drying out. Usually when we let the dough rise the directions say to coat your bowl with oil first. Try placing your dough inside the oiled bowl and then gently flipping it over a few times so that all sides of the dough ball are coated with oil. This should help!
Thank you for posting this! I made a goal it a goal this year to start baking with yeast at least twice a month. So far, a lot more fails than successes. This guide is super helpful. I bought the recommended yeast and maannnn, it made such a difference! It was the first time I could see the yeast bubbling and doing its’ thing. I’m pretty sure the yeast I’ve been buying from grocery stores has been dead. I will be trying the April Challenge!
Thank you for posting. Very helpful. One question, my bread is always dense and somewhat dry. Where am I going wrong?
Hi Cheryle! The bread’s density depends on the recipe, though dense homemade bread could be the result of too much flour. This would also cause the bread to taste dry as well.
Thanks Sally. I think I’ll always be intimidated by yeast, however, this post definitely will help me. I’m printing it and putting it in my recipe folder. Thanks again.
Sally, it is like you read my mind because one of my baking goals that I want to tackle this year is baking with yeast. Your instruction videos are such wonderful, helpful guides and I want you to know that all your hard work and efforts are greatly appreciated. I cannot get through the day without checking your website. I have been baking for a long time, but I continue to learn something new and fun from your website. You make baking fun and informative and you are constantly challenging me. Thanks so much!
This is such a great resource! I used to be intimidated by yeast breads, but I’m becoming much more comfortable with practice. Your approachable and tested recipes are certainly a huge help!
Love this blog post! Honestly, I learned how to bake with yeast by following your raspberry sweet rolls recipe! That one is serious yum, especially with lemon glaze! But now I bake with yeast like a pro and have made everything from regular bread, dinner rolls, pizza dough, sweet rolls. Mainly all from your blog too! I love how simple and clear your instructions are so I never mess up! Thanks for all your hard work in the kitchen Sally, so we don’t have to 🙂
Thank you for this Baking Guide! I find these very informative, especially for beginner bakers like myself. Have a great day! Bye!
Hi, Sally. I have been following your blog for a couple of years now and thought it was high time that I told you Thank You for helping me become a better baker. You must have tapped into my thoughts about yeast! This primer is right on time and on point! I will be a Yeast Maven in no time.
Hi Sally, Great Read! Can’t wait to be like yeast and RISE TO THE OCCASION and start baking!
I’ve tried and haven’t had any success with trying yeast breads with gluten free flours, as I am gluten intolerant. Do you have any suggestions for flours to use or how to adapt recipes to be gluten free, or good resources for gluten free yeast breads or crusts?? Thanks!
Hi Eva, I don’t have any personal experience baking with gluten free flours but I’m sure there are many great blogs dedicated to this topic!
This is SO helpful! Can’t wait to tackle more bread recipes this year.
Thank you Sally. To me, the information you provided herein is now my ‘Yeast Bible ‘ Thank you for always doing the leg work for us novice and pro bakers. It is the little things go that make or break baking.
You are always a trusted source! Thank you for this post. I just love your recipes and your passion to share your knowledge.
This is perfect! My resolution for 2019 was to get over my fear of yeast and learn to bake bread. I’ve made a few different kinds so far and can’t believe how easy it is.
I’m definitely bookmarking this article!
Sally, thank you so very much for the info on yeast. I had no idea that it needed to be kept cold after opening package. I will keep the yeast in the freezer from now on. Your cranberry/nut no knead bread sounds so easy & so good. I plan to try it this weekend. Thank you for some truly amazingly good recipes.
Sally, what a helpful guide!! I just wanted to say that you have been so knowledgeable and helpful with all recipes, but especially yeast recipes! I don’t think I would’ve tried making bread on my own had it not been for your straightforward recipes. I have now made your bread bowls, bread rolls, cinnamon rolls, and pizza dough! I am so happy that your recipes helped to boost my confidence and inspired a true love of baking with yeast. THANK YOU!!
As always, Sally, your instructions are so helpful! Now I feel more confident to tackle yeast recipes (which I have shied away from in the past). Thanks! 🙂
Thank you for the great explanation! Helped answer a few of my questions. I used to mix dough for my bread in breadmaker but since it broke down I have been using the standmixer. However it has not turned out the same: dries out quicker and sinks when I bake it :(. What am I doing wrong??
( When I make any of your yeast recipes in mixer I have no problem with that at all…)
Hi Gerline! I’m happy to help. When bread sinks, the dough is likely too wet. So it could be the recipe you are using. Perhaps adding a little more flour to the recipes when using your stand mixer will help for next time.
Sally, your tips have helped my tremendously in my baking endeavors.
I’m still intimidated by pie crusts but determined to master the technique of no fail flaky pie crust.
One of my signature pies is Sweet Potato Pie. My filling is superb and once i master the pie crust I’ll be THE happiest Gma on the planet☺
Very useful and easy to understand. Thank you Sally!
Many thanks for this helpful information. You are so very thorough in all of the lessons and recipes that you share with us. Everything that you send our way is easy to understand and is always doable.