Use this in-depth tutorial to learn how to make homemade berry turnovers with a from-scratch puff pastry variation and a jammy mixed berry filling. The pastry dough comes together using a “rough puff” method where you carefully work butter into your dry ingredients and then fold and flatten the dough many times to create countless flaky layers. Unlike the breakfast pastries dough, this dough does not require any yeast and unlike croissants and traditional puff pastry, this dough does not require laminating with a separate layer of butter. Rather, the layers and crisp flakiness come from the particular mixing and folding methods. The turnovers are lightly sweetened and perfect for dessert or alongside a cup of coffee.
Step-by-step photos are below the written recipe.

Using this simplified method and a handful of basic ingredients, you’ll be amazed that you can make puff pastry from scratch within just a few hours. I’m still stunned with this outcome! And after you master these flaky berry turnovers, you’ll enjoy using this dough wherever you use a single pie crust or store-bought puff pastry.
Berry Turnovers Details
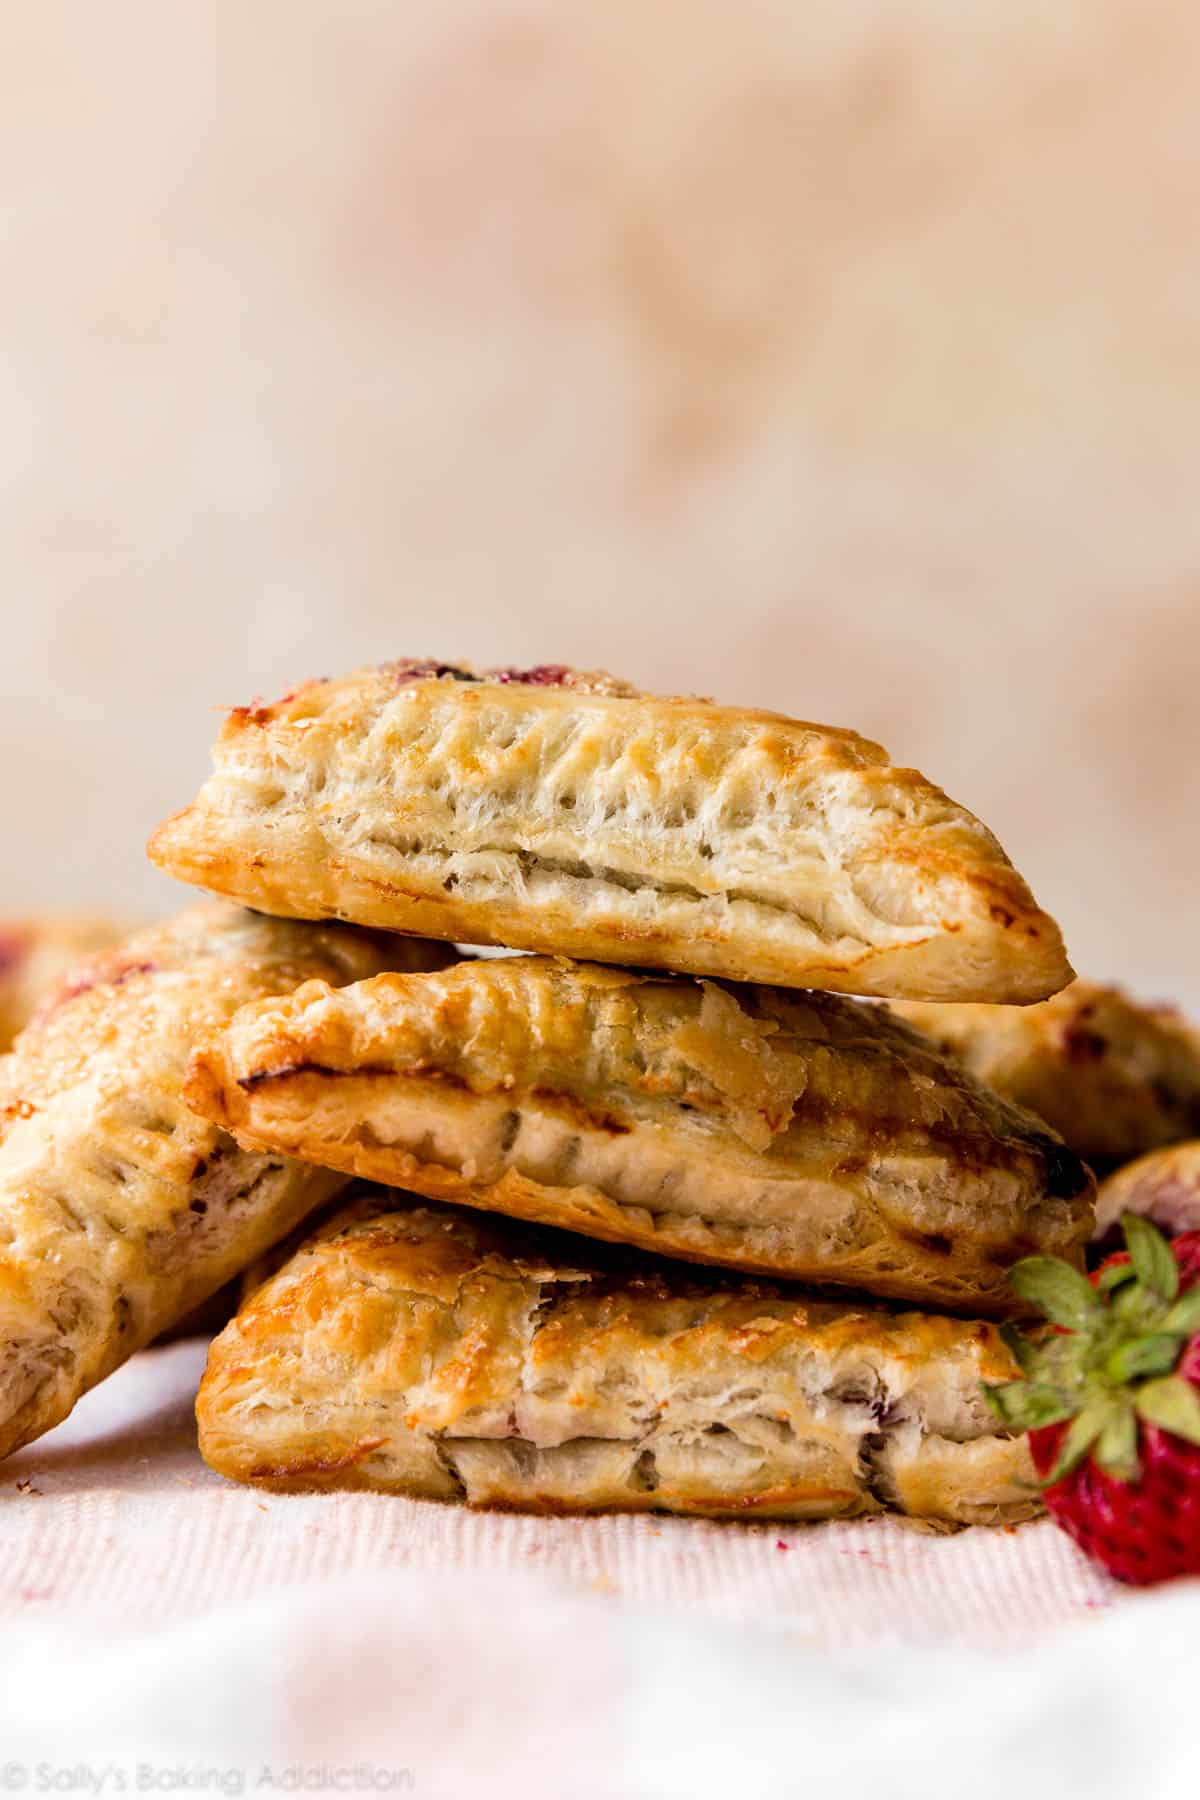
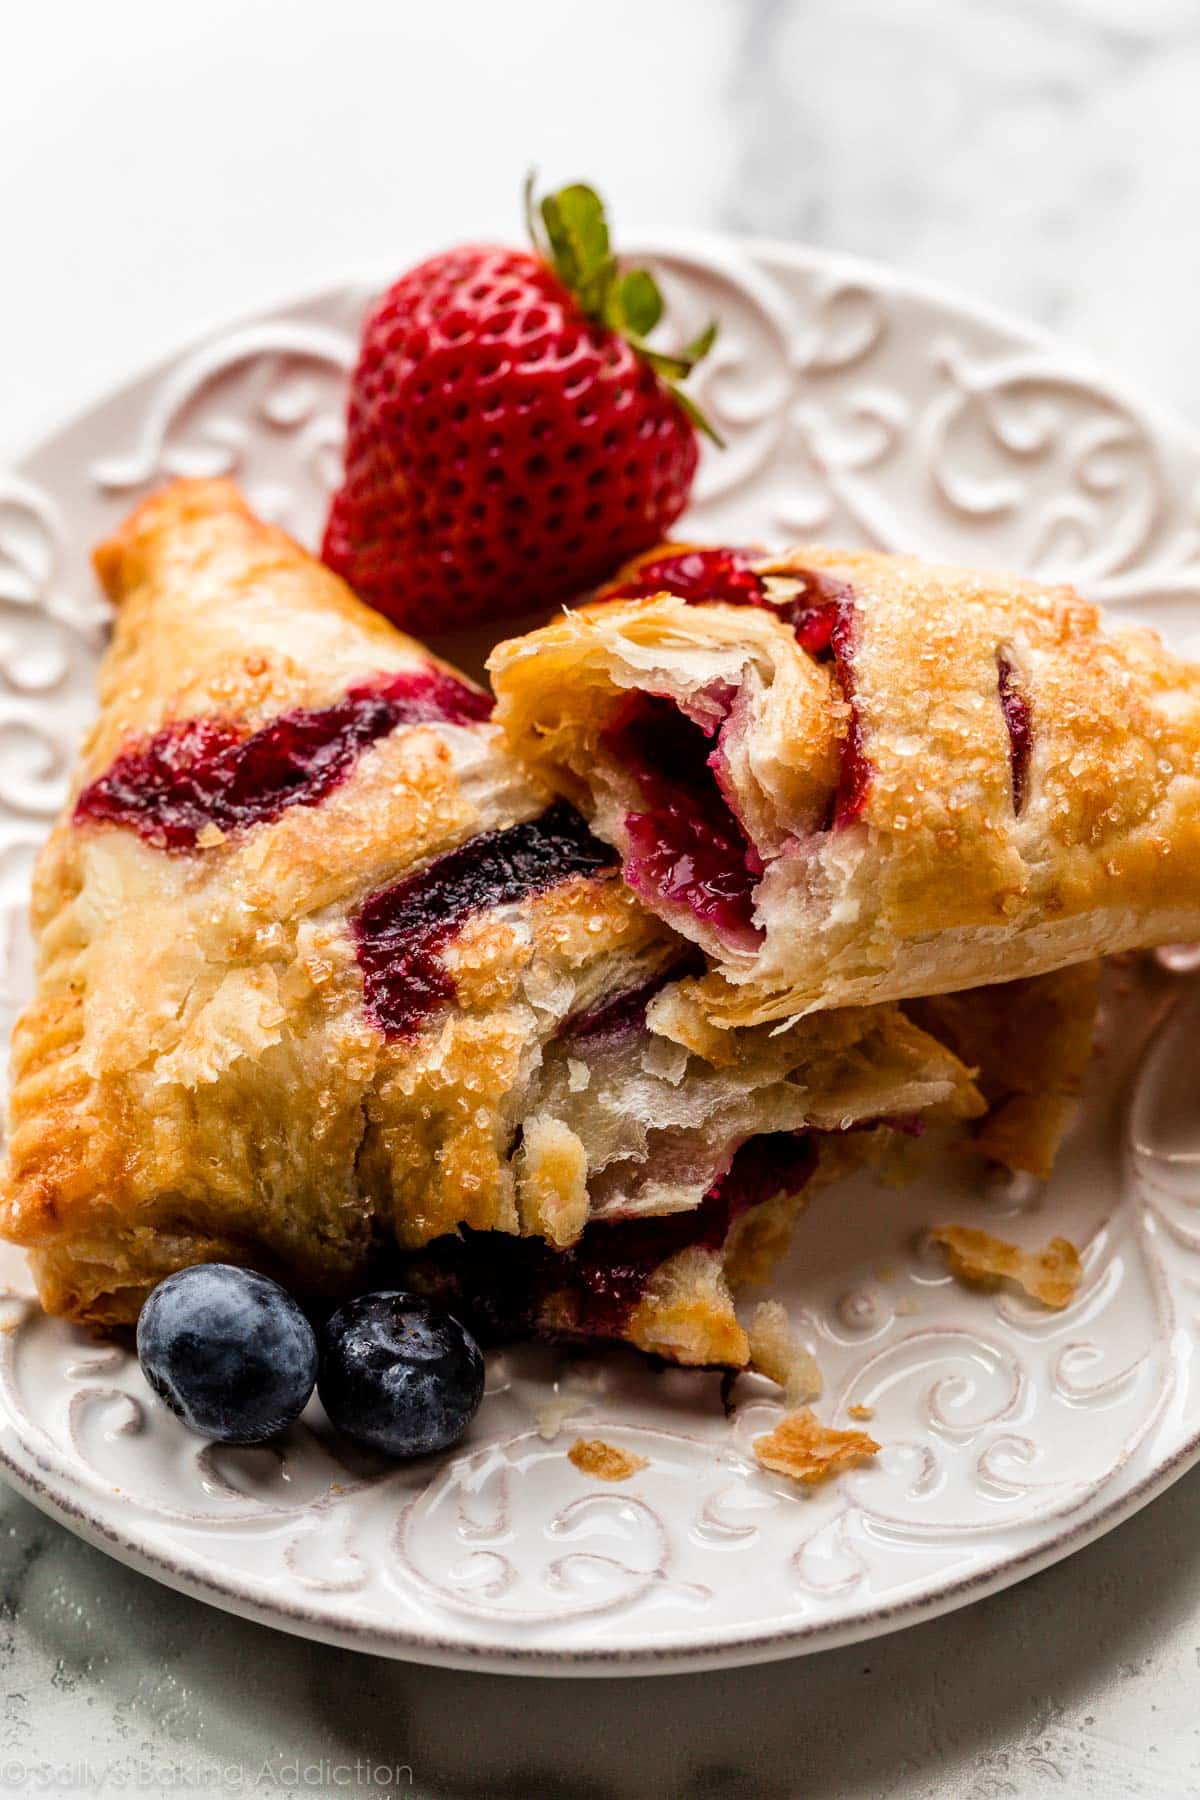
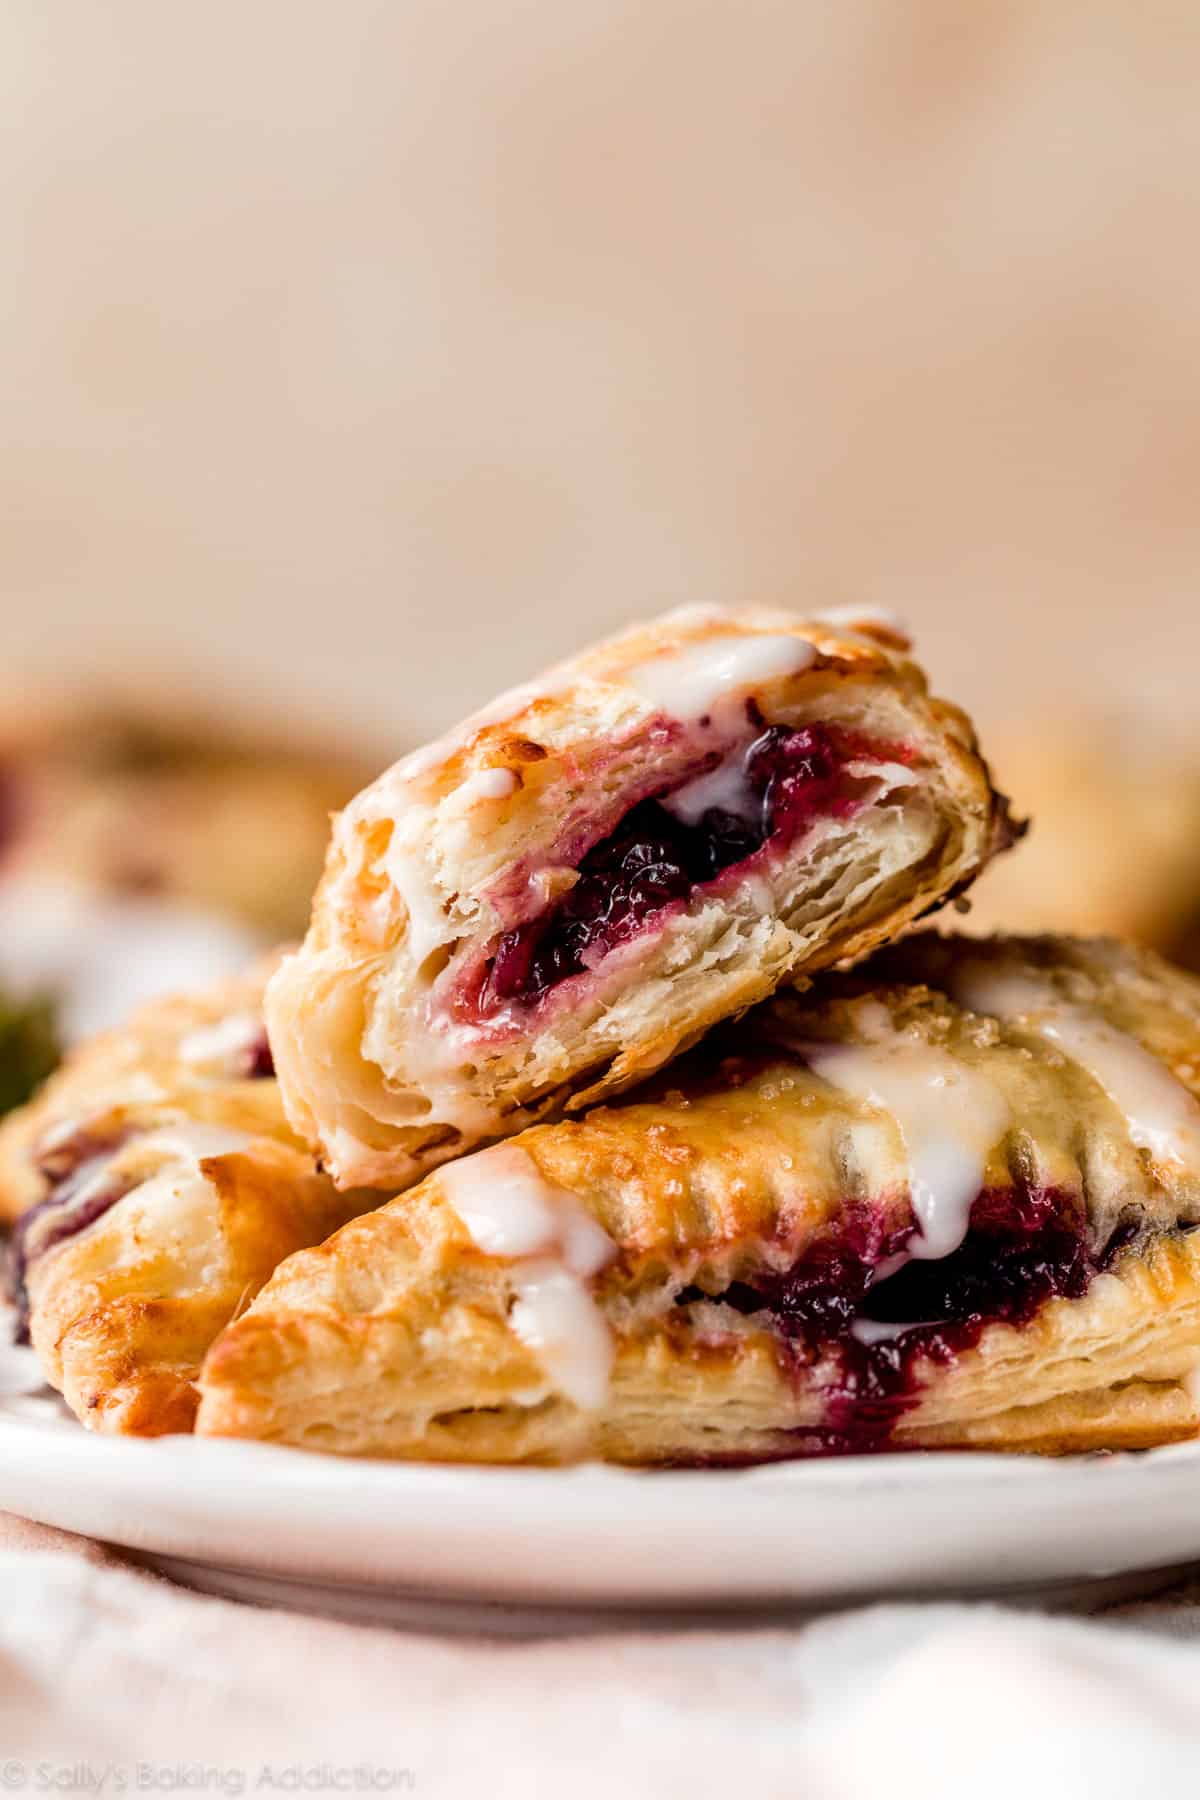
- Flavor: These berry turnovers are like mixed berry hand pies, but with a crispy, airy, and buttery dough. I would actually compare these more to store-bought Toaster Strudels but 100x better because they’re flakier, crispier, homemade, and not nearly as sweet. Great for breakfast or dessert! Vanilla icing is optional, but it’s a wonderful finishing touch, especially since these aren’t overly sweet in the first place. Each bite is mostly flaky dough with just a touch of berry filling. (Don’t want to over-fill those turnovers!)
- Texture: You know when you bite into golden brown baked puff pastry and you actually hear that loud CRISP? The layers crackle, pop, and quite frankly, make a big old mess on your fingers and plate? That’s exactly what you’ll experience with these homemade berry turnovers. This pastry is one of the FLAKIEST doughs I’ve ever worked with and comes close to croissant bread territory. (But made in a fraction of the time!) Pair this buttery pastry with a jammy berry filling and you’ll have a professional bakery-style treat made in the comfort of your home.
- Ease: I categorize this as an intermediate baking recipe. While it’s not nearly as involved as homemade croissants, it’s certainly not as easy as using store-bought frozen puff pastry like we do in this easy apple turnovers recipe. You need to flatten and fold the dough 6x, but there’s no chilling between each time so the recipe moves quicker than traditional homemade puff pastry.
- Time: The berry filling comes together in minutes over the stove, but the puff pastry will take you a few hours since there’s about 2-3 hours of chill time required. By this time the berry filling will have cooled down and you’ll be all set to shape, fill, and bake those irresistible turnovers. Set aside an afternoon for this fun baking project!
What is Rough Puff Pastry?
Have you ever heard of “rough puff” pastry? It’s become a really popular method with professionals and home bakers because it produces bakery-style puff pastry with oodles of buttery, flaky layers. Cookbook author and chef Claire Saffitz has a wonderful recipe for it and the term “rough puff” is often used on The Great British Bake Off! The trick is to work large pieces of cold butter into dry ingredients (flour and often a bit of sugar and salt), and hydrate it all with ice cold water. Sometimes bakers grate butter into the mix or use a food processor. There’s lots of ways to make rough puff pastry.
With this recipe, I stick with cold cubes of butter and use my hands to rub the butter into the flour mixture. Your hands are your best tool and method here because it’s nearly impossible to over-mix the dough this way. If the dough is over-mixed and you break down the butter too much, you’ll lose layers.
- Can I use a food processor, pastry cutter, or other mixer? I do not recommend it. These tools slice down the butter too much and you’ll lose a lot of flaky layers. I tried and it’s not worth it because the result is closer to a greasy pie dough than a layered puff pastry. (Still good, but not the goal here.)
How Is This Different From Pie Crust and Yeasted Pastry Dough?
Pie crust, while buttery and flaky, is not nearly as light, doughy, and crisp as this shortcut puff pastry. Yeasted pastry dough, such as something we can use for croissants or a pastry braid, contain yeast. This recipe simply relies on big chunks of cold butter (lots of it) and folding.
Rolling & Folding the Dough
After you prepare the dough and chill it in the refrigerator, you will begin rolling it out with a rolling pin and folding it like a business letter, rolling it out again, folding again, and so on. You will roll + fold it a total of 6 times.
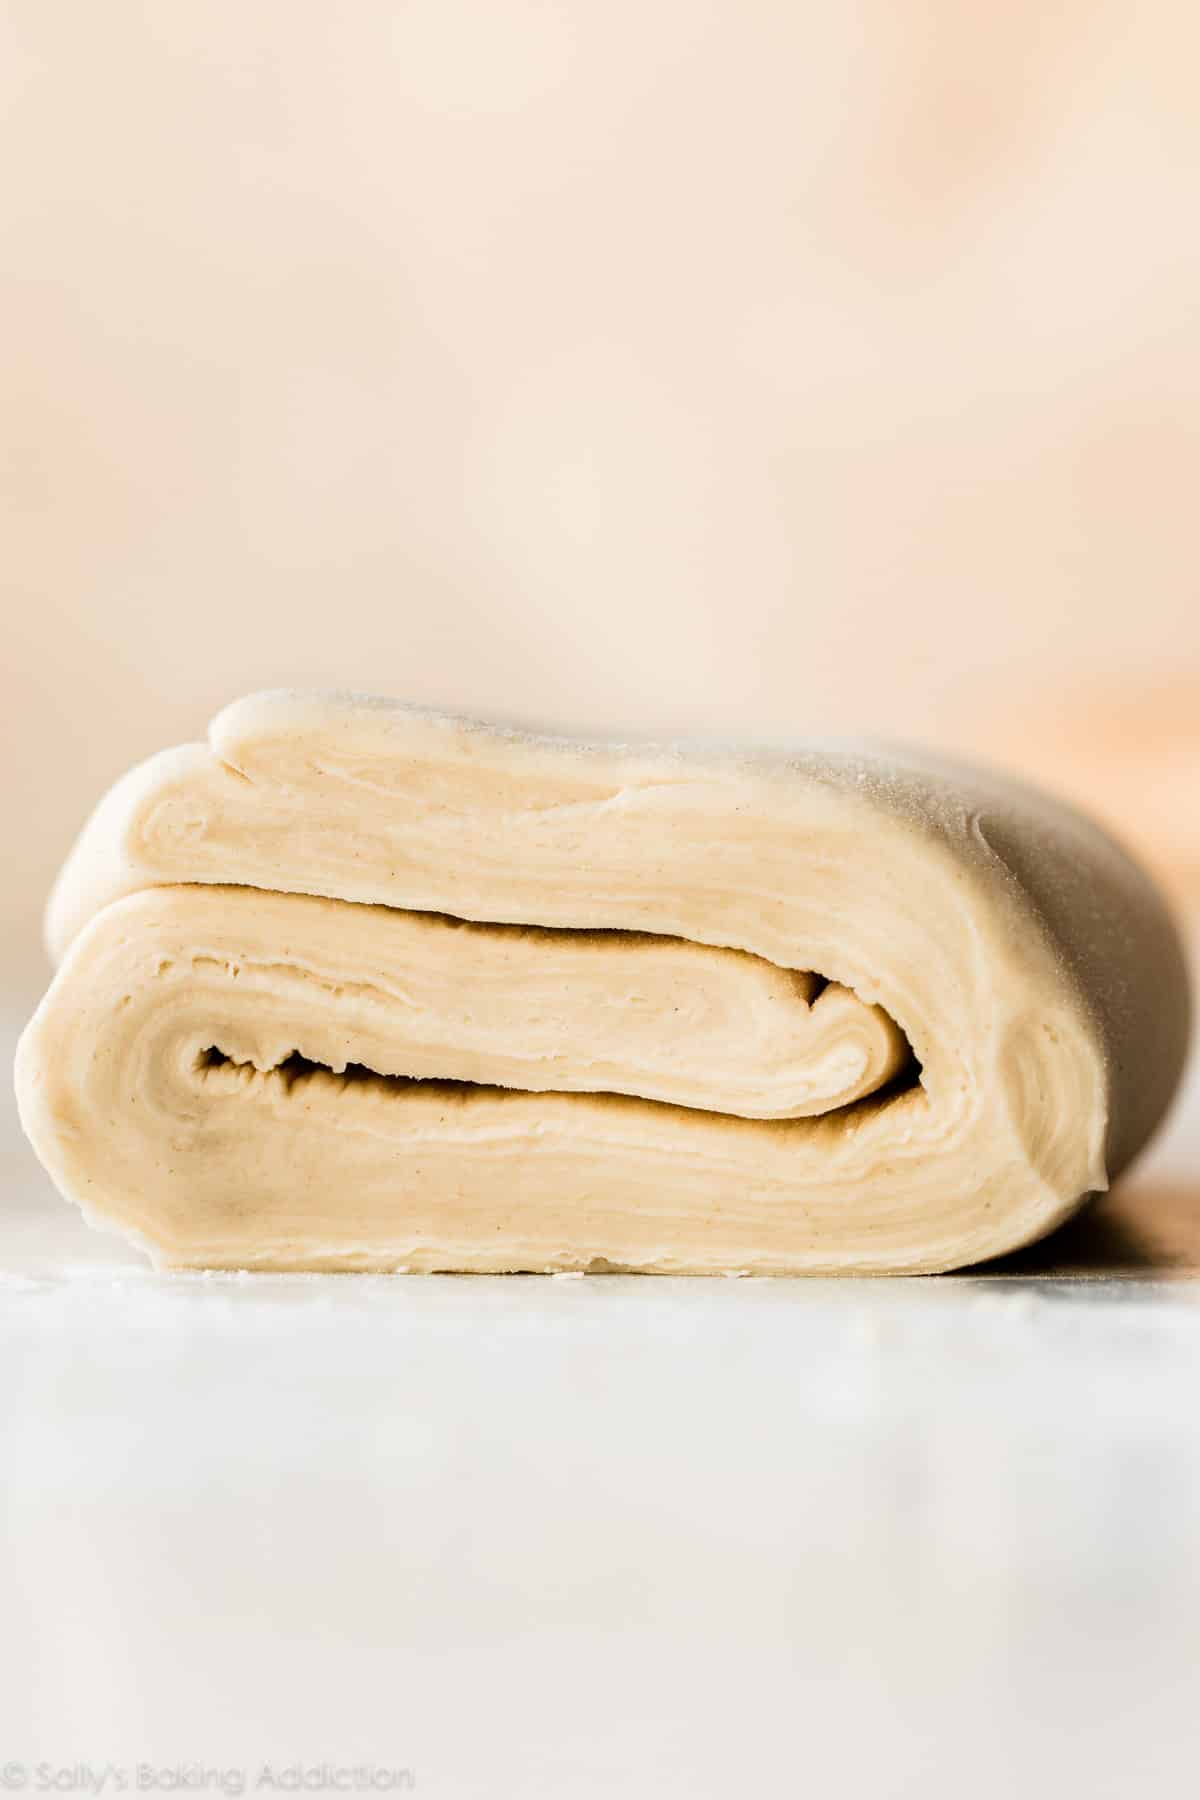
The photo below shows what the center of your dough looks like after all the rolling and folding. *Note that I sliced a sliver off the end so I could show you this!
Just 5 Ingredients in the Dough
This shortcut pastry dough comes together with flour, sugar, salt, cold butter, and cold water.
- Why do the butter and water have to be cold? It’s important for the butter to stay cold so it doesn’t melt and soak up all the flour. We want the butter to stay solidified as we roll, shape, fold, and flatten this dough because if it melts before baking, you lose all the flakes. Game over. You see, when the butter melts in the oven, it creates steam and that steam separates the dough into multiple flaky layers. Warm fat will lend a much denser, flatter turnover.
The dough requires 2 separate refrigeration steps, but the 2nd one is only 15 minutes. You can easily make this dough in a few hours or over the course of 2 days. I always appreciate make-ahead dough where you have plenty of options in terms of timing. You can also freeze the dough, too. (See recipe below.) After both refrigeration steps, you can use this dough in many recipes such as these turnovers, butternut squash tart, cranberry brie puff pastry tarts, mushroom tarts, or even these homemade cinnamon palmiers.
Homemade Berry Turnovers Filling
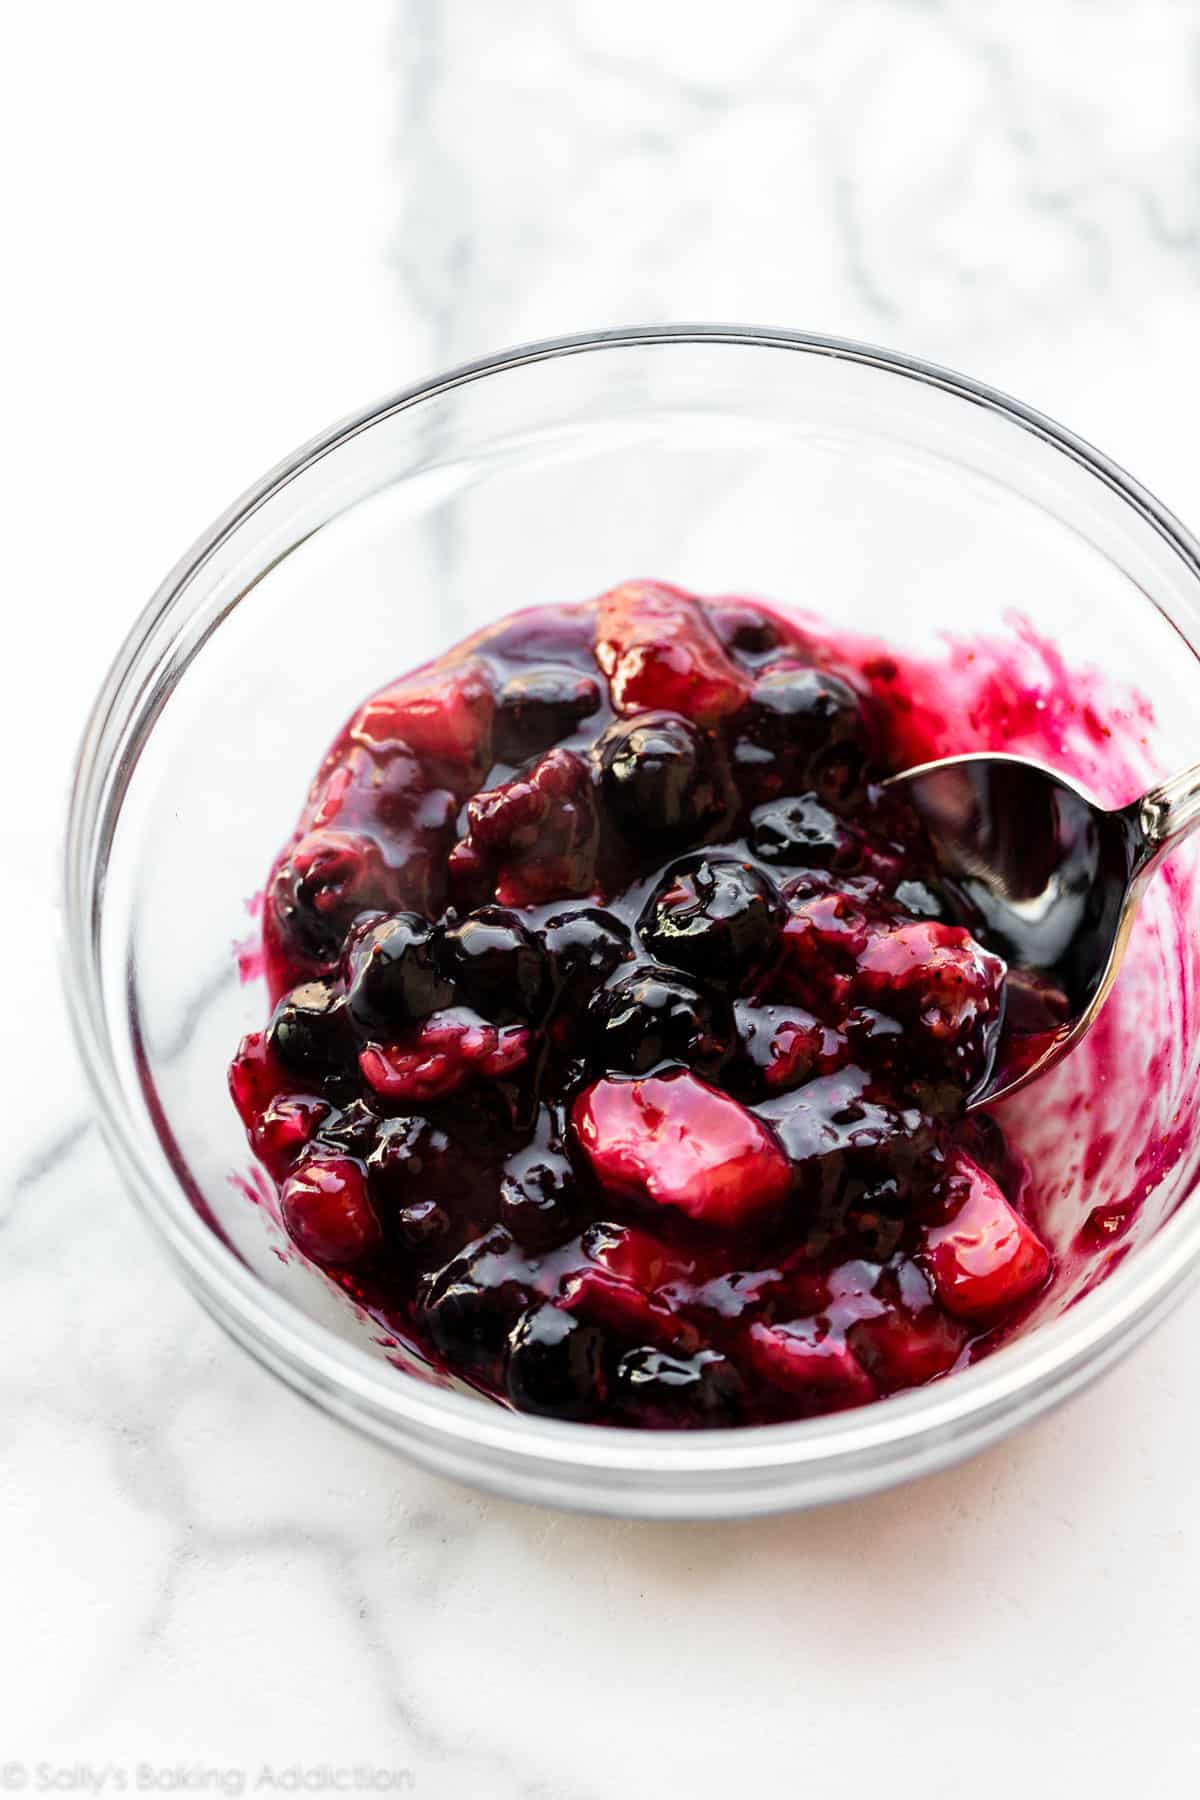
This thickened berry filling is adapted from these strawberry sauce and blueberry sauce recipes. I reduced it down so we have just enough for the turnover recipe below. It’s sweet like jam with big chunks of delicious berries. Feel free to use frozen berries, too. You could also use the filling from these caramel apple turnovers and top them with salted caramel for an extra special treat.
Tip: Make sure it cools completely before using as the filling in your turnovers. My recipe below works this into the instructions.
See Your Turnovers!
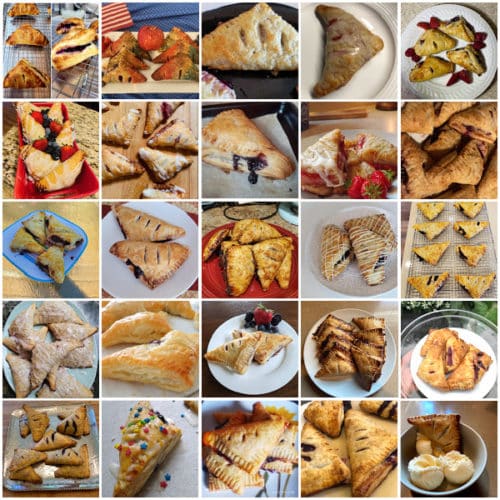
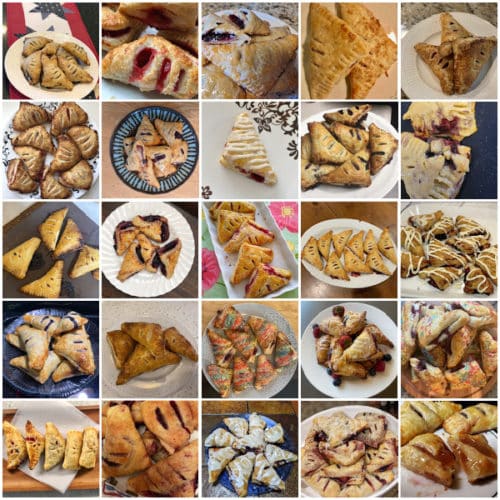
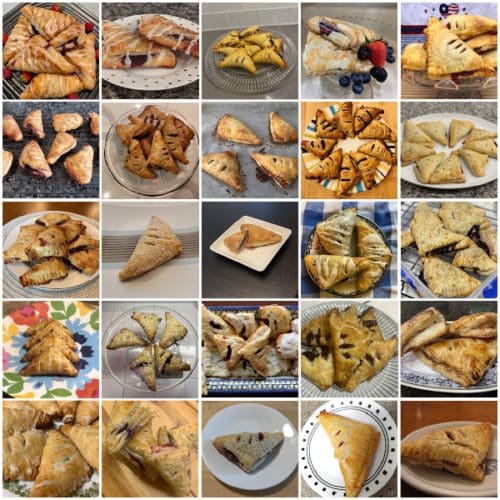
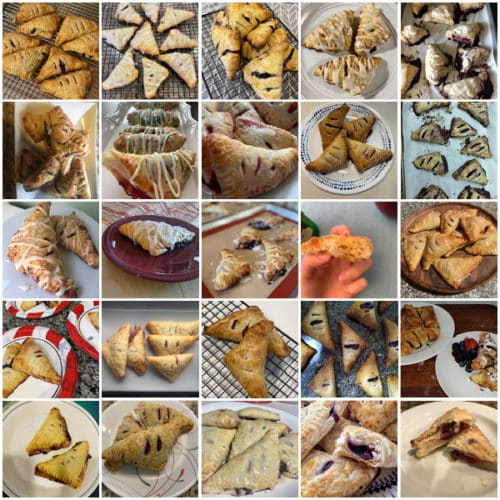
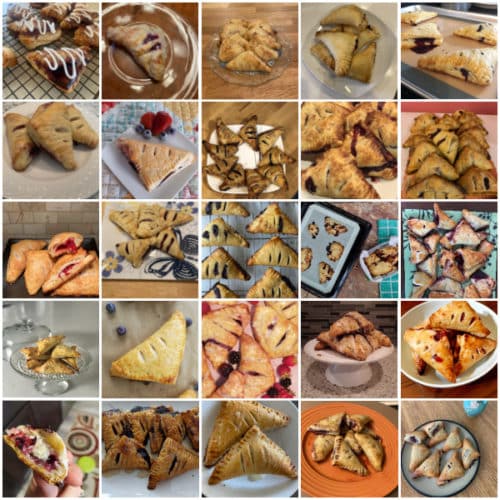
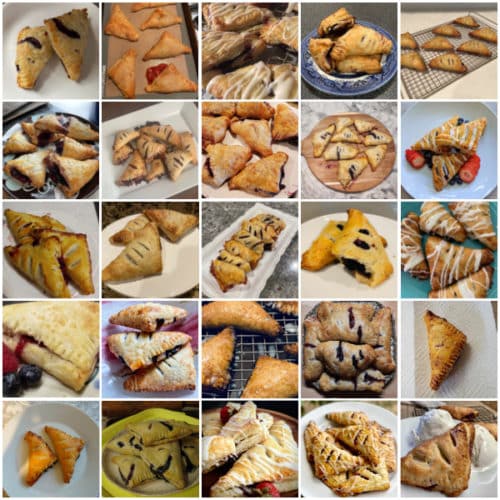
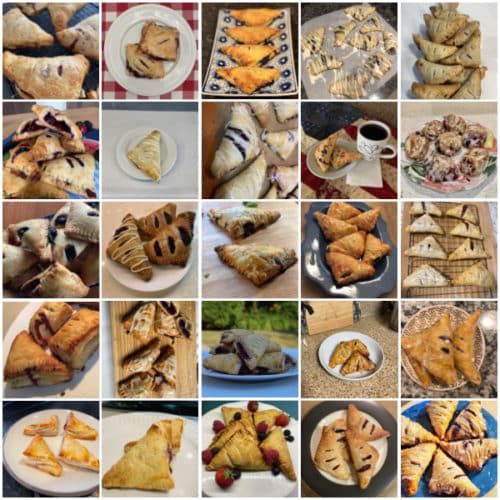
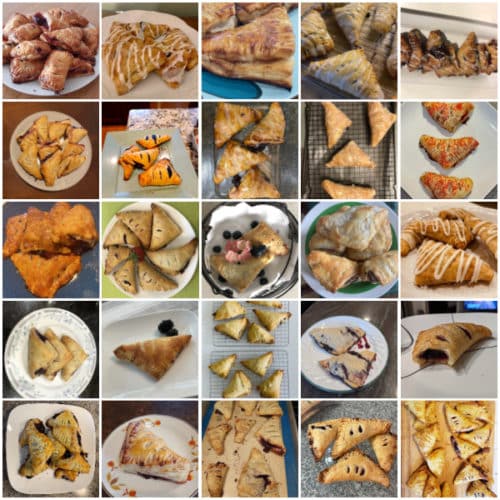
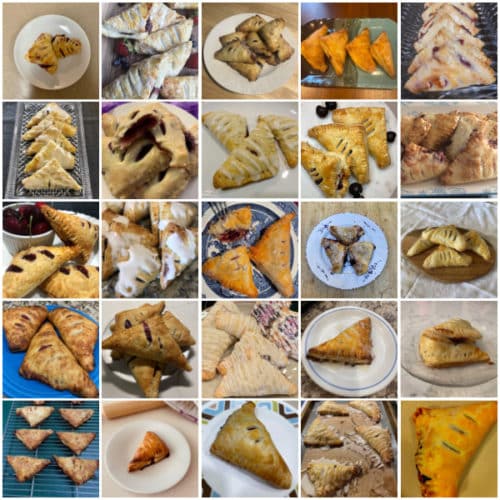
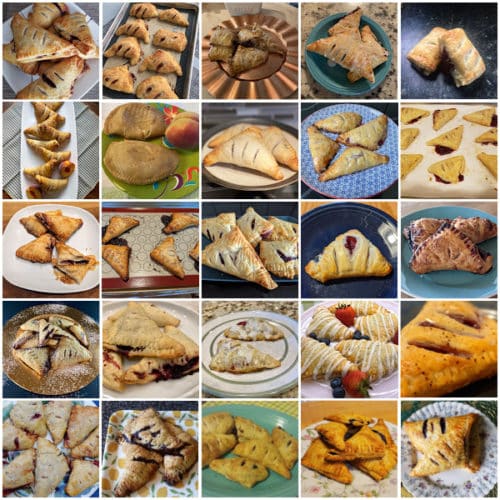
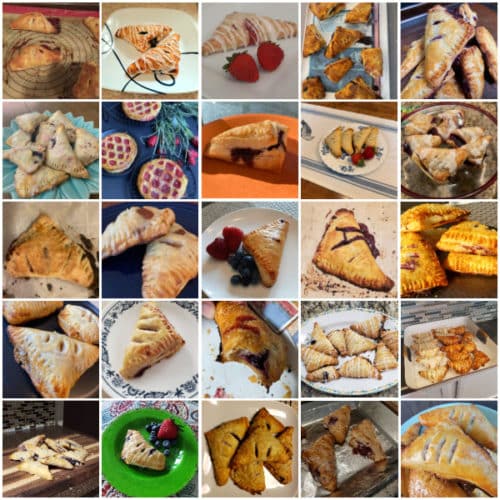


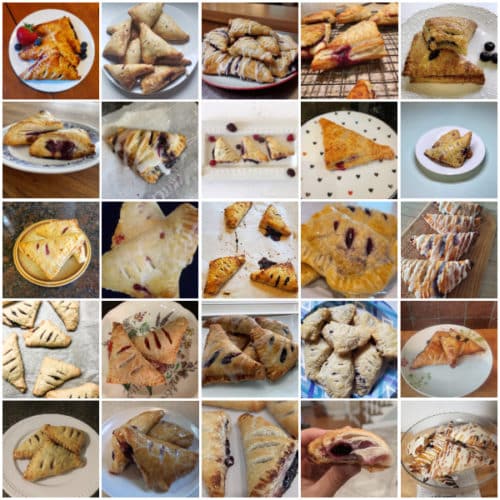

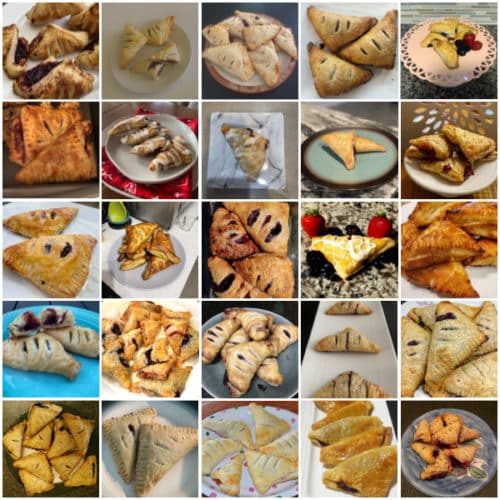
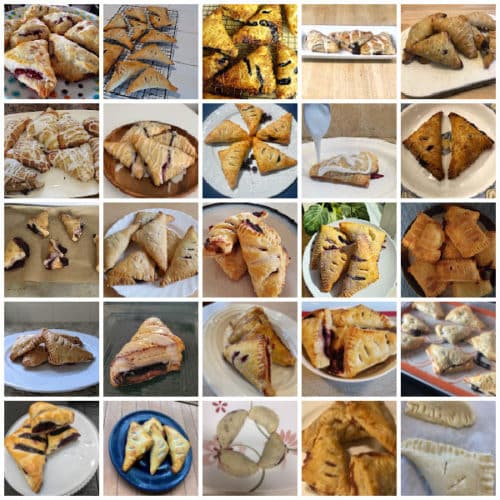
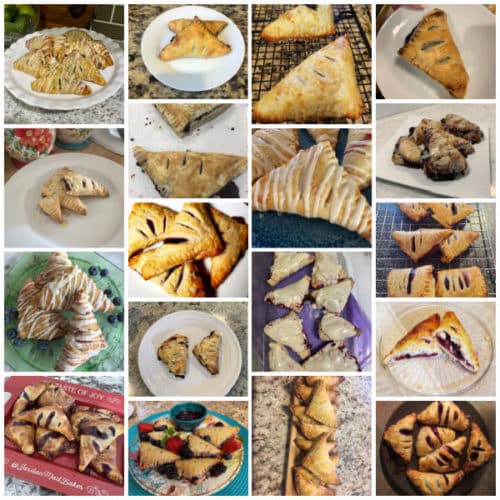
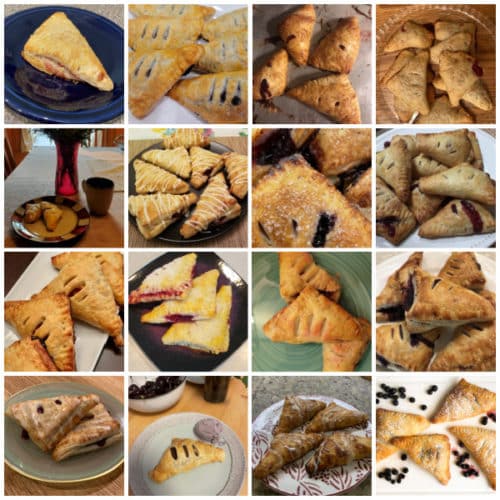
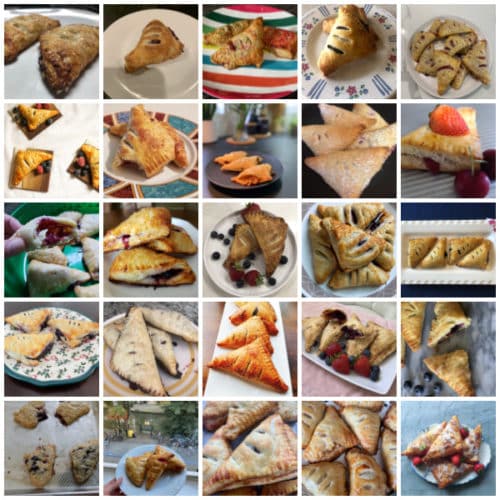
Many readers tried this recipe as part of a baking challenge! Feel free to email or share your recipe photos with us on social media. 🙂
Lots of photos below the recipe!
Print
Homemade Berry Turnovers
- Prep Time: 3 hours, 30 minutes
- Cook Time: 25 minutes
- Total Time: 4 hours
- Yield: 9 turnovers
- Category: Pastries
- Method: Baking
- Cuisine: American
Description
These homemade berry turnovers use a shortcut version of traditional puff pastry dough that’s often referred to as rough puff pastry. Each bite is mostly flaky dough with just a touch of berry filling. Make sure the butter is very cold before beginning the dough.
Ingredients
Berry Filling
- 1 teaspoon cornstarch
- 1 teaspoon warm water
- 1 cup (about 150g) mixed berries (I use 1/2 cup blueberries, 1/4 cup halved blackberries, 1/4 cup chopped strawberries)
- 1 and 1/2 Tablespoons (18g) granulated sugar
- 1 teaspoon lemon juice
Dough
- 1 and 1/3 cups (166g) all-purpose flour (spooned & leveled), plus more for generously flouring hands, surface, and dough
- 1 teaspoon granulated sugar
- 1/2 teaspoon salt
- 3/4 cup (12 Tbsp; 170g) unsalted butter, very cold and cubed
- 6–8 Tablespoons (90-120ml) ice cold water
Egg Wash + Topping
- 1 large egg*
- 2 Tablespoons (30ml) milk
- optional: coarse sugar for topping
- optional: vanilla icing
Instructions
- Make the filling first so it has time to cool: Whisk the cornstarch and water together until all the cornstarch has dissolved. (I just use a fork to mix–very easy.) Place the berries, sugar, cornstarch mixture, and lemon juice into a small saucepan over medium heat. Using a wooden spoon or rubber spatula, stir the mixture as it cooks. Break up some of the berries as you stir. Bring it to a simmer and allow to simmer for 3 minutes, stirring constantly. Remove pan from the heat and cool completely. The mixture will thicken as it cools. Once cool, filling can be covered and refrigerated for up to 5 days before using. Makes 3/4 cup of filling.
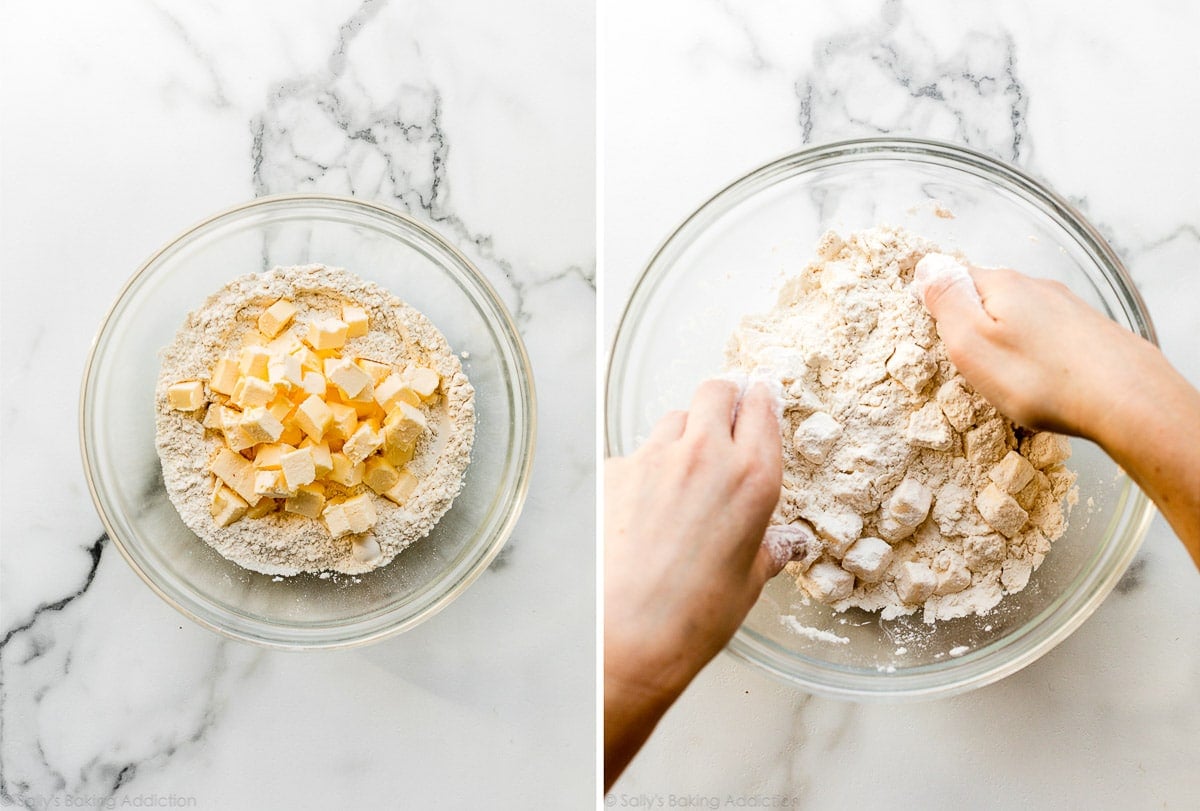
- Make the dough: Whisk the flour, sugar, and salt together in a large bowl. Place the cold and cubed butter on top. Gently toss the flour and butter together with your hands, and then briefly rub the butter into the flour to begin combining them, as you can see in the video tutorial below. You do not want to break down the butter too much in this step. This step is only possible if the butter is very cold because if the butter is warm, you’ll end up with paste. I do not recommend a food processor, pastry cutter, or mixer for this step because it will break down the butter too much.
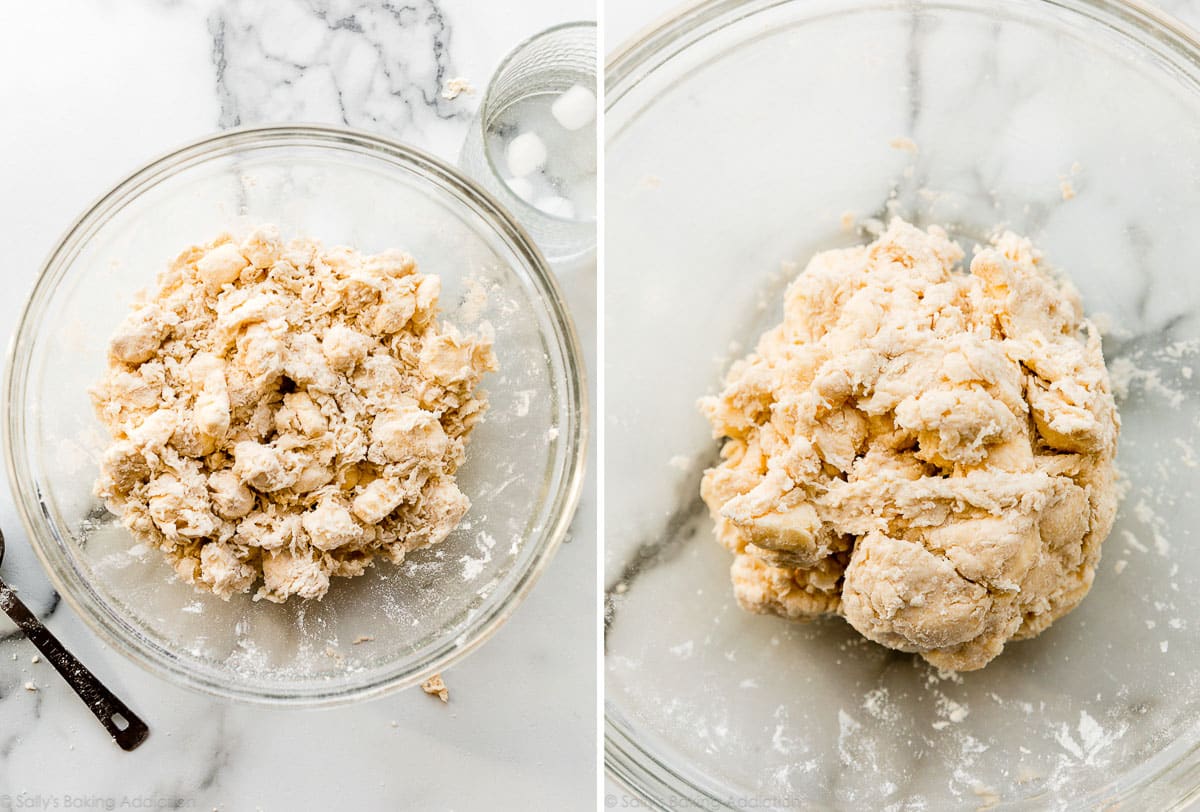
- At this point, the butter is still in large cubes/chunks. Begin adding the ice cold water 1 Tablespoon (15ml) at a time until dough forms 1 large shaggy clump in your bowl. Use your hands to toss the mixture together after you add each Tablespoon. (I usually start with 2 Tablespoons (30ml) of water before I begin tossing together.) You can use a spatula or spoon for tossing, but I really do recommend your hands so you get a good feel of the dough. As the dough begins to hydrate after about 4 Tablespoons (60ml) of water, you can start lightly squeezing or clumping the dough together with your hands to help bring it together. Mixture will still be very shaggy, as you can see in the video and photos below. If your dough feels sticky and wet before adding 6 Tablespoons of water, your butter was likely too warm—you can continue with the recipe, but the dough will not be as flaky.
- Pour the shaggy clump of dough out onto a lightly floured work surface. There will still be large chunks of butter at this point and that’s a good thing. Begin patting the dough down with lightly floured hands until it’s 3/4 – 1 inch thick, about a 5×8 inch rectangle. Fold the dough into thirds as if you were folding a business letter. Use your hands to gently flatten and smooth out any cracks in your dough. Wrap it up tightly in plastic wrap, parchment paper, or aluminum foil, or place into any tightly sealed container.
- 1st refrigeration: Refrigerate dough for at least 2 hours and up to 24 hours.
- Roll & Fold: Take the dough out of the refrigerator to begin the “rolling and folding” process. If the dough chilled for longer than about 3 hours, it’s likely very stiff so let it rest for about 5 minutes before you begin rolling. Lightly flour a work surface. The dough gets sticky, so make sure you have more flour nearby as you roll and fold. Use your hands to gently flatten the dough into a small square. Using a rolling pin, roll the dough into a 6 inch wide and 12 inch tall rectangle that’s 1/2 inch thick. The exact dimensions are not important, but the thickness is. As you roll, it’s best to flip the dough over once or twice to make sure it’s not sticking to your work surface. Lightly flour your work surface as needed. Fold the rectangle into thirds as if it were a business letter. (See photos and video tutorial.) Turn it clockwise or counter clockwise and roll it out into a 6×12 inch 1/2 inch thick rectangle again. Then, fold into thirds again. Turn it clockwise or counter clockwise. You’ll repeat rolling and folding 4 more times for a total of 6 times.
- 2nd Refrigeration: Wrap up/seal tightly and refrigerate for at least 15 minutes and up to 24 hours. You can also freeze the dough at this point. See freezing instructions.
- Line two large baking sheets with parchment paper or silicone baking mats. Rimmed baking sheets are best because butter may leak from the dough as it bakes. If you don’t have rimmed baking sheets, when it’s time to preheat the oven, place another baking sheet on the oven rack below to catch any butter that may drip.
- Take the dough out of the refrigerator to begin the shaping steps. Lightly flour a work surface. Using a rolling pin, roll dough into a 12-inch square. Using a pizza cutter or sharp knife, cut into 9 4-inch squares. Transfer squares to prepared baking sheets. (4 on one, 5 on the other.)
- Spoon 1 heaping Tablespoon of filling into the center of each square. Fold one corner over the filling to make a triangle. If some chunky filling has seeped out, use a fork to push it back in if you can. Using a fork, crimp the edges of the turnovers together to seal. If the dough has become too warm and sticky to crimp, refrigerate the triangles for 10 minutes. You want to make sure you have a tightly sealed turnover to help prevent filling from spilling out in the oven.
- Chill the shaped turnovers in the refrigerator, covered or uncovered, for at least 15 minutes and up to 1 hour (or freeze, see freezing instructions below). You can preheat the oven and make the egg wash (next steps) as they finish up chilling.
- Preheat oven to 400°F (204°C).
- Egg Wash: Whisk the egg and milk together. Brush on each turnover. Cut 3 slits into the tops of each to allow steam to escape. If desired, sprinkle with coarse sugar.
- Bake for 22-25 minutes or until golden brown on top and around the edges. Some butter may leak from the dough, that’s completely normal and expected. Feel free to remove the baking sheets from the oven halfway through baking and brush the dough with any of the leaking butter, then place back in the oven to finish baking. (That’s what I do!)
- Remove baked turnovers from the oven. Cool for at least 5 minutes before icing/serving. Centers will be hot.
- Drizzle with vanilla icing if desired.
- Cover leftover iced or un-iced turnovers and store at room temperature for 1 day or in the refrigerator for up to 5 days. Or you can freeze them for up to 3 months. Thaw before serving. Before enjoying, feel free to reheat leftover iced or un-iced turnovers in the microwave for a few seconds until warmed.
Notes
- Make Ahead & Freezing Instructions: You can make the filling up to 5 days ahead of time. See the end of step 1. For the dough, prepare as instructed in steps 2-4. At this point the dough can be refrigerated up to 24 hours. You can also prepare the dough through step 6. At this point the dough can be refrigerated for up to another 24 hours. During or after this second chilling time, you could also freeze the dough for up to 1 month. (I don’t recommend freezing the dough before the rolling and folding step.) Thaw overnight in the refrigerator, then continue with step 8. In step 11, you can cover and freeze the shaped turnovers for up to 1 month. Thaw in the refrigerator, then continue with step 12.
- Special Tools (affiliate links): Glass Mixing Bowls | Whisk | Small Saucepan | Rolling Pin | Baking Sheets | Silicone Baking Mats or Parchment Paper | Pizza Cutter or Sharp Knife | Pastry Brush
- Mixed Berry Filling: The ratios I list above are what I find work best, but feel free to substitute in raspberries. You can use all blueberries, all halved blackberries, or all chopped strawberries instead. Raspberries are very fragile and juicy, so I don’t recommend using all raspberries for this filling. You can use frozen berries (don’t thaw) with no changes to the recipe.
- Double Batch: The filling and dough recipe can easily be doubled. In step 4, make sure you’re patting the dough to be about 3/4 – 1 inch thick. In step 6, roll out to 1/2 inch thick. The dimensions in both of these steps doesn’t matter much, but the thickness does. In step 9, divide dough in half before rolling out into 2 separate 12-inch squares. Continue with the recipe as written.
- Other Uses For This Dough: After the dough has chilled in step 7, it’s ready to shape however you want. This recipe makes around 1 pound of dough, which is enough for one 9-inch tart or pie. If your pie or tart recipe requires par-baking with pie weights, I still recommend using them with this dough. I would follow all of the same instructions in your recipe, just switching out the dough to this. After step 7, roll it out to a 12 inch circle and use it as the topping for this skillet pot pie. Or after step 7, roll it out to a 12 inch circle and use it as the bottom crust for quiche—par-bake and dock the crust with a fork as instructed in the quiche recipe. Or after step 7, roll it out to a 10×14 inch rectangle and follow the recipe for honey pear tart.
- Chilling shaped turnovers: Chilling the shaped turnovers in the refrigerator before baking them helps them maintain their shape in the oven. Remember, cold pastry dough is best. I usually refrigerate them for 15 minutes as the oven preheats. If you’re nervous to chill the baking sheets in the refrigerator then bake them (which can cause warping), you have two other options. You can simply assemble the turnovers on parchment paper or silicone baking mats, lift the parchment/baking mat as a whole and place on another baking sheet or directly onto a shelf in the refrigerator. After chilling, carefully lift up and place the entire parchment/baking mat onto the baking sheets for baking. Or you can use a thin spatula and very carefully transfer the assembled unbaked pastries to a large plate to chill.
- Egg Wash: An egg wash promises that golden sheen on your pastries. You can skip the egg and use a total of 3 Tablespoons (45ml) milk (any kind, dairy or nondairy) instead.
Detailed Explanations & Step-by-Step Photos
The following photos show the bowl of dry ingredients with the cold and cubed butter on top. In the right photo, you can see me gently tossing the flour and butter together. In this step, I’m briefly/barely rubbing the butter into the flour to start combining them. This step is only possible if the butter is very cold because if the butter is warm, you’ll end up with paste.
At this point, as you can see in the photo on the left below, the butter is still in large cubes/chunks. That’s great! Now let’s add the ice cold water 1 Tablespoon at a time, using our hands to toss it all together. (Note that I usually start with 2 Tablespoons of water before I begin tossing together.) You can use a spatula or spoon for tossing, but I really do recommend your hands so you get a good feel of the dough.
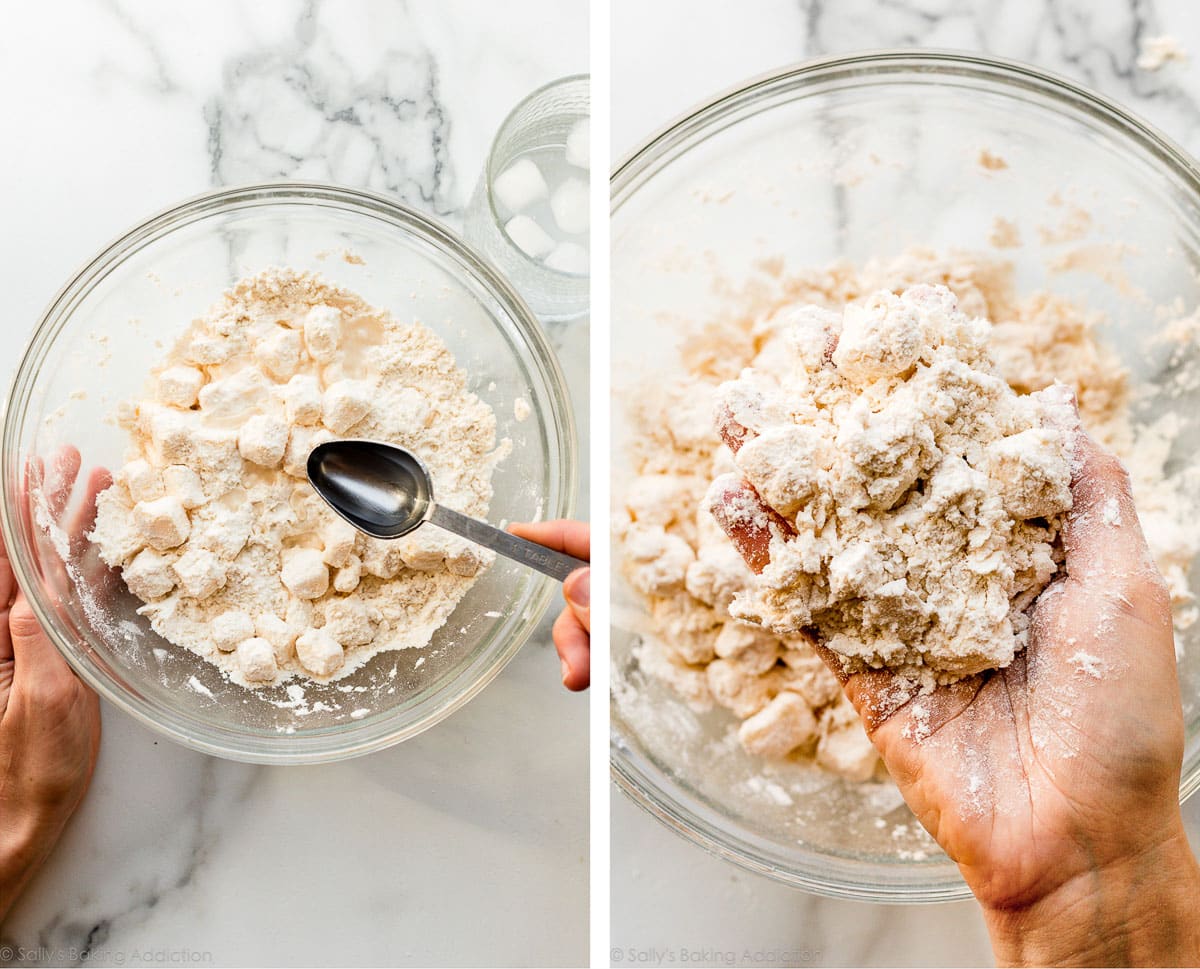
Photo below left: Continue adding the ice cold water and tossing the mixture together after each has been added. As the dough begins to hydrate after about 4 Tablespoons of water, you can start lightly squeezing or clumping the dough together with your hands to help bring it together. Mixture will still be very shaggy, as you can see.
See the photo below on the right? You only need 6-8 Tablespoons of ice cold water to get to this point. Do not add any more or any less. If your dough reaches this point before adding 6 Tablespoons of water, your butter was likely too warm. You can continue with the recipe with less water, but the dough will not be as flaky.
Pour the shaggy clump of dough out onto a lightly floured work surface, as you can see in the photo on the left below. There will still be large chunks of butter. That’s great! Begin patting it down with your hands until it’s about 3/4 – 1 inch thick, about a 5×8 inch rectangle:

As shown in the photos below, fold the dough into thirds as if you were folding a business letter. This is exactly how we fold biscuits dough, too!
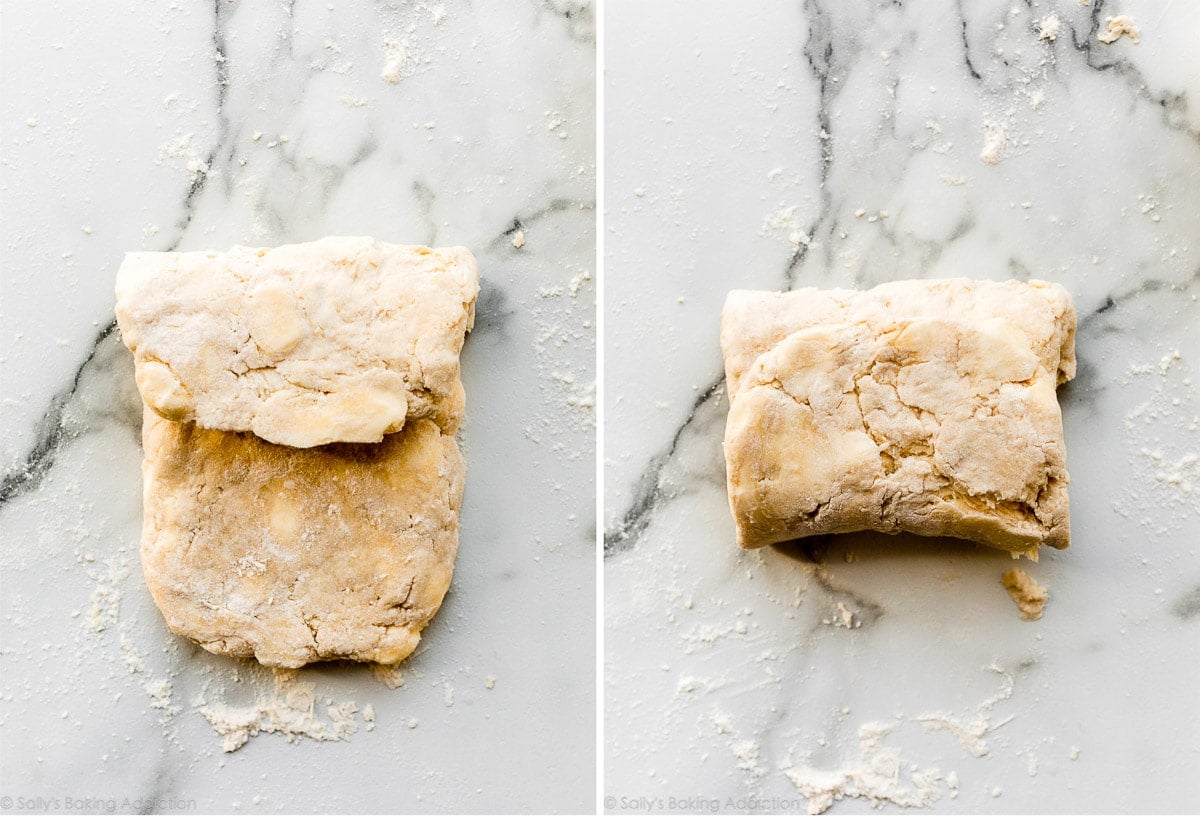
1st refrigeration: Now use your hands to gently flatten and smooth out any cracks in your dough “business letter” then wrap it in plastic wrap, aluminum foil, parchment paper, or place in a sealed container, and refrigerate for at least 2 hours and up to 24 hours.
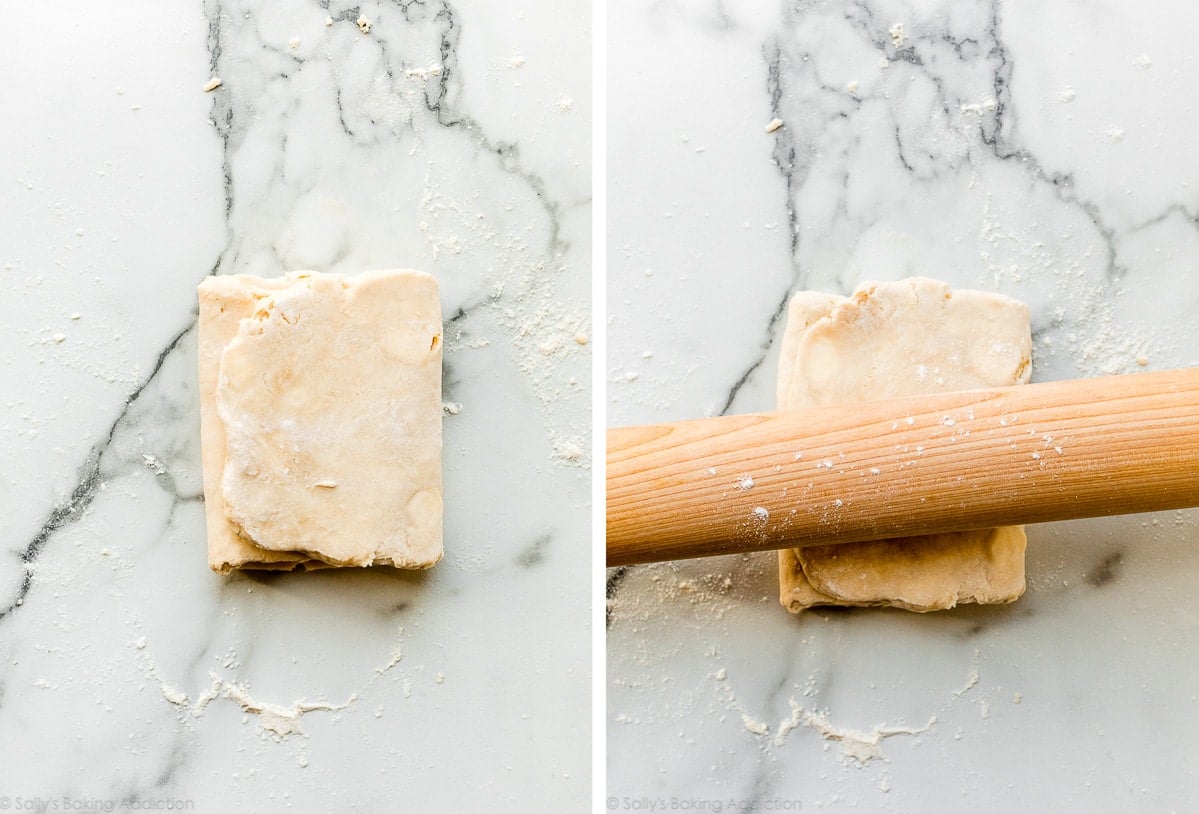
Now it’s time for the rolling pin. Remove dough from the refrigerator and begin rolling out.
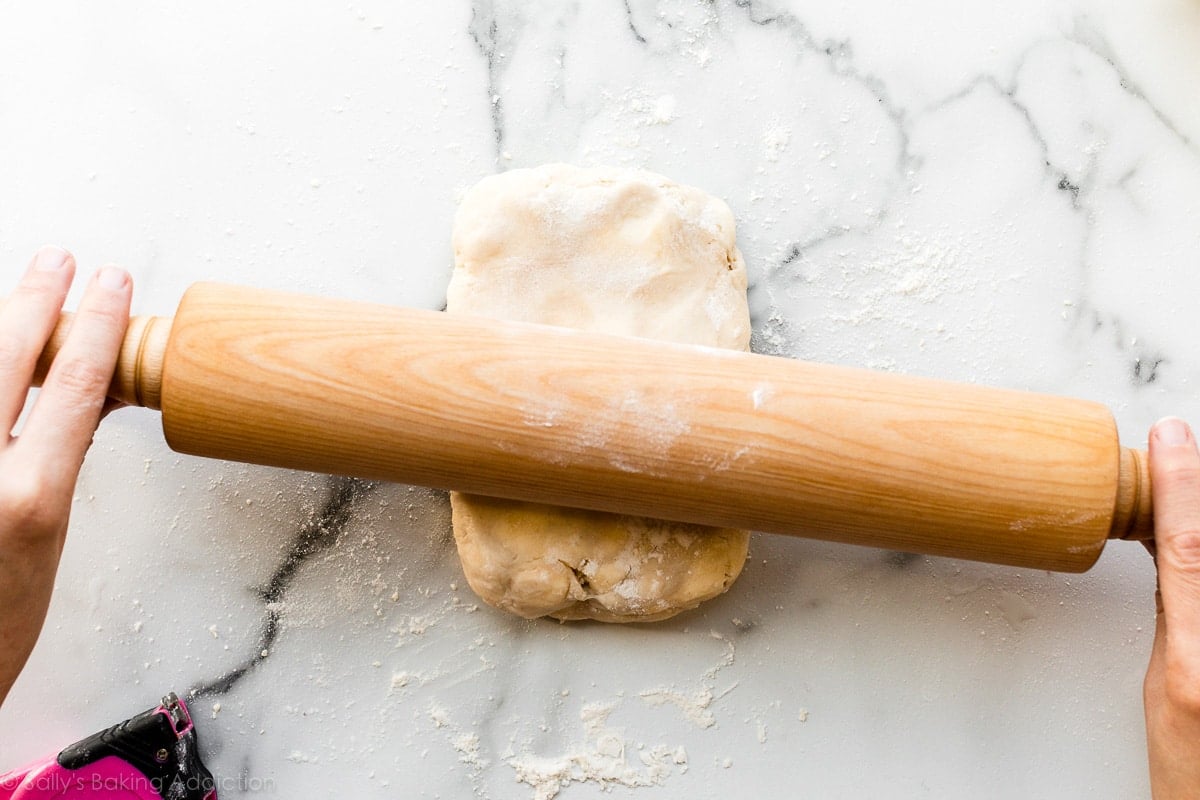
You’re going for a 1/2 inch thick, about a 6 inch wide and 12 inch tall rectangle. The exact dimensions are not important, but the thickness is. Fold the rectangle into thirds like a business letter:
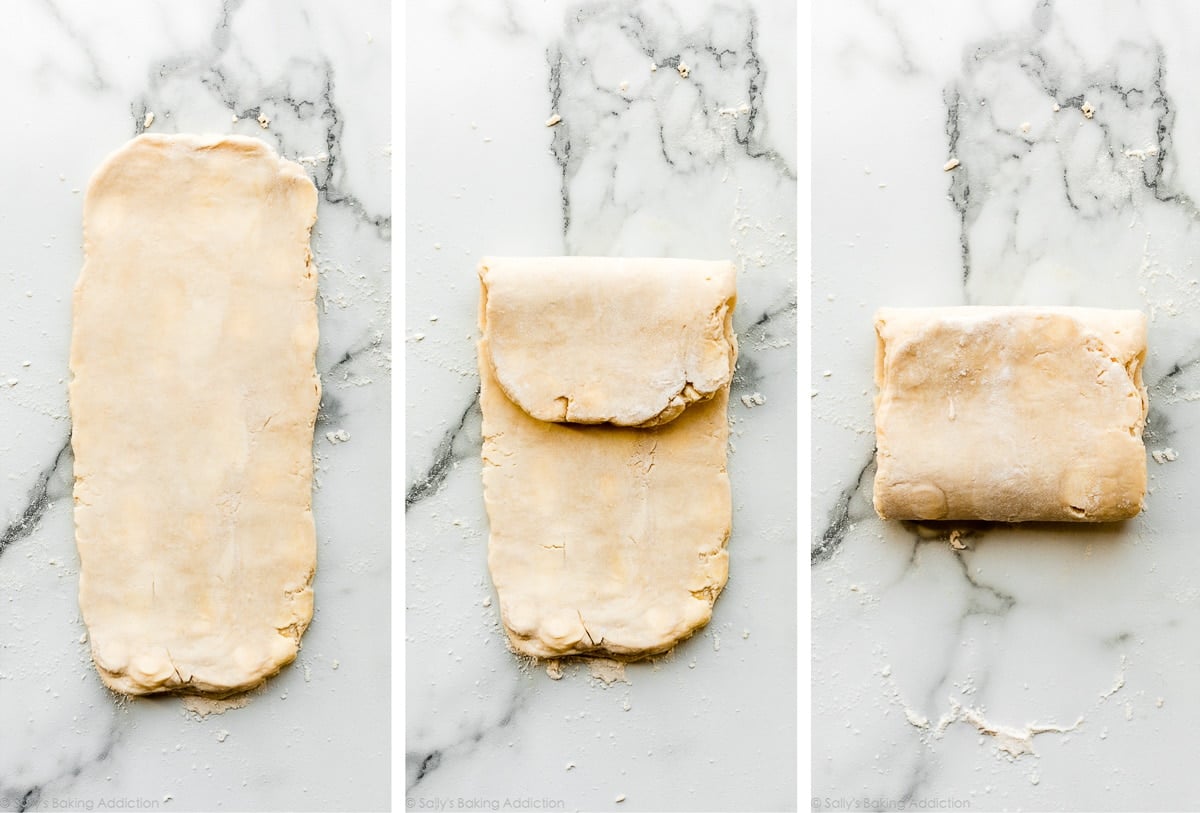
Turn it clockwise or counter clockwise, then grab your rolling pin again:
Repeat this 5 more times, for a total of 6 rolling out + folding sessions. After the 6th time, wrap the dough up again and chill for at least 15 minutes and up to 24 hours.
Success Tip: If the dough “business letter” is so thick or impossible to roll out, cover it with a clean kitchen towel and let it rest for 5 minutes before trying again. The butter just needs to slightly soften. Lightly flour your work surface whenever necessary.
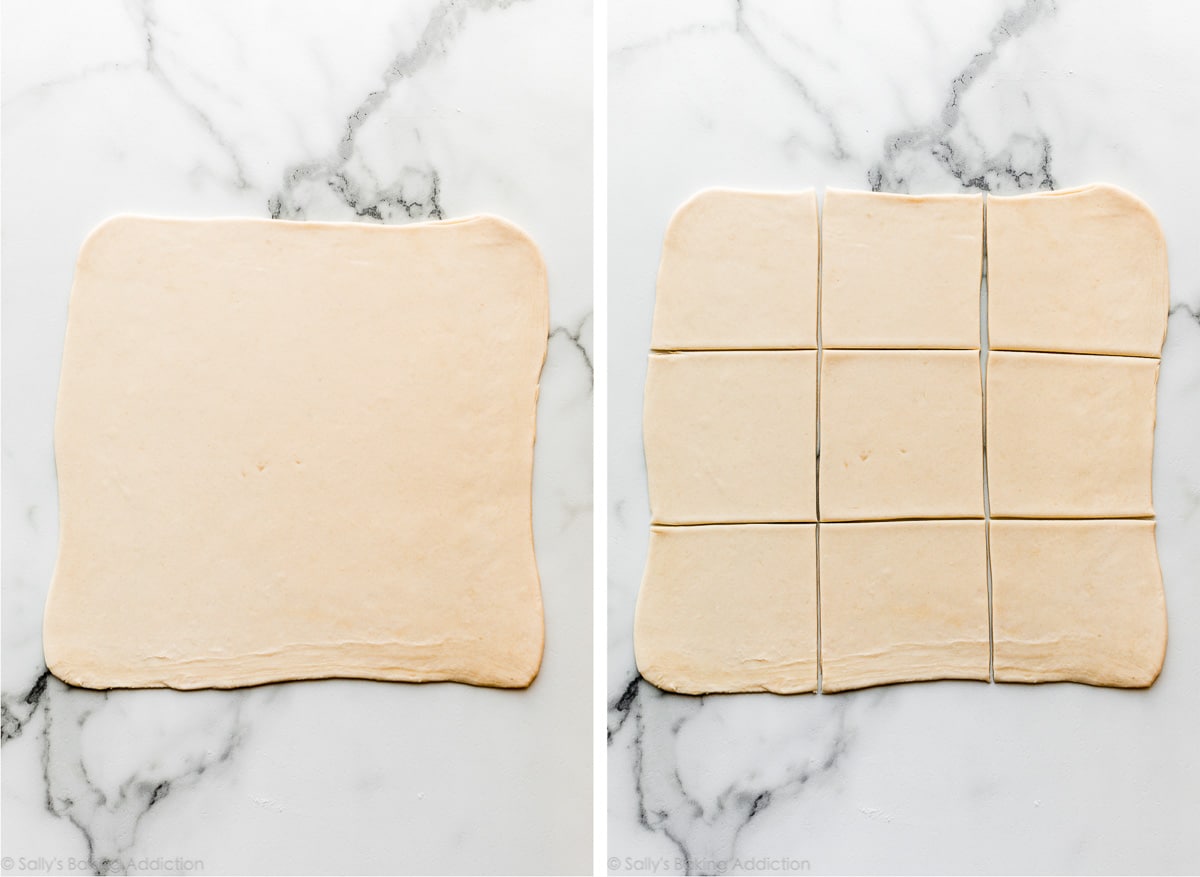
Now the dough is packed with layers upon layers of buttery dough. Roll it out to a 12-inch square. Cut into 9 4-inch squares.
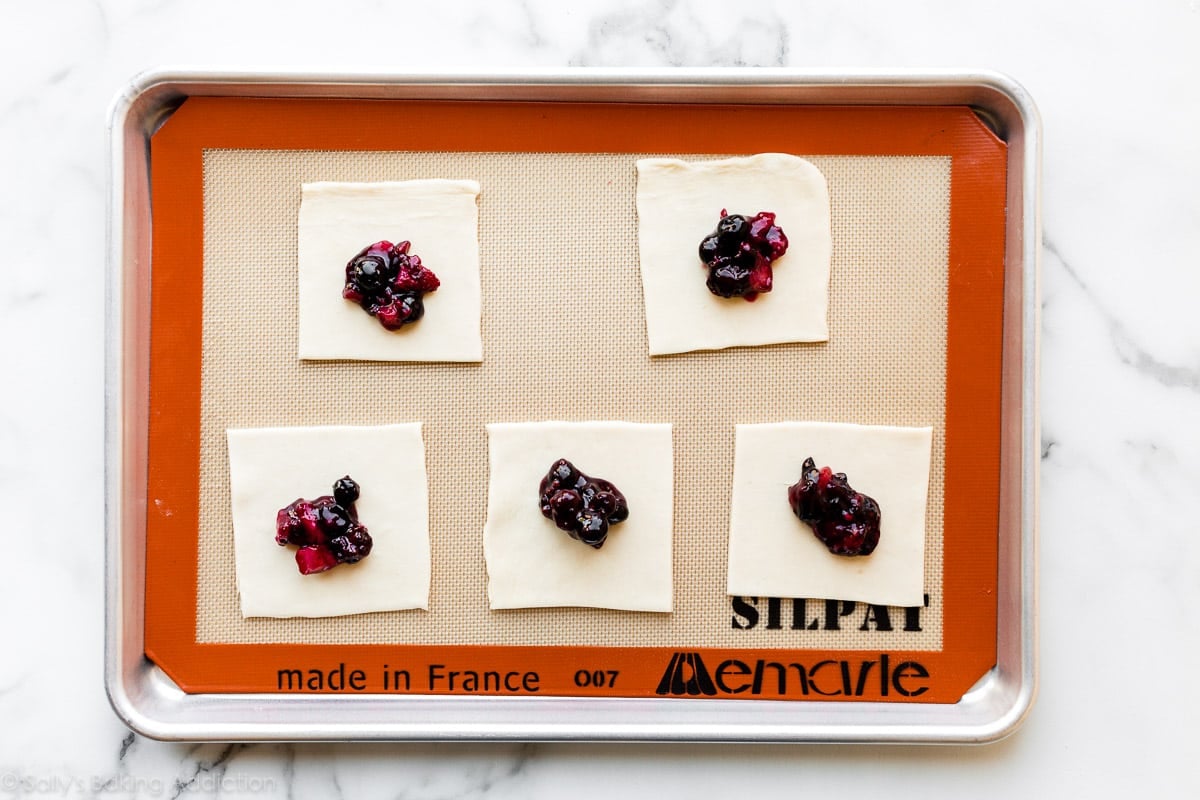
Place the squares onto 2 lined baking sheets. Place 1 heaping Tablespoon of berry filling in the center of each.
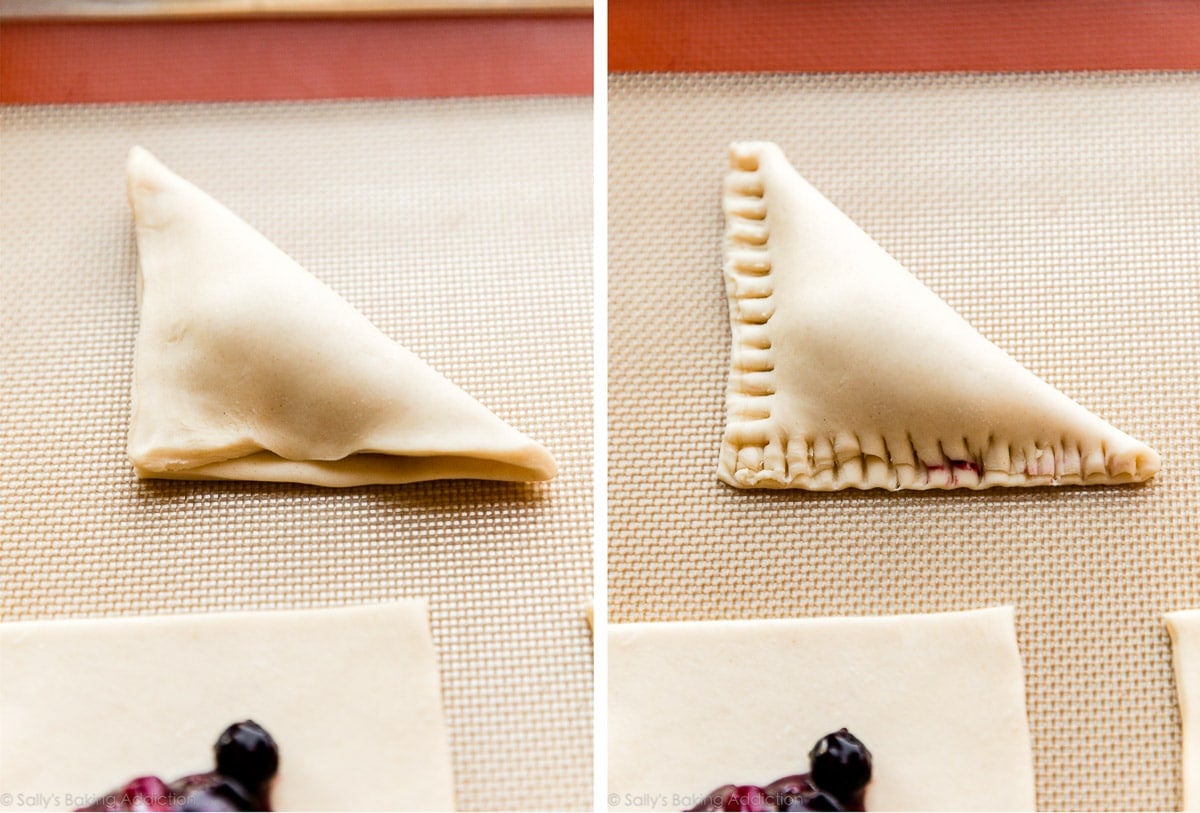
Fold over to create a triangle. Some filling is bound to leak out. Don’t worry about it! Crimp edges with a fork. If dough has gotten too soft at this point and the dough is too sticky to crimp shut, stop and refrigerate everything for 10 minutes. You want to make sure you have a tightly sealed turnover to help prevent it from spilling out in the oven.
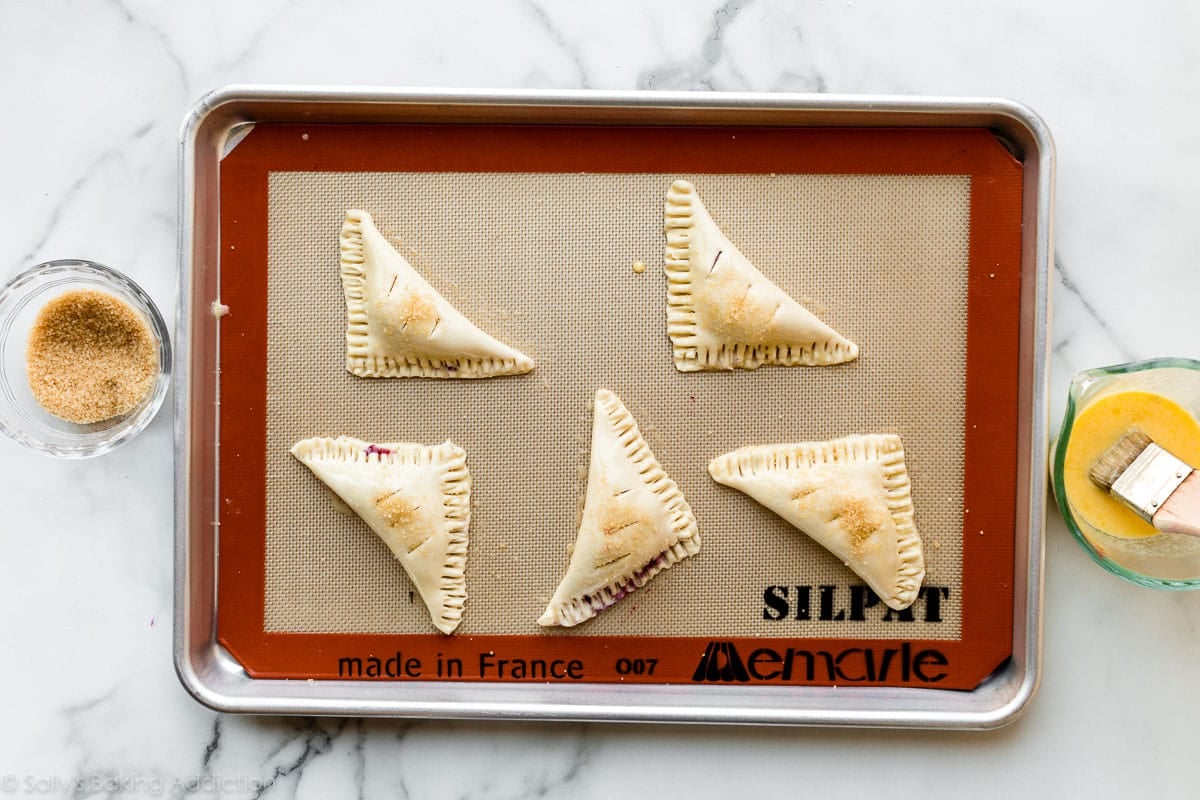
After shaping each turnover and crimping the edges, I strongly recommend refrigerating them for at least 15 minutes as you preheat the oven and make your egg wash. This helps guarantee they will hold shape.
Cut slits into the tops of shaped turnovers and brush with egg wash (egg + milk or just use milk). Sprinkle with coarse sugar—I usually use Sugar in the Raw or these coarse sugar sprinkles, both of which can be found in the baking aisle of major grocery stores.
Bake until golden brown. Butter will definitely leak from this dough, so don’t get nervous if you see that happening in the oven.


So easy to work with this dough. I was a bit short of the fruit filling, so one had some peach jam from a jar.
First time trying rough puff. Made it very easy to understand snd came out great!
These were truly amazing. Turnovers are one of my favorite treats and they are soooo much better eaten fresh at home. Thank you so much for such great instructions. Question – I wanted to make some with a chocolate filling – do you have a recommendation or a personal recipe for a chocolate filling for these turnovers?
Hi Em! We haven’t tried them with a chocolate filling, but we’re sure it would be great like these chocolate croissants. Or you can try the filling from these chocolate hand pies. Let us know if you give either a try!
These berry turnovers are delicious! The dough was so flaky and the filling was the perfect amount of sweetness. Thank you!
Hi, happy 4th. Delicious recipe! I filled them with strawberries, blueberries, red and black raspberries, all freshly picked on Thursday. The berry compote held up fine. I made a double batch of the filling to use on pancakes. Not as much leaked as I thought it would. For someone with pie rolling dough phobia, it was easier than I thought. I topped them with berry flavored sugar and Demerra sugar. A keeper recipe. Perfect for apples, or even peaches or apricots. Thanks Sally.
What sorcery is this?!? Berry flavored sugar!!!! Do you make it yourself? If so, would you mind sharing your recipe? If not, where did you buy it?
I’m sorry but my mind is going nuts with the possibilities here lol
Samantha, no, I did not make it myself and yes, it is a real product. I found this site, Saltopia, a small local business and they have many different flavored salts and sugars. It is called Berry Best, their site is www.saltopiasalts.com. You can go nuts with the flavors and the names are really cute. Happy Shopping, hope you find something you like.
I just finished baking these and my husband and I ate them all in one sitting!…oops! So delicious though. I have never made my own pastry dough before and was a little nervous about it but it was much easier than I thought it would be. The only trouble I had was rolling out the final 12″x12″ square because I couldn’t get the size or shape quite right, so my squares for the turnovers were not all perfectly even to make the triangle shape, but they still came out delicious.
These are AMAZING! It’s a lot of steps, but very easy, especially if you fridge the dough overnight. I used all strawberries and had about a scant T of “jam” per turnover. I might make these a smidge smaller next time. Thank you! This was a *PERFECT* summer recipe!
Fantastic! Perfect for a 4th of July party!
These are the best berry turnovers we have ever eaten! Perhaps it was the process of making them or perhaps it was the freshness out of the oven. As a family, we decided that we are forever ruined and will never order a berry turnover in a bakery or restaurant again.
The instructions were very clear. During one of the fridge times, I watched the video with one eye open so that I would only see half of my mistakes since I did not view it in advance. I was so pleased to see that the written instructions did not fail me as a novice.
The berry turnovers are flakey, juicy and delicious. We took about 12 hours to make them (not rushed) and about 2 minutes to devour!
I’ve made rough puff pastry with gluten-free flour blends a couple of times and in my experience it kind of works but is still a challenging endeavour.
As always in gluten-free baking, there is the issue of more sticking and less binding, because of the lack of gluten. That can be dealt with by using tricks like rolling out between layers of parchment and avoiding to add too much additional flour, which would throw off the texture of the baked good. Also, I found keeping cool ingredients very cool and chilling immediately at any time or in between work steps if the dough gets too difficult to handle very important.
The gluten-free rough puff pastry I’ve made so far didn’t hold the shape as good as we know regular puff pastry to do. I found giving the baked good some kind of shape-holding structure, like putting it in little ramekins or cookie cutters, to be helpful.
I live in Europe, so I’m not able to recommend a flour brand because they won’t be available in the US. However, I used a store-bought guten-free blend and swapped 1:1.
Hope this helps 🙂
I have just made these using frozen mixed berries and oh my goodness theya re delicious… Your recipes are so easy to follow and just fantastic! A firm family favourite
Great flavors, nice buttery crispy texture. I followed the recipe pretty well but had a hard time getting the perfect dimensions on the final roll out and so some of my squares were more like rectangles and didn’t fold over well into a triangle. It was my first attempt at homemade puff pastry and I’m pleased overall with how it turned out!
This was my first attempt with rough puff and it turned out amazing! My boys gobbled them up. Thanks for a great recipe!
I made these today and I have to say; this is my favorite challenge so far in 2021!! The directions & tutorial video provided were so good to follow and were such a big help. I got worried I was doing the cubed butter & water wrong but as I followed along with the video, it helped my nervousness and showed me I was good! I had my own little mishaps in how I measured out my squares before filling them with fruit so that caused some of the fruit to seep out. Once they were baked and cooked, I drizzled mine with vanilla icing and took a bit. WOW. The flavor of the fruit mixture combined with the flakiness of the turnover dough is DIVINE. Overall, I love this recipe and encourage anyone who hasn’t made it yet that reads this to GO DO IT. You won’t regret it. I most certainly will be doing this again and can’t wait to try it with other fruits!
I’ve always wanted to try making a rough puff after seeing it on the Great British Baking Show! I found this method to be much easier than the traditional way. They turned out great and knowing how to make a rough puff opened a lot of doors to baking other recipes!
The dough is very forgiving as long as you keep it cold. I had a hard time getting 12” square before the butter started to soften too much so I popped it in the freezer for 15 minutes and it helped me to keep working the dough without melting the butter. Mine were still buttery and flaky.
These look so delicious! Just can’t wait to make them and enjoy them for 4th of July!
Recipe was great! This was my first time making a dough like this so I was a little nervous but it came together easily and was so light and flaky after being baked! I used a frozen berry mix for the filling and it was delicious!
These are delicious! I made half with frozen strawberries and half with apples (filling recipe used from Carmel apple turnovers). my friends and husband really enjoyed them. I didn’t have coarse sugar but plan on using it next time! The vanilla icing is a great addition.
These were so good. My first time making any kind of puff pastry from scratch. I was so impressed! I couldn’t believe I made that with all those flaky layers! I went with a strawberry filling since the strawberries are in season. This was really, really good! I struggle with keeping the filling inside but that will forever be an issue with me and making turnovers, I think. Lol! Looking forward to making it again with different fillings!!
Going to give this a 5 because I only had one issue and it was likely something I did.
I seemed like I didn’t have enough dough to roll 12 X 12. It seemed too thin after I rolled to that size. They are in the oven now.
This looks do good! I can’t wait to try them. Do you think apples will be good?
Thank you.
I didn’t think it was possible for me to ever be successful with this type of recipe with layers, but Sally’s steps made it easy to follow! We made these after blueberry picking, so we didn’t use any other berries.
This wasn’t as hard as I thought it would be. I’ve never made turnovers before and was always a little unsure how to make the dough but it came out great with this recipe. Nice and flaky! I made 6 turnovers but ran out of fruit (prob put too much in each!) so for the next time I would do 1.5 cups of fruit in case and that should be enough to fill the remaining 3 turnovers. Thanks for the great recipe, Sally!
This is the best baking challenge recipe so far this year:) They turned out spectacular! The dough is so flaky and delicious. I will make these over and over…! Thank you Sally, this one is great:)
Looking forward to trying this challenge! Would these work with some type of chocolate filling?
Hi Amanda! I haven’t tried them with a chocolate filling, but I’m sure it would be great like these chocolate croissants. Or you can try the filling from these chocolate hand pies.
Thank you, Sally! I made these over the weekend and did half with the berry filling, and half using semi-sweet chocolate chunks. The chocolate ones came out great as well!
This recipe is AWESOME! Very easy to follow. Doubled it because I knew we’d eat them all. Beautiful pastry and nice berry flavor. Enjoyed the addition of icing but you can definitely eat without.
A bit rude to make this the challenge during the middle of summer. Not everyone has air conditioning…! I’ve tried making pastry while it’s 80+ and butter melts super fast.
Not the end of the world, but something to consider in the future 🙂
Hi Emm, thank you for your feedback! My monthly baking challenges are completely optional and not required. Just something fun! If you aren’t able to participate with the assigned recipe, there are dozens (almost 60!) alternate recipes to choose from. And if you’ve never worked with this dough in a hot kitchen before, give it a try. If you notice it melting too fast, stop and refrigerate it for about 15 minutes. Thanks again!
Great pastry to work with! Easy to follow instructions. I made mine with 1/2 cup blueberries, 1/4 cup sweet cherries and 1/4 cup strawberries. I will try a cherry only filling next time!
Any suggestions on how to adapt these using tart cherries? I adapted a King Arthur flour rough puff berry turnover recipe last summer, but didn’t like the dough as much as your croissant puff pastry dough. I am trying to emulate the cherry turnovers I get from my favorite Door County Bakery.
Hi Kristin, I haven’t tested it but you could use the cherry filling from these cherry pastry pies. I recommend halving the filling. I would quarter the cherries so the pieces are smaller. Tart cherries should be just fine in the filling instead of dark sweet cherries. The filling is pretty sweet as is.
I made these with cherries and have to report significant leakage! But still tasty.
My dough is chilling in the fridge. It came together so easy. The video was super helpful. I made apple filling as it is my hubby’s favorite and tomorrow is his birthday. We are hoping in the car in the morning to go to Lyon for his birthday and these looked like perfect traveling pies!
Hi Amy! I’m so happy that you found the video helpful– and that you made these so quickly! Can’t wait to hear how you like them with apple filling.
I will be using apple filling too for the same reason. 😉
These look amazing! What kind of butter do you recommend? I have both Land o’ Lakes and Kerrygold in my fridge. Thanks!
Hi Sally, while I love cooking with Kerrygold, I really do recommend regular/standard butter such as Land O’ Lakes in pastry recipes. The dough is easier to work with and there isn’t as much butter leakage.
Good to know! I have both too only because I bought the Kerry Gold to attempt croissants for the 3rd time after 2 failures! Going to note that on the recipe. Thank you!