

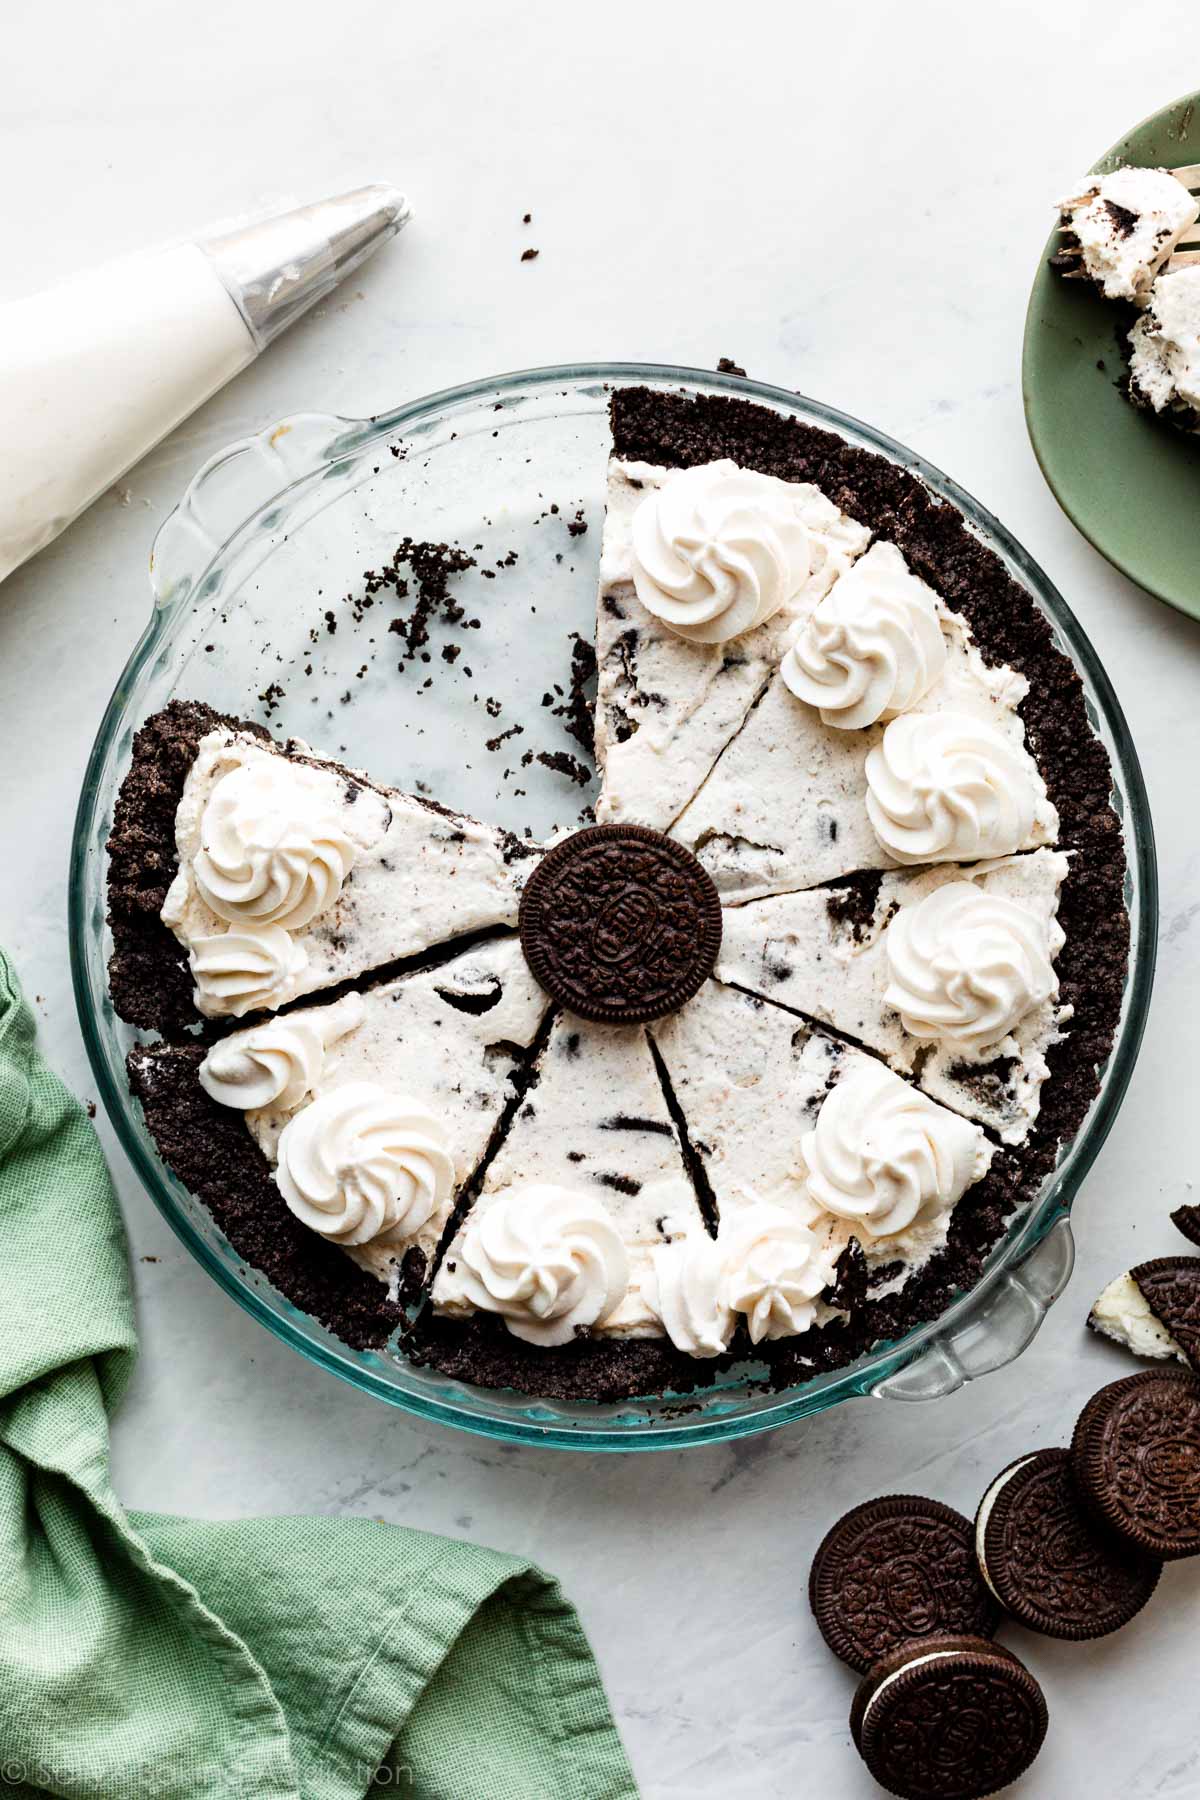
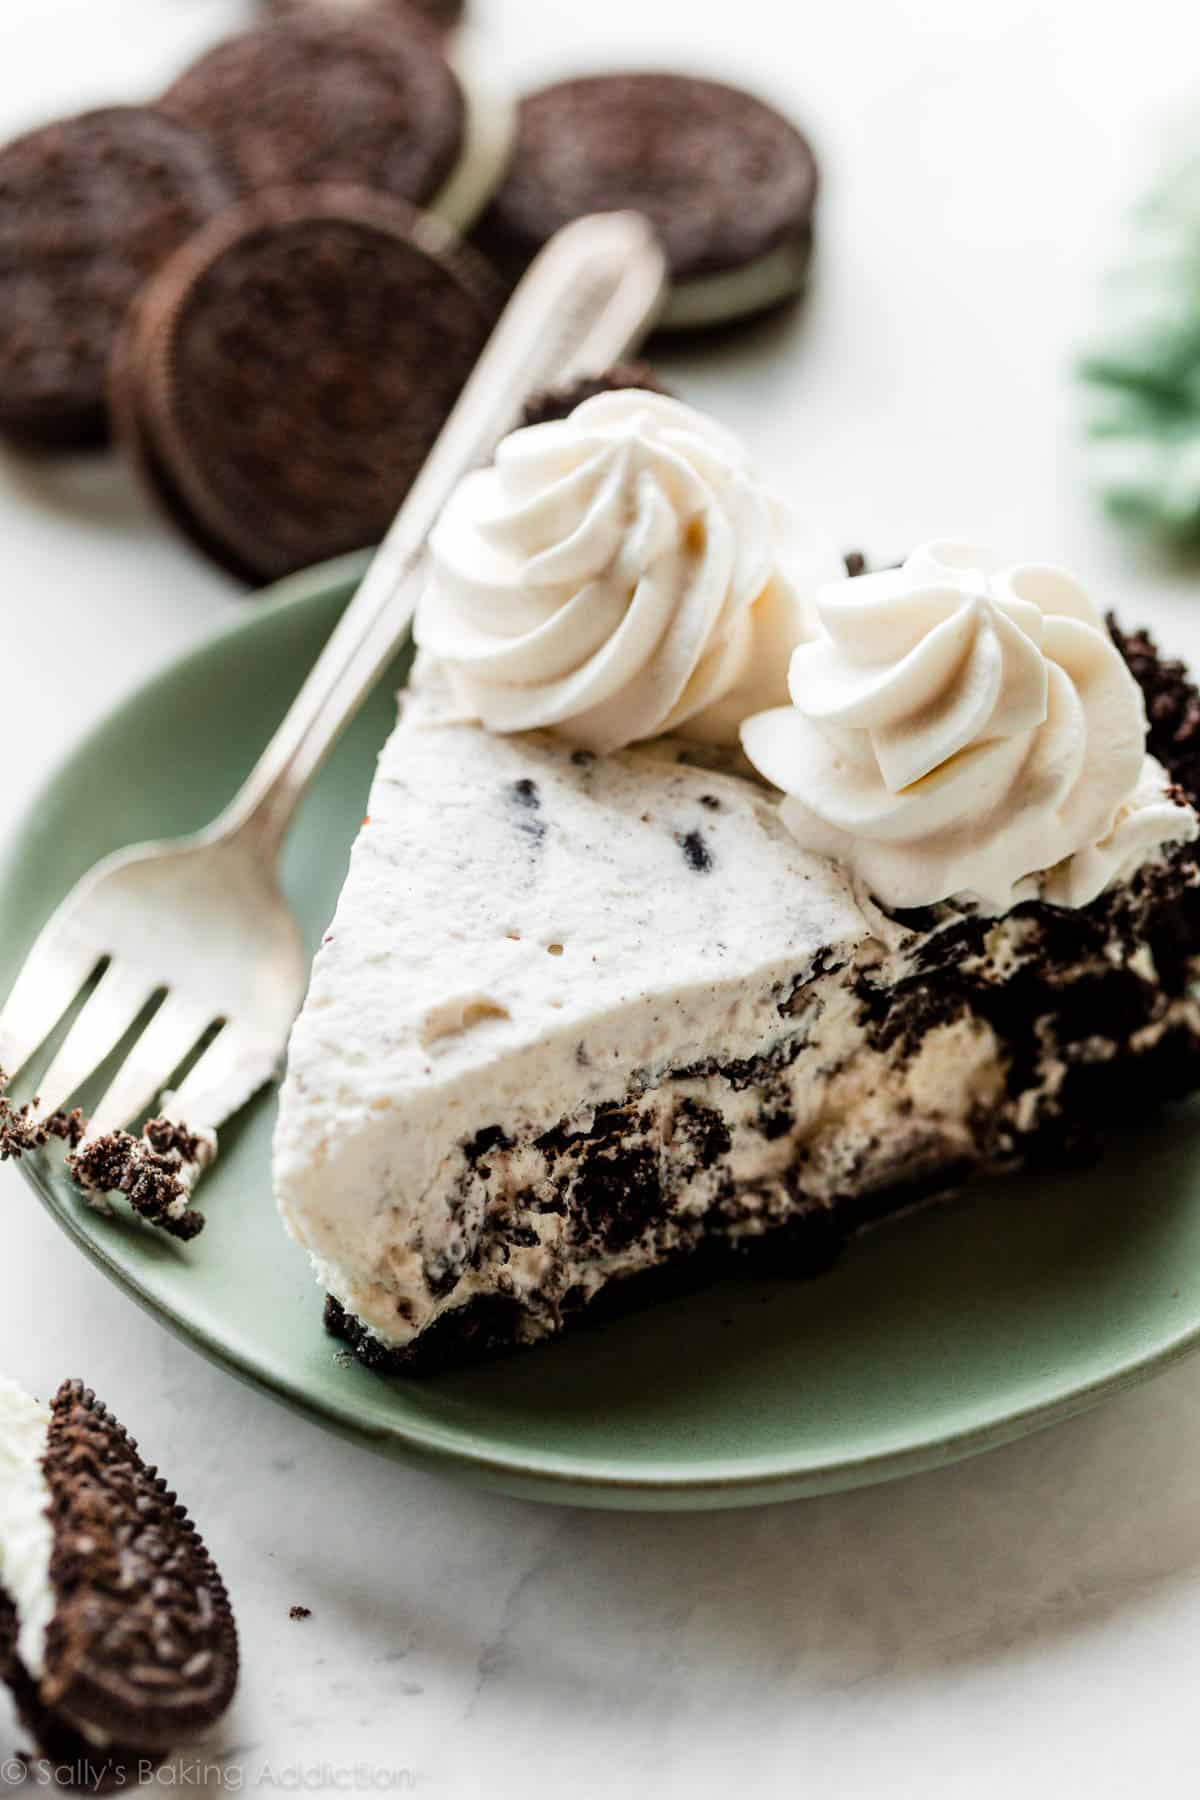
You don’t have to go another day without experiencing the most delicious cookies and cream pie. Made from only 6 ingredients including cream cheese, heavy cream, and Oreo cookies, this simple pie is mostly no-bake and sets up in the refrigerator. It tastes like the filling of an Oreo and I guarantee you won’t be able to put your fork down!
One reader, Mary, commented: “If you love dipping Oreos in milk, you will like this pie. If you love cheesecake, you will like this pie. If you love yummy desserts, you will like this pie. It was easy and so good. ★★★★★”
Tell Me About This Cookies & Cream Pie
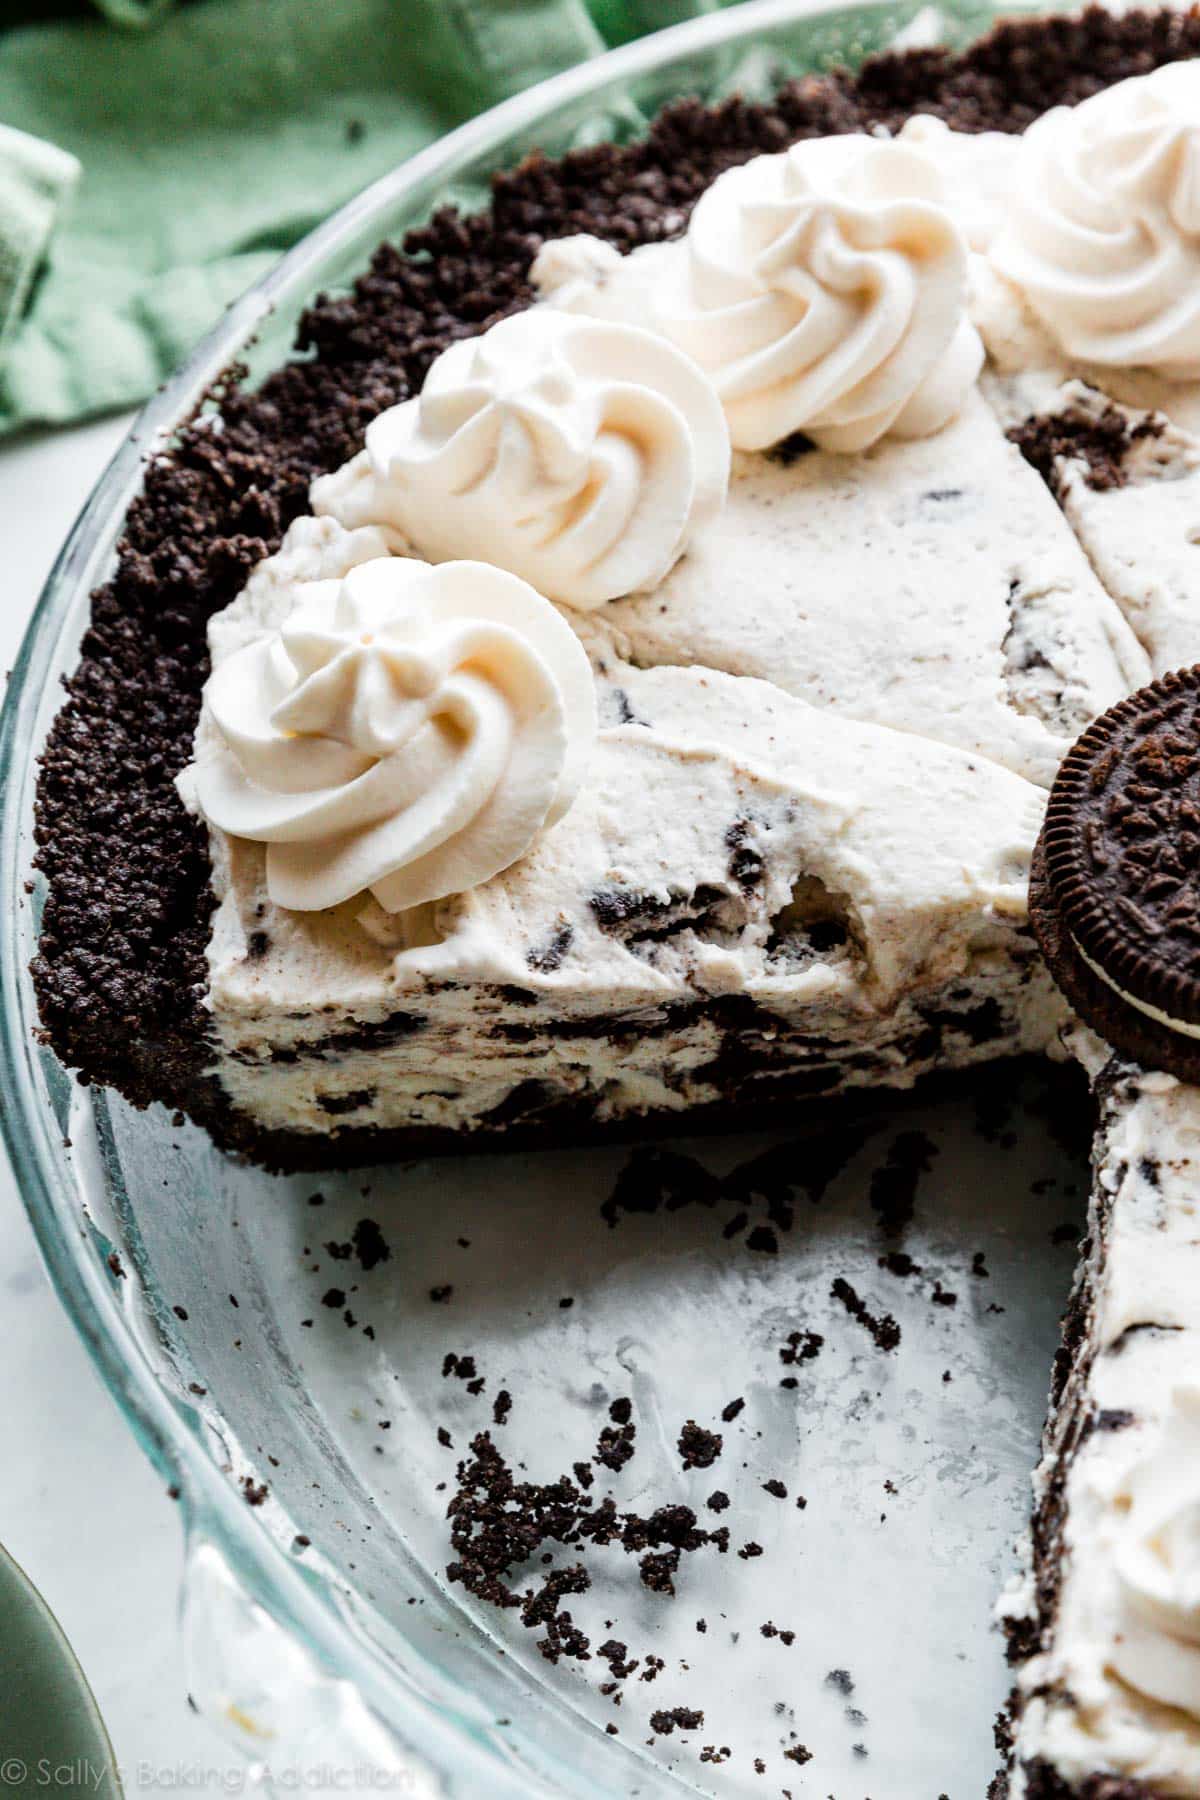
- Texture: This is an extra creamy pie. The Oreo cookies inside the filling soften over time, so you have even more contrast to the crunchy crust beneath it.
- Flavor: If you like Oreo cookies, you will LOVE this pie. Though the filling is made with cream cheese, it doesn’t particularly taste like cheesecake. The cream cheese adds a little tang; the flavor would be pretty flat without it. (And the pie wouldn’t set up.) If you’re in the mood for cake, here are my cookies and cream cake and cookies & cream cupcakes recipes.
- Ease: This is one of the most effortless dessert recipes I’ve ever made in a pie dish—a beginner can definitely handle it. This could also be a very fun and approachable baking project for little bakers! With supervision, of course.
- Baking: The Oreo crust sets up in the oven, the filling sets up in the refrigerator. Bake the crust for about 10 minutes, let it cool as you make the filling, then spread in the filling.
- Time: From mixing bowls to refrigerator in about 30 minutes. However, just like our peanut butter banana cream pie, the filling takes at least 6 hours to set up, so plan ahead. If you’re in a rush, you could also freeze this pie—it’ll still take at least 4 hours to firm up, though.
This is a wonderful make-ahead dessert option and you could even make it a few days in advance. (The ultimate test to your self control.) It’s also a fun, non-traditional option to include on your menu of Thanksgiving pie recipes. Even classic apple pie, pumpkin pie, and pecan pie enthusiasts won’t be able to resist a slice!
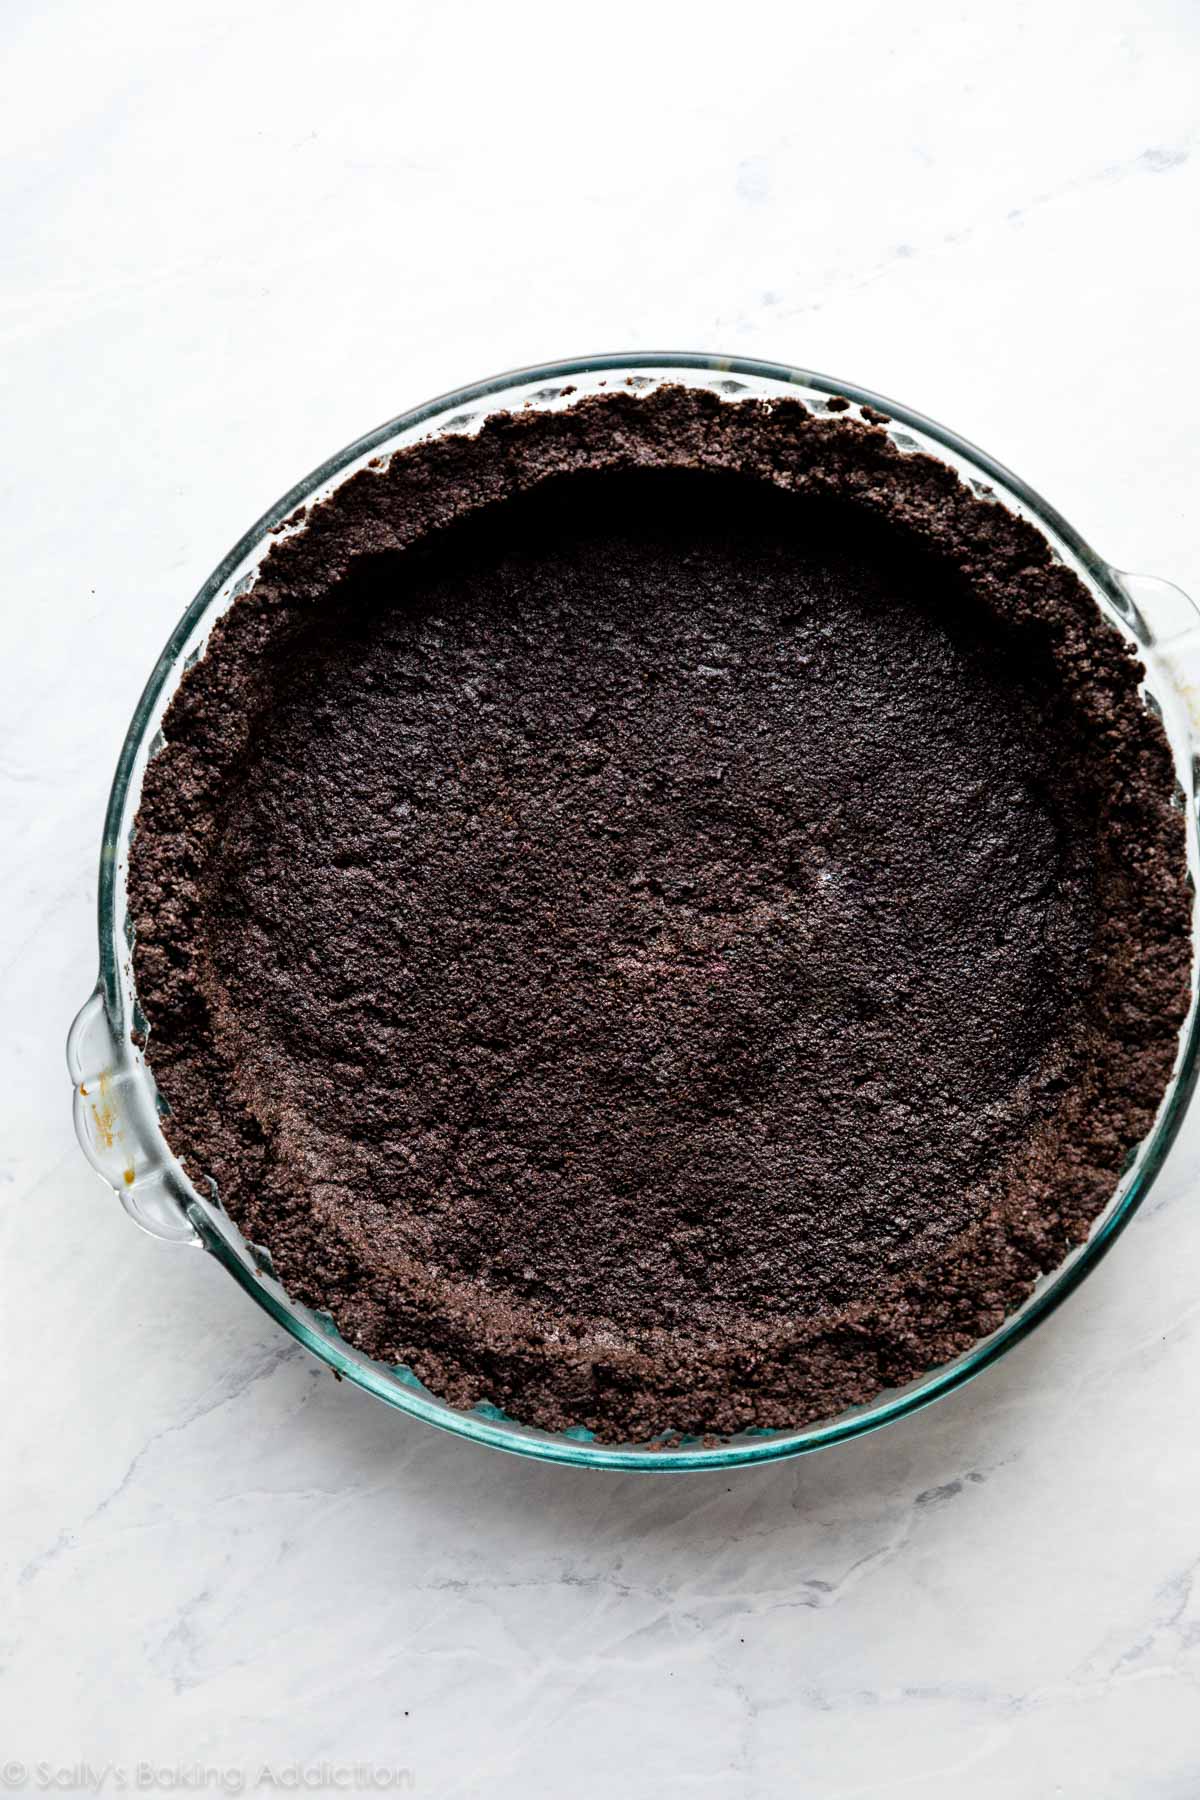
Oreo Cookie Crust
You need Oreos for the filling, so why not use the rest of the package for a homemade Oreo cookie crust? Just 2 ingredients: Oreo cookies and melted butter. Using a food processor or blender, pulse/blend 22 whole Oreo cookies (the cream filling and cookie) into crumbs. You should get about 2 packed cups, or 250g. Mix with melted butter, then press mixture tightly into a pie dish. Bake for 10 minutes, then let it cool. That’s it! That’s how easy a homemade Oreo cookie crust is. It’s the same exact crust you use for mocha chocolate pudding pie and caramel turtle brownie pie. Be sure to use the packaged Oreos here and not homemade Oreo cookies.
- Find more Oreo crust tips and techniques on my Oreo cookie crust page.
- If you don’t have a food processor/blender, place the Oreo cookies in a large zipped-top bag and crush with a rolling pin. Keep in mind that the finer the crumb, the better the crust will hold its shape.
Overview & Photos: How to Make the Cookies & Cream Pie Filling
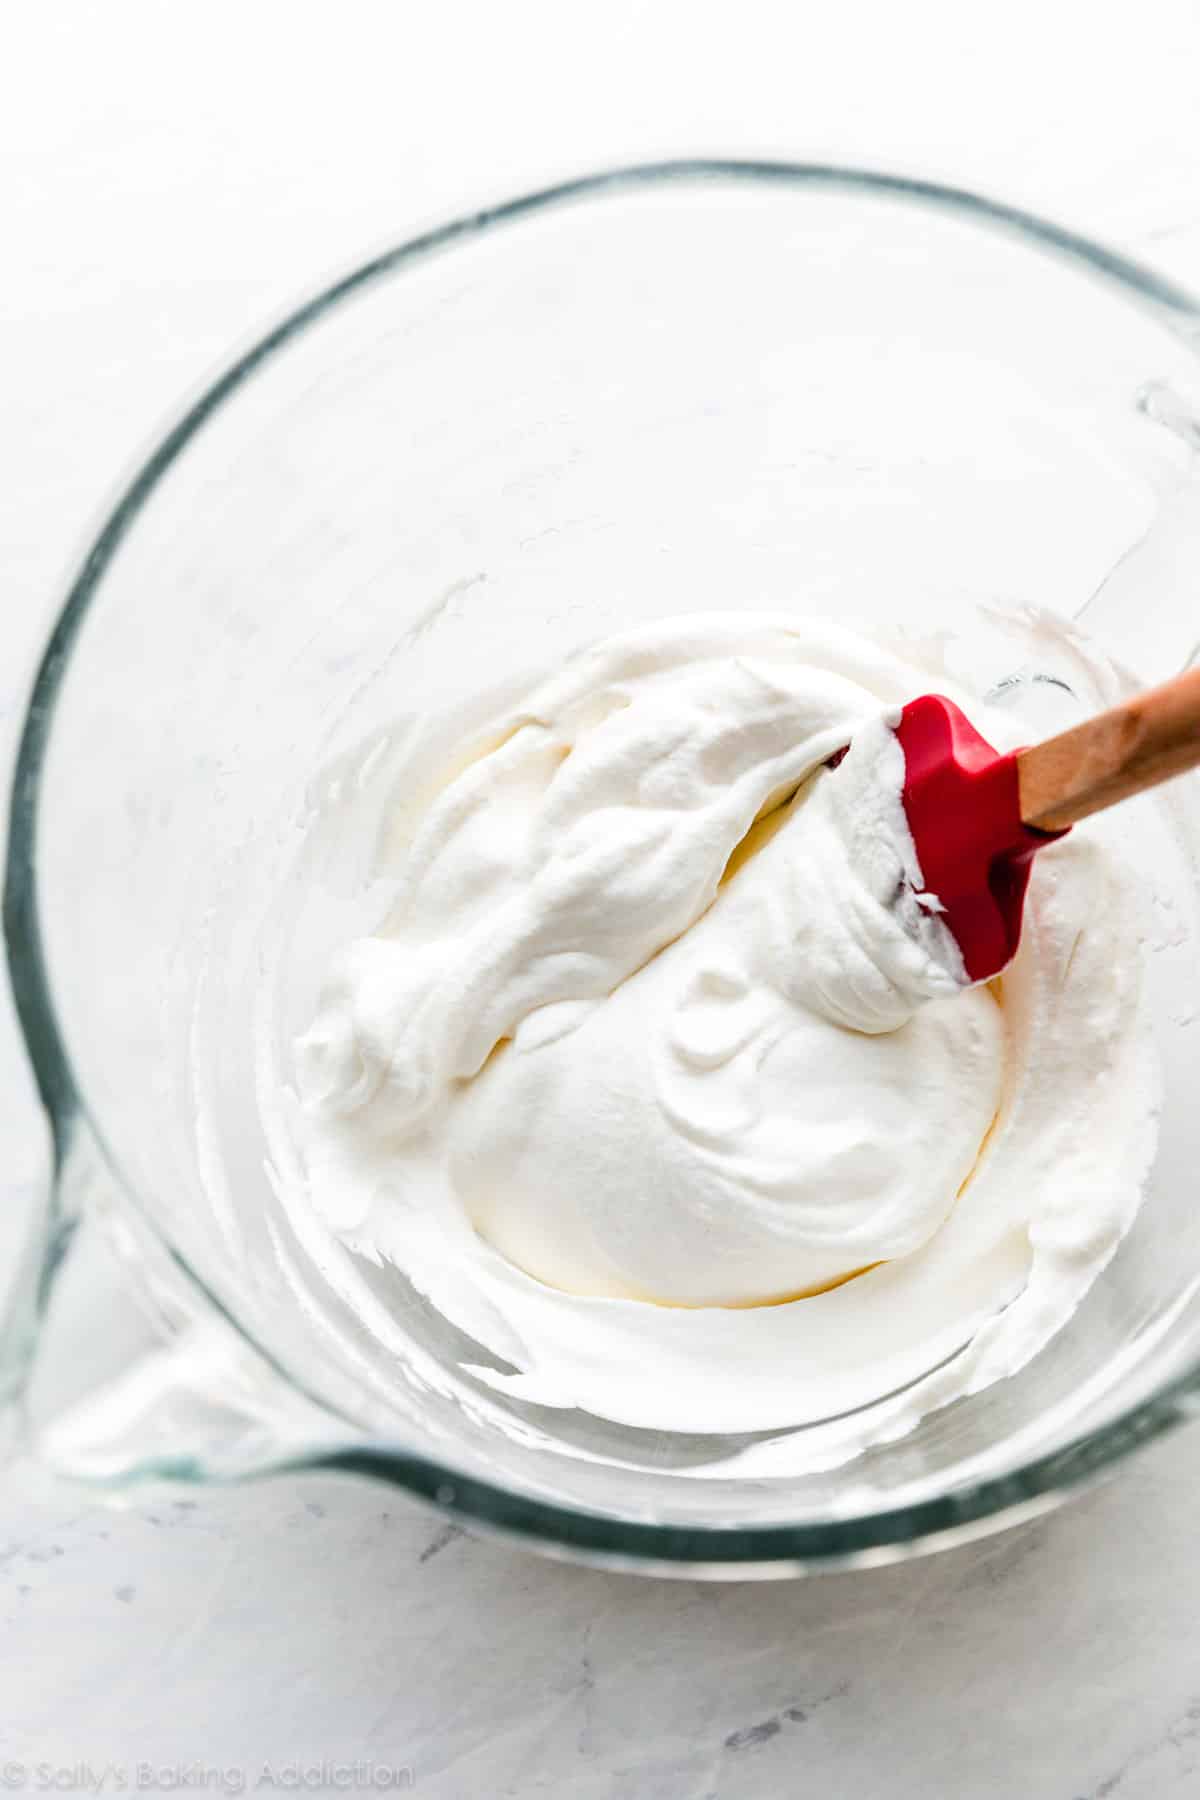
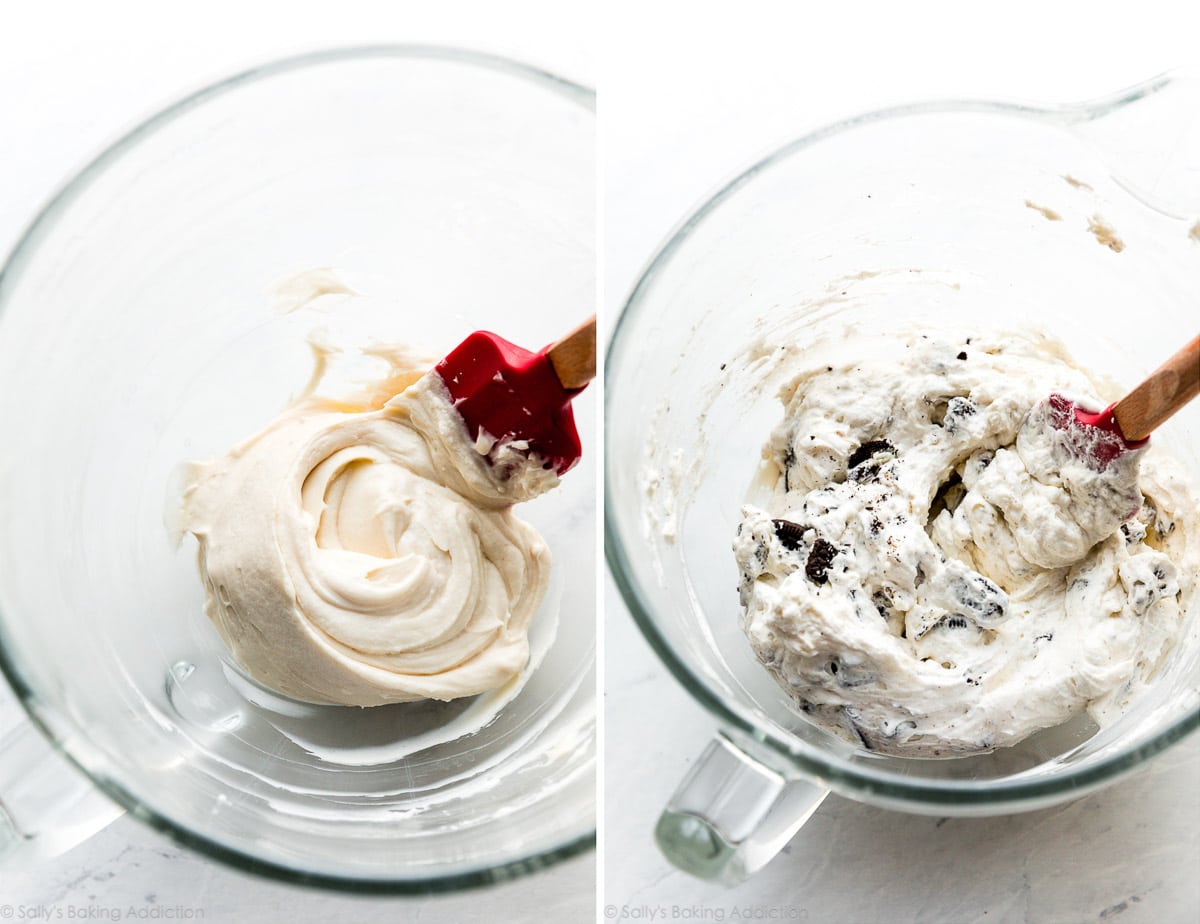
Have you ever made no bake cheesecake, peanut butter pie, or my no bake pumpkin cheesecake? We’re doing something similar here. Whip heavy cream into peaks, then set aside. This homemade unsweetened whipped cream adds a stable, yet unbelievably creamy foundation. There’s no need for gelatin, cornstarch, or any other thickening ingredients.
After that, beat cream cheese, confectioners’ sugar, and vanilla extract together. Then fold in the whipped heavy cream and some chopped Oreo cookies. One 14.3-ounce package of Oreo cookies usually contains 36 cookies; use 20 in the crust and chop up 12 for the filling.
Success Tip: Be sure to use 8 ounces (226g) of brick-style cream cheese, not the spreadable kind from a tub. Let it soften to room temperature, like we do when we make Oreo balls, so it will mix easily with the other ingredients.
- By the way, if you want a peanut butter variation, use the filling from my peanut butter pie instead. You can fold in chopped Oreos (or peanut butter Oreos!) and skip the chocolate topping.
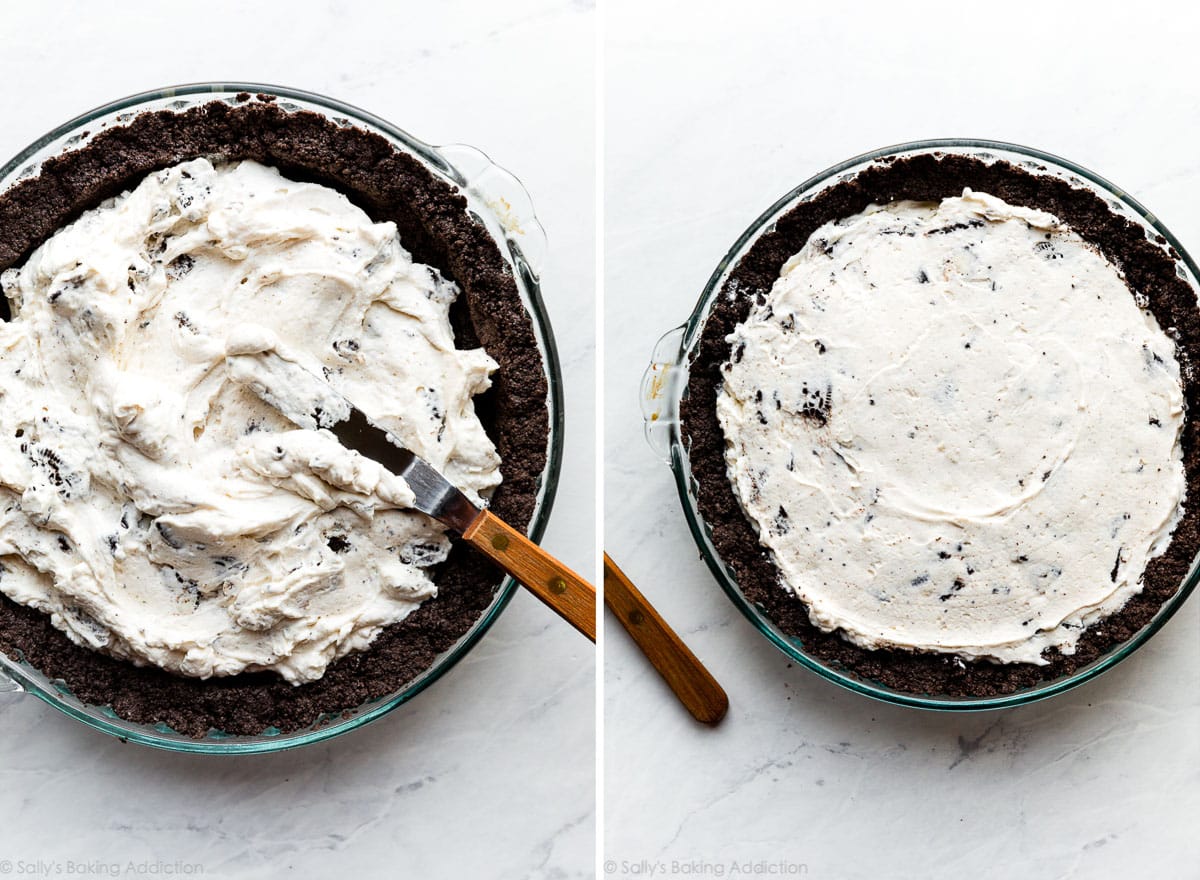
Spread into the baked and cooled Oreo cookie crust. I like using a large or small offset spatula to make the job easier.
Refrigerator or Freezer?
The pie sets up in the refrigerator, but you could certainly freeze it instead like an ice cream cake. The filling itself won’t freeze, but the Oreo cookie crust becomes a little hard. We prefer it out of the refrigerator because the filling is creamier and the crust is easier to cut & eat.
Homemade whipped cream adds a beautiful finishing touch. It uses some of the same ingredients we need for the filling. Pick up a pint of heavy cream and use half for the filling and half for the whipped cream topping. You could even add some hot fudge sauce on top, too.
EASY & CONVENIENT. 🙂

This recipe is part of Sally’s Pie Week, an annual tradition where I share a handful of new recipes that fit into the pie/crisp/tart category. Join the community below!
Print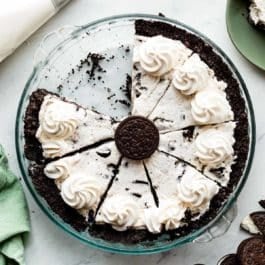
Cookies & Cream Pie (Oreo)
- Prep Time: 30 minutes
- Cook Time: 10 minutes
- Total Time: 6 hours, 40 minutes
- Yield: one 9-inch pie
- Category: Dessert
- Method: No Bake
- Cuisine: American
Description
This cookies & cream pie features a crunchy Oreo cookie crust and gloriously creamy filling that sets up in the refrigerator. Easy enough for any beginner baker to handle!
Ingredients
Crust
- 22 regular Oreo cookies (not Double-Stuf)
- 5 Tablespoons (71g) unsalted butter, melted
Filling
- 1 cup (240ml) cold heavy cream or heavy whipping cream
- 8 ounces (226g) full-fat brick cream cheese, softened to room temperature
- 3/4 cup (90g) confectioners’ sugar
- 1 teaspoon pure vanilla extract
- 12 whole Oreos, chopped (about 1.5 cups, or 135g)
- optional for topping: homemade whipped cream
Instructions
- Preheat to 350°F (177°C).
- Bake the crust: In a food processor or blender, pulse 22 Oreos (including the cream filling) into a fine crumb. You should have about 2 cups (packed) crumbs, or 250g. Pour crumbs into a large bowl. Add the melted butter and stir to combine. The mixture will be thick and quite wet. Try to smash/break up any large chunks. Pour the mixture into an un-greased 9-inch pie dish. With medium pressure using your hand, pat the crumbs down into the bottom and up the sides to make a compact, thick crust. See Oreo crust page for more success tips if needed. Bake for 10 minutes. Allow to cool as you prepare the filling.
- Make the filling: Using a hand mixer or a stand mixer fitted with a whisk attachment, whip the cold heavy cream into stiff peaks on medium-high speed, about 4 minutes. Set aside. Using a hand mixer or a stand mixer fitted with a whisk or paddle attachment, beat the cream cheese on medium speed until perfectly smooth and creamy. Scrape down the sides and up the bottom of the bowl with a silicone spatula as needed. Add the confectioners’ sugar and vanilla extract and beat on medium-high speed until combined. Make sure there are no large lumps of cream cheese. If there are lumps, keep beating until smooth.
- Using your mixer on low speed or a silicone spatula, fold the whipped cream and chopped Oreos into the cream cheese mixture until combined. This takes several turns of your silicone spatula. Combine slowly as you don’t want to deflate all the air in the whipped cream.
- Spread filling into cooled crust. Use an offset spatula to smooth down the top.
- Cover tightly with plastic wrap or aluminum foil and refrigerate for at least 6 hours and up to 2 days. The longer refrigerated, the better the pie will set up. You could also freeze the pie for at least 4 hours and up to 3 months. The crust is a little difficult to eat frozen, though.
- Feel free to garnish the pie with whipped cream. I used Ateco 849 piping tip for the whipped cream in the pictured pie. Using a clean sharp knife, cut into slices for serving. For neat slices, wipe the knife clean between each slice.
- Cover and store leftover pie in the refrigerator or freezer for up to 5 days.
Notes
- Make Ahead Instructions: This pie can be made up to 2 days in advance. It can be refrigerated in step 6 for up to 2 days before serving. You can also make the crust 1–2 days ahead of time. After it cools, cover and refrigerate it for 1–2 days before adding the filling. Another way to make this pie ahead of time is to freeze it. Cover and freeze for up to 3 months. Enjoy from the freezer or let it soften for 1–2 hours in the refrigerator or at room temperature before slicing and serving.
- Special Tools (affiliate links): Food Processor | Glass Mixing Bowl | 9-inch Pie Dish | Electric Mixer (Handheld or Stand) | Silicone Spatula | Offset Spatula | Piping Bag (Reusable or Disposable) | Ateco 849 Piping Tip
- Oreos: You need 22 regular Oreo cookies for the crust and 12 for the filling. You usually get 36 Oreos in a 14.3-ounce package (which is the typical size in the U.S.). Feel free to use the remaining Oreos left in the package if you’d like more chopped Oreos in the filling, or you could cut them in half and set the halves into the top of the pie slices for serving. I typically use plain, but you can use peanut butter or mint Oreos in the crust and filling. Do not use Double-Stuf.


Reader Comments and Reviews
I would like to make this for a 9×13 pan. Would I double the ingredients?
Thank you
Hi Kim, we haven’t tested it, but a few other readers have made it in a 9×13 pan with success. Doubling the crust may be a little too much though. Try 1.5x the crust. Add a couple minutes onto the crust bake time, too. Hope it’s a hit!
Thank you very much for answering my question! I’m going to make 2 of these … one for a friend’s family and one for my grandsons 15 th birthday!!!
I will report back on how they turn out!!!
Could you use the filling for the middle of cake layers instead?
Hi Jenn, we haven’t tested it, but we imagine that should work just fine with a frosting dam around the edges. Let us know if you try it!
Made this for my son’s birthday. It was good, but too sweet for us. I’m also not sure why you must bake the crust. I found it hard to cut and remove from the pan. Next time I will cut the sugar back and also just press the crust into the pan and not bake like you do a traditional cracker/cookie crust.
So many of your baking recipes call for cream cheese. For those of us who can’t eat cream cheese or don’t like it, what can we substitute?
Hi Beth! Cream cheese is a wonderful ingredient for baking because it thickens and adds richness. There’s no perfect substitute, but sometimes mascarpone can be a good swap. Or, you can search for a recipe that doesn’t use cream cheese.
Thank you for your reply. FYI – I do look for non-cream cheese recipes on your site, but I find that a significant percentage of the recipes that I’d like to try contain cream cheese, unfortunately, when I read the recipe so sometimes it takes awhile. Is there a way to easily search for non-cream cheese recipes?
This pie was absolutely delicious; it very light and the cream cheese flavor is barely noticeable. My family loved it! I eat dairy free and gluten free, but I cheated for this one!
Sally, looks like the whipping cream in the photos is whipped until soft peaks form, not until stiff as indicated in the text of the recipe. Is that correct?
Hi Eva, It might be difficult to tell with the photo in the bowl, but yes it should be stiff peaks before you fold it into the cream cheese mixture. Hope this helps!
Can you freeze this pie and have it like ice cream pie?
Hi Deborah, The pie sets up in the refrigerator, but you could certainly freeze it instead like an ice cream cake/pie. The filling itself won’t freeze, but the Oreo cookie crust becomes a little hard. We prefer it out of the refrigerator because the filling is creamier and the crust is easier to cut & eat.
Your recipes look amazing and so yummy. I can’t wait to try them. Thank you