

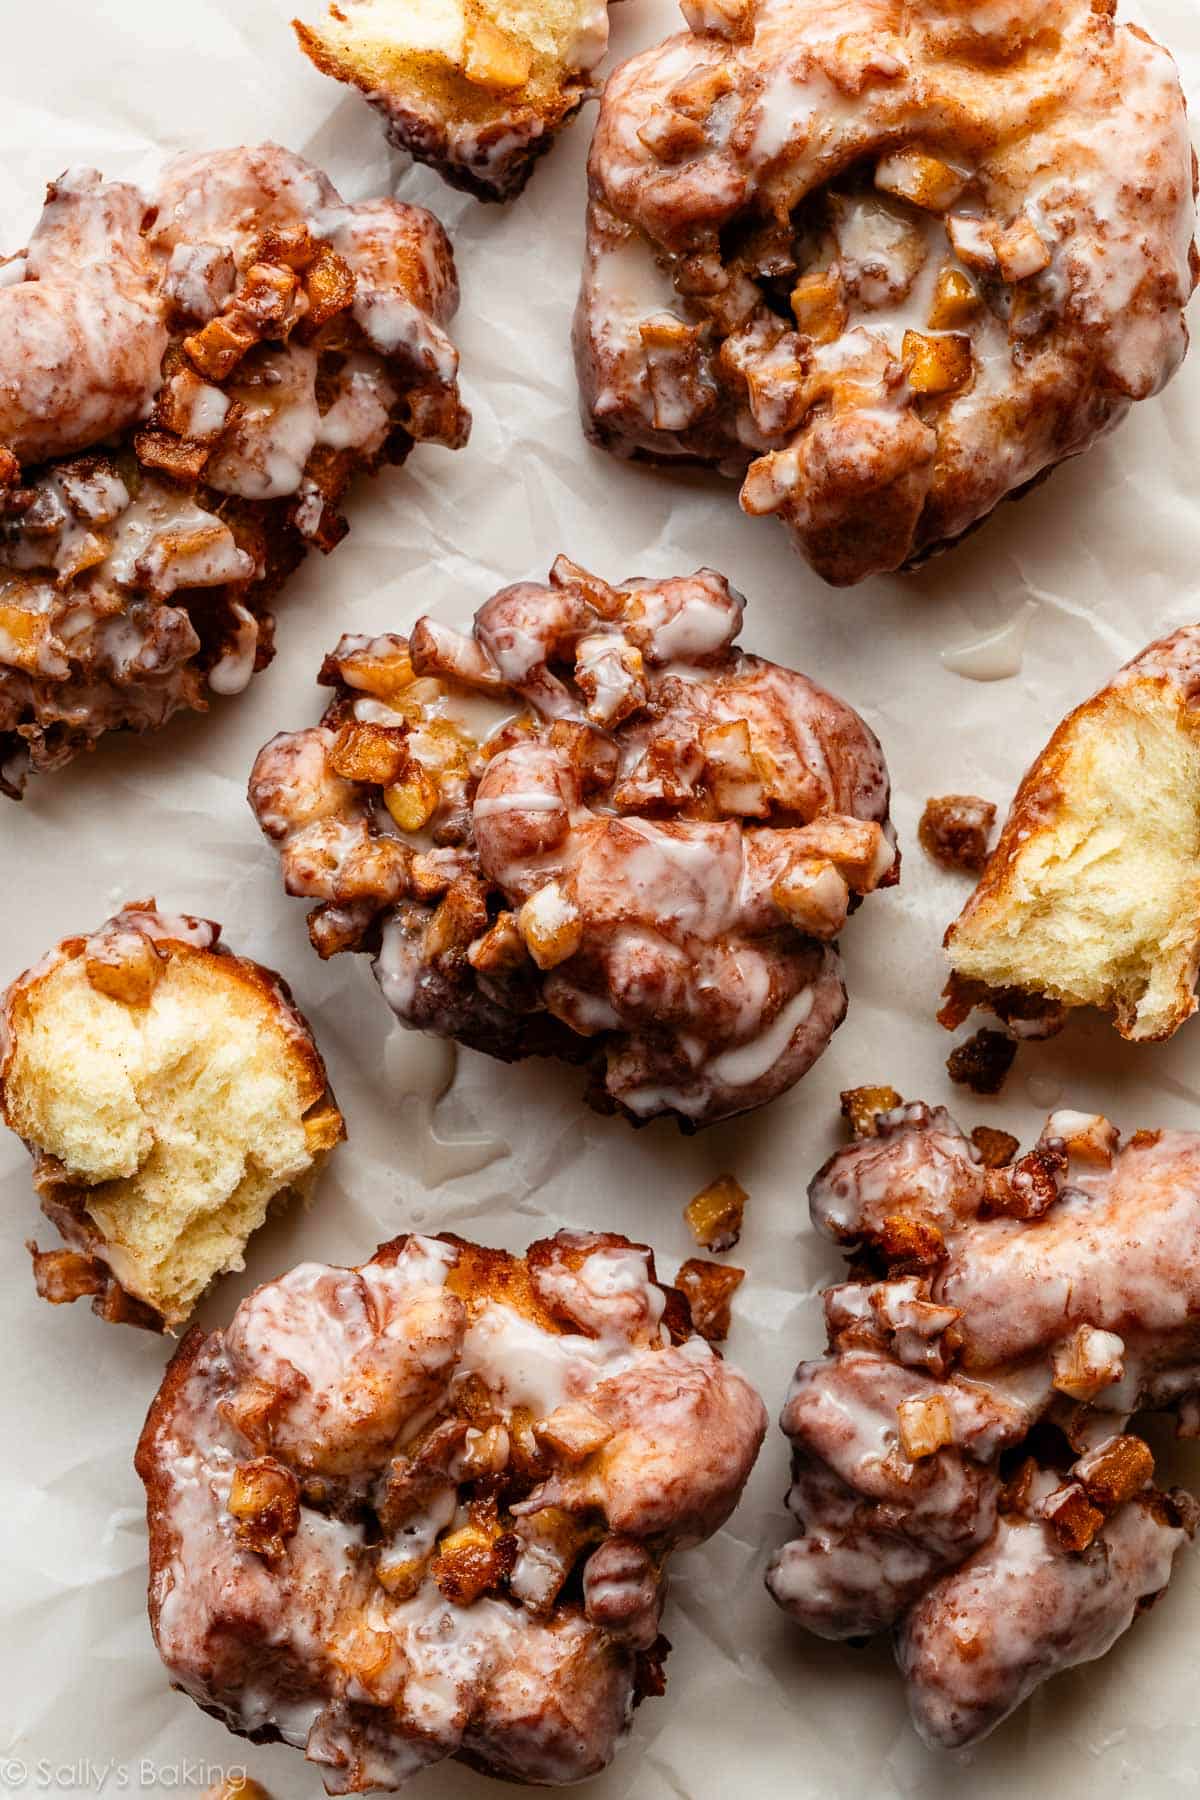
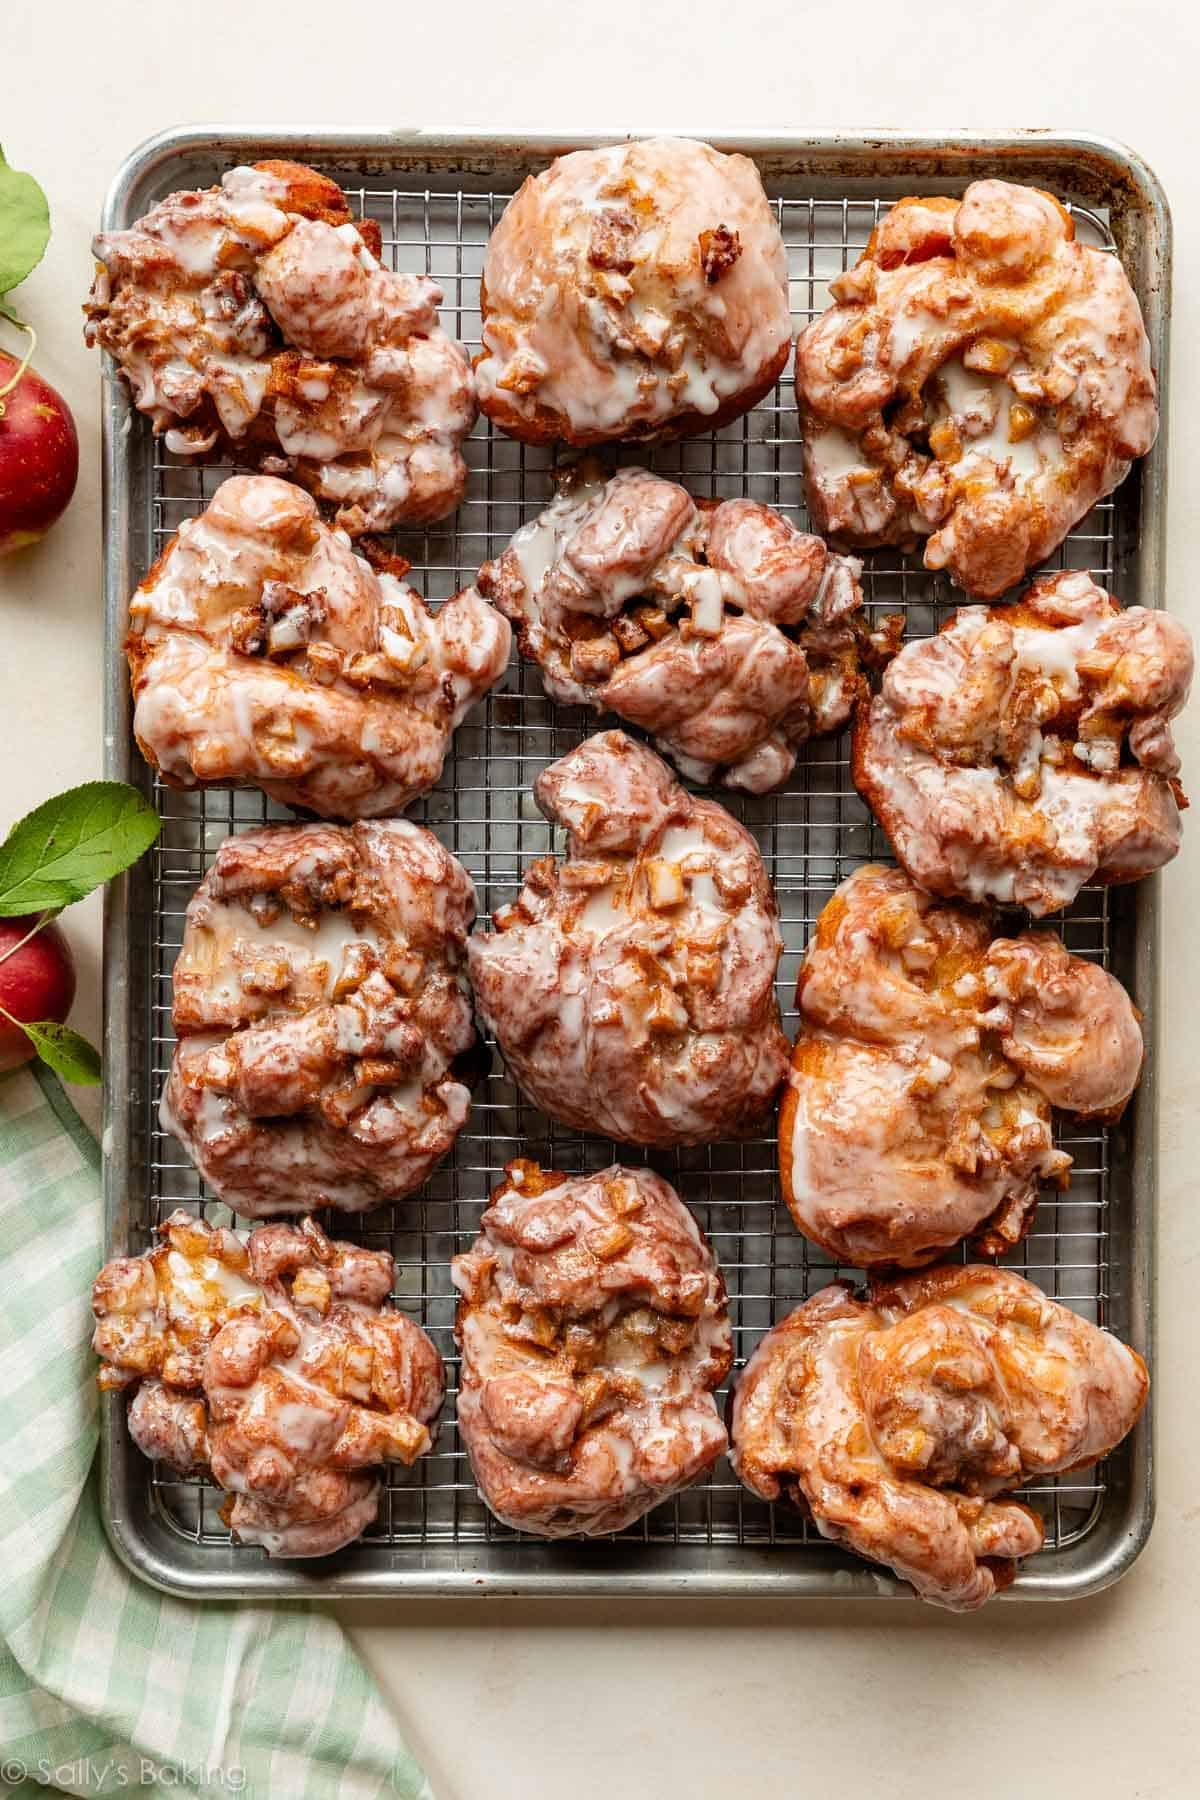
These homemade apple fritters are crisp and golden on the outside, tender in the center, and loaded with juicy pieces of fresh apple. From-scratch fritters are a labor of love (and a messy endeavor), but entirely worth it when you taste the irresistible combination of sweet vanilla glaze, crisp exterior, soft and fluffy dough, and cinnamon-spiced apples. This recipe requires frying in hot oil; be sure to read through all the instructions and tips before you begin.
What Are Apple Fritters?
Apple fritters are essentially fried dough packed with fresh apples and warm spices. Think of them as a cross between a classic yeast-raised doughnut and an apple cake. The outside becomes wonderfully crisp and caramelized in the hot oil, while the inside stays soft and tender. They’re like funnel cakes, but even better!
You don’t need to own a deep fryer to make them. A sturdy pot or Dutch oven and an oil/candy thermometer are all you need for frying these fritters.
Why You’ll Love These Apple Fritters
- Fluffy, buttery yeast dough: Enriched with milk, butter, and eggs, this soft and tender dough is similar to the dough I use for apple cinnamon rolls.
- Loaded with apples: Small pieces of fresh apple are tucked into every nook and cranny.
- Crisp outside, tender inside: Frying gives the fritters their signature golden crust.
- Warmly spiced: Cinnamon and nutmeg make these taste like your favorite apple dessert.
- Simple vanilla glaze: A quick dip in vanilla glaze takes these from delicious to completely irresistible.
Ingredients You Need & Why
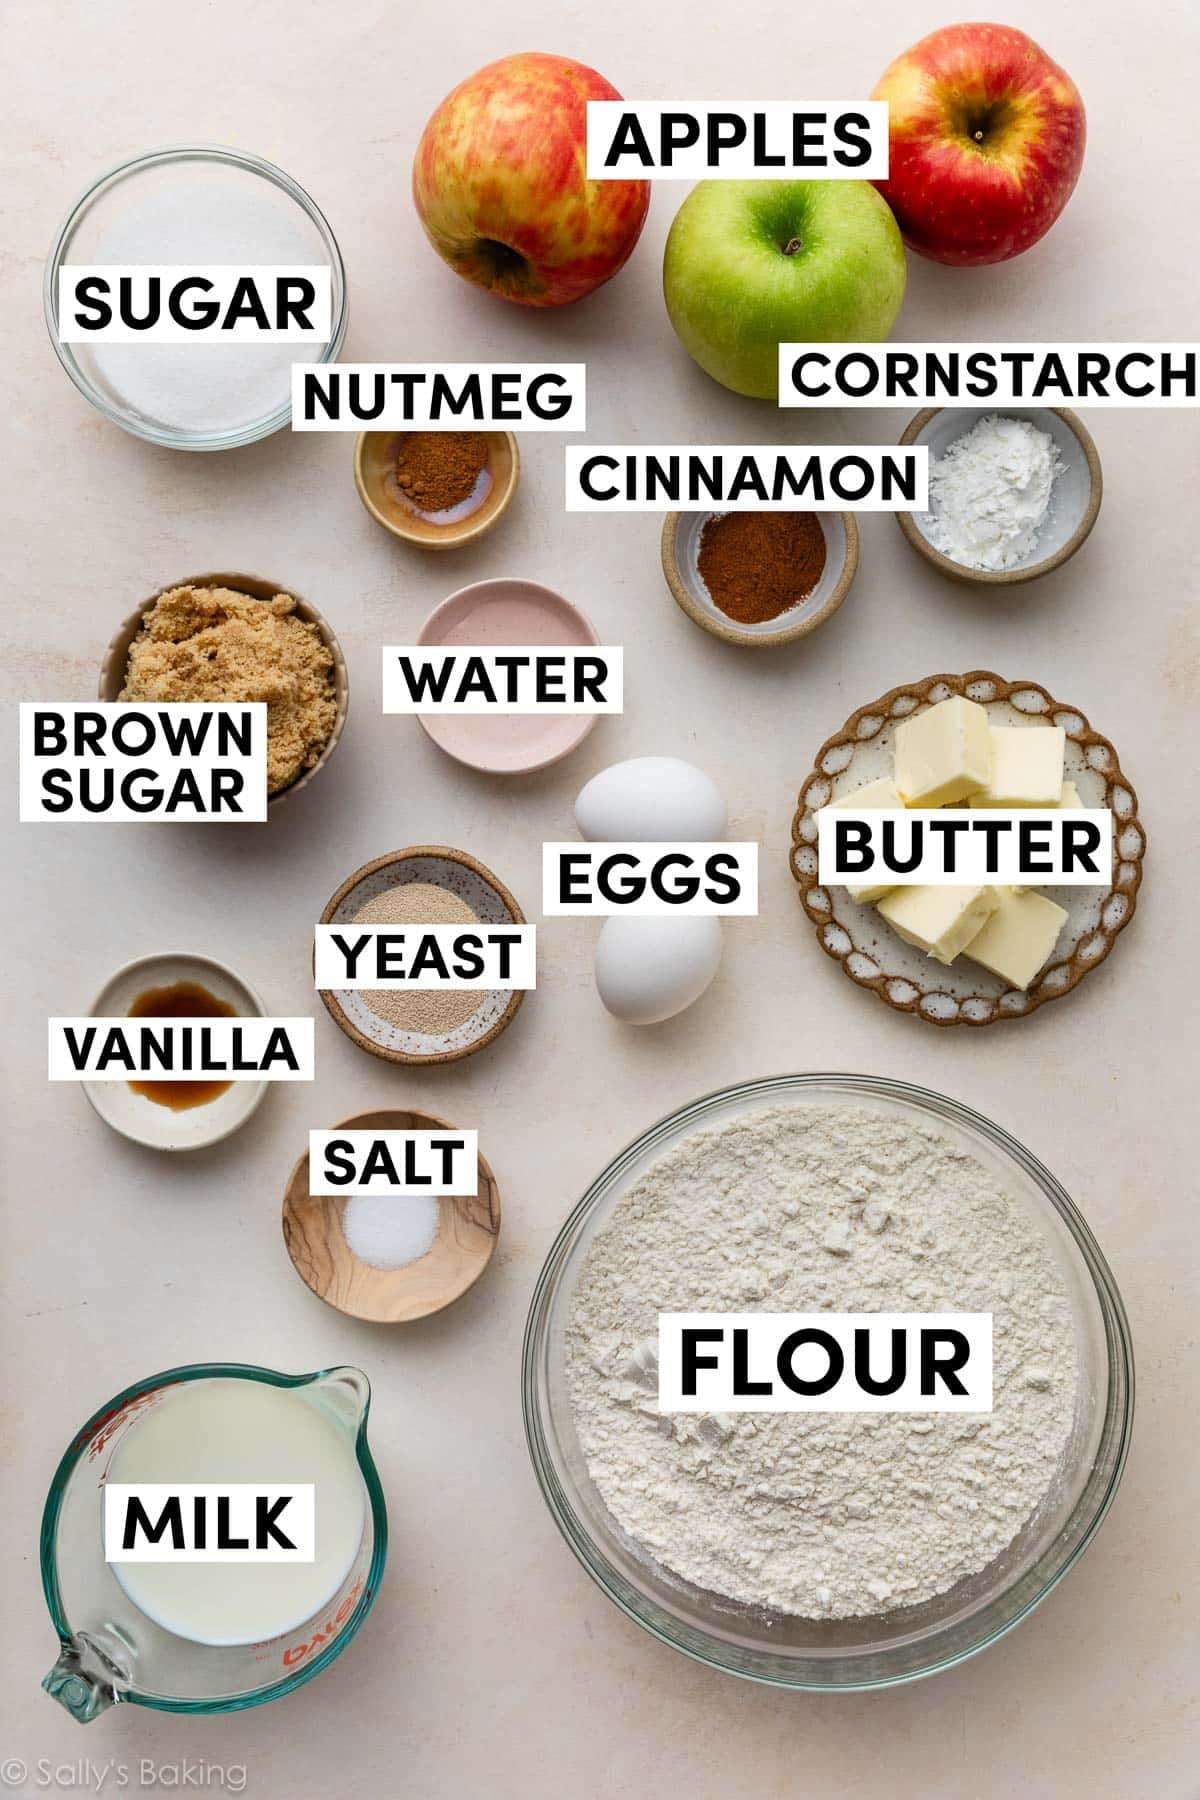
You need 8 ingredients for the dough:
- Milk: Whole milk produces the best flavor and texture, but lower-fat or nondairy milk can work in a pinch. You’ll also use milk in the glaze.
- Yeast: You can use active dry or instant yeast. Note that you need 1 Tablespoon (9g), which is a little more than one standard packet (7g).
- Sugar: Sugar feeds the yeast and helps tenderize the dough.
- Eggs: Add richness and structure.
- Butter: Adds flavor and keeps the dough soft and rich.
- Vanilla Extract & Salt: Essential for flavor. You’ll use vanilla again in the filling and glaze, too.
- Flour: All-purpose flour provides the dough’s structure.
And 7 more ingredients for the filling and glaze:
- Apples: You need 3 cups of peeled and diced apples, which is about 2 large or 3 medium apples. Here are the best apples for baking.
- Brown Sugar: To sweeten the filling.
- Cinnamon & Nutmeg: These warm spices and apples go hand in hand.
- Cornstarch & Water: To thicken the filling.
- Confectioners’ Sugar: For the glaze.
Are You a Yeast Beginner?
If you’re new to baking with yeast, my Baking with Yeast Guide is a wonderful resource for all bread beginners!
How to Make Homemade Apple Fritters
Prepare the dough: The dough comes together with a mixer. You can also make the dough by hand, but it requires a bit of arm muscle.
After you mix the dough, it’s time to knead it. If you have a stand mixer with a dough hook, you can use that for this step, or you can knead the dough by hand. See my How to Knead Dough video tutorial if you need extra help with this step.
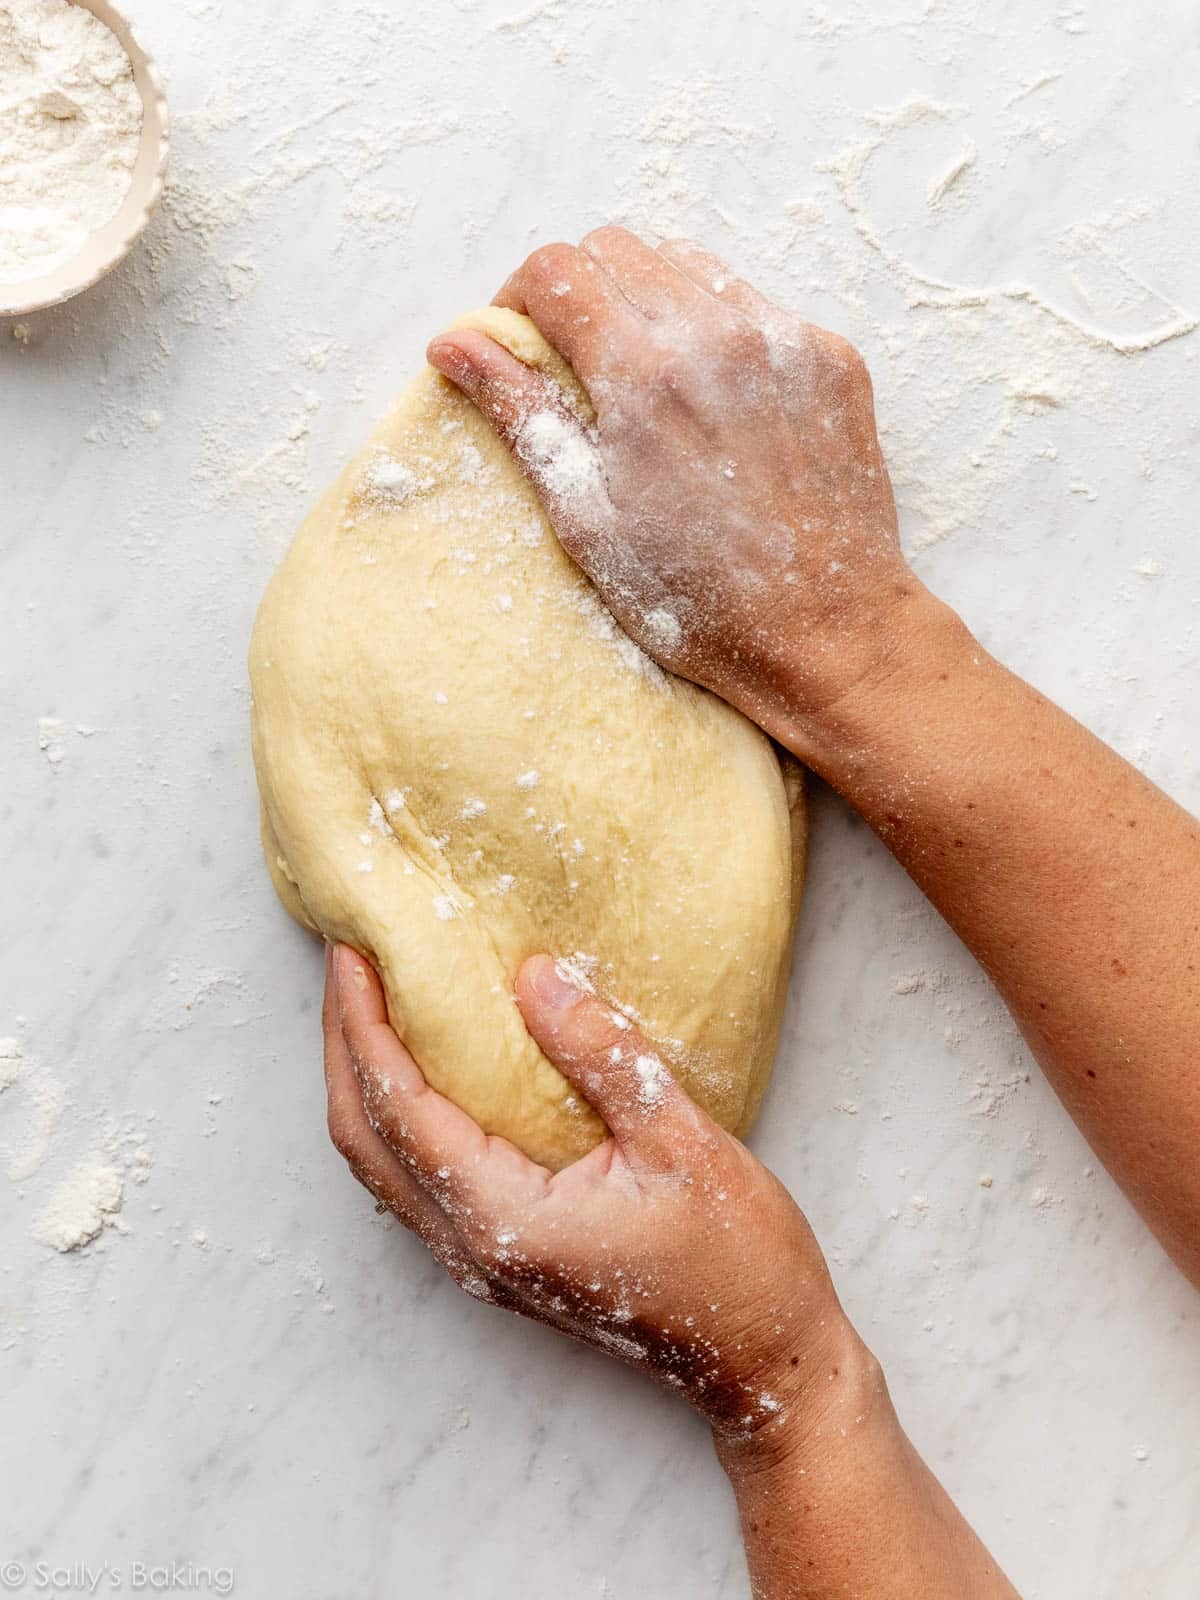
Let the dough rise: The dough rises in about 1–2 hours. During this time, you can make the apple filling.
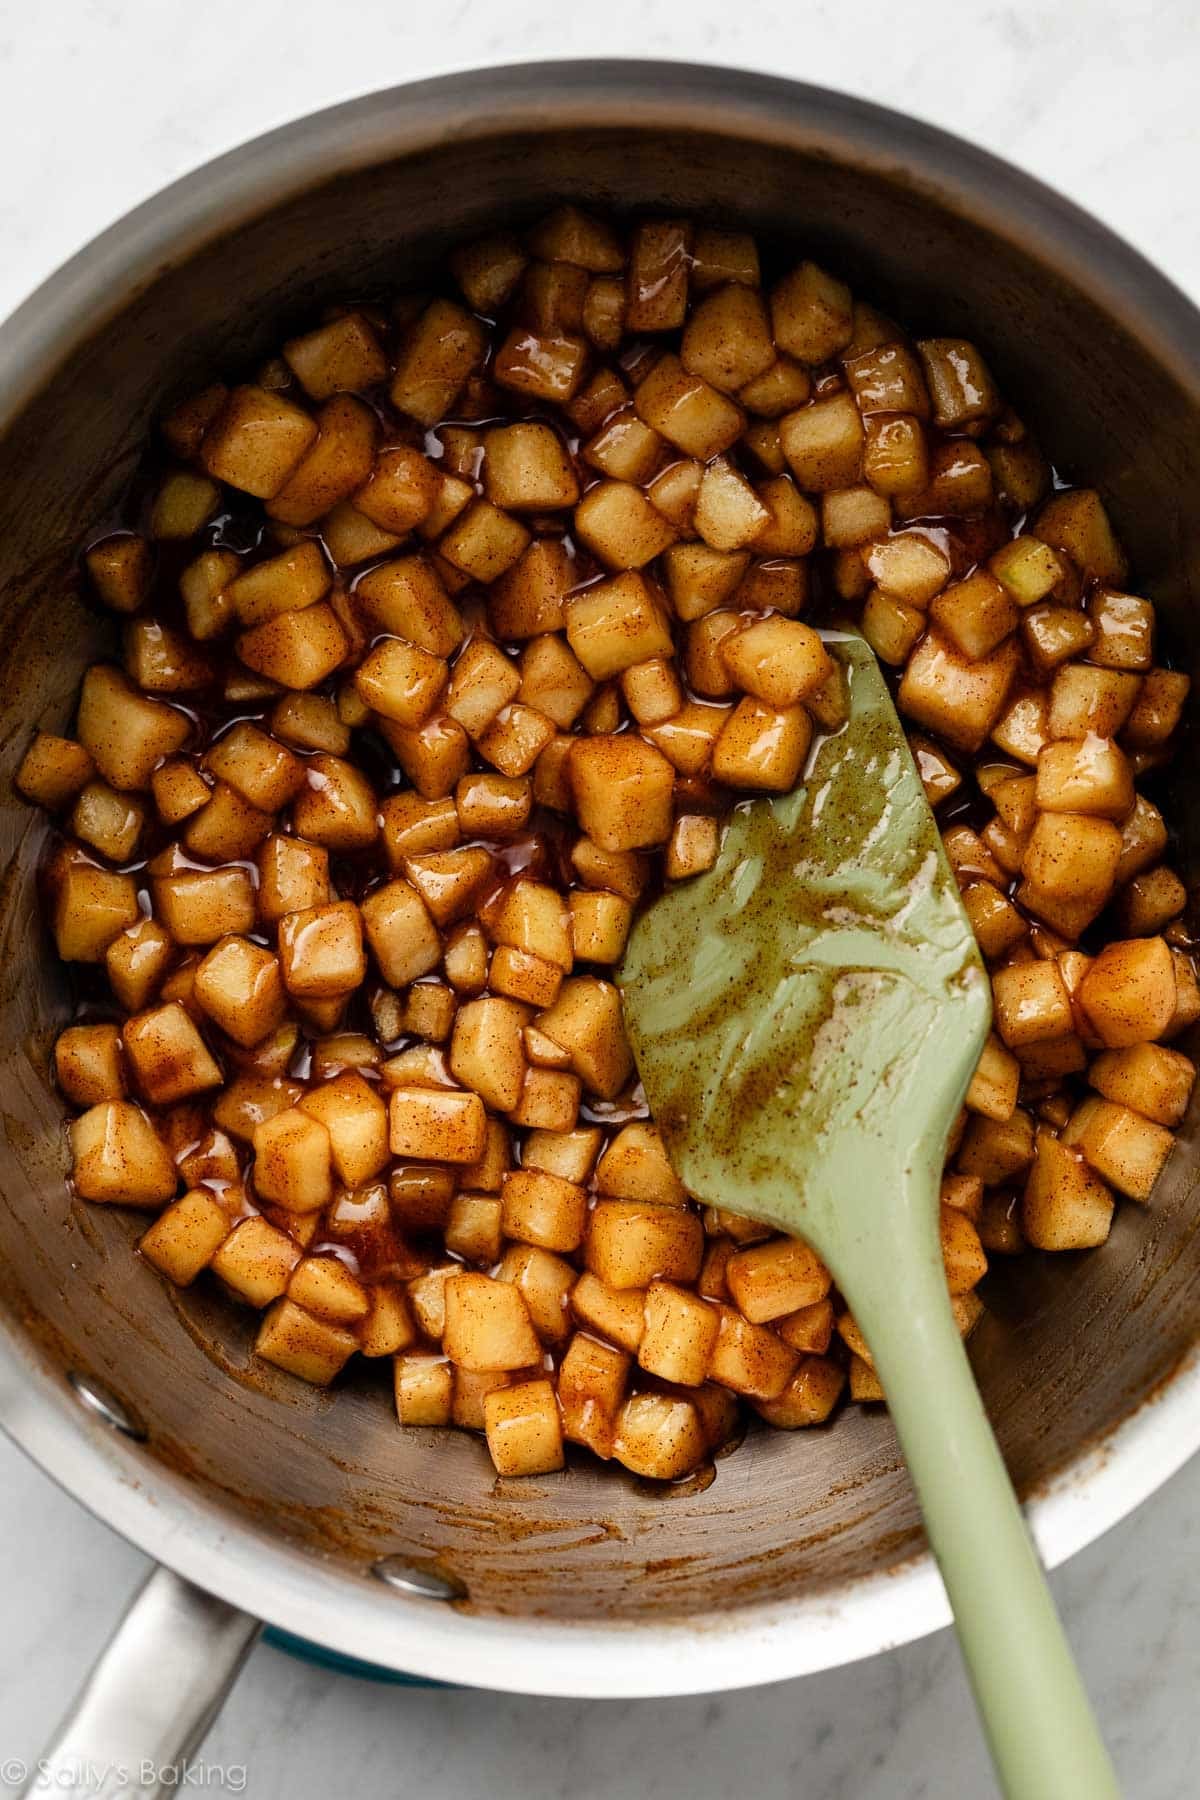
Make the filling: Combine the chopped apples with the brown sugar and spices in a saucepan and cook for a few minutes, then add the cornstarch slurry (cornstarch dissolved in water and vanilla extract) and cook a little longer until the saucy filling thickens. Let it cool completely. The filling will continue to thicken as it cools.
How to Shape Apple Fritters (Embrace the Mess!)
Tie on an apron and have extra kitchen towels on hand, because this is where things get messy!
I repeat: this is messy.
A bench scraper is an especially helpful tool for this step. You’ll also need to cut 12 squares of parchment paper, about 5–6 inches each.
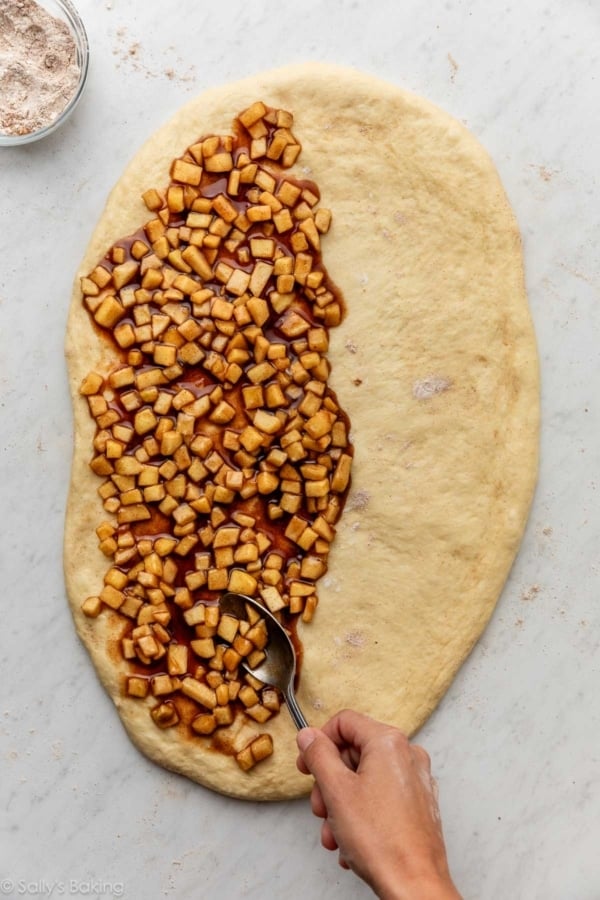
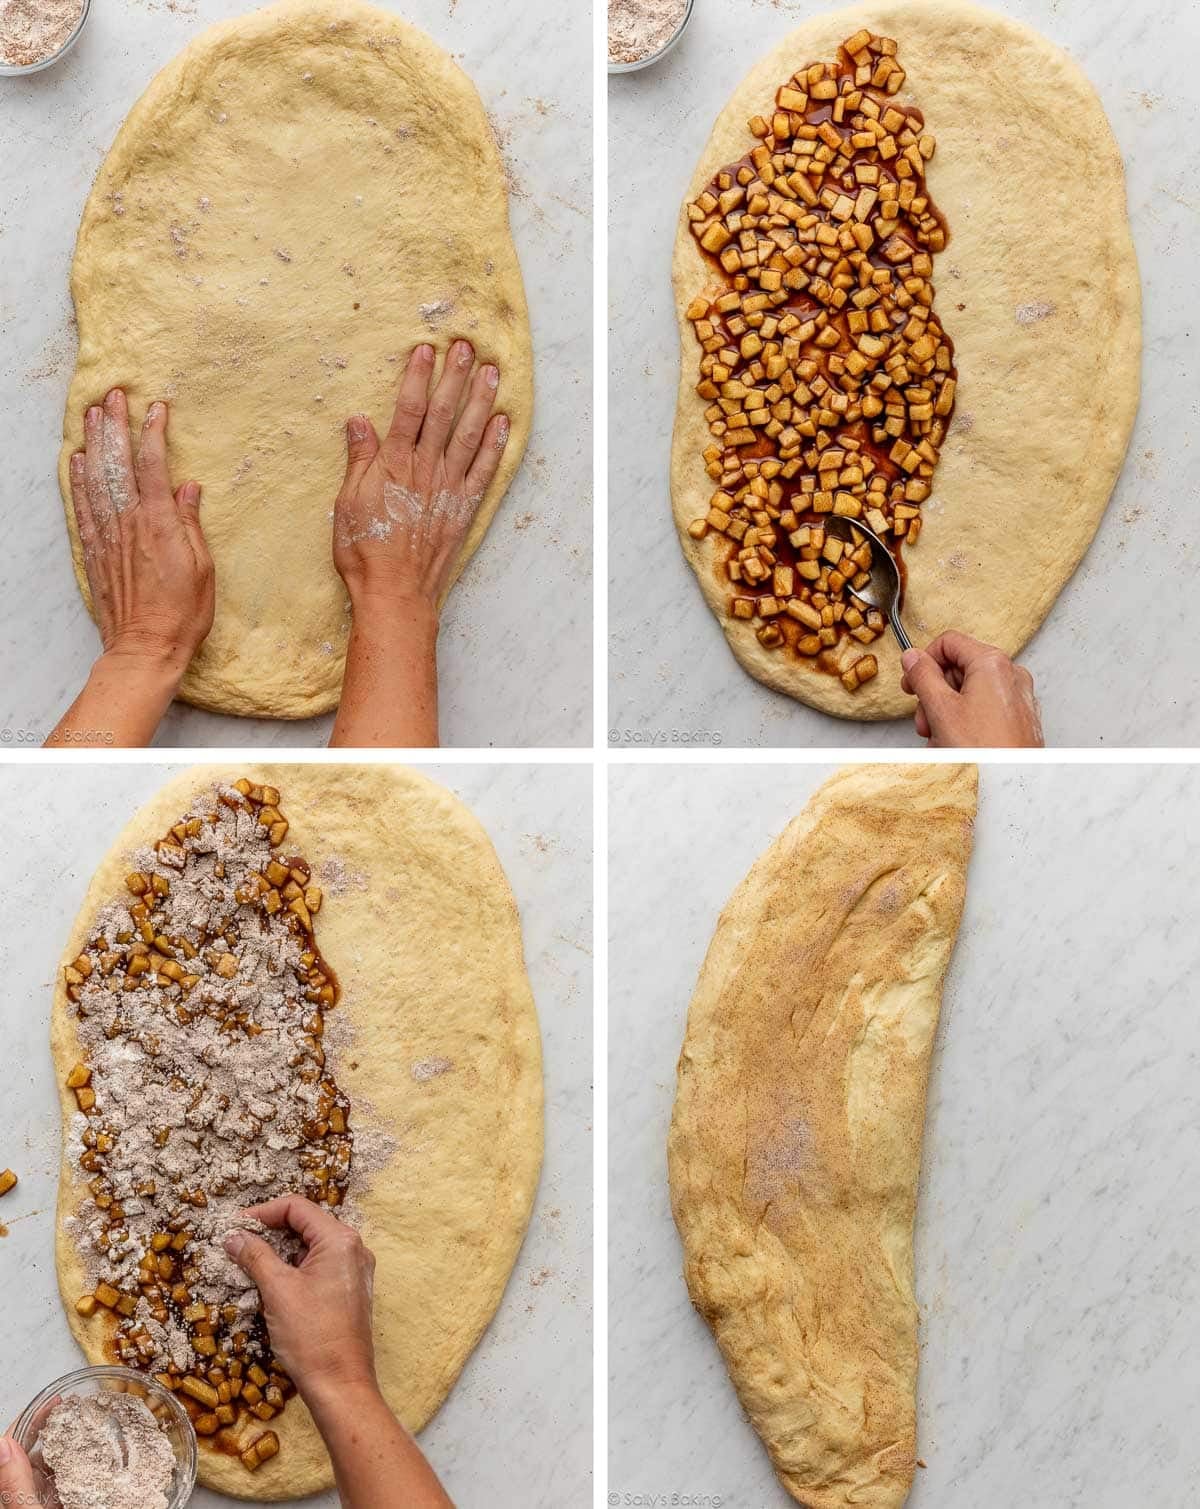
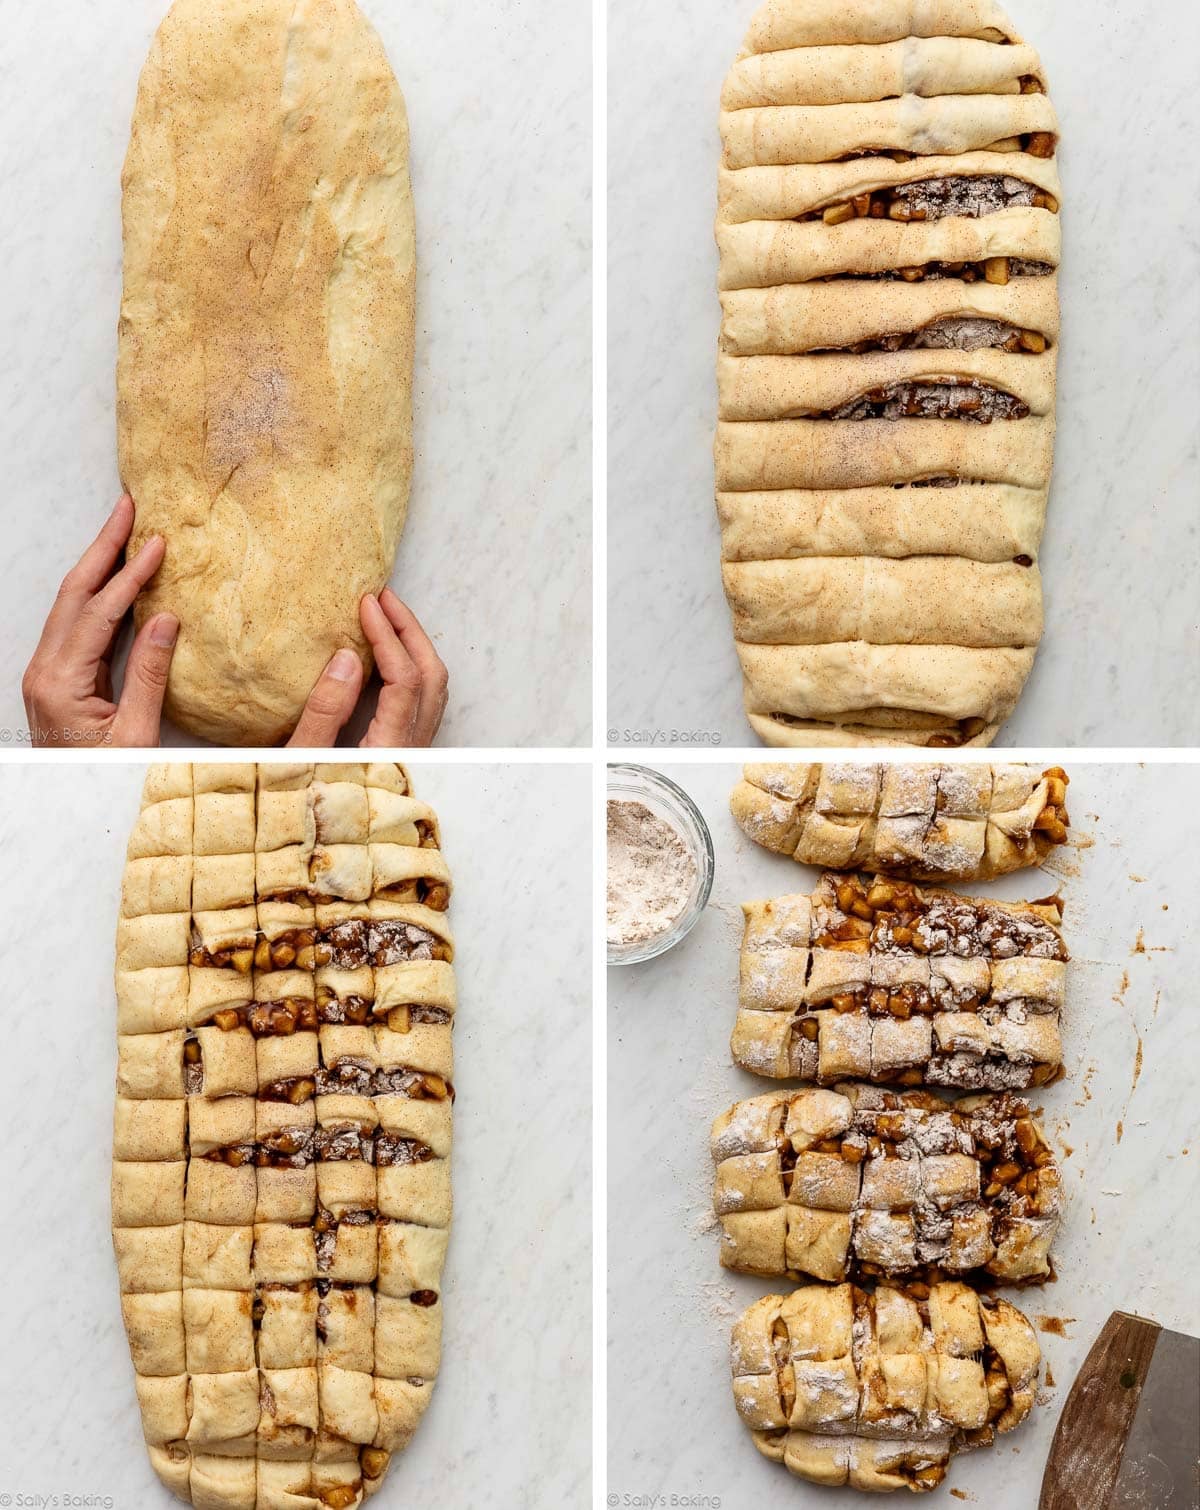
Mix flour, cinnamon, and nutmeg together. This will be your bench flour and will infuse even more flavor into each fritter. Sprinkle some over your work surface, keeping the rest nearby as needed. Punch down the risen dough, turn it out onto the floured surface, and press or roll into a 1/2-inch-thick oval or round. Spread the apple filling over half of the dough.
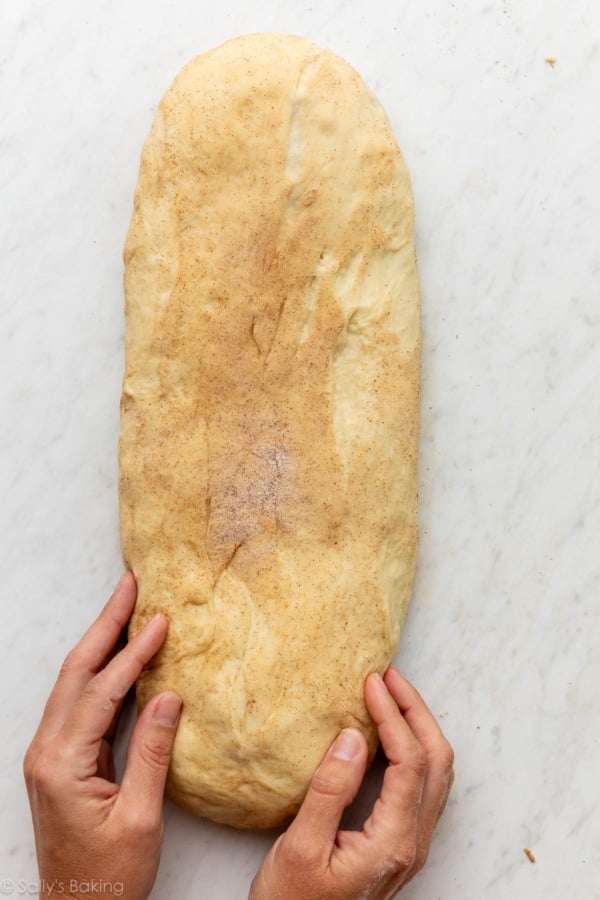
Sprinkle some of the spiced flour over the filling to help absorb some of the sauce (and for extra spice flavor!). Fold the dough over the filling and seal the edges, sort of like a large calzone.
Shape the filled dough into a rounded log. Using your bench scraper (or a sharp knife), make 11 horizontal cuts down the log, cutting mostly—but not quite—all the way through. Then make 3 or 4 vertical cuts down the log, to make a crosshatch pattern of sorts.
This is NOT an exact process, so don’t stress about making it perfect. And remember to sprinkle on a little more spiced flour as needed.
Divide it into 4 sections:
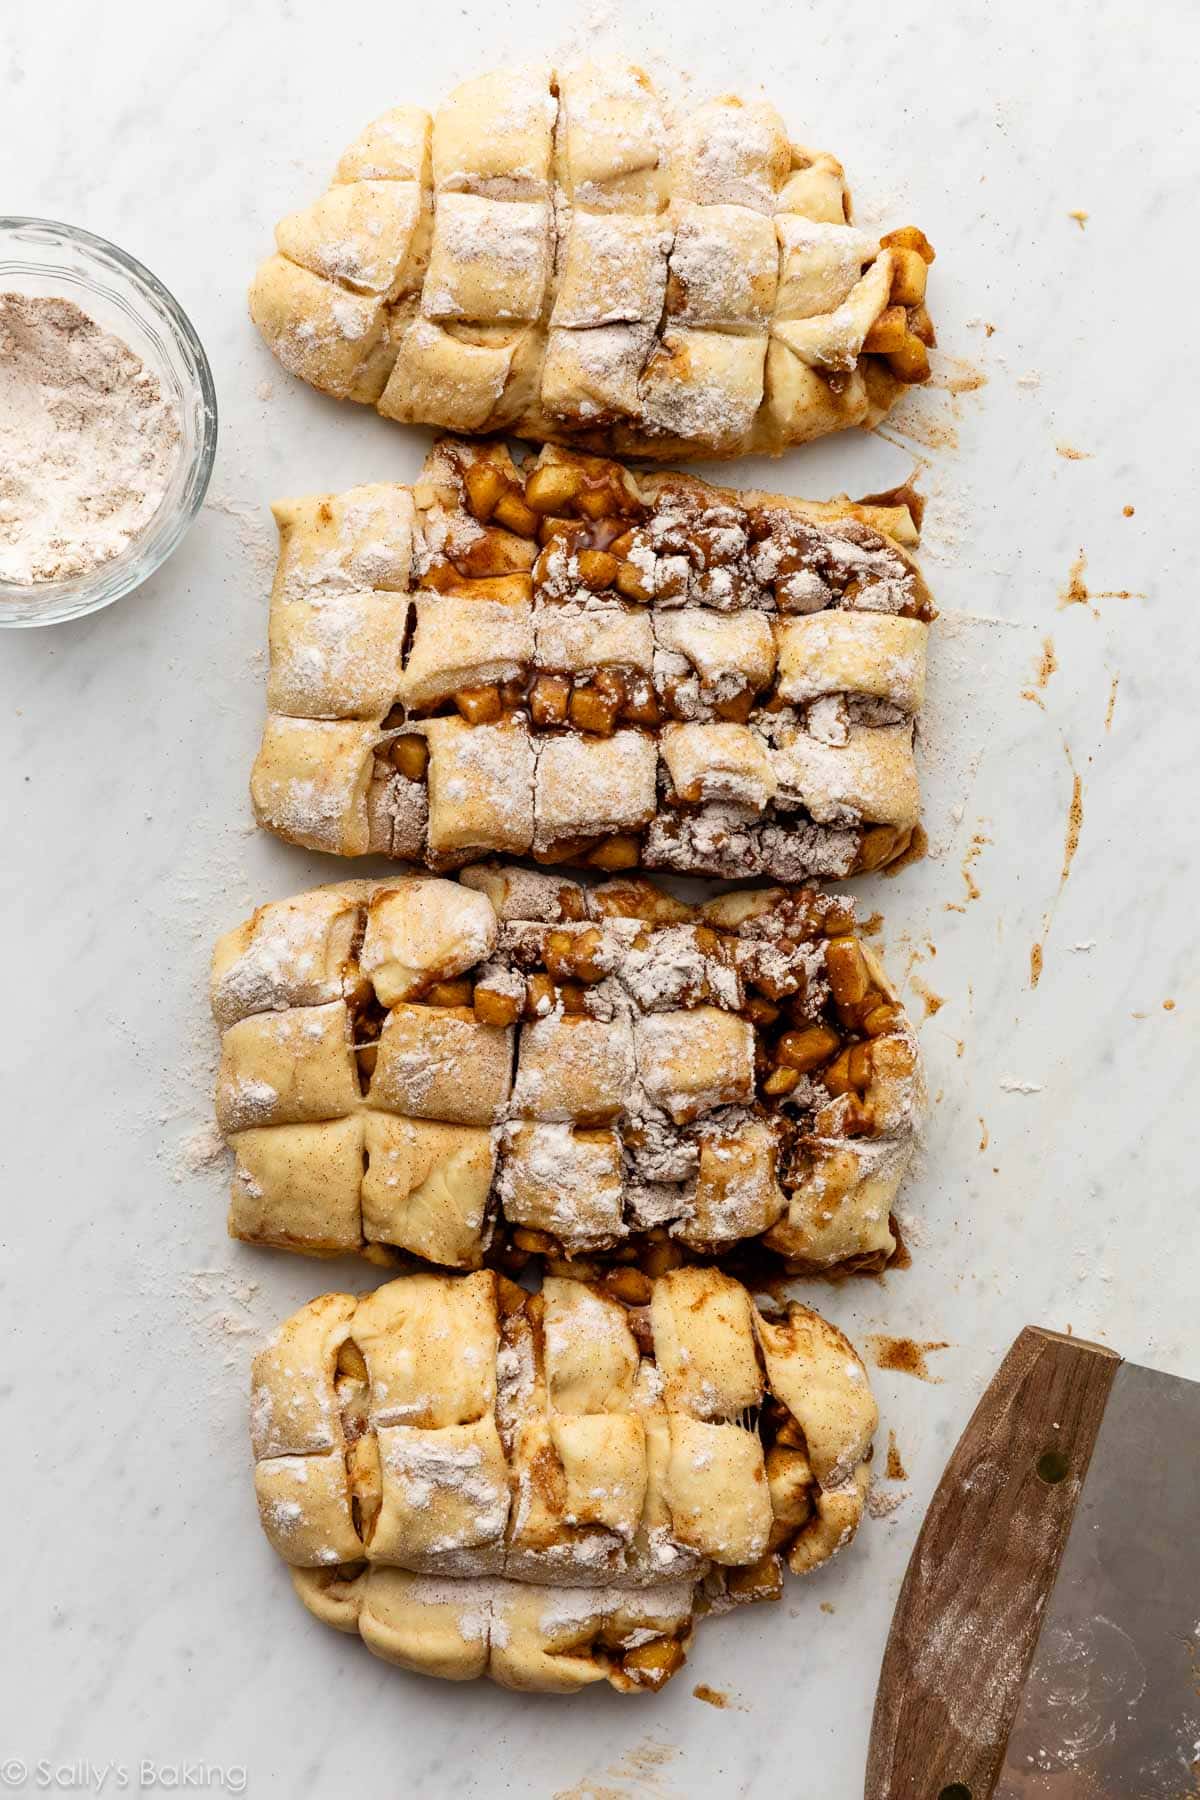
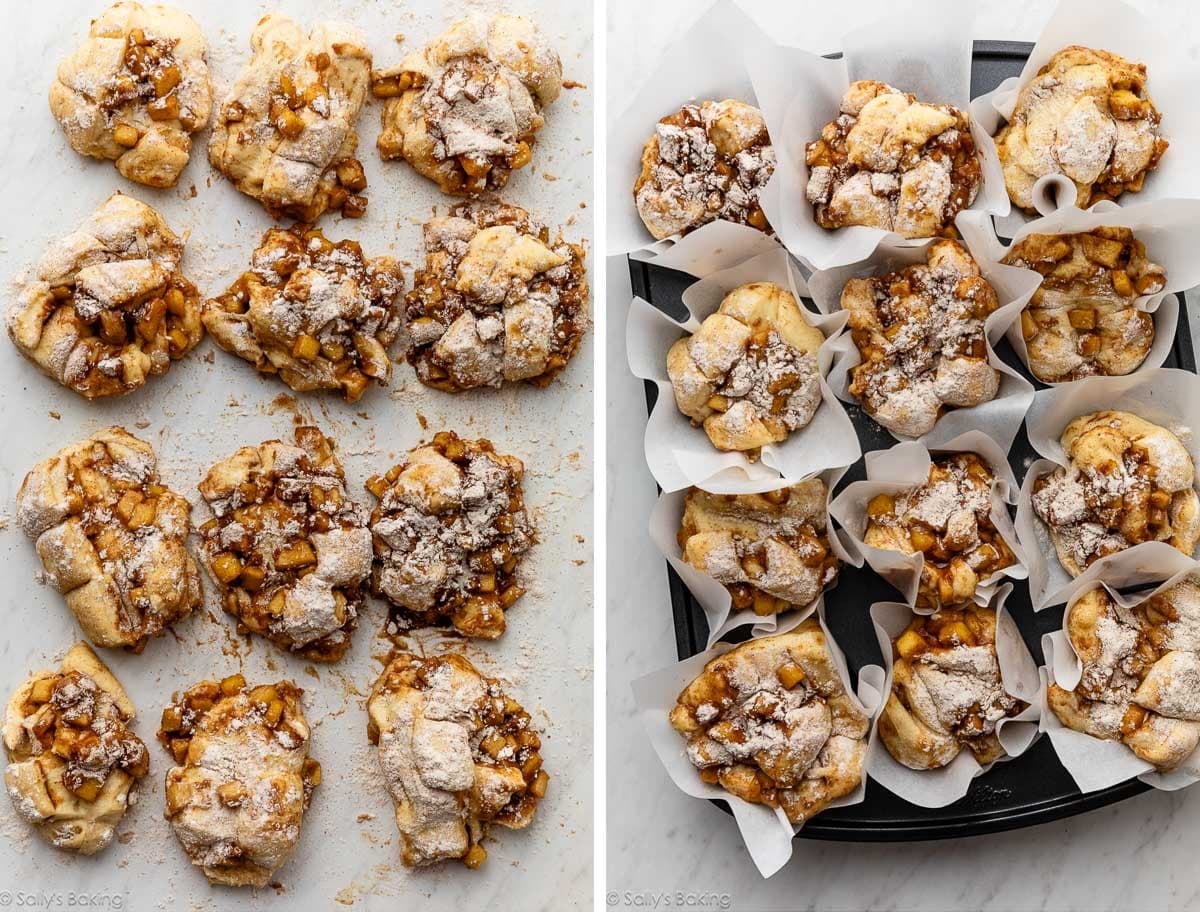
Then, divide the cut-up dough into 12 even portions as best you can. This is messy and may require redistributing some of the filling from overfilled portions of dough to the underfilled portions. Do your best here and don’t overthink it. Apple fritters are meant to look lumpy and asymmetrical (it’s part of their charm!).
Here’s my top tip for shaping apple fritters: Place each shaped fritter onto an individual square of parchment paper, and set them in/on a standard 12-cup muffin pan. You don’t have to press them all the way into the muffin cups, just enough so they hold shape and don’t spread out while they rest before frying.
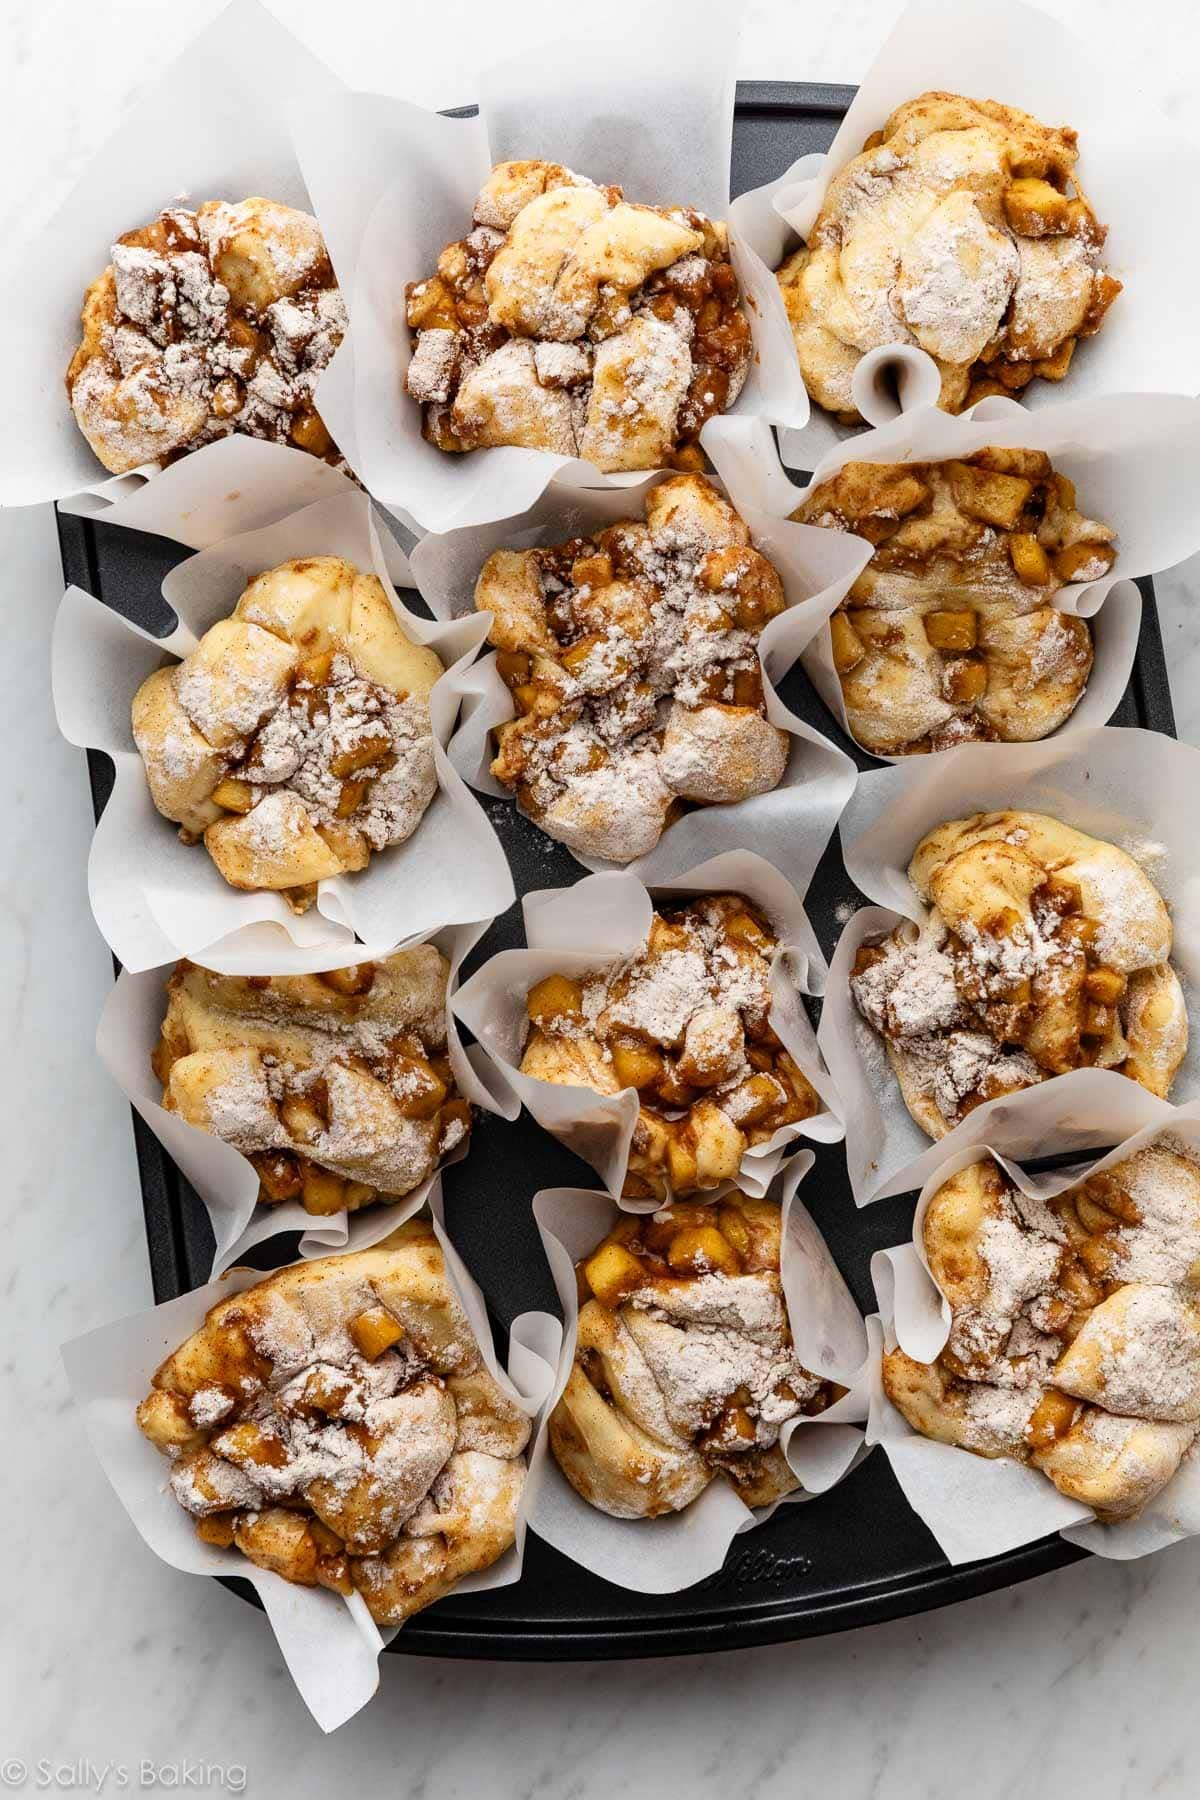
Loosely cover and let them rest while you heat the oil for frying.
Do’s and Don’ts for Frying Apple Fritters
- Do: Use a large, sturdy, heavy-bottomed pot. I usually use a Dutch oven.
- Don’t: Don’t use a small, flimsy pot.
- Do: Use an oil/candy thermometer to know when the oil is ready.
- Do: Keep an eye on the oil’s temperature. Keep it between 350–360°F (177–182°C) as you fry, adjusting the heat as needed. If the oil is too cool, the fritters can become greasy; if it’s too hot, the outsides will brown before the centers cook.
- Don’t: Don’t ditch the parchment paper. We’re going to fry each fritter still on its parchment paper square, which is a trick I learned from the brilliant Claire Saffitz and the folks at King Arthur Baking. It not only makes it easier to transfer the fritters into the hot oil, but also helps the fritters stay together better as they cook.
When the oil is ready, use a large flat spatula to carefully lower a fritter, still on its parchment, into the oil. I usually fry 2 or 3 at a time. Fry for about 2 minutes, then use tongs to remove the parchment as you flip the fritters. Continue frying until deeply golden brown on both sides.
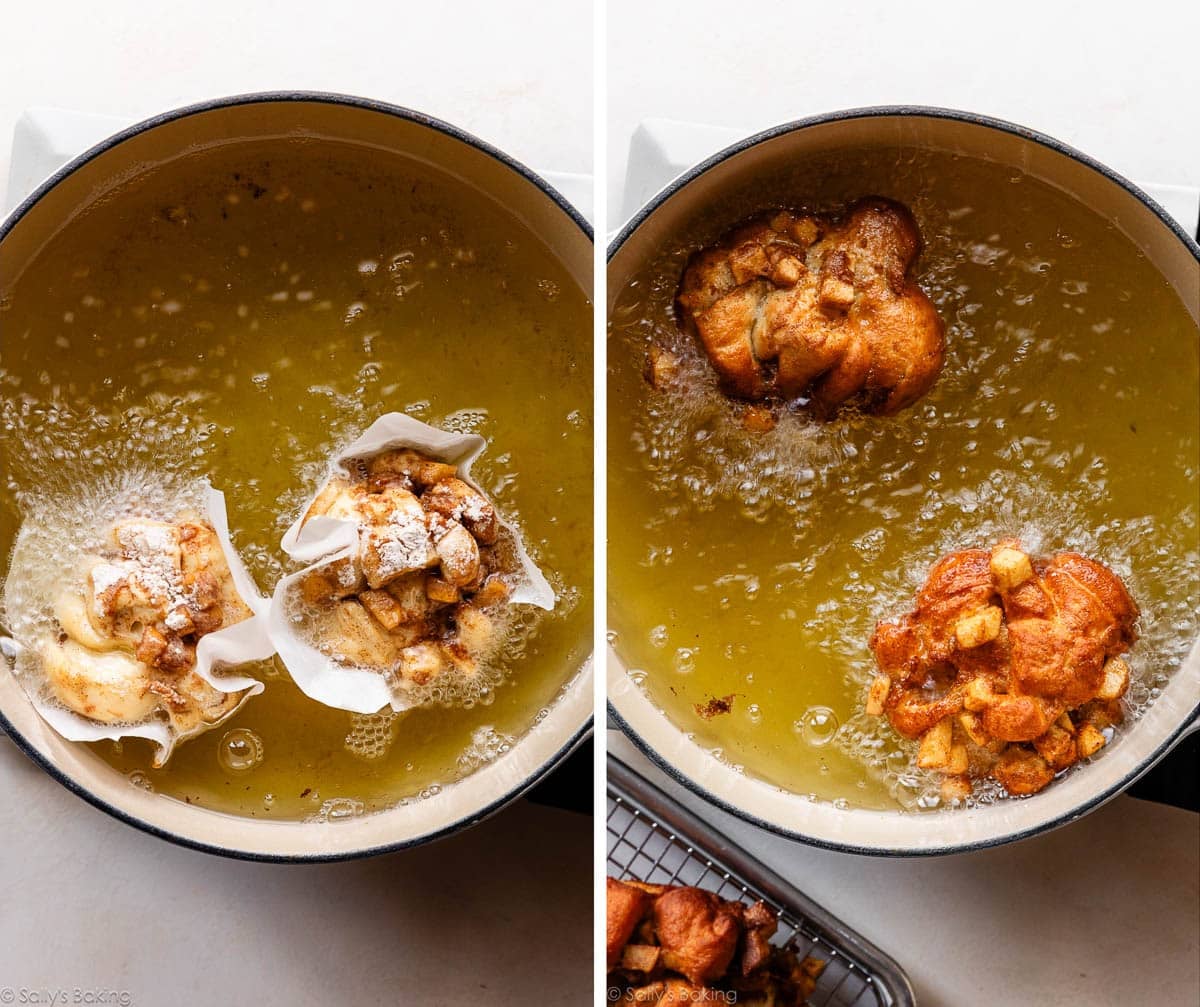
Transfer to a cooling rack set over a lined baking sheet, and repeat with the remaining fritters. Scoop out any loose apple pieces and tuck them back into the fritters once cool enough to handle.
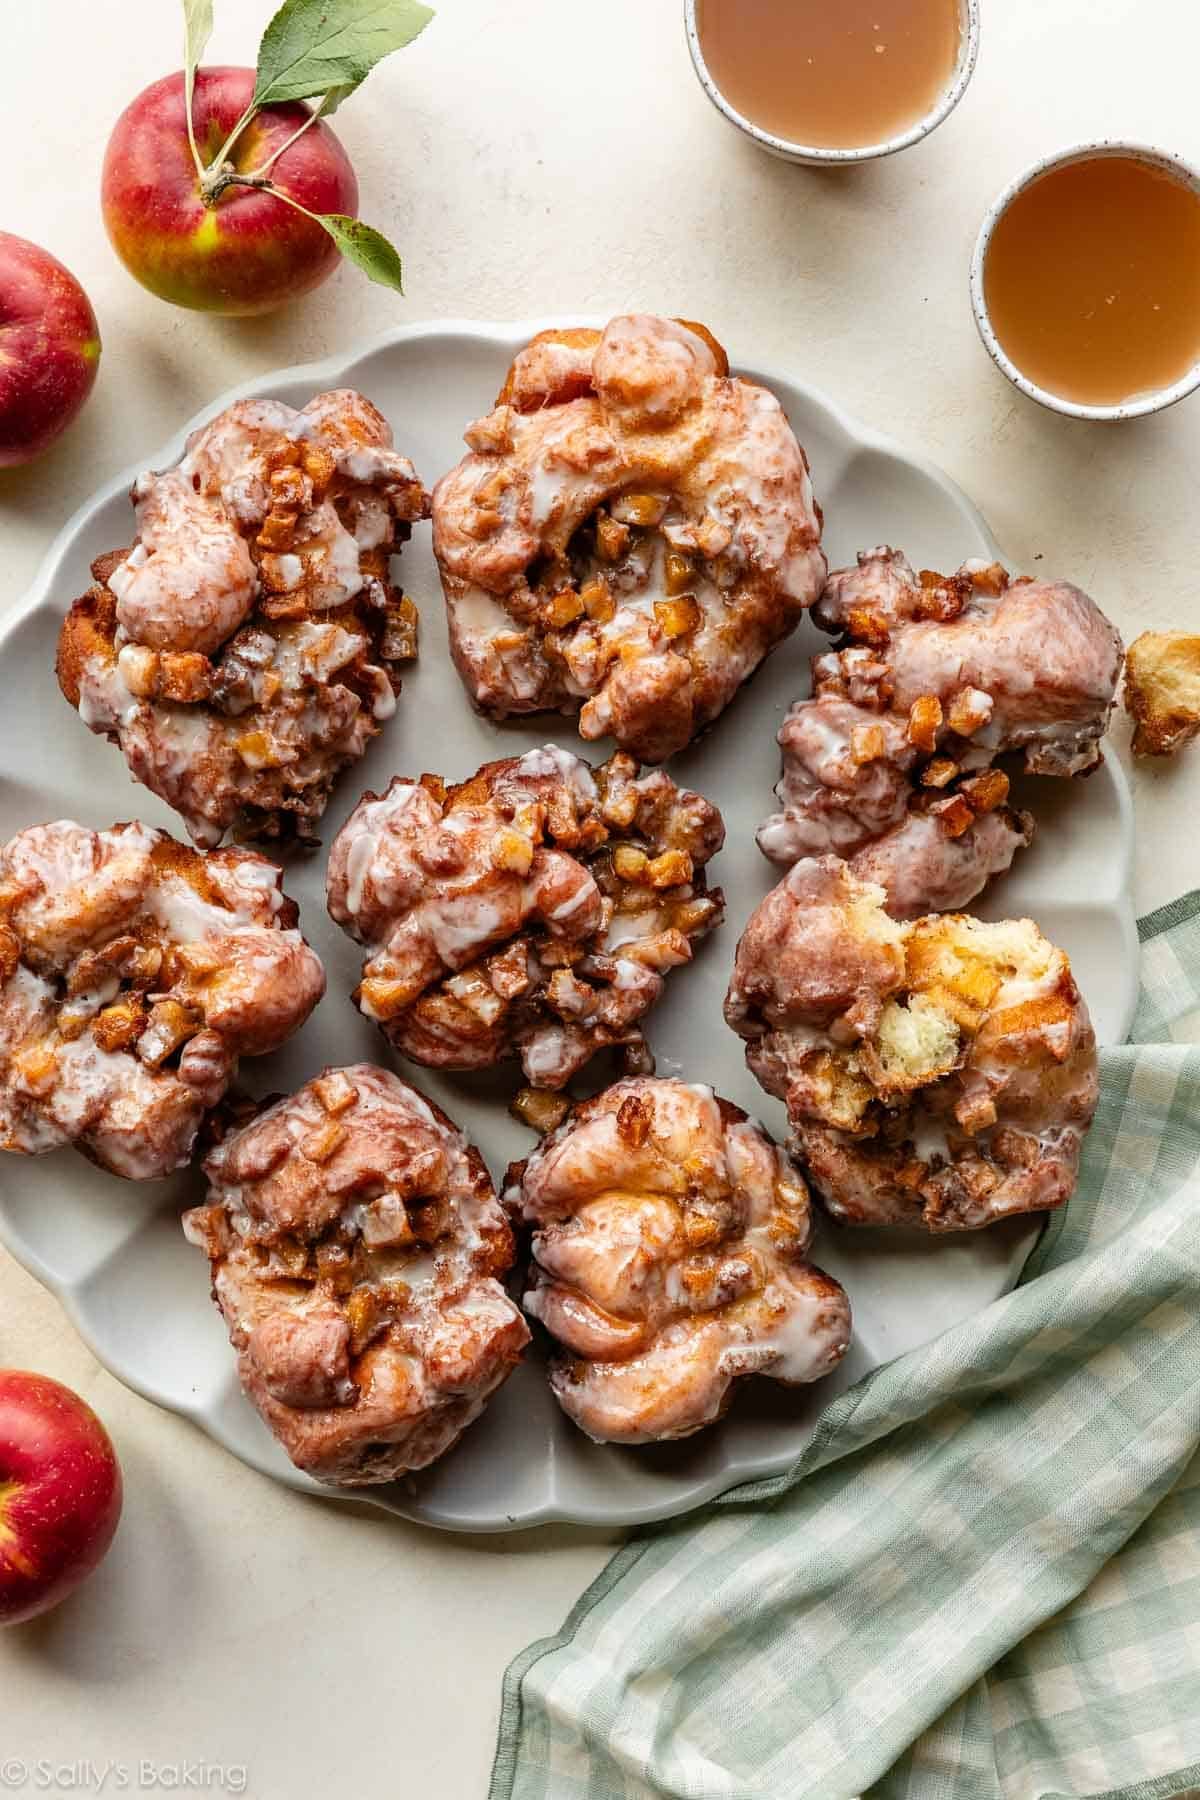
Don’t Forget the Finishing Touch: Vanilla Glaze
The simple vanilla glaze is just confectioners’ sugar, milk, and vanilla extract, but it gives these homemade apple fritters that glossy, bakery-style, farm-fresh finish. You can swap the milk for apple cider or add a pinch of cinnamon and/or nutmeg, but in testing, we found those extra flavors were difficult to detect. We preferred the simplicity of the vanilla glaze and how it lets the apples and spices in the fritters shine.
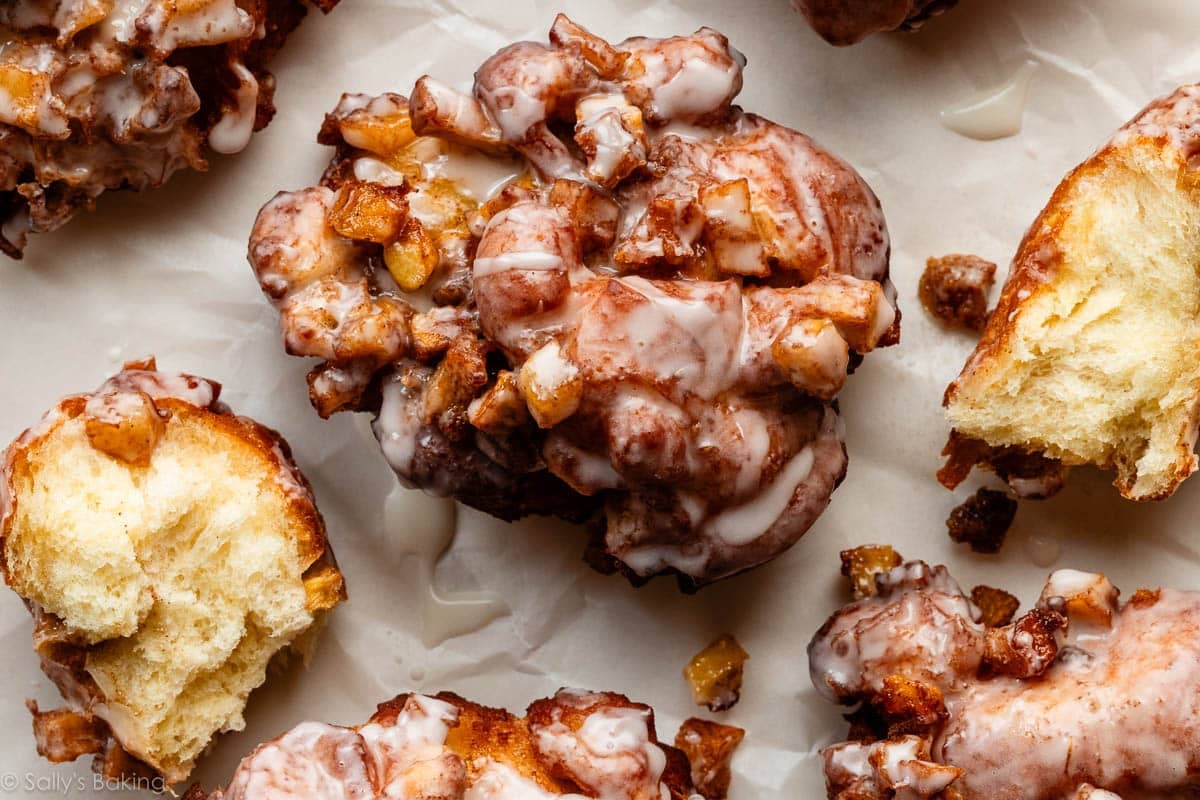
Dip the tops of the warm fritters in the glaze, let it set briefly, and then… ideally… enjoy one while it’s still a little warm! That’s when they’re at their absolute best.
A Few Apple Fritter Success Tips
- Cut the apples small. Small pieces distribute more evenly throughout the fritters and cook faster.
- Don’t overcrowd the pot. Frying too many fritters at once can cause the oil temperature to drop significantly. Work in batches.
- Keep an eye on the thermometer. Maintaining the correct oil temperature is the key to golden, crisp fritters that are cooked through. If you notice your fritters are taking longer to brown, your oil has probably dropped in temperature. Take a break before frying the next batch and let it come back up to 350°F.
- Glaze while they’re warm. The glaze sets beautifully over the warm fritters, creating that classic crackly finish.
I don’t recommend making these apple fritters in an air fryer. This recipe is designed to be fried in oil, which gives the fritters their signature crisp, golden exterior while keeping the centers soft and fluffy. An air fryer won’t produce quite the same texture, and the dough can spread or dry out before the center is fully cooked. For the best results, stick with the frying method outlined in the recipe, or search for a fritter recipe that’s been specifically developed to be cooked in an air fryer—there are quite a few out there!
I recommend using a neutral-flavored oil with a high smoke point, such as vegetable oil, canola oil, or peanut oil. I typically use vegetable oil because it’s easy to find and doesn’t compete with the sweet apple and cinnamon flavors. Avoid oils with a strong flavor or a low smoke point, such as olive oil. And remember, the oil temperature matters just as much as the type of oil—if it’s too hot, the fritters will brown before the centers are cooked; if it’s too cool, they can absorb too much oil and turn greasy.
Never pour used frying oil down the sink because it can clog your pipes and cause plumbing problems. Instead, let the oil cool completely, then pour it into a sealable container, such as the original oil bottle, and throw it away with your household trash. For a larger amount of oil, check with your local waste or recycling facility to see if they accept used cooking oil for recycling. And if your oil is still clean, you can strain it and save it for another round of frying! This is a helpful article on how to reuse and discard frying oil.
I recommend using a firm, crisp apple that holds its shape when cooked. Granny Smith is my favorite because its tart flavor balances the sweetness of the fritters and glaze, but Honeycrisp, Pink Lady, or another firm baking apple work well, too.
Absolutely not! Any heavy-bottomed large pot works.
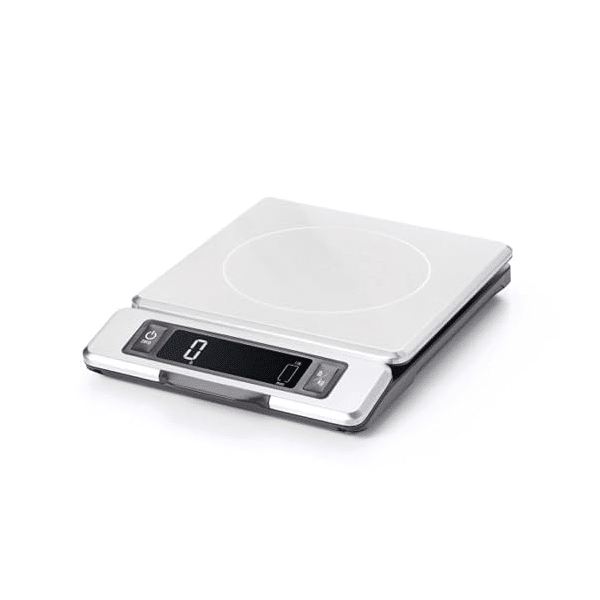
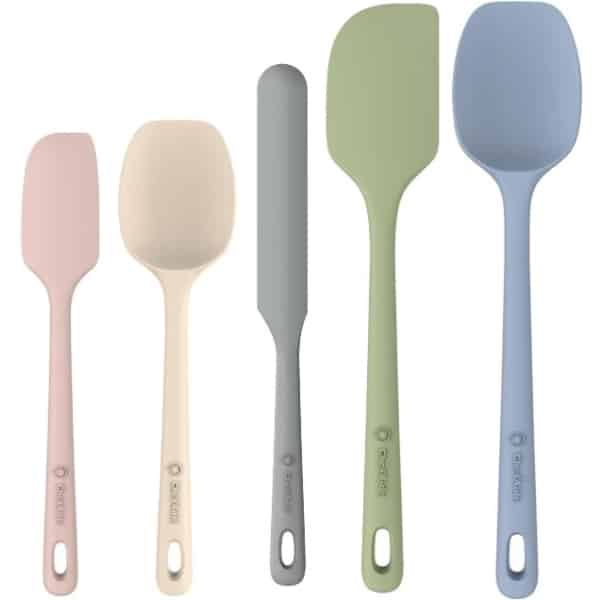
Apple Fritter Tools
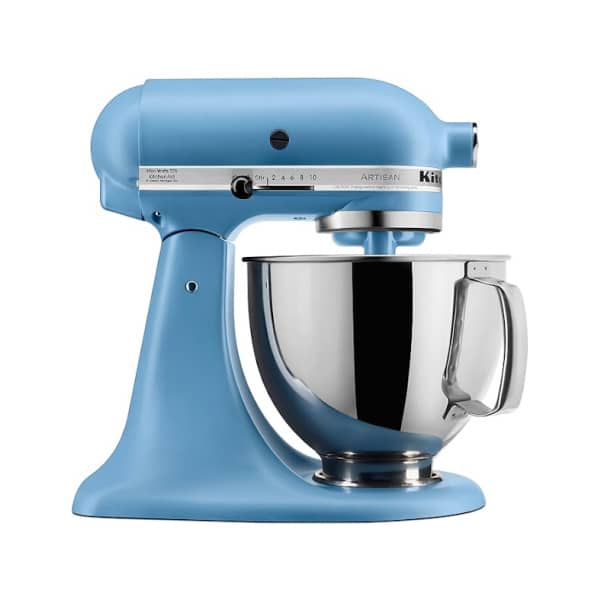
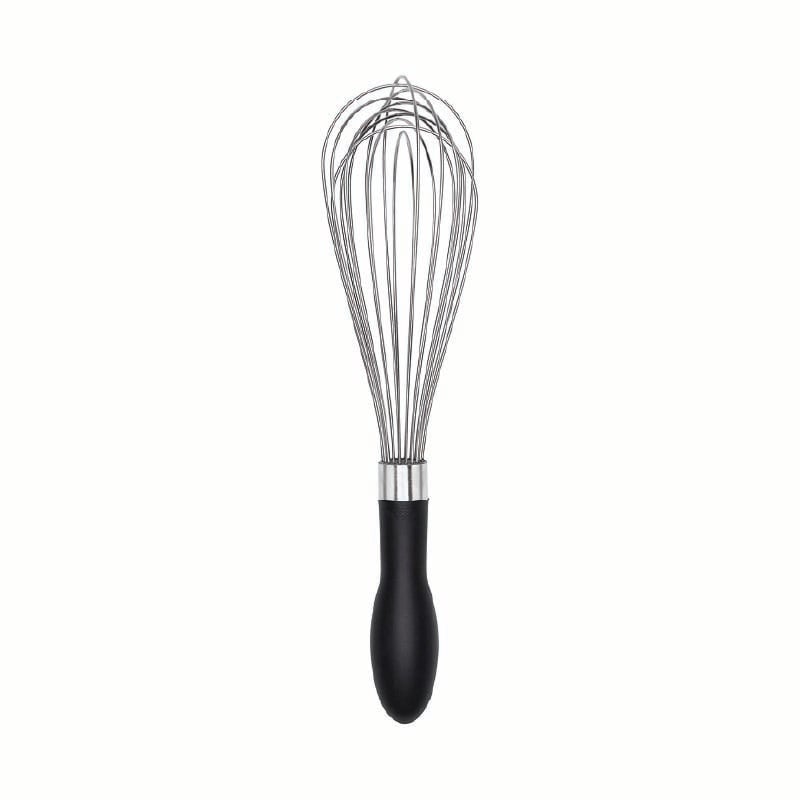
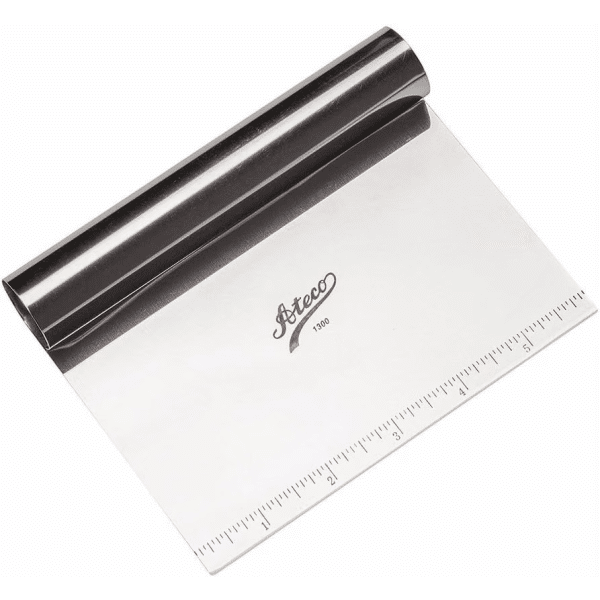


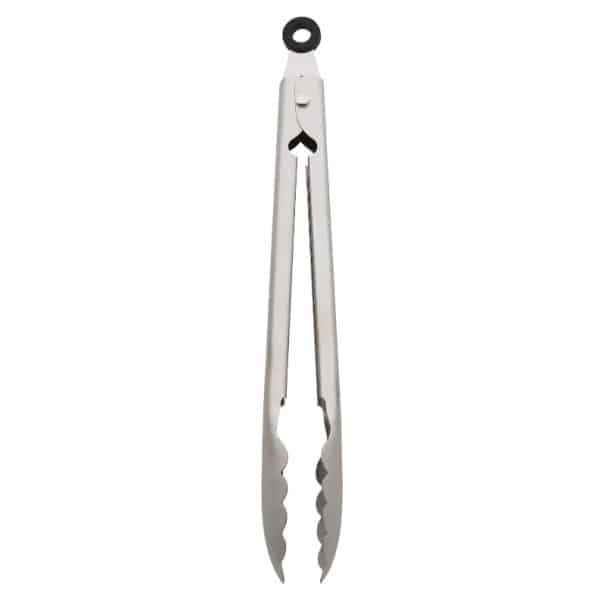
Candy Thermometer

Homemade Apple Fritters
- Prep Time: 3 hours, 30 minutes (includes rising)
- Cook Time: 30 minutes
- Total Time: 4 hours
- Yield: 12 fritters
- Category: Breakfast
- Method: Frying
- Cuisine: American
Description
These homemade apple fritters are crisp and golden on the outside, tender in the center, and loaded with juicy pieces of fresh apple. From-scratch fritters are a labor of love (and a messy endeavor), but entirely worth it when you taste the irresistible combination of sweet vanilla glaze, a crisp exterior, soft and fluffy dough, and cinnamon-spiced apples. This recipe requires frying in hot oil; be sure to read through all the instructions and tips before you begin.
Ingredients
Dough
- 1 cup (240g/ml) whole milk, warmed to 100–110°F (38–43°C)
- 1 Tablespoon (9g) active dry or instant yeast (a little more than 1 standard packet)
- 1/2 cup (100g) granulated sugar, divided
- 6 Tablespoons (85g) unsalted butter, softened to room temperature and cut into 6 pieces
- 2 large eggs, at room temperature
- 1 teaspoon pure vanilla extract
- 1/2 teaspoon salt
- 4 and 1/2 cups (563g) all-purpose flour (spooned & leveled), plus more as needed
Filling
- 3 cups (360g) peeled & diced apples (about 2 large or 3 medium apples)
- 1/2 cup (100g) (packed) light or dark brown sugar
- 1 teaspoon ground cinnamon
- 1/4 teaspoon nutmeg
- 1 Tablespoon (8g) cornstarch
- 2 teaspoons water
- 1 teaspoon pure vanilla extract
For Shaping & Frying:
- 1/4 cup (31g) all-purpose flour, plus more as needed
- 1 teaspoon ground cinnamon
- 1/2 teaspoon ground nutmeg
- 1–2 quarts (1–1.9L) vegetable oil*
Glaze
- 3 cups (360g) confectioners’ sugar
- 6 Tablespoons (90g/ml) milk
- 1 teaspoon pure vanilla extract
Instructions
- Prepare the dough: Whisk the warm milk, yeast, and 1 Tablespoon of sugar together in the bowl of your stand mixer fitted with a dough hook or paddle attachment. Cover and allow to sit for 5 minutes.
- Add the remaining sugar, butter, eggs, vanilla extract, salt, and 1 cup of flour. Beat on low speed for 30 seconds, scrape down the sides of the bowl with a silicone spatula, then add the remaining flour. Beat on medium speed until the dough comes together and pulls away from the sides of the bowl, about 2 minutes. If needed, add more flour, 1 Tablespoon at a time, until the dough pulls away from the sides of the bowl. *If you do not own a mixer, you can mix this dough with a large wooden spoon or silicone spatula. It will take a bit of arm muscle!*
- Knead the dough: Keep the dough in the mixer and beat for an additional 5–7 full minutes, or knead by hand on a lightly floured surface for 5–7 full minutes. (If you’re new to bread-baking, my How to Knead Dough video tutorial can help here.) If the dough becomes too sticky during the kneading process, sprinkle 1 teaspoon of flour at a time on the dough or on the work surface/in the bowl to make a soft, slightly tacky dough. Do not add more flour than you need because you do not want a dry dough. After kneading, the dough should still feel a little soft. Poke it with your finger—if it slowly bounces back, your dough is ready to rise. You can also do a “windowpane test” to see if your dough has been kneaded long enough: tear off a small (roughly the size of a golf ball) piece of dough and gently stretch it out until it’s thin enough for light to pass through it. Hold it up to a window or light. Does light pass through the stretched dough without the dough tearing first? If so, your dough has been kneaded long enough and is ready to rise. If not, keep kneading until it passes the windowpane test.

- Rise: Lightly grease a large bowl with oil or nonstick spray. Place the dough in the bowl, turning it to coat all sides in the oil. Cover the bowl with aluminum foil, plastic wrap, or a clean kitchen towel. Let the dough rise in a relatively warm environment for 1–2 hours or until double in size. (I always let it rise on the counter, which takes about 2 hours. For a tiny reduction in rise time, see my answer to Where Should Dough Rise? in my Baking with Yeast Guide.)
- Make the filling: In a small bowl, whisk the cornstarch, water, and vanilla until the cornstarch is dissolved. Set aside. In a medium saucepan over medium heat, combine the apples, brown sugar, cinnamon, and nutmeg. Cook, stirring, until the mixture comes to a boil, about 5 minutes. Stir in the cornstarch slurry. Cook for another minute. Remove from heat, transfer to a heat-proof bowl, and cool completely.

- Prepare to fill and shape the dough: Cut parchment paper into 12 squares, about 5–6 inches each. When the dough is ready, punch it down to release the air. In a small bowl, mix the flour, cinnamon, and nutmeg together. This will be your “bench flour” for shaping the fritters.
- Fill the dough: Sprinkle some of the spiced flour over a large work surface. Turn out the dough and, with lightly floured hands or a rolling pin, press or roll it into a large oval about 1/2 inch thick. Spoon the cooled apple filling over one half of the dough, then sprinkle some of the spiced flour over the filling. Fold the unfilled half of the dough over the apples and seal the edges.

- Cut and shape the fritters: Use your hands to gently shape the filled dough into a long oval, making sure the edges are sealed. Using a sharp knife or bench scraper, make 11 cuts across the filled dough, cutting mostly but not quite all the way through. Then make 3–4 perpendicular cuts to create a crosshatch pattern. Sprinkle on more spiced flour as needed to help absorb any exposed sticky filling. Now divide the dough into 12 roughly equal portions. I find it easiest to divide it into 4 sections, then divide each section into 3 pieces. This is not an exact process, so don’t stress. Just make sure you have 12 portions. Redistribute the filling as needed, then gently shape each portion into a lumpy round, tucking in the dough and apples as best you can. Place each fritter on a parchment square and set it in a standard 12-cup muffin pan. Loosely cover and let the fritters rest while you heat the oil. They’ll puff up slightly during this time.


- Place a cooling rack over a large parchment-lined baking sheet. Set aside.
- Pour the oil into a large heavy-bottomed pot set over medium heat and attach a candy/oil thermometer to the pot. Heat the oil to 350°F (177°C). This will take several minutes. Keep the oil between 350–360°F (177–182°C) as you fry, adjusting the heat as needed.
- Fry the fritters: When the oil is hot enough, carefully lower 2–3 fritters, still on their parchment squares, into the oil. Fry for 2 minutes. Using tongs, flip the fritters and remove and discard the parchment. Fry for another 1–2 minutes, flipping once more if needed, until deeply golden brown on both sides. Wear kitchen gloves and use caution if the oil is splashing. Using a metal slotted spatula, transfer the fritters to the prepared rack. Repeat with the remaining fritters, keeping the oil between 350–360°F (177–182°C). Let the fritters cool for a few minutes while you prepare the glaze.

- Make the glaze: In a medium bowl, whisk together confectioners’ sugar, milk, and vanilla extract until smooth. If needed, add more milk to thin out or more confectioners’ sugar to thicken.
- Dunk one side of each fritter into the glaze. Return to the rack and let the excess glaze drip off. Allow the glaze to set.
- Fritters are best enjoyed the same day. Cover and store leftovers at room temperature for up to 2 days or in the refrigerator for up to 5 days.

Notes
- Freezing Instructions: Prepare recipe through step 8. Freeze shaped fritters for up to 3 months. On the day you serve them, let the fritters thaw and rest at room temperature for about 4–5 hours. They will be quite messy. Fry as directed. You can also freeze the fried fritters (unglazed). Cool them completely, then freeze for up to 3 months. Thaw at room temperature, then reheat as desired and top with glaze.
- Overnight Instructions: Prepare dough through step 3. Instead of letting rise in a warm environment in step 4, place the covered dough in the refrigerator overnight (8–12 hours). The next morning, remove from the refrigerator and allow to rise in a warm environment until doubled. The dough will lightly rise in the refrigerator overnight, so the rise the next morning won’t be too long. After rising, continue with step 5. You can also make the filling ahead of time; let cool completely, then cover and refrigerate until needed, for up to 2 days.
- Special Tools (affiliate links): Electric Stand Mixer | Whisk | Large Glass Mixing Bowl | Bench Scraper | Parchment Paper | Muffin Pan | Baking Sheet | Cooling Rack | Large Heavy-Bottomed Pot (like this 5.5-quart Dutch Oven or this 6-quart Dutch Oven | Candy Thermometer | Stainless Steel Tongs
- Yeast: Reference my Baking with Yeast Guide for answers to common yeast FAQs.
- Oil: Use a neutral-flavored oil with a high smoke point, such as vegetable oil, canola oil, or peanut oil. The amount of oil really depends on how wide or tall your pot is. You want oil to fill about 1/3 of the pot. I use a little more than 1 quart for my 5.5-quart Dutch oven.
- Halve: You can easily halve this recipe for 6 large fritters. I don’t recommend doubling the recipe. Instead, make two separate batches of dough.
- Leftover Oil: Do not pour used oil down the sink drain. Allow to cool, then pour into an empty container and discard in the trash.
- Can I Make These in an Air Fryer? No, I don’t recommend making these apple fritters in an air fryer. This recipe is designed to be fried in oil, which gives the fritters their signature crisp, golden exterior while keeping the centers soft and fluffy. An air fryer won’t produce quite the same texture, and the dough can spread or dry out before the center is fully cooked. For the best results, stick with the frying method outlined in the recipe, or search for a fritter recipe that’s been specifically developed to be cooked in an air fryer—there are quite a few out there!
- Flavor in the Glaze: You can swap the milk for apple cider (NOT apple cider vinegar, apple cider the beverage) or add a pinch of cinnamon and/or nutmeg, but in testing, we found those extra flavors were difficult to detect. We preferred the simplicity of the vanilla glaze and how it lets the apples and spices in the fritters shine.












Reader Comments and Reviews
2 things are true here: 1. This recipe is phenomenal; 2. You are going to make an incredible mess of your kitchen.
I made these for a family dinner and everyone loved them! They were fun to make—messy for sure, but using parchment was brilliant! So delicious!
A true treat. I struggled with the shaping but it didn’t matter. They came out great.
So fun to make this recipe! Thanks for a fun new challenge!
Fairly easy especially with a stand mixer.
This was such a fun baking experience! I have always wanted to make apple fritters so the baking challenge gave me the perfect incentive. They weren’t as difficult as I thought they would be, a but time consuming with the different steps but fun nonetheless. They turned out great! They taste amazing!
This one was fun to make but I I couldn’t get the apples to stay in.
This was a fun recipe to make with my niece and it turned out amazing!
Although quite messy, this was a fun recipe to try! I would have liked a little stronger apple flavor but they were delicious.
Amazing recipe! A must try!! ❤️
This recipe is a challenging one. The dough was great, not too complicated basic enriched dough. The difficulty came when you put the apple mixture in. It is incredibly difficult to keep the apples from falling out when frying. Not to mention the mess of dishes you’ll make. I think this is a one and done. Very delicious though.
The cinnamon swirl bread was easy to make and very delicious. Perfect for when you crave cinnamon rolls but not all the sweetness overload
I did the Cinnamon Swirl bread and it was so good!! My family is begging me to make more… and I’m not going to object!! Thank you, Sally!! This was so fun!! 😁🤗
As always, Sally does a great job at explaining and making recipes easy to follow! Will be making again!
These were super yummy and the texture of the bread was unreal. BUT this recipe was very involved and left my kitchen an absolute mess and I’m someone that bakes a lot. I was super disappointed that all the apples fell out when cooking them so it basically is just glazed fry bread. It’s definitely delicious but I don’t think I’ll be making this again. Not worth the time or mess.
We made this into a family event. There were up to 4 of us working at a time. This was pretty advanced for us! But we made a good family memory and they turned out delicious.
This was fun and delicious!! Whole family loved it!!
I tried the apple fritters today. Like others, most of the filling came out in the fry oil. The donut tasted a little flat . I would add more spices to the dough. But it did raise up and was light and fluffy. I cut up another apple and cooked them the same as the filling. added a layer of glaze then sprinkled the apple filling over the top. Tasted like an apple fritter, just inside out.
I made this luscious cinnamon swirl bread, adding raisins, and produced a cinnamon roll quality bread loaf. Delicious! And while yeast breads can turn dry faster than quick breads, this loaf stayed moist and tasty.
This was my first time working with oil to fry donuts, I usually use recipes where I can bake them, but the instructions made this so easy! Time consuming and a touch on the messy side, but the results were so worth it. Everyone gobbled them up.
Wow! This recipe was definitely a challenge for me. I really enjoyed getting to make it, I liked the finished product, and I learned a lot about things I would do differently if I were to do it again. I think my apple to bread ratio was definitely off; the bread tasted great fried but I definitely wish I had more of the apple/cinnamon taste.
These are amazing! The whole family loved them. The mess was worth it!
Very laborious but that’s to be expected for an Apple fritter! The taste of the dough was a little bit bland for me.
This was definitely new type of recipe to me but Sally and her team made easy to follow instructions and the flavor was spot on!!!
Amazing fritters and worth any fuss.
These are delicious! The recipe was easy to follow. It definitely helped to read it through first and have things prepared for the next step. I was worried I had too much sauce with my apples so I drained a lot of it. I wish I would have left it in. But it wasn’t too messy. They still turned out great and I would definitely make them again!
We love apple fritters – but these just weren’t it for us. Advise to cut them much smaller so they cook all the way through. We ended up with dark fritters that were raw in the middle, using a thermometer for the oil temp. The apples did not stay in the dough at all. I ended up scooping most of the apples out of the oil and putting glaze over the pile of apples so as to not waste them. Even the ones that stayed in the fritters added very little apple taste. Love Sally’s recipes, but this one left a lot to be desired.
Wow these are so fun to make! Embrace the mess and enjoy the deliciousness!!
I love Apple Fritters!! I loved making these at home. It was certainly a challenge and messy! So worth it though. Will be making these again.
These homemade apple fritters were definitely a bit challenging to make, but they were worth the effort! The recipe took some patience and attention, especially getting the fritters just right, but the end result was delicious. They were warm, flavorful, and packed with that wonderful homemade apple taste. A little extra work, but when you take that first bite, you’ll know it was worth it!
Delicious! First time frying with that much oil, love the parchment paper flip bit. I would probably make half size fritters next time, just personal preference though, these got a great texture throughout. The large size is also definitely an amazing fair sort of vibe. These are really lovely, especially once glazed. Thank you!
Complicated but Delicious!