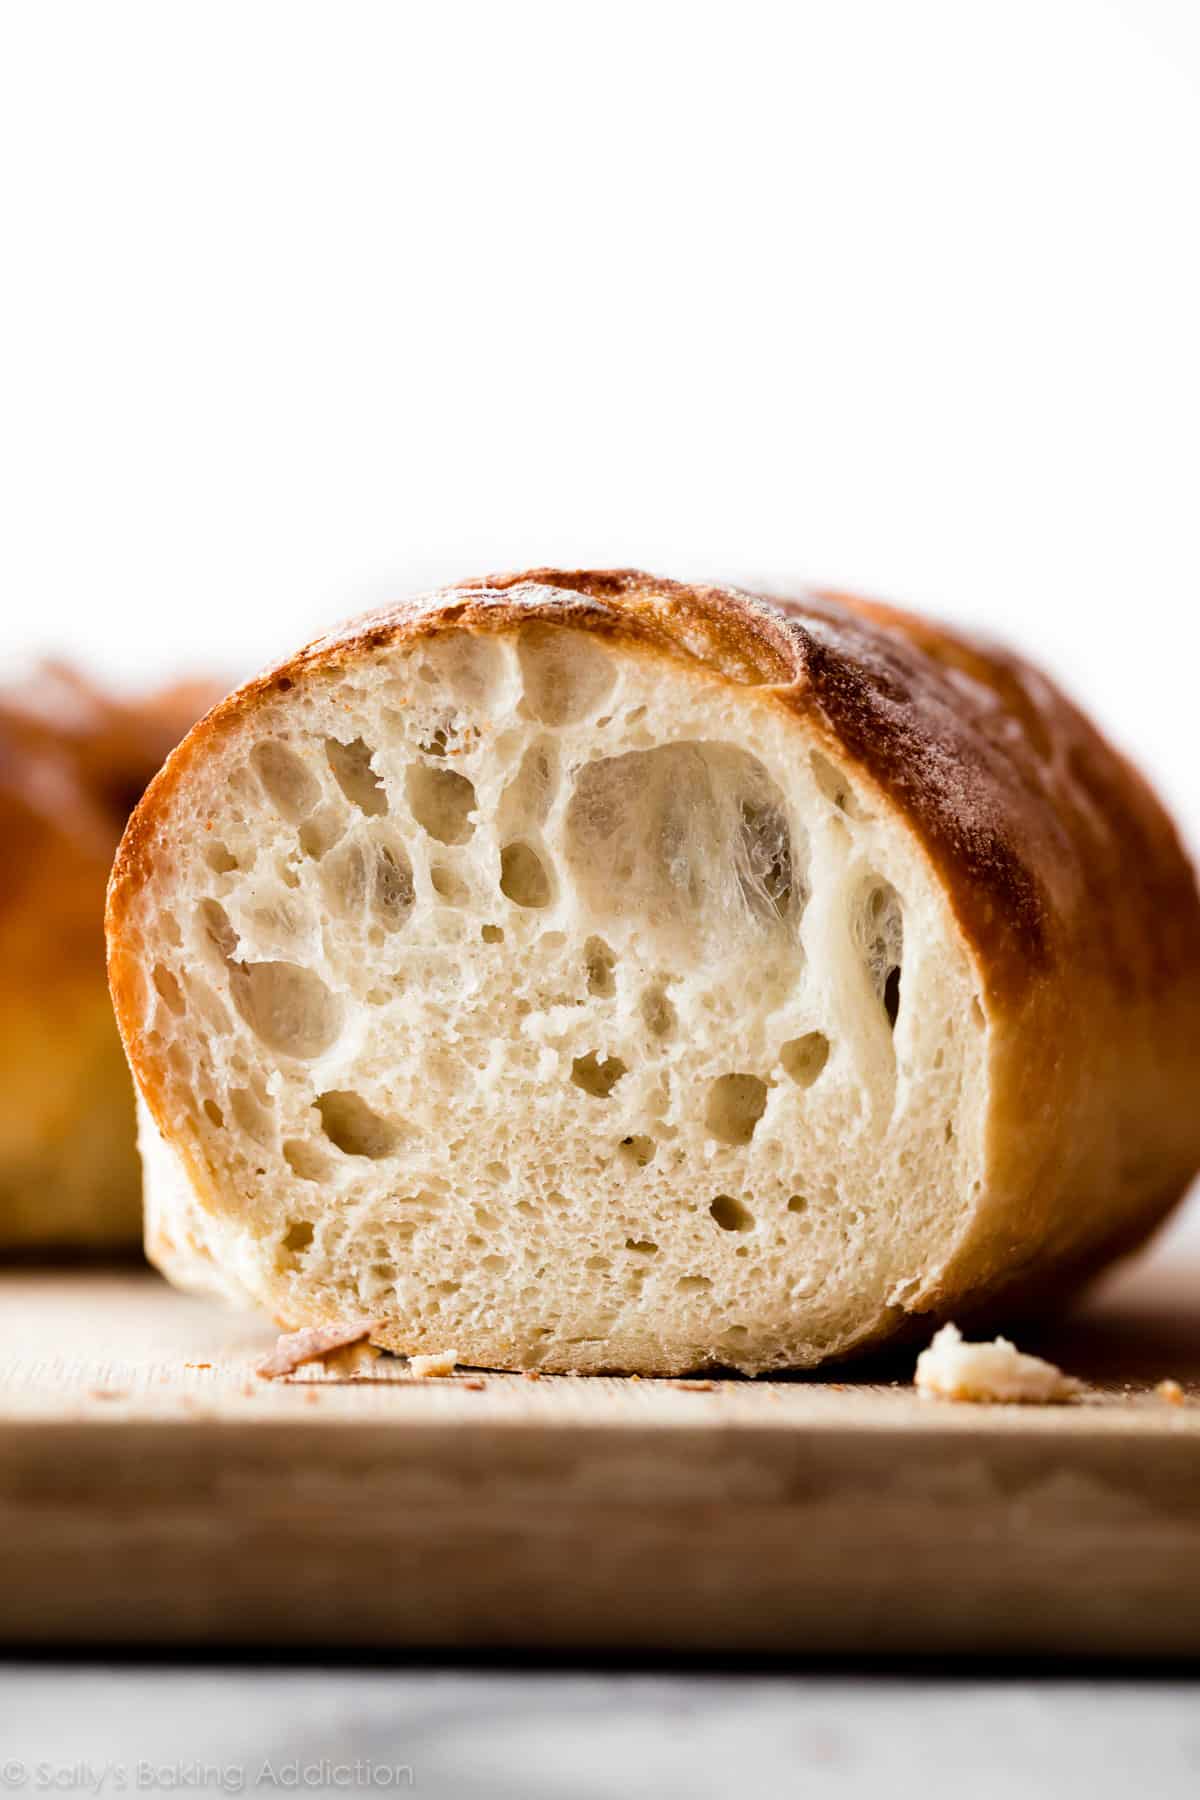
Even if you’ve never made homemade bread or worked with yeast before, this homemade crusty artisan bread is for you. It’s the perfect beginner recipe because it only requires 4 ingredients without any special pans or mixer, there’s no kneading or complicated shaping involved, and 95% of the work is hands-off. Bread masters will appreciate this recipe too because it delivers with delicious flavor, a slightly crisp and mega chewy crust, and those signature soft holes inside like ciabatta or French bread.
Bread Beginners—Start Here
Have you ever wanted to master homemade bread? Real, crusty, chewy, delicious bakery-style loaves that taste incredible with dips, soups, sauces, and comforting dinners? This recipe is where you start. This artisan bread is for beginners, but even bread masters will appreciate its flavor and ease. It’s so fresh, so flavorful, and so surprisingly easy because it basically makes itself.
You only need 4 ingredients without any special pans or mixer, there’s no kneading, no poolish or dough starter required, and you can add herbs, cheeses, and spices to make a variety of bread flavors.
This base recipe will soon be on repeat in your kitchen. After you realize how easy it is to make real homemade bread, you’ll find any excuse to bake a loaf.
What is Homemade Artisan Bread?
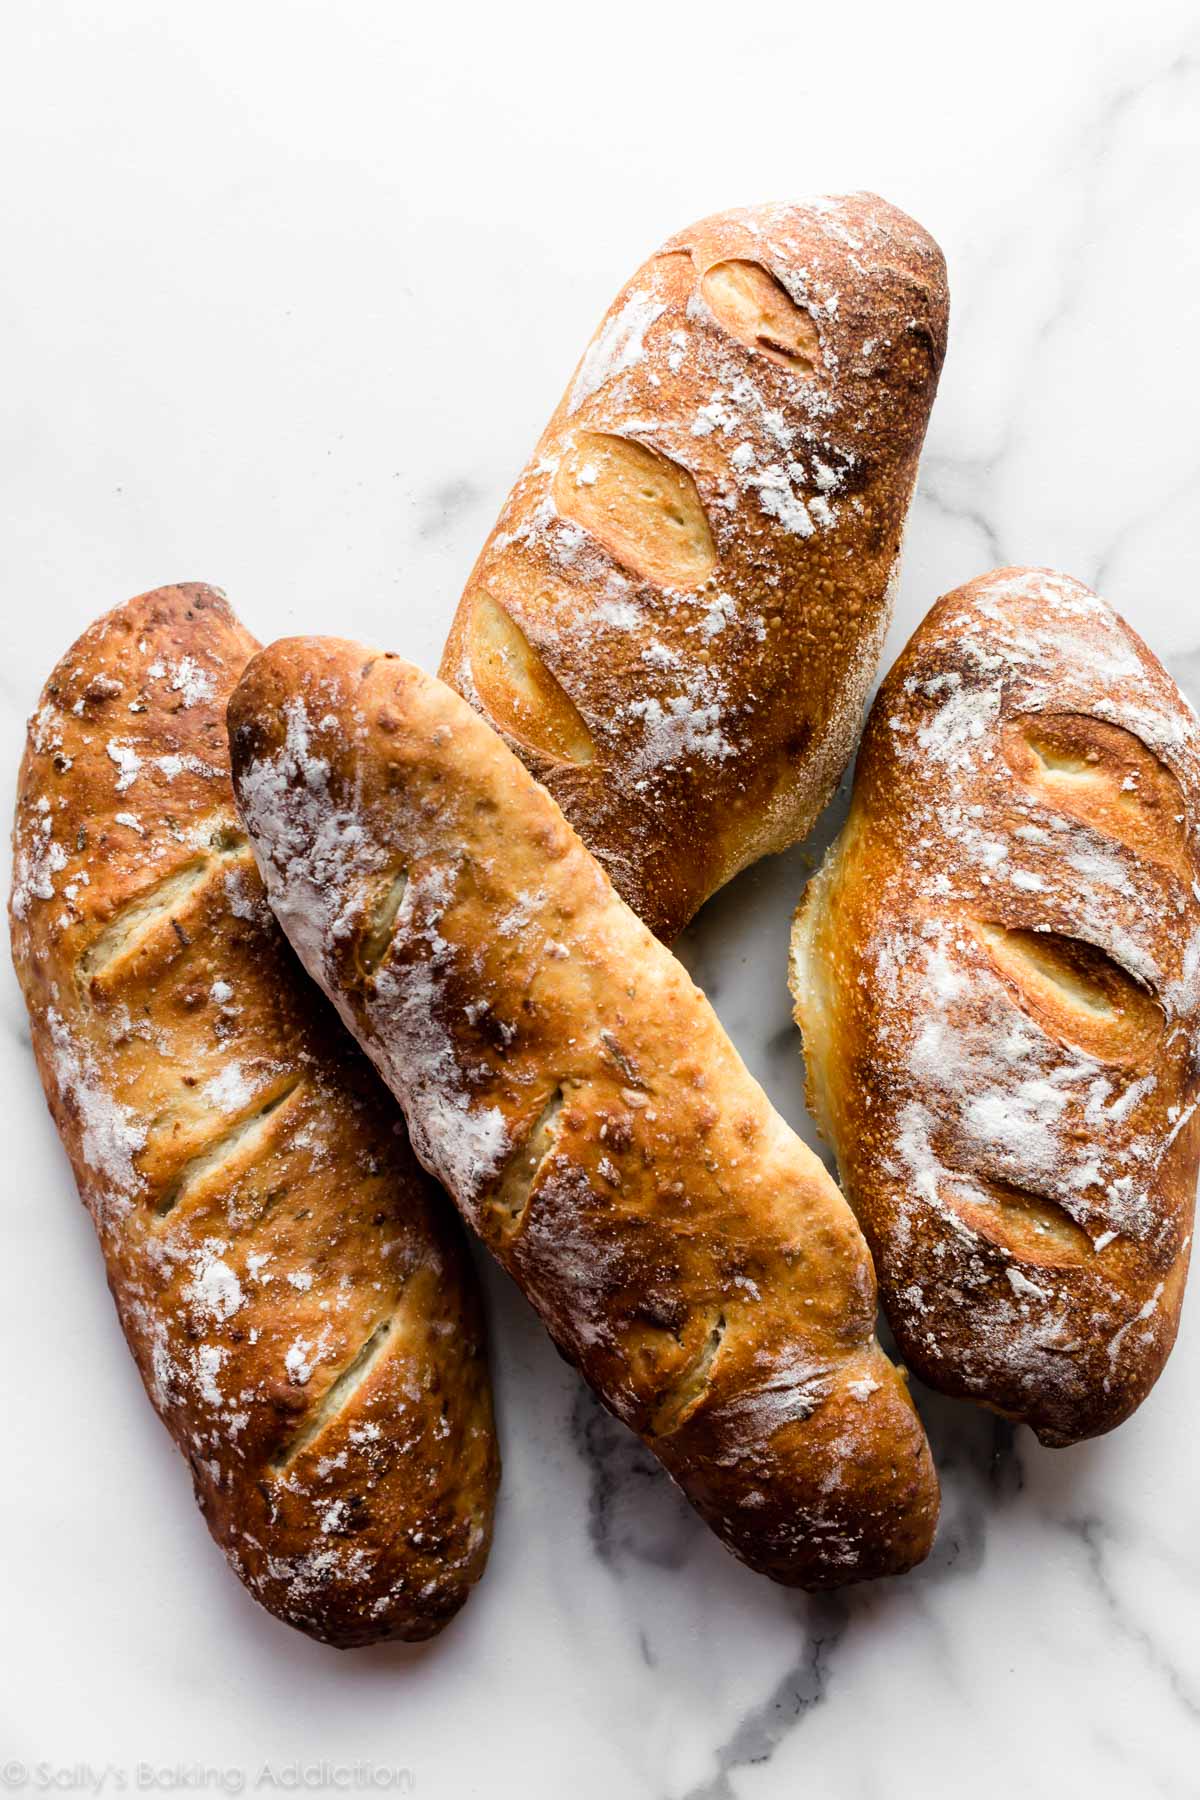
When it comes to bread, the term “artisan” doesn’t mean 1 particular thing. But generally, artisan bread is homemade, fresh, crusty, and deliciously rustic looking. An artisan is a skilled worker, one who works with their hands. But ironically, there isn’t much “work” involved with this recipe.
Why You’ll Love This Bread
- Easier than you ever imagined
- Soft + flavorful
- Chewy, slightly crisp crust
- Shape however you want
- No special pans, poolish, or dough starter required
- Only 4 ingredients
- You decide the length of time it rests
Homemade Artisan Bread Video Tutorial
Like sandwich bread, whole wheat bread, focaccia, homemade English muffins, seeded oat bread, and homemade bagels—the process is surprisingly easy. If you’re new to yeast, reference my Baking with Yeast Guide for answers to common yeast FAQs.
Only 4 Ingredients
The crustier and chewier the bread, the less fat in the dough—also known as a “lean dough.” We’re using a lean dough for our artisan loaf today. (If you’re curious, a “rich dough” is a soft bread dough with the presence of fat, such as butter and eggs—the kind we need for overnight cinnamon rolls and honey butter rolls.) Without fat, we’re left with the basics.
- Bread Flour: While you can use all-purpose flour in this recipe, I strongly recommend using bread flour. Just like when we make olive bread, bread flour produces a stronger, chewier bread and that makes a big difference in recipe with only 3 other ingredients.
- Instant Yeast: Instant yeast is key in this recipe. While you can use active dry if that’s all you have, any quick rise or instant yeast will produce flavorful results in less time. I use more yeast in this recipe compared to my cranberry nut no-knead bread and no-knead jalapeño cheddar bread. Why? Those doughs rest and rise at room temperature. However, for more flavor and just as much rise, I use more yeast and let the this dough rest in the refrigerator. (Cool air slows the fermentation process.)
- Salt: You can’t make good bread without salt and for best flavor, I recommend a coarse salt, such as coarse sea salt. I find the bread’s flavor lacking with regular table salt.
- Water: I normally encourage you to use warm liquid with yeast because warm liquid helps the yeast work faster. However, use cool or room temperature water here. Not freezing cold, not super warm—cool to touch. 70°F (21°C) is great, but the exact temperature doesn’t matter as long as it’s not hot or warm. The cooler the water, the longer the dough takes to rise and, usually, the better the bread’s flavor. (This is important since there are so little ingredients to add substantial flavor!) We use the same cool water method for no knead honey oat bread.
- Optional Cornmeal: Dusting the pan with cornmeal adds a pop of flavor and a little crunch to the bottom crust. This is completely optional. If you have it, use it. If you don’t have it, don’t worry about it.
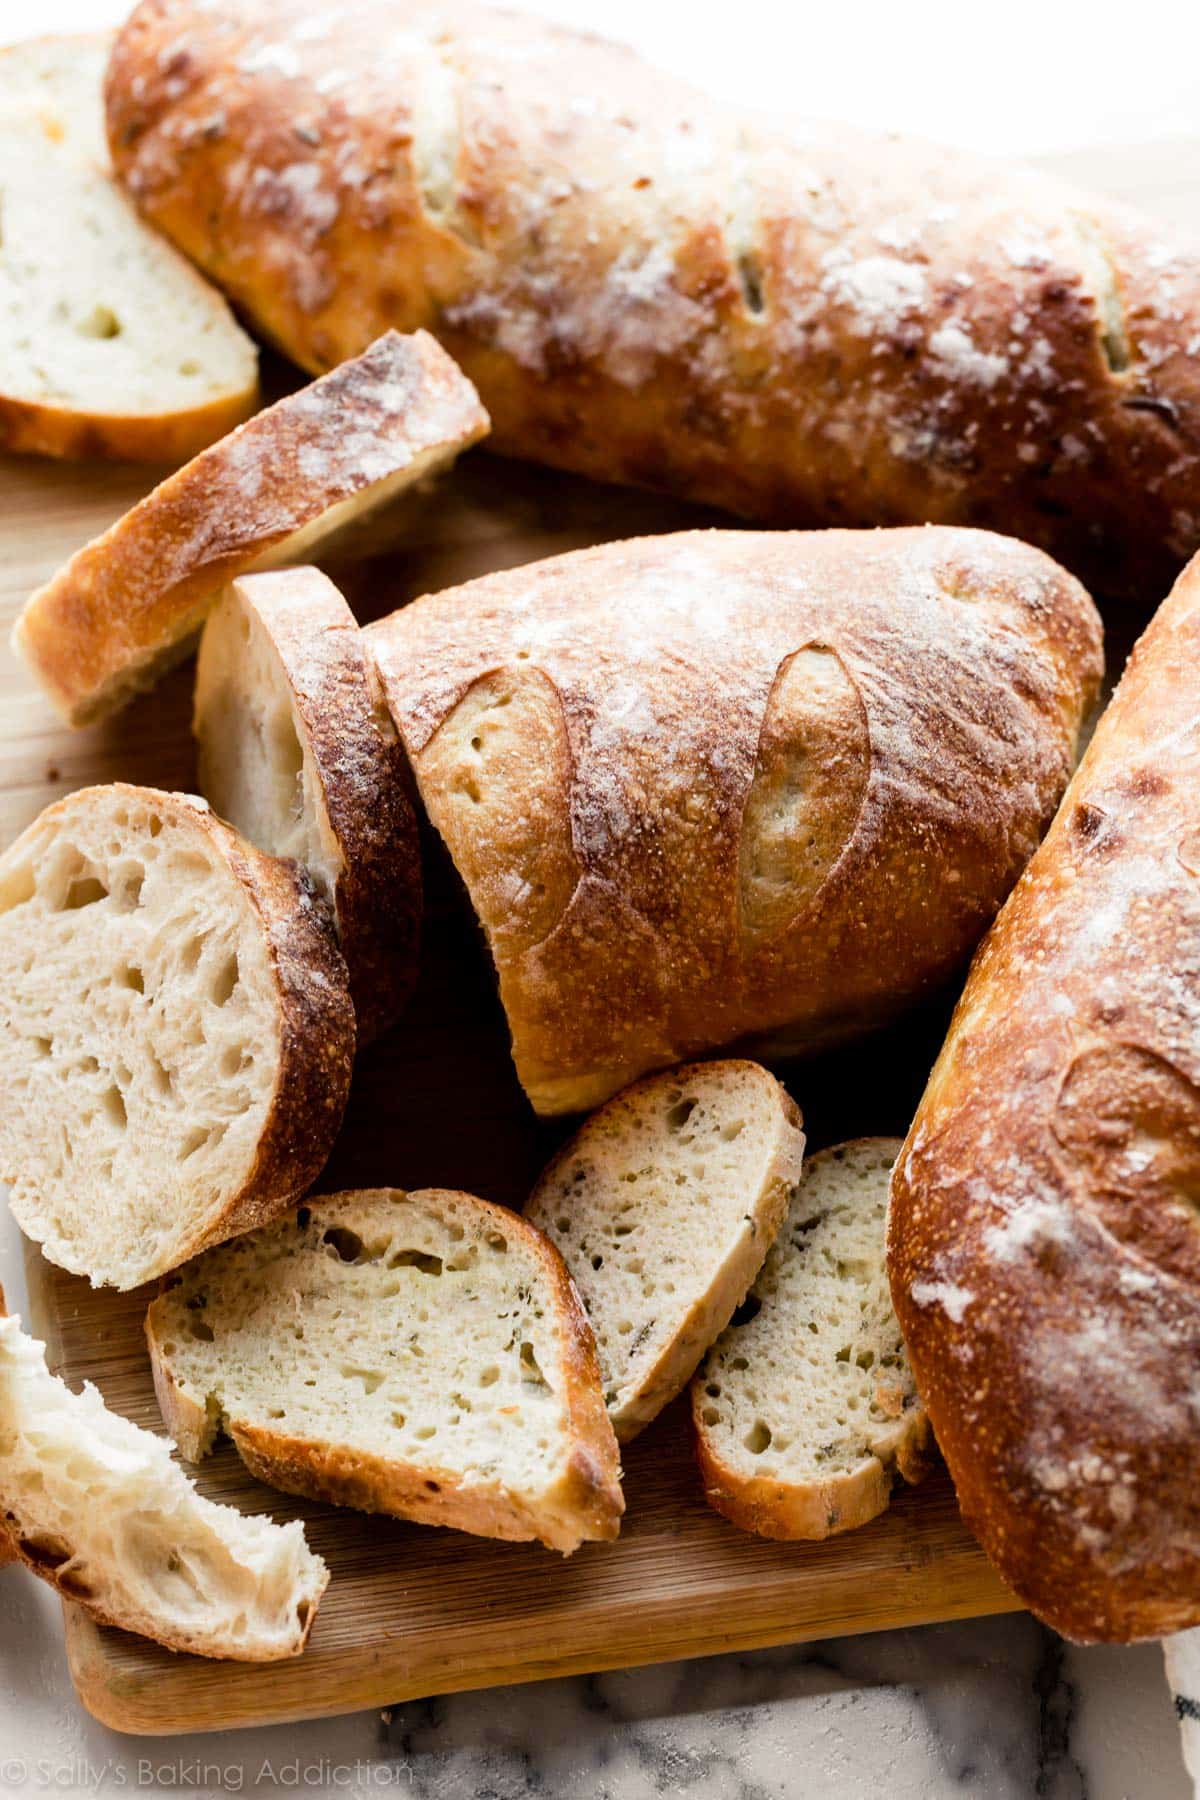
You can also add herbs and seasonings such as garlic, rosemary, dill, chopped onion, jalapeño, shredded cheese, chopped nuts, dried cranberries, etc. My no yeast bread is the quick bread alternative here—you can add flavors to that loaf, too!
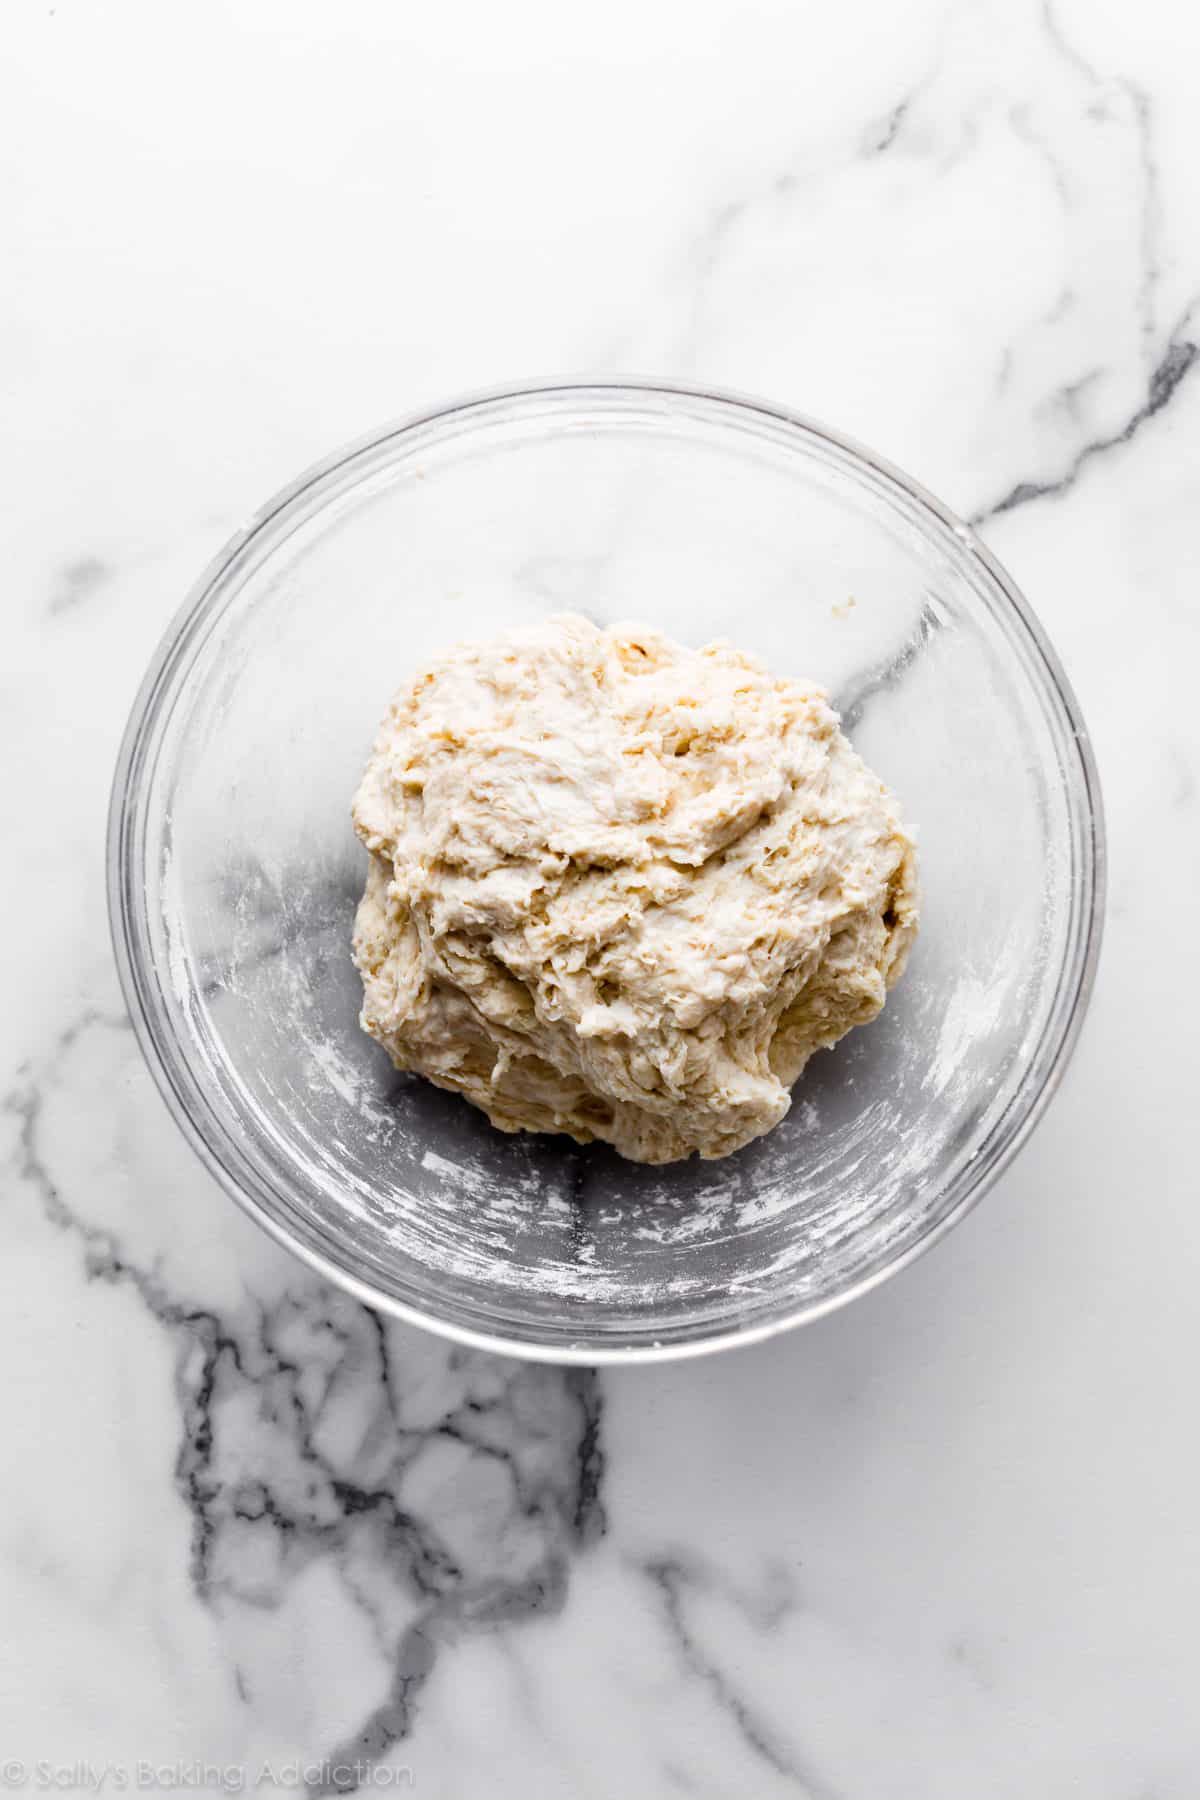
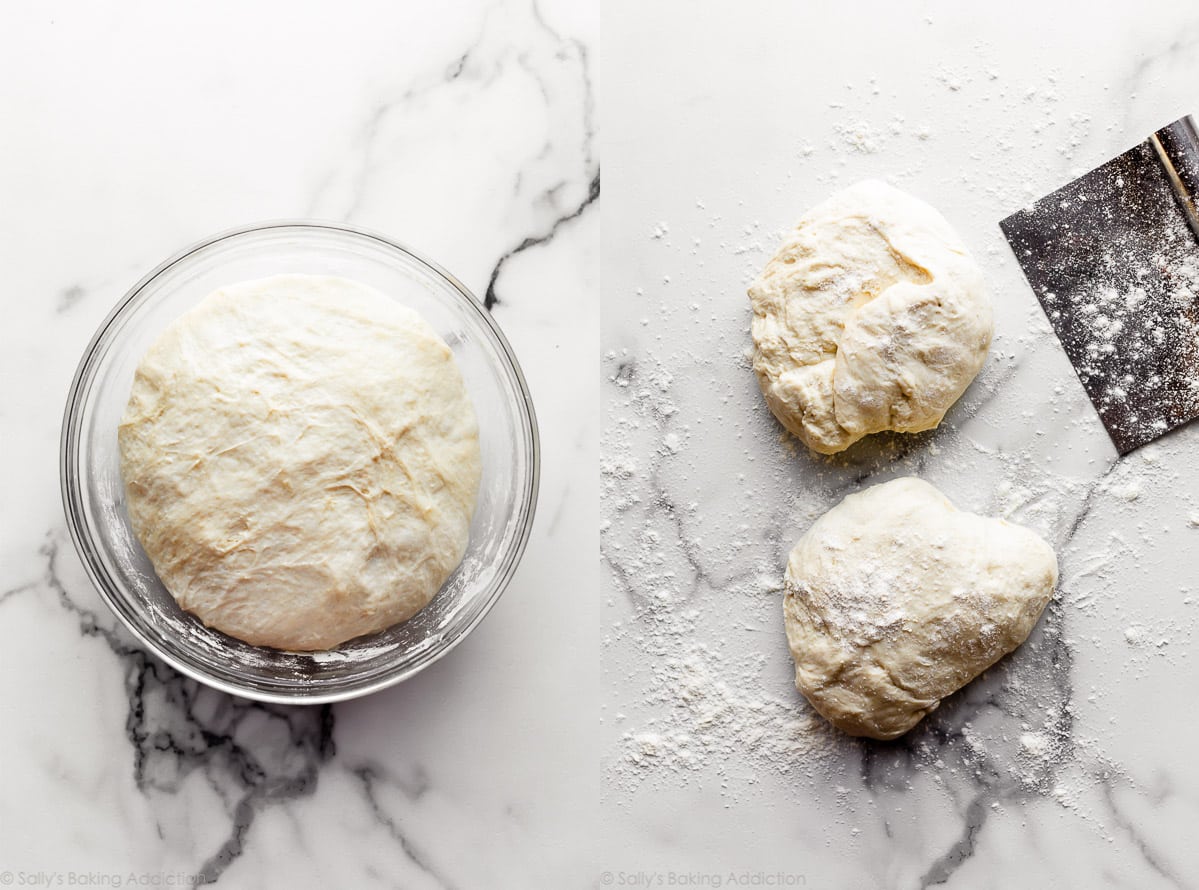
Baker’s Tip: Avoid adding too much flour to the dough as you work with it. The stickier it is—and the longer it sits in the refrigerator—the more likely you’ll have those big airy pockets of air in the crumb.
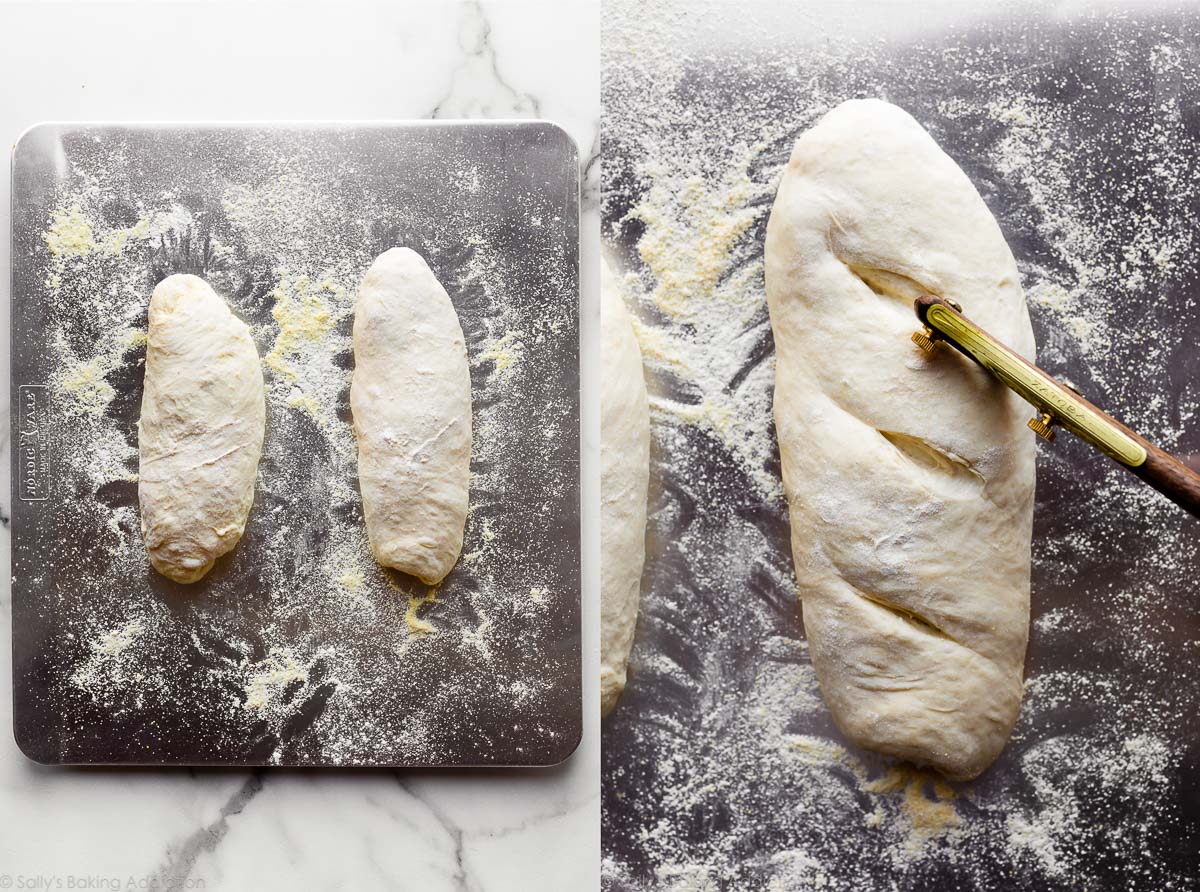
How to Make Homemade Artisan Bread in 5 Steps
- Mix the dough ingredients together. At first the dough will seem very dry and shaggy and you’ll question if it will even come together. But it will. Use a spatula at first, then switch to your hands to ensure all of the flour is moistened. The dough is actually a little sticky after it’s thoroughly mixed.
- Let it rise at room temperature for 2-3 hours. Cover the dough and let it rise at room temperature for about 2-3 hours until doubled in size.
- Use right away or refrigerate. After 2-3 hours, you can immediately continue with the next step. However, for ideal flavor and texture, I strongly recommend letting the dough sit in the refrigerator for at least 12 hours and up to 3 days. Yes, 3 full days! I usually only let it rest for about 18 hours. During this crucial step, the cold air slows the fermentation process and adds so much flavor and texture. So, you can bake bread in 2-3 hours or in 3 days. The longer it sits, the better it tastes. 🙂
- Shape into 2 loaves or 1 boule. Rest as oven preheats. You can shape the bread into a round loaf (boule) or two longer loaves. I usually make 2 longer loaves side-by-side on a flat baking sheet, about 9×3 inches each. Score with a sharp knife or bread lame. Preheat the oven to a very hot 475°F (246°C). The extremely hot air will immediately set the crust so the bread rises up instead of spreading all over. To help ensure a crispier crust, after the oven pre-heats—pour boiling water into a metal or cast iron baking pan/dish on the bottom oven rack. Immediately place the dough inside and shut the oven door to trap the steam. The steam will help create that coveted crisp crust. If you have a dutch oven, shape the dough into 1 round loaf, and bake it inside the dutch oven with the lid on.
- Bake until golden brown, about 20-25 minutes. Gently tap the loaves because if they sound hollow, they’re done.
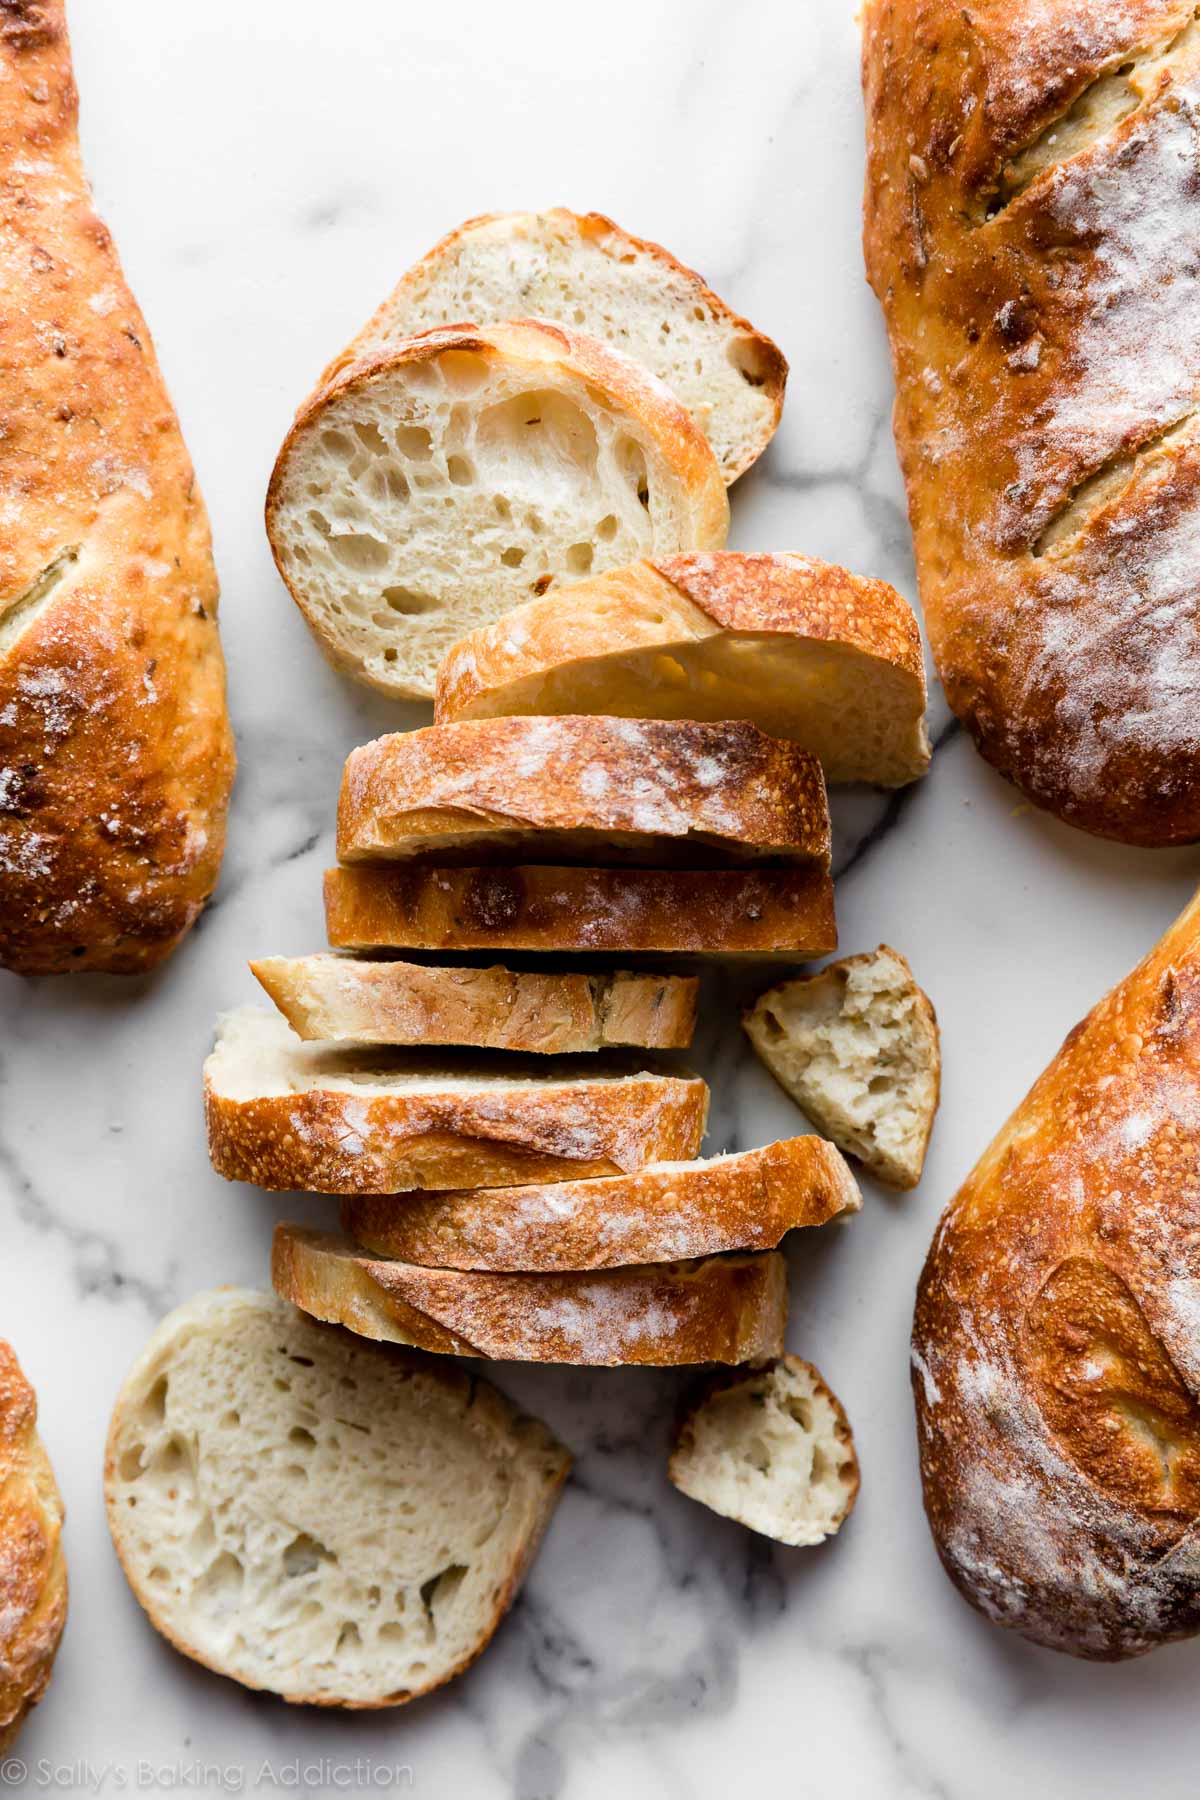
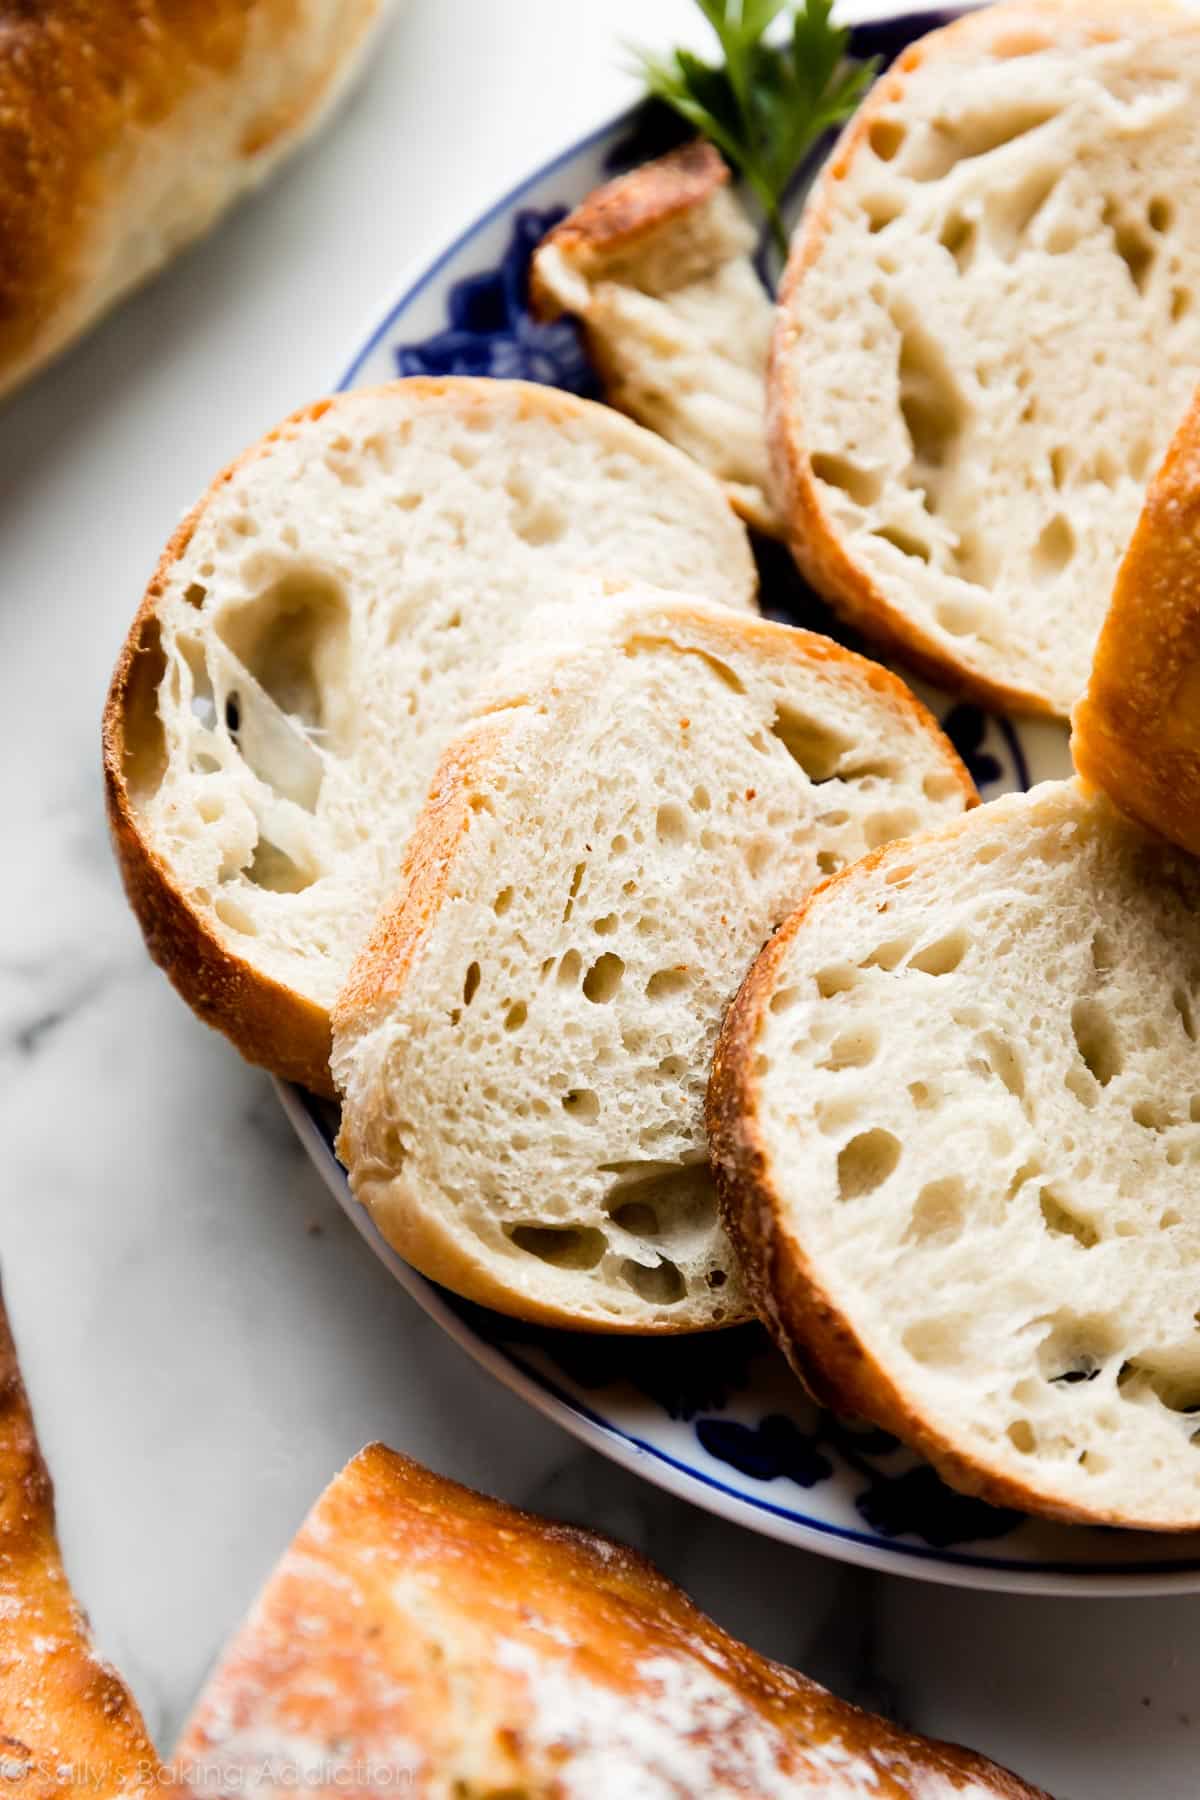
Look at those deliciously soft holes inside! Reminds me of ciabatta or a French baguette, both of which can be a little more complicated to make.
Serve Artisan Bread With
- Slather with homemade honey butter
- Slice and dunk in crab dip, beer cheese dip, or roasted garlic bacon spinach dip
- Serve alongside slow cooker chicken chili or pumpkin chili
- As a dunker for minestrone soup or creamy chicken noodle soup
- With a big bowl of mac & cheese
- Use for my goat cheese & honey crostini
- It’s the perfect starch in breakfast casserole
- With anything because homemade bread is everything’s best friend
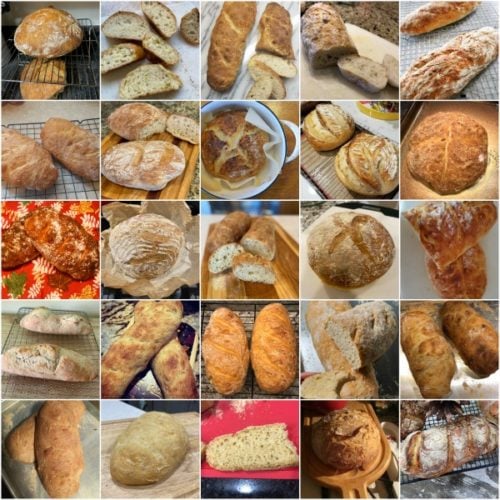
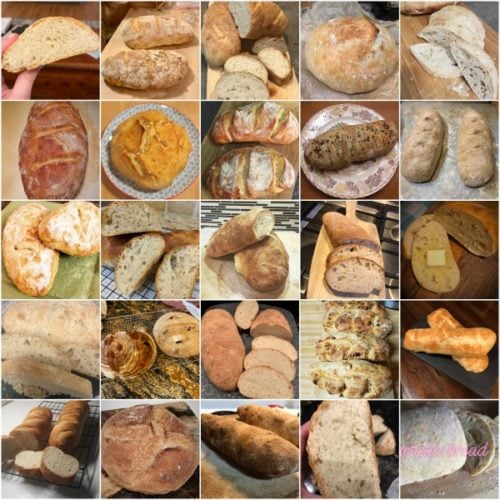
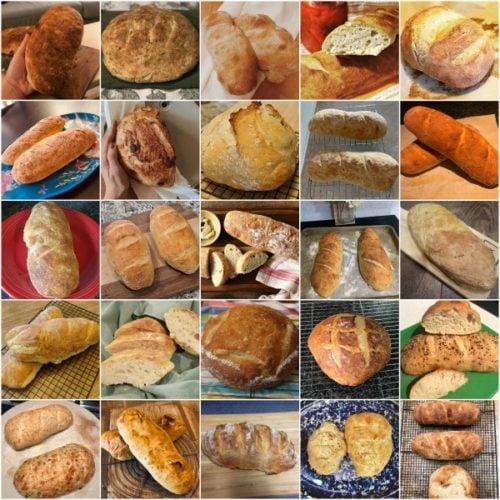
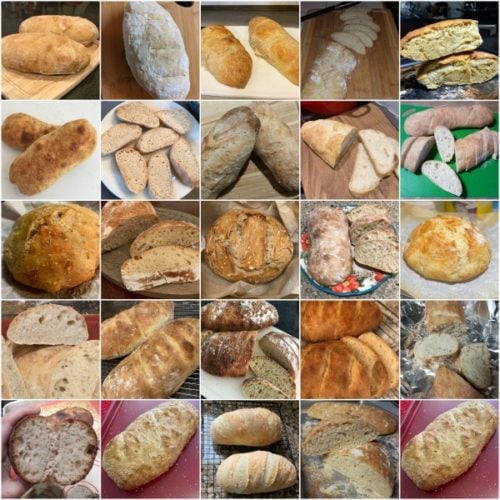
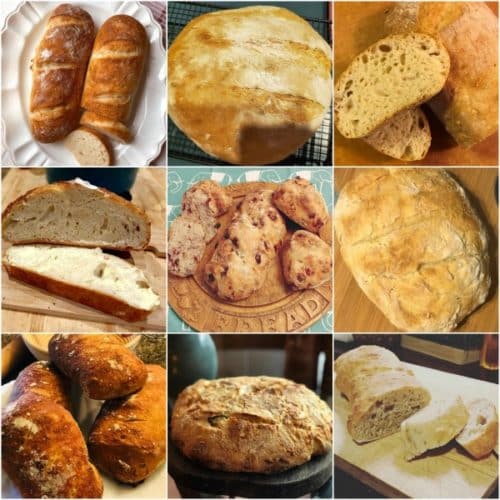
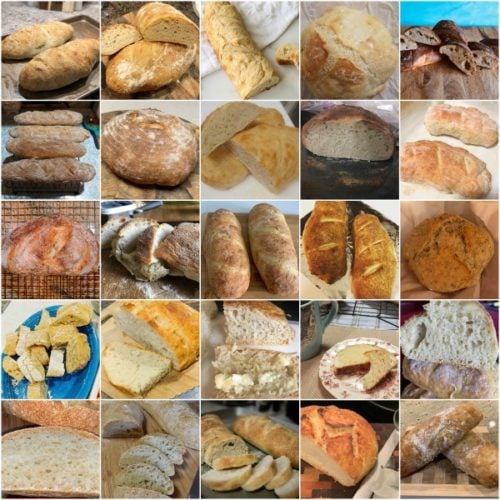
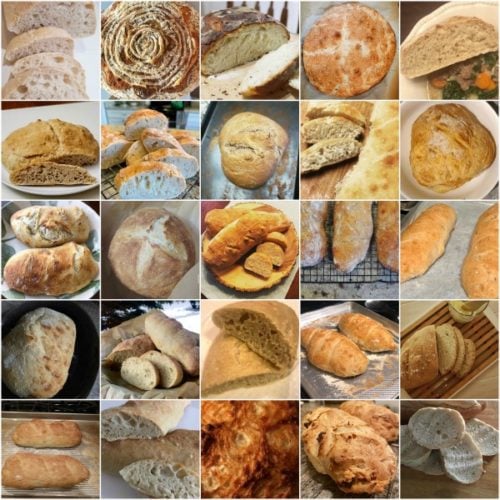
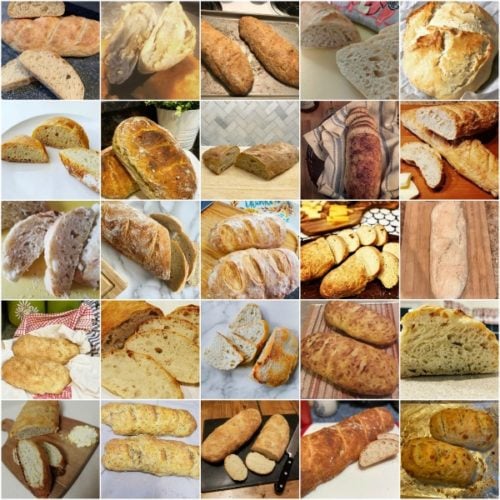
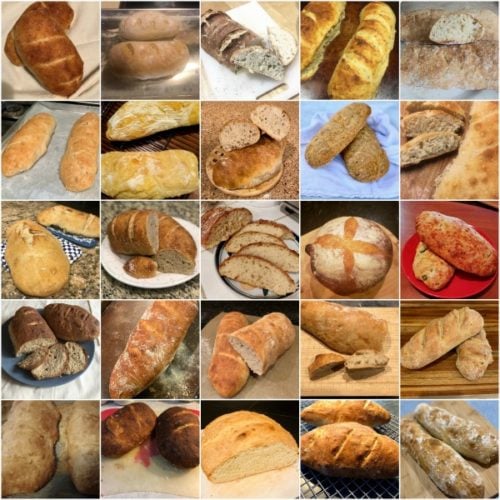
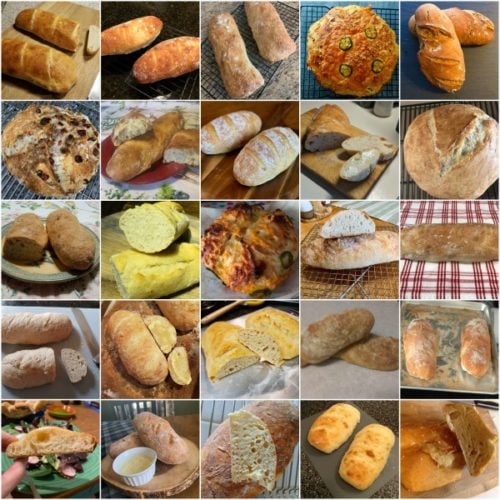
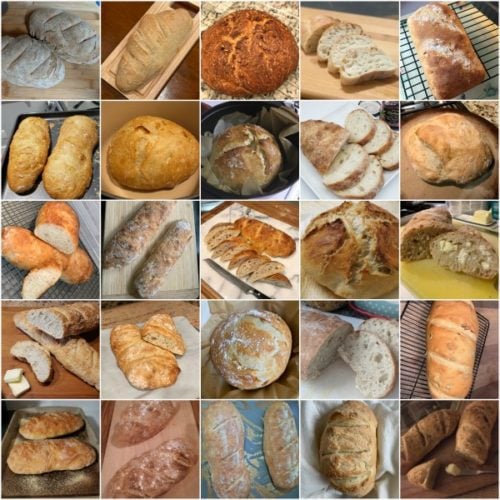
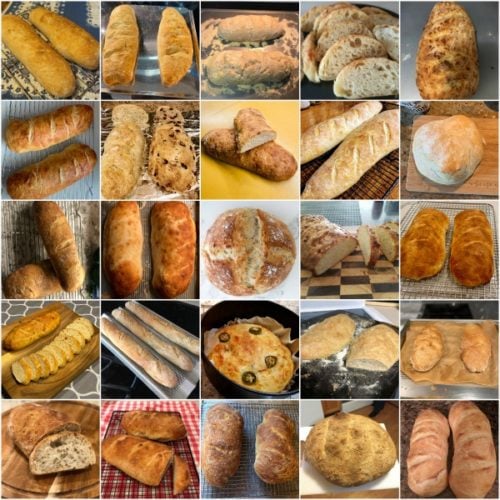
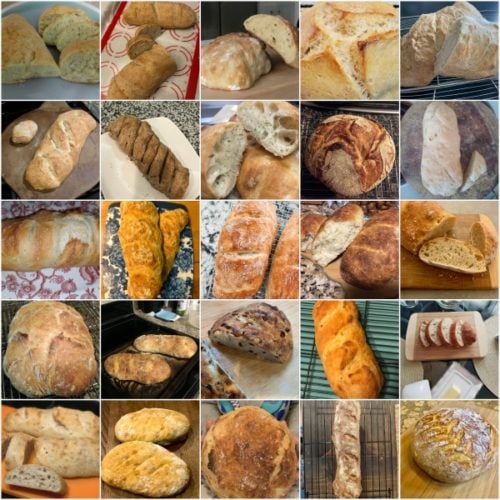
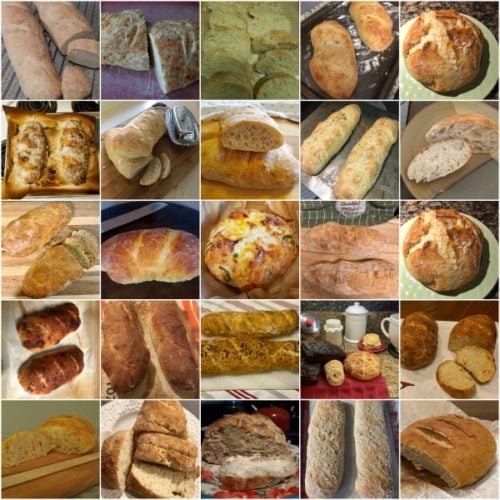
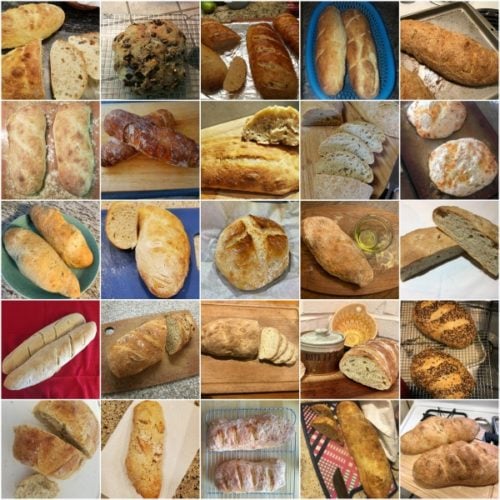
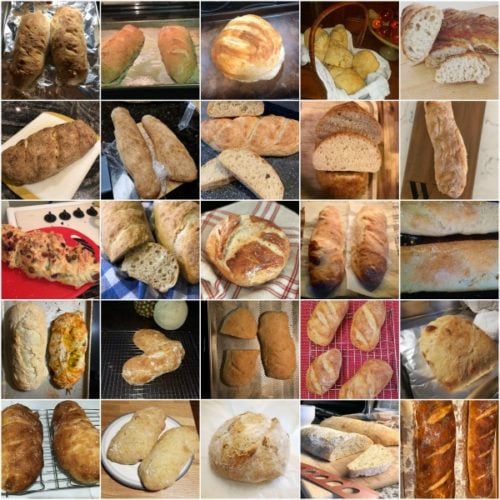
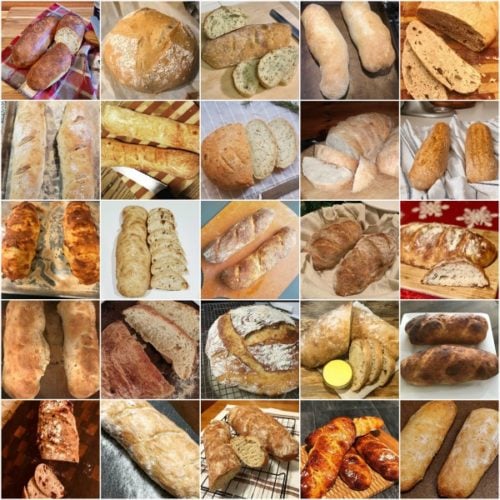
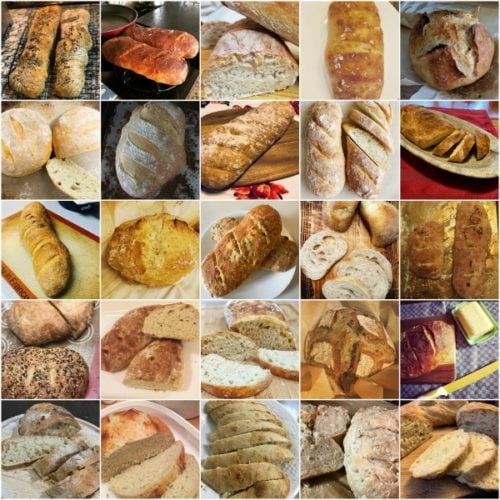
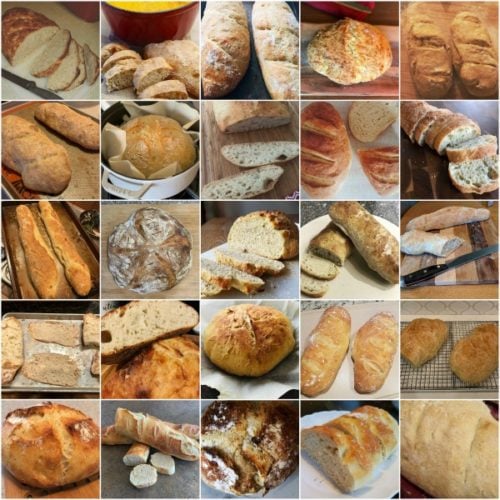
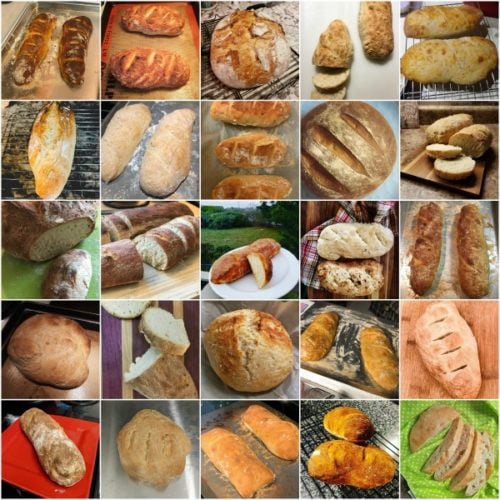
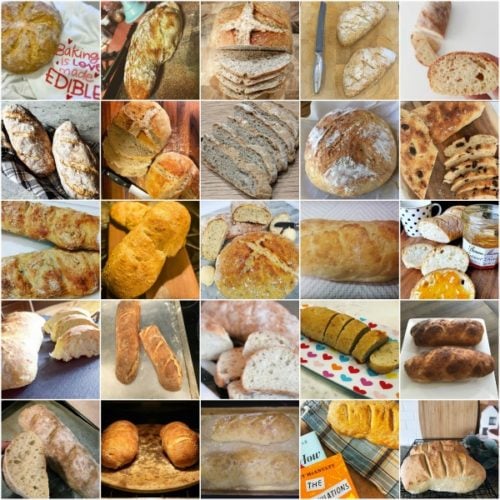
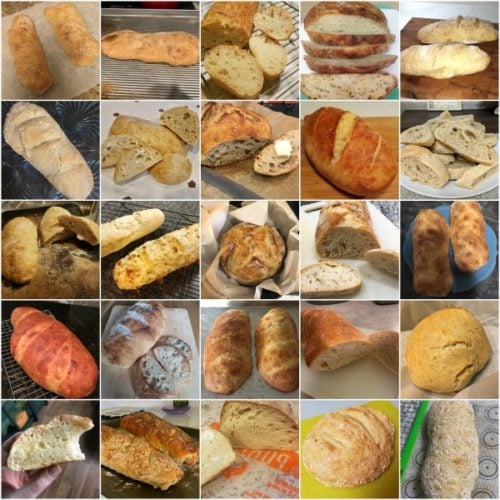
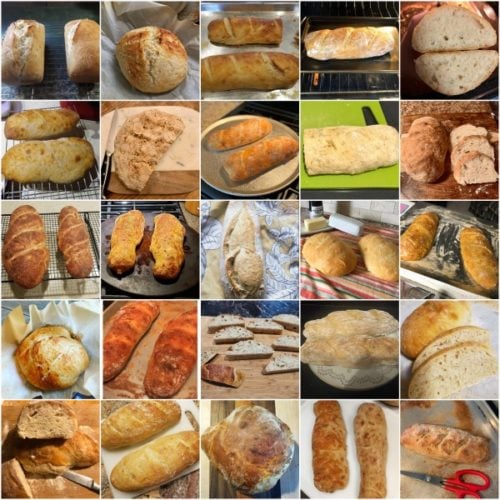
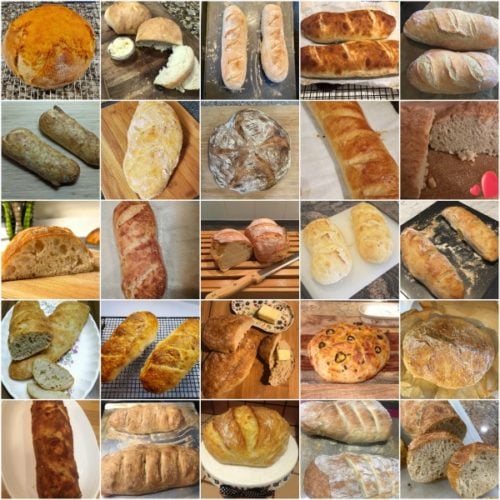
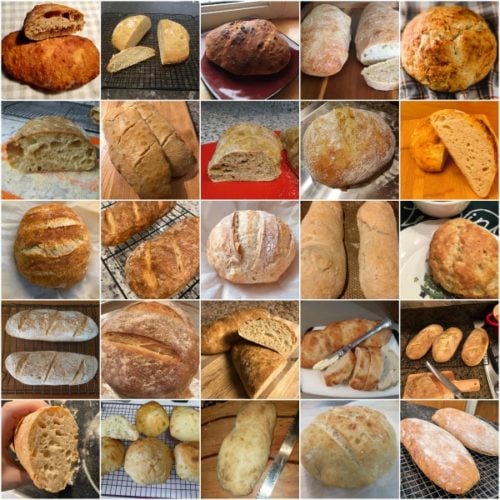
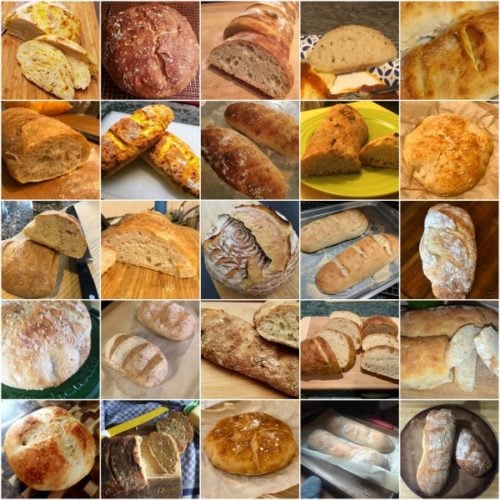
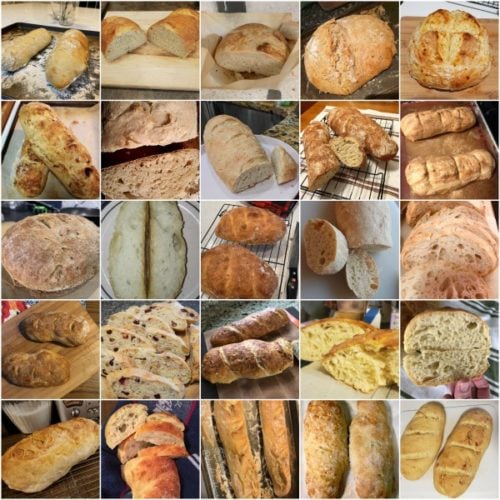
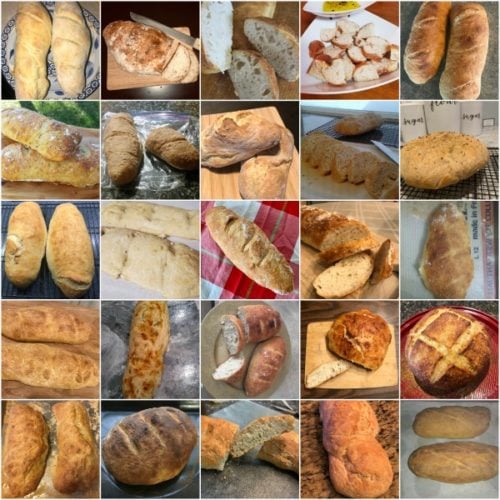
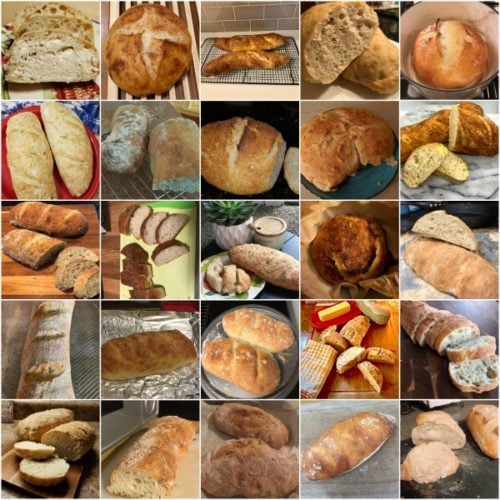
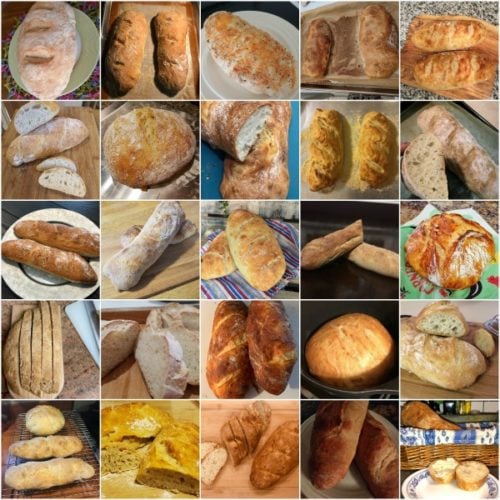
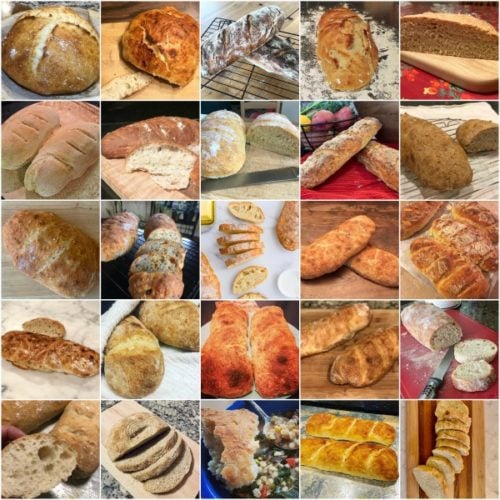
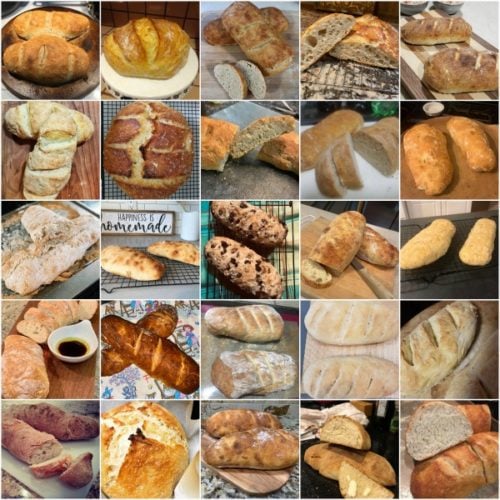
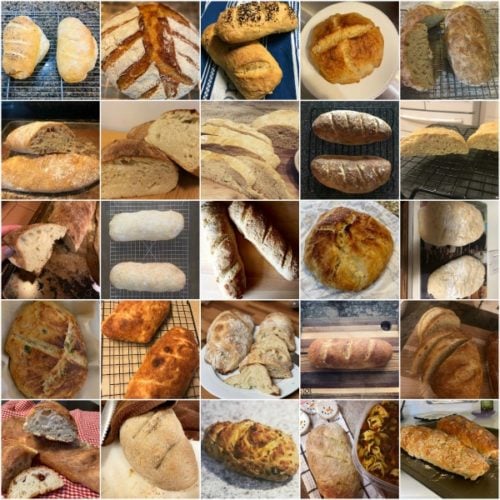
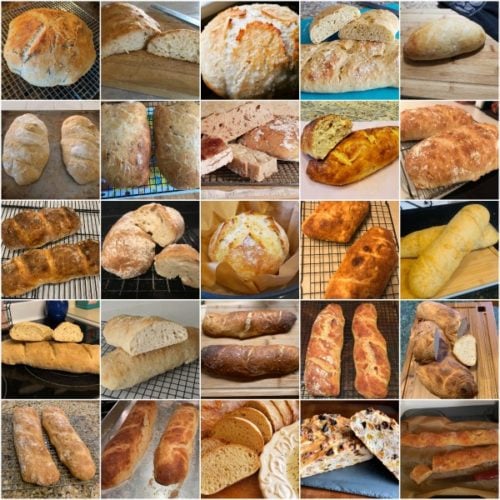
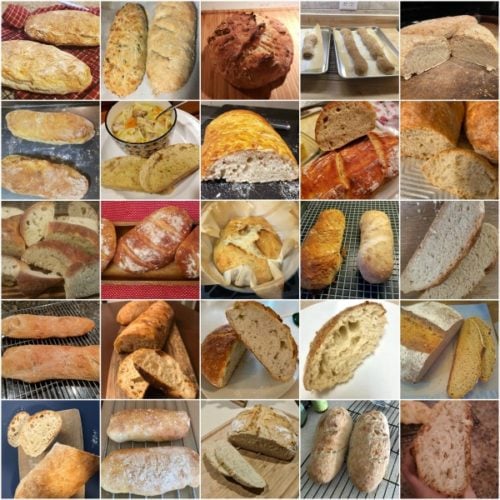
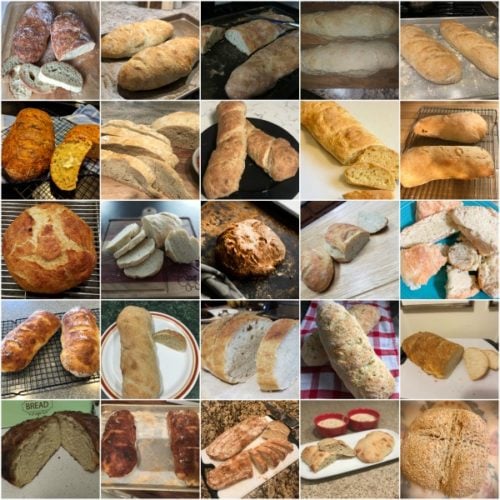
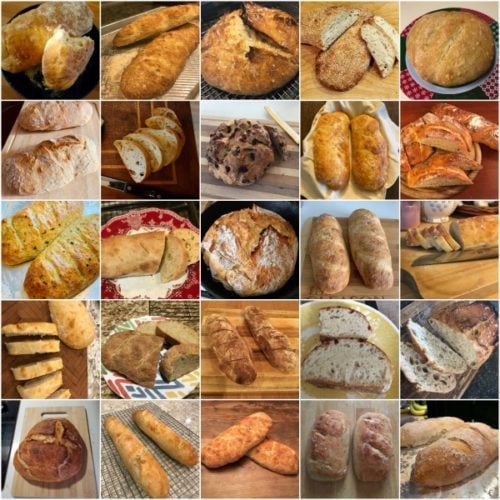
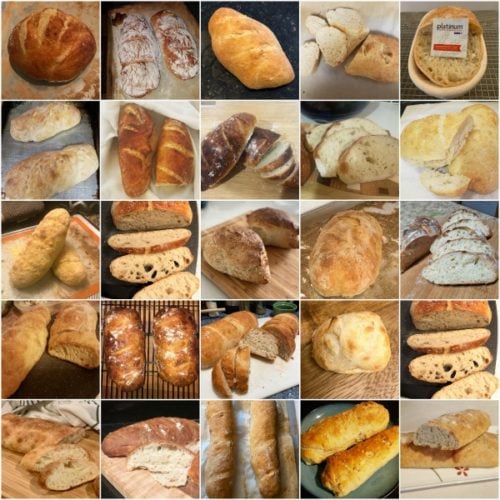
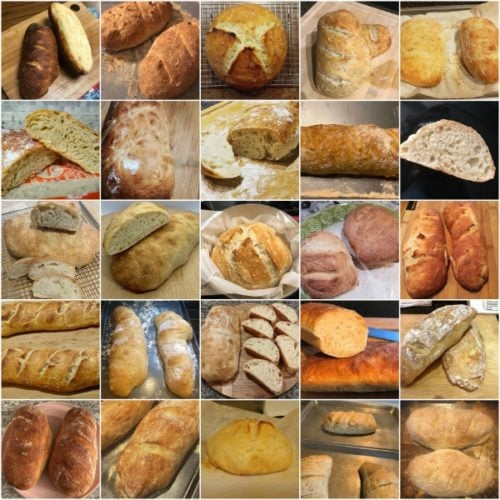
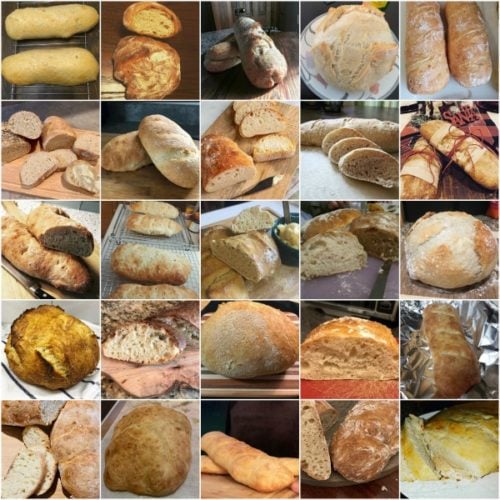
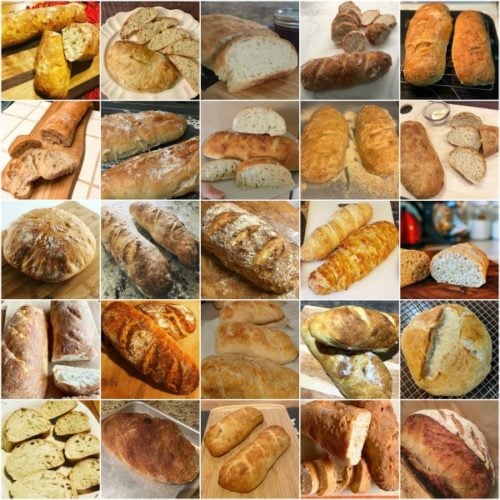
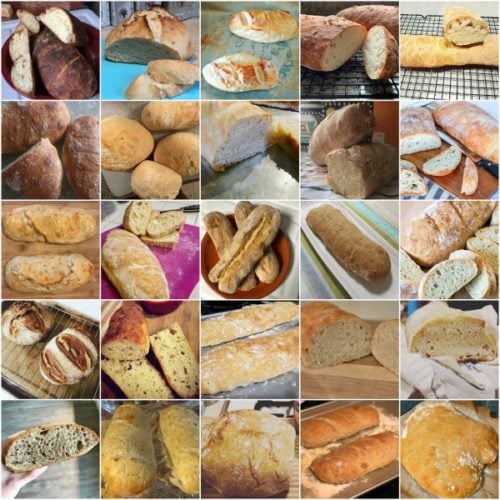
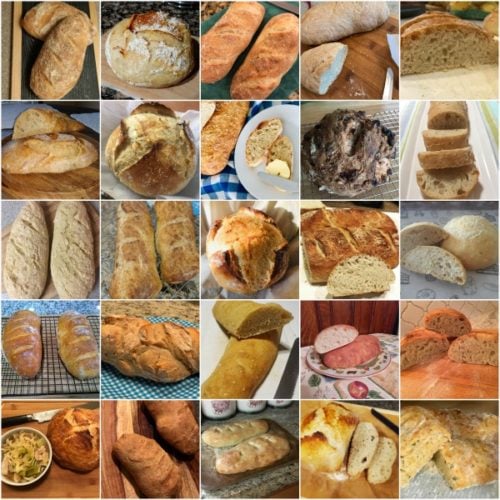
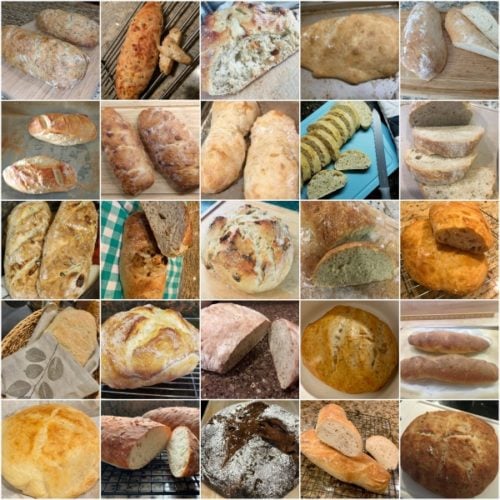
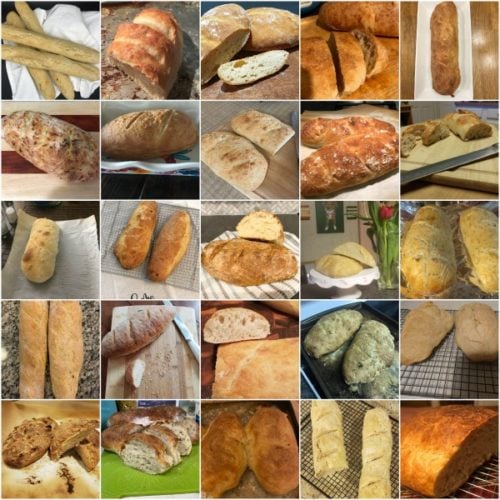
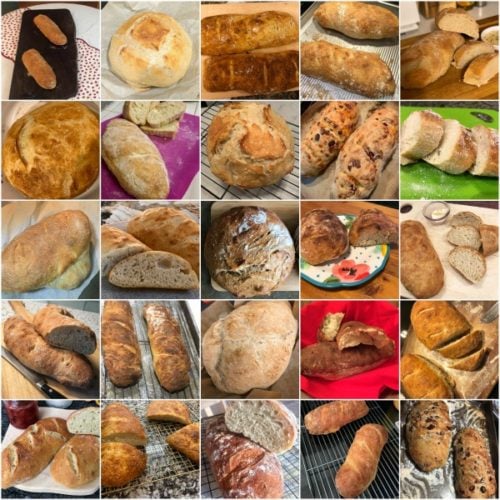
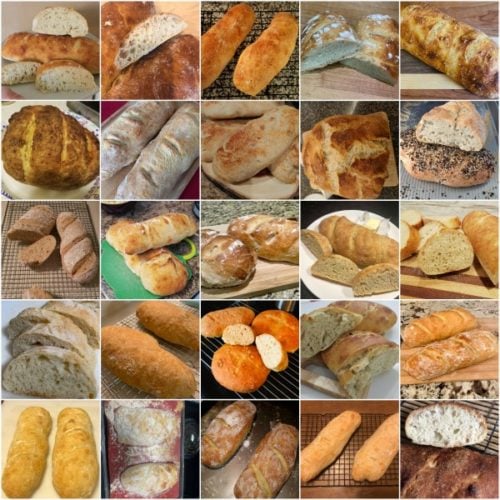
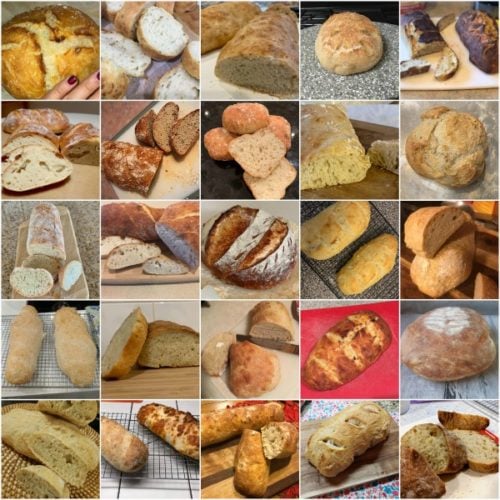
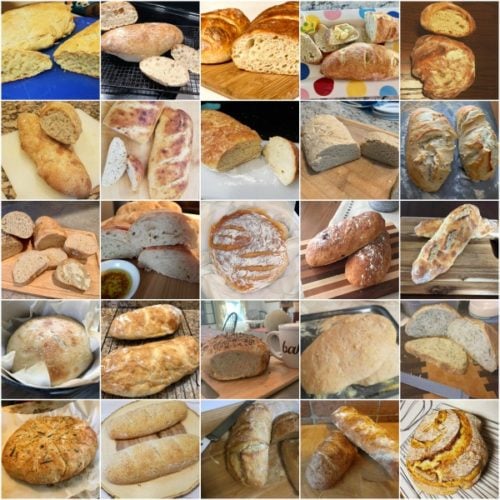
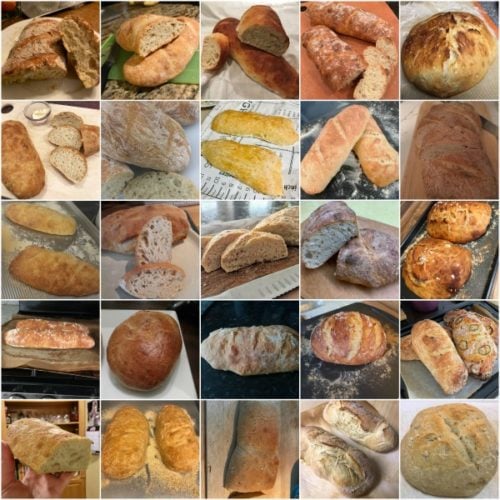
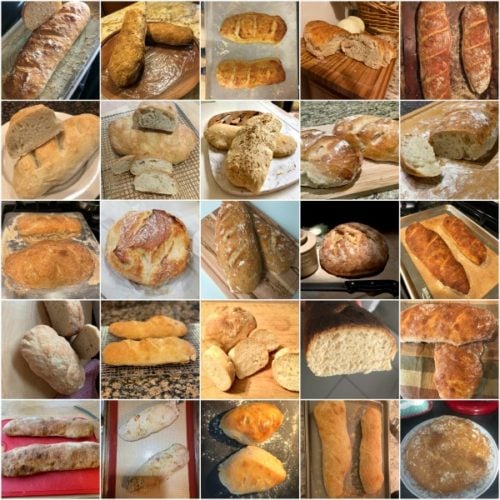
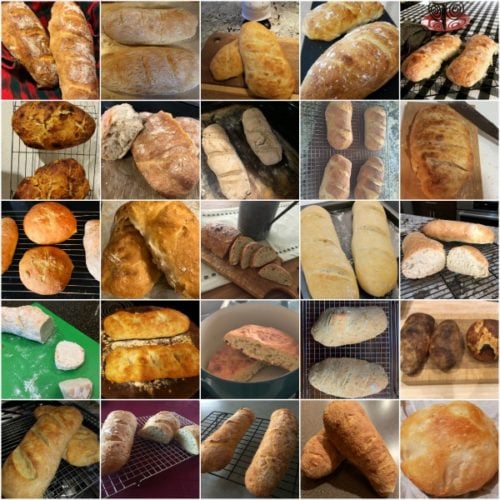
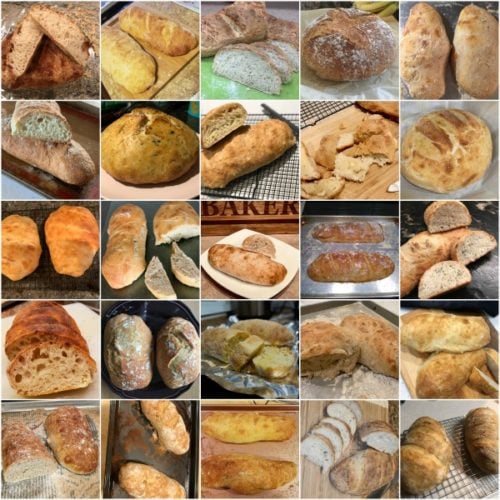
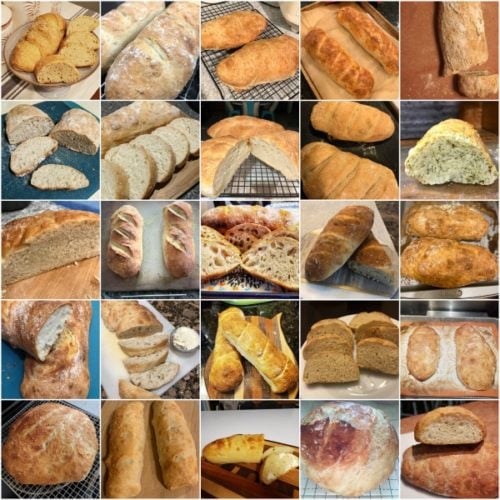
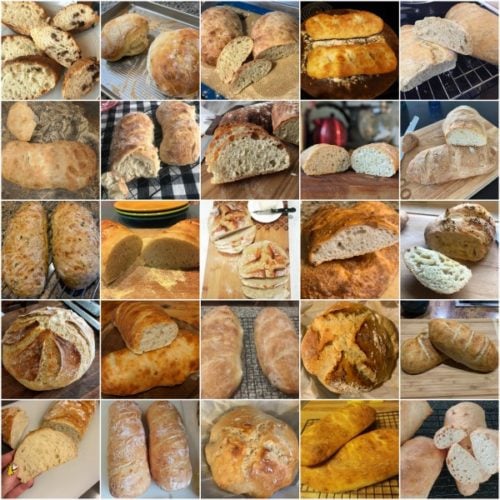
See Your Homemade Artisan Bread!
Many readers tried this recipe as part of a baking challenge! Feel free to email or share your recipe photos with us on social media. 🙂
Print
Homemade Artisan Bread Recipe
- Prep Time: 4 hours
- Cook Time: 25 minutes
- Total Time: 4 hours, 25 minutes
- Yield: 2 8-inch loaves
- Category: Bread
- Method: Baking
- Cuisine: American
Description
Even if you’ve never made homemade bread or worked with yeast before, this homemade artisan bread is for you. Watch the video tutorial below and review the recipe instructions and recipe notes prior to beginning. If you’re new to working with yeast, reference my Baking with Yeast Guide for answers to common yeast FAQs.
Ingredients
- 3 and 1/4 cups (about 430g) bread flour (spooned & leveled), plus more for hands and pan
- 2 teaspoons (about 6g) instant yeast
- 2 teaspoons (about 9g) coarse salt (see note)
- 1 and 1/2 cups (360ml) water, close to room temperature at about 70°F (21°C)
- optional: cornmeal for dusting pan
Instructions
- In a large un-greased mixing bowl, whisk the flour, yeast, and salt together. Pour in the water and gently mix together with a silicone spatula or wooden spoon. The dough will seem dry and shaggy, but keep working it until all the flour is moistened. If needed, use your hands (as I do in the video tutorial below) to work the dough ingredients together. The dough will be sticky. Shape into a ball in the bowl as best you can.
- Keeping the dough in the bowl, cover the dough tightly with plastic wrap or aluminum foil and set on the counter at room temperature (honestly any normal room temperature is fine!). Allow to rise for 2-3 hours. The dough will just about double in size, stick to the sides of the bowl, and have a lot of air bubbles.
- You can continue with step 4 immediately, but for absolute best flavor and texture, I strongly recommend letting this risen dough rest in the refrigerator for at least 12 hours and up to 3 days. Place covered dough in the refrigerator for 12 hours – 3 days. I usually let it rest in the refrigerator for about 18 hours. The dough will puff up during this time, but may begin to deflate after 2 days. That’s fine and normal—nothing to worry about.
- Lightly dust a large nonstick baking sheet (with or without rims and make sure it’s nonstick) with flour and/or cornmeal. Turn the cold dough out onto a floured work surface. Using a sharp knife or bench scraper, cut dough in half. Some air bubbles will deflate as you work with it. Place dough halves on prepared baking sheet. Using floured hands, shape into 2 long loaves about 9×3 inches each (doesn’t have to be exact) about 3 inches apart. Loosely cover and allow to rest for 45 minutes. You will bake the dough on this prepared baking sheet.
- During this 45 minutes, preheat the oven to 475°F (246°C).
- When ready to bake, using a very sharp knife or bread lame (some even use kitchen shears), score the bread loaves with 3 slashes, about 1/2 inch deep. (“Score” = shallow cut.) If the shaped loaves flattened out during the 45 minutes, use floured hands to narrow them out along the sides again.
- Optional for a slightly crispier crust: After the oven is preheated and bread is scored, place a shallow metal or cast iron baking pan or skillet (I usually use a metal 9×13-inch baking pan) on the bottom oven rack. Carefully and quickly pour 3-4 cups of boiling water into it. Place the scored dough/baking pan on a higher rack and quickly shut the oven, trapping the steam inside. The steam helps create a crispier crust.
- Place the shaped and scored dough (on the flour/cornmeal dusted pan) in the preheated oven on the center rack. Bake for 20-25 minutes or until the crust is golden brown. Gently tap the loaves—if they sound hollow, the bread is done. For a more accurate test of doneness, the bread is done when an instant read thermometer inserted in the center reads 195°F (90°C).
- Remove the bread from the oven and allow to cool for at least 5 minutes before slicing and serving. Store leftovers loosely covered at room temperature for up to 5 days or in the refrigerator for up to 10 days.
Notes
- Make Ahead & Freezing Instructions: The dough can sit in the refrigerator for up to 3 days, so this is a wonderful recipe to begin ahead of time. You can also bake the bread, allow it to cool, and freeze for up to 3 months. Thaw in the refrigerator and allow to come to room temperature before serving. You can also freeze the dough. Complete the recipe through step 3. Wrap in plastic wrap and place in a freezer-friendly container. To bake, allow dough to thaw overnight in the refrigerator, or for 2-3 hours at room temperature. Continue with step 4 and the rest of the recipe instructions.
- Special Tools (affiliate links): Glass Mixing Bowls | Silicone Spatula or Wooden Spoon | Baking Sheets | 2-cup Measuring Cup | Bread Lame | Instant Read Thermometer
- Flour: For absolute best flavor and chewy texture, I strongly recommend using bread flour. You can use a 1:1 substitution of all-purpose flour in a pinch with no other changes to the recipe. I recommend avoiding whole wheat flour in this dough. If necessary, use half bread flour and half whole wheat flour. The bread will taste a bit dense.
- Yeast: You can use instant or active dry yeast, but I highly recommend an instant (aka “rapid rise” or “quick rise” yeast). The bread will rise faster. I usually use Platinum yeast by Red Star, which is an instant yeast. 2 teaspoons is a little less than 1 standard packet. If using active dry yeast, there are no changes needed to the recipe. The rise time in step 2 may take longer.
- Salt: Use a coarse salt, such as coarse sea salt, in this bread. I find the flavor slightly lacking when using regular table fine salt. If you only have fine salt, reduce to 1 and 1/2 teaspoons.
- Water: Use cool water. 70°F (21°C) is great, but the exact temperature doesn’t matter as long as it’s not hot or warm.
- Round Loaf: If you want to shape the dough into a boule (round loaf) simply shape into a round ball instead of 2 loaves in step 4. Baking instructions are the same, but the loaf will take a few extra minutes in the oven. If you want to bake the boule in a dutch oven, see next note.
- Using a Dutch Oven: Follow this dough recipe through step 3, then follow the simple shaping/baking instructions (steps 2-5) in my Cranberry Nut No Knead Bread recipe including using the parchment paper. If your parchment paper can’t withstand heat this high, you can either lower the oven temperature and bake the bread for longer or grease the Dutch oven instead.
- Using a pizza stone: If you want to bake your bread loaves on a pizza stone, place pizza stone in the preheating oven. In step 8, place the shaped and scored dough on your preheated pizza stone. If the bottom of the shaped dough is pretty sticky, dust the hot pizza stone with some extra cornmeal. Bake as directed.
- No Nonstick Pan: If you don’t have a nonstick baking sheet, line it with parchment paper instead. Coat with a dusting of flour and/or cornmeal before placing the dough on top. Parchment paper can burn, so it’s best to check the box to see how much heat yours can tolerate. Lower your oven heat if necessary and bake the bread for longer until golden brown and when gently tapped, sound hollow.
- Flavor ideas: Before pouring in the water in step 1, add any of the following ingredients/combination of ingredients to the dry ingredients in the bowl: 4 cloves minced garlic + 3 Tablespoons chopped rosemary, 3 Tablespoons your favorite fresh herb (chopped), 1 cup your favorite shredded cheese, a diced jalapeño, 3/4 – 1 cup dried cranberries and/or chopped nuts, 2 teaspoons garlic powder, etc.
- Reference my Baking with Yeast Guide for answers to common yeast FAQs.
- Recipe adapted from King Arthur Flour & Red Star Yeast, similar method originally from Jim Lahey.




I can’t tell you how many times I’ve made this. My family loves it. But I never get those nice big holes. I follow the recipe as closely as I can
Amazing recipe!! Super easy and pretty fast
I completely agree that the dough tastes better, letting it sit overnight or even longer.
This was my first time baking bread and I was so worried that I would muck it up. But it turned out beautifully! Another amazing recipe from Sally, and one that I will definitely be repeating.
First time making bread and this recipe was super easy. Crust crisped up really well, inside soft and fluffy!
Why isn’t my dough rising after 2 hours? The yeast is good, I followed directions… should I allow to rise for longer or add more yeast?
Hi Ashley! Is it not rising at all? You can try letting it sit somewhere somewhere slightly warmer, it may just need more time! Our baking with yeast guide has a helpful section titled “What if my dough isn’t rising?” you can review as well.
This recipe works if you use the measurements given by cups. If you use the measurements given by weights, the dough is way too runny
So easy and delicious!
I made with all purpose flour and baked on flour covered parchment.
Thank you for sharing this recipe. I look forward to using again with added herbs and/or cheese!
I’ve made this bread so many times and it has never failed me and I’ve been grinding my own wheat and making bread for over 30 years. Do you have an equally good and easy sandwich bread recipe?
Hi Pam, glad to read it! Yes, here is my favorite sandwich bread recipe.
Could sourdough discard be added to this?
Hi Dianna, we haven’t tested it, but let us know if you do!
This recipe is great! I want to try new flavors, but am not sure how much herbs or seasonings to add to my bread. Thinking about rosemary and thyme as well or basil and oregano. Any suggestions on how much to add to this recipe?
Hi Rick, We’re so glad you love this recipe. See recipe notes for flavor ideas.
Very tasty, but at ~80% hydration, this is a very sloppy dough.
Am I misreading the directions?
Made this recipe when I was craving for some non-store bought bread and wasn’t all that confident in it since it’s just a basic dough.
By god I was wrong. Dad thought the same too, and he ended up eating an entire loaf caveman style; he couldn’t be bothered to even cut it and just chomped down like Fred Flintstone on a turkey leg.
Hi. I just baked my first loath and it was almost perfect, and far better than I feared at one point! The dough rose far more than I expected and despite leaving it in the refrigerator for 3 days it was very sloppy when I put it on the tray to bake. Despite the flour on the tray the loath then stuck to it. The bread was still great, with a very light, airy texture, almost like a ‘baguette traditionnelle’. But it was also quite flat. I used 7g of instant yeast not 6g. Could this be the problem? The flour and water quantities were correct.
Hi William, this is a very sticky dough! Use your hands to gently shape it before baking and generously flour the pan (more is better!). Thank you for giving this recipe a try!
Tried this recipe a couple of days ago. It was simple to make and the bread was delicious. Crusty outside, soft inside. I’ll definitely make again.
This is fabulous bread….and as easy as it gets!
Didn’t see this in the recipe or comments. After refrigerating the dough, do you allow it to come to room temperature (life when you freeze the dough) prior to forming a loaf?
Hi Bill, no need to let the dough come back to room temperature before forming the loaf. After forming, it will rest for 45 minutes while the oven pre-heats and come back closer to room temperature at that point. Hope you enjoy the bread!
Lexi,
This is the second time to make this. Loved it the first time, decided to try the refrig this time. Thanks for the very prompt response
I have made this twice & each time the bread is delicious, but one side is lifted off the pan. I made a round loaf & it just does not look gorgeous like the soda bread. I left it in the fridge 18 hrs & took it out to rest to room temp before shaping to bake. You cannot see where I scored it when done. The dough is sticky but not sticking to the bowl or my hands after mixing. I used a non stick pan to bake. What do I need to do to improve the appearance of my loaf?
Hi Dorothy, the dough is supposed to be shaped cold straight out of the fridge and come to room temperature while proofing for 45 minutes before going into the oven. That may help you some. Made this bread a bunch.
Is there any reason I can’t shape this into one oblong loaf? The recipe mentions two loaves or a boule… Thank you!
Shouldn’t be a problem!
Will definitely be making this again and again! I sprang for the more expensive bread flour (Bob’s) and fancy salt flakes, and I don’t regret that. I also had a shaker of Herbs de Provence in my cabinet so I added a palmful of that, and that was a great addition. In my case I was worried about my parchment catching fire since it says it was rated up to 425, plus I just wanted one oblong loaf, so I baked for more like 45 minutes (and to be honest I think it could have gone 5-10 more, it was juuuust a hair above underbaked). Used the water-in-the-pan technique and indeed the crust was just great.
I tried this a few nights ago and it was a huge hit. Making another batch today. We only need one loaf, so i am planning to bake one tonight and leave the other in the frig to bake over the weekend.
I made this for a Mardi Gras dinner. I used my new Baguette pan and made 2 loafs. I added some garlic powder, parmesan cheese, and let it sit for 3 days in the refrigerator. Fantastic!
I made this recipe today using the Dutch oven baking method and shaped it into a Boule and it turned out fantastic! A beautiful crust with a chewy airy centre. It was effortless to make and will definitely be making this recipe on repeat! Thank you
Such an easy recipe to follow and I made the yummiest loaves of bread!! I’m fairly new to making bread and using yeast, and this was perfect. Not intimidating at all! Will definitely make this again.
First time I have made bread like this. I put in some fresh rosemary and garlic. When done was a little dense but the best bread I’ve ever had tasted like there was dipping oil in the bread with garlic and herbs. Not sure what I did to not get air pockets but was delicious
Can this bread dough be made into Philly sandwich style bagettes.?
.
Hi Lois, yes, you can form these into smaller baguettes for sandwiches. Bake time will vary for smaller loaves.
Help! I baked this last night and my loaves came out dense, dry, and crumbly. The first 2 hour rise looked great. I covered the dough and refrigerated it for 2 days. I’m thinking my technique must have been off. I didn’t knead the dough. I really want to try again; any ideas?
Hi Carolyn, we’re happy to help troubleshoot. How did you measure your flour? Be sure to spoon and level (or use a kitchen scale) so that the flour isn’t over measured. Too much flour can dry out the bread and make it crumbly. This is a no knead recipe, so you do not have to knead the bread here. Hope this helps for next time!
My favorite bread to make, I bring it to all the family gatherings!! I have been trying to achieve a crispier crust though, do you think I could put the dough in a Emile Henry baguette baker or loaf baker?
Hi Christina! There is a little too much dough for a standard size (9×5 inches) loaf pan, so you could try dividing the dough in half and using 2 loaf pans. The edges should still crisp up and the bake time may vary. A baguette baker should work well, too!
Awesome easy and super delicious bread! I made it last year for the first time for a family gathering and ever since have been put in charge to make this bread for every occasion…made it thanksgiving (the 2 days prior in fridge helped tremendously as I already had 1 million other things to do) and as well for Christmas! It’s always a hit even with the little ones! I only now came around to comment because, as you can see, I’m too busy making this bread 🙂 currently working on several batches for the freezer! Thank you for this amazing recipe!!
This bread turned out excellent!! I added 2 tsp of fennel seeds and 1/2 cup of raisins to the dough (inspired by a life-changing loaf I got at a bakery recently) and it came out beautiful and so tasty! After 2 days in the fridge, I shaped it into one big rectangular log and baked it for 30 minutes. I would love a recipe for a whole wheat version!
I follow the recipe to the letter and my bread turns out very dense. I have tried 3 times and still can’t get that airy inside texture. What might I be doing wrong?
Hi Scott, Make sure not to add too much flour to your dough (spoon and level or use a kitchen scale to measure). Too much flour could result in a dense bread. And also make sure to handle the dough with extra care to prevent popping the air bubbles before baking.
Really easy bread recipe! I used all purpose flour as that was all I had on hand, and let it sit in the fridge for two days. It came out perfect!