

These maple oat pecan scones are tender and buttery with crisp, golden edges, hearty oats, toasted pecans, and plenty of maple flavor. The pecans and oats are toasted in a skillet, then caramelized in maple syrup, adding a sweet and toasty crunch to every single bite. Our taste testers raved about the crumbly, tender texture and cozy maple flavor. (Even kids who don’t prefer nuts in baked goods loved these!)
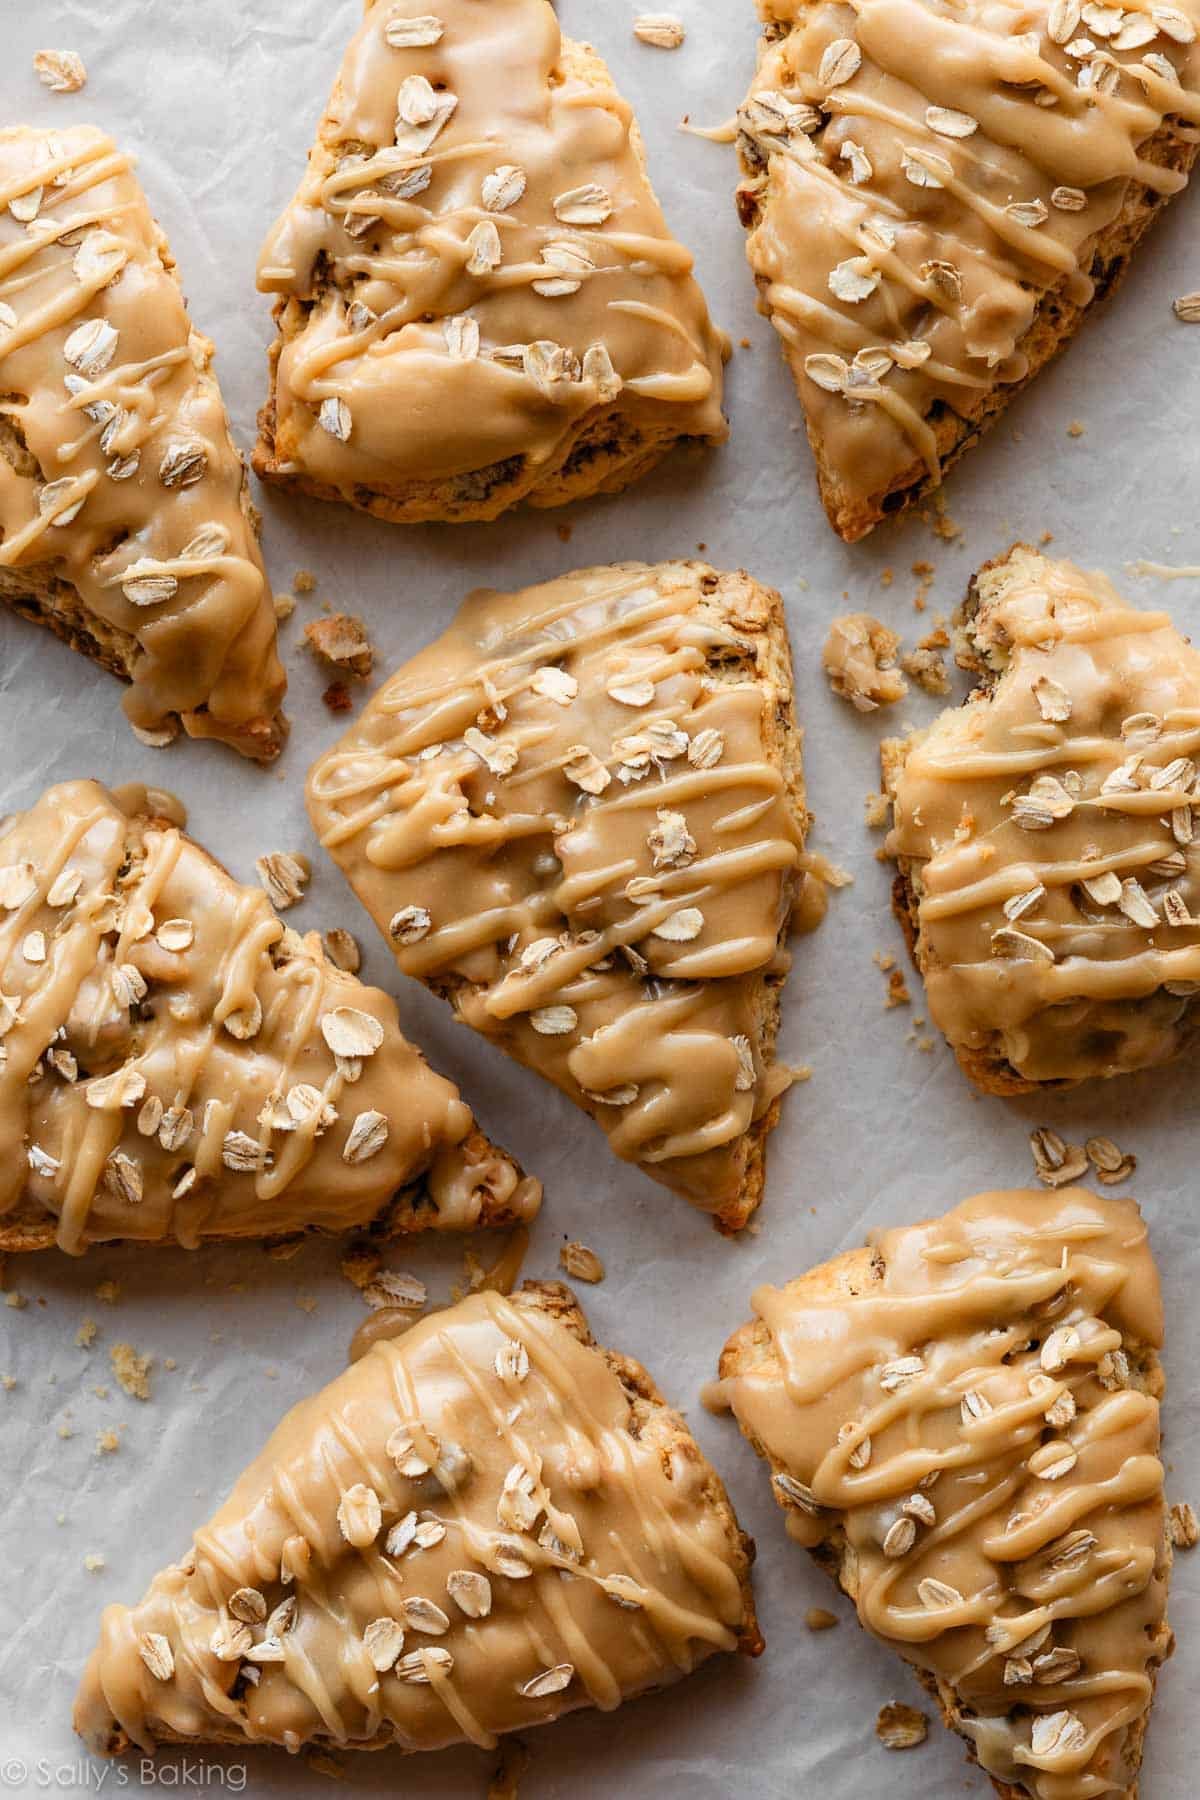
Think of today’s scones as the breakfast version of these reader-favorite maple brown sugar cookies!
Why You’ll Love These Maple Oat Pecan Scones
There are a lot of maple oat scone recipes out there, but these have a few things that make them especially good:
- Buttery and tender: Extra-cold butter creates flaky pockets throughout the scones. I start with frozen butter.
- Hearty but not heavy: Whole rolled oats add texture and a subtle nuttiness without making the scones overly dense.
- Bold maple flavor: Pure maple syrup gets a boost from a touch of maple extract.
- Extra flavorful add-ins: Toasting the pecans and oats first brings out their nutty flavor and keeps them crisp, while a maple syrup glaze adds a touch of caramelized sweetness.
- Make-ahead friendly: You can prepare the scones the night before, then bake them fresh in the morning.
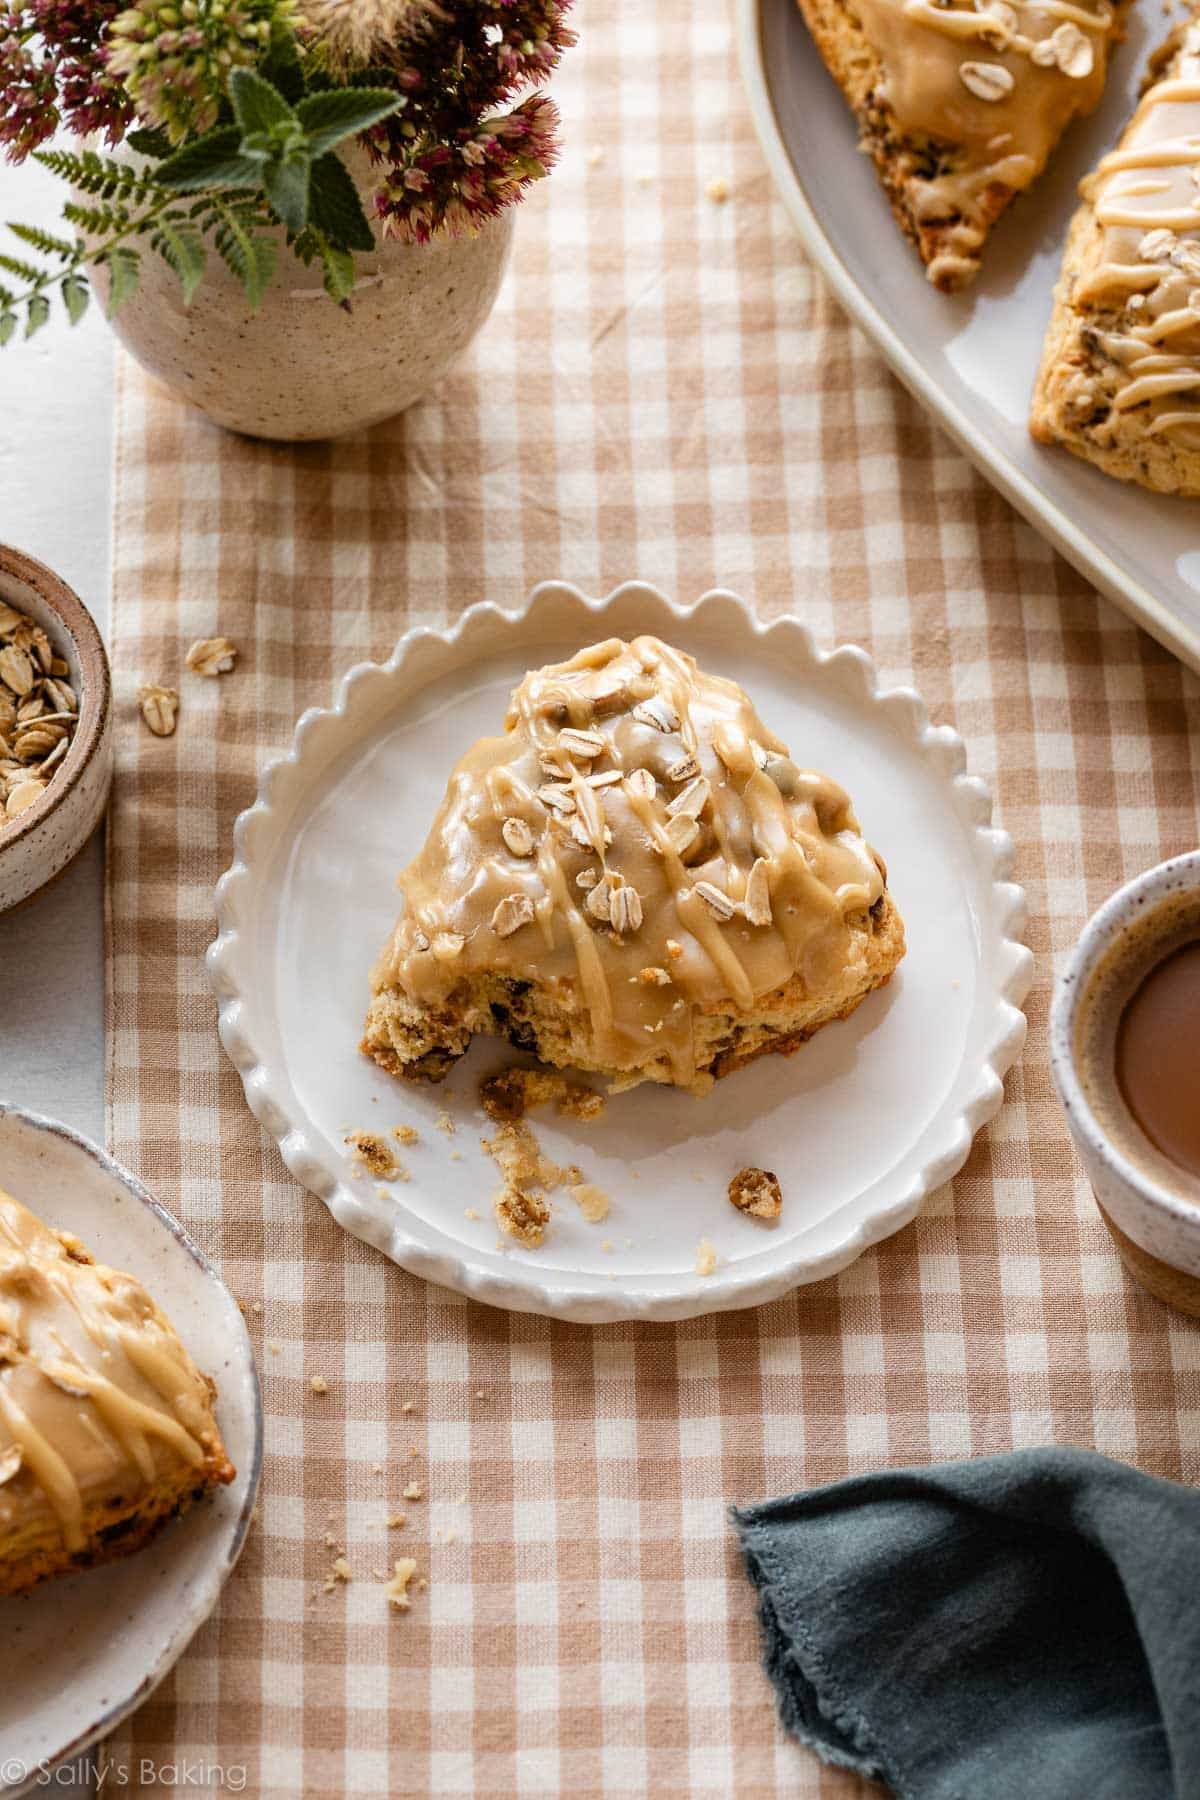
Recipe Testing Notes
Testing these scones was a lot of fun. We started with my go-to recipe for basic scones. From there, we pulsed whole oats into oat flour and used that in combination with all-purpose flour. Our goal was to create an oat-based dough, but this method resulted in an overly crumbly, almost sandy texture. We knew we could do better.
Team member (and my cookbook recipe co-author!) Beth suggested toasting the oats with the pecans on the stove, then caramelizing them a bit with maple syrup, cinnamon, and salt. I was intrigued! We gave the method a try and loved the initial results. From there, we tweaked the base recipe a bit more, using brown sugar in the dough and adding a touch of maple extract.
These were a wild success, and quite possibly one of my top 10 favorite recipes of all time. And that maple icing will always be a favorite!! It’s the same icing I use on maple pecan focaccia.
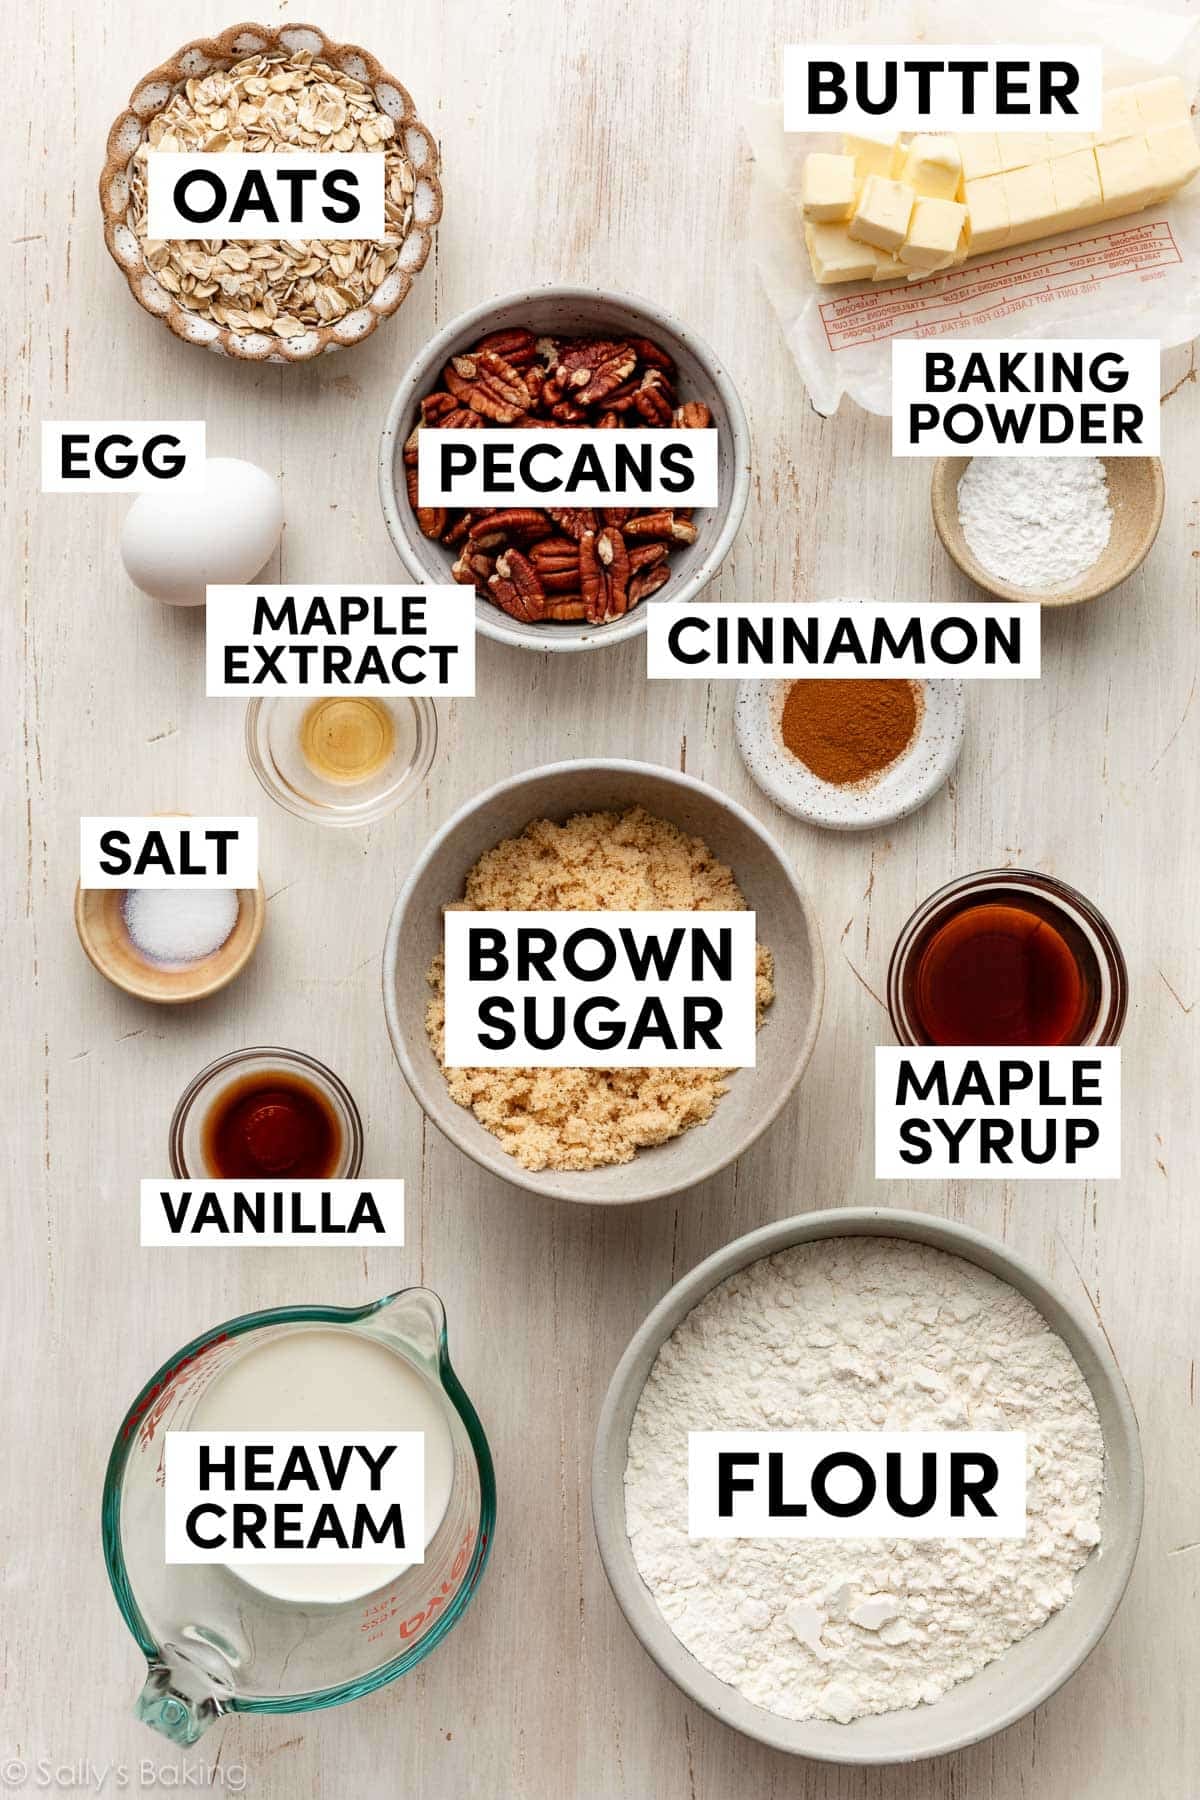
Ingredients You Need & Why
- Oats: Use whole rolled oats rather than quick oats. The larger oats give these scones their hearty texture.
- Pecans: Start with raw pecan halves. They’ll get toasted with the oats, then chopped before you fold them into the dough.
- Maple Syrup: Make sure to use pure maple syrup, not “breakfast syrup.” This is a main flavor here, so reach for the real deal.
- Cinnamon: Adds even more flavor to the toasty pecans and oats.
- Flour: The main structure of the scones. I recommend sticking with all-purpose flour for the best balance of tenderness and sturdiness.
- Baking Powder: For lift.
- Salt: Balances the sweetness and brings out the maple and pecan flavors.
- Butter: Cold butter is essential for tender, flaky scones. Cut the butter into small cubes and then place it in the freezer for about 15 minutes while you get started on the rest of the recipe. It will be extra cold by the time you’re ready to add it to the dough.
- Heavy Cream: Texture is crucial for the perfect scone, so don’t substitute milk or nondairy milk in this recipe.
- Brown Sugar: Adds sweetness along with a subtle caramel-like flavor that pairs especially well with maple.
- Egg: Binds and adds richness.
- Pure Vanilla & Maple Extracts: A small amount of maple extract provides a big boost to the overall maple flavor of the scones. Vanilla rounds out all the other flavors.
Toast the Pecans & Oats First
We’re going to start with the add-ins before we make the scone dough so they have time to cool.
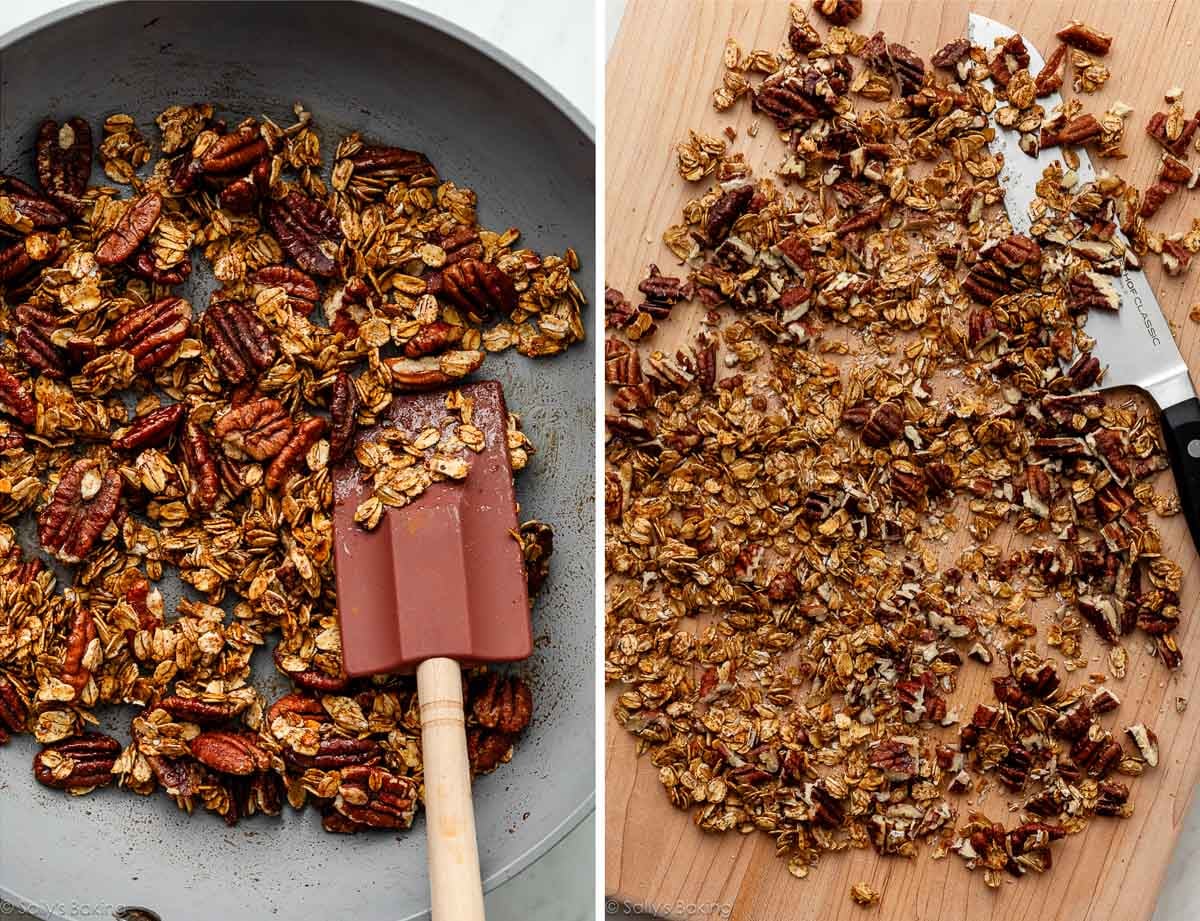
Begin by cooking the pecans and oats together in a dry skillet on the stovetop, stirring until they smell toasty and nutty. Then add the maple syrup, cinnamon, and salt. The maple syrup will bubble up when it hits the hot pan. Don’t worry, this is expected. Keep stirring for a couple more minutes and watch as it thickens into a glaze that coats the nuts and oats.
Spread the mixture out onto a cutting board and let it cool, then give everything a rough chop. Honestly, I could snack on this all by itself. It reminds me of homemade granola!
What Makes Scones Tender and Flaky?
The secret to tender yet flaky scones is cold butter and minimal mixing. (Similar to making biscuits or pie dough.) When cold butter hits the hot oven, it melts and releases steam, creating little pockets throughout the dough. This is why I recommend cutting the butter into small cubes and freezing it before you begin. Sometimes I even grate the butter with a box grater for even smaller pieces of butter.
It’s also important not to overwork the dough. The more you mix and knead it, the more gluten develops, which can produce tougher, denser scones. Embrace a messy, crumbly dough!
How to Make Maple Oat Pecan Scones
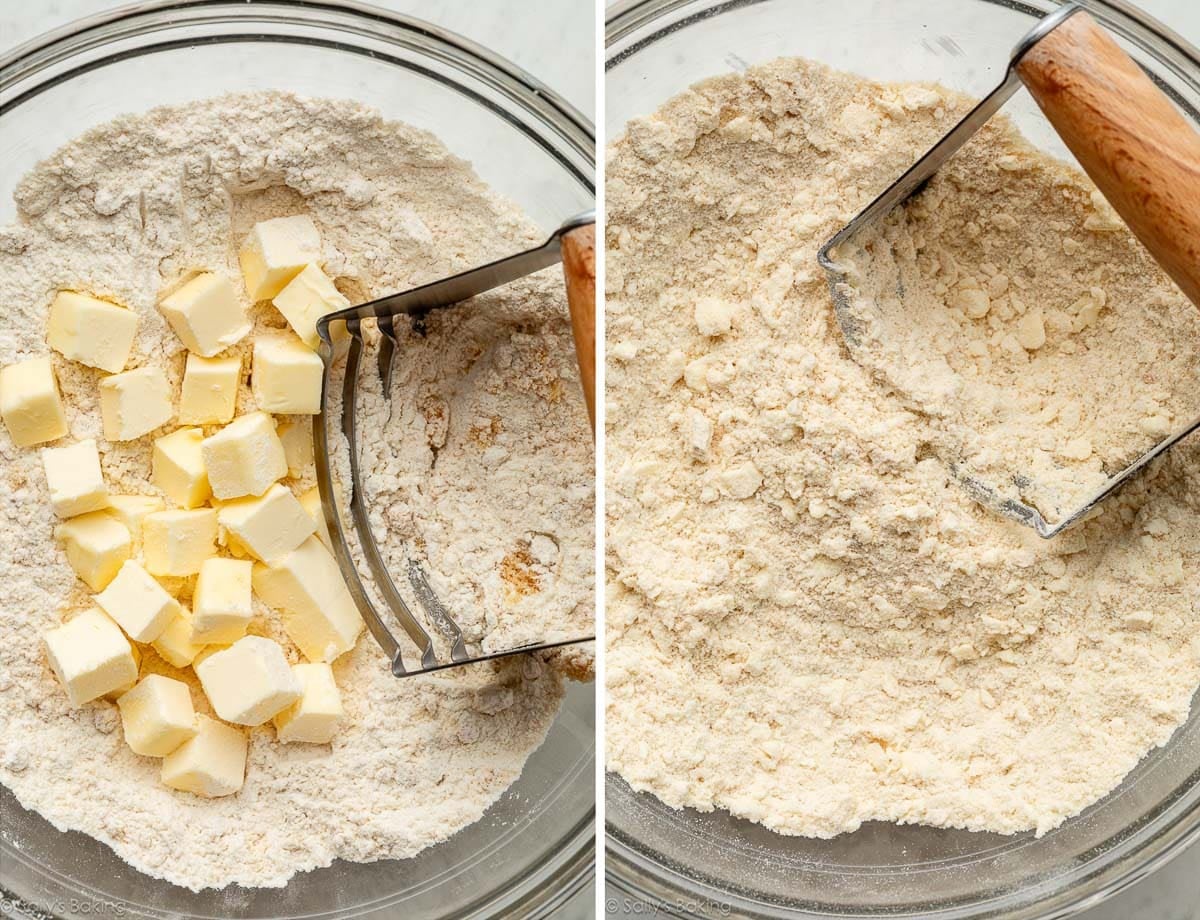
Whisk the dry ingredients together, then cut in the frozen butter with a pastry cutter, 2 forks, or your fingers until the mixture resembles pea-sized crumbles (see the photo above). Whisk the wet ingredients together separately, then combine everything with the maple oat pecan crunchies. Remember to mix the dough as little as possible.
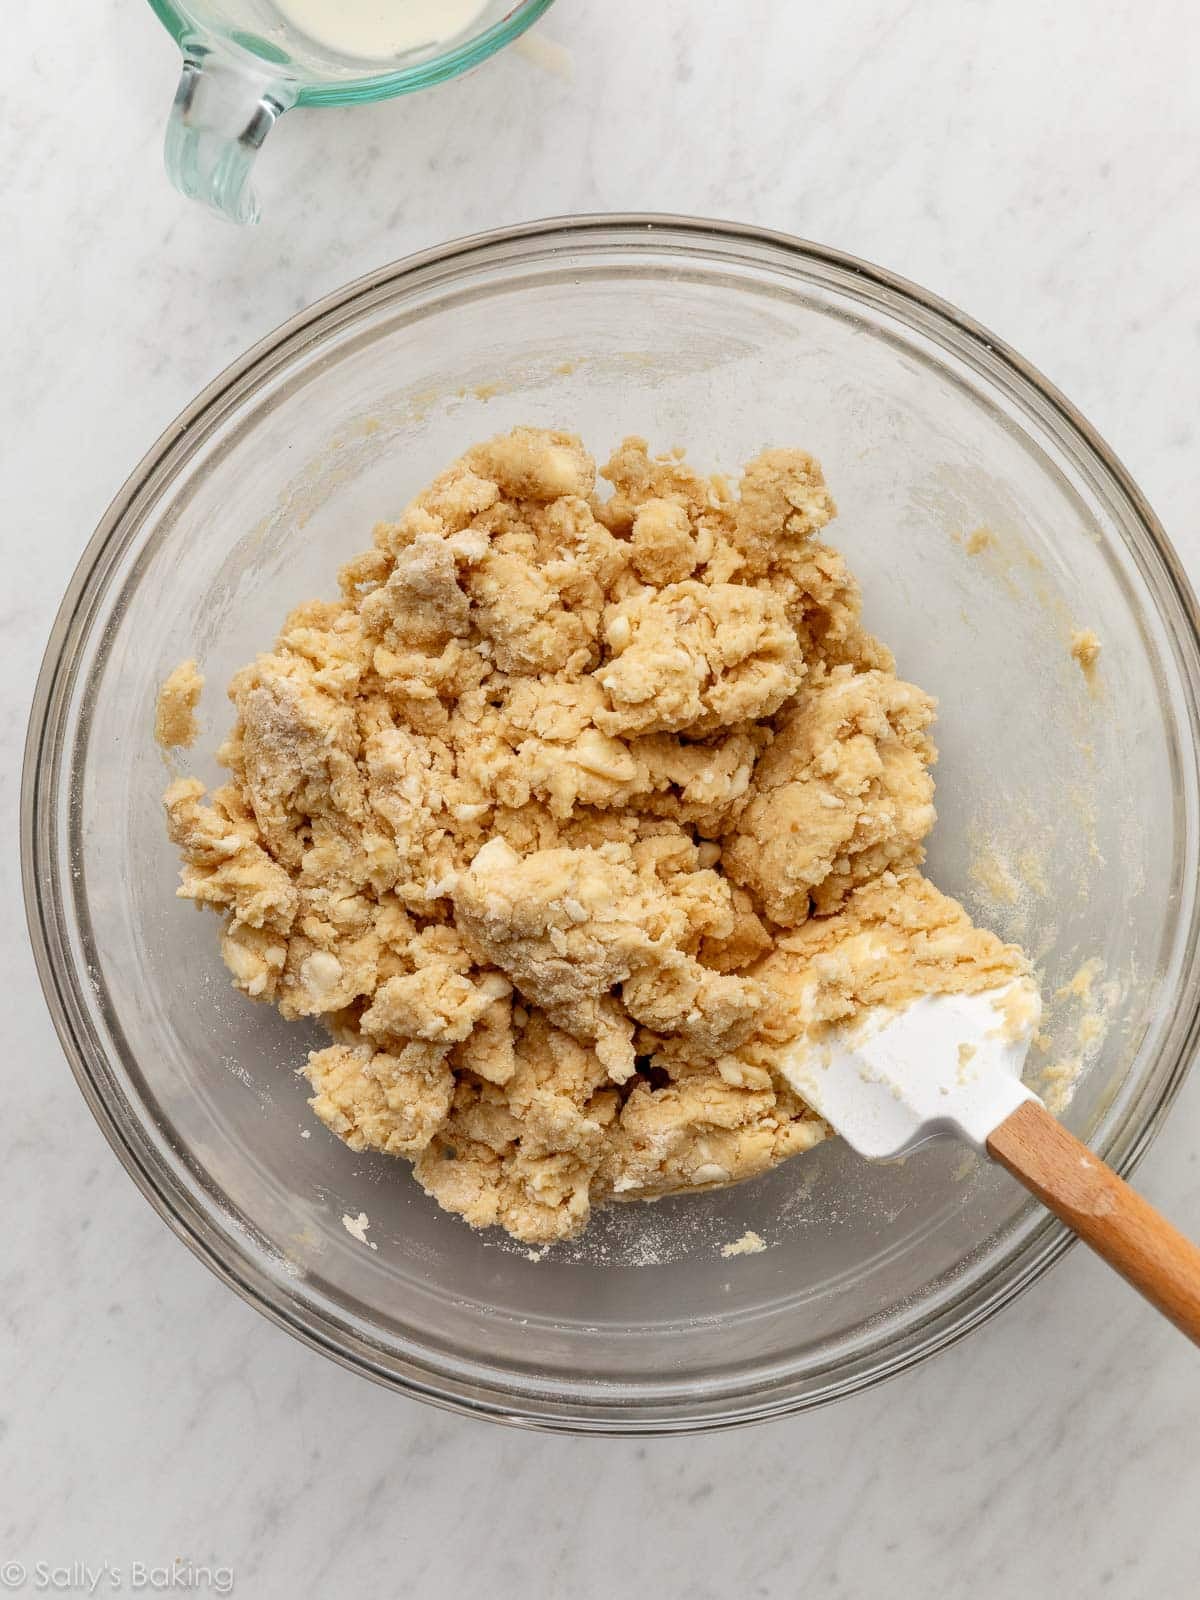
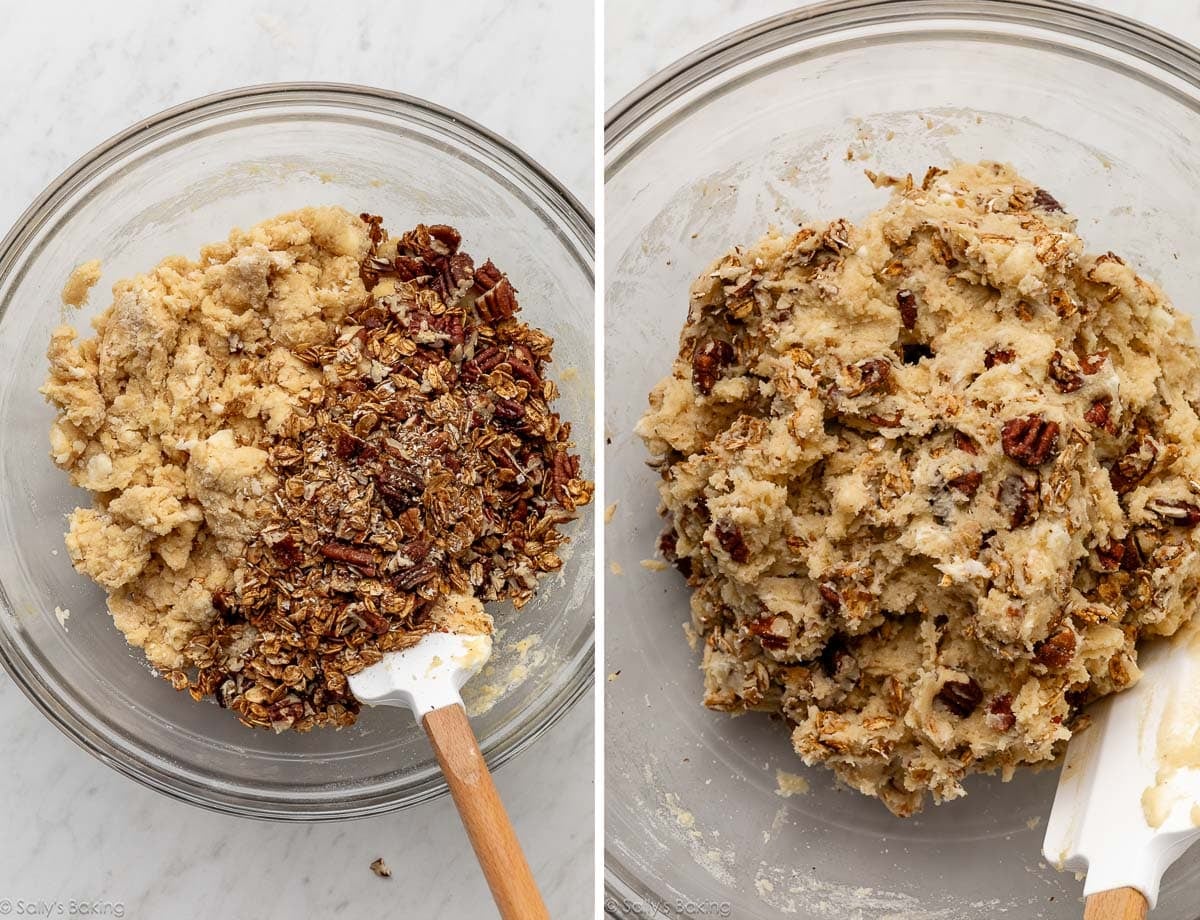
You may need to ditch the spatula and use your hands to incorporate the add-ins into the sticky dough. It helps to flour your hands first!
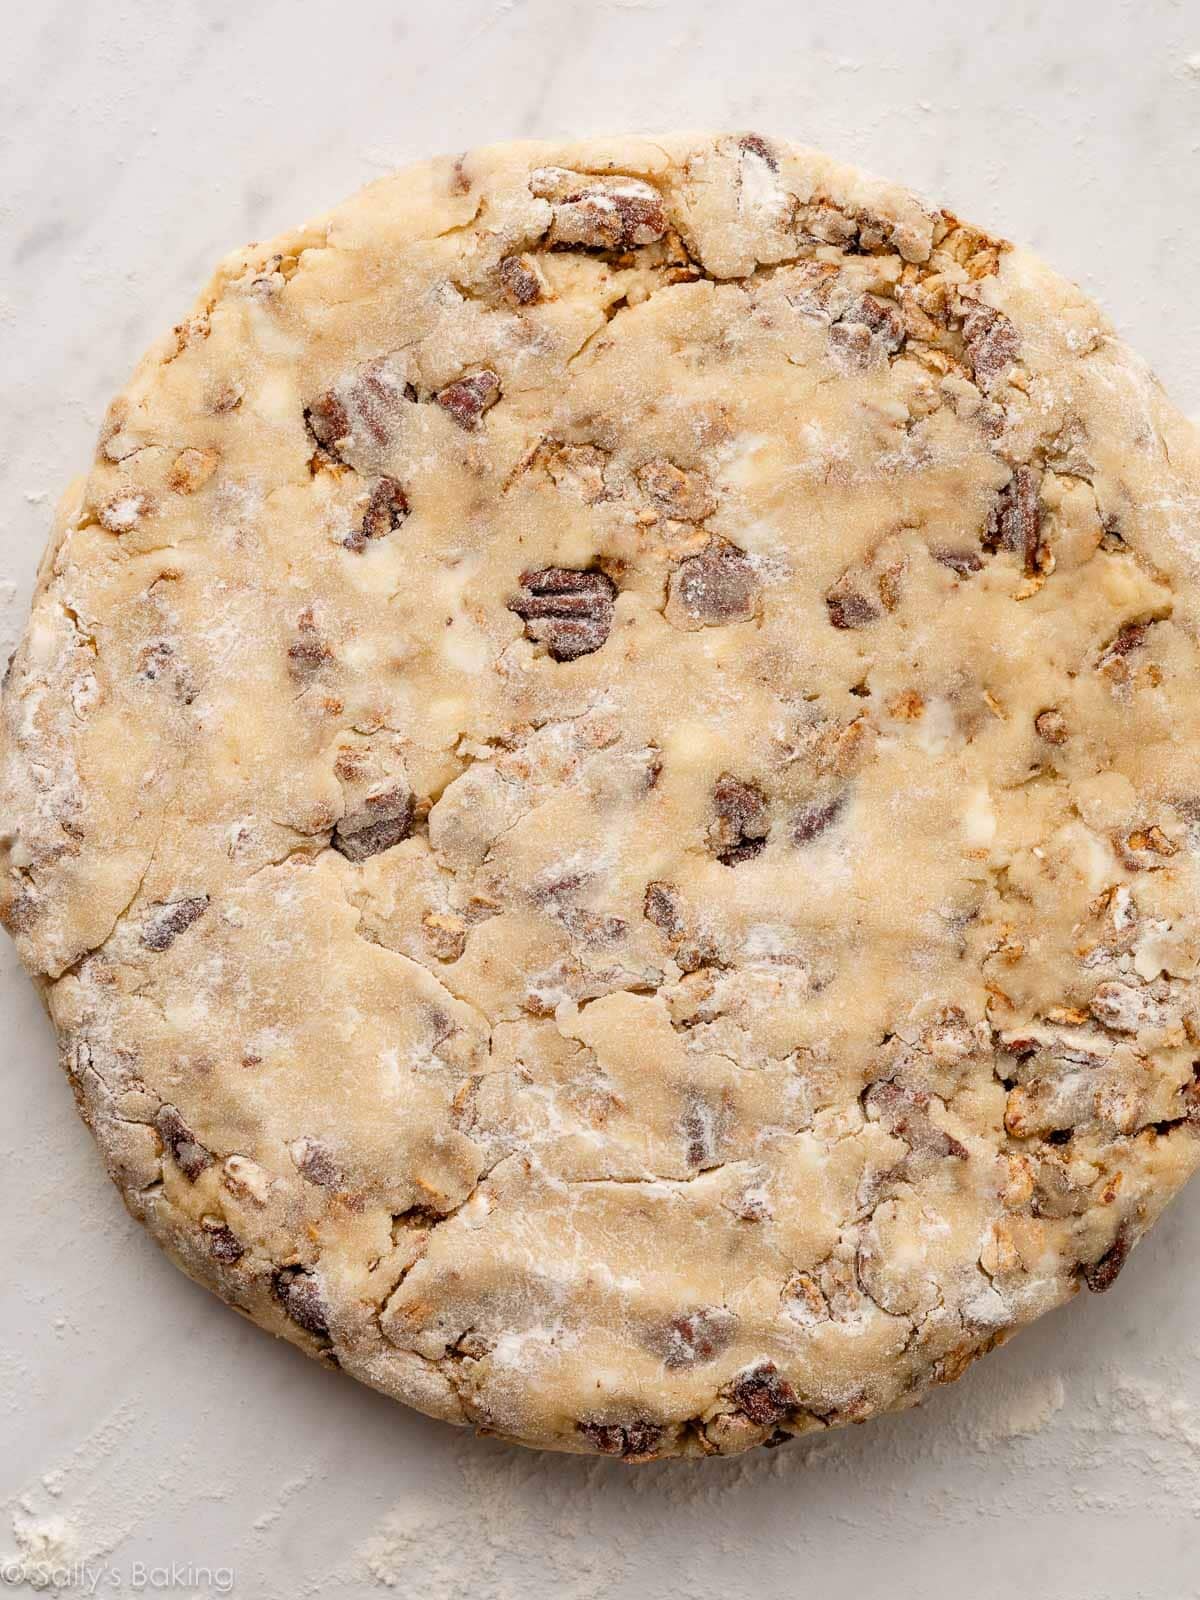
Turn the dough out onto a work surface, gently bring it together, and shape it into a disc. Cut into wedges:
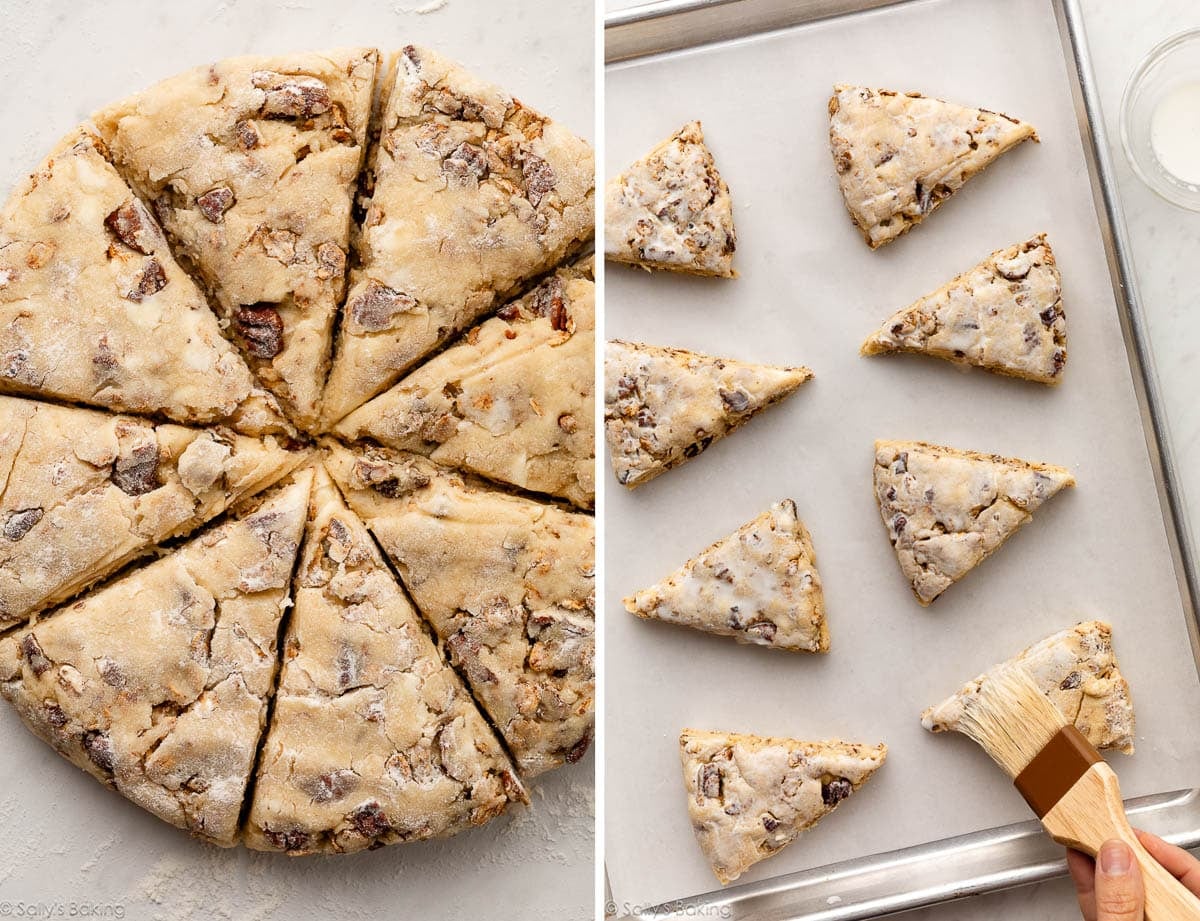
To ensure the scones don’t overspread and lose their shape, refrigerate them for at least 15 minutes before baking. They can chill for much longer, so feel free to make them in advance, refrigerate overnight, and bake them fresh in the morning!
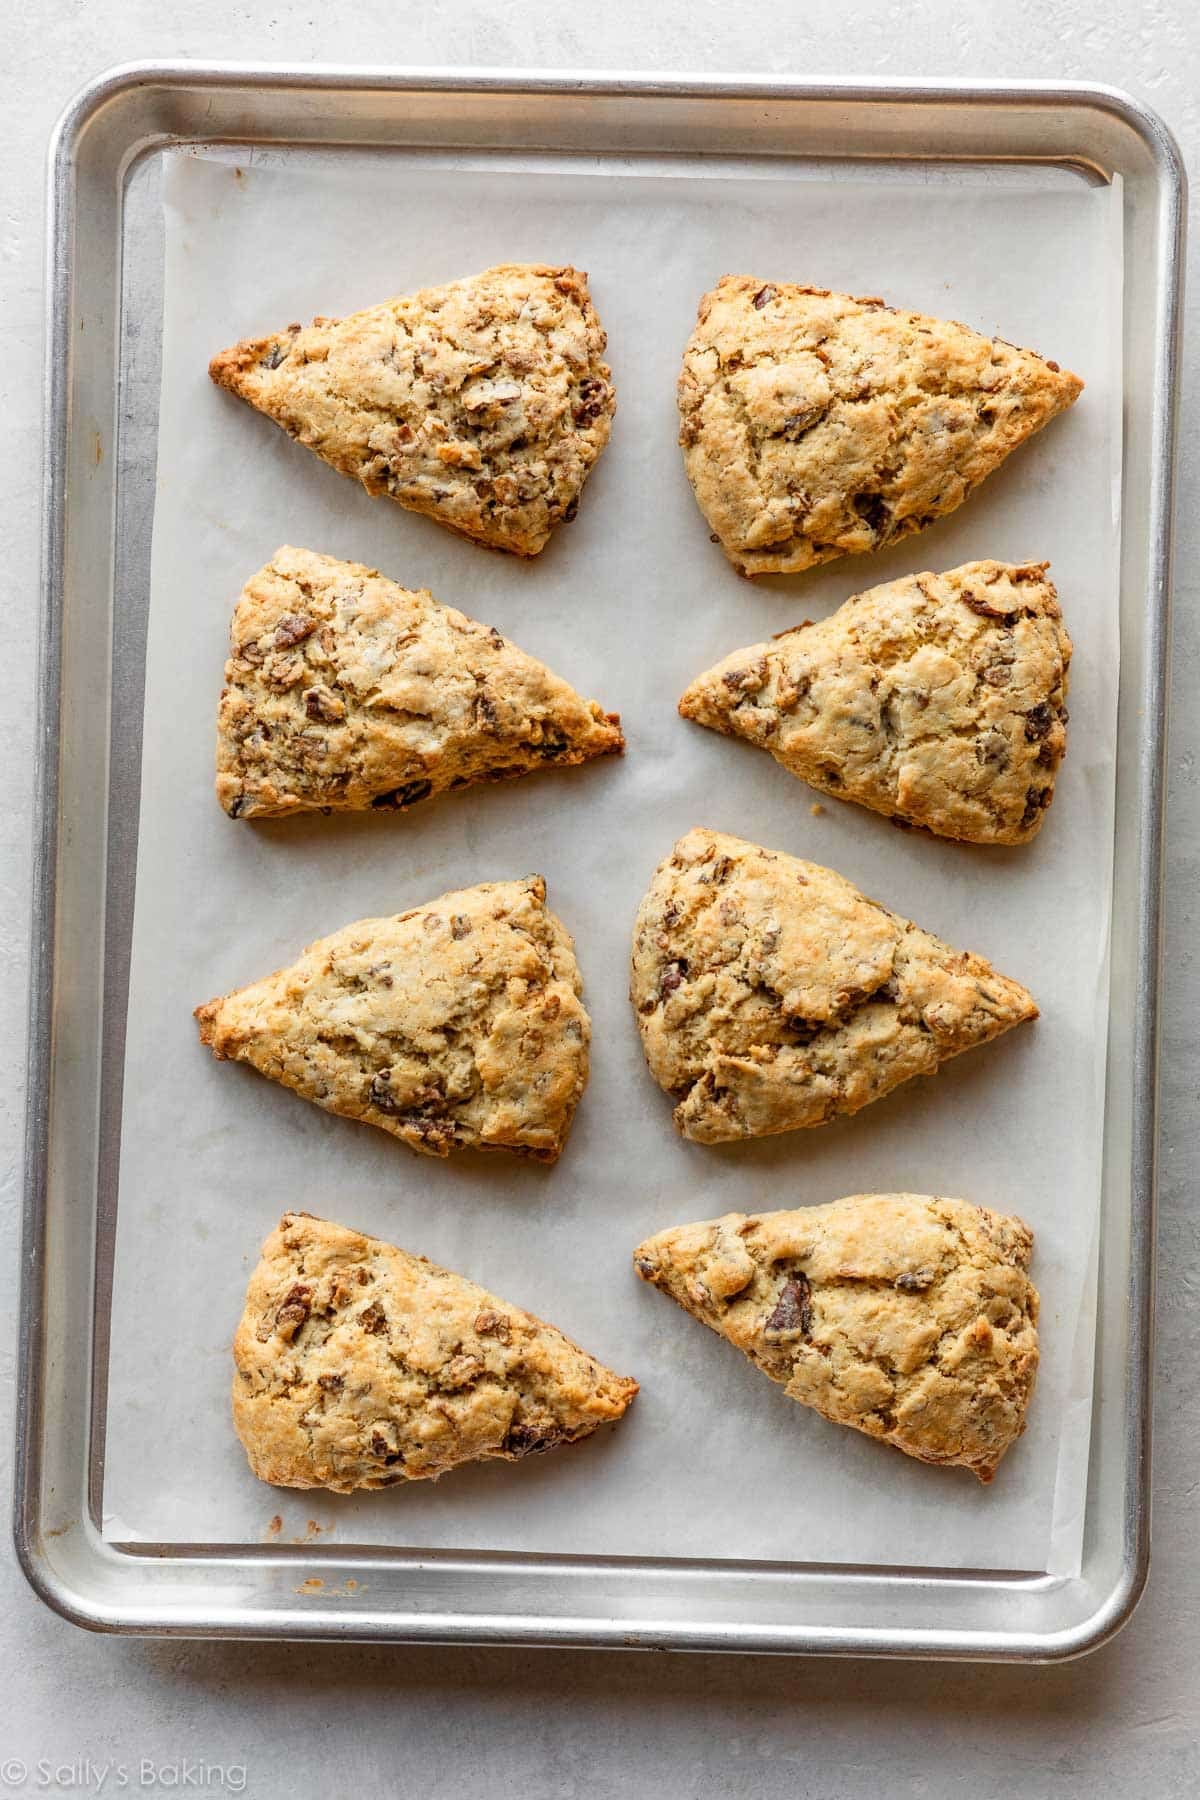
Brush a little heavy cream onto your scones using a pastry brush right before baking. This helps with browning and gives the scones their golden, lightly crisp tops.
Here’s what they look like after baking:
My Favorite Maple Icing
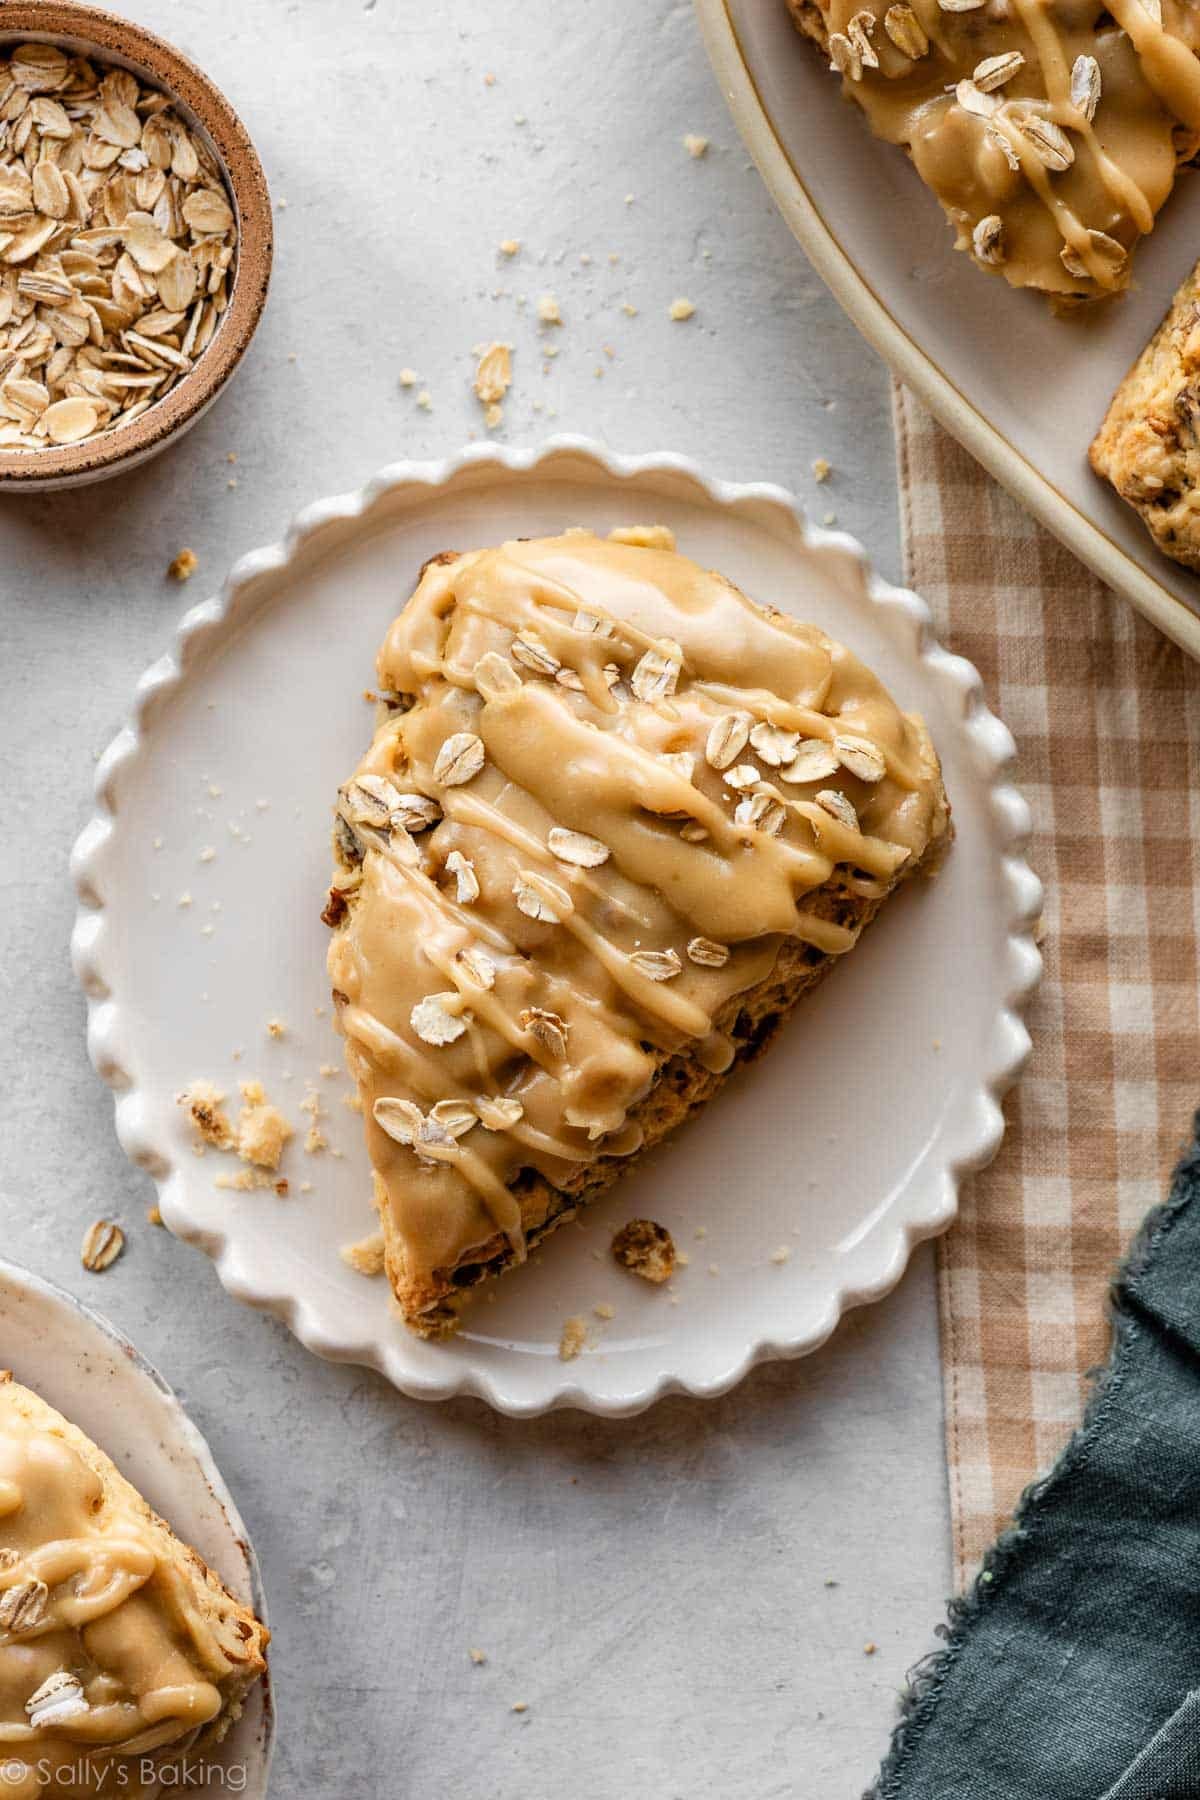
Now for the finishing touch: the maple icing! I absolutely love this maple icing, especially because of the way it sets on top of baked goods as the butter in it re-solidifies. It’s from my maple brown sugar cookies, and I love it on this salted maple pecan focaccia, too!
When the maple oat scones are cool enough to handle, dip the tops in the icing, then sprinkle some oats on top right away, before the icing has a chance to set. The recipe makes enough icing to glaze all 8 scones, with a bit left over to drizzle over the oat topping at the end.
Success Tips for Maple Oat Pecan Scones
- Cut the cold butter into small cubes and freeze for about 15 minutes before you add it to the dry ingredients.
- Use floured hands to bring the dough together.
- Refrigerate the scones for at least 15 minutes before baking.
- Check on the scones halfway through baking. If they are spreading out, use 2 bench scrapers or spatulas to press on either side of the scone to reshape into a triangle.
- Add the oat topping immediately after dipping each scone in icing because it sets quickly!
Beth and I truly can’t wait for you to try these!!
Print
Maple Oat Pecan Scones
- Prep Time: 35 minutes
- Cook Time: 25 minutes
- Total Time: 1 hour
- Yield: 8 scones
- Category: Breakfast
- Method: Baking
- Cuisine: American
Description
These maple oat pecan scones are tender and buttery with crisp, golden edges, hearty oats, toasted pecans, and plenty of maple flavor. For the best texture, start with very cold butter, handle the dough as little as possible, and chill the shaped scones for at least 15 minutes before baking. Finish with maple icing and a light sprinkle of oats.
Ingredients
Maple Oat Pecan Crunchies
- 2/3 cup (75g) pecans (use raw, unsalted)
- 2/3 cup (57g) old-fashioned whole rolled oats, plus more for topping
- 1/2 teaspoon ground cinnamon
- 1/4 teaspoon salt
- 2 Tablespoons (40g/30ml) pure maple syrup
Scones
- 2 cups (250g) all-purpose flour (spooned & leveled), plus more for shaping
- 2 and 1/2 teaspoons baking powder
- 1/2 teaspoon salt
- 1/2 cup (8 Tbsp; 113g) unsalted butter, very cold and cubed
- 1/2 cup (100g) packed light or dark brown sugar
- 1/2 cup (120g/ml) cold heavy cream, plus more for brushing
- 1 large egg, cold
- 1 teaspoon pure vanilla extract
- 1/2 teaspoon maple extract
Maple Icing
- 2 Tablespoons (28g) unsalted butter
- 1/4 cup (80g/60ml) pure maple syrup
- 1 cup (112g) sifted confectioners’ sugar
- pinch of salt
Instructions
- Make the maple oat pecan crunchies: In a dry medium skillet over medium heat, combine the pecans and oats. Cook, stirring with a spatula or wooden spoon, until they smell nutty and toasty, about 4–5 minutes. Add the cinnamon, salt, and maple syrup. The maple syrup will bubble up when it hits the hot pan; that’s expected. Cook, stirring, until the syrup thickens into a glaze that coats the pecans and oats, about 2–3 minutes. Remove from heat and transfer the mixture to a cutting board. Set aside to cool.
- Make the scones: In a large bowl, whisk together the flour, baking powder, and salt. Add the cold cubes of butter and cut them into the flour mixture with a pastry cutter, 2 forks, or your fingers until the mixture resembles pea-sized crumbs.
- In a medium bowl, whisk together the brown sugar, heavy cream, egg, vanilla extract, and maple extract until combined and smooth. Pour the wet ingredients into the dry ingredients and gently stir with a spatula until the dough starts to come together. Avoid over-mixing.
- Roughly chop the cooled pecan-oat mixture. Add the maple oat pecan crunchies to the dough and fold to incorporate. You may need to use floured hands to bring it all together. The dough will be crumbly.
- With floured hands, work the dough into a ball as best you can and transfer to a floured work surface. Press into a neat 8-inch disc and, using a very sharp knife or bench scraper, cut into 8 equal wedges.
- Place scones on a plate or lined baking sheet (if your refrigerator has space!) and refrigerate the shaped scones for at least 15 minutes and up to 1 day.
- Preheat the oven to 400°F (204°C). Line a large baking sheet with parchment paper or a silicone baking mat.
- Arrange the chilled scones at least 2 inches apart on the prepared baking sheet. Using a pastry brush, lightly brush the tops of the scones with heavy cream.
- Bake for 18–24 minutes or until golden brown. Remove from the oven and allow to cool for a few minutes as you prepare the icing.
- Make the icing: In a small saucepan over low heat, melt the butter and maple syrup together, whisking occasionally. Once the butter has melted, remove from heat and whisk in the sifted confectioners’ sugar and salt. Taste; add a pinch more salt if desired. When the scones are cool enough to handle, dip the tops in the icing and place them on a cooling rack set over a lined baking sheet (to catch the drips). The icing sets quickly, so reheat it over the stove if needed. Sprinkle oats over the icing before it has a chance to set. If you have any icing left, you can drizzle it over the tops.
- Leftover scones keep well at room temperature for up to 2 days or in the refrigerator for up to 5 days.
Notes
- Freeze Before Baking: Freeze scone dough wedges on a plate or baking sheet for 1 hour. Once relatively frozen, you can layer them in a freezer-friendly bag or container. Bake from frozen, adding a few minutes to the bake time. Or thaw in the refrigerator overnight, then bake as directed.
- Freeze After Baking: Freeze the baked and cooled scones, with or without the icing, in a freezer-friendly bag or container. Thaw in the refrigerator overnight or at room temperature.
- Overnight Instructions: Prepare scones through step 6. Cover and refrigerate overnight. Continue with the recipe the following day.
- Special Tools (affiliate links): Glass Mixing Bowls | Whisk | Pastry Cutter | Silicone Spatula | Bench Scraper | Baking Sheet | Silicone Baking Mat or Parchment Paper | Pastry Brush
- Maple Extract: Pure maple syrup isn’t enough to guarantee mega maple flavor. I use McCormick brand maple extract. You can find it in the baking aisle or online. If you can’t find it, you can omit it with no other changes to the recipe, but expect the maple flavor to be more subtle, as it will mainly come from the icing.
- Over-spreading: Start with very cold scone dough. Expect some spread, but if the scones are over-spreading as they bake, remove from the oven and press back into their triangle shape using 2 spatulas or bench scrapers.












Reader Comments and Reviews
Delicious! The perfect Saturday night make, Sunday morning bake. It has the flavor of a Sandies shortbread (so good) but it was soft and lofty.
I made these precisely according to directions. They came out dry, much to my disappointment. I’m wondering if 400 degrees may be too high. Lots of work involved for sorry result. Addendum: I think separating the dough into individual triangles before baking was possibly the culprit in the dry texture. I have a recipe given to me years ago where the scones were baked in a round cake pan just scored on the surface, and it has never failed me.
I made these precisely according to directions. They came out dry, much to my disappointment. I’m wondering if 400 degrees may be too high. Lots of work involved for sorry result.
Delicious – these are the best scones I’ve ever made! Really enjoyed the maple flavour, and nice crunch from the pecans.
Delicious, and made my whole house smell like maple while they were baking!
I LOVE Sally’s scone recipes and these one of my new favorite! I skipped the icing as I thought they might freeze better, and I divided the dough into two rounds (6 scones each) to make them slightly smaller. Next time will add the icing. Yum!
I really loved the maple flavor in these! Although they were a little too sweet for my personal preference. Also the texture came out a little delicate and crumbly where I was expecting a more dense, sturdy crumb but that could have had to do with my bake. Overall though, these are a delightful sweet and indulgent treat.
Easy to follow recipe. My only suggestion is to explain how coarse the chop should be on the crumble and to explain if the crumble isn’t coming together at the start, to add more syrup.
Easy recipe to follow and execute! I had to improvise on the frosting because I did not have powdered sugar when I went to make my frosting so had to make Carmel glaze with brown sugar.
Great recipe!
These scones are so yummy! I found these scones a little bit complicated to make, but they are very fun! I love the icing! I’m a huge fan of the maple flavour!!
I love scones with morning coffee on the weekend and these don’t disappoint! My guests loved them!
A perfect Autumn treat! The toasted pecan and oats paired perfectly with the maple and gave each bite a lovely texture!
Super easy, tasty, and fun! The crunchies on their own were delicious too. Next time, I would try reducing the salt in the dough to 1/4 tsp, as they taste just a little salty.
Delicious and easy!
I don’t usually care for scones but these were so good! They were also easier than others I made.
It was amazing! I couldn’t find maple extract in any of my local stores so I tried orange extract. It was actually really good. I did have to add half a cup of flour because the dough was really wet. Not sure how that happened. But it turned out great. 😅
Delicious! Easy to follow recipe. The pecan crunch adds great flavor and texture. The icing adds a nice layer of sweetness.
These were easy to make and taste great. The extra step of toasting the oats and pecans with the maple syrup take them over the top. Definitely a new favorite.
Loved this reciped – it was easy to make and the directions were spot on. It also tasted great!
Love the idea of cooking the pecans and oats. Really enhances the flavor. I think I over baked mine a bit as they were a tad dry. Will definitely be making these again.
Love the baking challenge! Making these scones was fun. The crunchies were delicious on their own!
They turned out very well!
Yum!
I absolutely found myself loving these maple scones. To me, scones alone are a little intimidating. But these made things so easy. Step-by-step. Thank you, a great flavor! I was able to bake two out of the eight and freeze six! I can’t wait to share with my mom a scone lover.
Great recipe! I made it into 16 mini scones and used some of the maple oat crunchies as topping.
Would these work with half and half? I can’t digest heavy cream, unfortunately….
Hi Linda, scones are really best with heavy cream. Buttermilk or full fat canned coconut milk can both work well.
These are scrumptious and a must for a fall brunch! My dough was a little moist, but I refrained from adding more flour, and I’m glad I did because they turned out perfect. I cut them and put them in the fridge on a baking sheet for 24 hrs. They came out amazing. Love the maple icing!
Super easy and yummy recipe
The flavor in these are amazing and the hole recipe was quite easy. Very much enjoyed!