

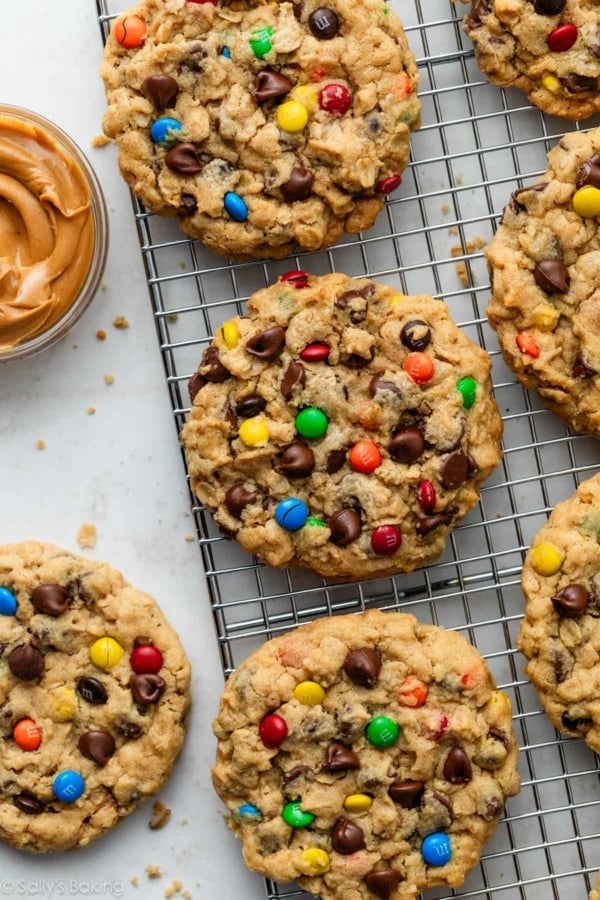
These peanut butter M&M cookies are soft, thick, and packed with peanut butter flavor in every bite, plus a generous handful of mini M&Ms for color and crunch. If you’ve been baking from my site for a while, this recipe may look familiar. It’s based on my classic soft peanut butter cookies dough, a recipe I first published in 2012 and still use as the foundation for countless variations today.
I first shared this peanut butter M&M cookie variation back in 2012, and while the recipe itself hasn’t changed, I’ve updated this post with new photos, clearer instructions, and extra success tips to ensure the same great results I expect in my own kitchen today.
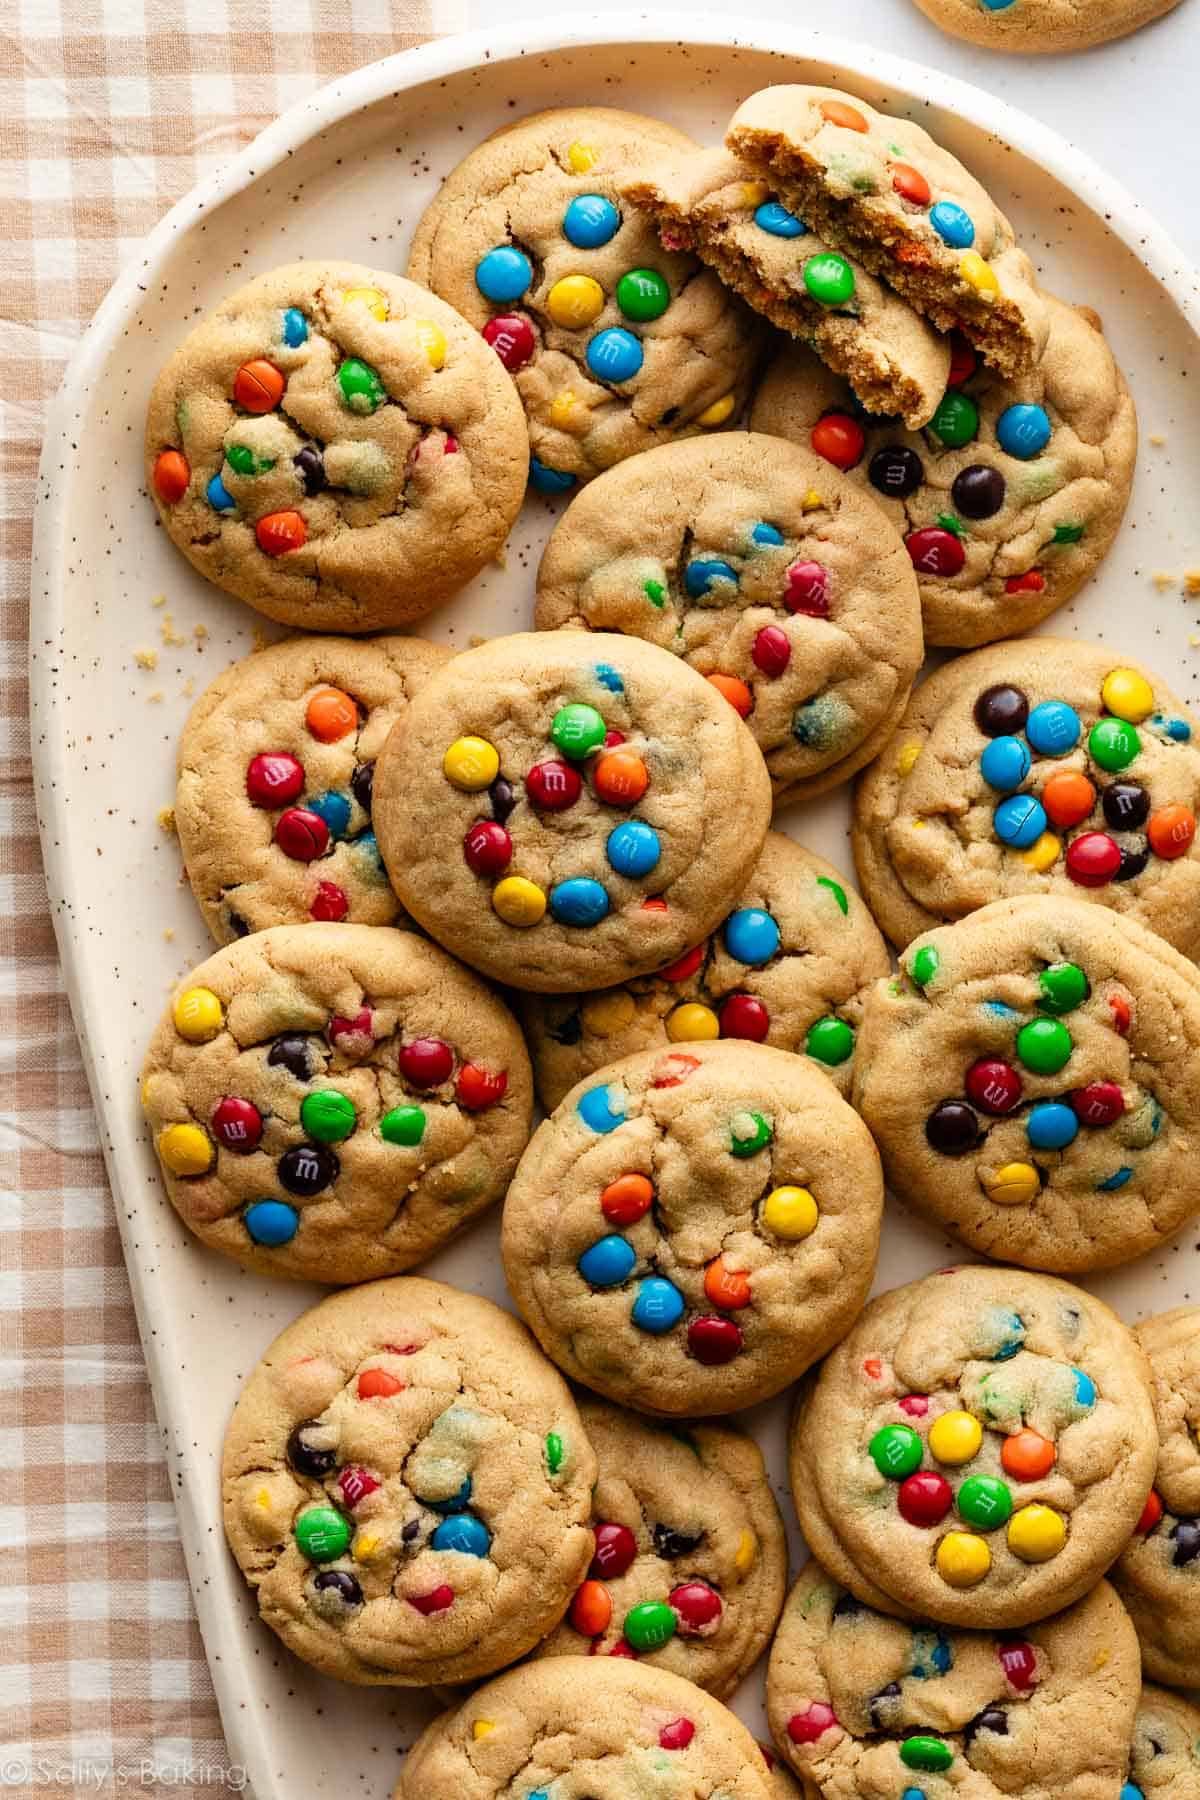
This dough has stood the test of time for a reason. The cookies bake up pillowy-soft in the center, lightly crisp around the edges, and never dry or crumbly. Adding mini M&Ms turns them into a fun, nostalgic twist that’s especially popular with kids—but just as loved by adults who enjoy the colorful candy-coated chocolates!
Why You’ll Love These Peanut Butter M&M Cookies
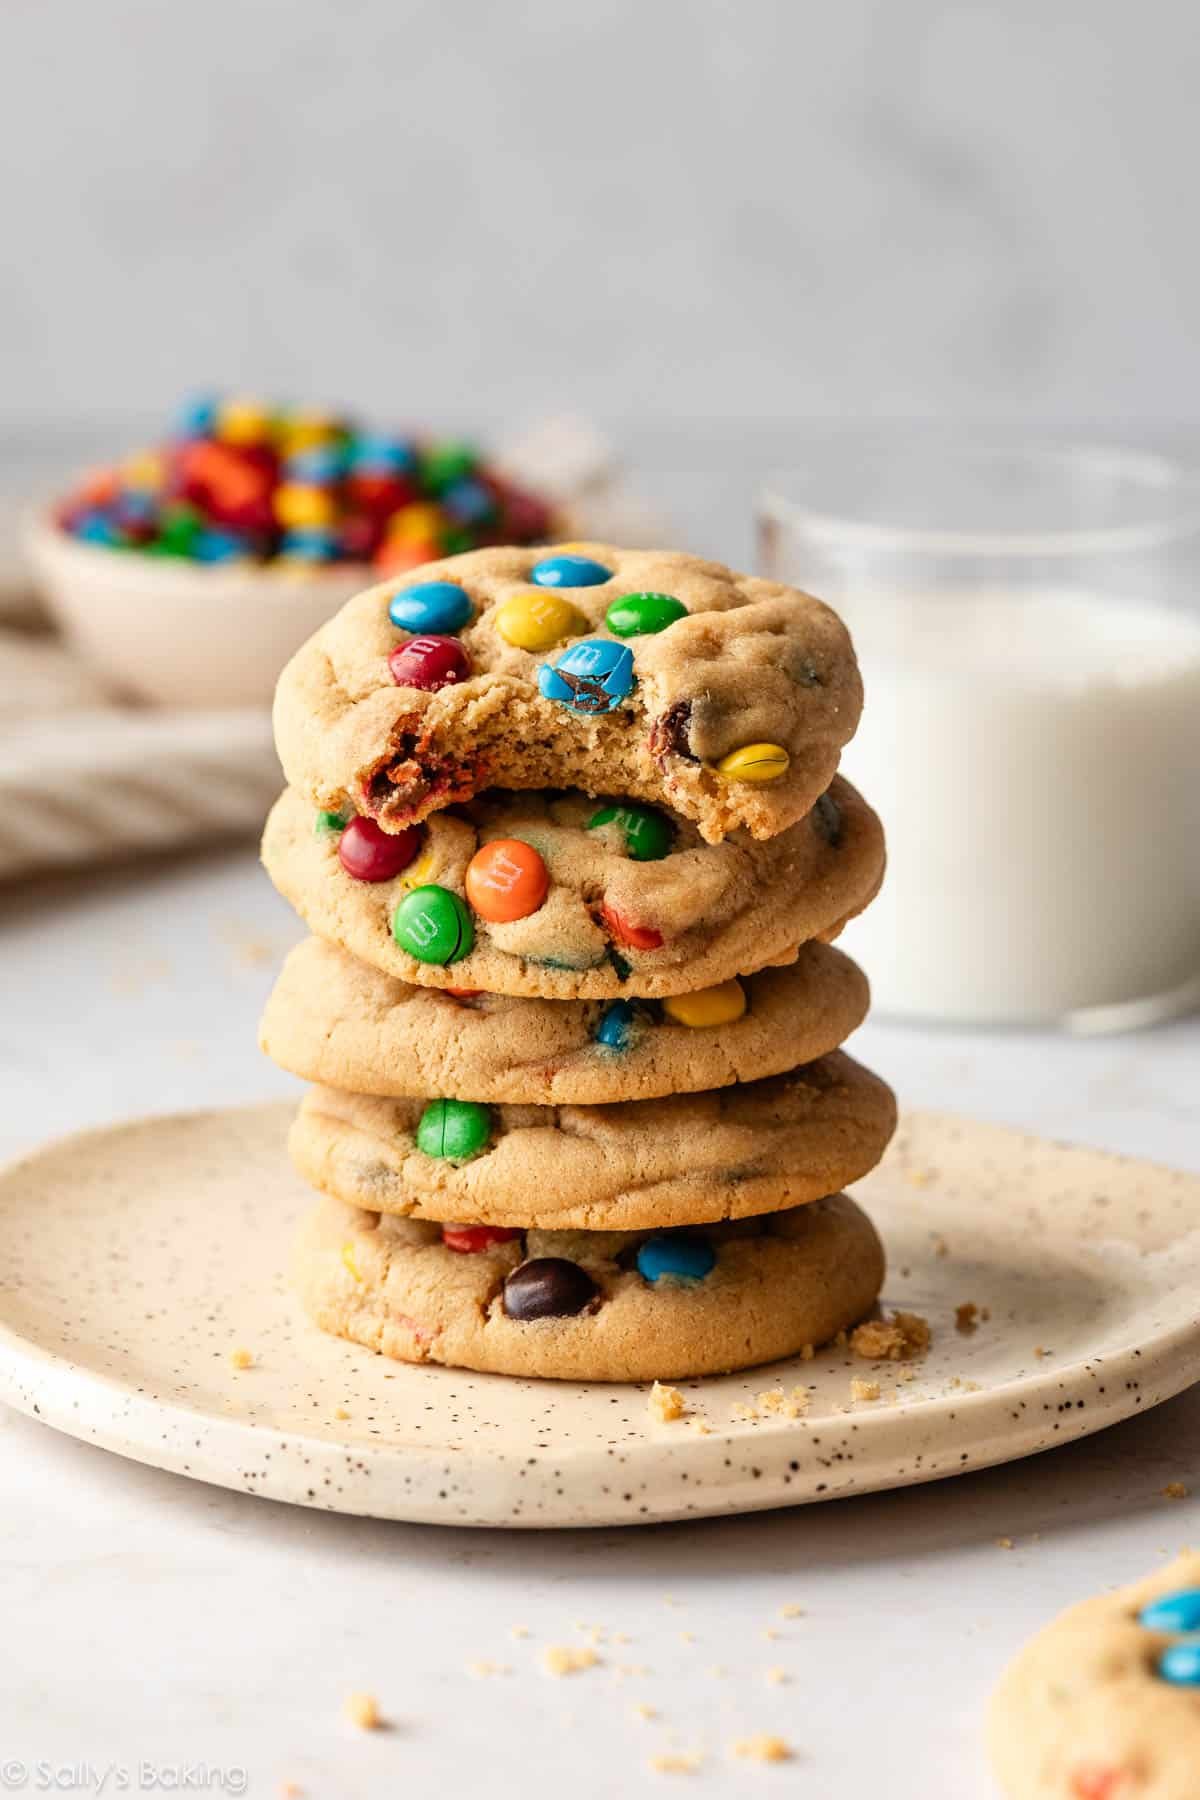
- Soft & thick centers with lightly crisp edges
- Loaded with peanut butter flavor
- Made with simple pantry ingredients
- Mini M&Ms distribute perfectly in every bite
- Based on my most trusted peanut butter cookie dough
- Easy to adapt with other mix-ins
This Dough Is a Classic for a Reason
This peanut butter cookie dough is one I return to again and again. It’s the same base I use for peanut butter blossoms, peanut butter jam thumbprints, peanut butter cookie cups, and more. Over the years, thousands of readers have baked the dough (in some version!) successfully, and it continues to be one of the most reliable cookie recipes on my site.
A few key aspects make it work so well:
- More Peanut Butter, Less Flour: This recipe uses more peanut butter and less flour than most traditional peanut butter cookies. Did you know that peanut butter acts as a binder in cookie doughs? This means that you don’t need much flour—and adding more would actually dry the cookies out. Stick with the measurements below for the softest results.
- Brown Sugar + Granulated Sugar: Using more brown sugar than white keeps the cookies soft and moist, while a little granulated sugar helps them spread just enough. It’s the same balance I rely on in many of my soft cookie recipes.
- Creamy Peanut Butter Is Best: Creamy peanut butter produces a smoother, softer cookie. Crunchy peanut butter tends to make cookies overly crumbly. You can use either processed or natural peanut butter—both work—but note that natural peanut butter will produce crumblier cookies that spread a bit more. For best results, I recommend processed creamy peanut butter like Jif or Skippy.
If you love oats in your cookies, try these big giant monster cookies next!
Why Mini M&Ms Work So Well Here
Like my classic M&M cookies, mini M&Ms are ideal in today’s dough because they distribute evenly throughout the cookie, don’t overpower the peanut butter flavor, and add just enough crunch without weighing the dough down.
If you only have regular M&Ms, you can roughly chop them, but mini M&Ms give the best texture.
Don’t Skip the Chill Time
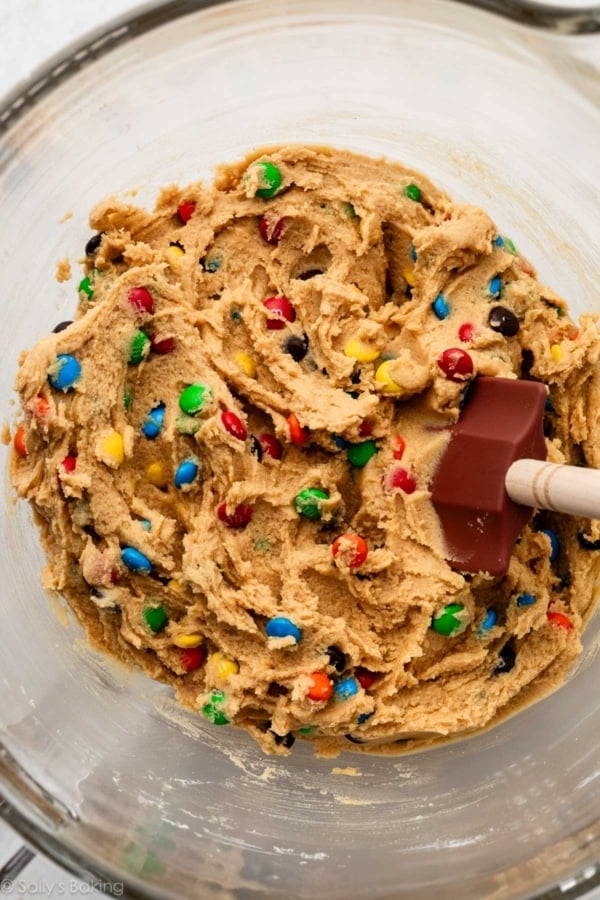
After you mix up the cookie dough, you’ll notice it’s extremely soft and creamy, almost like peanut butter frosting. That’s completely normal and expected; remember, there isn’t a ton of flour in this dough.
Because of the dough’s consistency, refrigerating the dough for at least 1–2 hours makes it easier to scoop and helps the cookies hold their shape in the oven. If you want to get ahead, you can refrigerate the dough overnight.
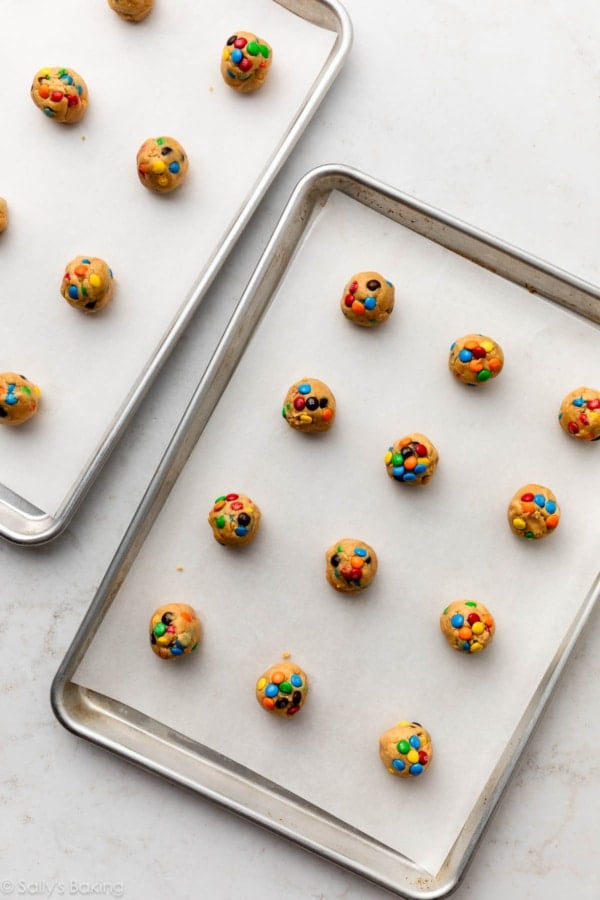
Once chilled, the dough is easy to handle and shape. Each cookie dough ball will be around 1.5 Tablespoons, or 30–35 grams. A food scale is always handy in the kitchen, and especially when portioning cookie dough.
Success Tip for Bakery-Style Beauties
For extra-pretty, bakery-style cookies, I like to make sure plenty of the M&Ms are near the tops of the dough balls so you see lots of colorful candies once the cookies are baked.
Since mini M&Ms come in so many color variations, you can easily customize these cookies for different holidays. Use Valentine’s Day–colored mini M&Ms for your Valentine’s Day desserts, red and green M&Ms for Christmas cookie recipes, etc.

If you love soft peanut butter cookies, this candy-studded version deserves a spot in your regular baking rotation!!


Peanut Butter M&M Cookies
- Prep Time: 1 hour, 30 minutes (includes chilling)
- Cook Time: 13 minutes
- Total Time: 1 hour, 45 minutes
- Yield: 26-28 cookies
- Category: Cookies
- Method: Baking
- Cuisine: American
Description
These peanut butter M&M cookies are soft, thick, and packed with peanut butter flavor in every bite, plus a generous handful of mini M&Ms for color and crunch. Don’t skip chilling the cookie dough. If you’ve been baking from my site for a while, this recipe may look familiar. It’s based on my classic soft peanut butter cookies dough, a recipe I first published in 2012 and still use as the foundation for countless variations today.
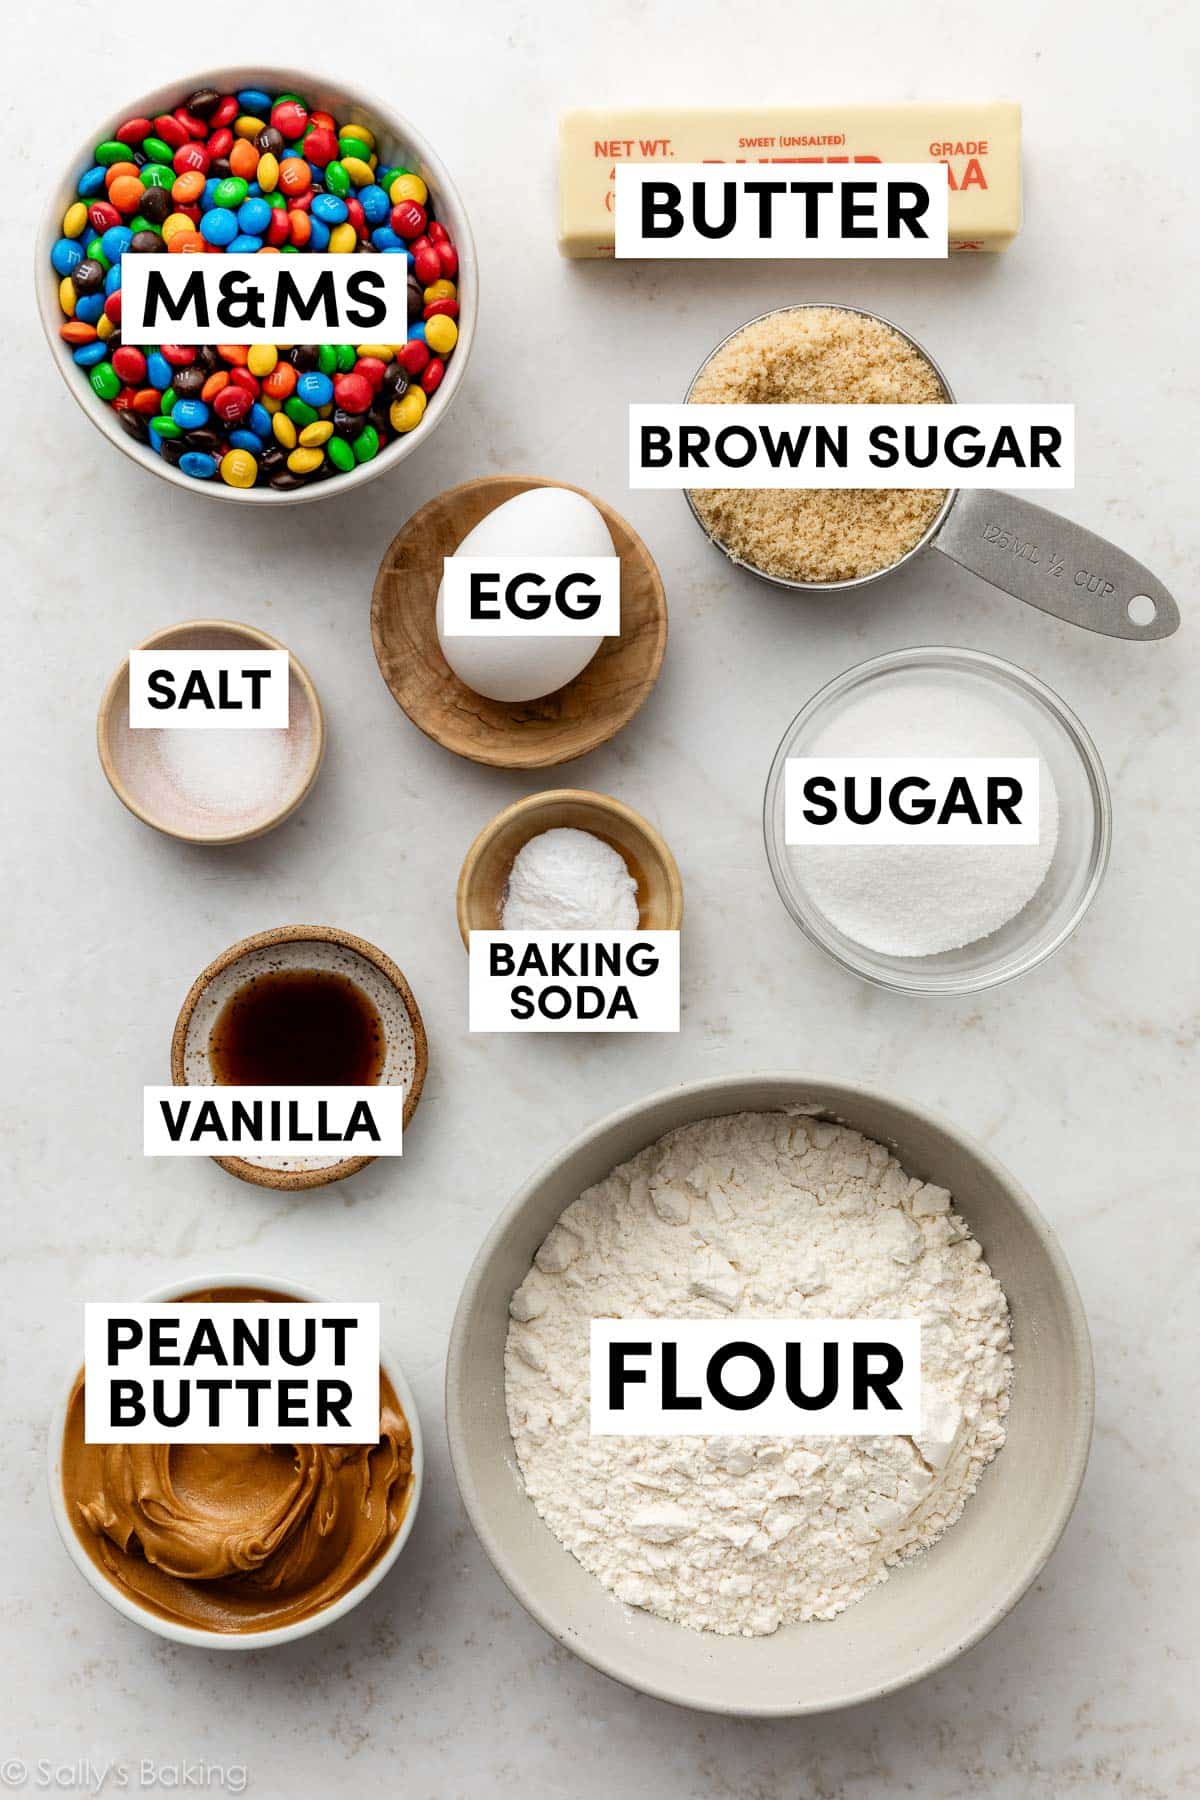
Ingredients
- 1 and 1/4 cups (156g) all-purpose flour (spooned & leveled)
- 1/2 teaspoon baking soda
- 1/4 teaspoon salt
- 1/2 cup (8 Tbsp; 113g) unsalted butter, softened to room temperature
- 1/2 cup (100g) packed light or dark brown sugar
- 1/4 cup (50g) granulated sugar
- 1 large egg, at room temperature
- 3/4 cup (188g) creamy peanut butter (see Note)
- 1 teaspoon pure vanilla extract
- 1 and 1/4 cups (250g) mini M&Ms
Instructions
- In a medium bowl, whisk the flour, baking soda, and salt together. Set aside.
- In a large bowl using a hand mixer or a stand mixer fitted with paddle attachment, beat the butter for 1 minute on high speed until creamy. Switch to medium-high speed and beat in the brown sugar and granulated sugar until completely creamed and smooth, about 3 minutes. (Here’s a helpful tutorial if you need guidance on how to cream butter and sugar.) Add the egg and beat until combined, about 1 minute. Scrape down the sides and bottom of the bowl as needed. Add the peanut butter and vanilla extract and beat until combined.
- Add the dry ingredients to the wet ingredients and beat on low speed until combined, and then beat in the M&Ms. The dough will be very creamy and soft.
- Cover and chill the cookie dough in the refrigerator for at least 1–2 hours, and up to 3 days.
- Preheat oven to 350°F (177°C). Line large baking sheets with parchment paper or silicone baking mats.
- Roll the dough: Roll chilled cookie dough into balls, about 1.5 Tablespoons (around 30–35g) of dough each. For extra M&Ms on top, gently position some of the candies near the surface of the dough balls, or press a few additional M&Ms into the tops before baking. Arrange the dough balls on the baking sheets about 2 inches apart.
- Bake for 12–15 minutes or until the edges appear set and are very lightly browned. The centers will still look very soft.
- Allow cookies to cool on the baking sheet for 5 minutes. After 5 minutes, transfer to a wire rack to cool completely.
- Cookies stay fresh covered at room temperature for up to 1 week.
Notes
- Make-Ahead Instructions: You can make the cookie dough and chill it in the refrigerator for up to 3 days. Baked cookies freeze well for up to 3 months. Unbaked cookie dough balls freeze well for up to 3 months. Bake for an extra minute; no need to thaw. See How to Freeze Cookie Dough for more success tips.
- Special Tools (affiliate links): Food Scale | Electric Mixer (Stand Mixer or Handheld) | Baking Sheets | Silicone Baking Mats or Parchment Paper | Cooling Rack
- Peanut Butter: Creamy peanut butter is ideal for this recipe because crunchy peanut butter creates an overly crumbly cookie. You can use processed peanut butter such as Jif or Skippy, or natural-style peanut butter. If using natural peanut butter, make sure it’s at room temperature, stirred well, and expect a crumblier cookie. 3/4 cup of peanut butter weighs around 185–195g.
- Can I Use Almond Butter? Yes, you can use almond butter in this cookie recipe; however, expect a crumblier cookie. You may enjoy these flourless almond butter cookies more, though!
- Mini M&Ms: Mini M&Ms are ideal in this dough because they distribute evenly throughout the cookie, don’t overpower the peanut butter flavor, and add just enough crunch without weighing the dough down. You can use regular-size M&Ms if you’d like; roughly chop them first.
- Can I Add Chocolate Chips or Other Add-Ins? Yes, as long as the total amount of add-ins (including M&Ms) is around 1 and 1/4 cups.
- Update in 2026: This recipe originally used salted butter with no added salt—feel free to make the dough that way if you prefer. It also called for smaller, 1 Tablespoon cookies (about 20g), yielding around 36 cookies. Over time, we’ve found the cookies bake up a little better when made slightly larger, which is why the portion size has been increased.


Reader Comments and Reviews
Never given less than 5 stars on any of Sally’s recipes but this one really was a dud! The bake really didn’t work, and the dough felt crumbly and dry and not very delicious when baked. Measured everything by weight. I think it needs baking powder and less PB (based on a PB choc chip cookie recipe I made recently that was successful!). I will always try Sally’s recipes though!
Hi Rachel, sorry these didn’t turn out for you! What kind of peanut butter did you use? Could the cookies have been over-baked?
These are so good and easy to make. Will not last long. Perfect texture and taste.
I’d like to make a giant cookie, like the size of a pie or pizza pan would the recipe work as written or would you recommend any tweaks? Thank you for all the great recipes
Hi Eileen, this dough would work well as a cookie cake. You can follow the baking times and directions from this chocolate chip cookie cake as a guide. Enjoy!
If I already have mini chocolate chips, can I use those instead of mini m&ms? Can’t wait to make!
Absolutely, Cait!
Delicious cookies. I used natural peanut butter and salted butter, and a mix of chocolate chips and m&ms. Kept the dough in the fridge and made them over a few days to have fresh cookies. Big hit!
I made these using gluten free flour and they were delicious! Next time I will make them with regular flour to see the difference as they were a bit crumbly but so yummy!
I love the taste of these cookies, but they came out dry and crumbly. I’m at high altitude. Would you suggest taking the flour down to one cup?
Hi Kristy, I’m sorry to hear that! What sort of peanut butter did you use? Was it the processed kind like Skippy or Jif, or was it natural? And is it possible you over-measured the flour? Altitude could be the culprit, but we don’t have experience with baking at high altitude, so unfortunately don’t have any suggestions other than to look at this helpful page of tips and adjustments from King Arthur Baking. Sorry we can’t be of more help!
Hi Elissa, happy to help troubleshoot. It sounds like there may have been too much flour in the dough, soaking up all the wet ingredients and preventing spread. How did you measure your flour? Be sure to spoon and level (or use a kitchen scale) to ensure just the right amount of flour. You could also flatten out the dough balls before baking to help initiate more spread. Hope this helps for next time, and thanks for giving this recipe a try!
I did spoon and level the flour so I’m not sure that was it. I let the dough in the fridge for about 4 hours, maybe the dough was too cold?
Mine didn’t spread out much. I am wondering if the baking soda may be too old; would that cause the problem? Because they didn’t spread out I baked them a bit too long and they were pretty crumbly. Flavor is good and my neighbor (whom I made them for) loved them. I just was bummed because I wanted a nice tender cookie. Granted, I am sure it is something I did wrong because Sally’s recipes are always stellar!
Hi Steph, we’re happy to help. How did you measure the flour? Too much flour will prevent the cookies from spreading. Make sure to spoon and level (instead of scooping) to avoid packing in too much flour into your measuring cups – or use a kitchen scale. You can read more about properly measuring baking ingredients in this post. If you decide to make these again and find they are still not spreading, feel free to take them out towards the end of bake time and gently tap the pan on the counter or push the dough balls down with the back of a spoon to help initiate spreading, then return to the oven to finish baking. A fresh batch of baking soda is always recommended for best results—we find it starts to lose its effectiveness after 3 months of opening (even if it’s not yet expired). Hope this helps for your next batch!
I had the same issue…didn’t spread at all, and pretty crumbly. I’m not sure why. Every other recipe of Sally’s I’ve tried has been amazing! Not sure why this one was “off” for me…
Super tasty, but they didn’t spread well in the oven and came out quite dense… I followed the recipe exactly as it was described but thinking about adding an extra egg next time or flatten them when going in the over (although that wouldn’t solve the density issue…) Thoughts?
Hi Teresa, we’re happy to help troubleshoot. How did you measure your flour? Be sure to spoon and level (or use a kitchen scale) to ensure the flour isn’t over measured. Too much flour can leave the cookies dense/dry. No need to add an additional egg, but you could certainly try flattening the dough balls a bit before baking to help initiate spread. We’re glad you enjoyed the taste!
Does it matter whether I use natural or regular peanut butter?
Hi Emi, for best taste and texture, we recommend a creamy processed peanut butter like Skippy or Jif.
I replaced the mini m&ms with peanut butter m&ms. They were way good.
The best recipe. I always love all your recipes.
This may be a dumb question but if I’d like to form the balls then freeze them do I still need to chill the dough for 1-2 hours first or can I form them right after mixing? I know you said you can bake frozen dough balls just by adding an extra minute. Thank you!
Hi Kristin! We prefer to chill the dough before rolling balls just because the dough can be a bit sticky to work with. But you can go ahead and roll the dough, then freeze without chilling if you don’t mind the sticky dough!
My dough is in the fridge right now, but I do wonder what would happen if I baked them without chilling the dough first. I’m impatient!
Hi Darlene, without chilling the dough, the cookies will spread too much in the oven and result in flat cookies. It’s worth the wait!
These cookies are soooo good and they are my moms favorite!