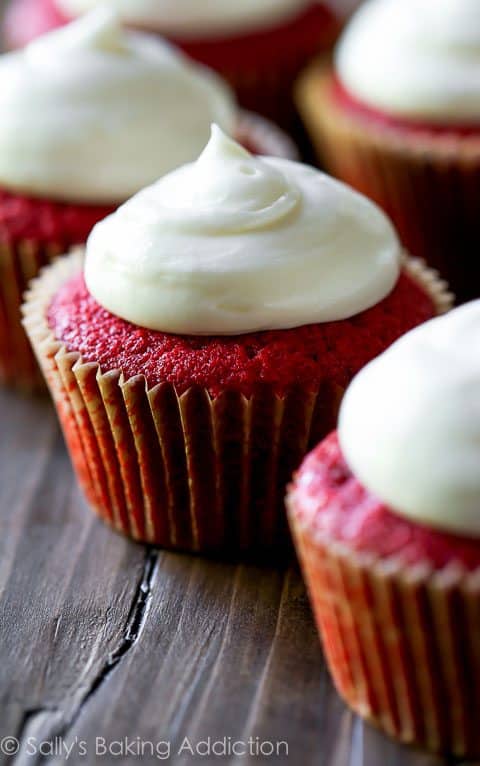
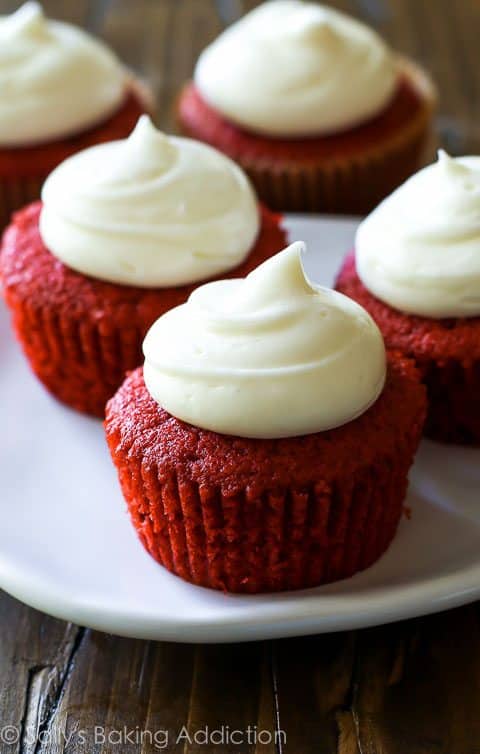
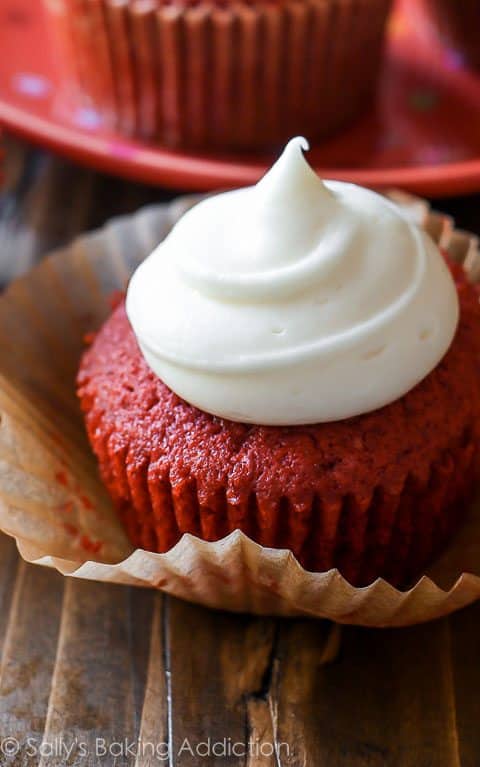
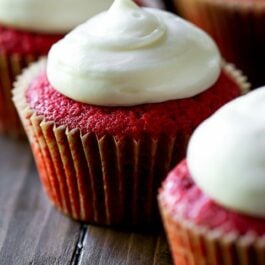
Fluffy and moist, these buttery red velvet cupcakes are my favorite. The tangy cream cheese frosting puts them over the top!
Over the past year, the most requested recipe on my blog is… red velvet cupcakes. I have tried-and-true recipes for chocolate cupcakes and vanilla cupcakes, but red velvet cupcakes were missing. To be honest, I was never a huge fan of red velvet up until a few years ago. Is it chocolate? Is it vanilla? The flavor always leaves me confused.
But I began to fall in love with it when I bit into a lavish 3 layer slice of red velvet cake at my friend’s wedding. It was so unworldly moist, very buttery, full of vanilla flavor with a hint of chocolate goodness. And the tang from the cream cheese frosting was the perfect compliment to the indulgently sweet red velvet crumb underneath.
Simply put? That red velvet cake was the bees knees.
I have never been able to recreate something like it! I’ve felt like a red velvet failure for the past 3 and a half years. I’ve tried a lot of “good” red velvet cupcake and cake recipes—some great—but nothing that deserves a spot in my archives. When I received the billionth request from a red velvet loving reader (thank you for the nudge, Nancy!), I knew it was time to put on my big girl red velvet pajama pants. Ick! I don’t wear velvet pants.
In the midst of all my pumpkin pie shenanigans last week, I also worked like a mad scientist on a red velvet cupcake recipe. And I am praising the heavens that I finally nailed it. NAILED IT! These cupcakes are absurdly amazing. And I’m not just saying that. My husband who “hates” red velvet inhaled 2 before his dinner of buffalo wings and french fries. The metabolism of a 20 something man, ladies and gents.
I’m getting off topic. So, let me tell ya a thing or two about these here cupcakes.
What makes red velvet stand out from say, chocolate cupcakes, is its wonderfully buttery flavor. I love that about red velvet. And during some recipe testing, I threw that flavor aside because all I could concentrate on was “make this cupcake moist, sally.” And we all know oil brings so much moisture to cupcakes! But with oil we (1) don’t have that natural buttery flavor and (2) the cupcakes aren’t as light and soft. Something creamed butter imparts into cakes and cupcakes. Furthermore, I often find that too much oil weighs baked goods down.
So, let’s use both. Oil—”the moist maker” (name that quote!)—and creamed butter, a tried and true way to a fluffy cupcake crumb.
The cocoa. We’re using that so the red velvet cupcakes can have a hint of chocolate. To me, red velvet is more of a vanilla cake than a chocolate cake. So I use only 4 teaspoons of cocoa to give the cupcakes that subtle chocolate flavor. It’s perfect.
Though I typically love throwing brown sugar into just about everything I bake, I leave it out of these red velvet cupcakes. I don’t want 1 hint of molasses flavor overtaking the vanilla, butter, and chocolate flavors. Simple white sugar is enough.
Baking Science // Nerd Alert…
Buttermilk is a must when it comes to red velvet. Slightly tangy, lots of moisture, and ultra creamy. You really cannot make these red beauties without it. Besides what buttermilk does to the taste and texture of these red velvet cupcakes, it also helps to activate the baking soda. So does the vinegar. Don’t get scared, a touch of vinegar is normal in red velvet desserts—and no, you cannot taste it. If you don’t have white vinegar, you can use apple cider vinegar. The vinegar also makes the red… redder.
I almost forgot to mention the flour. What may have thrown off all my red velvet cupcake testing was the flour. Cake flour is key to an ultra light cake, but I (and you, I’m sure) don’t really keep cake flour in the pantry. So, I usually develop my cake and cupcake recipes with all-purpose. Well. The moment I added cornstarch to all-purpose flour to make DIY cake flour was the moment I knew this recipe would be the winner. What’s cake flour and why is it so extraordinary? Cake flour is a low protein flour (about 8%) and has a very fine texture. A lower protein count = less gluten forms when you mix it into a batter, thus producing a cake with a fine, soft crumb. Think, angel food cake. In a nutshell, cake flour produces a noticeably lighter cake crumb than all-purpose and red velvet cakes are known for their soft, light texture. Rather than buying cake flour, reduce all-purpose flour slightly and add cornstarch.
That was much longer than I intended it to be. Oy.
Though the red velvet cupcake itself is pretty impressive, my favorite part about this cupcake is its combination with cream cheese frosting. My frosting is like a cloud from cream cheese heaven. Incredibly creamy, tangy, sweet, smooth, and luscious. It’s my favorite cream cheese frosting recipe and has never steered me wrong.
You’re going to love ’em. Red velvet lovers, now we rejoice.
More Red Velvet to Love:
- Red Velvet Cake
- Red Velvet Cookies
- Red Velvet Chocolate Chip Cookies
- Red Velvet Cream Cheese Brownies
- Red Velvet Whoopie Pies
Red Velvet Cupcakes
- Prep Time: 20 minutes
- Cook Time: 20 minutes
- Total Time: 2 hours
- Yield: 14 cupcakes
- Category: Cupcakes
- Method: Baking
- Cuisine: American
Description
Fluffy and moist, these buttery red velvet cupcakes are my favorite. The tangy cream cheese frosting puts them over the top!
Ingredients
- 2 large eggs, room temperature and separated
- 1 and 1/3 cups (166g) all-purpose flour* (spooned & leveled)
- 1/4 cup (32g) cornstarch*
- 1/2 teaspoon baking soda
- 4 teaspoons (7g) natural unsweetened cocoa powder
- 1/4 teaspoon salt
- 1/4 cup (4 Tbsp; 56g) unsalted butter, softened to room temperature
- 1 cup (200g) granulated sugar
- 1/2 cup (120ml) canola or vegetable oil
- 2 teaspoons pure vanilla extract
- 1/2 teaspoon distilled white vinegar
- liquid or gel red food coloring*
- 1/2 cup (120ml) buttermilk, room temperature*
- cream cheese frosting for topping
Instructions
- Preheat oven to 350°F (177°C). Line a 12-cup muffin pan with cupcake liners. This recipe makes 14 cupcakes, so you will have 2 cupcakes to bake in a 2nd batch.
- With a handheld or stand mixer fitted with a whisk attachment, beat 2 egg whites on high speed in a medium bowl until soft peaks form, about 2-3 minutes. See photo at the bottom of this yellow cupcakes with milk chocolate frosting post for a visual. Set aside.
- Sift the flour and cornstarch together to make sure it is evenly combined. Whisk this, along with baking soda, cocoa powder, and salt together in a medium bowl. Set aside.
- Using a handheld or stand mixer fitted with a paddle attachment, beat the butter on high speed until smooth and creamy—about 1 minute. Add the sugar and beat on high speed for 2 minutes until creamed together fairly well. Scrape down the sides and up the bottom of the bowl with a silicone spatula as needed. Add the oil and beat on high for 2 minutes. The butter may look “piece-y” and not completely combine with the oil. This is normal and ok.
- Add 2 egg yolks and the vanilla. Beat on medium-high speed until combined. Scrape down the sides and up the bottom of the bowl with a rubber spatula as needed. Beat in the vinegar and the food coloring, until you reach your desired color. I use 2 Tablespoons. With the mixer on low speed, add the dry ingredients in three additions alternating with the buttermilk, beginning and ending with the dry ingredients, and mixing each addition just until incorporated. Do not overmix. Fold whipped egg whites into cupcake batter with a rubber spatula or wooden spoon. The batter will be silky and slightly thick. (If there are still pieces of butter—and there were in 1 test batch for me—again, this is ok. They will melt inside as the cupcakes bake, making them even more buttery.)
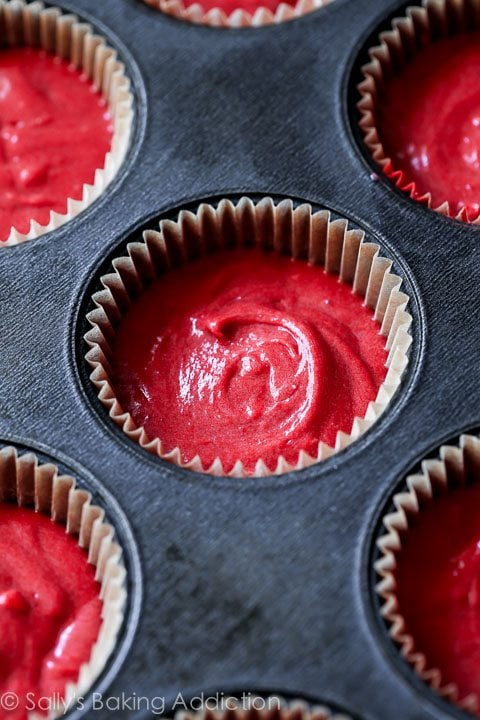
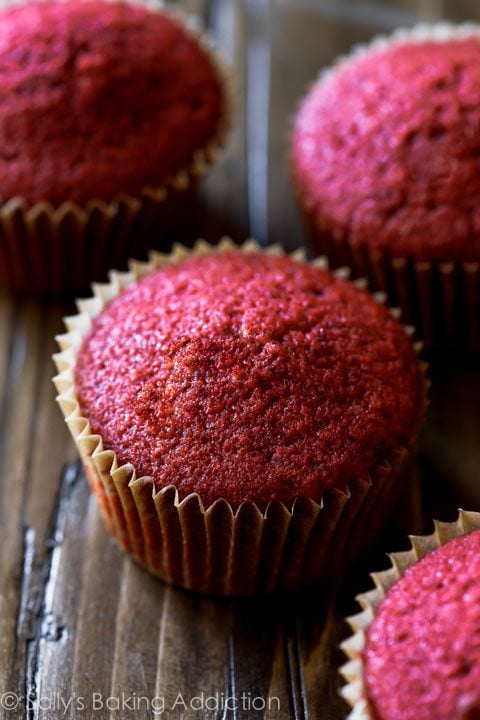
- Spoon batter into cupcake liners filling 1/2 – 2/3 of the way full. Bake for 20-21 minutes or until the tops of the cupcakes spring back when gently touched and a toothpick inserted in the center comes out clean. Don’t overbake; your cupcakes will dry out. Allow to cool in the pan for 5 minutes, then transfer to a rack to cool completely.
- Prepare cream cheese frosting. Frost cooled cupcakes immediately before serving. I used a Wilton #12 tip; I don’t recommend a star tip. This frosting is a little too thin.
Notes
- Make Ahead & Freezing Instructions: Cupcakes can be made ahead 1 day in advance, covered, and stored at room temperature. Frosting can also be made 1 day in advance, covered, and stored in the refrigerator until ready to use. Decorate/assemble cupcakes immediately before serving. Leftover cupcakes keep well covered tightly at room temperature or in the refrigerator for 3 days. Unfrosted cupcakes can be frozen up to 2-3 months. Thaw overnight in the refrigerator.
- Special Tools (affiliate links): 12-cup Muffin Pan | Cupcake Liners | Electric Mixer (Handheld or Stand) | Fine Mesh Sieve | Glass Mixing Bowl | Whisk | Silicone Spatula or Wooden Spoon | Cooling Rack | Piping Bag (Reusable or Disposable) | Wilton #12 Piping Tip | Cupcake Carrier (for storage)
- Cake Flour: I use a combination of sifted flour + cornstarch to produce cake flour. However, if you keep cake flour in the pantry, use 1 and 2/3 cups (about 195g) instead of all-purpose flour and cornstarch. Here is all you need to know about the homemade cake flour substitute.
- Food Coloring: The amount of red food coloring is up to you. I tested with varying amounts. To get the dark red color you see here, use 2 Tablespoons of liquid food coloring. Dye the batter until you are pleased with the color. Of course, you don’t have to dye the batter at all if you don’t want to. I haven’t tested this recipe with a natural alternative.
- Buttermilk: Buttermilk is required for this recipe. You can make your own DIY version of buttermilk if needed. Add 1 teaspoon of white vinegar or lemon juice to a liquid measuring cup. Then add enough whole milk to the same measuring cup until it reaches 1/2 cup. (In a pinch, lower fat or nondairy milks work for this soured milk, but the cupcakes won’t taste as moist or rich.) Stir it around and let sit for 5 minutes. The homemade “buttermilk” will be somewhat curdled and ready to use in the recipe.
- Layer Cake: Here is my recipe for Red Velvet Cake.
- Mini Cupcakes: For around 36 mini cupcakes, line mini cupcake pans with liners or spray with nonstick spray. Prepare cupcakes and frosting as directed. Bake mini cupcakes for 12-13 minutes or until a toothpick inserted in the center comes out clean.
- Why Room Temperature Ingredients? Here’s everything you need to know about the importance of room temperature ingredients.
- Be sure to check out my 10 tips for baking the BEST cupcakes before you begin!


