

Reference this Baking with Yeast Guide whenever you work with baker’s yeast. I include practical answers to all of your common yeast questions.
Welcome to your complete guide to Baking with Yeast.
Many of you have responded to a question I asked recently… what baking recipe intimidates you the most? A majority say yeast breads.
Baking with yeast used to intimidate me too. Something about yeast seems really scary! And, what’s worse, some yeast recipes are complicated and arduous. But once I began to understand that yeast is simply another ingredient in the bowl, my fears subsided. And if you begin with easy yeast recipes, your confidence builds.
Whether you’re a beginner baker or pro, it’s important to understand how yeast works. I urge you to read through this guide where I answer many common yeast questions. I wrote this in partnership with Red Star Yeast, so you can be confident the information is very helpful. I’ve worked with Red Star Yeast for years because it’s my preferred brand!
It’s time to tackle your fear of yeast and bread baking! 🙂
What Is Yeast?
Yeast is a living organism. It needs food and moisture to thrive. There are 2 main forms of yeast: brewer’s yeast and baker’s yeast. Brewer’s yeast is used primarily in beer making and baker’s yeast is used in baking. Yeast feeds on sugar and converts it into alcohol and carbon dioxide through fermentation. Alcohol is useful in beer making and carbon dioxide is responsible for stretching and expanding the dough, something we see as the dough rises. Yeast fermentation also provides the flavor and texture you expect in yeast-raised recipes.
There Are 2 Main Types of Baker’s Yeast
- Wet Yeast – Also known as Cake Yeast, Fresh Yeast, or Compressed Yeast
- Dry Yeast – Sold as Active Dry and Instant Yeast
Cake Yeast vs Dry Yeast
Cake yeast is wet yeast sold in block or “cake” form. It’s active and highly perishable. To use cake yeast, crumble over dry ingredients or dissolve in the liquid used in the recipe. Today, cake yeast is only available in limited stores.
Dry yeast, on the other hand, has a longer shelf life because it’s been dried out. It’s granulated and sold in little packets or loose in a jar. It is in a dormant state and if the package isn’t opened yet, can be stored at room temperature. Dry yeast requires different liquid amounts and temperatures than cake yeast.
Here is a helpful cake yeast & dry yeast conversion table.
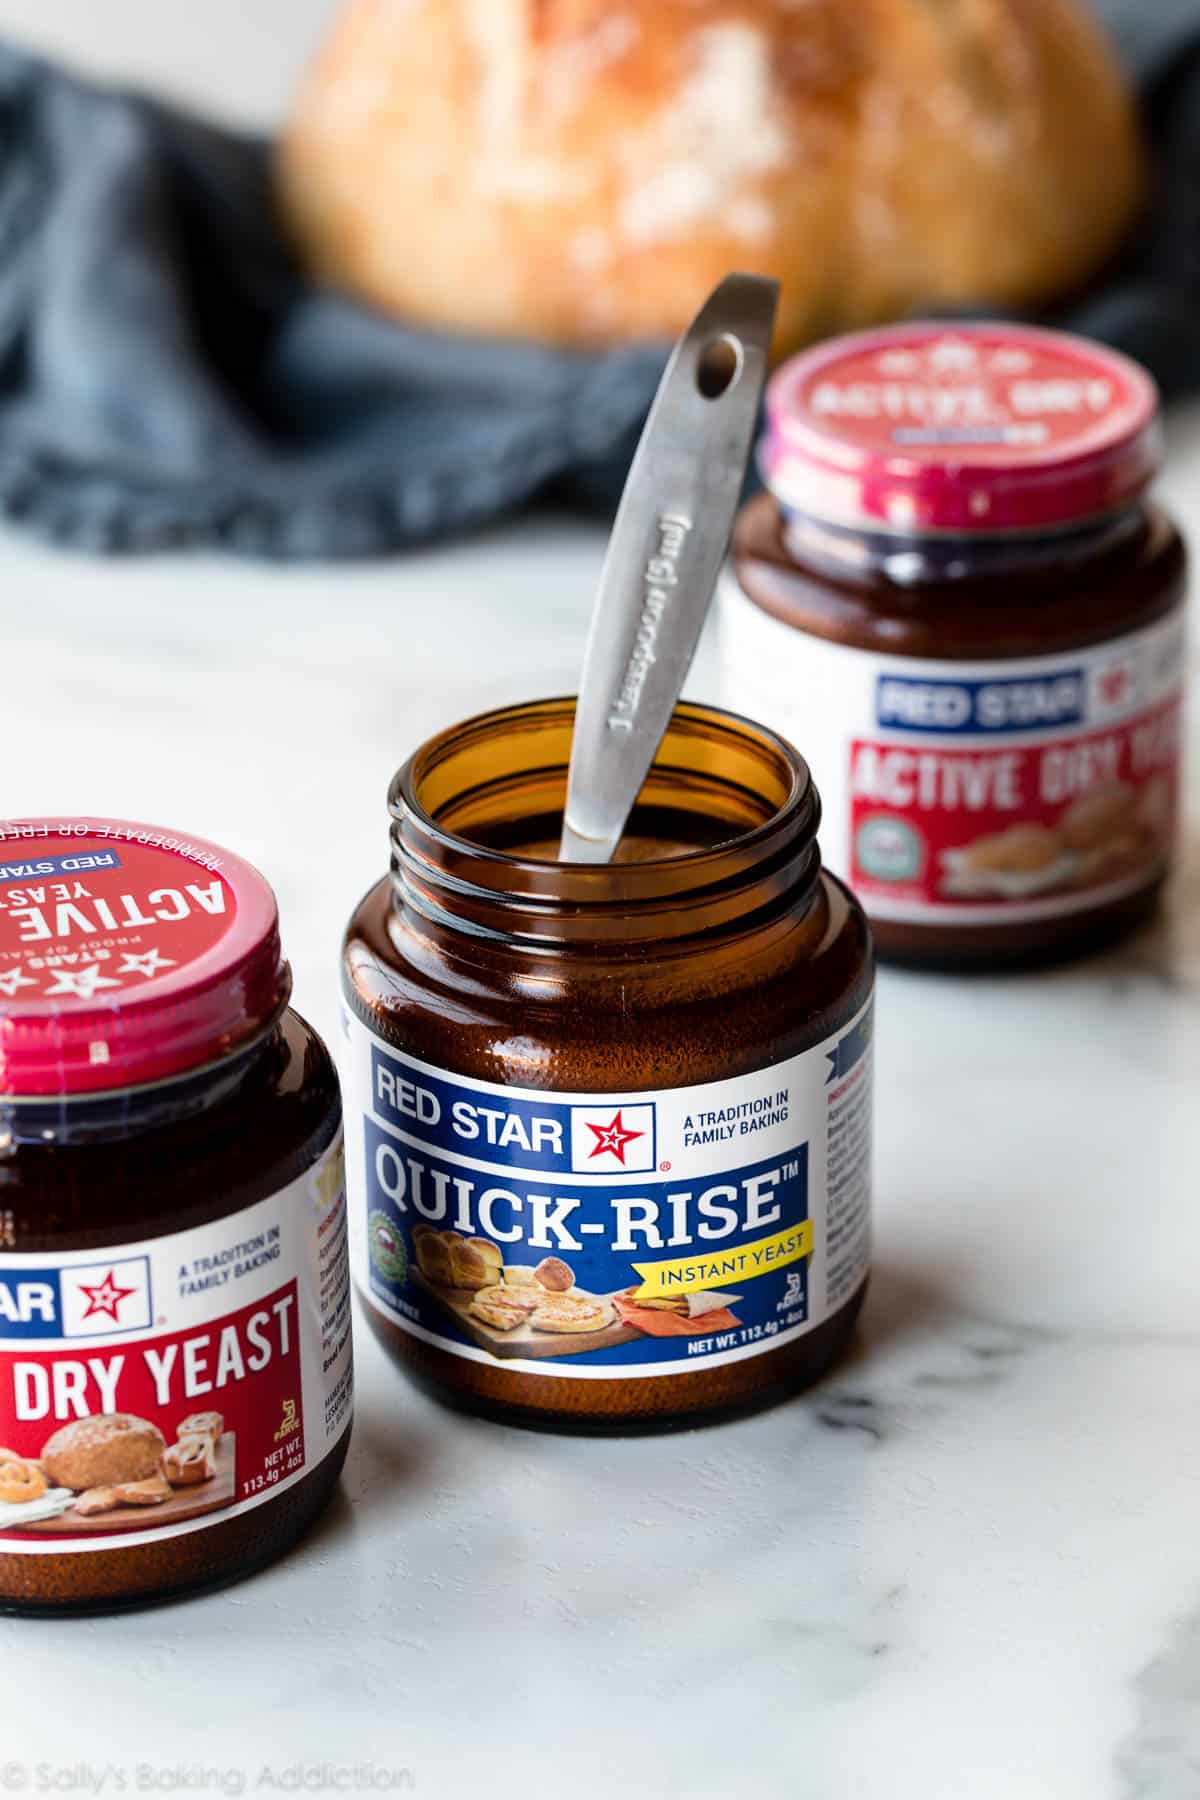
Types of Dry Yeast
Because it’s most common, we’re focusing on dry yeast in this Baking with Yeast Guide. There are two types of dry yeast available: active dry yeast and instant yeast. They both require liquid to “wake” out of their dormant state.
- Active Dry Yeast
- Instant Yeast – Also known as Fast-Rising Yeast or Fast-Acting Yeast
Red Star Platinum Yeast
This is, by far, my preferred yeast! Platinum Yeast from Red Star is an instant yeast blended with natural dough improvers. These dough improvers are naturally occurring enzymes derived from protein in wheat flour. They strengthen the dough and build tolerance to variations in flour strength and the baking process (kneading, rising, etc.) As a result, the dough traps more of the leavening being produced by the yeast for an overall better rise and better volume in the finished baked good. Most of the yeast recipes on my website are made with Platinum Yeast from Red Star. It’s fantastic for yeast beginners.
Can I Substitute Active Dry Yeast for Instant Yeast and Vice Versa?
Yes. Active dry yeast has a moderate rate of rising and instant dry yeast has a faster rate of rising. Active dry and instant yeast can be used interchangeably in recipes (1:1); just keep an eye on your dough so it doesn’t rise too much.
Can I Store Dry Yeast in the Freezer?
Yes, you can store dry yeast in the freezer. The experts at Red Star Yeast actually recommended it! Place the yeast towards the back of the freezer so it’s not exposed to temperature changes when you open the door. To thaw, measure the amount you need and set it on the counter for 45–60 minutes before using. The colder it is, the longer it will take to “get going.”
Do I Refrigerate or Freeze Dry Yeast After Opening?
Dry yeast is perishable. Once your package is opened, the yeast must be refrigerated or frozen in an airtight container. Use within 4 months if refrigerated and 6 months if frozen.
What Is Proofing Yeast?
Proofing dry yeast is sometimes a step in a recipe. This step is basically just “proving” that the yeast is alive and active. You dissolve the contents of the packet in warm water or milk with some sugar. After 5–10 minutes, the mixture should be foamy and frothy on top. If not, the yeast is dead and should be tossed. However, if used before the expiration date, this step isn’t really necessary with modern active dry or instant yeast. Still, some recipes call for it, just to be extra certain the yeast is alive. (If using quality, unexpired yeast, it usually is!)

How Is Yeast Used in Baking?
When combined with liquid and sugar, yeast makes dough rise. Yeast, while also providing flavor, creates carbon dioxide in the dough. This stretches and expands it. Yeast thrives in warm temperatures, which is why warm liquid is usually used to make yeasted bread dough. However, hot liquid can kill the yeast—around 135°F (57°C) or higher. A good rule of thumb: if it’s too hot to touch, it’s too hot for the yeast.
Yeast is also effective in cooler temperatures, but it requires more time to expand the dough. In some cases, a slower rise time is preferred because more flavor is produced in the process. In some of my bread recipes, we use cooler liquid and a long rise time, and may even require the dough to rest in the refrigerator, to purposely slow the yeast’s activity and develop the flavor and texture. For example, this artisan bread, seeded oat bread, olive bread, and no-knead pizza bread.
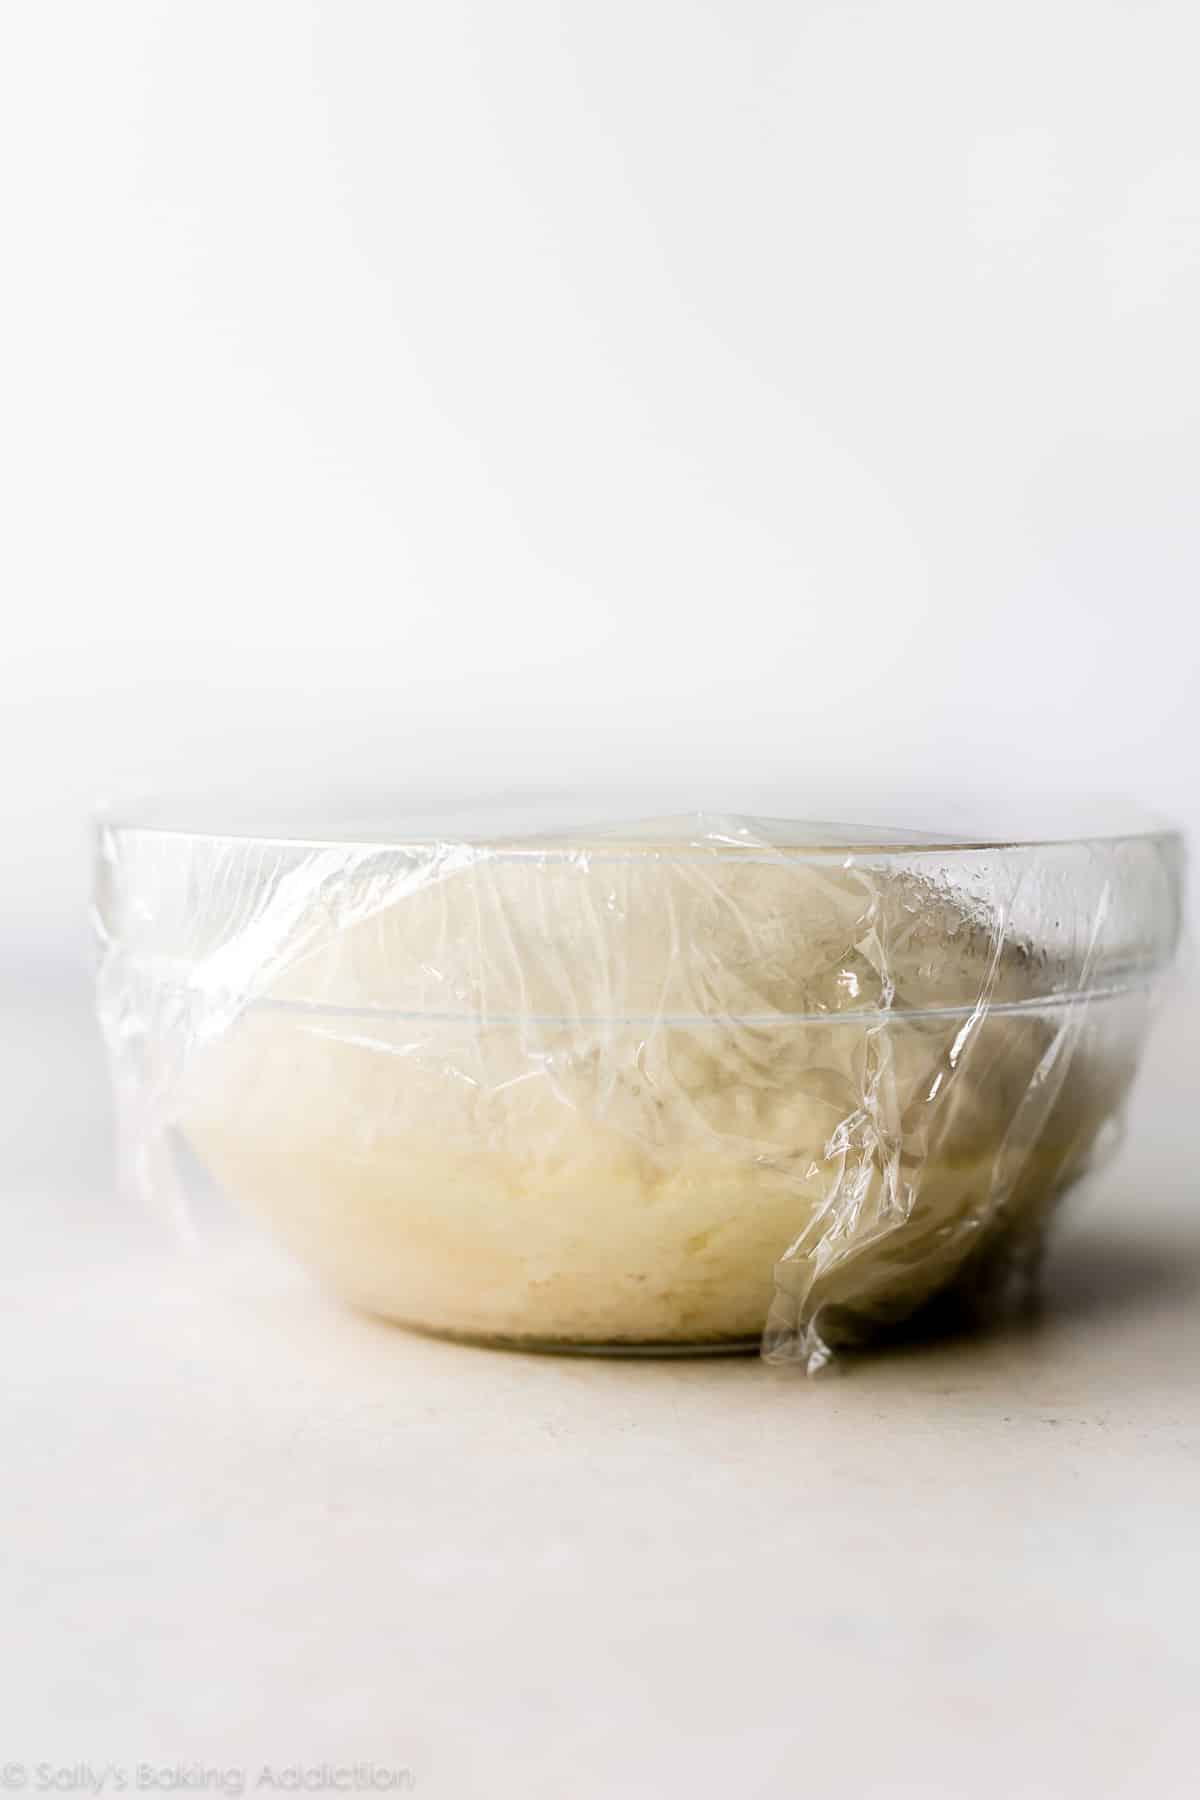
Where Should Dough Rise?
Most yeasted bread recipes will instruct you to cover your bowl of dough and place it in a warm, draft-free place. This crucial time is when the yeast ferments the sugar into carbon dioxide and alcohol. The kitchen counter is fine, but if you’re pressed for time, you can speed up the rising process by placing the dough in a slightly warm oven. Here’s how:
Preheat the oven to 150°F (65°C), then immediately turn the oven off. Wait a few minutes, then place the covered bowl of dough inside the oven with the door cracked open. This will be a warm environment for your dough to rise. After about 30 minutes, close the oven door to trap the air inside with the rising dough.
Here is more information on dough rising.
What if My Dough Isn’t Rising?
There are a few factors that prevent your dough from rising:
- Temperatures are too cold. Place dough in a warmer environment.
- Yeast is expired or dead. Start over with new yeast.
- Liquid in the dough was too hot, which killed the yeast. Start over with new dough.
- Too much flour or sugar in the dough. Be mindful of your measurements and remember that it’s ok for dough to be a little sticky. Don’t over-flour.
- Type of flour. Flours with higher protein content have superior dough (gluten) forming and rising properties. Here is more information on flour types.
- Kneading not enough or too much.
How Do I Knead Dough?
Kneading dough is a common step in bread baking. You can knead dough with your hands or in a stand mixer with a dough hook. A stand mixer obviously makes the job hands-off and easier, but kneading by hand is gratifying… and a great stress reliever too! I have a full tutorial with a video about how to knead dough that can help with this step.
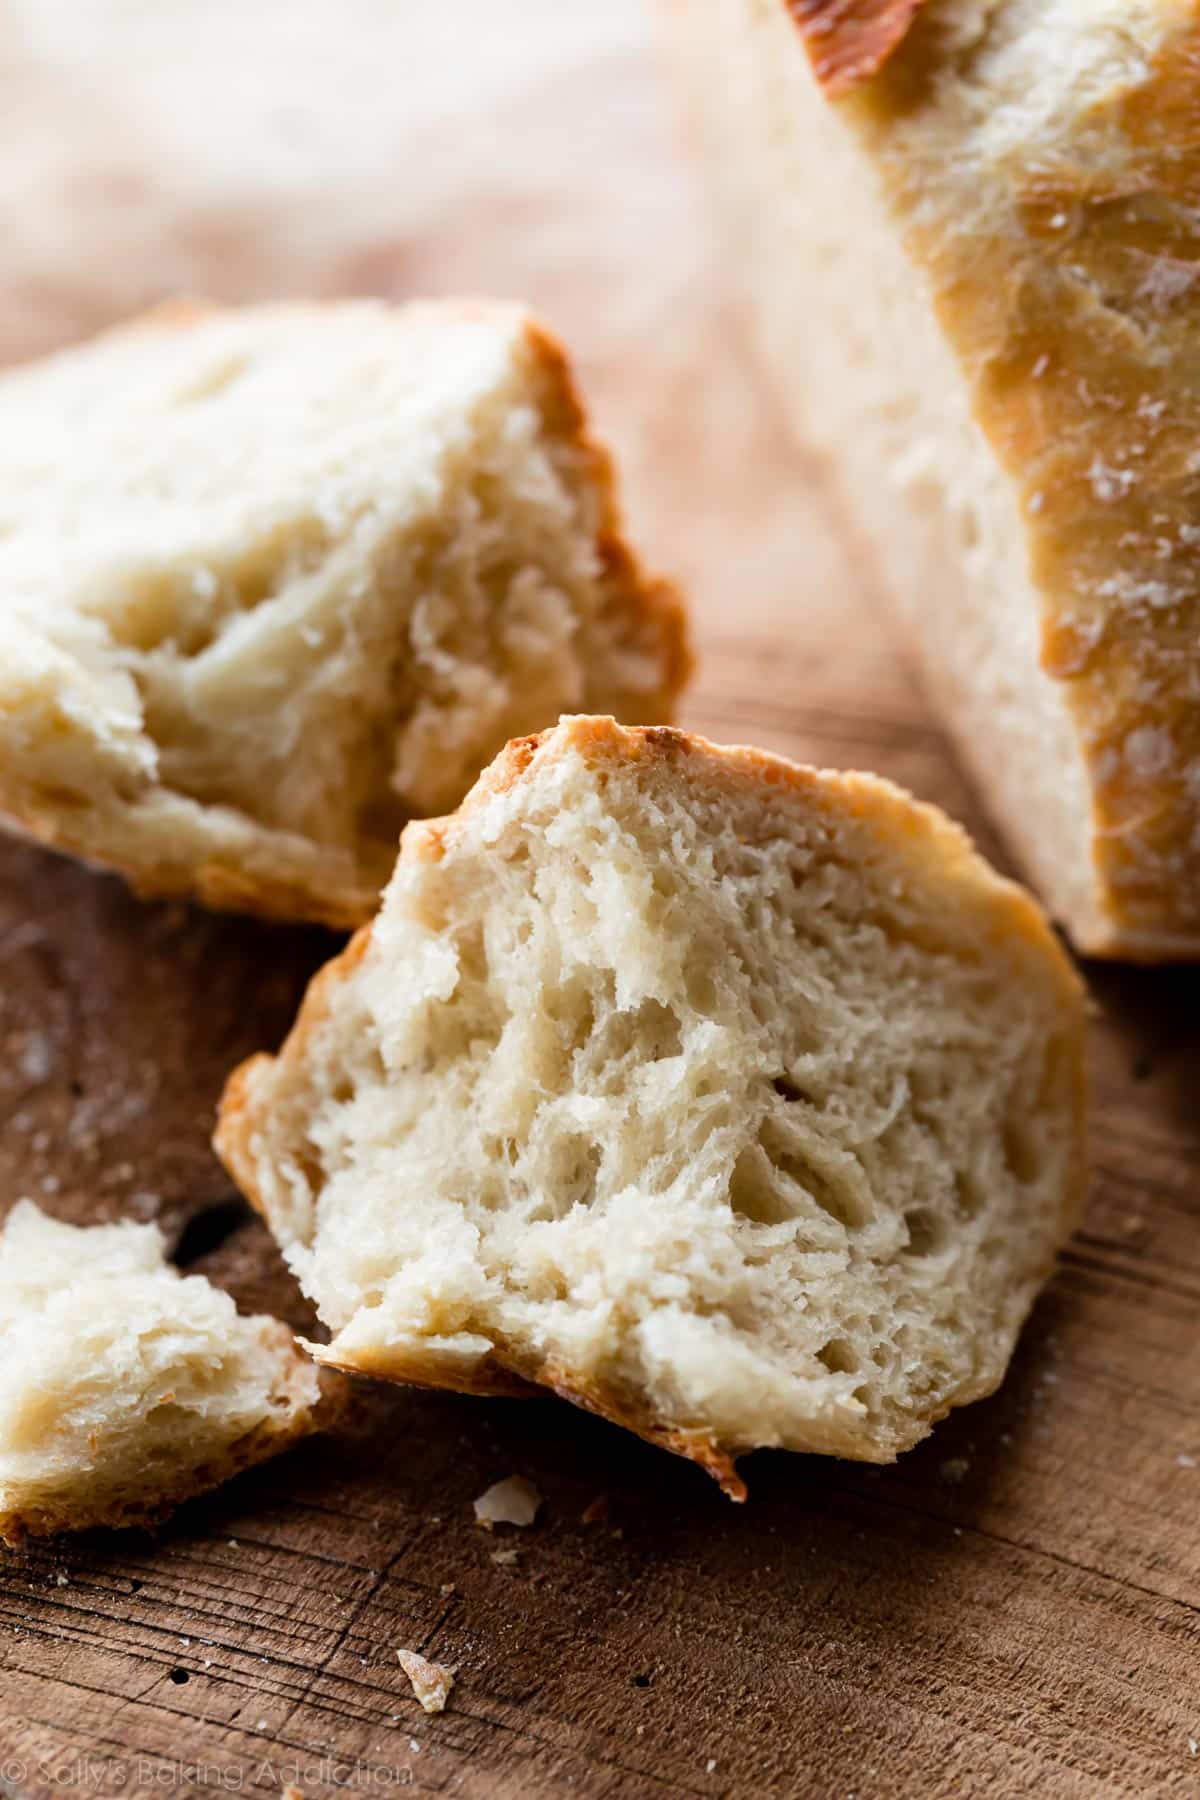
Kneading the dough serves a couple purposes. First, it incorporates air into the dough. It also encourages the proteins in the flour and moisture in the dough to link together, forming a strong gluten network, which is essential for retaining the gas produced by the yeast. Gluten is what makes bread deliciously chewy.
What Is a Typical Yeast-to-Flour Ratio?
One packet of dry yeast (2 and 1/4 teaspoons, or 7g) will raise up to 4 cups (500g) of flour.
What Does It Mean to Let Dough Rest?
It’s beneficial to let dough rest after working or shaping it. Cover the dough with a clean towel or plastic wrap and set it aside. This little “nap” allows the gluten to relax and settle, and makes dough easier to shape.
For example, if you’re trying to roll out dough to certain dimensions for cinnamon rolls and the dough keeps shrinking back as you try to roll it out, cover it and let it rest for 5–10 minutes, then try rolling it out again. It should be easier to get it to the dimensions you’re aiming for after it’s had a rest.
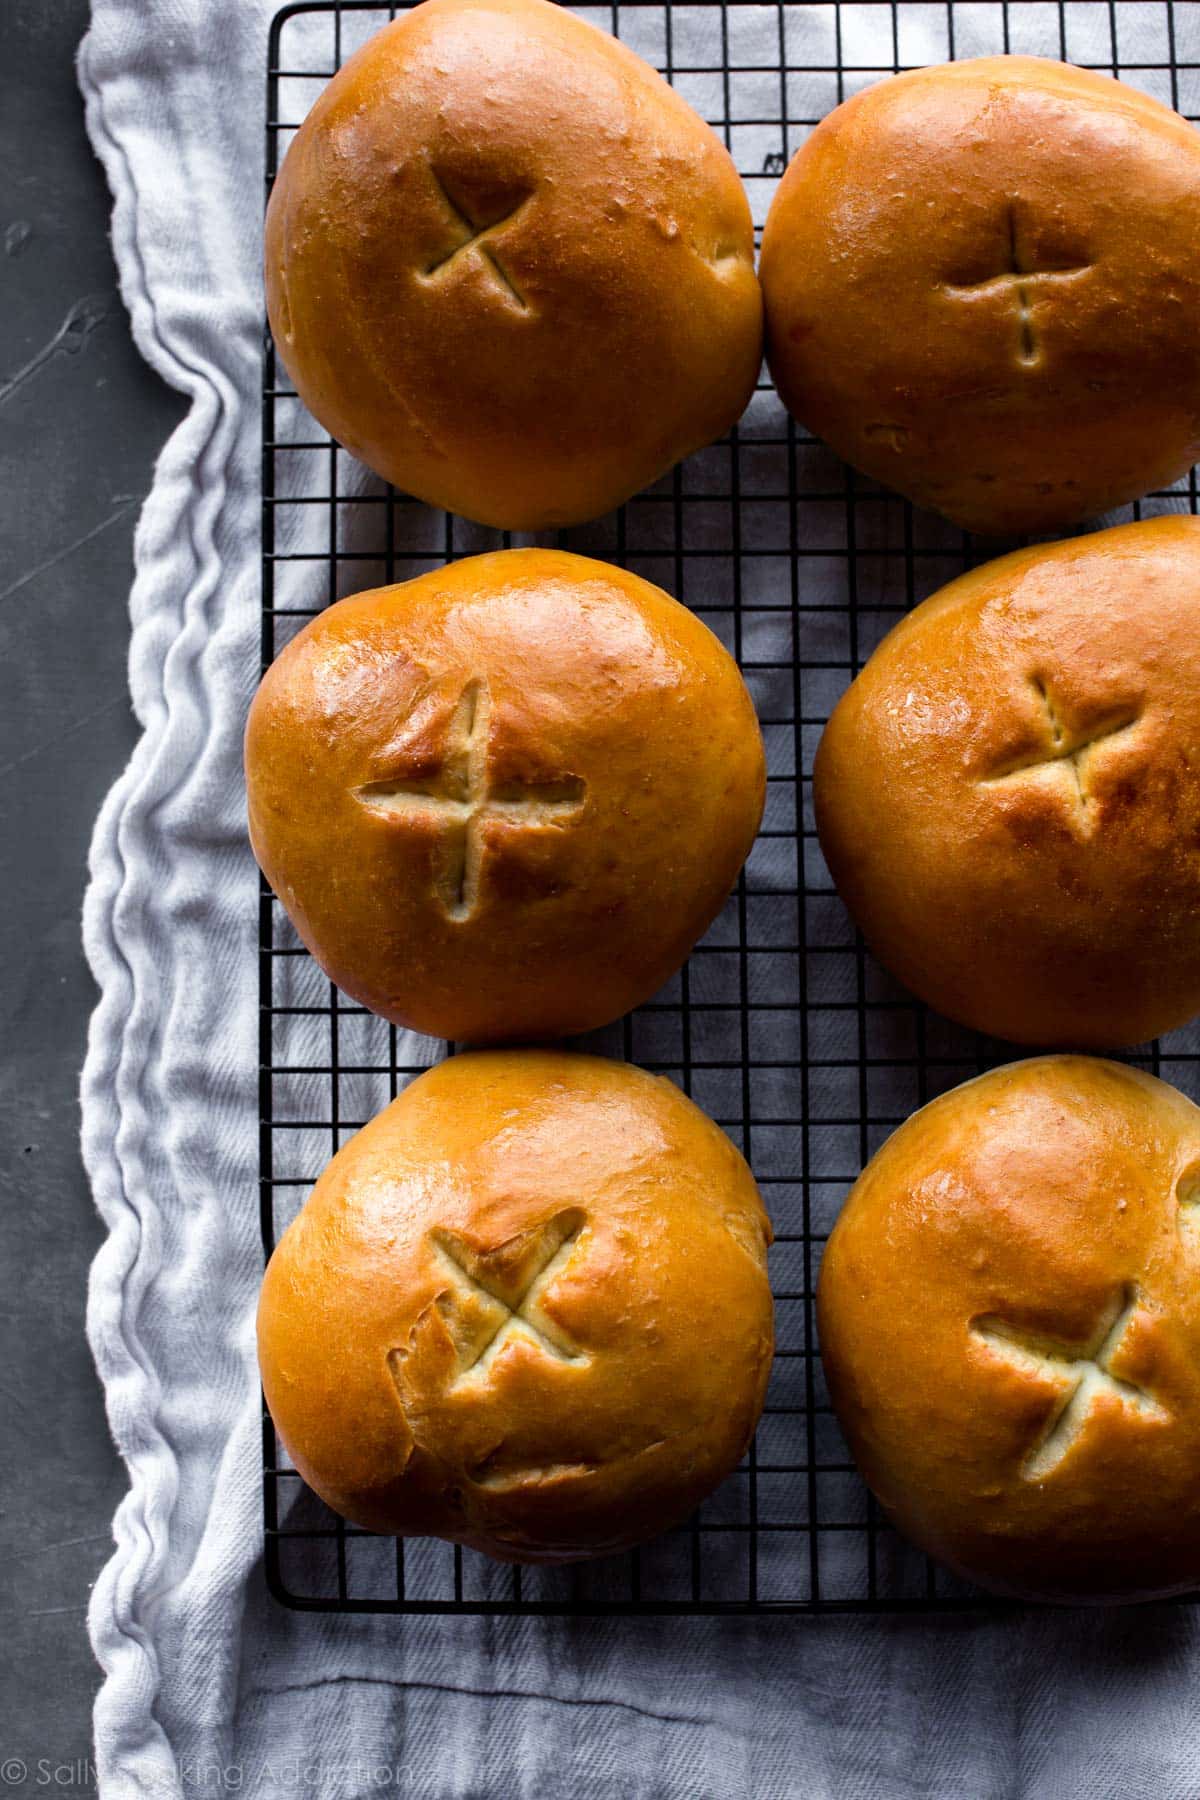
Where Do I Begin?
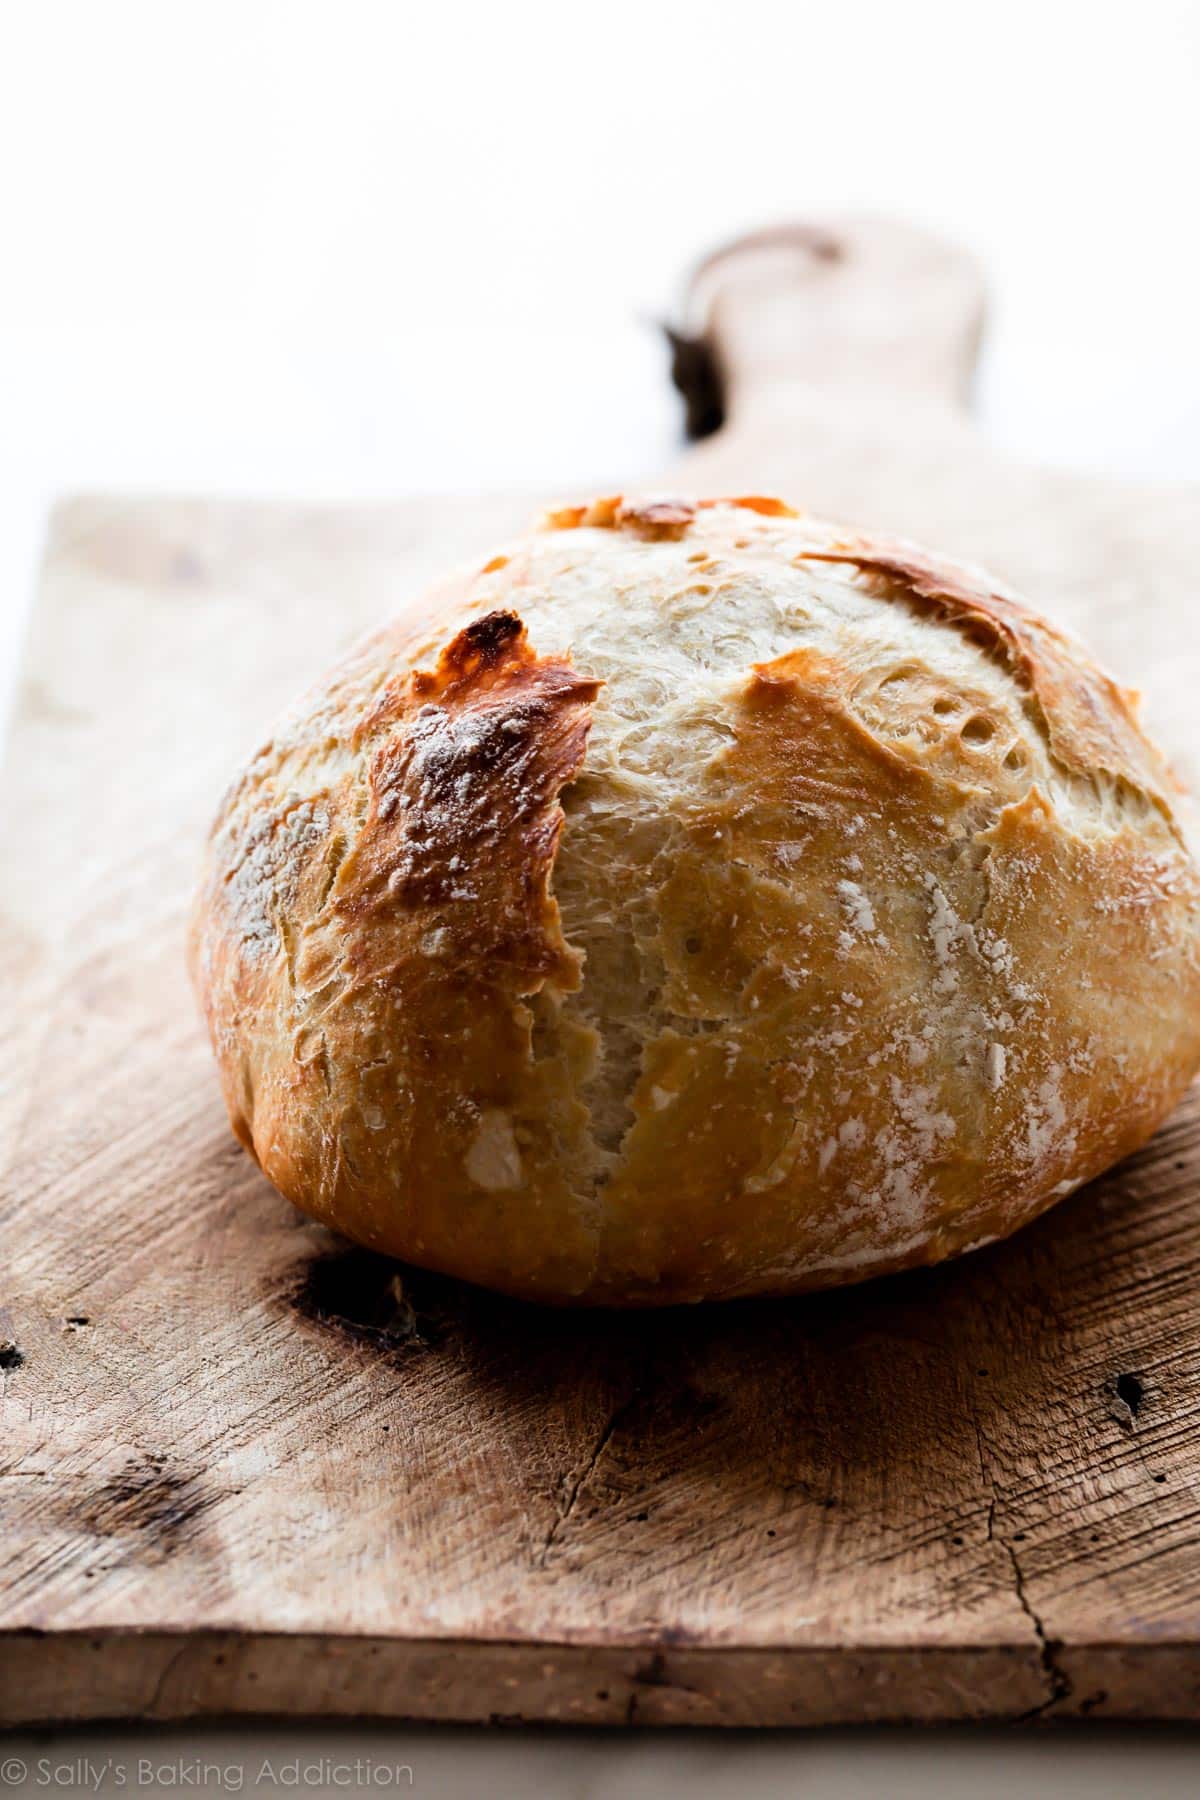
Now that you have a better grasp on baking with yeast, start with an easy recipe: Cranberry Nut No-Knead Bread. (Pictured above without the cranberries and walnuts.)
This no-mixer, no-knead bread recipe comes together in 1 bowl with very little hands-on work. It’s a great recipe to begin the day before because it requires at least 12 hours to raise the dough, so just let it sit on your counter.
I also have a 4-ingredient homemade artisan bread that requires very little hands-on work and a 4-ingredient homemade ciabatta bread for more of a challenge.
More Favorite Easy Yeast Recipes:
- Cinnamon Rolls: Shaped yeast doughs, such as cinnamon rolls, lemon blueberry babka, and dinner rolls, usually require 2 rises. This easy cinnamon rolls recipe skips 1 rise, so it cuts the time in half. I also have a recipe for traditional overnight cinnamon rolls.
- Flatbread Dough: Make thin-crust-style pizza with this 45-minute flatbread dough. My homemade pizza dough is also very easy, though it’s thicker and requires a slightly longer rise time. Both have great flavor.
- Homemade Bread Bowls: Pictured below. This is a very basic bread dough that you can flavor and use for many recipes. See the recipe Notes.
- Soft Pretzels: This pretzel dough only needs to rest for about 10–30 minutes before shaping, so you can have homemade soft pretzels in under an hour!
Q: Was this guide helpful to you?
More Helpful Baking Tips


Reader Comments and Reviews
Under your section “where should dough rise”. I would like to know if I put the dough in oven to rise I preheat to 150 degrees do I cover the bowl and if so with what?
Hi Paul, we recommend covering the bowl with a cloth bowl cover (or “dough bonnet”), clean kitchen towel, plastic wrap, or foil. Make sure you turn off the oven after preheating it, before you put the bowl of dough inside.
I found a rather inexpensive way to make a bread rising box. A picnic cooler makes an ideal box to use with a seedling heat mat with a thermostat from your nearest garden center or online. Just put the heat mat in the bottom of the cooler, close the lid (you will need something to prop open the cooler lid to prevent pinching the cords), and set the temperature of the mat to your desired temperature for the bread dough to rise. Once your dough is placed in your bowl and covered place it in the cooler, close the lid with the prop in place, cover the cooler with a bath towel and wait until the dough is doubled in size. This works great when your kitchen is cold.
Thank you Sally…for years I made a heavy (glutin supported) whole grain and multiple seeds and nut bread IN BREAD MASHINE. Now have just ordered a stand mixer. Came across your wonderful, thorough tutorial and love it! Exactly what I needed! I have signed up and I am excited to get to make bread again.
Thank you,
Elizabeth
I’ve been making several of your recipes lately and I have a question about the Homemade Biscuits (Popular Recipe). I made them twice and they came out great. This time they seemed to not have risen they are more solid than flaky. Can you tell me what I did wrong?
Hi Dorothy, We’re happy to help troubleshoot. It could be the butter, did it seem quite warm? Make sure not to over-mix the dough. Over-mixing can cause flat, hard biscuits rather than tall and fluffy. Also, be sure not to twist your biscuit cutter. Twisting it seals off the edges and prevents them from rising. This helps them to rise nice and tall! Is your baking powder expired? It may be worth getting a fresh one. Hope these tips help!
Thank you for these tips. I might need new baking powder. I did not twist the biscuit cutter because that was in your recipe tips, but the last two times I didn’t have actual biscuit cutters so I used a glass, this time I did use a biscuit cutter and pushed straight down and pulled straight up. I didn’t put the butter in the freezer this time, like the last time maybe that was it. Thanks for responding so quickly.
Hello Sally, You are my go-to baker. Every recipe I have found on your site has been a winner. And your presentation is always helpful.
Your sandwich bread recipe is my husband’s favorite. I make it twice a month. I have two questions. — I would like to double the recipe but remember that you have cautioned against that at times. Would it work well with sandwich bread?
And secondly, after following your recipe to the letter (using King Arthur or Gold Medal all purpose flower) my loaves are very soft in the middle. Should I reduce the rising time? Reduce the water? Add flour? Thanks in advance. Lee
Hi Lee, For best results, we recommend making two separate batches of dough. However, if you want to double the recipe all in 1 mixing bowl, double all of the ingredients except for the yeast and butter. Use 3 and 1/4 teaspoons yeast and 6 Tablespoons of butter. This is a soft bread, so that is normal. Is yours too crumbly in the center? Over-baking can cause the bread to be dry/crumbly. Also make sure not to add too much flour to the dough (spoon and level or use a kitchen scale instead of scooping). Hope this helps!
Good morning Sally, I enjoy every bread and cake made from your site, very delicious and easy for a beginner like me.
Now I am trying to make some sourdough bread and preparing the starter. My question is, can I use some of that starter in any of your recipe as yeast replacement?
Thanks
Hi Vince, we have not tested any of our bread recipes using sourdough starter, so unfortunately we can’t offer any advice here. Let us know if you do any experimenting!
Can you freeze cake yeast?
Hi Lorrie, you can freeze dry cake yeast, but it’s not recommended to freeze fresh cake yeast.
This guide is a lifesaver for a yeast newbie like me! One thing I’ve struggled with is maintaining a consistent warm environment for dough rising, especially in my chilly kitchen. Recently, I started using a **[microwave with oven combo]** that has a proofing setting. It keeps the temperature steady at 85°F–90°F, which is perfect for yeast activity. No more guessing if my oven’s residual heat is too hot or too cold! For anyone battling inconsistent rises, investing in an appliance with precise temperature control might be worth it. Thanks, Sally, for demystifying yeast—it’s made all the difference!
Why when I use a biga or pre-ferment does my bread not rise but spreads out. I really need help with this as I lost two loaves of bread and my ciabbata rolls didn’t rise very much. What am I doing wrong? Not enough flour? My yeast is good. It foams. I keep it in the freezer.
Hi Maureen, are you using my recipe for ciabatta bread? This particular dough mostly just spreads out, rather than rise much, because it is such a highly hydrated dough. When you say you lost two loaves of bread, what was wrong with them?
I’m in the process of making one rise cinnamon rolls. I let Them rise on the counter for one hour and they didn’t really change at all. So now they are on the proof setting in the oven. It’s really cold out, snowy. What’s the most common issue with dough not rising?
Hi DW! You’re right to try a warmer spot, that’s likely the cause.
Thank you so much for the yeast tutorial. It was really helpful and I didn’t think there was much to know about yeast. This helps alot. It would be helpful if you discussed gluten free flours and yeast breads.
This is a fantastic introduction to yeast. I’m trying to challenge myself this year and since I’ve never worked with yeast I thought I’d search up a beginner’s recipe. I only use your recipes since you’re simply the best ! Here’s hoping my cinnamon rolls turn out.
I just want to thank you for such a detailed and informative site. I love your recipes and how you explain not just the “hows” but the “whys” as well. So very helpful. I am a 71 year old woman who is just learning. Thanks for making it fun and easy to follow!
We’re so happy to read that you’re enjoying these recipes, Nonna!
Sending you a heartfelt thank you!! Every recipe I have made from this website has been amazing! My confidence levels are up and my results keep getting better. I find so much joy in the process that baking from Sally’s is now a part of my weekend routine! What a treasure this team of talented individuals are! I have such great success with all your recipes!
About dough rise: When the recipe calls for the dough to double in size, I can see that it has risen after the prescribed length of time, but how can I tell if it has actually doubled in size?
So I think I got through the kneading part. My dough was stretchy and came back when I poked my finger in it, but was still a little bit sticky. So I set it in a warm place but it didn’t double. After 90 minutes in my warmed oven (90°F) it raised some but not double. I put it in the pans and I’m waiting to see what happens on 2nd rise. should I wait on 1st rise until it doubles?
Hi Jeff, happy to help troubleshoot. How did your bread come out in the end?
I am interested in making sour dough. Do you have any videos on making a sour dough starter, feeding it, discarding, and then using in recipes? I am a beginner and there is so much information out there. You explain things so well and would make this new journey much easier.
Hi Tracey! We have no experience working with sourdough. Sorry we can’t help more!
Hi!!! I am so excited with your baking recipes and learning. I am a beginner at this. Question: your yeast preference is Red Star Platinum and I am wondering if Red Star Organic is okay to use instead? Thank you :-)))
Definitely!
This information has been really helpful as I am a beginner to baking bread; however, I’ve been working with potato flake sourdough starter and haven’t been able to find any conversion for making bread. For example your potato roll recipe sounds delicious, but can I make this using my potato flake sourdough starter? Or how do a beginner incorporate the potato flake sourdough starter into any recipe? I look forward to trying you recipes.
Keisha
Hi Keisha, unfortunately we do not have any experience working with potato flake sourdough starter, so we can’t offer any advice here. We’d recommend a quick Google search to see what information may be out there. Thank you!
look forward to all your tips and recipes, Thank you!
The no knead cranberry bread, do I have to put the yeast with the other ingredients and pour the water in? Or do I activate the yeast in the water and pour on top of other ingredients
Hi Katie, no need to activate the yeast first, although you could if you wish.
What bread is in the baking with yeast guide? It is a rustic round bread. I didn’t see a round loaf in your recipes. Thx
Hi Cheryl, you can make our Homemade Artisan Bread shaped into a round loaf (boule).
In winemaking there are lots of yeasts that can be used. They not only perform differently, but produce different flavors. Have you found flavor differences in the yeasts you’ve tried? Or perhaps found some that perform better at low temperatures for a longer flavor developing cold fermentation?
Do you use table salt or kosher salt?
Hi Jo Ann, unless specified, our recipes use table salt.
Thank you for the yeast guide. Your tutorials are so very helpful!
Haven’t tried recipe yet. But – the yeast tutorial was clear. Thx
hey,
Can i not use sugar or any sweetener to activate it?
Yes, we often use a sugar to activate the yeast and start the fermentation process.
Hi! Can I add yeast to the Artisan Homemade Loaf Bread? The bread extremely hardens after 3-4 days, even though I place it in the bread bag. Please advise, thank you
Hi Seiby, we don’t recommend adding more yeast to the bread. Is it over baked by chance? That could be why it seems to be hardening quickly.
Your instructions are clear and easy! Can’t wait to try your recipes!
Hi Sally have been following your recipes for quite a while now. A query…when we halve aa yeasted dough recipe…should we halve the amount of yeast too?
Hi Anjali, we generally advise against doubling yeasted recipes, because the amount of yeast does not necessarily need to be doubled as well. It really depends on the exact recipe.
I’m looking forward to making the cranberry bread. I read over the yeast tip sheet hoping to find a recommended temperature for the liquid to reactivate the yeast. Alas, none was given. I’ve seen ranges from 95 to 120. what do you recommend?
Hi Gwenn, for the cranberry nut no-knead bread, we recommend using warm water (about 95°F (35°C)). Hope this helps!
Hi Sally,
I cannot buy red star yeast (instant or active) where I live. Can I use Fleishmann’s instant yeast instead of red star instant ?
Hi Mark, absolutely!