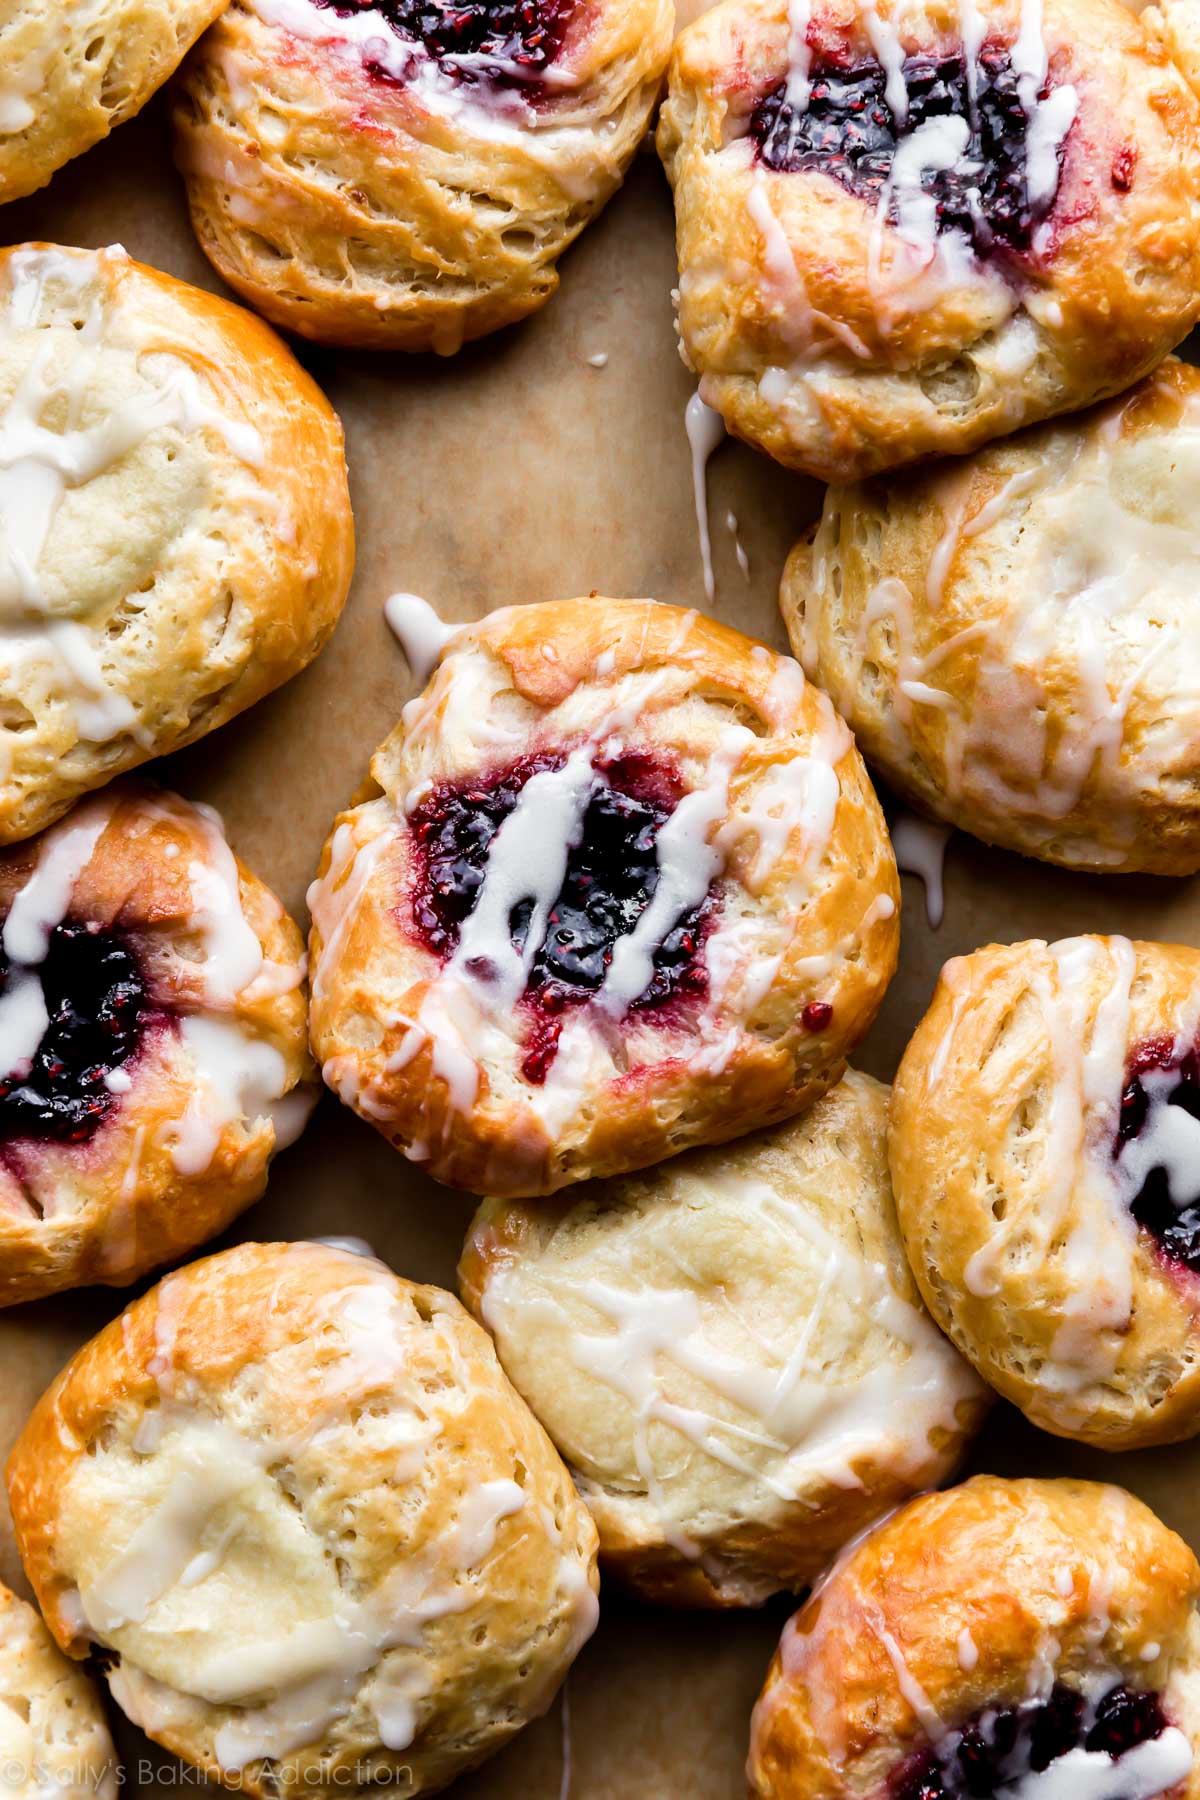
Let’s make homemade breakfast pastries using a variation of classic Danish pastry dough. We’re working the butter directly into the dough, which is a different method from laminating it with separate layers of butter. These breakfast pastries are buttery and flaky with sweet fillings and a drizzle of vanilla icing. For best success, use the video tutorial and photos, as well as the carefully explained recipe for guidance.
This recipe is brought to you in partnership with Red Star Yeast.
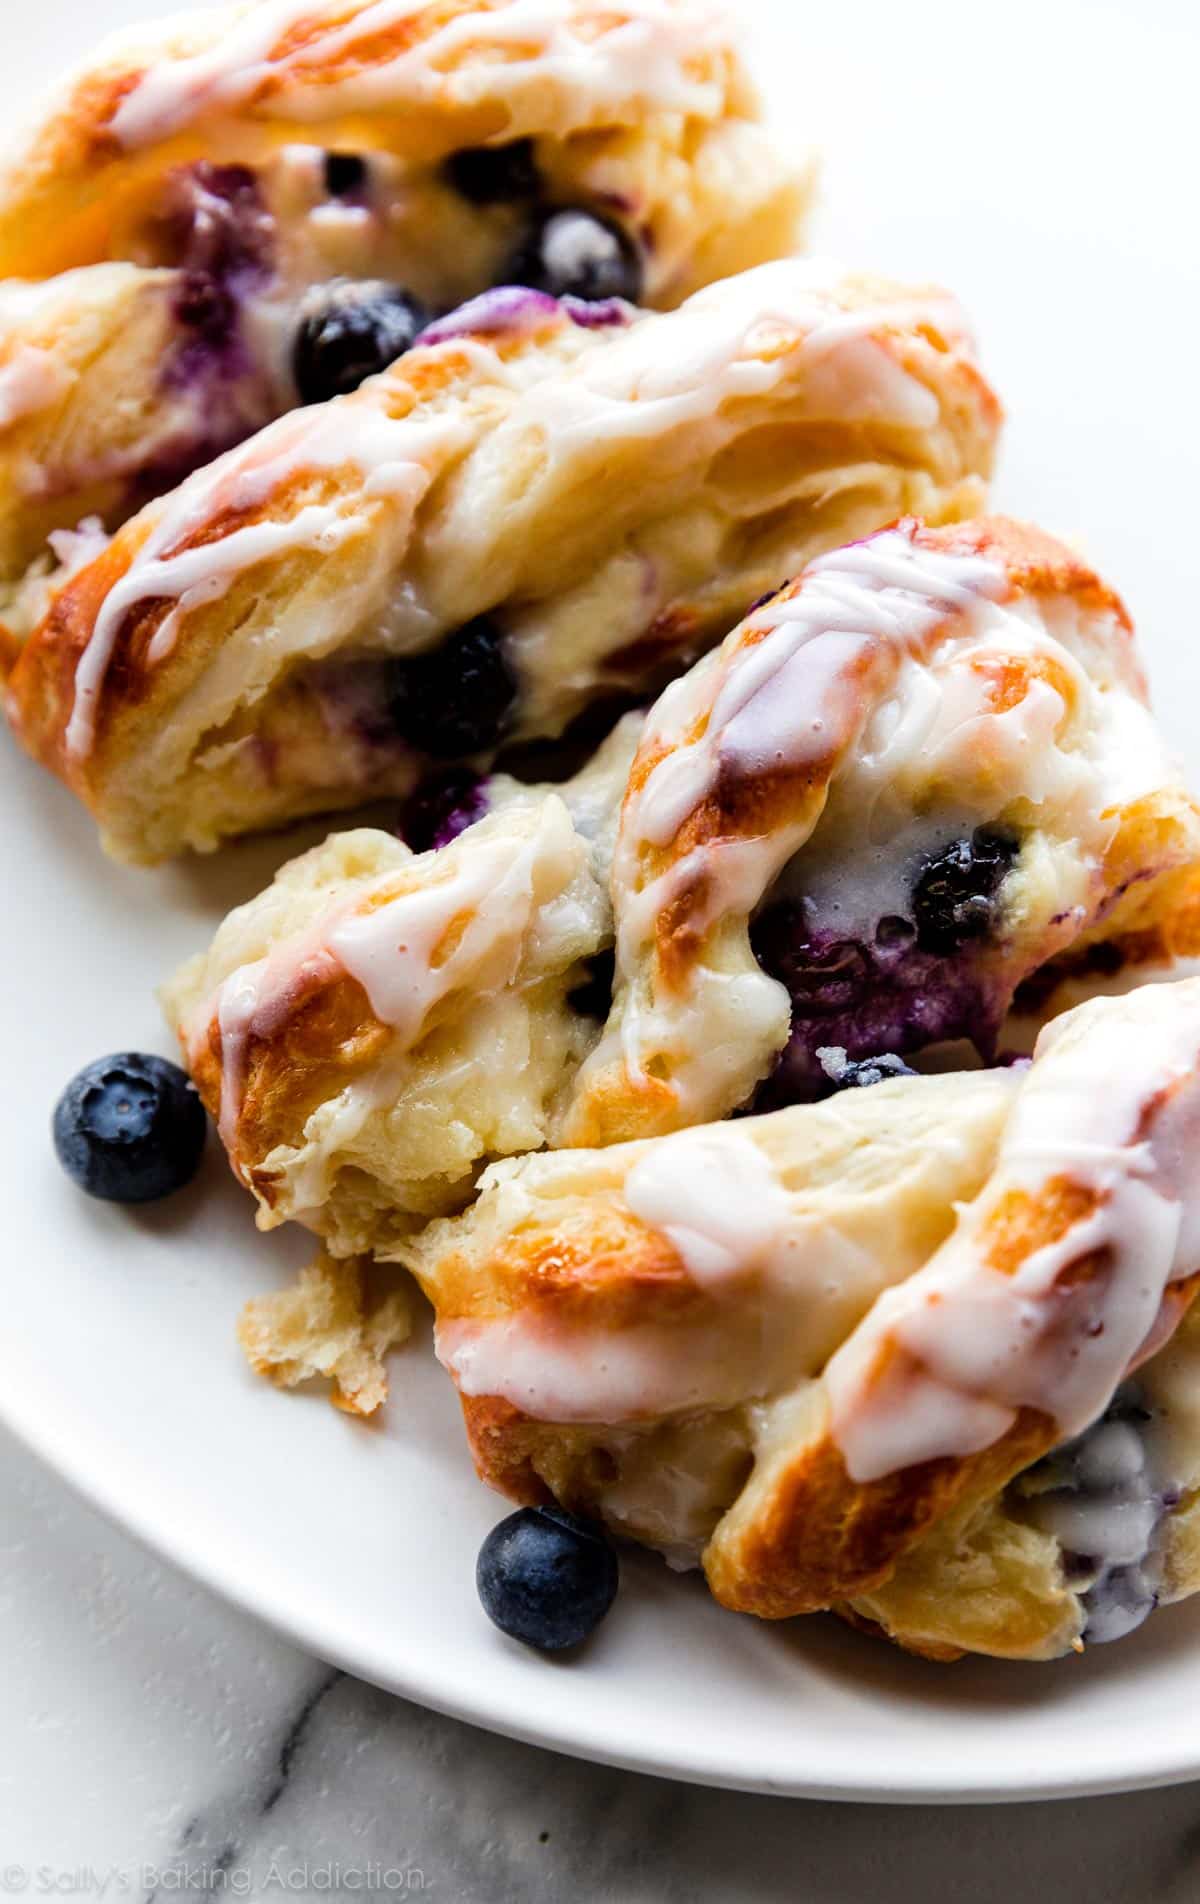
Do you remember when I published a shortcut variation of Danish pastry dough? You might not—it was several years ago! Since then, I’ve created a raspberry pastry braid and a blueberry cream cheese pastry braid using that same dough. Let’s take it a step further and make individual homemade breakfast pastries.
Researching their origin, I learned that traditional Danish pastries came to life around the 1850s by Austrian bakers working in Denmark. What started as the Austrian pastry known as Plundergebäck developed into what is now known as danishes. There are many ways to make, top, shape, and serve these pastries and that usually depends on the region. Here in the US, we can usually find them topped with fruit, jams, and sweetened cream cheese fillings. Bottom line: we’re all so very thankful for these sweets!
This is a Shortcut Homemade Pastry
Before I describe these homemade pastries and show you how to make them, let me explain this pastry dough variation. This is a shortcut version—it’s not the traditional method of making real danishes. This dough is usually laminated several times between layers of butter, similar to how we prepare homemade croissants and croissant bread. Here we are working the butter directly into the dough using a food processor. We’re still rolling out and folding the dough, just as you do when you laminate dough with butter, but we’re not folding it up with a separate layer of butter.
I use the term “shortcut” loosely as this dough still takes at least 5-6 hours total with 2 rounds of refrigeration. They’re just as buttery and flaky as the real thing!
Are you looking for a dough that’s more similar to puff pastry? We skip the lamination in this rough puff pastry dough as well. (And that recipe skips yeast unlike today’s yeasted dough, which creates slightly puffier pastries.)

I have the full written recipe below, as well as step-by-step photos and careful explanations below the recipe. This post is rather long, so I wanted to add most of the details below the recipe. I can’t wait for you to try these at home!
These Homemade Breakfast Pastries Are:
- Made from a modified yeasted pastry dough
- Crisp, flaky, & extra buttery
- Ready for your favorite breakfast pastry fillings
- Topped with sweet vanilla icing
Plus, you can easily make this dough in 1 morning or over the course of 3 days. I love make-ahead dough where you have plenty of options in terms of timing. You can also freeze half the dough if 16 pastries are too many or even make 8 pastries and 1 pastry braid!
Filling Ideas
You need around 2/3 cup of filling for the entire recipe (16 breakfast pastries). Feel free to mix and match, creating different flavors in your batch.
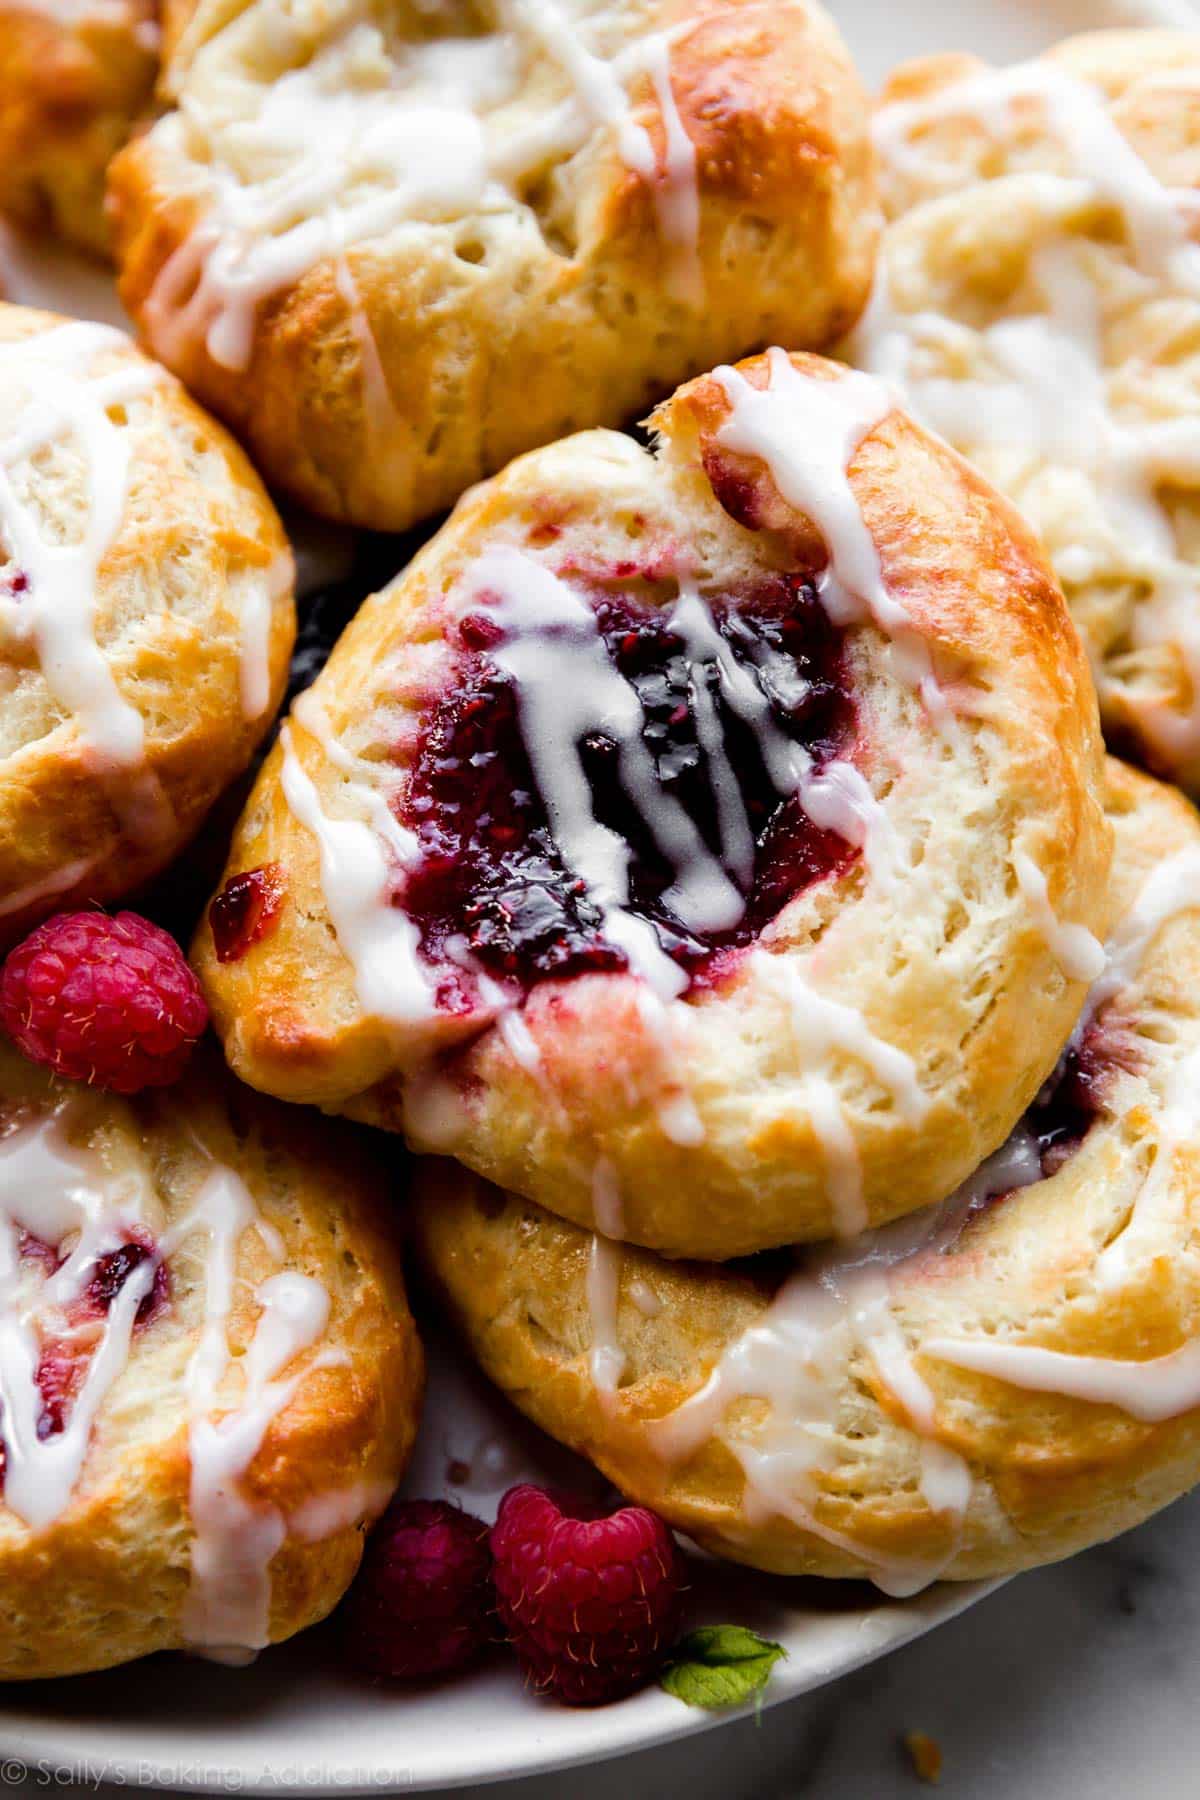
- Jam or Preserves, such as raspberry, peach, or strawberry
- Pumpkin Butter or Apple Butter
- Lemon Curd
- Cherry Pie Filling
- Nutella
- Cream Cheese Filling (my favorite and detailed in the recipe below)
Use This Dough to Make Pastry Braids
I love a versatile dough! Just as we can use pizza dough to make pizza, cheesy breadsticks, garlic knots, and pepperoni pizza rolls, we can use this homemade pastry dough to make individual pastries and pastry braids. I haven’t perfected other shapes yet, but feel free to try. Make sure you chill any shaped pastries before baking to help guarantee they hold their shape. See step 13 and corresponding recipe note below.
Baker’s Tip: I find that the braids bake up even flakier than the individual pastries! I have a video tutorial showing you how to shape this pastry braid. It’s easier than it looks.
See Your Breakfast Pastries!
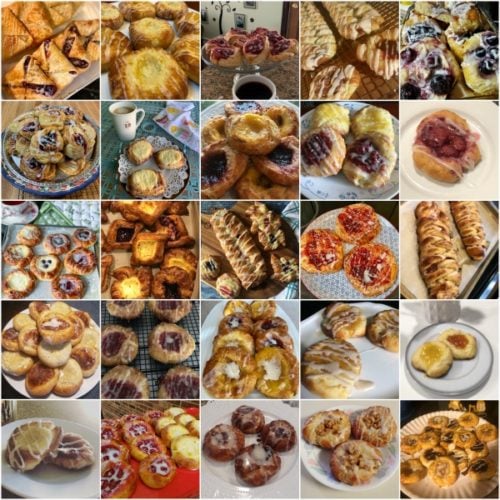

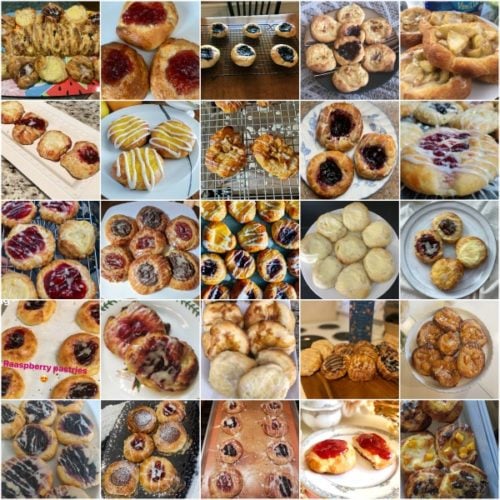


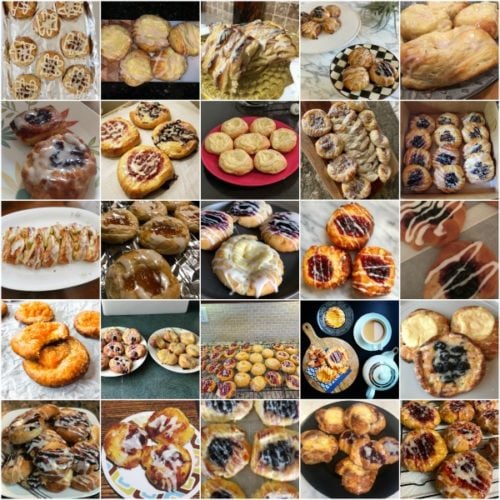
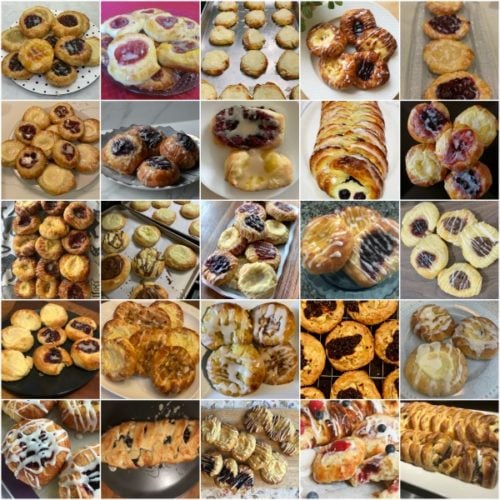
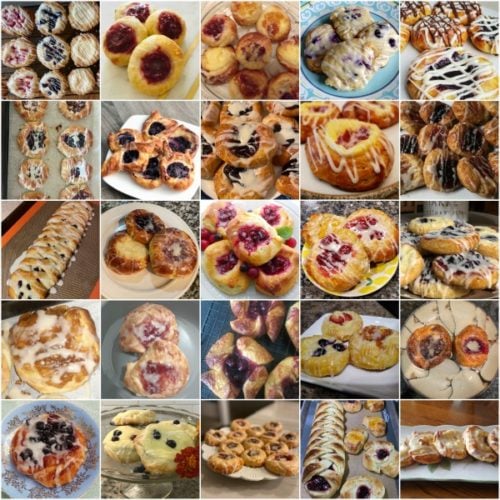
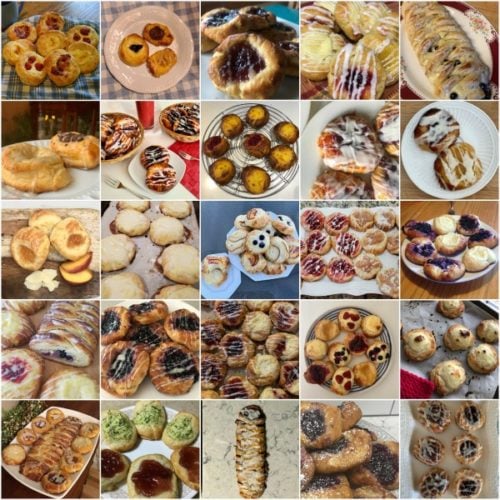
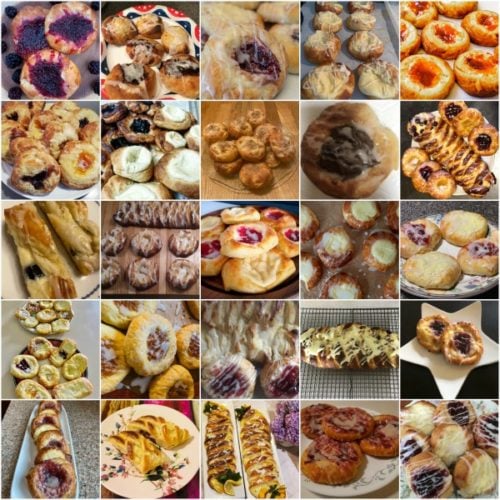
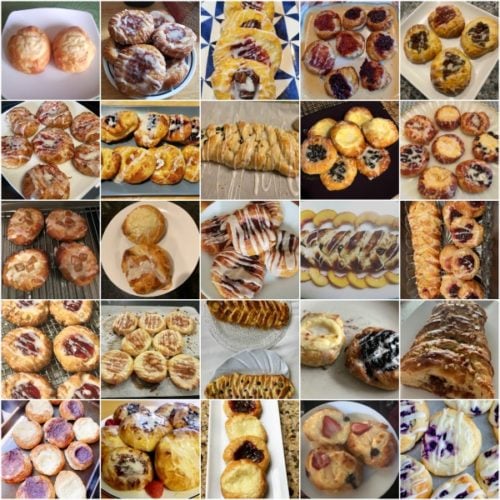

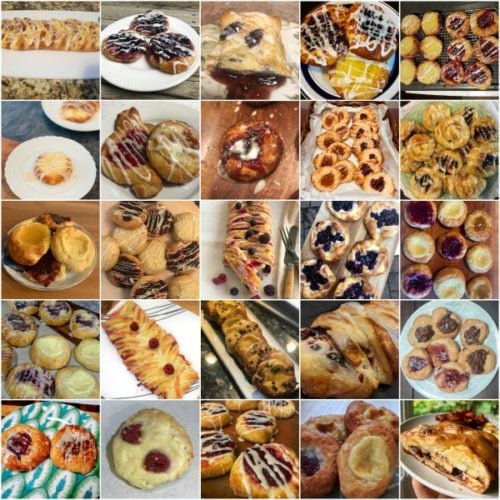
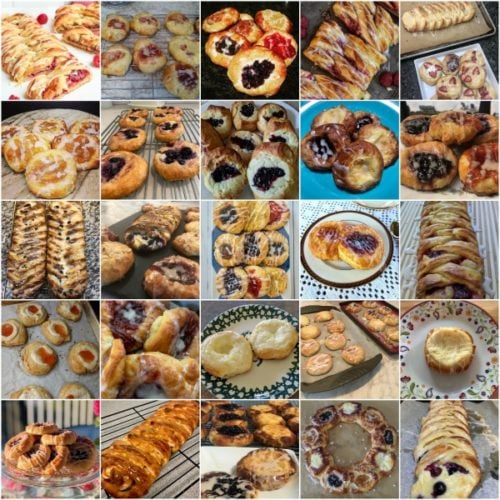
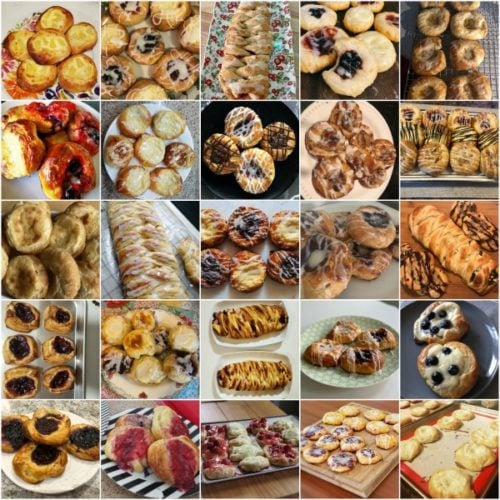
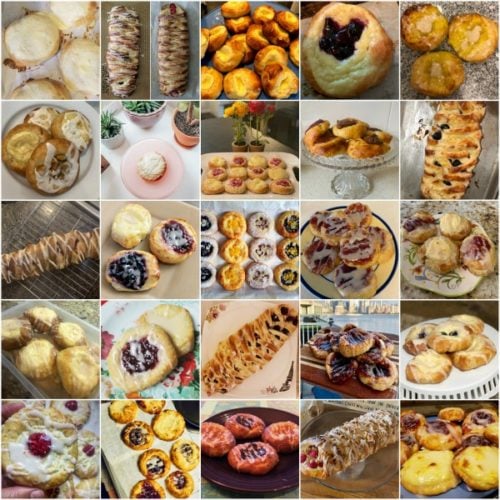
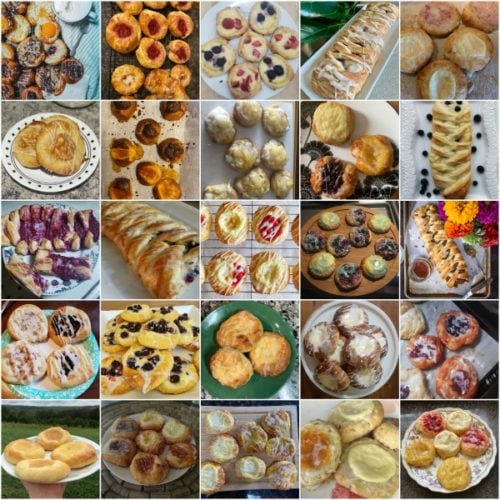
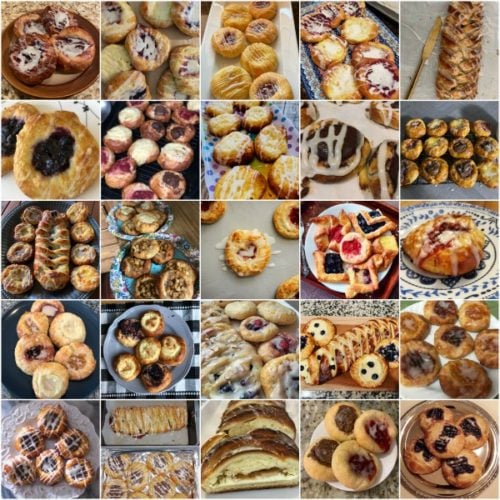
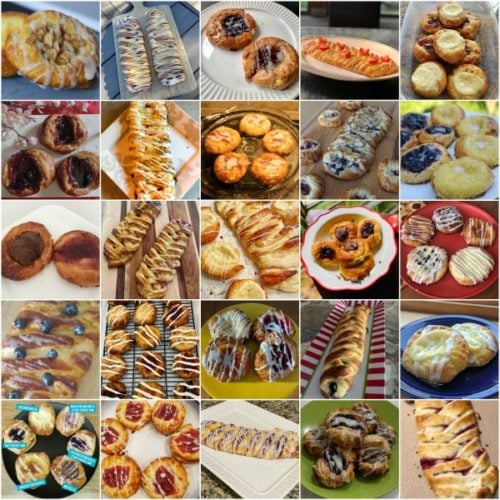
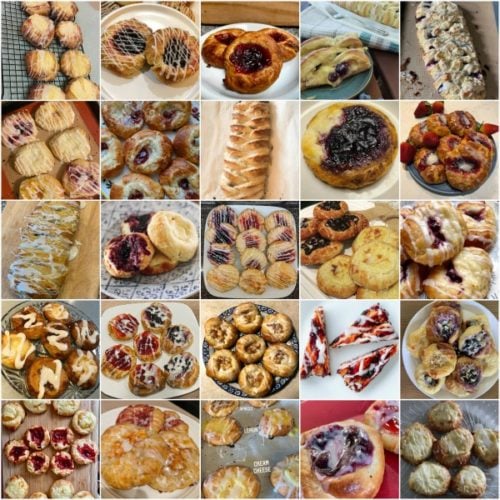
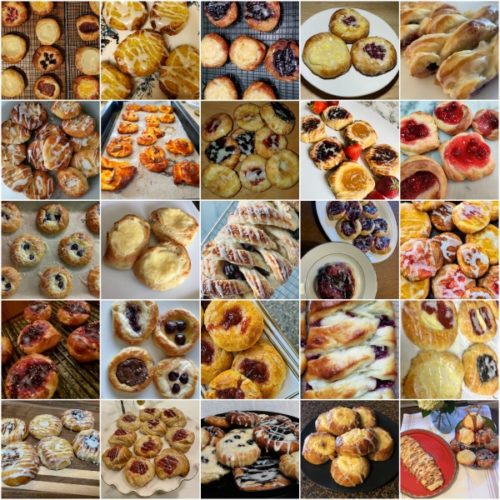
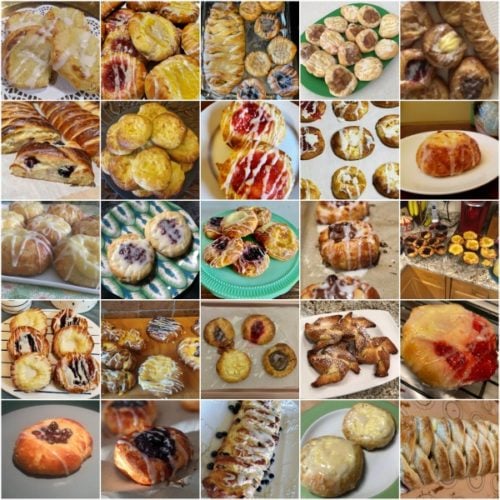
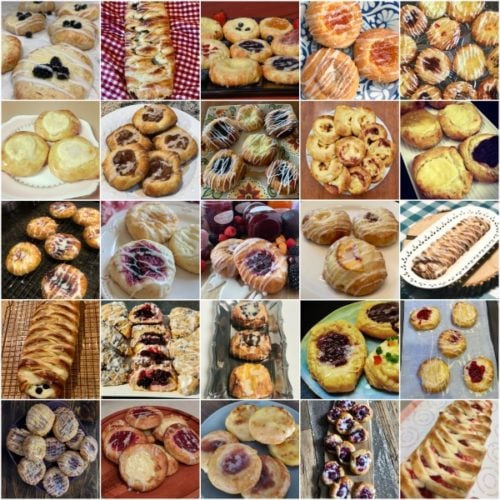
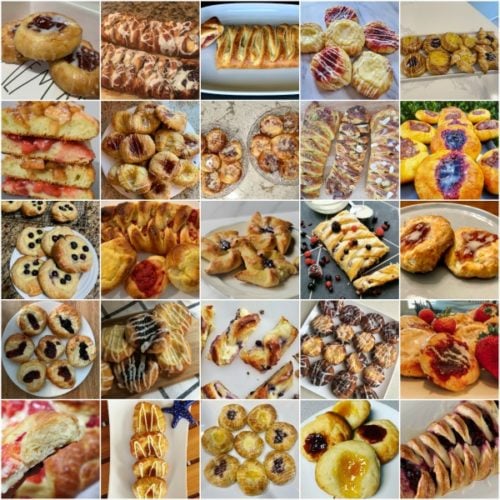
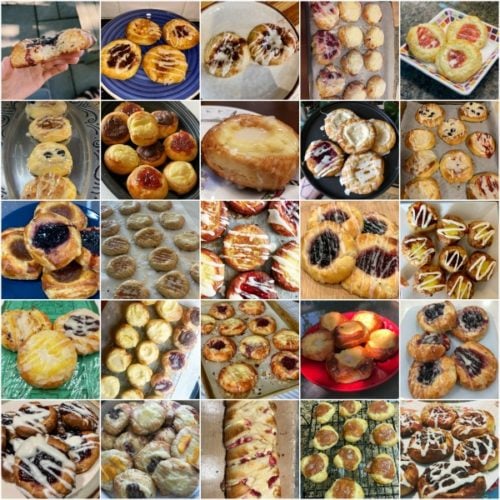
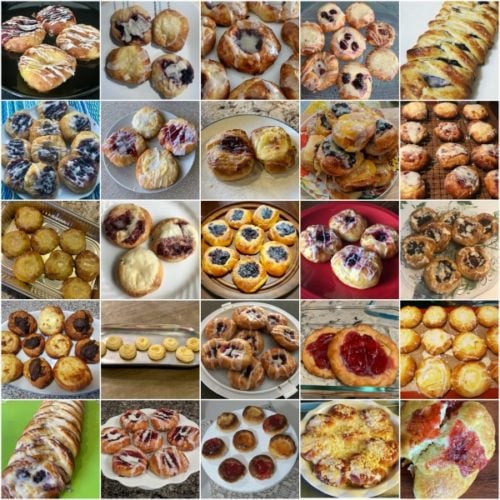
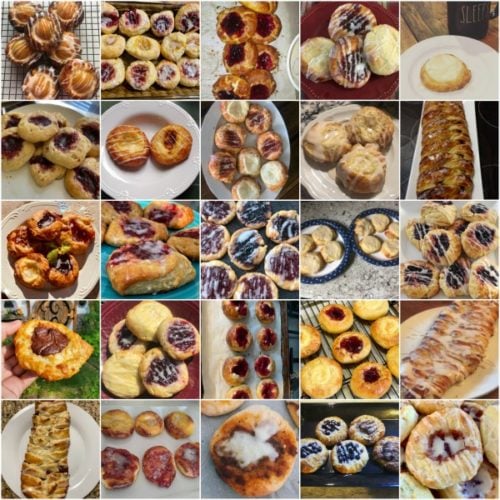
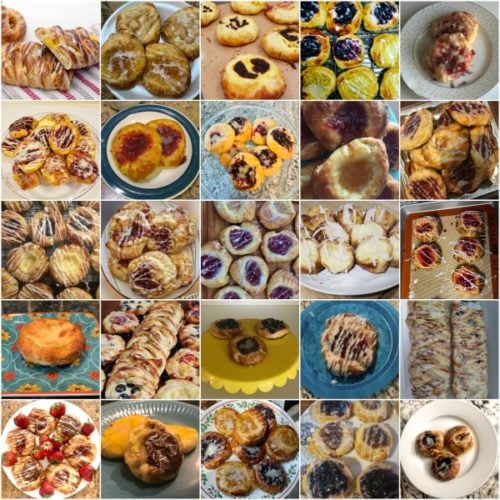
Many readers tried this recipe as part of a baking challenge! Feel free to email or share your recipe photos with us on social media. 🙂
Step-by-step photos below!
Print
Breakfast Pastries with Shortcut Homemade Dough
- Prep Time: 6 hours (includes chilling)
- Cook Time: 20 minutes
- Total Time: 6 hours, 25 minutes
- Yield: 16 pastries
- Category: Breakfast
- Method: Baking
- Cuisine: Danish
Description
These homemade breakfast pastries use a variation of classic Danish pastry dough. We’re working the butter directly into the dough, which is a different method from laminating it with separate layers of butter. Make sure the butter is very cold before beginning. This recipe yields 2 pounds of dough.
Ingredients
Pastry Dough
- 1/4 cup (60ml) warm water (between 100-110°F, 38-43°C)
- 2 and 1/4 teaspoons Platinum Yeast from Red Star (1 standard packet)*
- 1/4 cup (50g) granulated sugar
- 1/2 cup (120ml) whole milk, at room temperature (between 68–72°F, 20-22°C)
- 1 large egg, at room temperature
- 1 teaspoon salt
- 14 Tablespoons (196g) unsalted butter, cold
- 2 and 1/2 cups (313g) all-purpose flour (spooned & leveled), plus more for generously flouring hands, surface, and dough
Filling
- 2/3 cup filling (see recipe notes for options & cheese filling)
Egg Wash
- 1 large egg
- 2 Tablespoons (30ml) milk
Vanilla Icing (Optional)
- 1 cup (120g) confectioners’ sugar
- 2 Tablespoons (30ml) milk or heavy cream
- 1 teaspoon pure vanilla extract
Instructions
- Preliminary note: To help guarantee success, I recommend reading through the recipe, watching the video tutorial, and reading the explanations below this recipe. (All answer many FAQs.) Do not use an electric mixer for this dough. It’s best if the dough is folded together with a wooden spoon or rubber spatula since it is so sticky. There is very minimal mixing required.
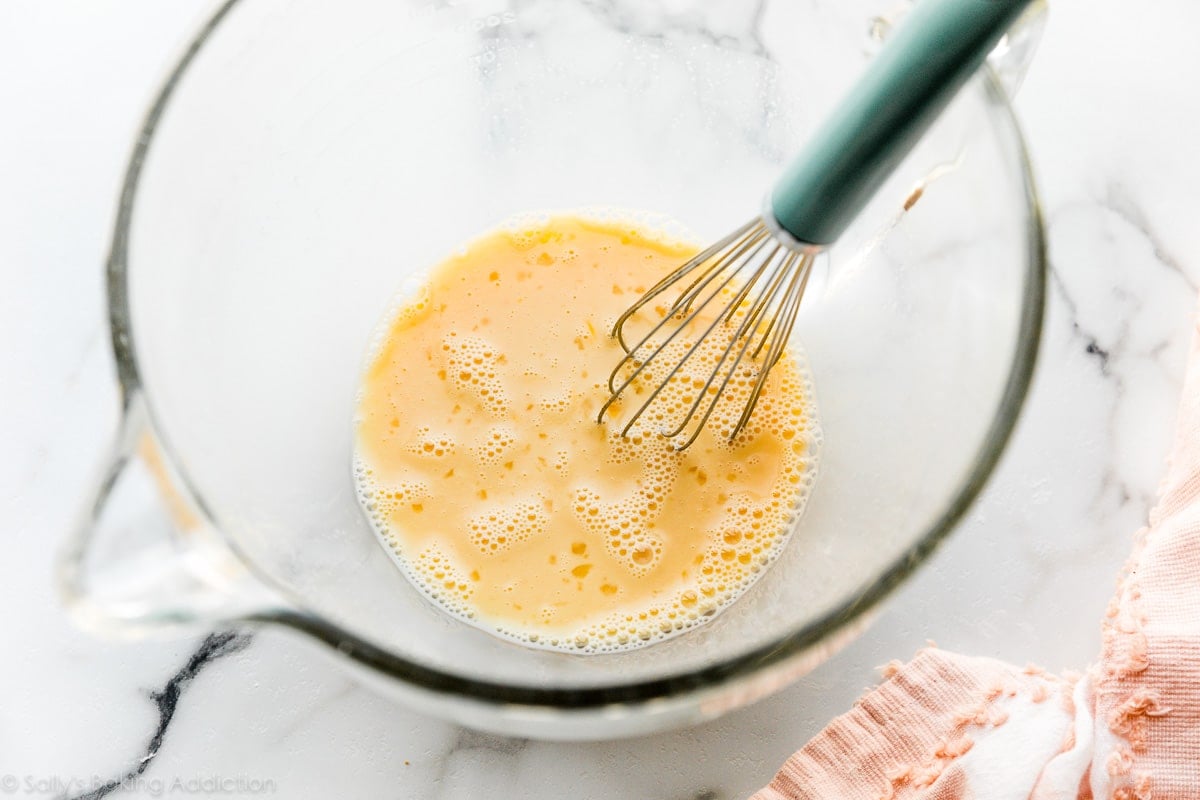
- Make the Pastry Dough: Whisk the warm water, yeast, and 1 Tablespoon (6g) of sugar together in a large bowl. Cover and allow to rest until foamy on top, about 5 minutes. If the surface doesn’t have bubbles on top or look foamy after 15 minutes (it should if the yeast isn’t expired), start over with a fresh packet of yeast. Whisk in remaining sugar, the milk, egg, and salt. Once these wet ingredients are mixed together, lightly cover and set the bowl aside as you work on the next step.
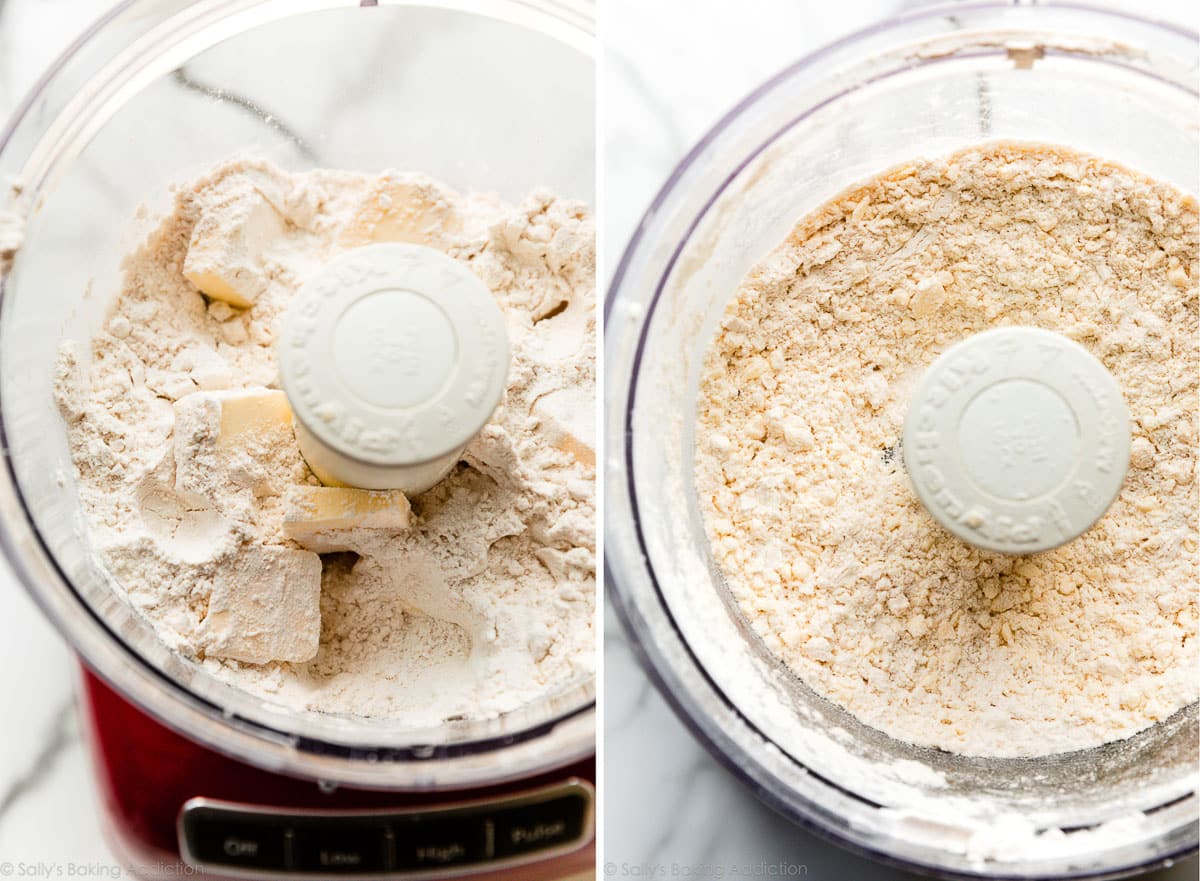
- Cut the cold butter into 1/4 inch slices and add to a food processor or blender. Top with 2 and 1/2 cups flour. Pulse the mixture 12-15 times, until butter is crumbled into pea-size bits. See photo below for a visual. Using a food processor or blender is best for this dough. Keeping that in mind, if you don’t have one, you can use a pastry cutter to work in the butter.
- Pour the flour mixture into the wet yeast mixture. Very gently fold everything together using a rubber spatula or wooden spoon. Fold *just until* the dry ingredients are moistened. The butter must remain in pieces and crumbles, which creates a flaky pastry. Turn the sticky dough out onto a large piece of plastic wrap, parchment paper, aluminum foil, or into any container you can tightly cover.
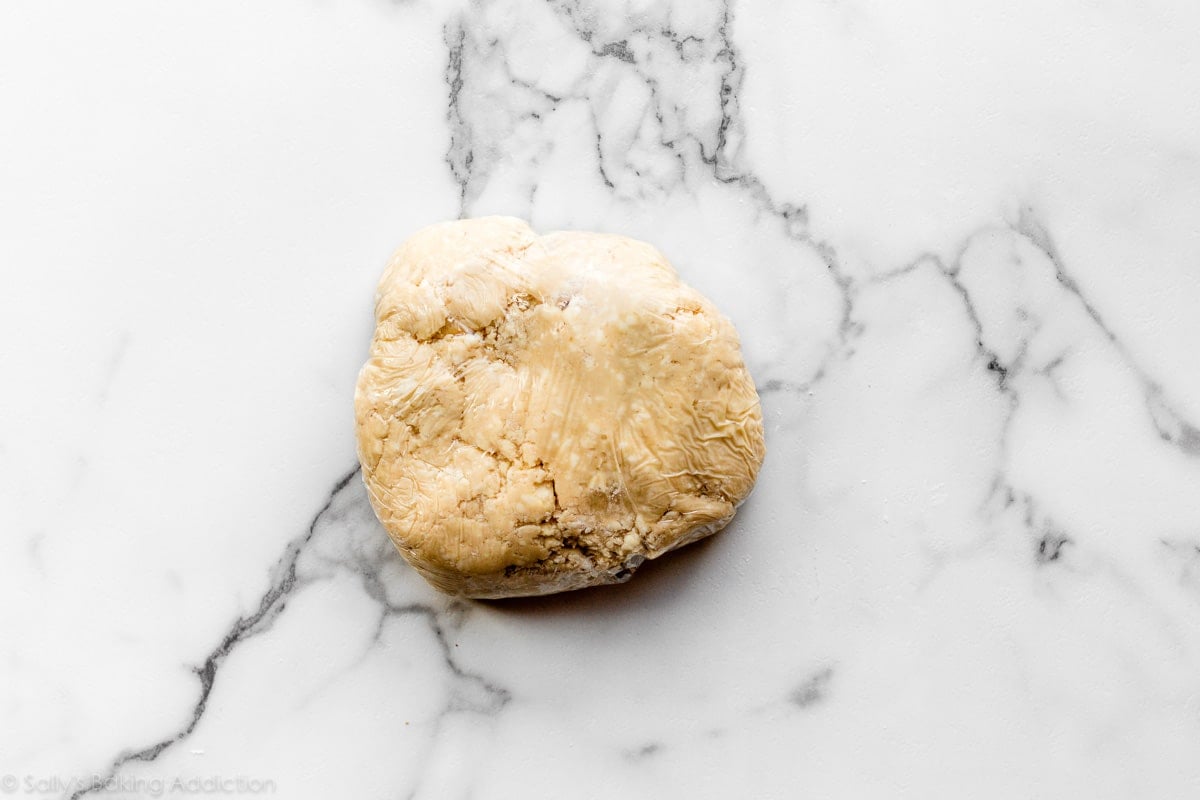
- 1st Refrigeration: Wrap the dough/cover up tightly and refrigerate for at least 4 hours and up to 48 hours.
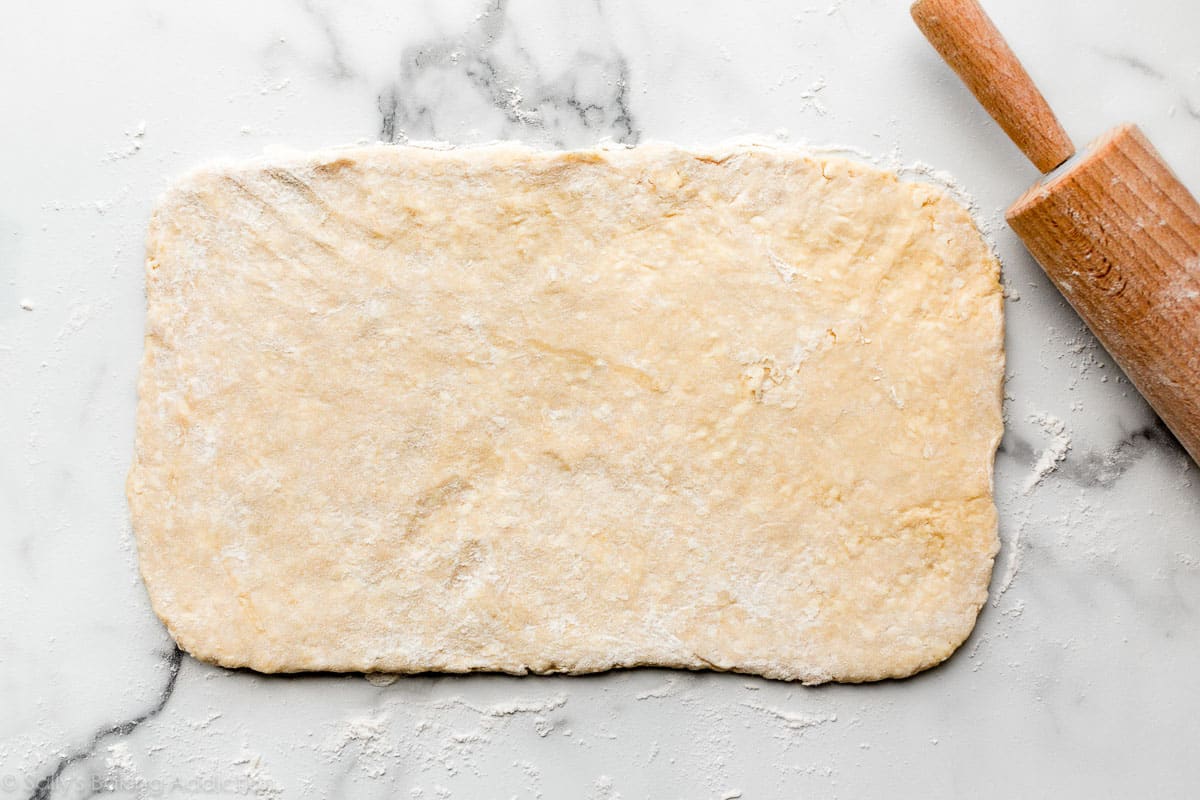
- Roll & Fold: Take the dough out of the refrigerator to begin the “rolling and folding” process. If the dough sat for more than 4 hours, it may have slightly puffed up and that’s ok. (It will deflate as you shape it, which is also ok.) Very generously flour a work surface. The dough is very sticky, so make sure you have more flour nearby as you roll and fold. Using the palm of your hands, gently flatten the dough into a small square. Using a rolling pin, roll out into a 15×8 inch rectangle. When needed, flour the work surface and dough as you are rolling. Fold the dough into thirds as if it were a business letter. (See photos and video tutorial.) Turn it clockwise and roll it out into a 15 inch long rectangle again. Then, fold into thirds again. Turn it clockwise. You’ll repeat rolling and folding 1 more time for a total of 3 times.
- 2nd Refrigeration: Wrap up/seal tightly and refrigerate for at least 1 hour and up to 24 hours. You can also freeze the dough at this point. See freezing instructions.
- Line two large baking sheets with parchment paper or silicone baking mats. Rimmed baking sheets are best because butter may leak from the dough as it bakes. If you don’t have rimmed baking sheets, when it’s time to preheat the oven, place another baking sheet on the oven rack below to catch any butter that may drip.
- Take the dough out of the refrigerator and cut it in half. Wrap 1 half up and keep refrigerated as you work with the first half. (You can freeze half of the dough at this point, use the freezing instructions below.)
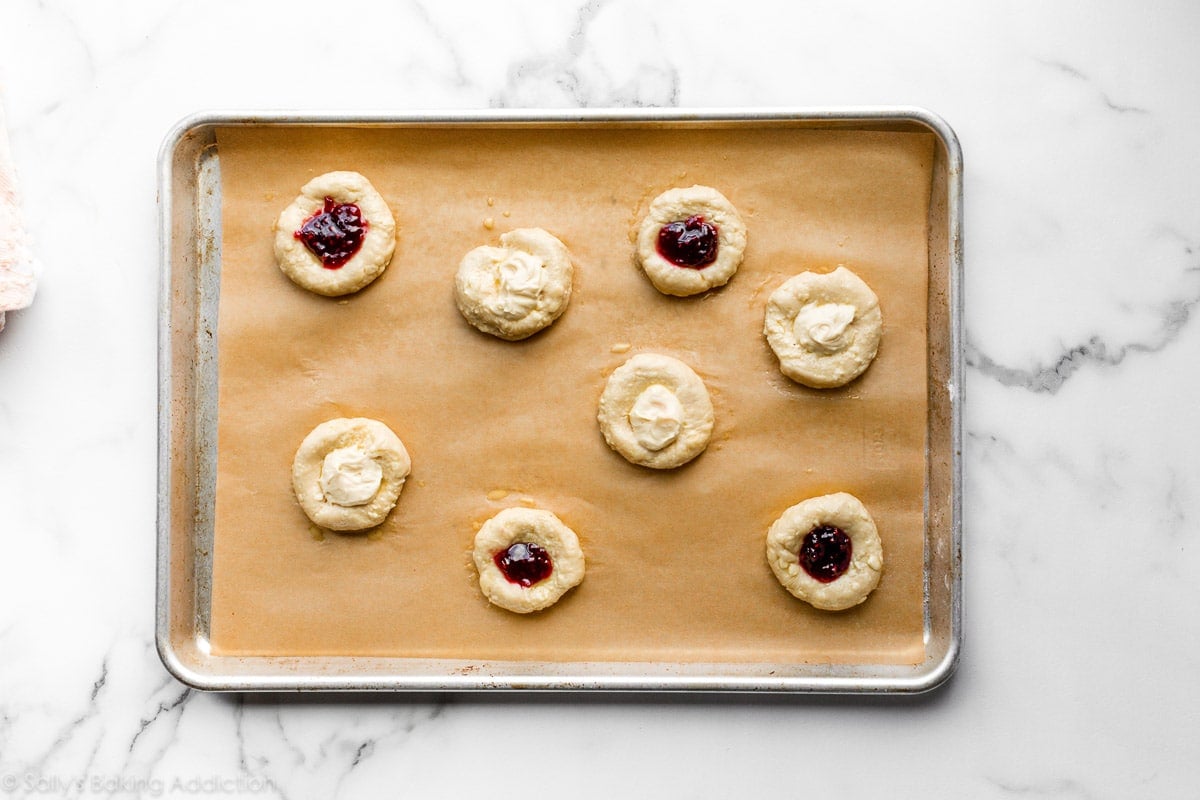
- Shape into rounds: Cut the first half of dough into 8 even pieces. This will be about 1/4 cup of dough per pastry. Roll each into balls. Flatten each into a 2.5 inch circle. Use your fingers to create a lip around the edges. See photos and video tutorial if needed. Press the center down to flatten the center as much as you can so you can fit the filling inside. (Center puffs up as it bakes.) Arrange pastries 3 inches apart on a lined baking sheet. Repeat with second half of dough.
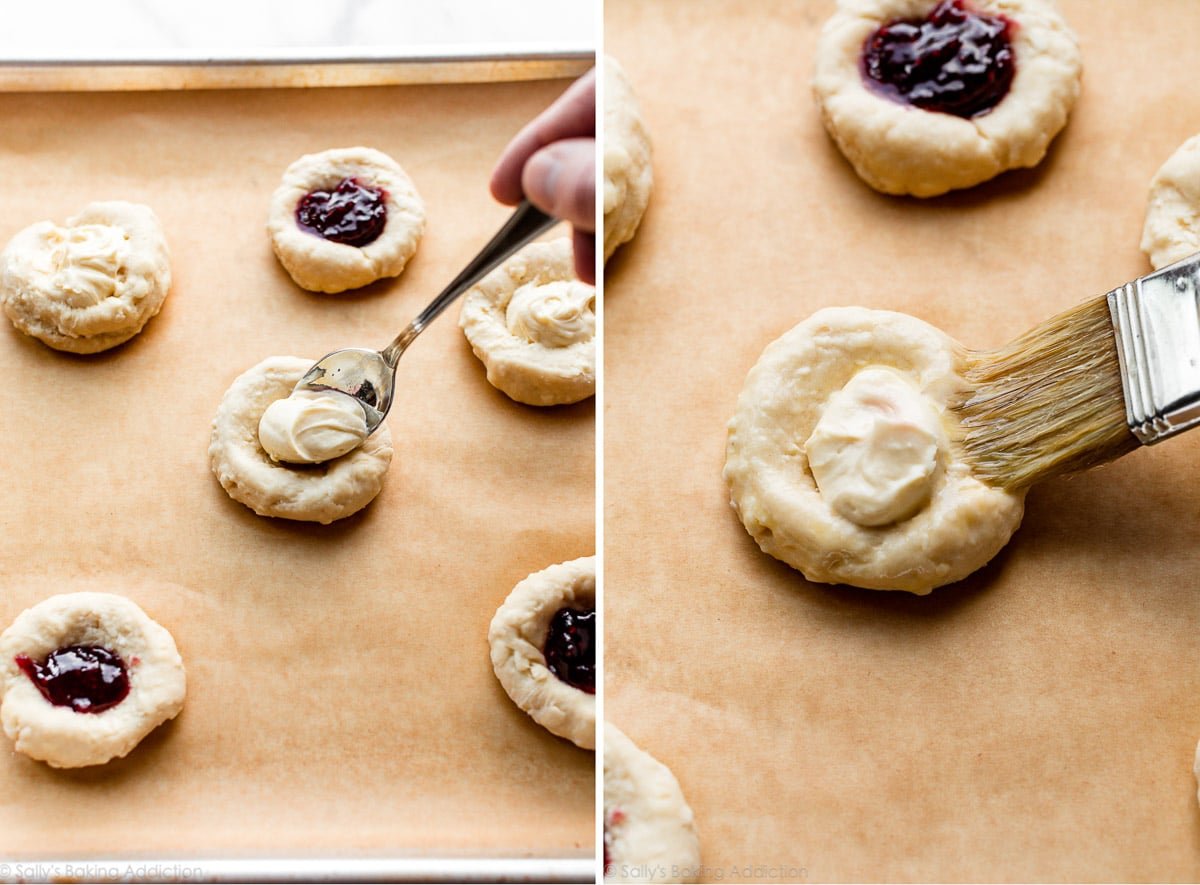
- Spoon 2 teaspoons of fruity filling or 1 Tablespoon of cheese filling inside each.
- Egg Wash: Whisk the egg wash ingredients together. Brush on the edges of each shaped pastry.
- This step is optional, but I very strongly recommend it. Chill the shaped pastries in the refrigerator, covered or uncovered, for at least 15 minutes and up to 1 hour. See recipe note. You can preheat the oven as they finish up chilling.
- Preheat oven to 400°F (204°C).
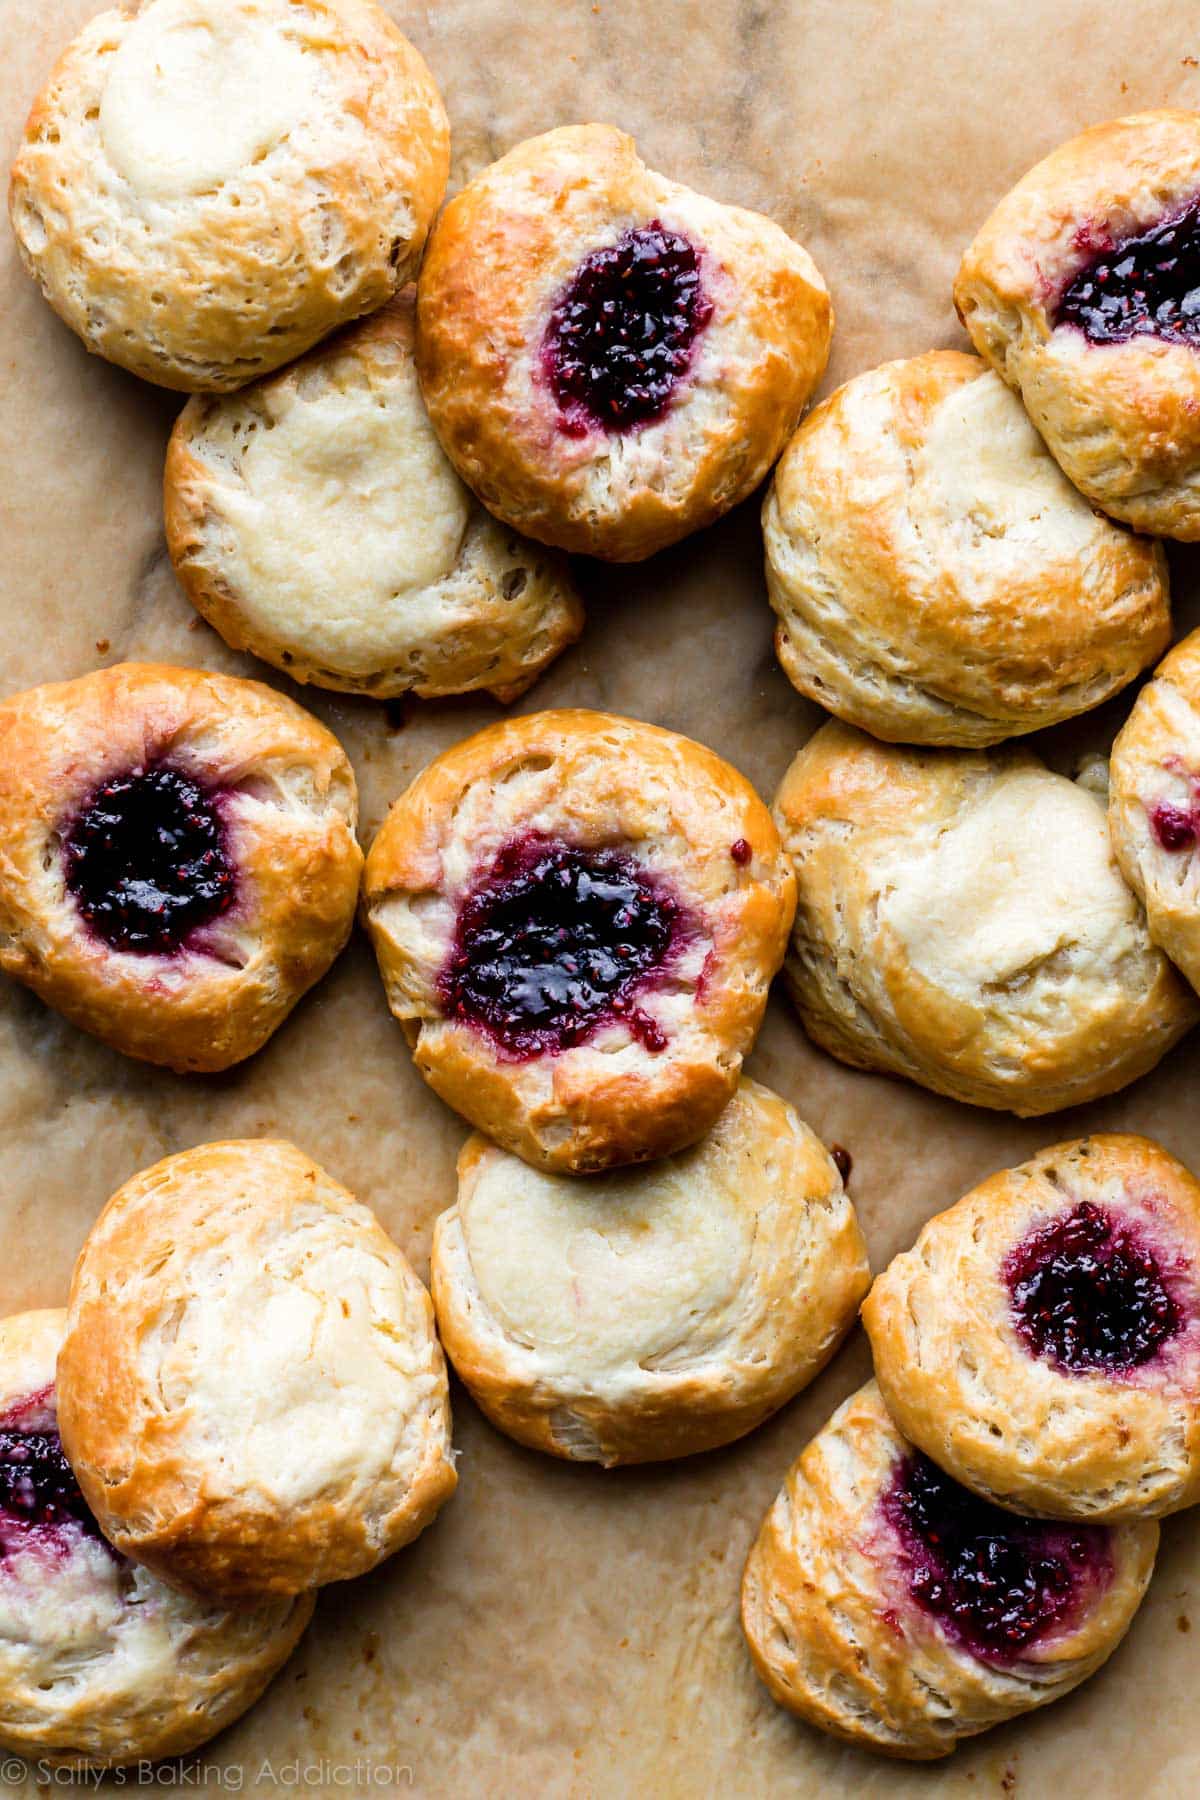
- Bake for 19-22 minutes or until golden brown around the edges. Some butter may leak from the dough, that’s completely normal and expected. Feel free to remove the baking sheets from the oven halfway through baking and brush the dough with any of the leaking butter, then place back in the oven to finish baking. (That’s what I do!)
- Remove baked pastries from the oven. Cool for at least 5 minutes before icing/serving.
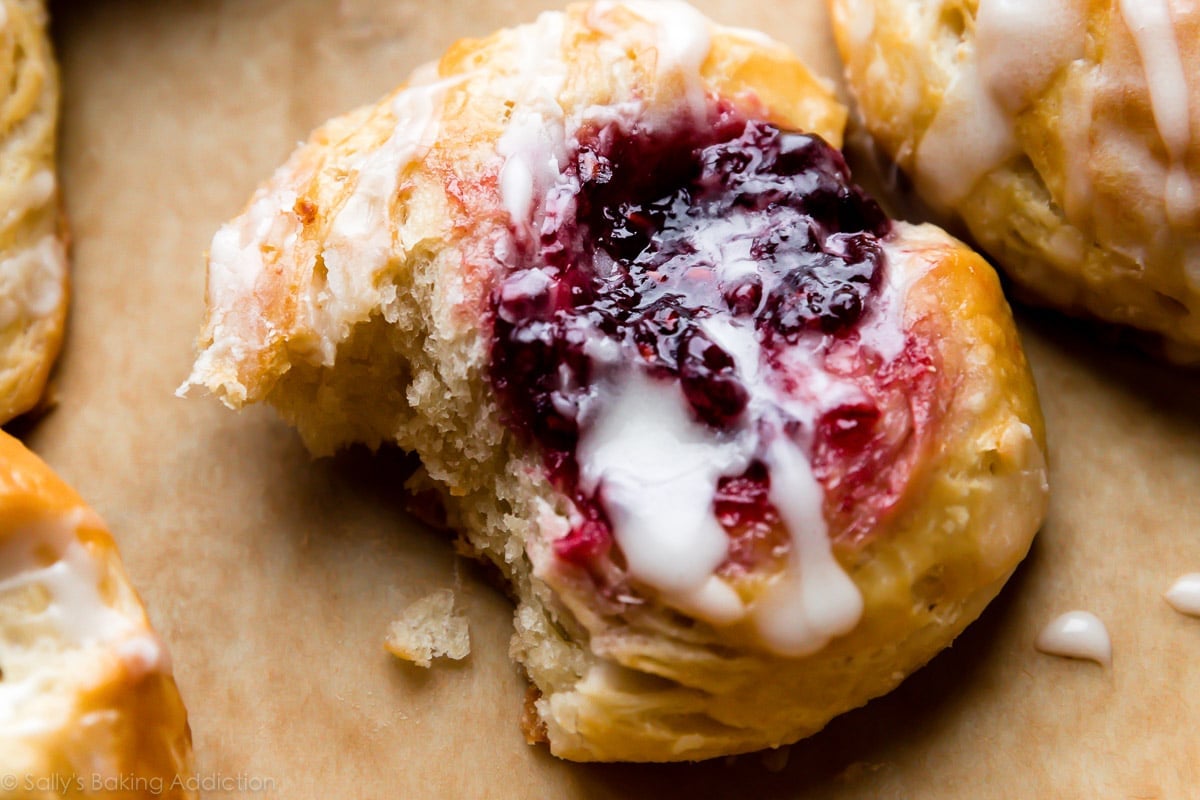
- Make the icing: Whisk the icing ingredients together. If you want a thicker icing, whisk in more confectioners’ sugar. If you want a thinner icing, whisk in more milk or cream. Drizzle over warm pastries and serve.
- Cover leftover iced or un-iced pastries and store at room temperature for 1 day or in the refrigerator for up to 5 days. Or you can freeze them for up to 3 months. Thaw before serving. Before enjoying, feel free to reheat leftover iced or un-iced pastries in the microwave for a few seconds until warmed.
Notes
- Make Ahead & Freezing Instructions: Prepare the dough as instructed in steps 2-4. At this point the dough can be refrigerated up to 48 hours. You can also prepare the dough through step 6. At this point the dough can be refrigerated up to 24 hours. During or after this second chilling time, you could also freeze the dough for up to 1 month. (I don’t recommend freezing the dough before the rolling and folding step.) Thaw overnight in the refrigerator, then continue with step 8. You can also freeze the unfilled pastries after shaping them in step 10. Thaw in the refrigerator, then continue with step 11.
- Special Tools (affiliate links): Wooden Spoon or Rubber Spatula | Whisk | Glass Mixing Bowl | Food Processor, Blender, or Pastry Cutter | Rolling Pin | Rimmed Baking Sheet | Silicone Baking Mat or Parchment Paper | Pastry Brush
- Fruity Fillings: You need around 2/3 cup (about 200g) of filling for the entire recipe (16 pastries). Use jam or fruit preserves, pumpkin butter, apple butter, lemon curd, cherry pie filling, etc. Or even Nutella! You need 2 heaping teaspoons per pastry. Feel free to mix and match, making different flavors in your batch.
- Cheese Filling: Using a handheld or stand mixer fitted with a paddle attachment on medium speed, beat one 8 ounce block (224g) of full-fat cream cheese that is softened at room temperature in a medium bowl until smooth. Beat in 1 large egg yolk, 1/3 cup (67g) granulated sugar, 1/2 teaspoon fresh lemon juice, and 1/2 teaspoon pure vanilla extract until smooth. Use 1 scant Tablespoon per pastry. Feel free to dot the cream cheese filling with fresh berries before baking or mix fruit preserves in with the cream cheese filling (still using 2-3 teaspoons of filling per pastry).
- Temperature & Substitutions: The temperature of your ingredients is imperative to this pastry’s success. Make sure you take the time to warm the water and bring the milk to room temperature. Keep the butter in the refrigerator until you need it in step 3. I do not recommend any substitutions in this carefully formulated dough, though a lower fat or nondairy milk works in a pinch. For the egg wash and icing, low fat or nondairy milks work, as do heavy cream or half-and-half.
- Yeast: Platinum Yeast from Red Star is an instant yeast. If needed, you can use active dry yeast instead. The instructions and amount remain exactly the same regardless of which you use.
- Optional Step (step 13): Chilling the shaped pastries in the refrigerator helps them maintain their shape in the oven. Remember, cold pastry dough is best. I usually refrigerate them for 15 minutes as the oven preheats. If you’re nervous to chill the baking sheets in the refrigerator then bake them (which can cause warping), you have two other options. You can simply assemble the pastries on parchment paper or silicone baking mats, lift the parchment/baking mat as a whole and place on another baking sheet or directly onto a shelf in the refrigerator. After chilling, carefully lift up and place the entire parchment/baking mat onto the baking sheets for baking. Or you can use a thin spatula and very carefully transfer the assembled unbaked pastries to a large plate to chill.
- Halve the Recipe? I don’t recommend halving this dough recipe. Make the dough as written, then freeze half after step 9. Or make 8 breakfast pastries and 1 pastry braid (cream cheese or raspberry).
- Dough recipe adapted from Cooking Illustrated, Joy of Cooking, and Beatrice Ojakangas
Detailed Explanations: How to Make Homemade Breakfast Pastries
This yeasted pastry dough comes together with 8 basic ingredients.
- Water: You need 2 liquids in this dough recipe: warm water and room temperature milk. Don’t use all water or all milk; this careful balance is key. Mix the warm water with yeast and some granulated sugar. Cover and wait until the top is a little foamy, as pictured below. (You will do this step no matter if you are using instant yeast or active-dry yeast.)
- Yeast: You can use active dry yeast or instant yeast. The instructions, amount, and recipe do not change– you will still do each of these exact steps regardless of which type you use. I recommend Platinum Yeast from Red Star, which is an instant yeast that is blended with natural dough improvers.
- Granulated Sugar: Sugar sweetens this dough and feeds the yeast. Use 1 Tablespoon at first, then add the rest of the sugar when you whisk in the milk, egg, and salt.
- Whole Milk: Use room temperature milk, not warm milk. For best taste and texture, I strongly recommend whole milk.
- Egg: 1 egg tenderizes the dough. Don’t skip it!
- Salt: Adds flavor.
- All-Purpose Flour: You need flour in the dough, plus a generous amount for the rolling, folding, and shaping steps. As you can see in my video tutorial above, it’s helpful to have plenty of extra flour on hand. I use a lot of it!
- Cold Butter: Butter is the main ingredient in this dough recipe– you will work it directly into the flour, forming pea-sized crumbles. Just like when we make pie crust or biscuits, make sure the butter is extra cold. If the butter isn’t cold, the butter will melt, the dough will turn to semi-liquid, and you won’t have any layers or flakes in your pastry. The colder the butter (and dough), the better results.
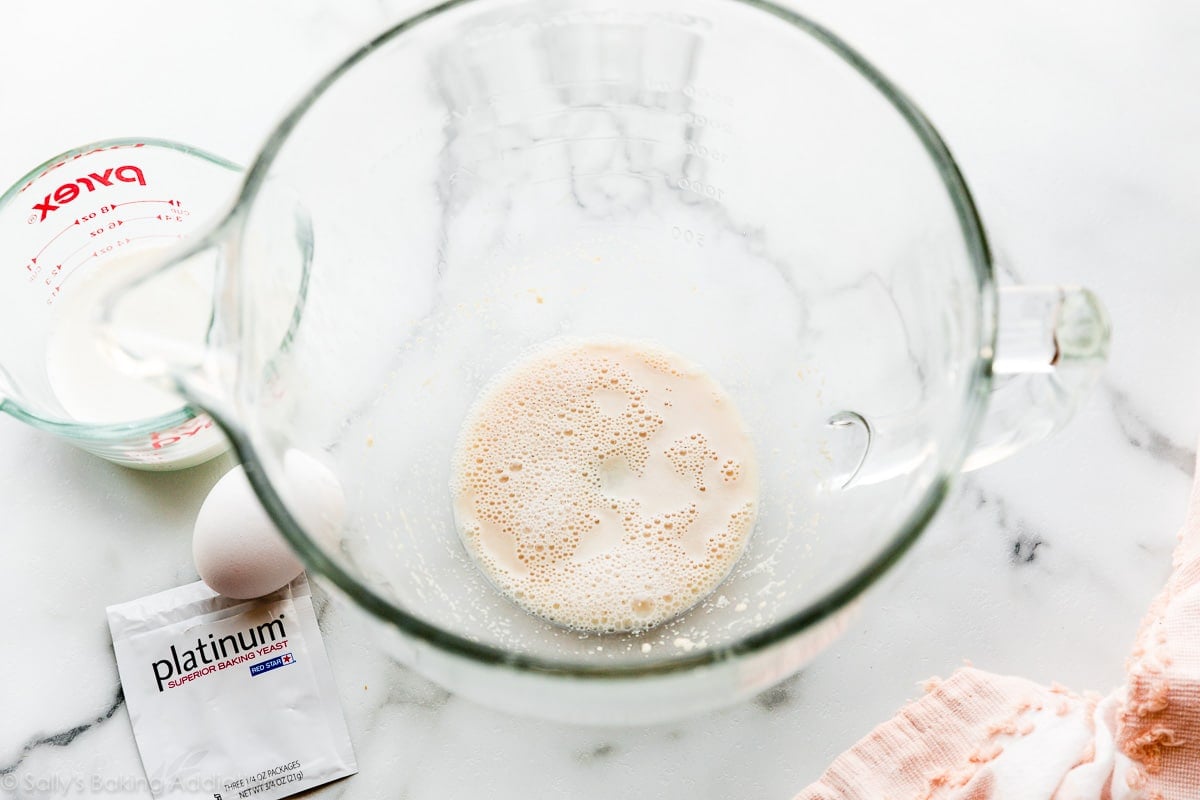
After the yeast has proofed and foamed (above), whisk in the rest of the sugar, the milk, egg, and salt. We’ll call these the wet ingredients:
You need a food processor blender for this recipe. If you have neither, use a pastry cutter to cut the cold butter into the flour. An electric mixer will not work for this step. You are looking for pea-size crumbles of flour coated butter. This step is only possible if the butter is cold.
Pour the butter/flour crumbles into the wet ingredients and fold it together using a wooden spoon or rubber spatula. It is very sticky. Since this dough is so sticky, I do not recommend using an electric mixer. It will create a huge mess! There is minimal mixing required anyway– we don’t want to overwork this dough.
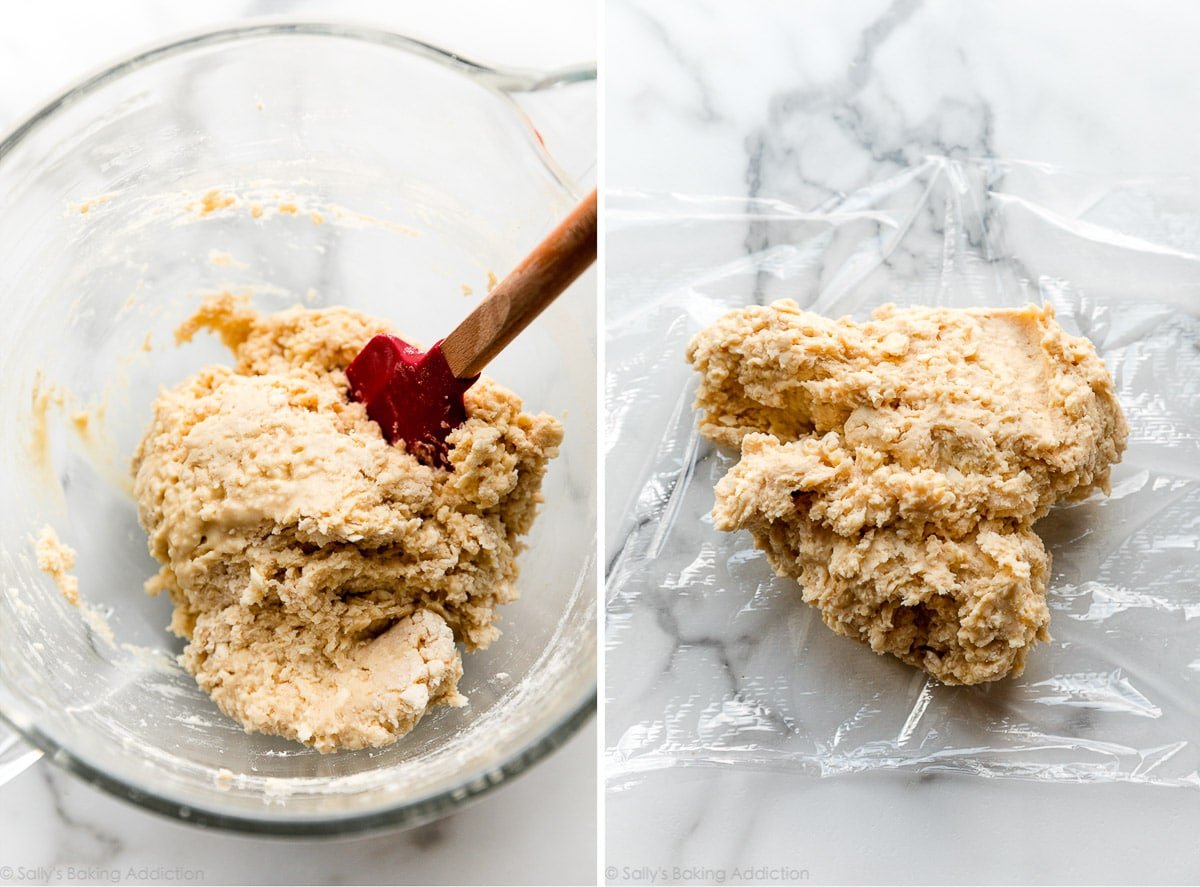
You’ll notice many bits of butter still visible in the dough– that’s a GOOD thing! Wrap the dough up tightly and refrigerate for at least 4 hours and up to 48 hours.
This is the 1st refrigeration.
Shortcut Lamination
Now let’s do a variation of laminating aka rolling and folding dough and butter together. Remember when we made croissants and laminated the dough with a sheet of butter? The butter is IN this pastry dough. So, instead, we’re just rolling and folding the dough itself. Roll it out into a 15×8 inch rectangle:
Fold it in thirds like a letter:
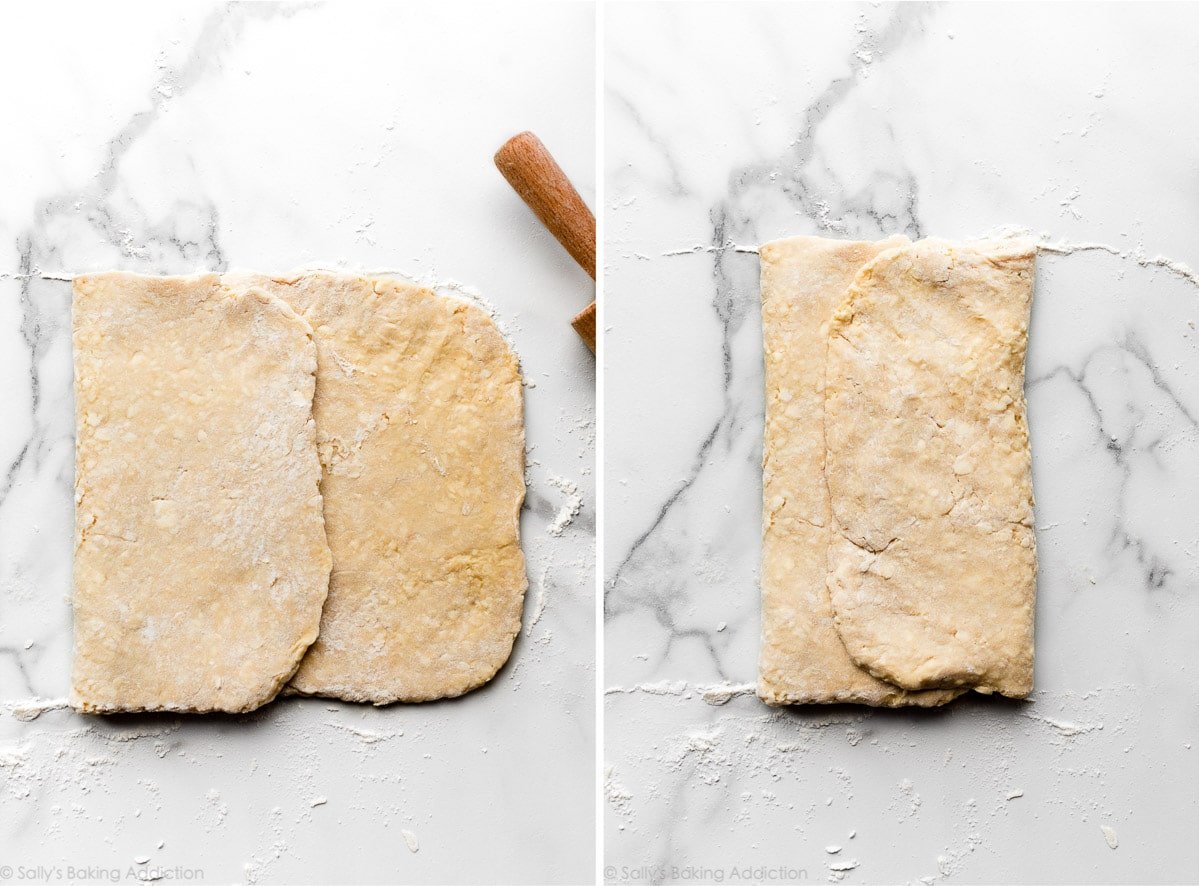
Turn it clockwise:
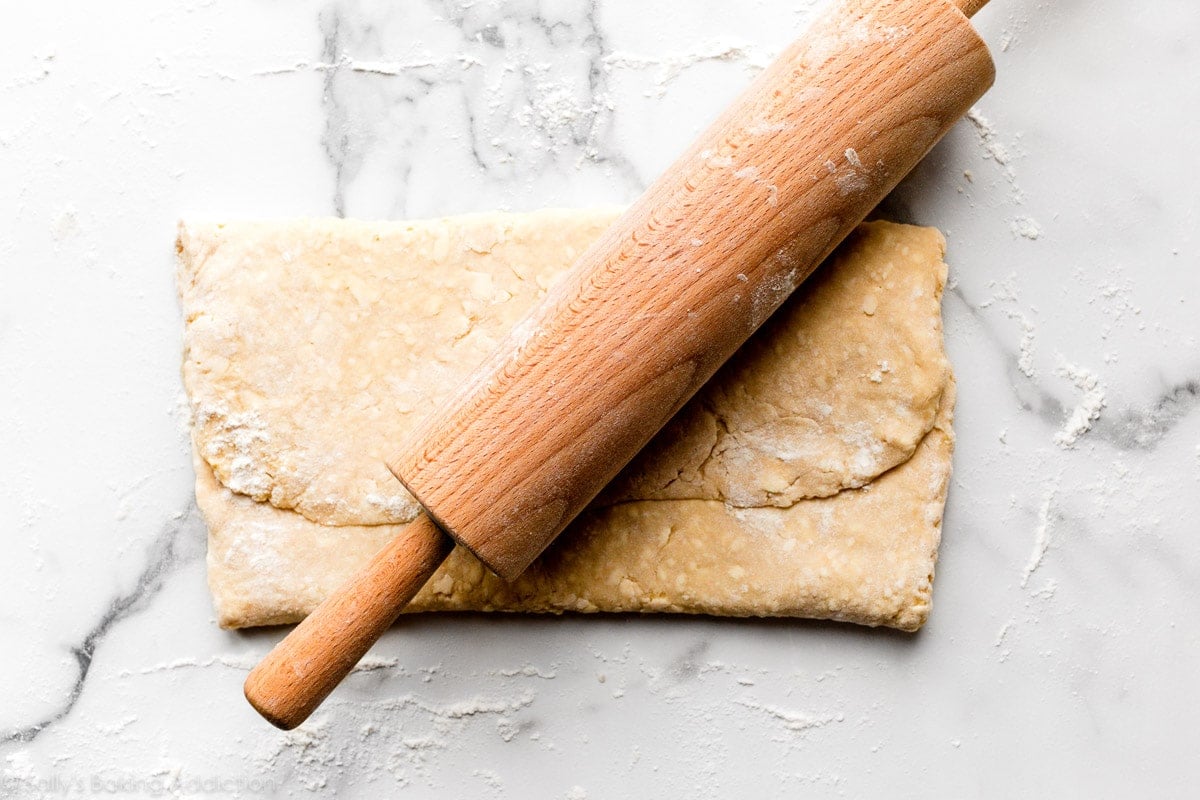
Then roll it out into a 15-inch rectangle again. Repeat the folding. Turn it clockwise again. Repeat rolling and folding 1 more time for a total of 3 times. Wrap the laminated dough up tightly and refrigerate for at least 1 hour and up to 24 hours.
This is the 2nd refrigeration.
How to Shape Homemade Breakfast Pastries
This dough recipe yields 16 breakfast pastries. See recipe note above about halving/freezing the dough. Cut the dough in half. (Work with only half the dough at once. Wrap half up and refrigerate until ready to use.) Cut the half of dough into 8 pieces. Roll into balls:
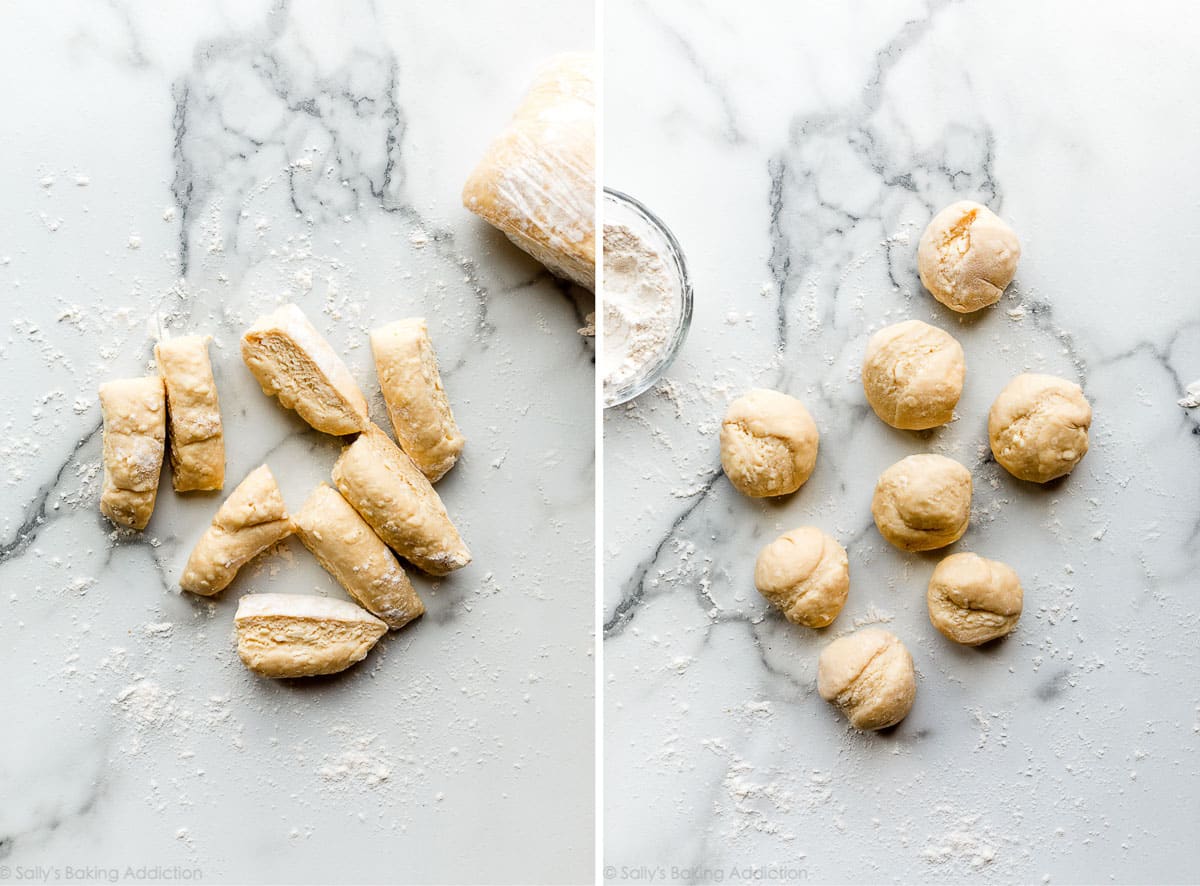
Flatten each into a 2.5 inch circle. Use your fingers to create a lip around the edges. Arrange pastries 3 inches apart on a lined baking sheet. Repeat with second half of dough.
Spoon your filling of choice inside each, then brush the edges of the pastries with egg wash, which is a combination of 1 egg and milk.
What is the purpose of an egg wash? It guarantees a shiny and crisp golden crust.
To help guarantee the shaped pastries hold their shape, chill them in the refrigerator as the oven preheats and even up to 1 hour. (See recipe note above.)
Bake until the breakfast pastries are golden brown. Cool for a few minutes, then drizzle with vanilla icing and serve!


This recipe was so easy to make and delicious! I highly recommend the cream cheese filling!
I was a little bit intimidated at first with this recipe: PASTRY!!! But with the very easy to follow instructions it turned out great! So flaky and delicious!
Highly recommend it!
I absolutely loved this Danish recipe! I followed everything to the T and they turned out fantastic. I tried them both as a braid and as individual pastries and they were both so good! I prefer the individual pastries since it is easier to distribute and eat. The texture of the braid was a bit more flakier but when i would cut then the filling would ooze out and it was kind of messy. Will definitely be making this for family brunches!
Excellent recipe! We made it over three days and it didn’t take very much time each day. A fun one to do with the kids and easy to try a variety of toppings!
I made the pastry braid (1 raspberry & 1 nutella) version of these and they were delicious. The recipe ended up being a lot easier than I initially anticipated and turned out really well! I highly recommend these and definitely want to make them again!
Loved this recipe! A great make ahead dough and easy to prepare in the morning. Made mine with cream cheese filling and lemon curd. I added strawberry jam to some of the cream cheese filling too and it turned out delicious. All 16 were gone for breakfast with my family of 6! Will definitely make again!
Breakfast and baking are my two favorite things so this recipe was right up my alley 🙂 The recipe was fun and easy to follow. Next time I am going to double the batch so I can have some ready to go in the freezer for when I inevitably want more breakfast pastries!
What a great recipe! The instructions were so helpful and I never questioned anything and the taste was delicious. My son and husband were impressed (and so was I). I made them over a couple of days so I wouldn’t rush and feel overwhelmed and that really helped me! I made one braid and 8 pastries. We are cheese danish lovers and so I used the cheese recipe in the braid and it was so delicious…I could have ate the filling by itself. The others I used the remaining cheese filling and topped with strawberries! Can’t wait to make these again.
This was my first challenge and I really enjoyed it! I made a single batch of dough and froze half of it – which I’m glad I did. My husband and I really loved our breakfast pastries that I topped with either nutella or the cream cheese filling in this recipe. The next batches, we’ll try strawberries and cinnamon apple.
The only issue I had while making these was I used my tiny food processor. Next time, I’ll try mixing with a pastry cutter instead to make sure my butter is evenly distributed.
This recipe makes the perfect pastry canvas for a variety of designs, fillings and glazes. I used half the recipe and followed directions making round pastries, cream cheese filling recipe w/lemon curd and raspberry jam. The other half froze beautifully and later became a cream cheese-blueberry braid topped with a lemon zest & almond glaze. I can think of so many ways to use this pastry dough!
Hello!! This is my first of your challenges and I had an absolute blast. I need to work on my photography. Haha!
We used the danishes to help celebrate 2 months with our baby boy today!
I made three flavours – raspberry, blueberry and peach/cinnamon using my mother in law’s jam! It was amazing!
This recipe was absolutely amazing! I made it up to the second refrigeration the night before and made the rest the next morning. I also mixed blackberry jam and cream cheese filling together and it was amazing. I would definitely recommend eating these warm.
This was a really fun to make challenge, and the pastries turned out delicious, above and beyond my expectations!
The video was extremely helpful for this particular recipe, if I hadn’t seen how sticky the dough is and how the butter pieces are visible, I would be quite scared when making it 😉
I made 8 pastries, 4 of them with home made strawberry jam, and the other 4 with Chocolate filling.
I’m so happy I now have the other half of the dough in my freezer so I can very easily do another fresh batch.
These turned out great! The detailed, approachable instructions were easy to follow and the results were absolutely worth the time we put in. For an added challenge, I made them with my kids (8 and 11yos). Each of them enjoyed different steps and it was rewarding to show them the flaky layers inside that they created with the rolling and folding. I foresee a few rainy weekend days in quarantine will have us making these again!
Very tasty pastries and they weren’t that much work for what they were. We filled some with jam and some with Nutella and both came out great even to eat later. I didn’t end up using an egg wash because they came out nicely colored even without it.
Ive never made breakfast pasteries so I was nervous but these are delicious and pretty easy to make!
These were wonderful! Thank you for the recipe Sally!
This was the first time I have tried a rough puff pastry and it did not disappoint. The instructions are very specific, easy to follow and the recipe works well. There are only two of us, so I only bake 1/4 of the dough at a time, freezing the remaining dough until we get a hankering for another shot of these buttery, fruity parcels of goodness in your mouth. A couple of notes: I shape my final pastries flatter than suggested so they turn out more like a traditional danish. I don’t use an egg wash. They brown nicely without it on convection bake.
I haven’t completed one of these challenges in a while but something excited me about making my own Danish/breakfast pastry and they turned out great! The dough was super soft so keeping it cold was very important for shaping and filling; I had some spillage (may have overfilled the danish) and I was concerned that I overbaked them but it all worked out and they tasted so delicious! I did 4 different filling types-strawberry preserves, cream cheese, Nutella, and a cream cheese/Nutella combo.
Thank you so much for your detailed, informative, step-by-step instructions. They are so helpful in getting out of my comfort zone and trying new things. I appreciate you!
The recipe is a winner! I made it with your cream cheese filling and blackberries and it was absolutely amazing. The dough was wonderful and tender. The braid was delicious fresh but also cold the next morning. My husband was delighted and my mother made it also on my recommendation (it is usually the other way round lol!) Thank you thank you thank you for sharing this. I entered your challenge so fingers crossed.
Great recipe with exact instructions. I like that you do it in phases so you can take your time! They were delicious! I’ll have to try the braided recipe next.
What a delicious recipe! This was fun to make although I was initially intimidated by the idea! And I also love the endless possibilities of what we can fill them with.
Something for the whole family to love! We will definitely make them again.
Sally’s videos are extremely helpful! This came out just ok for me- I have a 50-50 success rate with dough recipes so I take full responsibility! Even though I measure the dough size, I always experience uneven dough thickness- my individual danishes were doughy inside even though they were browned on the top and bottom. My pastry braid was beautifully browned on top but way too dark on the bottom and doughy inside. I will see if I can calibrate my oven, but I haven’t had any issues with other bakes recently.
Flaky pastry dough used to be intimidating to me until I found this recipe! Sally’s recipe makes incredibly light and flaky dough that creates the perfect pastry. Put her cream cheese filling in the center and you have the best pastry!! The instructions are easy to follow and the results are just the best!
Loved them!
Much easier than I thought, and came out perfect.
These are the best pastries I have made! They turned out really well! Everytime I am trying to find a recipe I go to your site. I know that every recipe on your site will turn out perfect! Thank you Sally!
It was my first time making pastry dough and it was so much fun!! Even without a blender or food processor I was able to successfully incorporate the butter with a pastry cutter. Made the cheese topping and I absolutely loved the icing finish.
Make these pastries immediately! While they take some time, these are worth it. Make these for your next brunch – they are a show stopper. I went with the cream cheese filling and fresh raspberry and I wanted to eat the entire batch. Detailed instructions ensure even a beginning baker can handle this treat. I froze half the dough and plan to make a braid in the coming weeks!
Delicious. Thank you Sally
Never thought danishes would be so easily accomplished! Thank you for the easy steps to follow!