

As a published baking cookbook author with years of experience in the kitchen, I’m excited to share my top cake baking tips with you. The advice on this page will help you develop the skills needed to create delicious, perfectly baked cakes with ease. With the right techniques and a bit of practice, you’ll gain the confidence to bake like a seasoned cake expert. Say goodbye to sunken centers, dry textures, and uneven layers—these tips will set you up for sweet success every time!
With every recipe I publish and success tip I share, my goal is to help you become a better baker. As a home baker turned cookbook author and recipe publisher, I’ve made THOUSANDS of mistakes in the kitchen, especially when it comes to making the perfect cake. Let me share the cake baking tips I’ve learned over the years.
This useful information will help guarantee your next cake is the perfect cake.
Video: 10 Baking Tips for Perfect Cakes
Learn How to Bake the Perfect Cake:
1. Follow the Recipe
This sounds obvious, right? Following the recipe is the most important cake baking tip you’ll ever hear/read. It’s also the most ignored. We often substitute ingredients in recipes based on what we have. Subbing out eggs, reducing sugar, using liquid sweetener instead of dry, all-purpose instead of cake flour, baking soda for powder, egg whites instead of whole eggs, etc. I do not recommend doing this unless the recipe suggests alternatives.
Don’t sabotage your time, effort, and money. I’m guilty of this, too! Sometimes I’m in a rush and just not paying attention or I’m making a substitution because I ran out of an ingredient. But ingredients are needed for a reason and, more often than not, a cake fail is because the recipe wasn’t properly followed. I always recommend following a recipe the first time you try it, then making changes as you see fit the next time.
Likewise, make sure you’re using the appropriate size pan. Unless otherwise noted, don’t substitute a 6-inch cake pan for a 9-inch cake pan or a 9-inch round pan for a 9-inch square pan. You can *usually* get away with swapping 8-inch round cake pans for 9-inch round cake pans (and vice versa). 8-inch cakes will take longer since they’ll likely be thicker.
But to prevent dense cakes, sunken cakes, overflowing cakes, and flimsy cakes, use the correct size pan.
2. Room Temperature
This tip could get a little long so let me direct you to my entire post on why room temperature ingredients are important. “Room temperature” isn’t listed next to ingredients for fun. There’s science and legitimate reason behind it. If a recipe calls for room temperature ingredients, use room temperature ingredients like eggs, sour cream, butter, and milk.
To paint you a picture, let’s focus on room temperature butter in particular. Most cake recipes begin with creaming butter and sugar together—it’s such an important step that I have an entire post dedicated to how to cream butter and sugar. Butter is capable of holding air and the creaming process is when butter traps that air. While baking, that trapped air expands from the heat and produces a fluffy cake. Not only this, room temperature ingredients bond together easier and quicker since they’re warmer—thus reducing over-mixing. Simply put, cold ingredients do not emulsify together. Period.
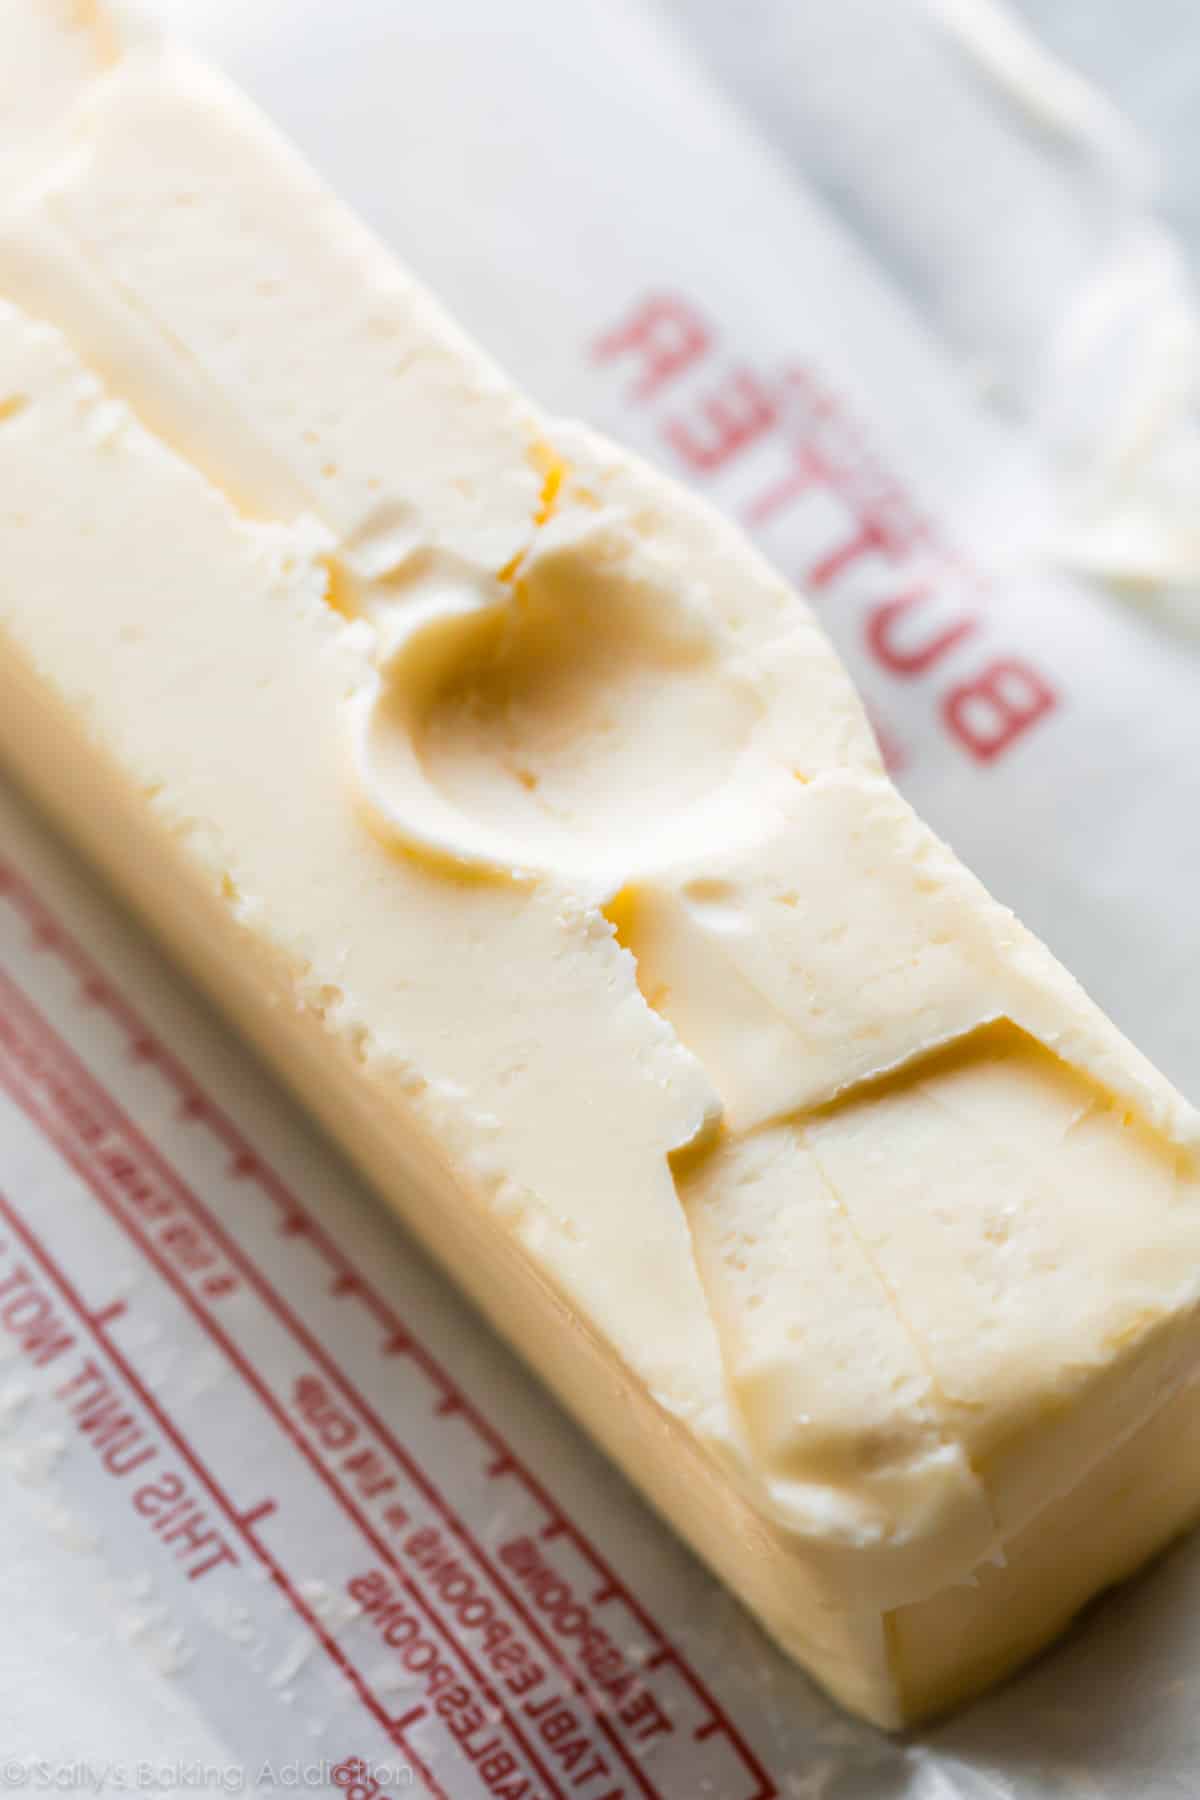
Room temperature butter is about 65°F (18°C), which might be colder than your kitchen. It’s cool to touch, not warm. If your cakes are dense, you’re probably softening the butter too much. Allow the butter to sit out on the counter for about 1-2 hours before beginning your recipe. To test it, poke the butter with your finger. Your finger should make an indent without sinking or sliding down into the butter. The butter should not be shiny or greasy. It will be cool to touch, not warm. Sometimes our schedules don’t allow 1-2 hours for softening butter prior to beginning a cake recipe. Don’t take a shortcut and microwave the butter because it will not heat evenly. But guess what? I have a foolproof trick to soften butter quickly. 🙂
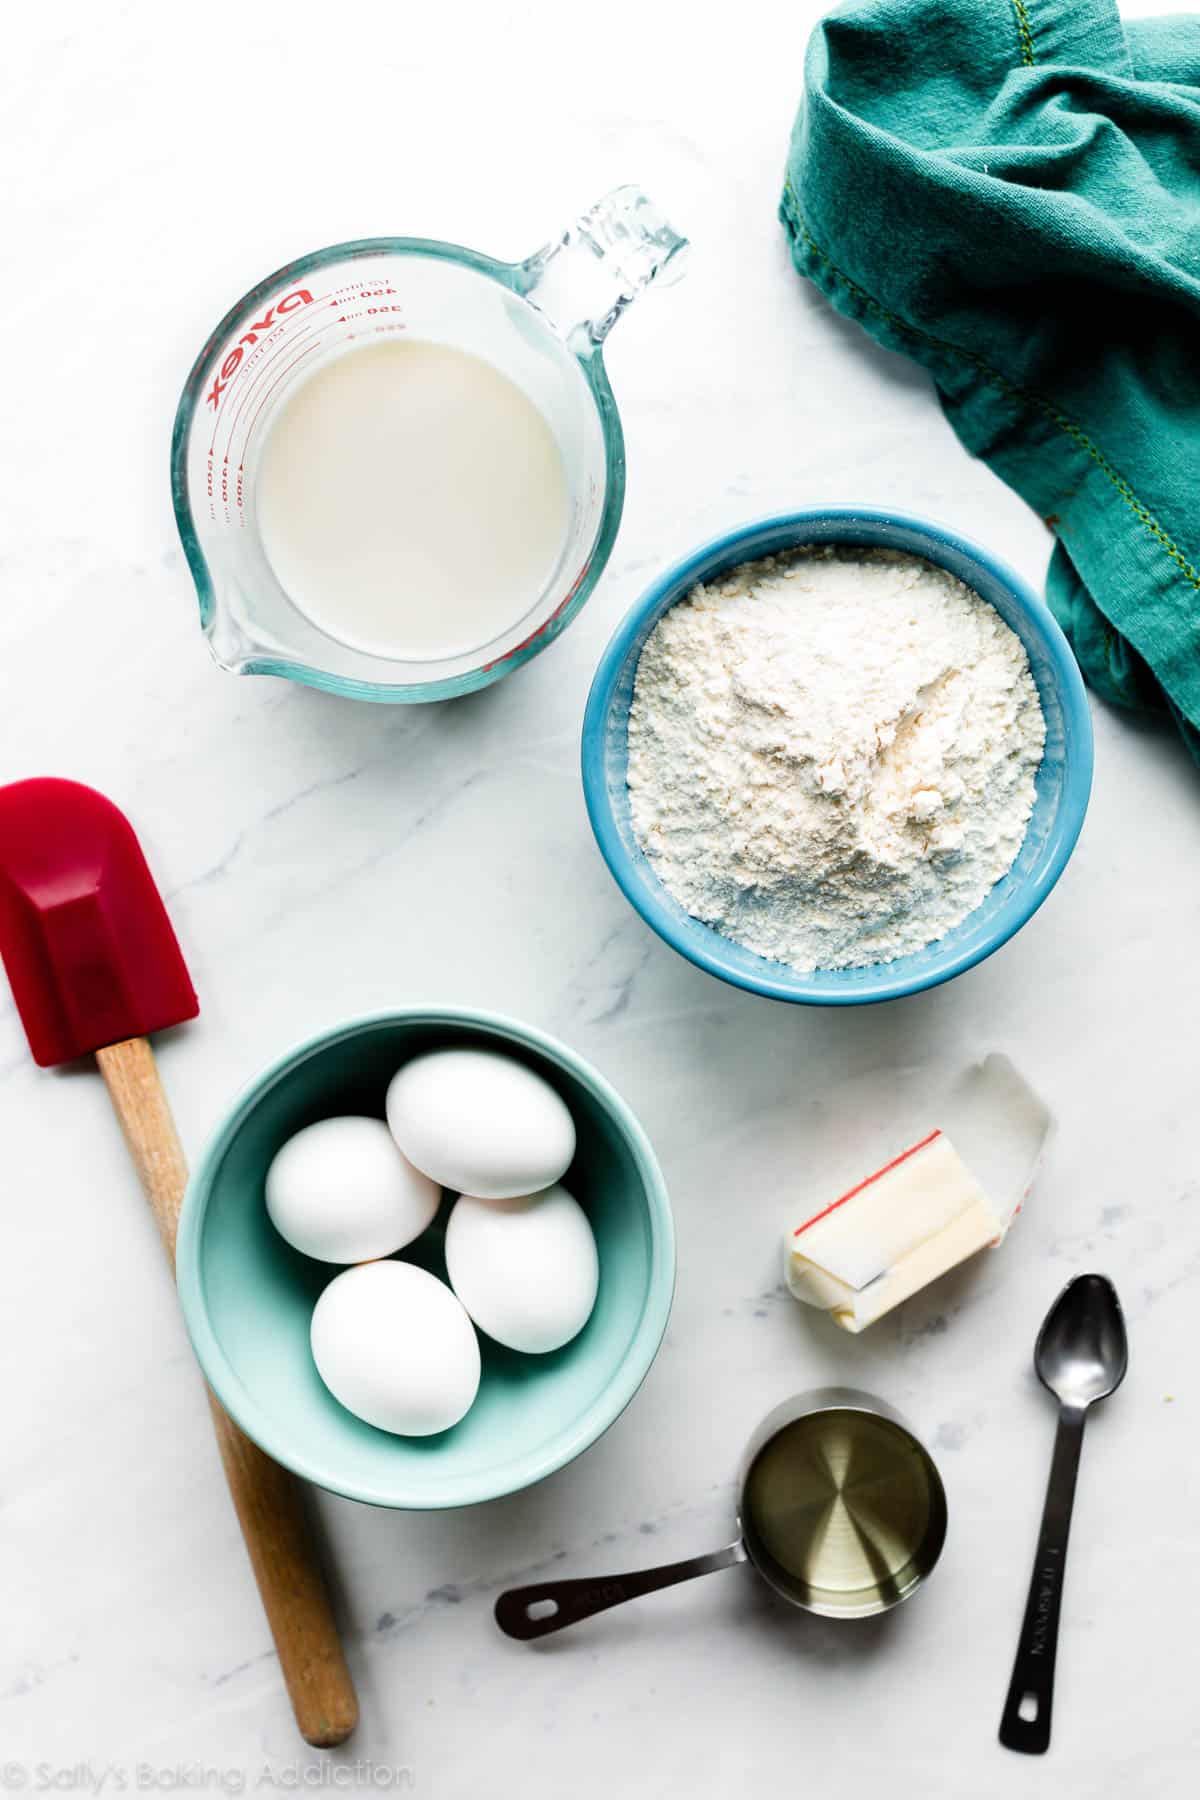
3. Measure Properly
This tip also sounds like a no-brainer, but it’s where we most often make mistakes. The difference between a recipe success and a recipe failure could lie within 1 mis-measured tablespoon of sugar. Measuring ingredients properly is imperative.
Flour is the most common mis-measured ingredient. When measuring flour, use the “spoon & level” method. Do not scoop the flour out of the container/bag with your measuring cup. In some cases, scooping the flour could give you 150% of the correct measurement. Disaster ensues. Rather, using a spoon, scoop the flour into the measuring cup. Do not pack the flour down and do not tap the measuring cup– both cause the flour to settle in the cup. After you’ve spooned the flour into the measuring cup, use the back of a knife to level off the top of the measuring cup. Now you have spoon & leveled flour.
Baking is not very forgiving. Understanding the correct measuring technique for a particular ingredient will guarantee better baking results. See my post about how to properly measure baking ingredients for a deeper dive into proper measuring practices.
4. Cake Flour
The more cake baking experience I have, the more often I reach for cake flour instead of all-purpose flour. You see, cake flour is a low protein flour that’s finely milled into a delicate consistency. This soft, tender texture directly translates into your baked cake. However, some recipes simply cannot withstand fine cake flour. Chocolate cake, for example, already has cocoa powder which is a VERY fine dry ingredient. In my experience, the combination of cake flour and cocoa powder results in a flimsy chocolate cake. Likewise, spice cake, carrot cake, hummingbird cake, and banana cake contain additional wet ingredients (the fruits or veggies), so cake flour usually isn’t ideal.
These days, I stick to cake flour when making vanilla cake, white cake, red velvet cake, and other cakes where a fluffy texture is favorable. I’ve been successful substituting cake flour for all-purpose flour to create softer pineapple upside-down cake and 1-layer sprinkle cake. Make a 1:1 substitution with no other changes to the recipe.
I’m not being paid to type this, but Swans Down and Softasilk are my preferred cake flour brands. I use unbleached when I can find it, otherwise I just stick with bleached. Both brands provide consistent quality results for a good price. You can find cake flour in the baking aisle next to the all-purpose flour. If you can’t get your hands on cake flour, use this cake flour substitute.

5. Don’t Over-mix, Don’t Under-mix
Whether a recipe calls for mixing batter with an electric mixer or simply using a whisk, make sure you’re mixing the cake batter together *just until* the ingredients are combined. Over-mixing batter, whether that’s for cakes, cupcakes, breads, muffins, etc, lends a tough-textured baked good because you’re deflating all the air and over-developing the gluten.
Don’t turn on the mixer then leave the room!
Likewise, don’t under-mix. Obviously we want all of the ingredients incorporated together.

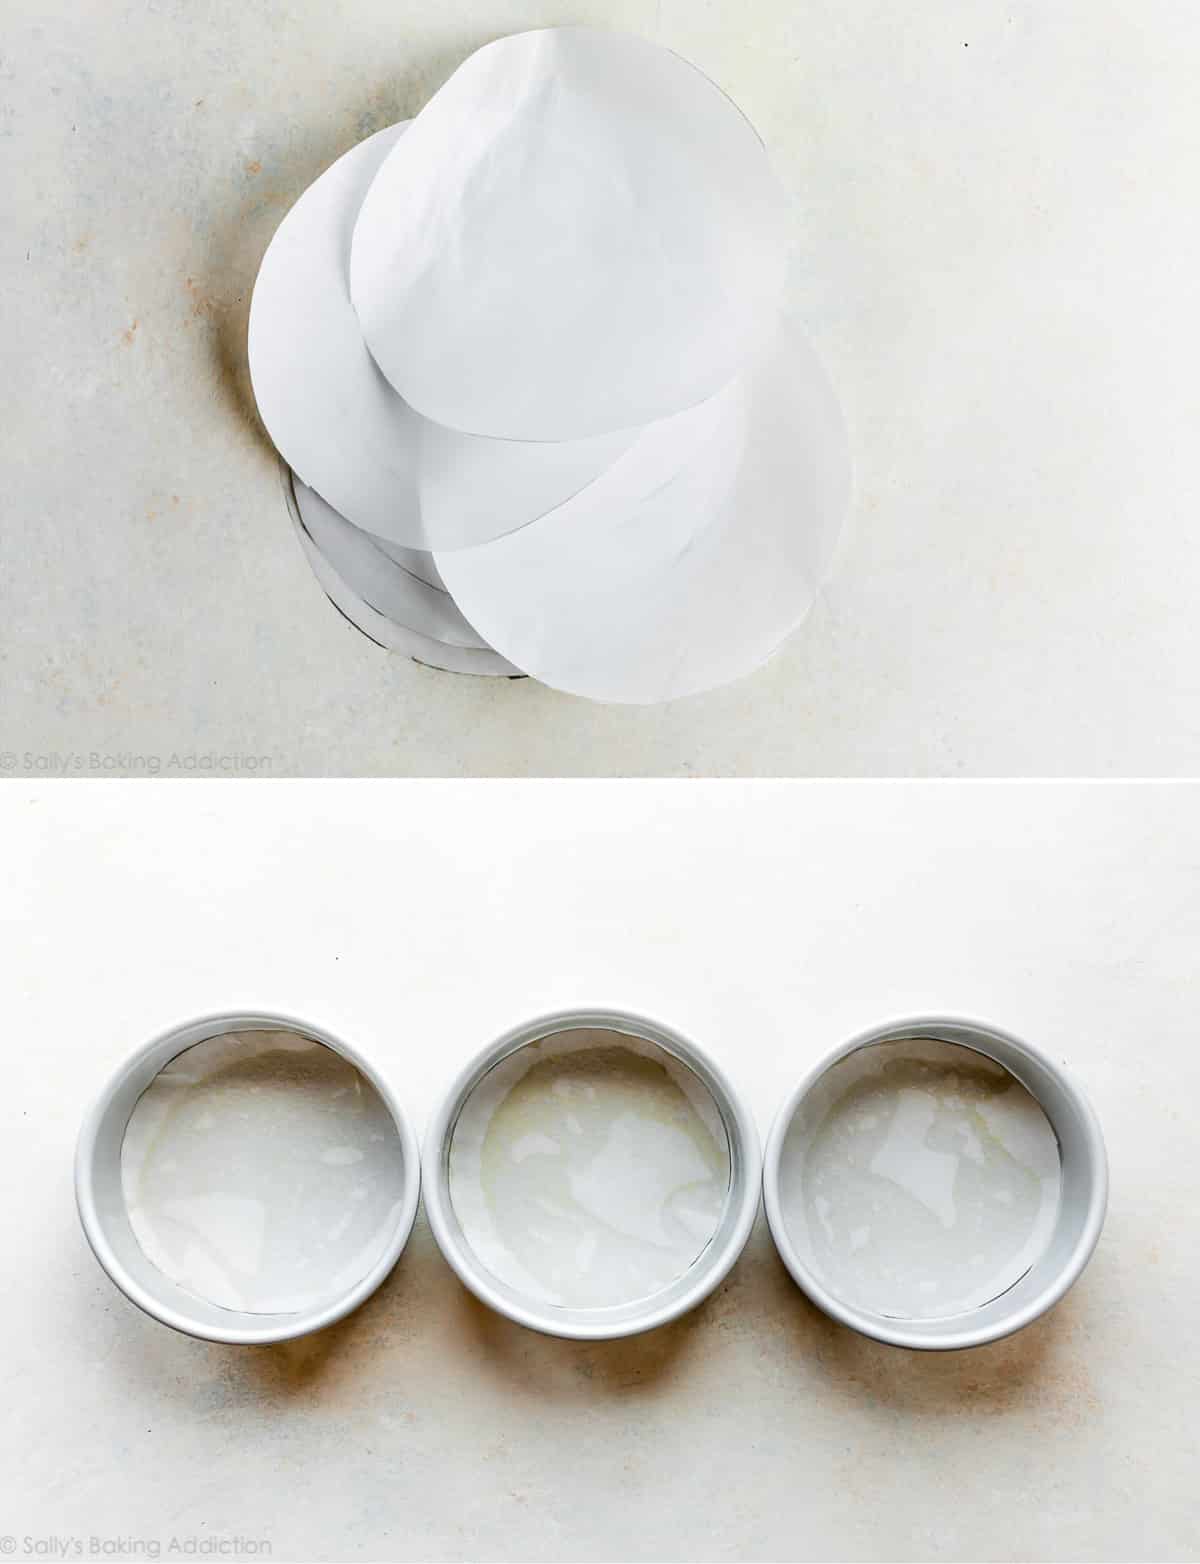
6. Use Parchment Paper Rounds
First, make sure you have quality cake pans. From one baker to another, I swear by Fat Daddio’s cake pans. I own the 9-inch, 8-inch, and 6-inch round pans. Incredible quality for the price. I’m not working with this brand, I’m just a genuine fan.
No matter what size or brand cake pan you use, make sure you prepare it appropriately. These days I ALWAYS use parchment paper rounds. Trace the bottom of the cake pans(s) on a large piece of parchment paper. Cut out the parchment circle(s). Then, very lightly grease the cake pans with butter or nonstick spray. I usually use coconut oil nonstick spray or “baking spray” which has a little flour in it. Place the parchment round inside, then grease the parchment round too. Yes, grease the pan AND the parchment. This promises an ultra non-stick environment for your cake. Never any sticking. I usually keep a stack of parchment rounds on hand just in case I’m in a rush to get a cake in the oven.
When the cake has cooled, run a thin knife around the edge, invert the cake on your hand or work surface, then pull off the cake pan. Peel off the parchment round.
If you’re serving the cake right out of the pan, such as a sheet cake, no need to line with parchment. (Though you certainly could if desired.) Just grease the pan.
7. Don’t Open the Oven
Don’t open the oven 25 times as the cake bakes. This lets in cool air and the drastic temperature change causes the rising cake to sink. (Temperature change is the same reason cheesecake can develop cracks.) Rather, follow the baking time in the recipe and check the cake one or two times for doneness. (Next tip.)
It’s also wonderfully helpful to own an oven thermometer. Unless you have a new or regularly calibrated oven, your oven’s temperature is likely inaccurate. When you set your oven to 350°F, it might not be 350°F inside. An inaccurate oven can ruin your baked goods. The inexpensive remedy is an oven thermometer. While cheap, they are totally irreplaceable in a baker’s kitchen. Place it in your oven so you always know the actual temperature.
Also, if you use a convection oven, always reduce the oven temperature by 25°F. It’s best to reduce the baking time as well– for cookies, it’s around 1 minute less. For cakes, cupcakes, bread, brownies, bars, etc (items with longer bake times), it’s usually reduced around 5 or so minutes. My recipes are written for conventional ovens.
8. Bounce-Back Test
You can determine if a cake is done by testing with a toothpick. Stick a toothpick in the center of the cake and if it comes out clean, it’s cooked through. But let me tell you what I do instead. And you don’t need to waste time and fumble around for a toothpick:
Remove the cake from the oven or leave it in, your choice. Gently press down on the cake. If the cake bounces back completely, it’s done. If your finger left a dent in the cake, it needs more time. So easy. I always do this!
This little trick can be used on muffins and cupcakes as well.

9. Cool the Cake Completely
This sounds like a no-brainer, but we’re often in a rush—myself included. Assembling and/or decorating cakes before they’re completely cool is literally a recipe for disaster. The flavor hasn’t settled and the frosting will melt.
If I’m in a major rush, I cool the cake in the pan for 30 minutes. Then I remove it from the pan and place it on a baking sheet inside the freezer or refrigerator for about 45 more minutes. Depending on the size of the cake, it’s completely cool in a little over 1 hour.
10. Storing & Transporting Cakes
Unless otherwise noted, cakes taste best at room temperature. (Love dark chocolate mousse cake cold though!) If you prepare cake one day ahead of time, you can bake and cool it, then cover it tightly and keep at room temperature. Fresh frosting tastes best, so assemble and frost the day of serving. If storing a frosted cake, keep it covered in the refrigerator. Set it on the counter before serving so it warms to room temperature. All of my cake recipes include make-ahead instructions.
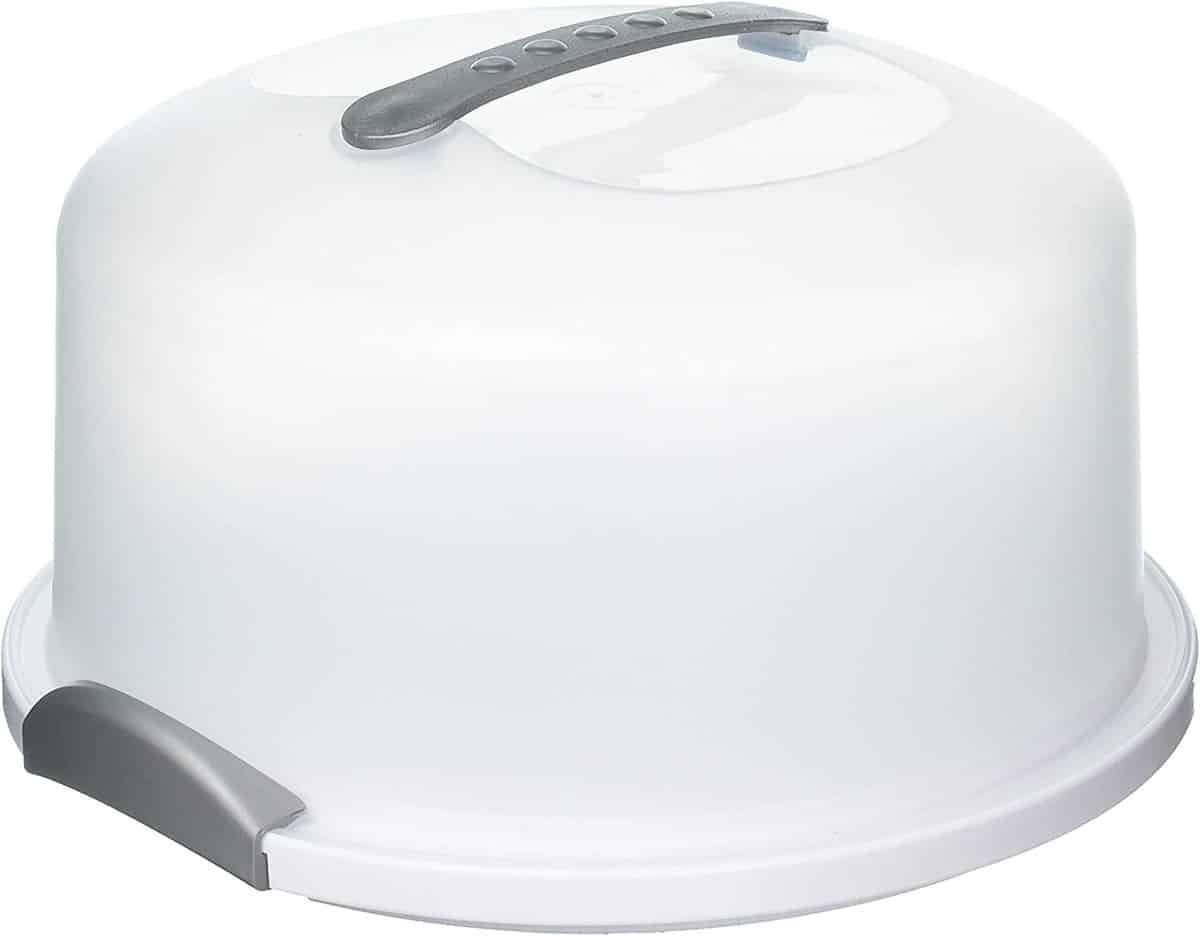
How do I cover a frosted cake without ruining the frosting? A cake carrier! I own a handful of these and they’re an absolute lifesaver when it comes to storing and transporting cakes. I recommend them in this Cake Decorating Tools list, too. I also love this cupcake carrier for storing and transporting frosted cupcakes. And not just cupcakes/muffins—this carrier is also excellent for transporting 9×13-inch cakes, round pies, cookies, and more.
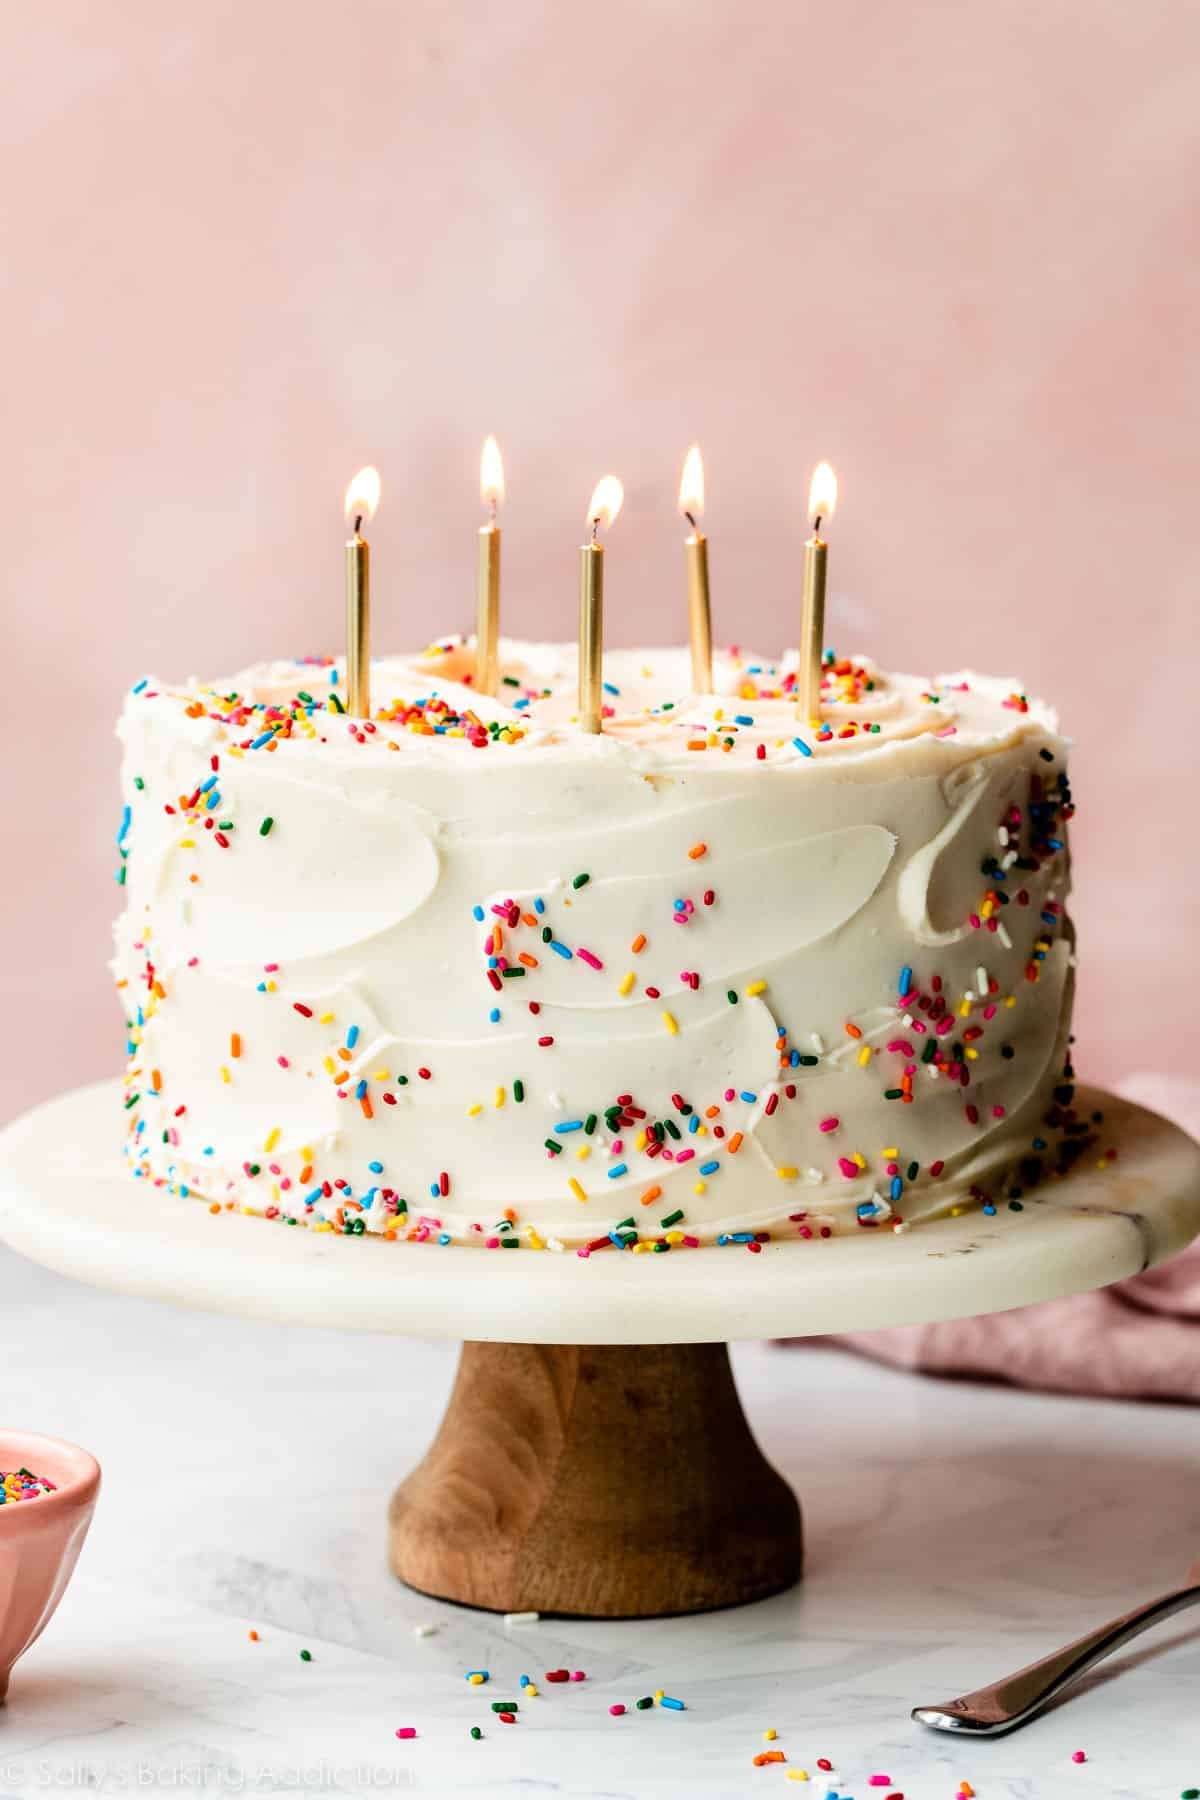
11. Bonus Tip: Easy Decorating
When it comes to cake decorating, I prefer classic and simple. This is mostly because I need more practice with intricate decor. But I’m an expert on EASY and BEAUTIFUL cake garnishes. Naked cake style is probably my favorite and requires zero special skill. Easy buttercream flowers require just 2 piping tips. Or try two-toned frosting roses! Whipped cream swirls, as shown in my lemon cake, are just as lovely as they are easy.
And don’t pass up the lovely 2-ingredient ganache drip. Surprisingly easy, especially if you have a squeeze bottle. You can see it here on my chocolate chip cake.

And here’s my piping tips tutorial with my 5 favorite piping tips.
Helpful Cake Tools
Here is my complete Best Cake Decorating Tools page. Some favorites:
- Quality Cake Pans
- Electric Mixer (Handheld or Stand)
- Cake Turntable (for decorating). This works for any size cake. You can watch me use it in my naked cake video. If you don’t want to serve the cake on the cake turner, you can carefully lift the cake off of the cake turntable onto a serving plate or cake stand using a friend and a couple thin flat spatulas.
- Bench Scraper (for decorating).
- Straight Icing Spatula. I prefer using a straight spatula for decorating large, tall layer cakes. A small straight spatula is handy for running around the edges of a cake to remove it from the pan or to spread frosting on a smaller cake. I prefer using a small offset spatula to decorate sheet cakes that are served inside the pan or even small 6 inch cakes, too.
Even More Cake Baking Tips
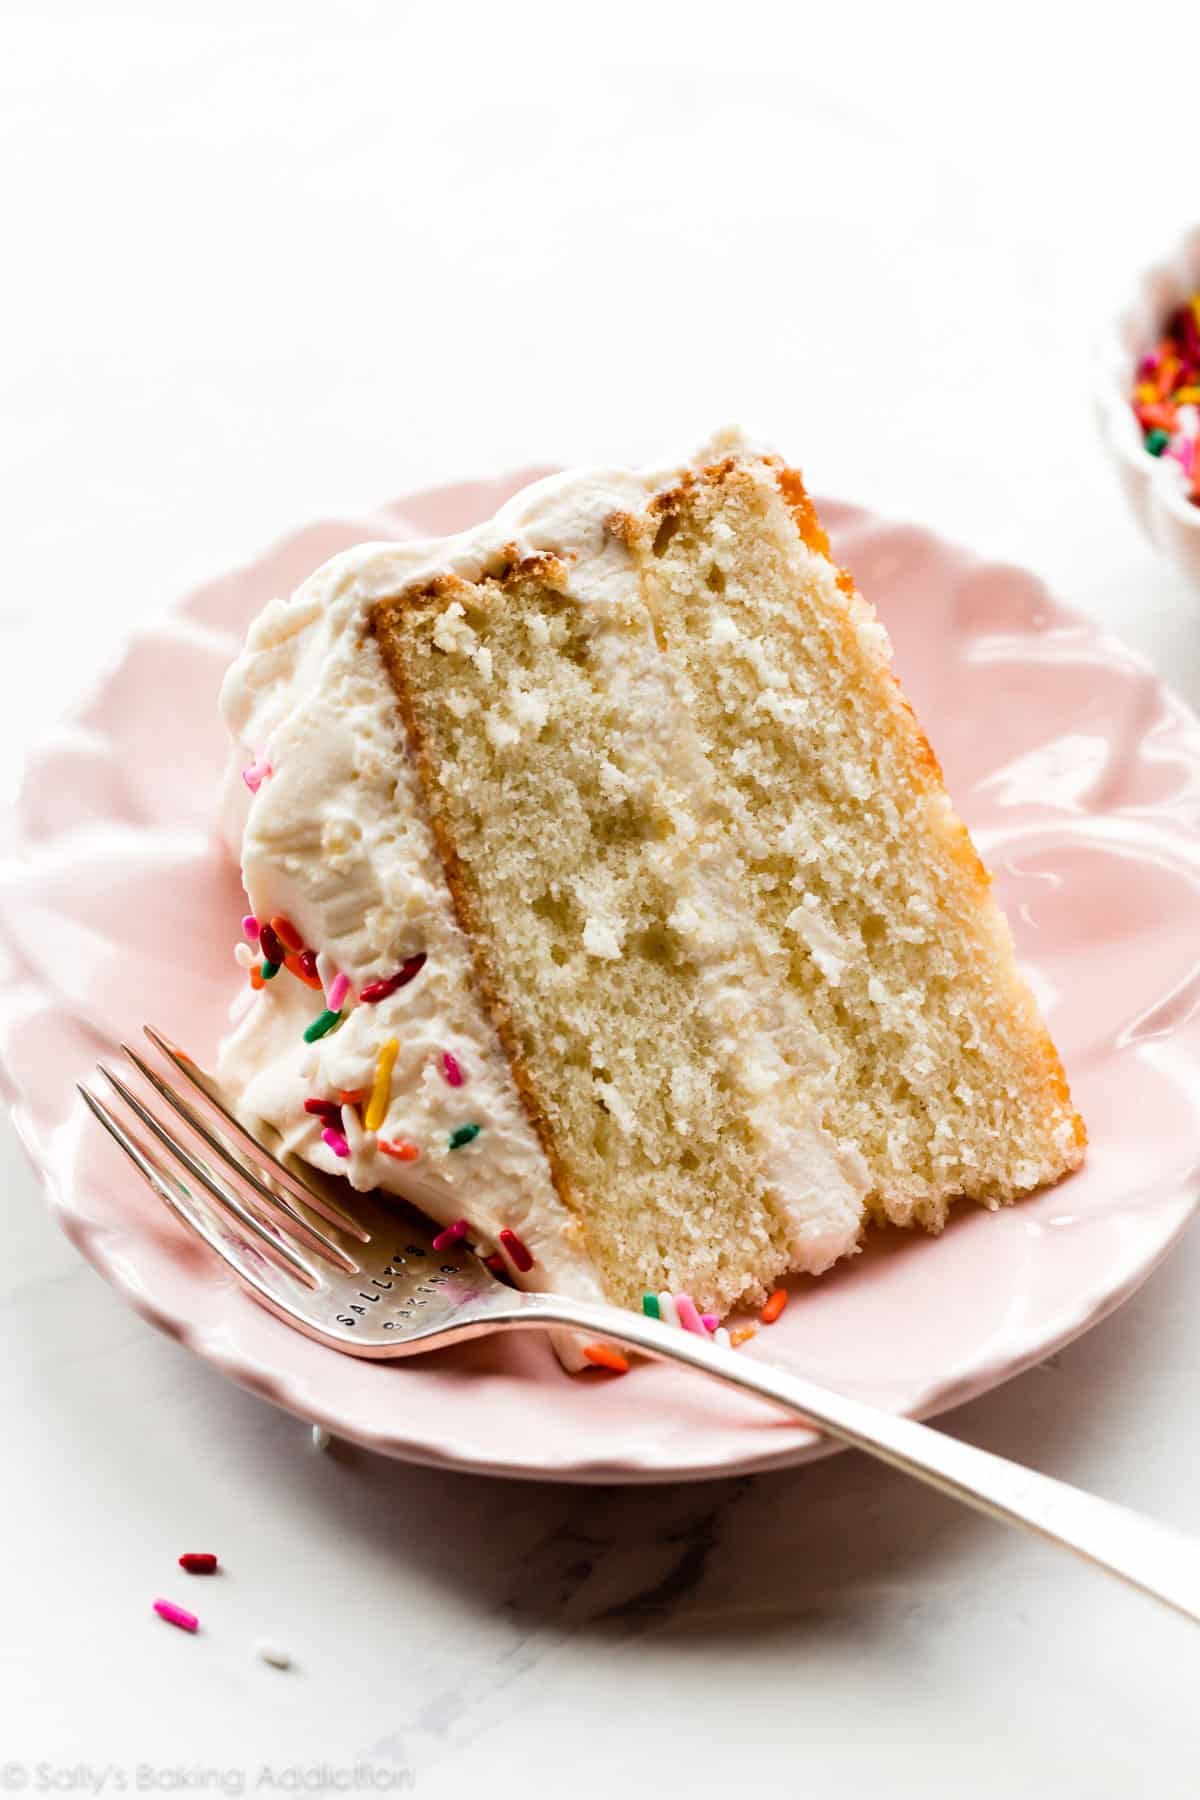
- 6 Inch Cake Recipes (vanilla cake pictured above)
- My 10 Best Baking Tips
- How to Use Piping Tips
- Best Cake Baking Tools
- 14 Best Baking Tools Every Baker Needs
- Baking Powder Vs Baking Soda
- Dutch process vs. natural cocoa powder


Reader Comments and Reviews
I thought I read somewhere that you don’t need to, (or shouldn’t), grease the sides of the cake pan so it rises evenly or higher (?). I’m making your wonderful coconut cake using a 13×9 Fat Daddio pan. Thanks!
Hi Kate! We always grease the sides of the pan so they don’t stick.
Thanks! Appreciate that you take the time to answer the many, many questions we submit!!
I am a loyal follower and have been for years but now I need your advice please. I am working with a 8″ hemisphere cake pan and had a major flop using your funfetti vanilla cake recipe.
Do you have any suggestions as to which of your recipes would suit this 8 x 4 hemisphere cake pan.
Thank You
Sincerely
Hi Barbara, We wish we could help but we haven’t tested any of our recipes in that particular shape pan. Does the cake pan specify how many cups of batter to use? If so, you can measure out the correct amount of batter and use any leftover for some extra cupcakes.