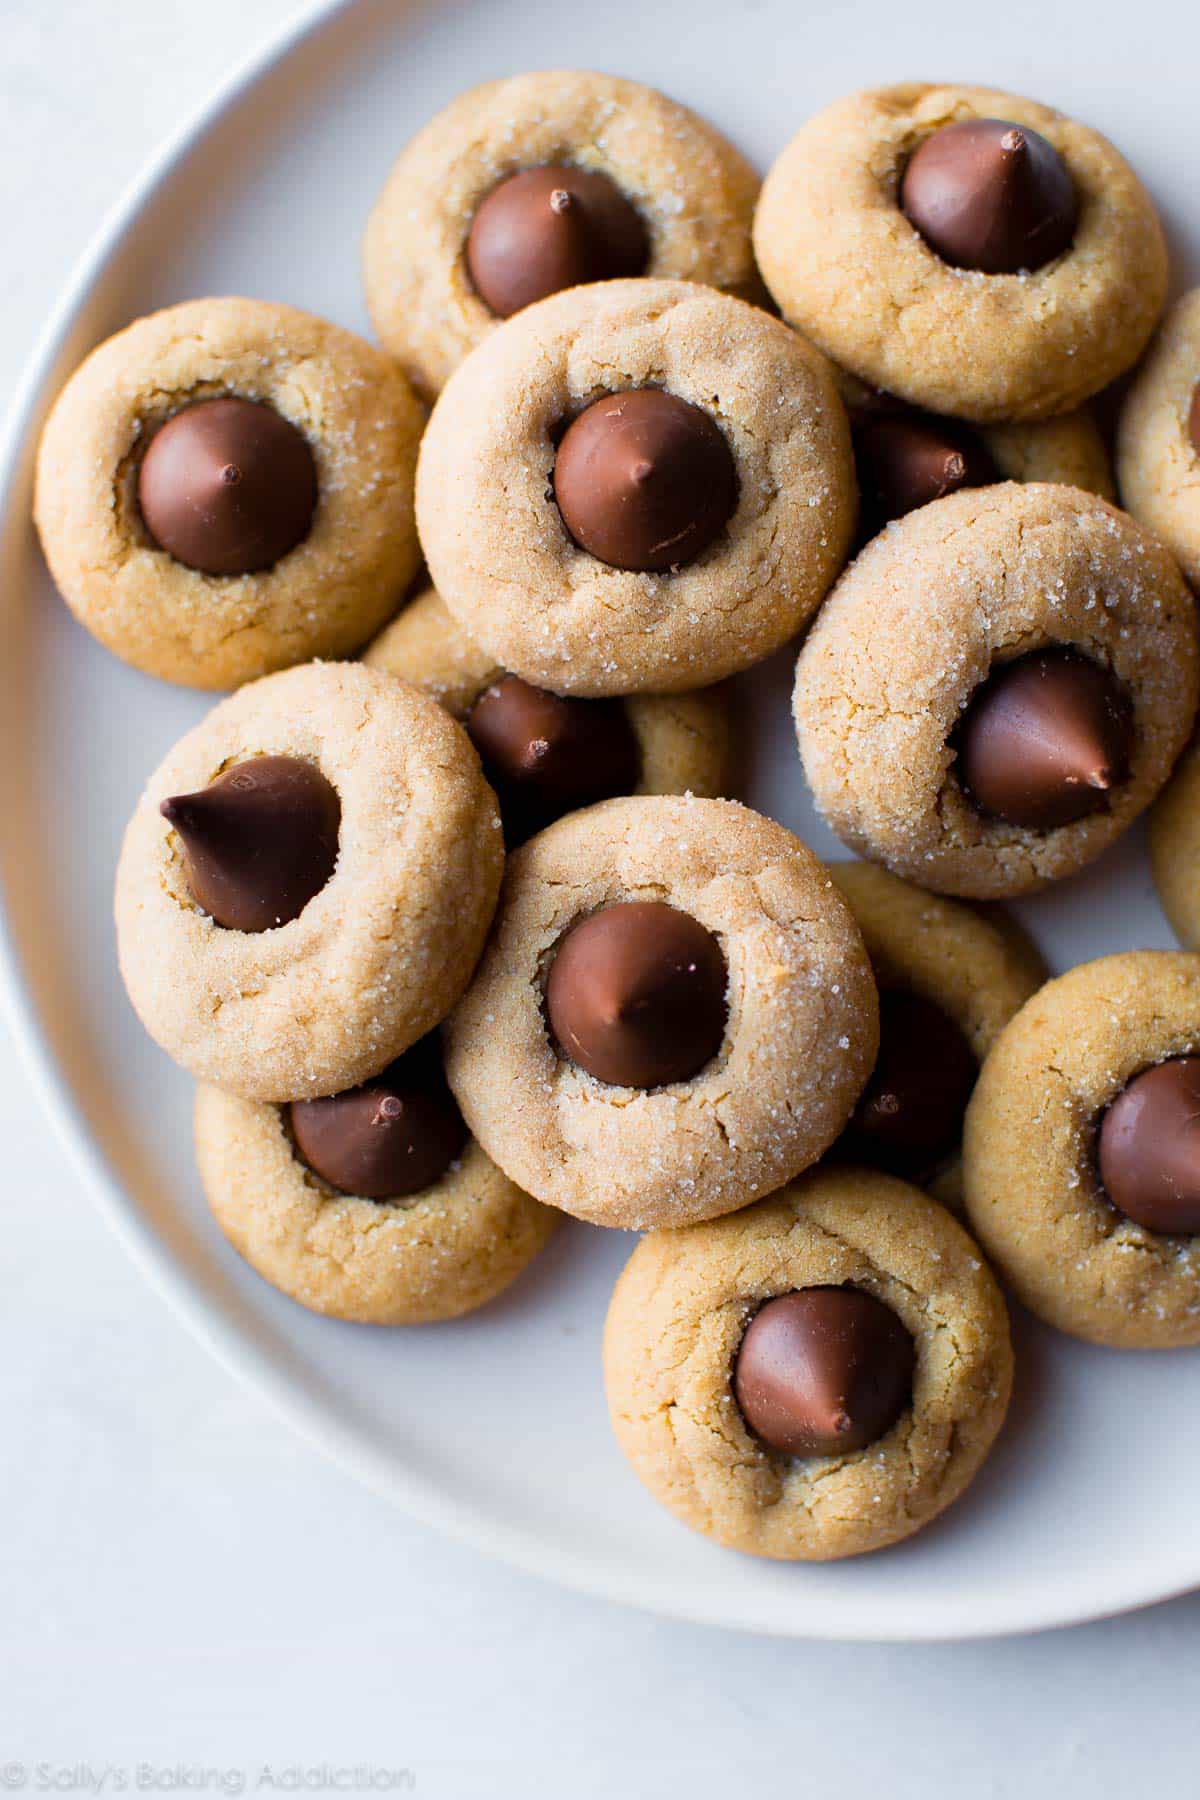
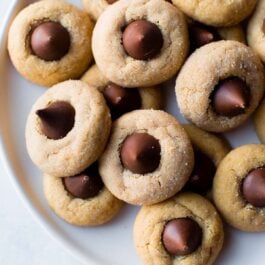
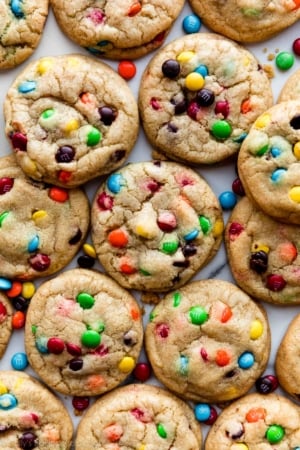
Homemade peanut butter blossoms are the quintessential Christmas cookie and trademark of any holiday cookie tray. My classic recipe yields soft, peanut buttery, and easy-to-make festive cookies!
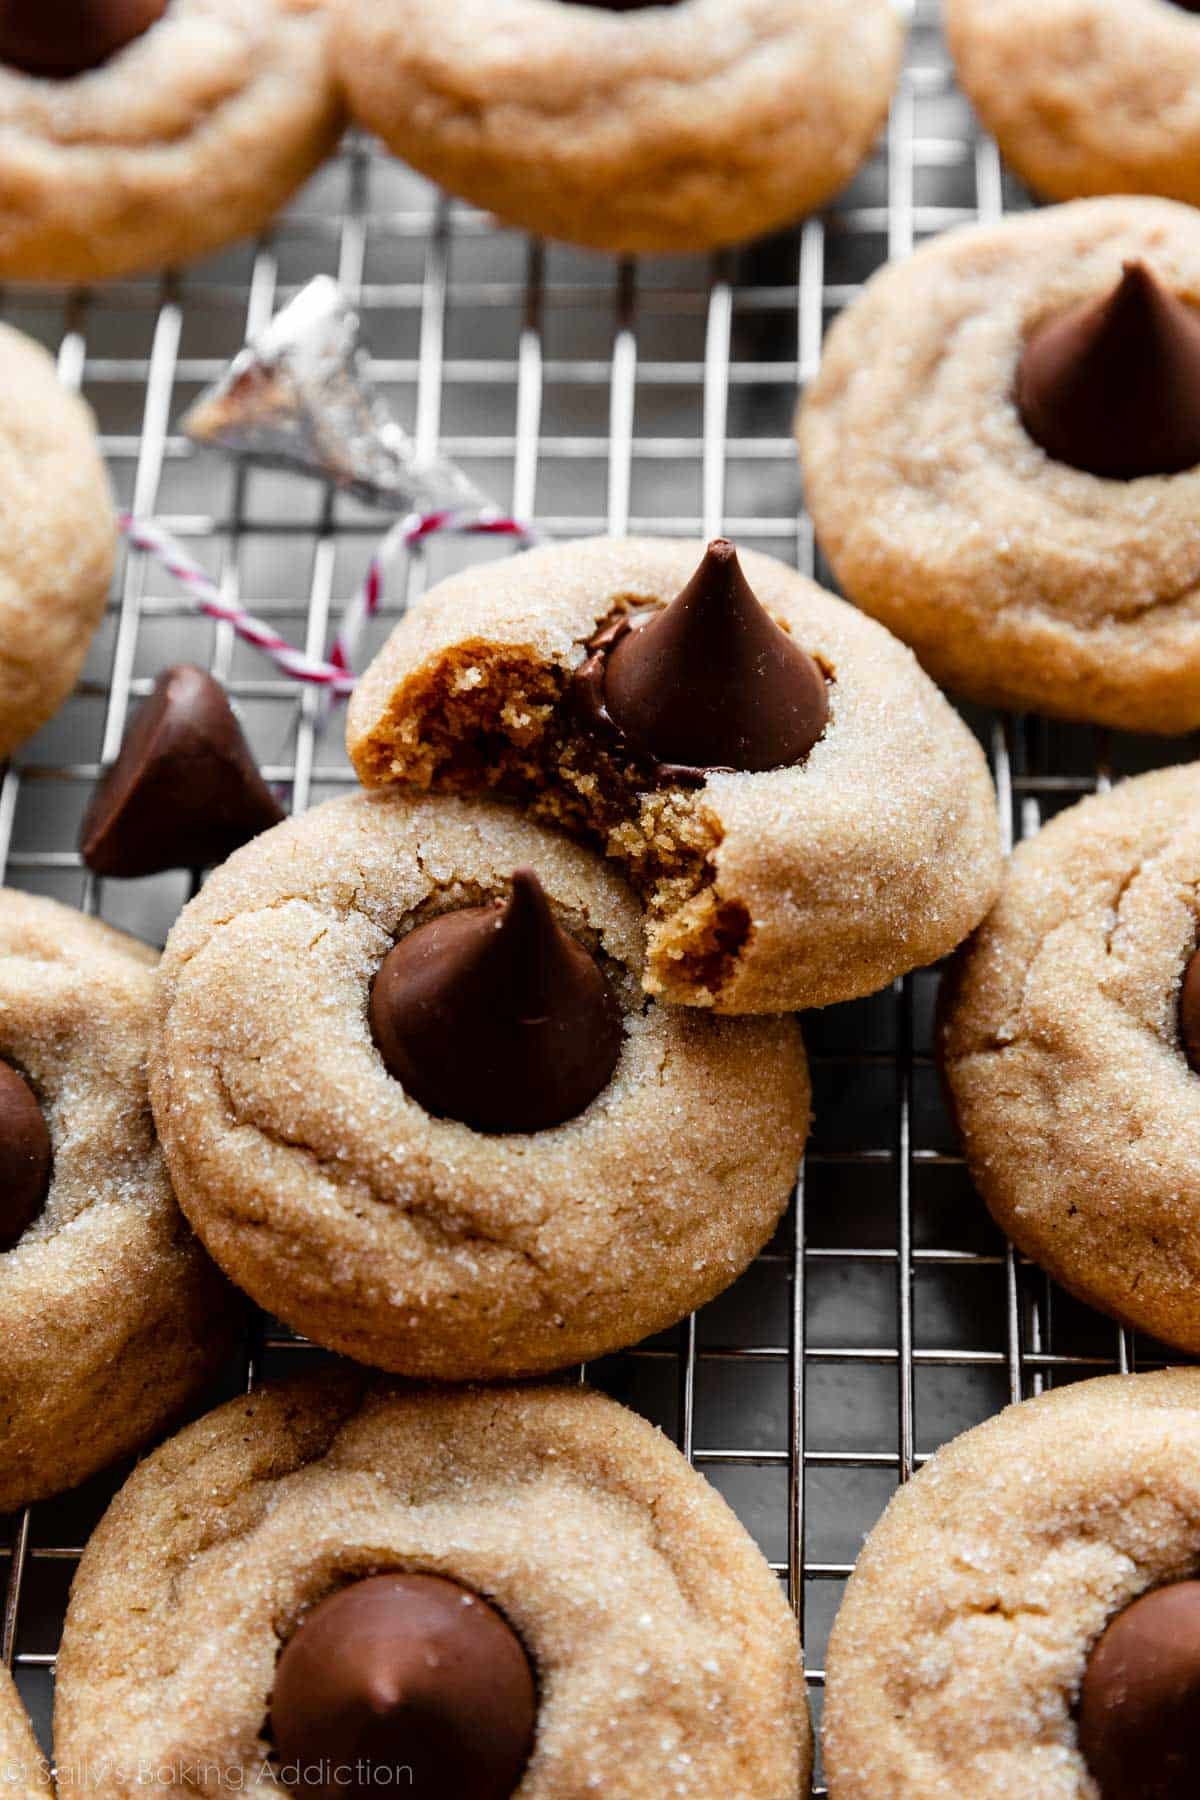
Peanut butter blossoms are easily one of the best Christmas cookies on this planet because they’re (1) easy to make, (2) super cute, (3) peanut butter + chocolate, and (4) peanut butter + chocolate. (Have to list that twice!)
This soft-baked-style peanut butter cookie is a tried and true favorite (you can even find the recipe in my cookbook, Sally’s Candy Addiction). I originally published the recipe in 2016 and it’s been well loved since. While small, these cookies pack a mighty peanut butter punch, and that’s what everyone loves about them!
What Makes These the Best Peanut Butter Blossoms?
- Simple + straightforward recipe using the same base dough as my flagship peanut butter cookies recipe (note that today’s recipe uses 1 Tablespoon less flour)
- Mega peanut butter flavor
- Extra soft & thick
- Only 1 hour needed for dough chilling, so they’re relatively quick
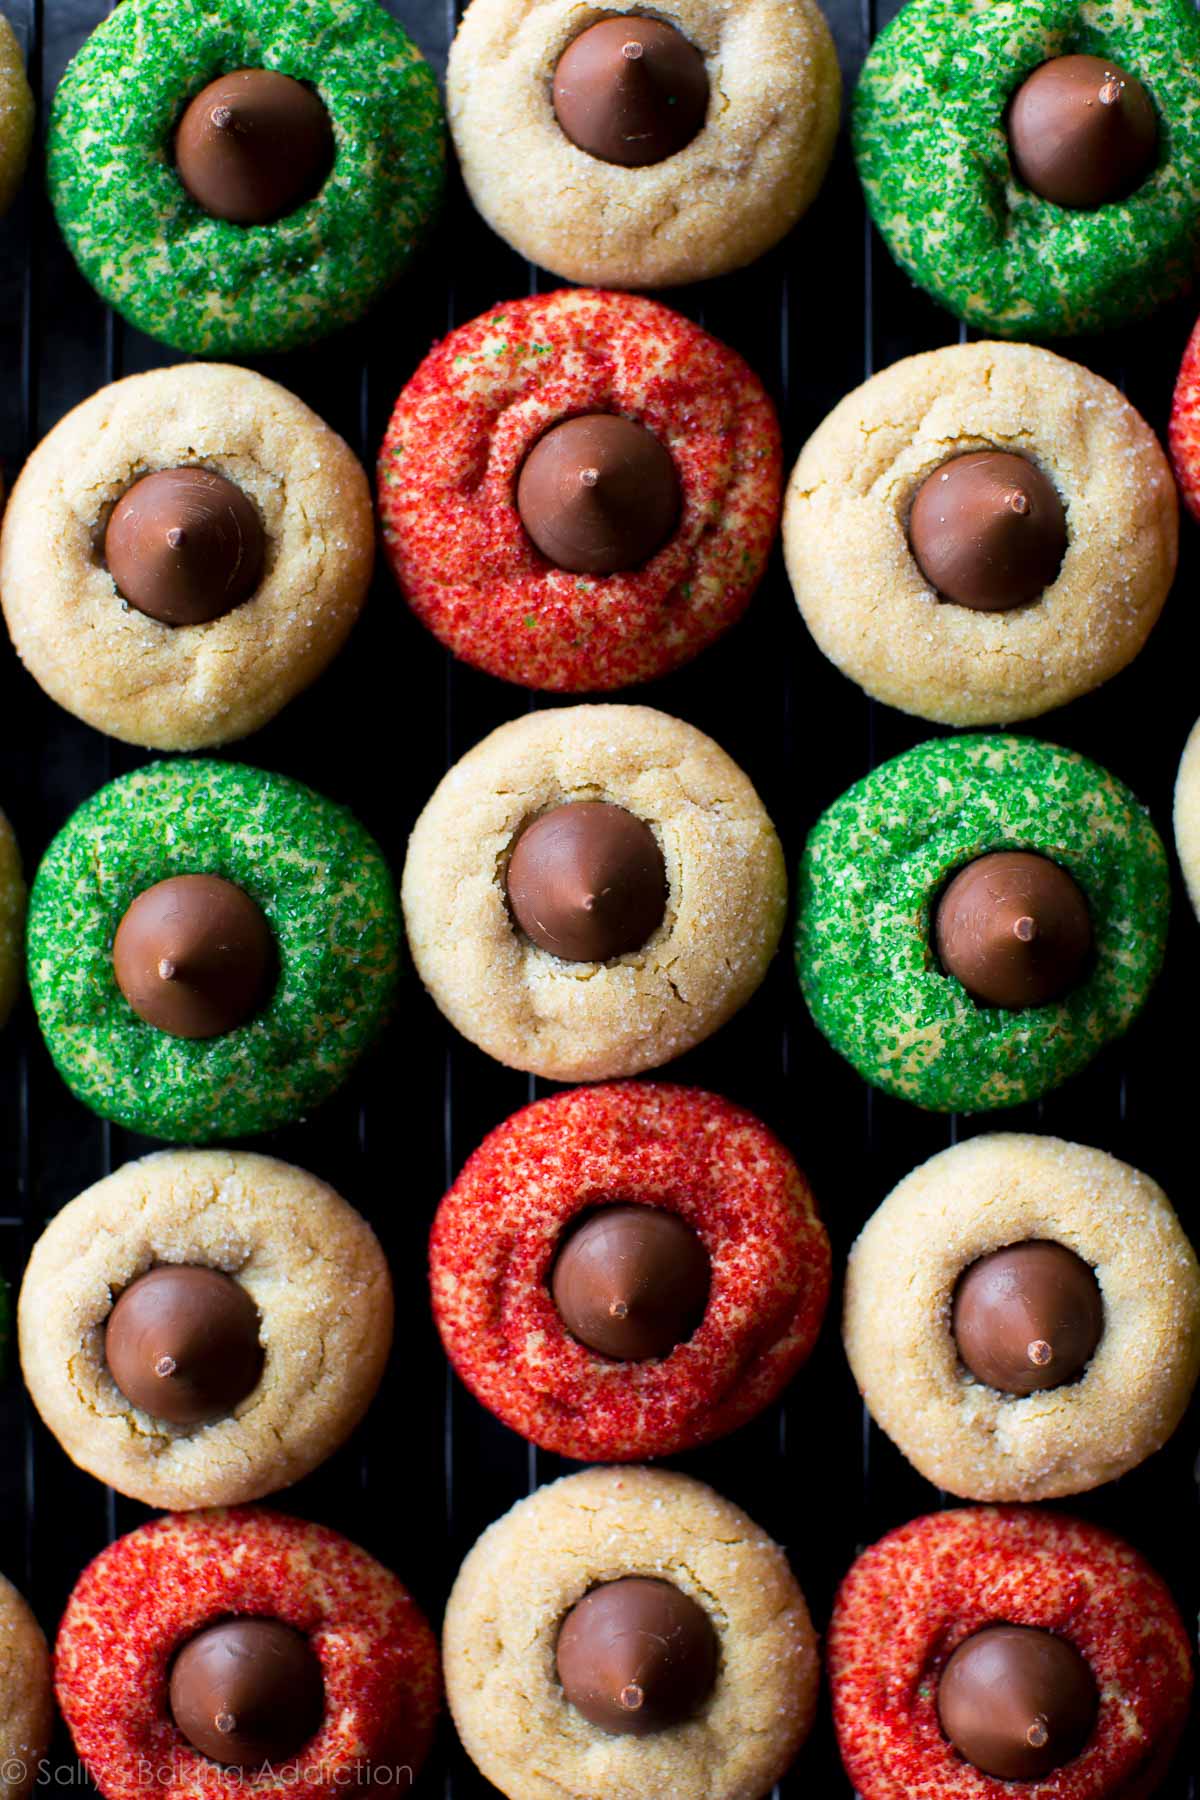
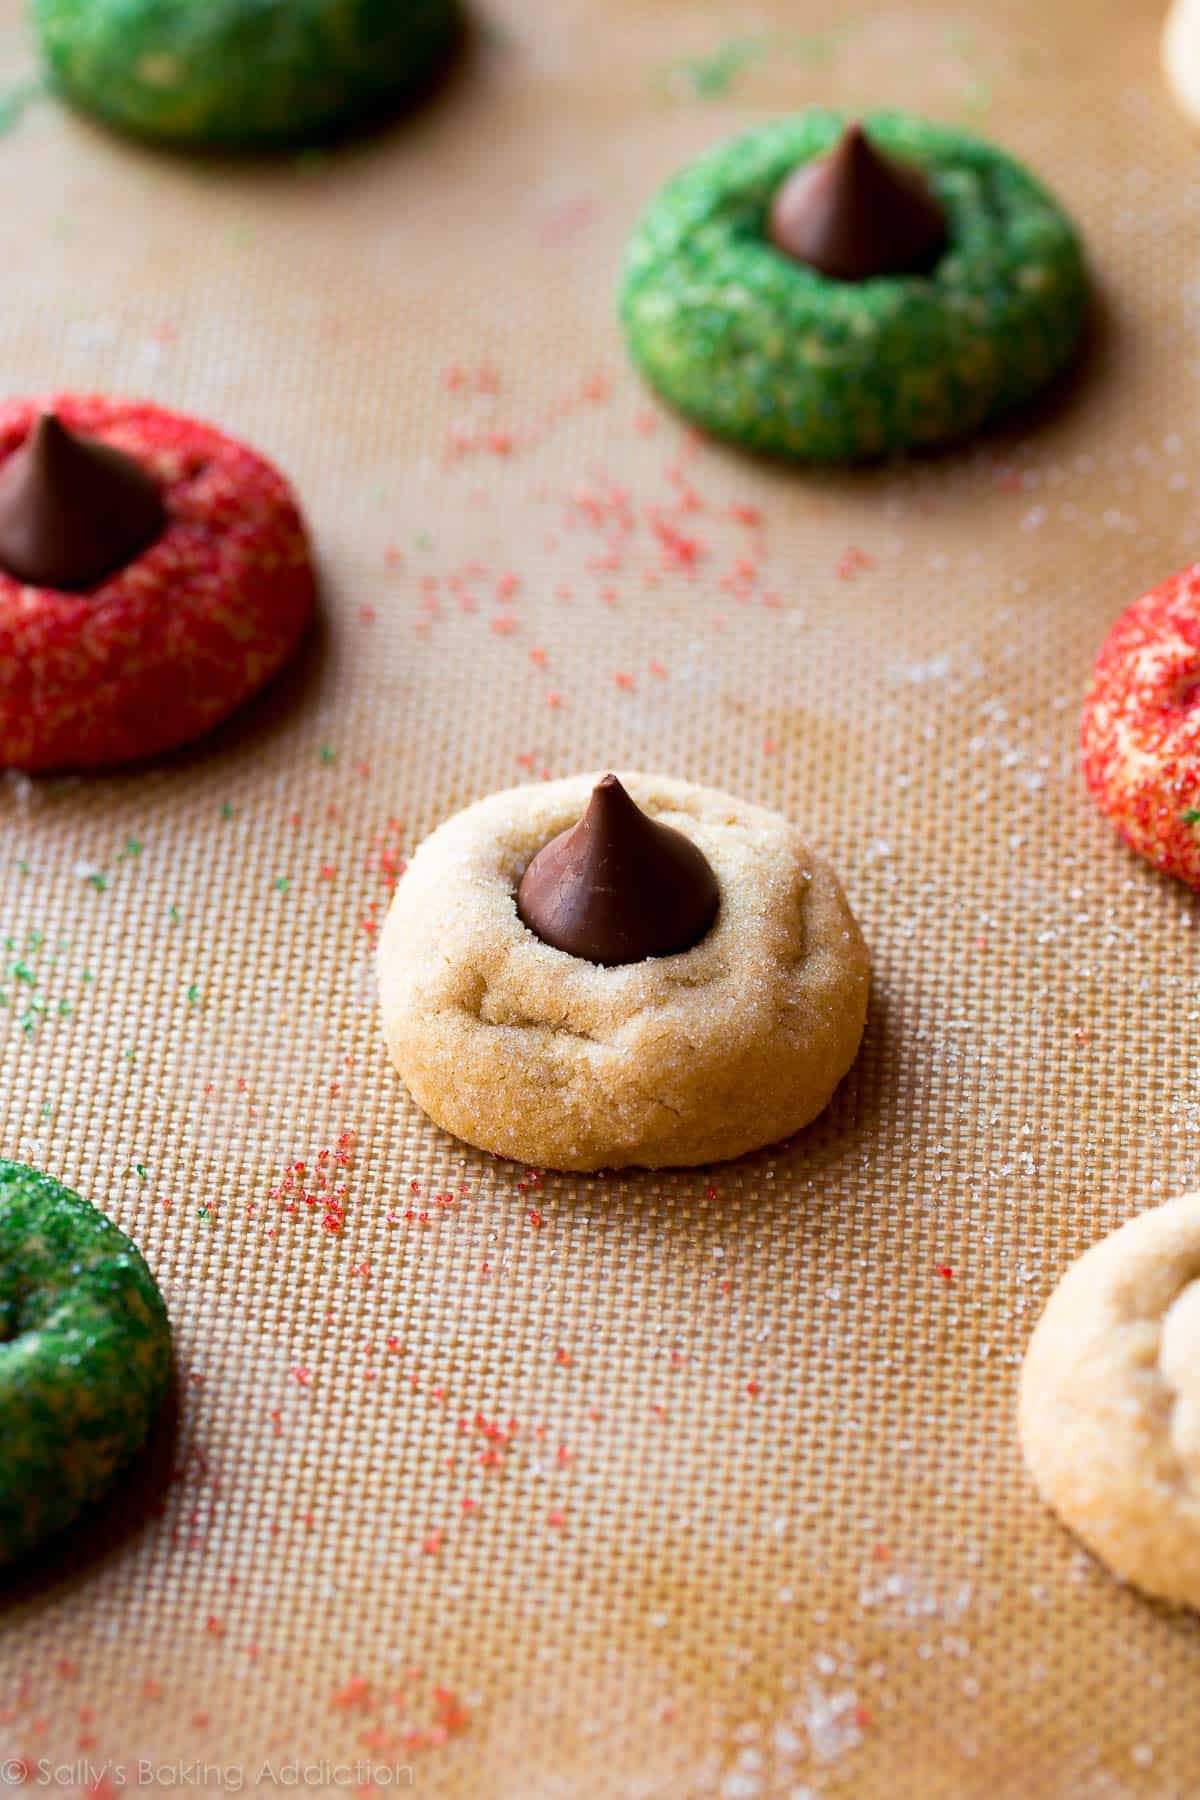
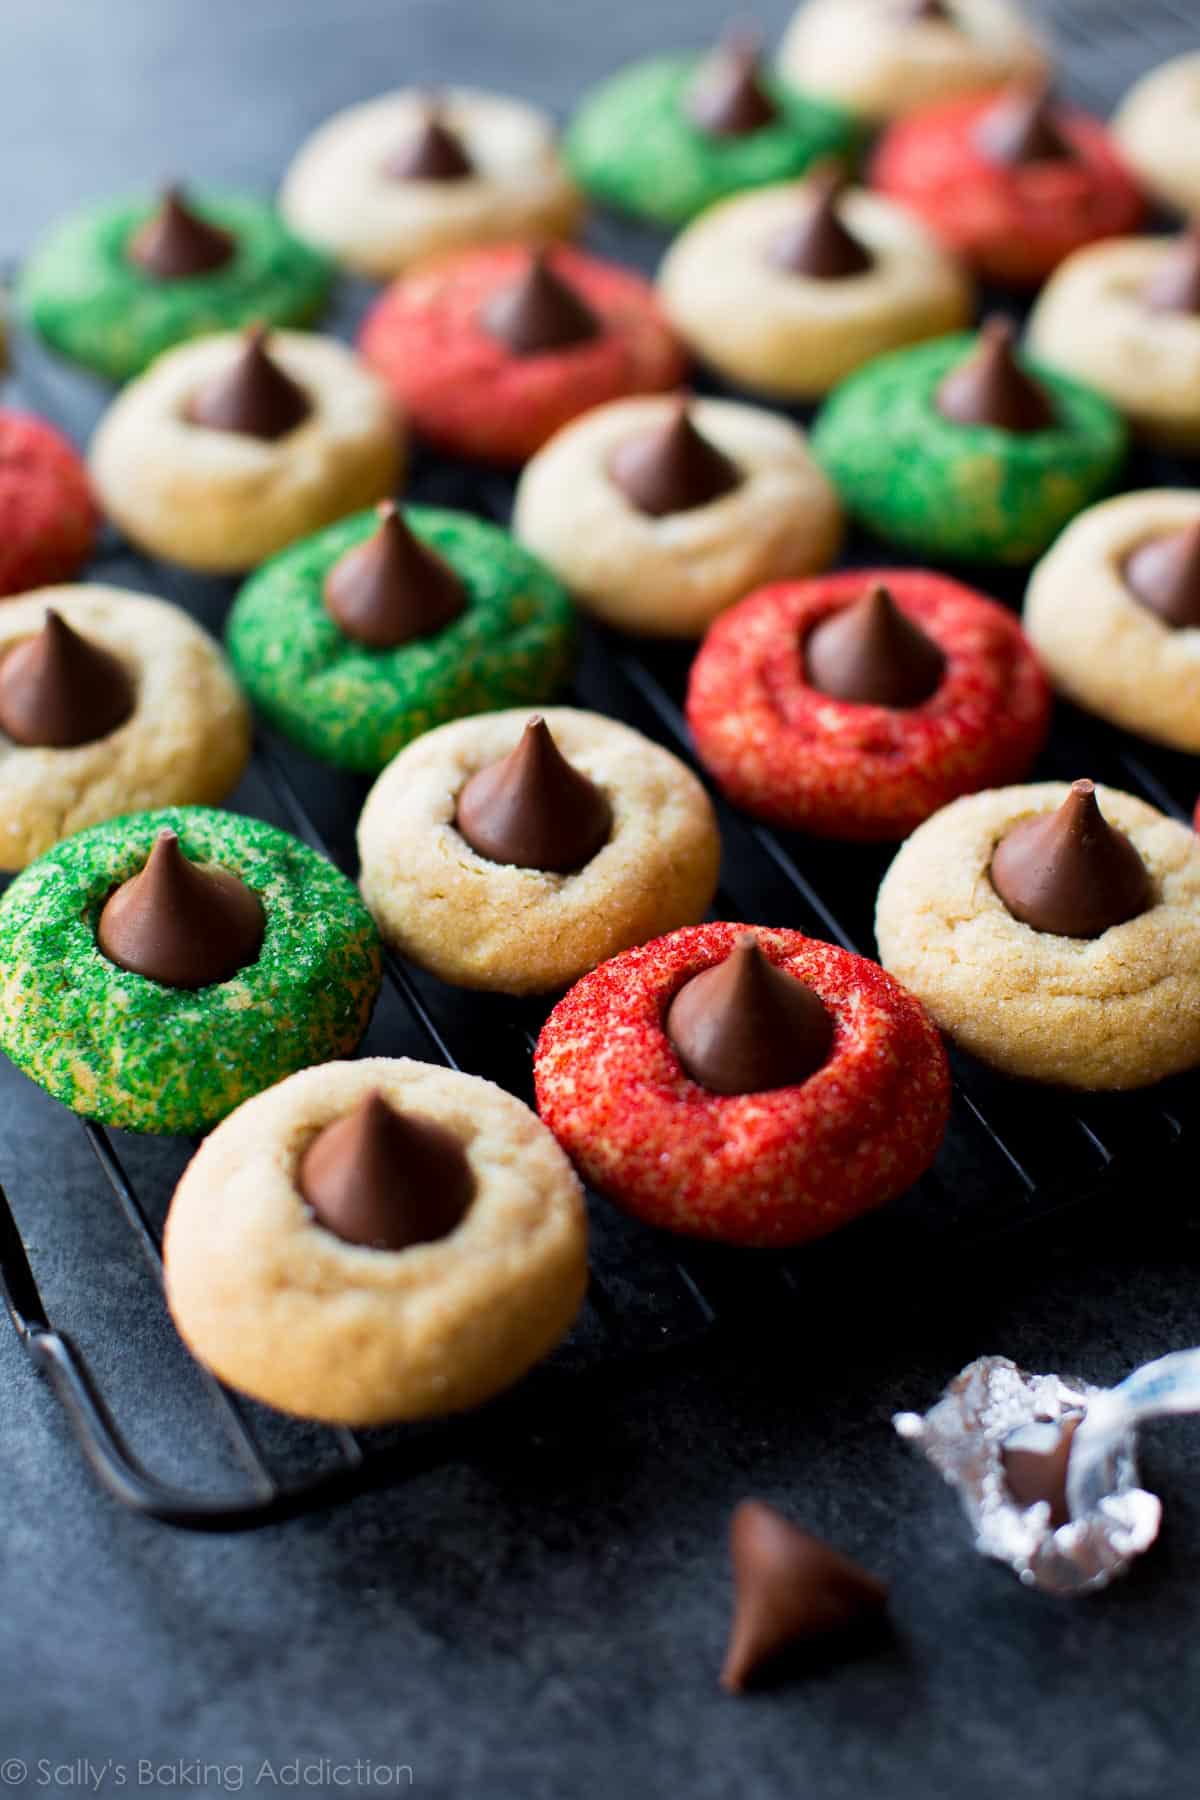
- Rolled in granulated sugar for an extra sparkle—use colorful sanding sugars for a festive touch
Key Ingredients in Peanut Butter Blossom Cookies
Here’s what you need to make this classic Christmas cookie recipe. You can find the full printable recipe below.
- Flour: We use all-purpose flour as the base of these peanut butter cookies. You may look at the recipe and wonder why there’s so little flour. Did you know that nut butters act as a binder and can actually replace some or all flour in cookie recipes? See these flourless almond butter cookies and flourless monster cookies. Using more flour will dry out the cookies, so stick with the recipe below.
- Baking Soda: Baking soda helps the cookies rise.
- Salt + Vanilla Extract: Use both salt and vanilla extract for flavor.
- Sugars: We use a combination of granulated sugar and brown sugar in this recipe. Both for sweetness, and brown sugar for extra softness.
- Egg: One egg binds everything together.
- Butter: Butter adds flavor and structure. Make sure you have proper room temperature butter before beginning.
- Peanut Butter: Peanut butter is the most important ingredient for peanut butter cookies. For best results, use processed peanut butter like Jif or Skippy—the same I recommend for my peanut butter balls and peanut butter chocolate chip cookies.
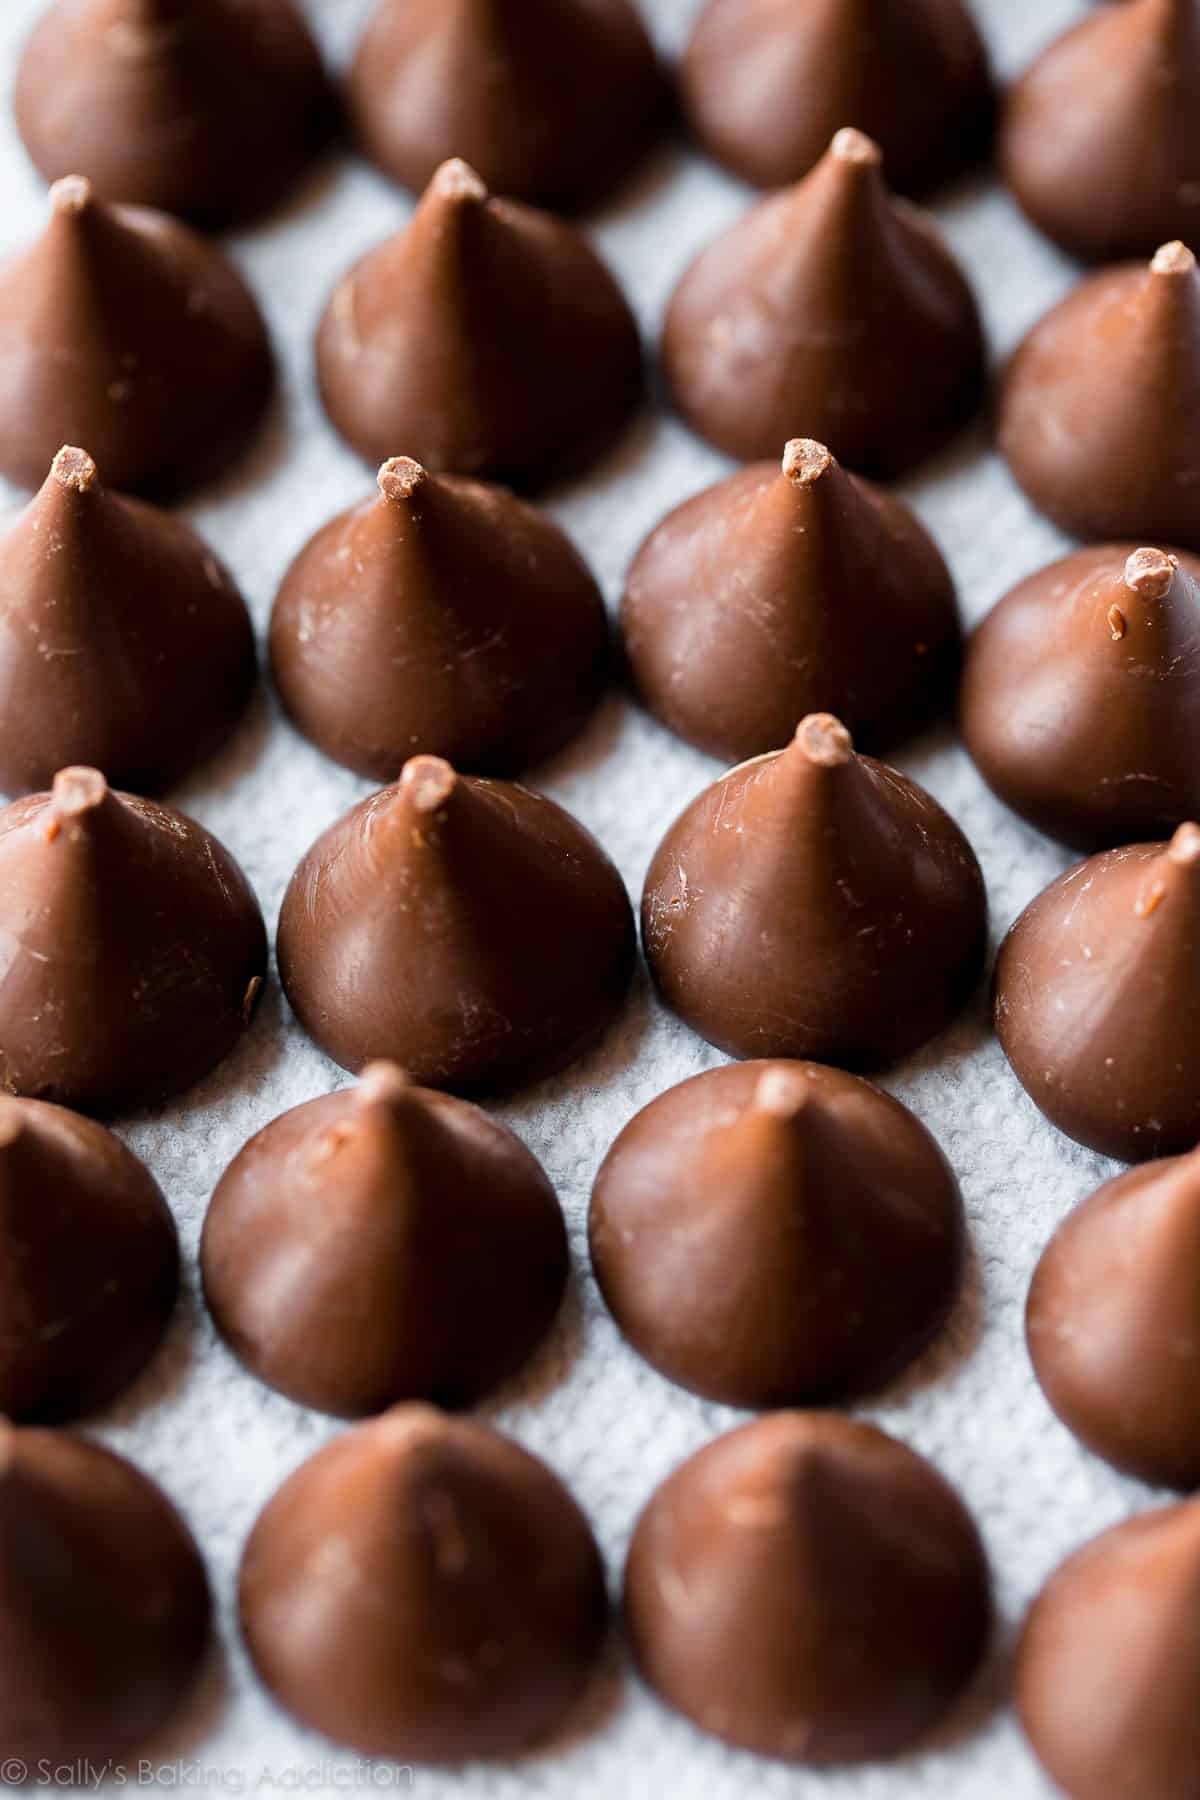
- Chocolate Kiss Candies: A necessity! This is the “blossom” part of these cookies.
And you have candy options! Instead of a Hershey’s Kiss, try a peanut butter cup or chocolate heart like I do in my peanut butter cup cookies and sparkle sweetheart cookies. Or fill with jam like in my peanut butter jam thumbprints.
These Step-by-Step Photos Will Help
You can find the full written recipe below, but let me walk you through these steps. These cookies are quick and simple—a welcome recipe during the busy holiday season.
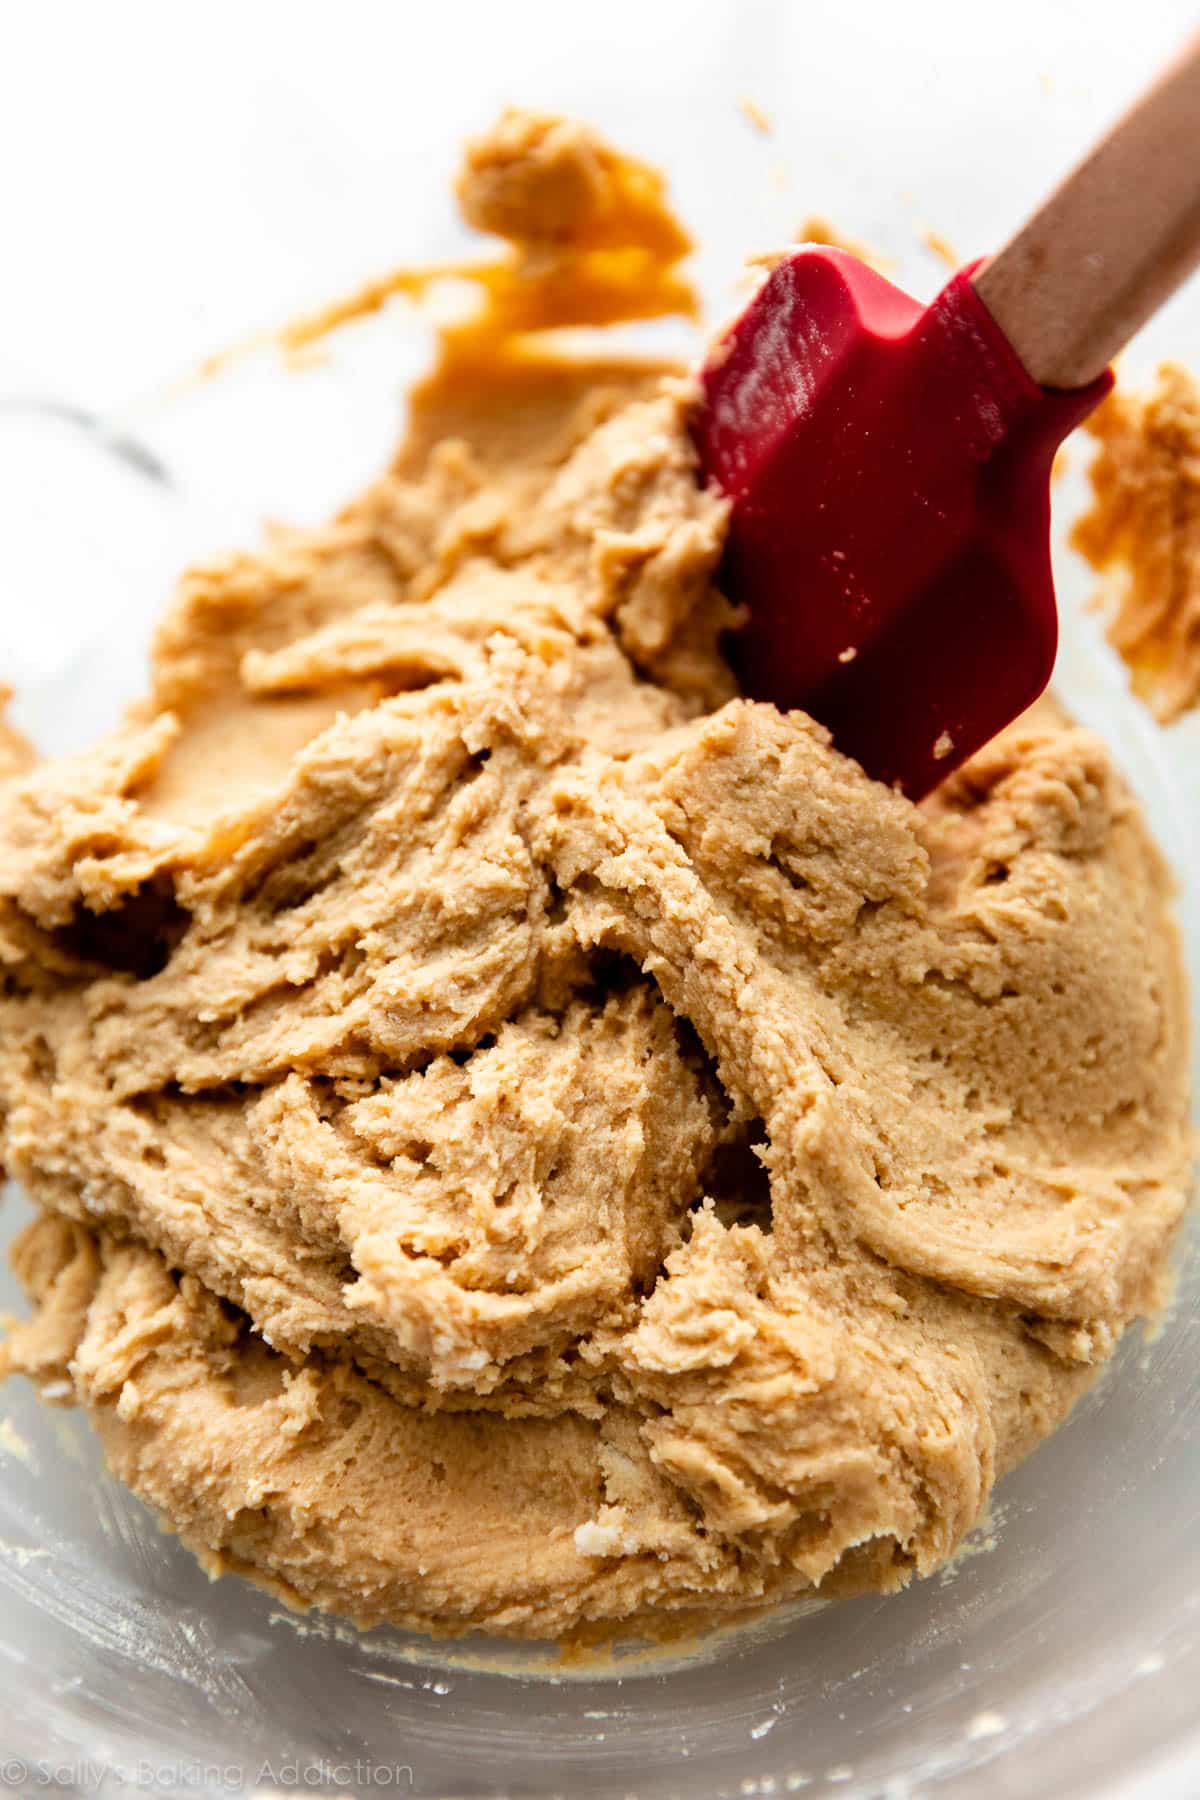
Make the dough. You’ll combine the dry and wet ingredients separately, and then together. Expect a very soft cookie dough:
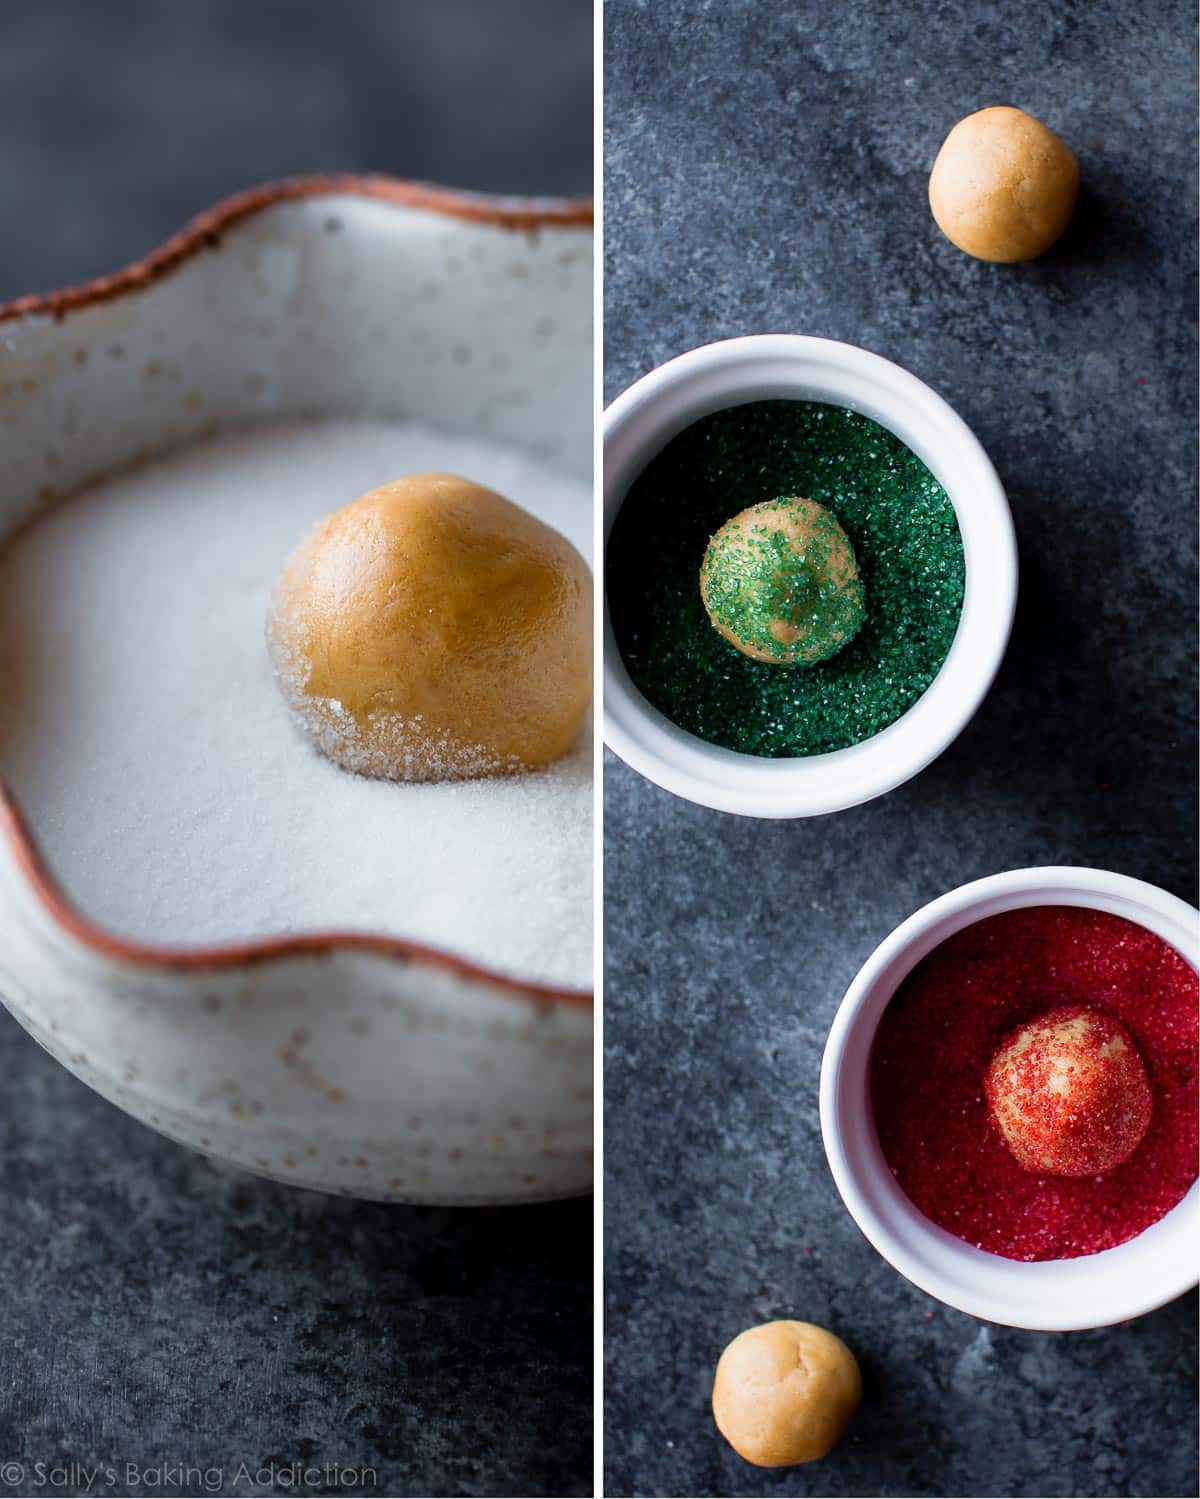
Chill the dough for at least 1 hour to help solidify it, which helps guarantee your peanut butter blossoms will hold shape in the oven. Cold dough is also easier to portion and roll. After the dough chills, roll into 1 heaping Tablespoon balls and then roll each in sugar or sanding sugar sprinkles:
Bake the cookies and then cool them for 5 minutes before adding the chocolate candy.
Prevent the Hershey’s Kisses From Melting on Peanut Butter Blossoms
Press the candies into the center of each slightly cooled cookie. And then, here is my trick:
Stick the peanut butter blossoms in the freezer to prevent the chocolate kiss candy from melting. This ensures the chocolate kiss stays nice and snug in the cute little peanut butter cookie. The refrigerator works too, but the freezer is most effective at preventing any melty problems. This also helps cool the cookies quicker so you can immediately hoard them for yourself. I mean… share with your family.
My freezer usually doesn’t have room for a large baking sheet, so I place the slightly cooled cookies on a smaller tray or plate before placing in the freezer. This is the same process I use when I make red velvet blossoms, too!
Can I Make These Nut-Free?
For a nut-free version of this recipe, swap the peanut butter for sunflower seed butter or Biscoff spread. However, you’ll have better luck (and a tastier cookie!) if you make these sparkle sweetheart cookies and replace the Valentine’s Day heart candies with Hershey’s Kisses. Or try my candy cane kiss cookies or red velvet blossoms.
Other Classic Christmas Cookie Recipes
- Gingerbread Cookies
- Christmas Sugar Cookies
- Spritz Cookies
- Butter Cookies and Chocolate Butter Cookies
- Snowball Cookies
- Peppermint Mocha Cookies
- Chocolate Crinkle Cookies
- Lace Cookies
- Chocolate Ginger Cookies
- Shortbread Cookies & Pinwheel Cookies
- Cranberry Orange Icebox Cookies
Classic Peanut Butter Blossoms
- Prep Time: 1 hour, 30 minutes (includes chilling)
- Cook Time: 12 minutes
- Total Time: 1 hour, 45 minutes
- Yield: 24 cookies
- Category: Cookies
- Method: Baking
- Cuisine: American
Description
These homemade peanut butter blossoms are extra soft and thick, super simple to make, and delightfully peanut buttery. So many reasons why this is a classic holiday cookie recipe! Don’t forget to place the cookies in the freezer for 10 minutes to prevent the chocolate kiss candy from melting.
Ingredients
- 1 and 1/4 cups (156g) all-purpose flour (spooned & leveled)
- 1/2 teaspoon baking soda
- 1/4 teaspoon salt
- 1/2 cup (8 Tbsp; 113g) unsalted butter, softened to room temperature
- 1/2 cup (100g) packed light or dark brown sugar
- 1/4 cup (50g) granulated sugar
- 1 large egg, at room temperature
- 3/4 cup (about 185g) creamy peanut butter
- 1 teaspoon pure vanilla extract
- 24 chocolate kiss candies, unwrapped
Coating
- 1/2 cup (100g) granulated sugar
- OR: 1/4 cup (50g) green sanding sugar and 1/4 cup (50g) red sanding sugar
Instructions
- Whisk the flour, baking soda, and salt together in a medium bowl. Set aside.
- In a large bowl using a hand mixer or a stand mixer fitted with paddle attachment, beat the butter for 1 minute on high speed until creamy. Switch to medium-high speed and beat in the brown sugar and 1/4 cup (50g) granulated sugar until completely creamed and smooth, about 2 minutes. Add the egg and beat until combined, about 1 minute. Scrape down the sides and bottom of the bowl with a silicone spatula as needed. Add the peanut butter and vanilla extract and beat until combined.
- Add the flour mixture to the wet ingredients and beat on low speed until combined. The dough will be very creamy and soft. Cover and chill the cookie dough in the refrigerator for at least 1 hour, and up to 3 days.
- Preheat oven to 350°F (177°C). Line two large baking sheets with parchment paper or silicone baking mats. (Always recommended for cookies.) Set aside. Also, make sure there’s room in your freezer because the cookies will need to be placed inside to prevent the chocolates from melting.
- Roll & Bake: Scoop and roll cookie dough, about 1 heaping Tablespoon of dough each. Roll each ball in the 1/2 cup of sugar (or sanding sugar) and arrange on the baking sheet about 3 inches apart. Bake for 11–13 minutes or until the tops begin to slightly crack. Remove cookies from the oven and allow to cool on the baking sheets for 5 minutes.
- Set the chocolate: Press a chocolate kiss candy into the center of each, then, using a thin spatula, immediately transfer the cookies to a large plate or a few smaller plates (gently—they’re soft). Place the plate(s) of cookies in the freezer for 10 minutes to quickly set the chocolate in the cookie.
- Remove from the freezer and serve.
- Cookies stay fresh covered at room temperature for up to 1 week.
Notes
- Make Ahead & Freezing Instructions: You can make the cookie dough and chill it in the refrigerator for up to 3 days. Baked cookies freeze well for up to 3 months. Unbaked cookie dough balls freeze well for up to 3 months. Bake frozen cookie dough balls for an extra minute, no need to thaw. Read my tips and tricks on how to freeze cookie dough.
- Special Tools (affiliate links): Glass Mixing Bowl | Whisk | Electric Mixer (Handheld or Stand) | Silicone Spatula | Baking Sheets | Silicone Baking Mats or Parchment Paper | Cooling Rack
- Granulated Sugar: You’ll only need 1/4 cup of granulated sugar for the cookie dough and the other 1/2 cup will be for coating in step 5. Or you can use sanding sugar to coat the cookies instead, noted as optional in the ingredient list. If using sanding sugar, you do not need the extra 1/2 cup of granulated sugar listed under Coating. If you’re shopping for sanding sugar online, I like the sugars from this holiday set, these multicolor, these green, and these red (affiliate links).
- Peanut Butter: Creamy peanut butter is ideal for this recipe because crunchy peanut butter creates an overly crumbly cookie. For this particular recipe, it’s best to use processed peanut butter such as Jif or Skippy. If you decide to use natural peanut butter, make sure it’s at room temperature, stirred well, and expect a slightly crumblier cookie.
- Can I use almond butter or other nut butter? Yes, you can use almond butter or another nut butter in this cookie recipe; however, expect a crumblier cookie. I have not tested this recipe with Nutella.
- Can I make these without nut butter? For a nut-free version of this recipe, swap the peanut butter for sunflower seed butter or Biscoff spread. However, you’ll have better luck (and a tastier cookie!) if you make these sparkle sweetheart cookies and replace the Valentine’s Day heart candies with Hershey’s Kisses. Or try my candy cane kiss cookies or red velvet blossoms.


I made these with Krustez gluten free one to one flour and they are amazing!
I’m going to try your recipe this year, but I’ve made a different recipe for many years. I haven’t put them in the freezer after adding the kiss – I don’t have that kind of space in my freezer! I just let them sit on the counter & the kiss melts then solidifies given a little countertop time. It’s kind of fun to watch the process!
The best PB Blossom recipe I’ve found. Only 4 stars because cooling the cookies for 10 minutes before putting the kiss on is too long. The chocolate wouldn’t stick, some of the cookies crackled apart, and I was sad. So, I used a very small dollop of peanut butter to adhere and the next batch added the chocolate right after removing from the oven.
Comment: I love all your recipes! They are concise, clear, and make baking seem achievable even to a true novice like me.
Question: Will the sanding sugar retain its color in the oven? If we want the colors to pop, should we dust the cookies with sanding sugar just after they come out of the oven instead?
The colors have always stayed true for us!
Just curious, is there a way to take out the peanut butter and make these peanut butter free? Thank you, I was hoping to make these to a gather but no peanut products are allowed, thx’s again
Hi Brooke! We suggest using this Christmas cookies sparkles recipe instead – you can add a kiss on top like we did for these Valentine’s Day cookies 🙂
Help! I make TONS of your recipes and they turn out great!! I made these, and the centers are chewy, but the outer circle is “chalky”. Flavor is very good. What did I do wrong?
Hi Heather, I wonder if the cookies were over-baked? What type of peanut butter did you use?
I made the dough and ran out of time to bake them. It’s been refrigerated for 2 days, still ok to use?
Hi Jen, The dough should still be fine. It will likely be too hard to scoop and roll right out of the refrigerator, so you’ll want to let it sit out at room temperature for a bit first. Enjoy!
My favorite peanut butter blossoms ever! However today when I was making them to freeze the dough, the dough was super sticky even after refrigerating the dough for 35 mins. My butter was just room temperature (I keep my house cold lol) Maybe I over mixed? Any ideas? I was able to get them rolled and put them back into the fridge for another hour before attempting to bag for freezing. Thank you!!! ☺
Hi Barb! Your butter could have still been a bit too warm – room temperature butter should be about 65 degrees. Glad you were still able to roll them out – enjoy!
The comments are very helpful ! Thank you for a great recipe 🙂
Good recipe. But for the life of me, why would you put them in the freezer? You WANT the chocolate to melt! It’s so gooey wonderful when it melts. It still holds it’s shape but the chocolate becomes creamy.
Great recipe!
My dough came out on the dry side. Is there something I can do to save it.
I made these cookies but I think that when I baked them the bottoms were burnt and I think it was because of the sugar. What do you think?
This website helped me bake and mail boxes of Christmas cookies for the first time ever. This is one of types of cookies I baked, and the recipe is practically foolproof. I’m thinking that it could have been any one of the following: check your actual oven temp – it may be higher than the setting, the rack was not in the middle of the oven and that caused the bottoms to get done too quickly, be sure to use parchment paper or liners. Also – you don’t have to do this, but I found that baking the cookies for 8 min, adding the kisses, and returning the cookies to the oven for 2-3 min worked great. I don’t have enough room to chill in my freezer, but I chilled in my refrigerator (which tends to run cold), and they came out perfectly. Hope this helps.
I told a friend that “come hell or high water, I’m coming out of this pandemic knowing how to bake.” I credit Sally for helping me learn. This website is amazing!
WOOW these are delicious!!!! I’m am a beginner baker and I am so thrilled that these came out so good! They are perfect….I followed the instructions to a T so they turned out so moist and flavorful. I took the advice of someone in the comments about freezing the kisses beforehand and that made things so much easier. I will be using this recipe over and over~
Love these!! They are so delicious. The only thing is some fell apart, and crumbled. Any idea why and how to prevent them from breaking?
Hi Donna, The cookies can crack on the edges when you press in the chocolate kiss. Use your hands/fingers to press the edges back together while the cookies are still warm. You could also try baking them for 1 less minute next time. We’re glad you enjoyed this recipe!
Just wondering if I could use crunchy peanut butter instead of creamy.
Love all of your recipes!
Hi Beth, crunchy peanut butter makes them taste a bit dry. I would stick with creamy for these cookies!
I continue to come to your blog for amazing recipes. These cookies did NOT disappoint. They are soft, festive, and DELISH!
I have one problem though…. HOW do I give away my favorite cookies to friends and family?!?
Thank you! Happy holidays!
Can we do this with almond butter?
Hi Elisa, We haven’t personally tried it, but I can’t see any issues with the replacement. If it’s oily then make sure you stir it well before using. Some readers have also made these with sunflower seed butter with success!
These are the best PB blossoms ever! The peanut butter taste prevails and the kisses do stay attached! I wanted to double the recipe but wound up accidentally putting too much butter and had to quadruple the recipe instead. Ran out of kisses so I rolled the rest of the dough balls in crushed peanuts and made Sally’s jam thumbprint cookies. Equally fabulous! I have to give them away so we can stop eating them!
I wish you could smell my house. The chocolate and peanut butter aroma is amazing. I used chocolate stars instead of Kisses. They lay flatter and look prettier.
I put the kisses in with the point of the kiss in the cookie, so no chocolate sticking out of the cookie…It lies flat.
Making these for my fiancé’s annual hunting trip and so excited! These are his favorite cookie and I couldn’t quite read the copy we have of his mother’s recipe, so I came to Sally’s for the recipe. Saw someone’s suggestion about freezing the kisses first and I’m going to try that!
Anything I bake from Sally’s baking addiction always turns out perfect
I made this with a twist. My peanut butter butterscotch loving husband wanted some cookies, so I made the blossoms. But, I took a spoon, put an indentation in each cookie, then put in some melted butterscotch chips. He loves them!
I love this recipe! The cookies turned out well, but there were a few things I changed. I didn’t let the cookies sit for 10 minutes because the Hershey kisses didn’t stick after that long. Also the recipe says that it yields 24 cookies which I thought was WAY off. I used the tablespoon measurement like the recipe said. I doubled the recipe because I needed more cookies. Instead of around 48, I ended up with 70 cookies. They were all the same tablespoon amount of dough and look just like the picture.
Well it’s March and we’re still baking these (typical) Christmas cookies. That’s how good they are! Don’t change a thing about the recipe. My kids love them. Very soft and easy to make,.
These spread out a little & weren’t as thick as I wanted but they tasted great!
HELLA good. Rolled these in raw sugar coz i had nothing else and they were all crusty and divine. I would also recommend pushing the Hersheys Kisses on while the cookies are very hot.. I left my 3rd batch sitting a little too long and they had trouble sticking to the cookie.. but if you do it while they are hit and push fairly hard into the cookie they turn out perfect!
These came out so great! So glad I found your website! Will be trying more of your recipes!!!
Great recipe! So much more moist than other recipes I have tried. I only wait about a minute to press the kiss into the cookie and have had no problems with the kiss melting. But I do put it in the freezer afterward. Works great!