Learn how to make real homemade caramel apples with my success tips, video tutorial, and carefully explained recipe. This from-scratch caramel is buttery, sweet, and if cooked a little longer, is also excellent for soft caramel candies. This festive fall dessert is always fun to make, decorate, serve, and eat!
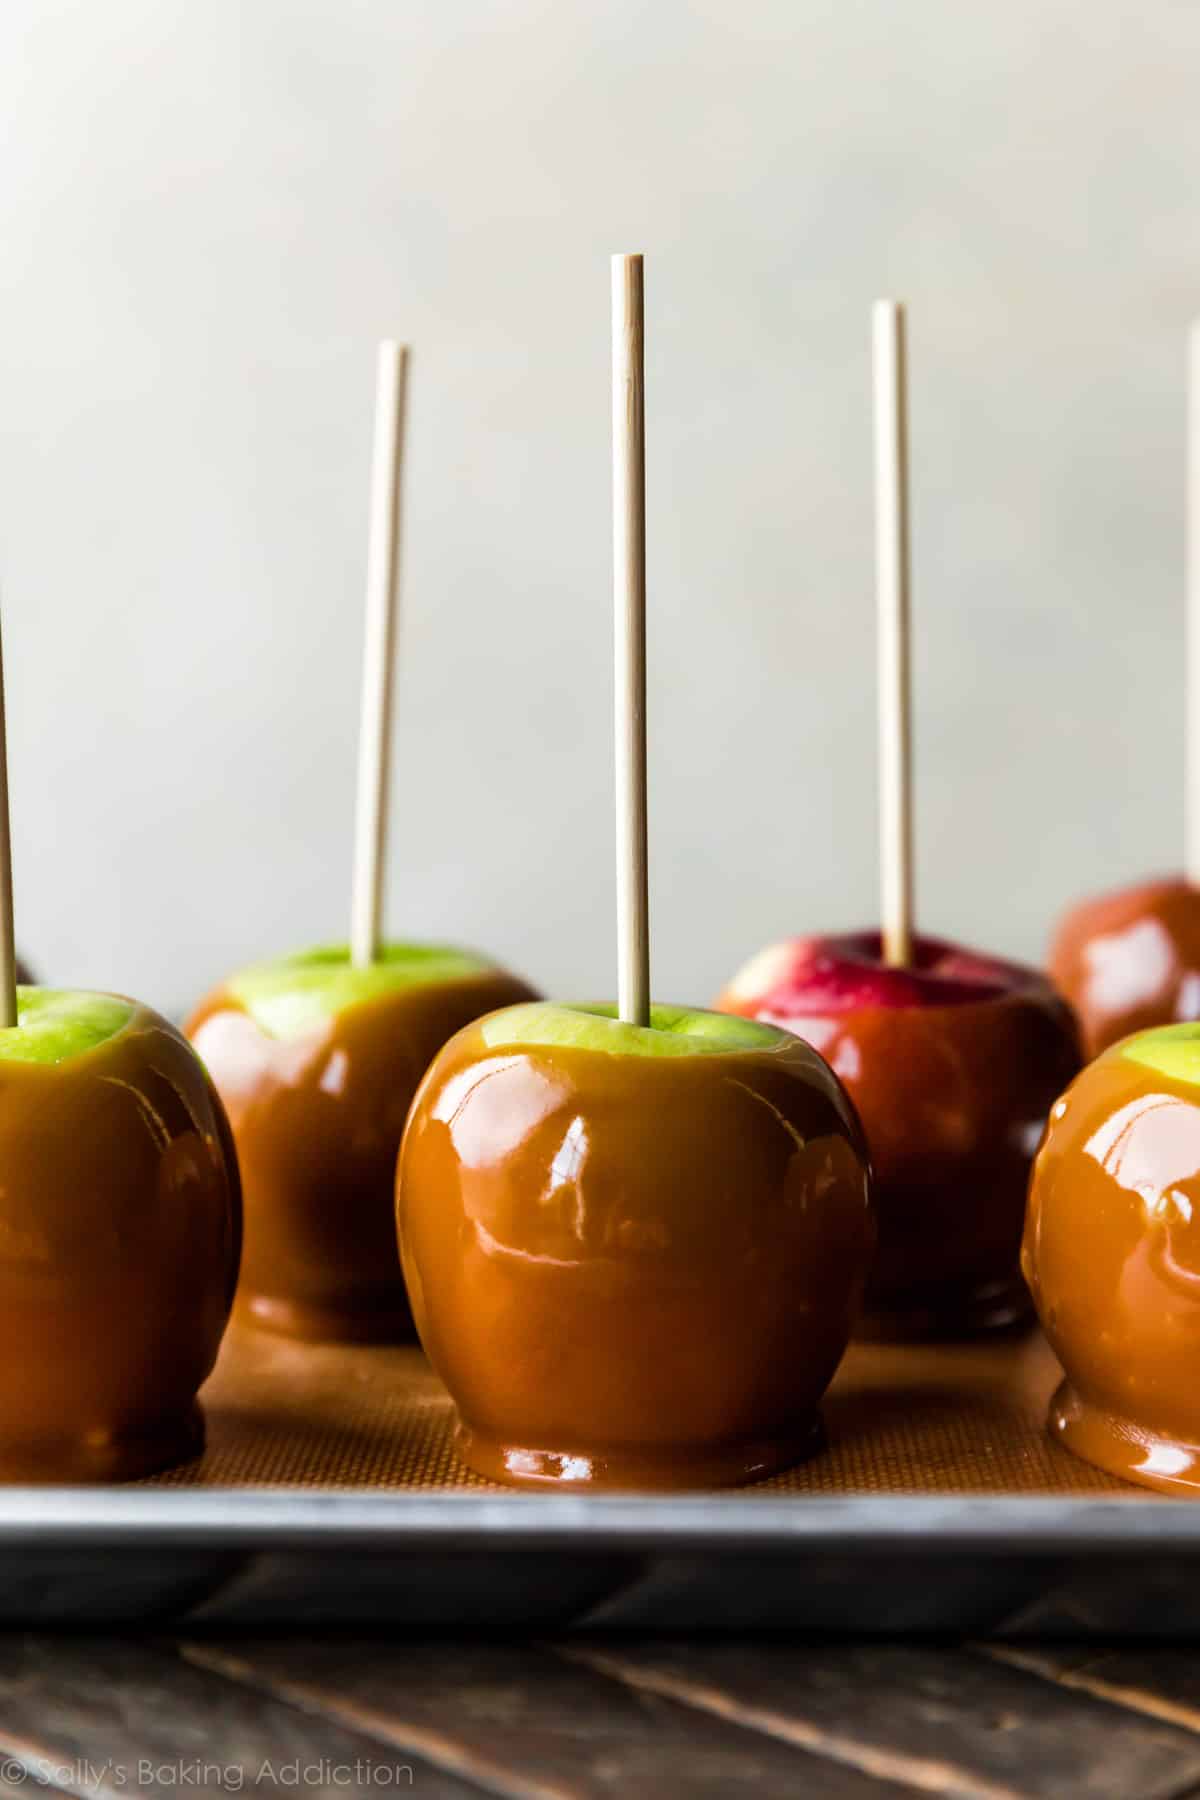
Fall is in full swing and what better way to celebrate than with a traditional county fair inspired treat?! Besides with a slice apple pie or pumpkin pie, of course.
I originally published homemade caramel apples in my cookbook Sally’s Candy Addiction. There you’ll also find candy how-to’s and recipes including toffee, candy apples, caramels, fudge, truffles, chocolate bark, taffy, and marshmallows. I decided to slightly adapt my original recipe, adding a little more butter and corn syrup for a softer, silkier caramel coating.
Real Homemade Caramel Apples
Apple cupcakes with salted caramel frosting are certainly a favorite, but today we’re making real homemade caramel apples with caramel cooked completely from scratch on the stove. No store-bought caramel candies or coatings because you can truly taste the difference between that and homemade. If cooked a little longer, this real caramel can be made into soft caramel candies like these soft caramel candies. Today I’m sharing the recipe, all my recommended tools, tips for success, and showing you a video tutorial so you can see just how easy it is to make real caramel for homemade caramel apples.
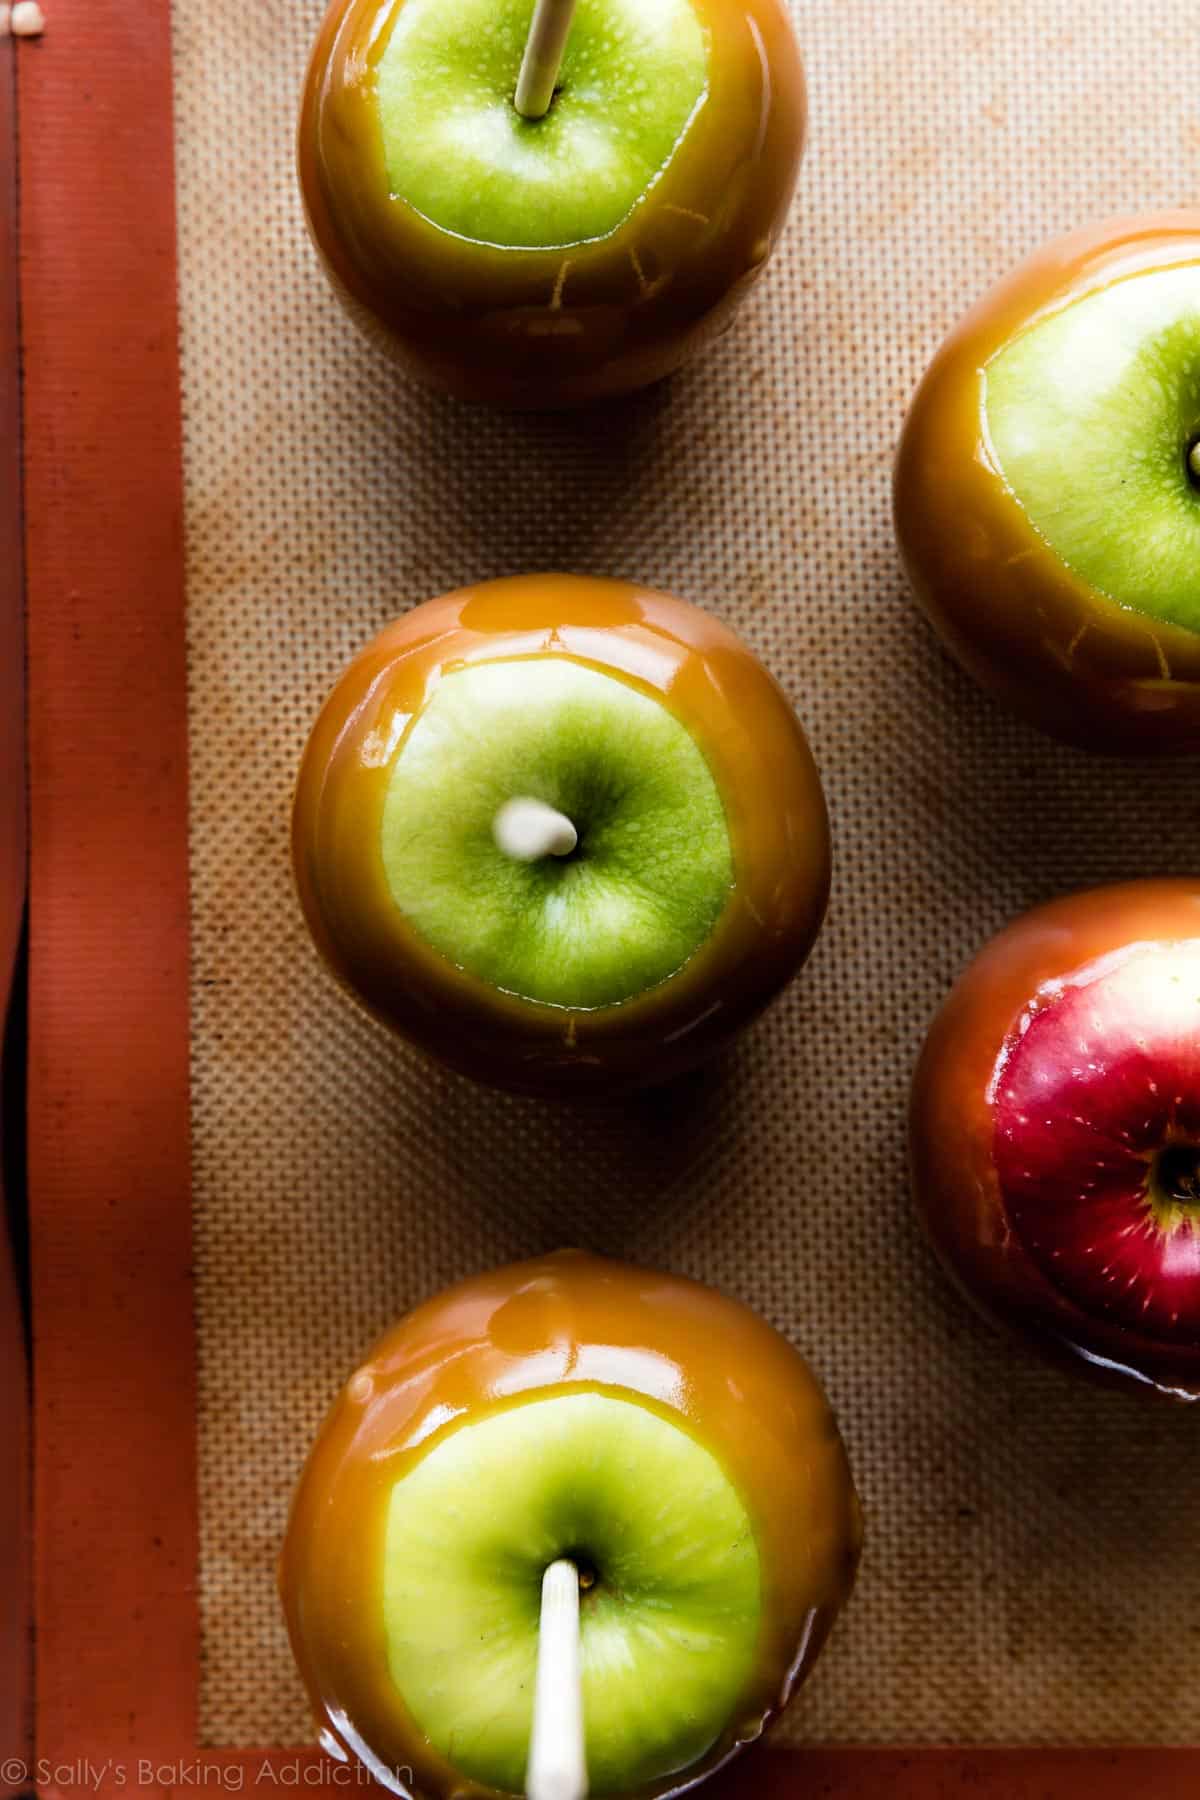
Caramel Apples Video Tutorial
What Does the Caramel Taste Like?
My salted caramel is perfect for garnishing desserts, filling cakes, and as a dip for apple slices. However, it’s not suitable for coating apples because it’s too thin and won’t set properly—it’s missing corn syrup and the proper sugar to fat ratio.
The homemade caramel we’ll use for caramel apples is soft, chewy, buttery, a little taffy-like, and adheres to the apple easily. If applied lightly, the caramel won’t pool down at the bottom of the apple. Let’s break down the ingredients you need for homemade caramel coating and why each are imperative to the taste and texture. Cooking candy is actual chemistry, so there’s no room for substitutions.
Ingredients in Real Homemade Caramel
- Heavy Cream: Heavy cream/heavy whipping cream is the base for caramel. Any milk or half-and-half are too thin and won’t cook properly.
- Light Corn Syrup: Corn syrup is liquid sugar made from corn. Like all refined sugars, corn syrup doesn’t have an ideal nutritional profile. (Corn syrup used in home kitchens is not high-fructose corn syrup. HFCS goes through an additional refining process.) Corn syrup is required as it acts as the sticky, taffy-like base for caramel apples. Without it, the caramel will slide right off the apple (just as my salted caramel would). Though other liquid sweeteners can sometimes be substituted for corn syrup, candy making is not one of those instances. For organic non-GMO corn syrup, I like Wholesome brand.
- Brown Sugar: Brown sugar is softer and more flavorful than regular white sugar, so I love using it in caramel coating recipes.
- Butter: Butter adds unbeatable flavor and a desirably soft texture.
- Salt & Vanilla Extract: Both ingredients add incredible flavor. Add the vanilla extract after you remove the cooked caramel from heat.
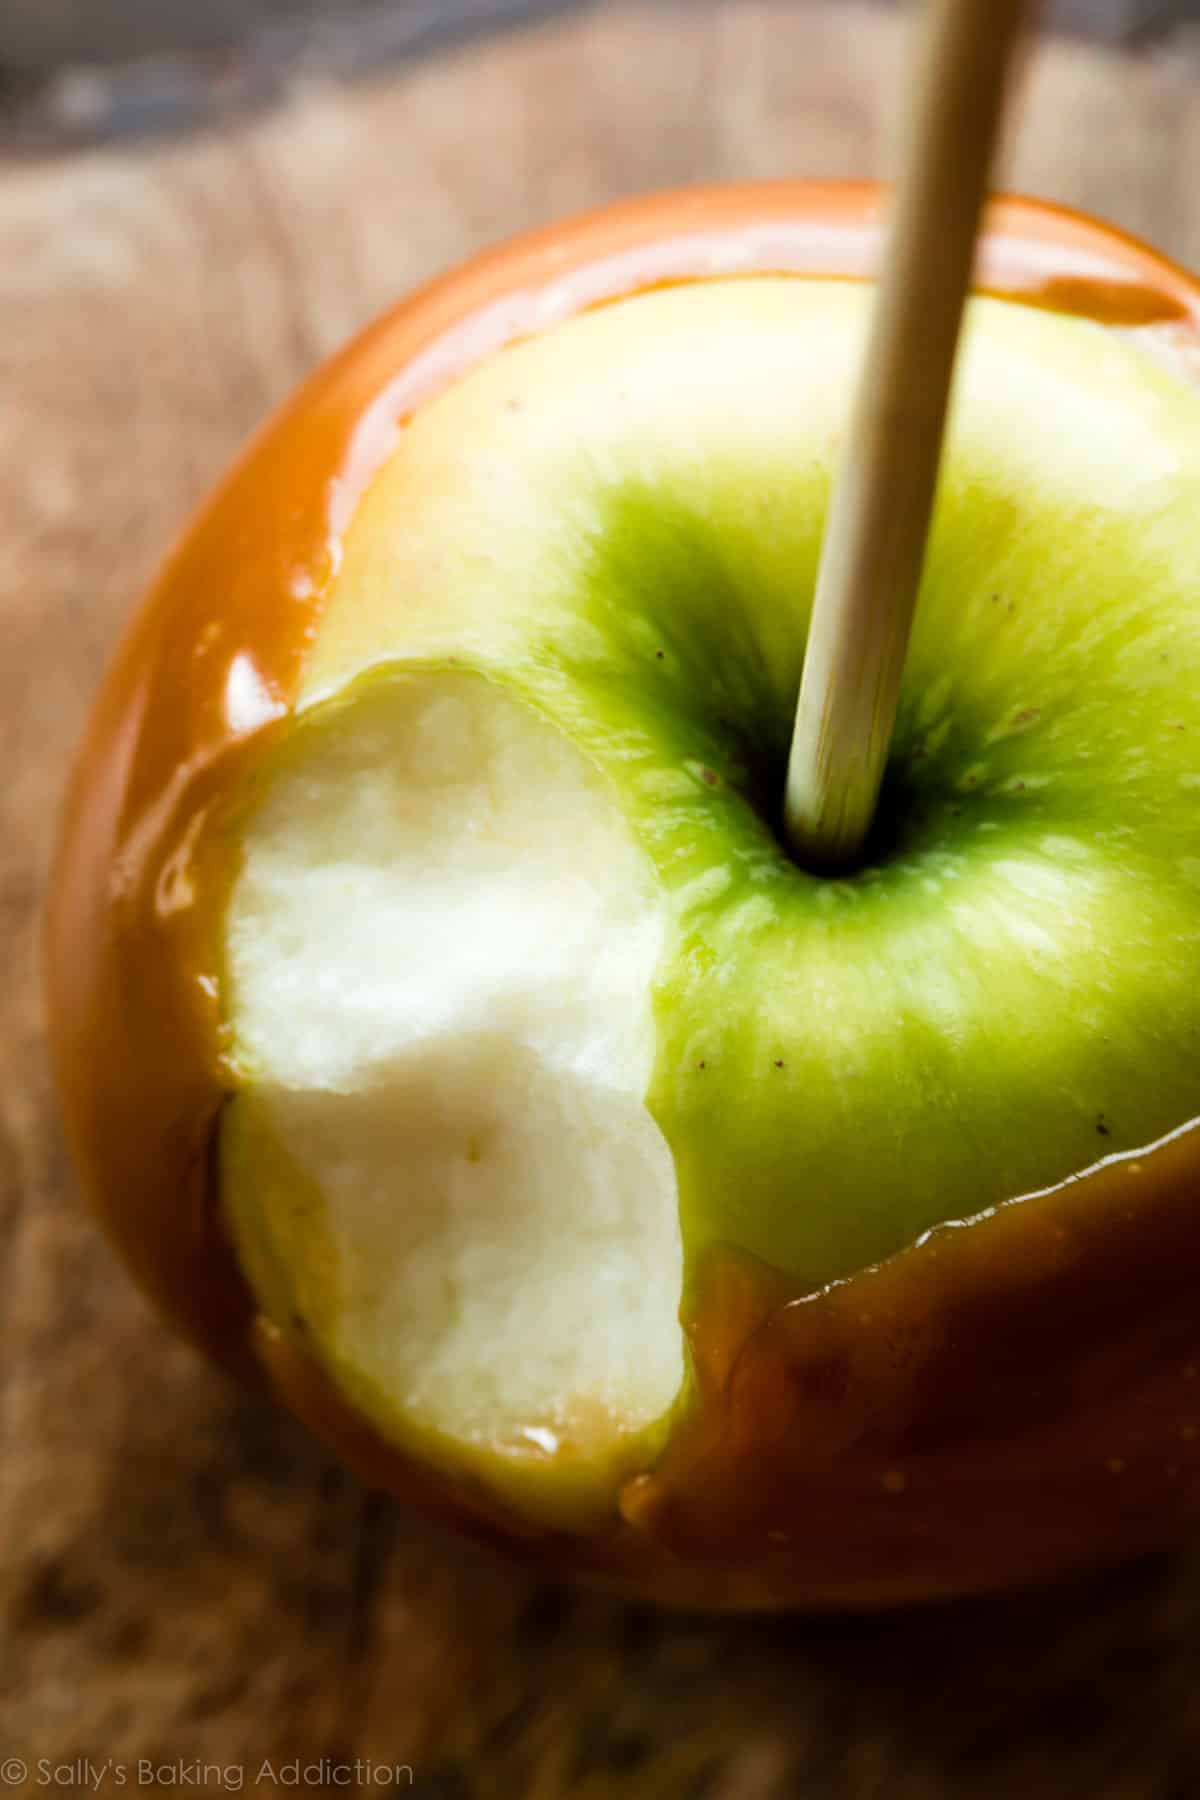
How to Make Homemade Caramel Apples
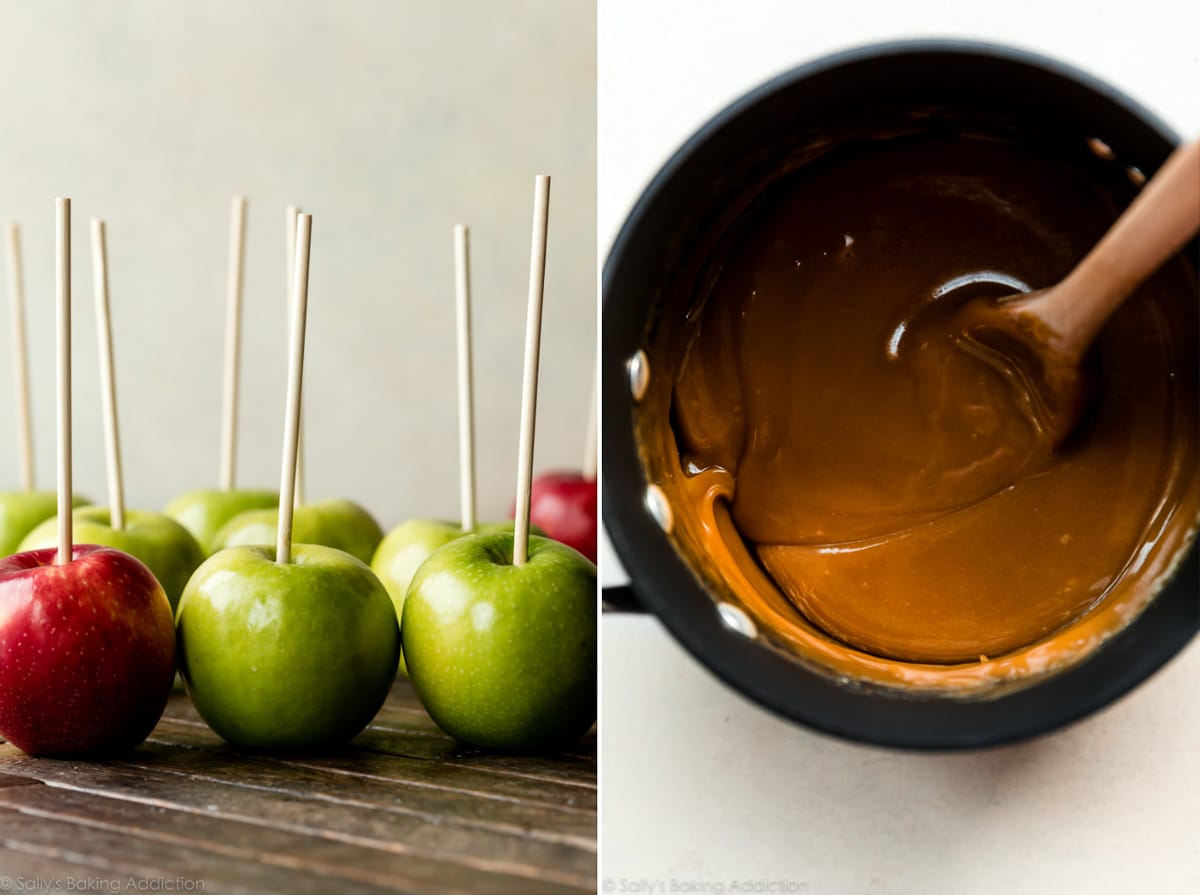
Now that you have your ingredients, let’s make caramel apples. First, rinse and dry the apples. Apples have a waxy coating that will prevent the caramel from sticking, so it’s important to wash and dry it off. Make sure the apples are cold, which helps prevent the caramel from slipping off.
Pull out the apple’s stem and insert a caramel apple stick.
For the caramel, cook the first 5 ingredients on the stove until the candy reaches 235°F (113°C), known as the Soft Ball Stage in candy cooking terms. Reaching 235°F (113°C) should take about 15 – 20 minutes, though don’t use the time as your stopping point because it really depends on your stove—electric stoves may take a little longer than gas stoves. But you won’t mind waiting because this caramel smells INCREDIBLE as it cooks. Some readers have been cooking to 240°F (116°C) and saying the caramel sticks much better to the apples that way. Stick with anywhere between 235°F – 240°F.
Remove caramel from heat, then stir in the vanilla. Allow caramel to cool for a few minutes, then dip your apples. Let the excess caramel drip off, then place on a nonstick surface such as a silicone baking mat lined baking sheet.
Enjoy immediately or let the caramel set, about 45 minutes. Once set, you can wrap the caramel apples in cellophane for travel or gifting. Stand the apples in these adorable cellophane bags, then wrap the cellophane around the stick with a cute ribbon. Sweetest homemade gift around.
Slow Cooker to Keep Warm
Caramel must be prepared on the stove as instructed. However, after the caramel has cooked, you can keep it warm in a slow cooker on the low setting. Give it a gentle stir every 10 minutes to ensure the butter doesn’t separate. This is a great idea if you want to have a party where everyone can coat their own caramel apples!
Best Apples for Caramel Apples
You can use any variety of apple you enjoy such as Granny Smith, Fuji, or Honeycrisp. Granny Smith are a popular choice for caramel apples because they’re tart, which pairs perfectly with sweet buttery caramel. Whichever variety you use, look for:
- small to medium size
- as perfectly round as you can find
- firm with no soft spots
Let’s talk tools. We need the same items used for pumpkin spice toffee. In fact, most candy recipes require the same exact tools. And did you know that most homemade candy is gluten free? You don’t need flour to make caramel, toffee, chocolate truffles, or fudge.
Tools You Need for Caramel Apples
- Candy Thermometer: This tool literally makes the entire caramel cooking process EASY FOR YOU because there’s no mistaking temperature. I highly recommend a digital candy thermometer that clips onto your pot like this one or this one. If calibrated, a candy thermometer is 1000x more accurate than using your eyes to detect candy’s doneness. See My Favorite Candy Making Tools for how/why to calibrate.
- Heavy bottomed saucepan: I’ve ruined many batches of caramel because of a cheap pan. The ideal place for cooking candy is a deep and thick saucepan with straight sides. Thin pans, which often have hot spots, do not withstand the heat required for these recipes. These days I have a few pans I use for making toffee: here and here. The Cooks Standard is a great option for beginners, while the All-Clad is ideal for controlling the temperature of your candy.
- Wooden spoon: Wood has a high heat tolerance. It also doesn’t conduct heat, so it won’t suck heat out from the cooking candy which causes crystallization. I just bought this set and LOVE them. (Crystallization is the formation of lumpy, grainy sugar crystals in otherwise smooth cooking candy.)
- Pastry brush: A pastry brush helps rid the saucepan of sugar syrup that may have splashed up around the sides. This syrup could burn and crystallize, ruining your batch of caramel. Wet it with water and wipe the sides of the pan clean. It’s ok if some water drips down into the cooking candy.
- Wooden Sticks: Sticks make eating caramel apples convenient and fun, while also serving as a useful dipping tool. Some small lollipop and popsicle sticks are simply too short—I recommend sticks anywhere between 5.5 – 7 inches. I like these wooden sticks because they’re sturdy and also double as skewers for meat & veggies.
Caramel Apple Garnishes
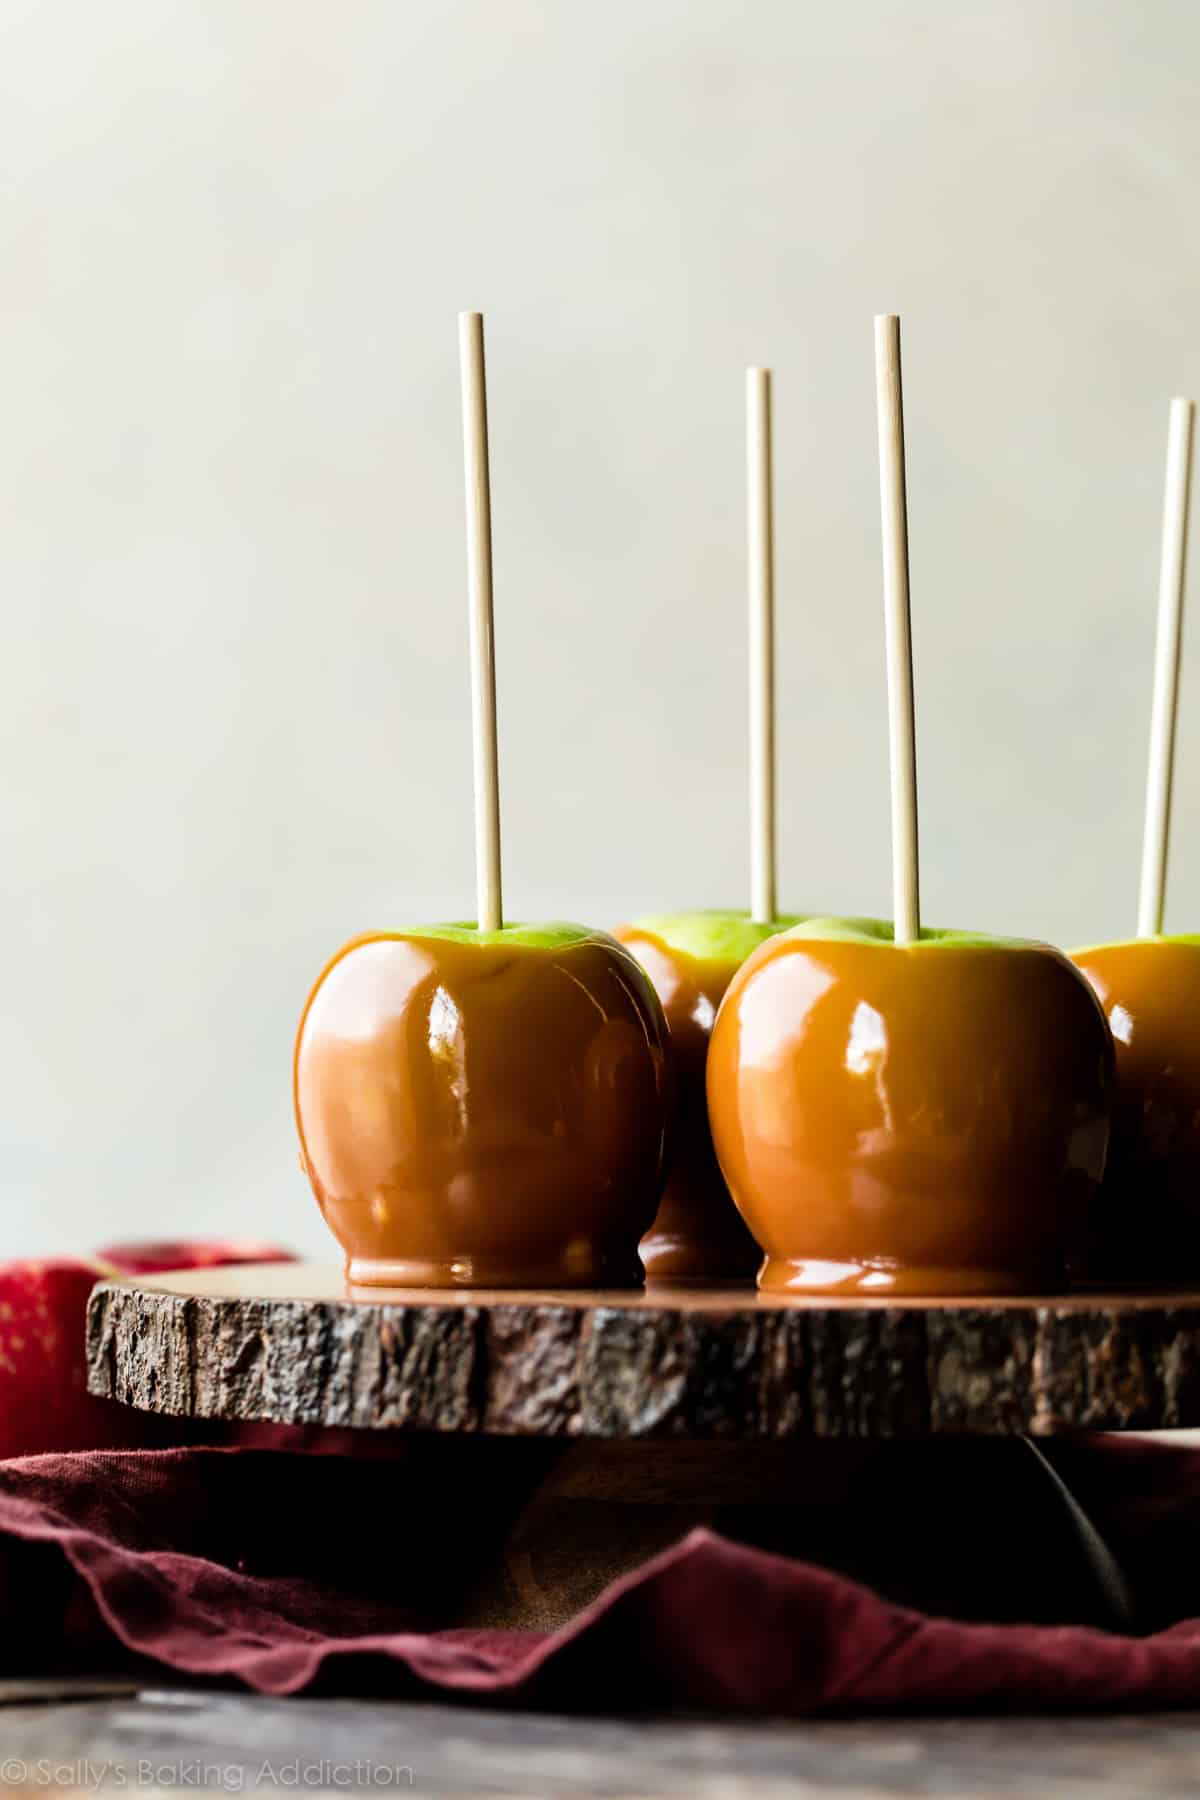
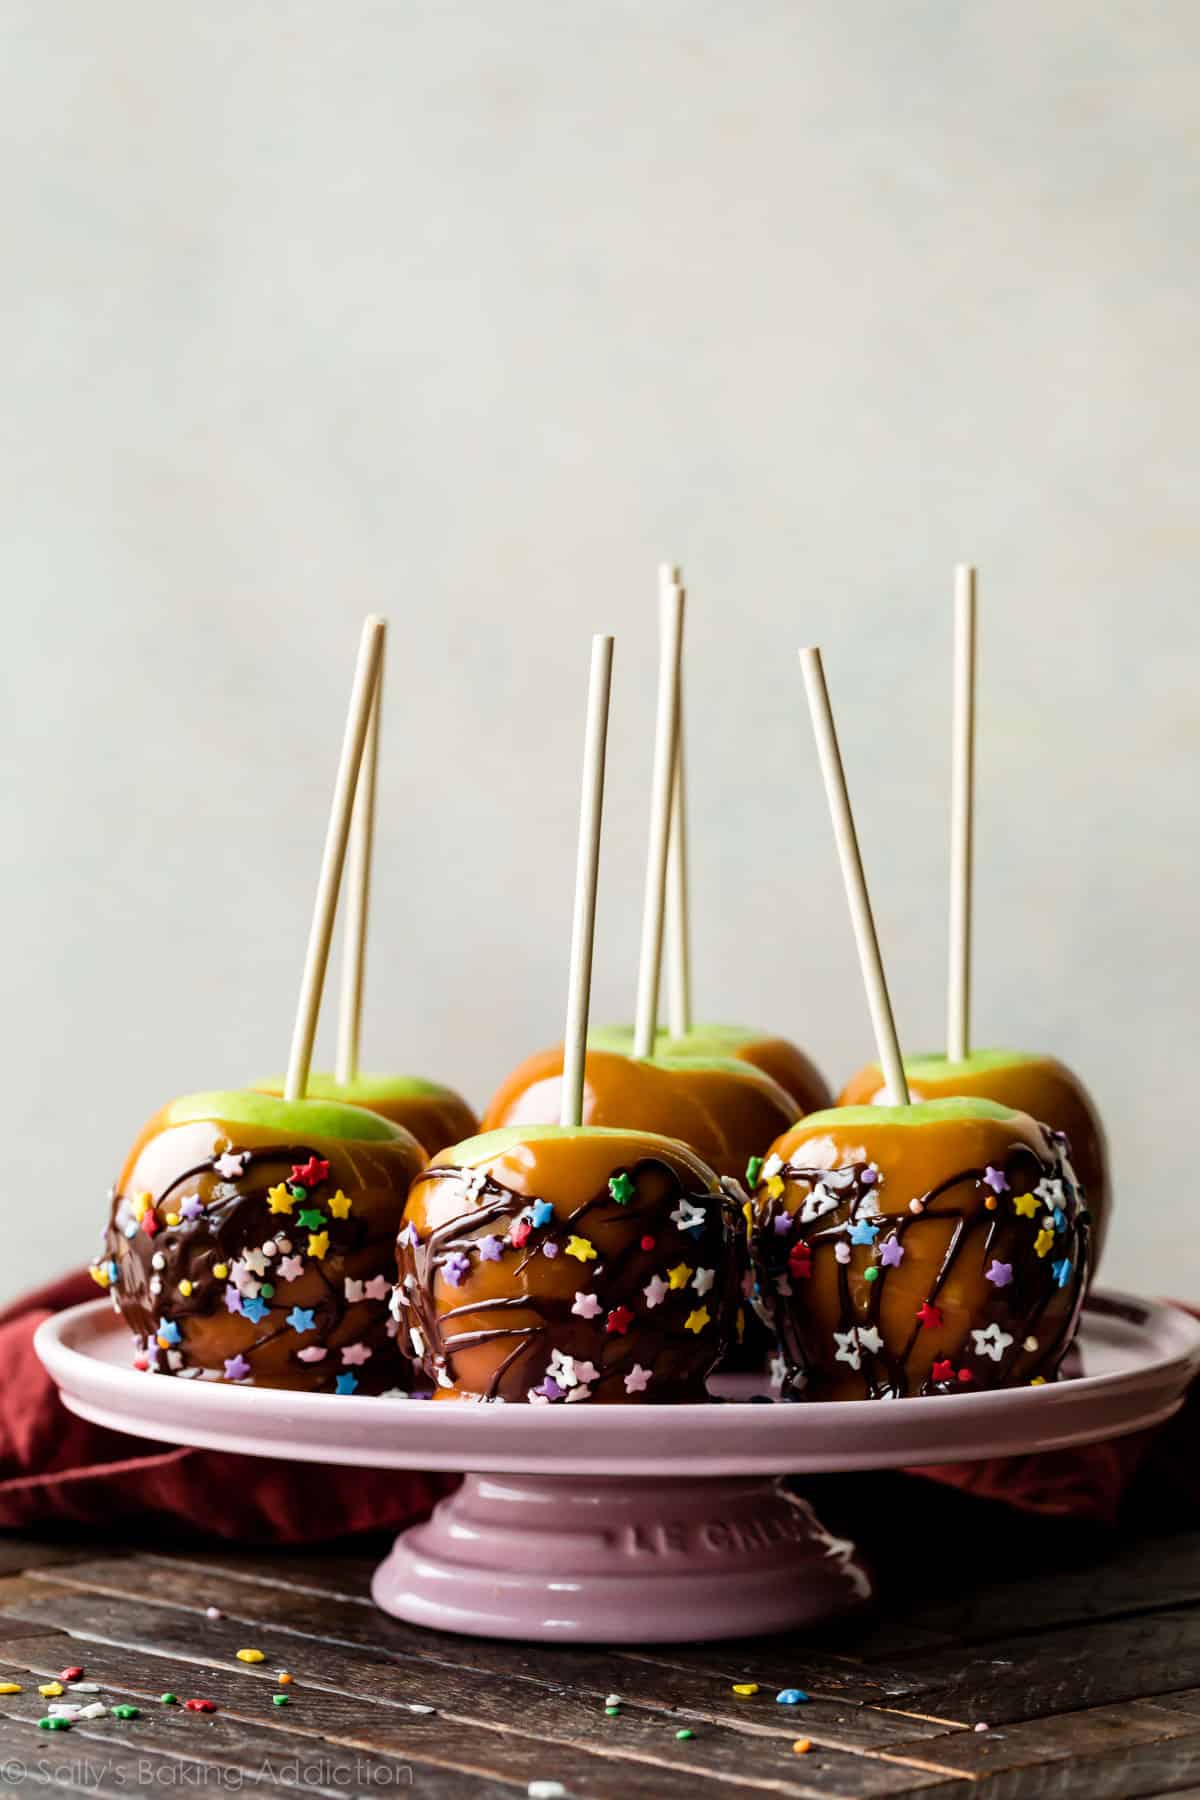
The caramel apples are obviously fantastic plain, but it’s fun to play dress up every now and then. Immediately after coating in caramel and before the caramel sets, roll the caramel dipped apples in finely chopped nuts, toffee pieces, mini M&Ms, sprinkles, or coconut. You can even drizzle with melted chocolate and top with sprinkles, as shown below.
Used this fun Starfetti sprinkle mix!
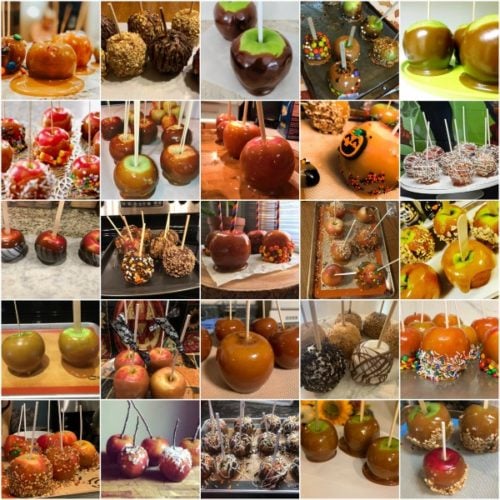
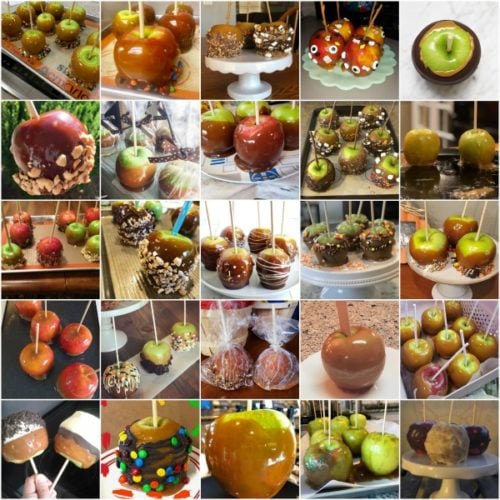
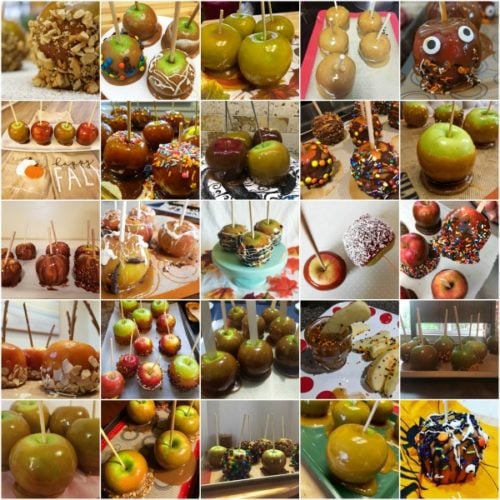
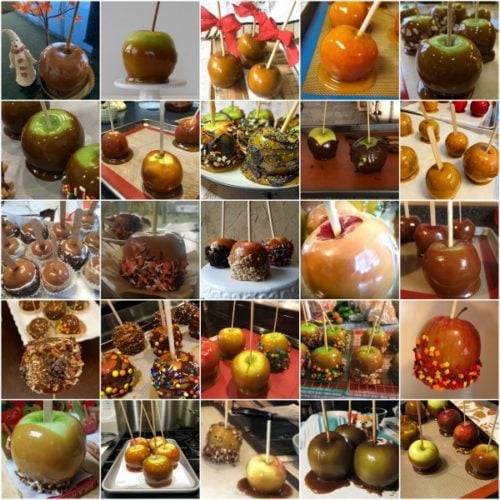
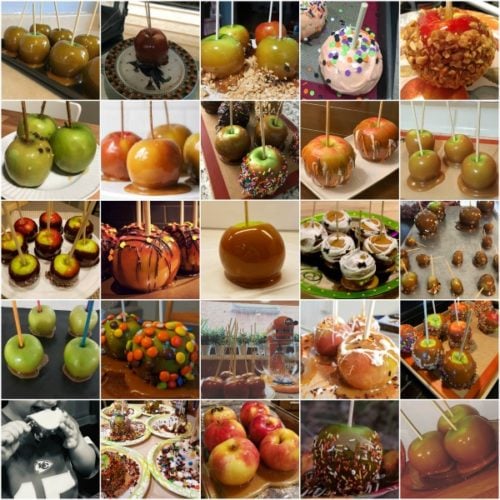
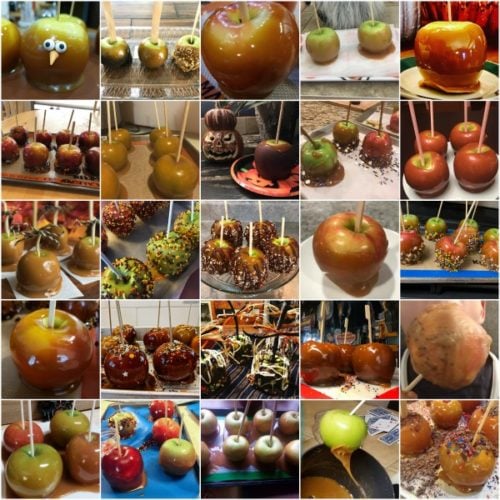
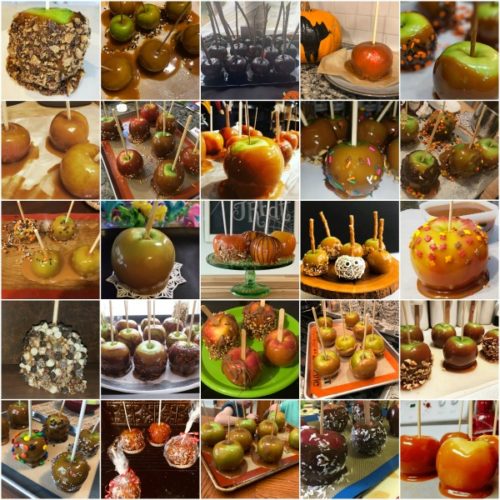
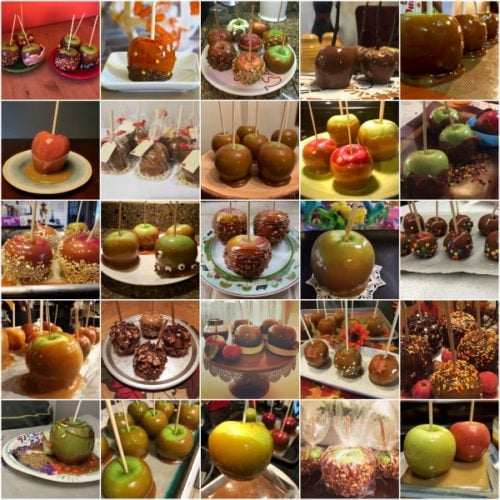
See Your Homemade Caramel Apples
Feel free to email or share your recipe photos with us on social media. 🙂
Print
Homemade Caramel Apples
- Prep Time: 10 minutes
- Cook Time: 15 minutes
- Total Time: 1 hour, 15 minutes
- Yield: 8-9 caramel apples
- Category: Candy
- Method: Cooking
- Cuisine: American
Description
Learn how to make real homemade caramel apples with this from-scratch recipe. For best success, watch the video tutorial, read the post, and review the recipe before beginning.
Ingredients
- 8–9 cold apples
- 1 and 3/4 cups (420ml) heavy cream
- 1 cup (240ml) light corn syrup
- 2 cups (400g) packed light or dark brown sugar
- 1/4 cup (4 Tbsp; 56g) unsalted butter, at room temperature
- 1/2 teaspoon salt
- 1/2 teaspoon pure vanilla extract
Instructions
- Prep the apples: Rinse the apples with water, then wipe completely dry. Removing the slippery waxy coating will help the caramel seal to the apple. Remove the apple stem and insert a caramel apple stick about 3/4 down into the apple.
- Line a large baking sheet with a silicone baking mat (preferred) or grease the pan with butter. Caramel usually sticks to parchment or wax paper.
- Make the caramel: Combine the heavy cream, corn syrup, brown sugar, butter, and salt in a 3-quart heavy-duty saucepan over medium heat. Do not turn the temperature up or down—keep at medium the entire time the caramel cooks. Stir constantly with a wooden spoon until the butter is melted. Once melted, brush down the sides of the pan with a water-moistened pastry brush and attach a candy thermometer to the pan, making sure the bulb is not touching the bottom of the pan (as you’ll get an inaccurate reading).
- Without stirring, let the mixture cook and bubble until it reaches 235°F (113°C). Some readers have been cooking to 240°F (116°C) and saying the caramel sticks much better to the apples that way. Stick with anywhere between 235°F – 240°F. Reaching this temperature should take about 15 – 20 minutes, though don’t use time as your guide because it depends on your stove. Don’t be alarmed if your caramel is taking longer, just use the candy thermometer as your guide. The temperature will heat up slowly, then move quickly, so keep your eye on the pot. Once at 235°F – 240°F, remove caramel from heat and stir in the vanilla. Avoid over-stirring which can create air bubbles in the caramel (and then on the apple). Allow caramel to cool for 10-15 minutes until slightly thickened. If caramel is too thin to coat apples, let it cool and thicken for 5-10 minutes longer.
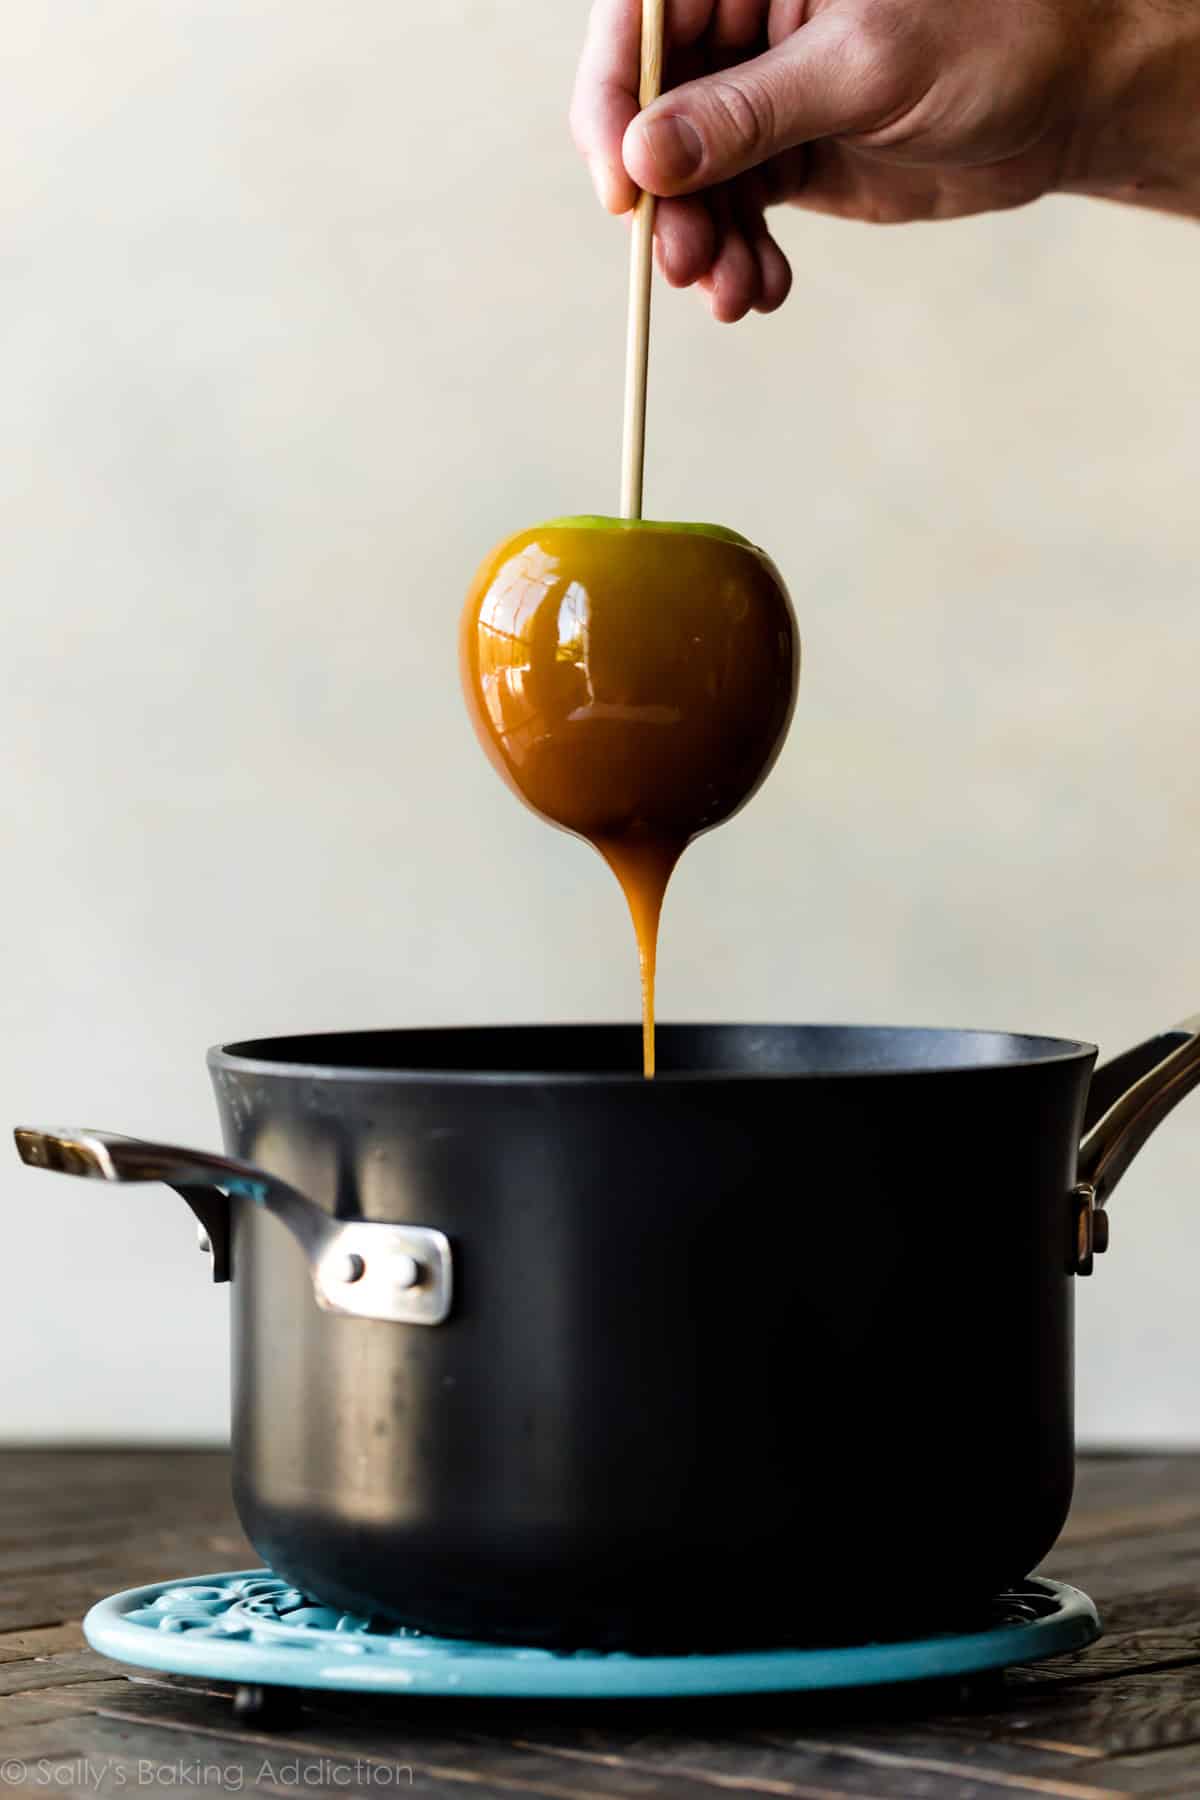
- Dip the apples: Holding the caramel apple stick, dip the apple into the warm caramel, tilting the pot as needed to coat all sides of the apple. Lift the apple up and swirl it around or gently tap it against the side of the pot to let excess caramel drip off. Place coated apple on prepared pan. Repeat with remaining apples. Enjoy immediately or allow caramel to set, about 45-60 minutes. If you want to wrap the caramel apples in cellophane treat bags for travel/gifting, wait until the caramel has completely set.
- If desired, you can add toppings. Immediately after coating in caramel and before the caramel sets, roll the caramel dipped apples in finely chopped nuts, toffee pieces, mini M&Ms, sprinkles, or coconut. You can even drizzle with melted chocolate or white chocolate, too.
- For displaying or serving, I recommend placing on wax paper or another nonstick surface. Even when the caramel has completely set, caramel apples may slightly stick to a serving dish. To eat a caramel apple, you can bite right into it or sit it upright on a cutting board and cut slices around the stick. (Or pull out the stick and slice.) These are great for sharing!
- Loosely cover and store the leftover dipped apples in the refrigerator for up to 1 week.
Notes
- How to clean a sticky saucepan: It’s not always easy or fun, but I have a helpful solution! When you’re finished making sticky caramel, simply fill the dirty saucepan with water until the water covers all of the candy residue. Place the saucepan on the stove over low heat. Let the warm water simmer and melt the sugar off the sides of the pan. Pour out the warm water, then let the tools sit until cool enough to handle. Rinse clean.
- Special Tools (affiliate links): Caramel Apple Sticks | Baking Sheet | Silicone Baking Mat | 3-quart Heavy Duty Saucepan (I recommend this one and this one) | Wooden Spoon | Pastry Brush | Candy Thermometer (I recommend this one or this one) | Cellophane Treat Bags
- Caramel Candies: Follow step 3 in this recipe. Then without stirring, cook the mixture until it reaches 245°F (118°C). Immediately remove from heat, then stir in the vanilla. Then follow steps 5 and 6 in my soft caramel candies recipe.
- Double Batch: I don’t recommend halving, doubling, or tripling candy recipes, especially this caramel. Increasing or decreasing the quantity may work for baking, but the extra or decreased volume could prevent the candy from cooking properly. Make separate batches instead.


This is the best recipe ever! It’s so good!
i love this recipe so much
I cook all the time, tried this recipe, I knew when I was cooking it heavy cream was too much, still gave it a shot, it’s caramel sauce not a coating, nothing to do with the wax on the apple, sauce is way too soft just drips off….I suppose using half the heavy cream would do the trick…
It’s a sauce. My apples are a mess. Waste of my time, money and energy – and I can’t use them for what I needed them for. Why can’t you call it what it is? It’s a SAUCE – you can’t make caramel apples with this. I followed the instructions, watched the temp, let it boil an extra 5 minutes, and even the leftover sauce in the fridge for over an hour AFTER it hit room temp is still too runny to stick to an apple. It doesn’t set. Bugged.
Great recipe, but please consider placing your tip about not doubling the recipe at the TOP of the instructions and ingredients! I didn’t see it until it was too late. The caramel set so hard that it would shatter and not cut.
Hi! Can this be made ahead of time and given as a gift jarred? I wanted to give it as a Christmas present with apples so they can dip it themselves.
Hi Ky, we haven’t tested that, but fear the caramel will set up as it cools and not be dip-able if jarred.
Fantastic recipe, came out great! Washed the apples with very hot water and scrubbed dry with a coarse towel. Cooked to 240. Just let it cool slightly, not even 10 mins before dipping. It was runnier the first apple but we had the whole family taking turns dipping so we just swirled it after we dipped it and it cooled down enough in the air before dipping in our toppings. Perfect caramel apple recipe! Thick caramel on the apple, stuck well, and stayed on while cutting. The Carmel does set on the apple quickly so you either need to dip it in your toppings quickly or alternatively dip it in a white chocolate or chocolate sauce. That stays “wet” longer. We used Toll House white chocolate and thinned it out with the heavy cream. It hardened fine and left the apple wet enough to coat with all the toppings we wanted. Better than with just the caramel alone. Will definitely be making it again.
I was so excited to try this recipe. It was going perfectly until I tried to dip the apples. I let the caramel cool 13 minutes and I was able to coat two apples. But then the mixture was too cool and very thick! I wasn’t able to dip the remaining apples. The first two dipped fine. But the caramel was so thick it’s almost impossible to eat. If I make this again I will dip the apples much sooner.
I love this recipe, can’t wait to try it out!!
Perfect with an accurate thermometer! Follow the directions exactly and make sure your thermometer is accurate. My family loves these!!
So I feel like the 4.5+ rating is slightly misleading because of you don’t read the comments, you will be very disappointed in what it’s supposed to be.
As many commenters have stated. The flavor is great BUT I came here for an apple coating, not a Carmel drizzle. Flavor is great but I tried multiple times following the directions and the times and temps and the best I could do was cooling the apples way cold and the Carmel stuck longer but end result was always the same, it just slowly came off and pooled at the base. Not sure what’s up but flavor is good but the intent is just not happening
Yes you’re 100% right. The caramel does not stick. She deleted my comment but I basically said the same exact thing as you. The reason being is because she uses almost double the amount of heavy cream that you’re supposed to. Not your fault.
My son had to make caramel apples for a school project and he came upon this recipe. It was perfect!! He made it all on his own and it was thick, delicious, and stuck to the apples just as expected. He let it heat to 238°. He’s already talking about making it again.
I made this recipe minus the salt for caramel apples. It was a hit. I have orders coming in for the apples now.
I took wax off allows, Cooked the items just as you said to 240 waited 25 min and Carmel would NOT stay on apples .. reheated and cooked to 250 … waited 25 mins put pan in cold water .. li d of stock but still more of a thick goo…..how on earth does one get a coating of Carmel that you can’t see thru and stays in Apple
Hi, just adding this for the “it won’t stick chorus:
There’s a new, fresh produce coating called Apeel. It was created for use as an organic alternative (eye roll) instead of nonorganic coatings to preserve fresh produce – especially apples – lending a longer shelf/sales life to apples. It’s in use now very widely by so so many apple growers, and just try to get it off! Not happening! My local NewSeasons promises they don’t stock fruits coated with Gates’ Apeel, but we grow our own apples so I cannot say, but I’ve tried one; skin was .. felt like plastisene, and have heard from family and coworkers that this season, caramel refuses absolutely to stick to these apples. First time, and we live in Washington state, apple heaven, and this is confounding to caramel apple creators.
Also: This is a very tasty recipe. Get it to 240, let it cool down a bit, then use on scrubbed well and rubbed very dry and CHILLED apples with no Apeel applied. Grocers don’t need to post if it’s on their apples or not; most I’d bet wouldn’t even know. I’m telling you it’s a thing. Best of luck!
Would this recipe work as a caramel drip on a cake? I find that regular salted caramel recipes drip too much and pool at the bottom of the cake.
Hi JH, this caramel would be great for a drip cake. Make sure the cake is EXTRA cold and give this caramel at least 15-20 minutes to cool down/slightly thicken before applying.
Would this work on apple slices?
Absolutely. It’s not really a dip though, once it sets. It’s quite firm.
I was a little hesitant to try this after reading how some of the reviewers didn’t have success, and having never made caramel before… but this worked great for us! So delicious, way better than my normal option of just using caramel bits/candies from the store. I followed the recipe exact, heating to 140. I did parboil the apples for 30 seconds before wiping them dry, just to make sure the wax was off. I did have to stir it after sitting before I dipped the apples because the butter had started to rise to the top and make a barrier, but a quick stir solved that and they stuck beautifully after that.
I don’t know what happened. I followed your instructions to a T, cooked to 235, immediately removed from heat, but they are rock hard. Great flavor though
The caramel is delicious! However, it just pools all over my pan and doesn’t stick to the apples. I’ve tried it twice now. I just scrape the caramel off the silicone mat and dip my apple in it as I eat it 🙂 Do you think that the altitude has anything to do with it? I live in a suburb of Denver, Colorado. I washed my apples thoroughly with soap and water and dried thoroughly. Also made sure they were cold.
Hi Shari, I’m sure the high altitude could be the culprit. If you try it again, it wouldn’t hurt to cook the caramel for a little longer, perhaps another minute to help it thicken up.
Which would you suggested this one or a thicker one to top Rice Krispie treats with?
Hi Cagney, this should work well on top of Rice Krispie treats. Let us know if you try it!