

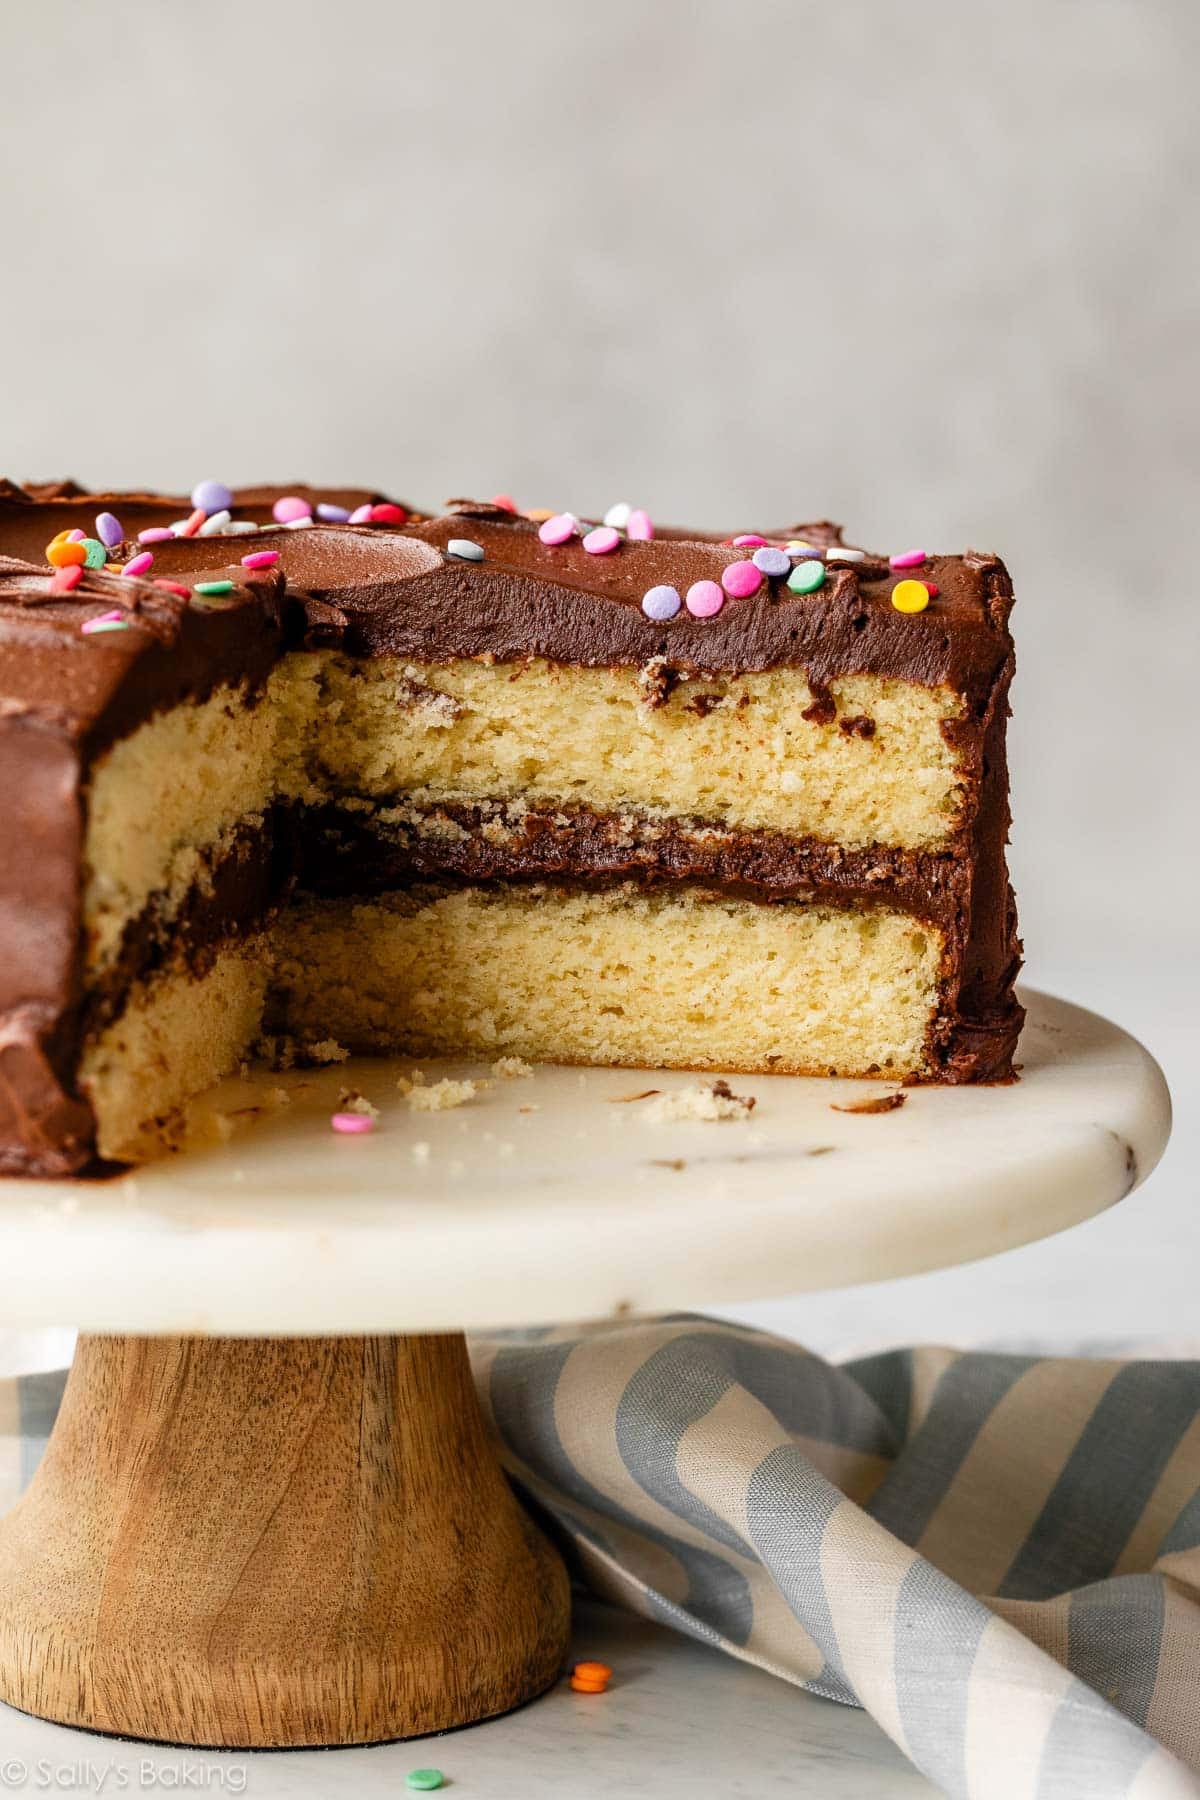
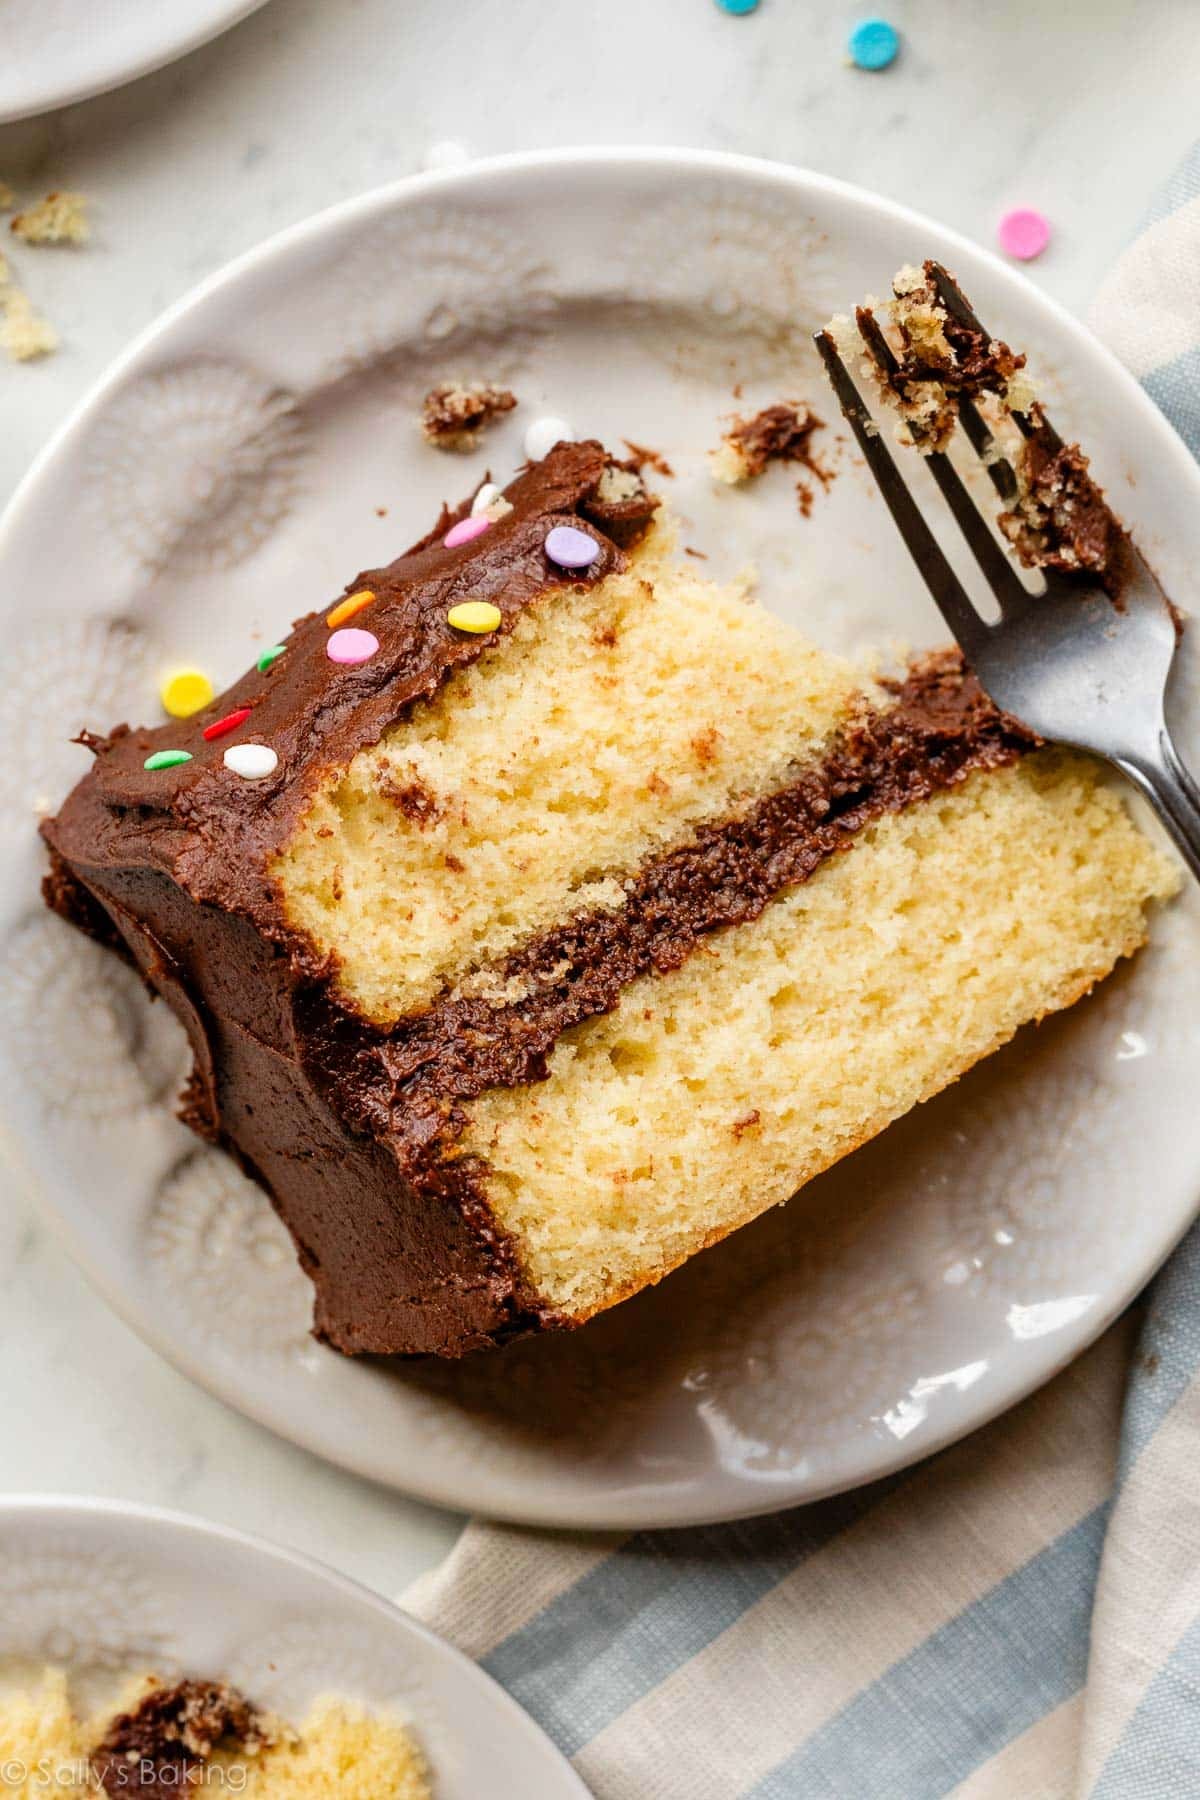
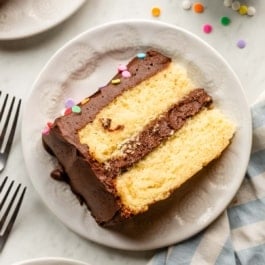
Soft and buttery with an extra moist crumb, this is the best yellow cake I’ve ever had. After several rounds of recipe testing, I found the secret to the most delicious yellow birthday cake is a combination of cake flour, extra egg yolks, whipped egg whites, and buttermilk. Cover this cake with my rich and creamy chocolate buttercream for the ultimate celebratory birthday cake!
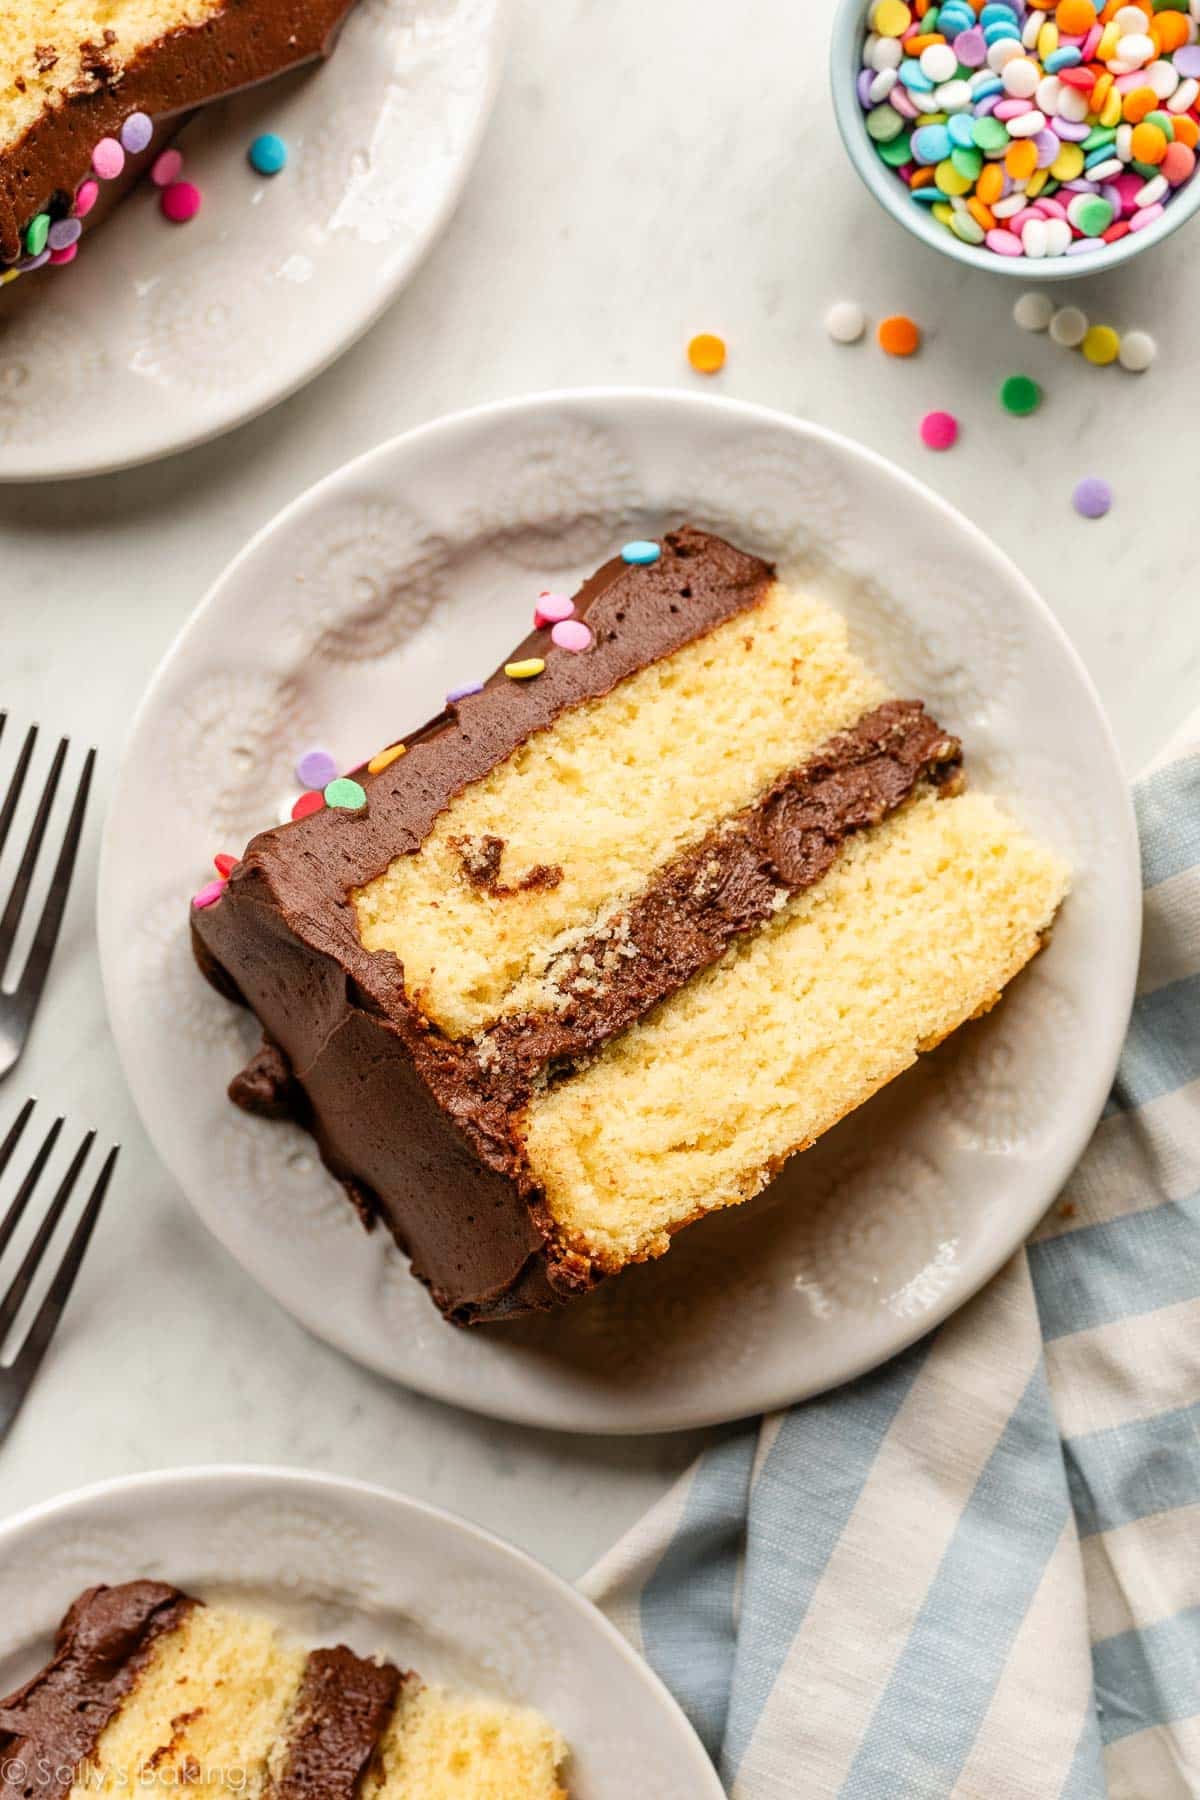
I originally published this recipe in 2020 and have since made a few small changes to the recipe, including a little extra cake flour and baking soda to help prevent the cake from sinking and tasting gummy; and replaced some of the butter with oil, for an extra moist crumb.
This Is the Best Yellow Cake I’ve Ever Had
After zebra cake, 9×13-inch yellow cake, white cake, vanilla cake, and all of the other recipes in between, I’ve been trying to perfect this quintessential layer cake for years on end. I’ve tasted cakes from a box mix and restaurant-quality yellow cakes, bakery cakes and professionals’ homemade variations, and I can honestly say that this is the best yellow cake I’ve ever had.
Using a careful mix of cake flour, fluffy egg whites, extra egg yolks, and buttermilk, as well as starting with a base of creamed butter and sugar plus a touch of oil, this yellow cake is soft and buttery with an extra moist crumb. If cakes could talk, this one would brag.
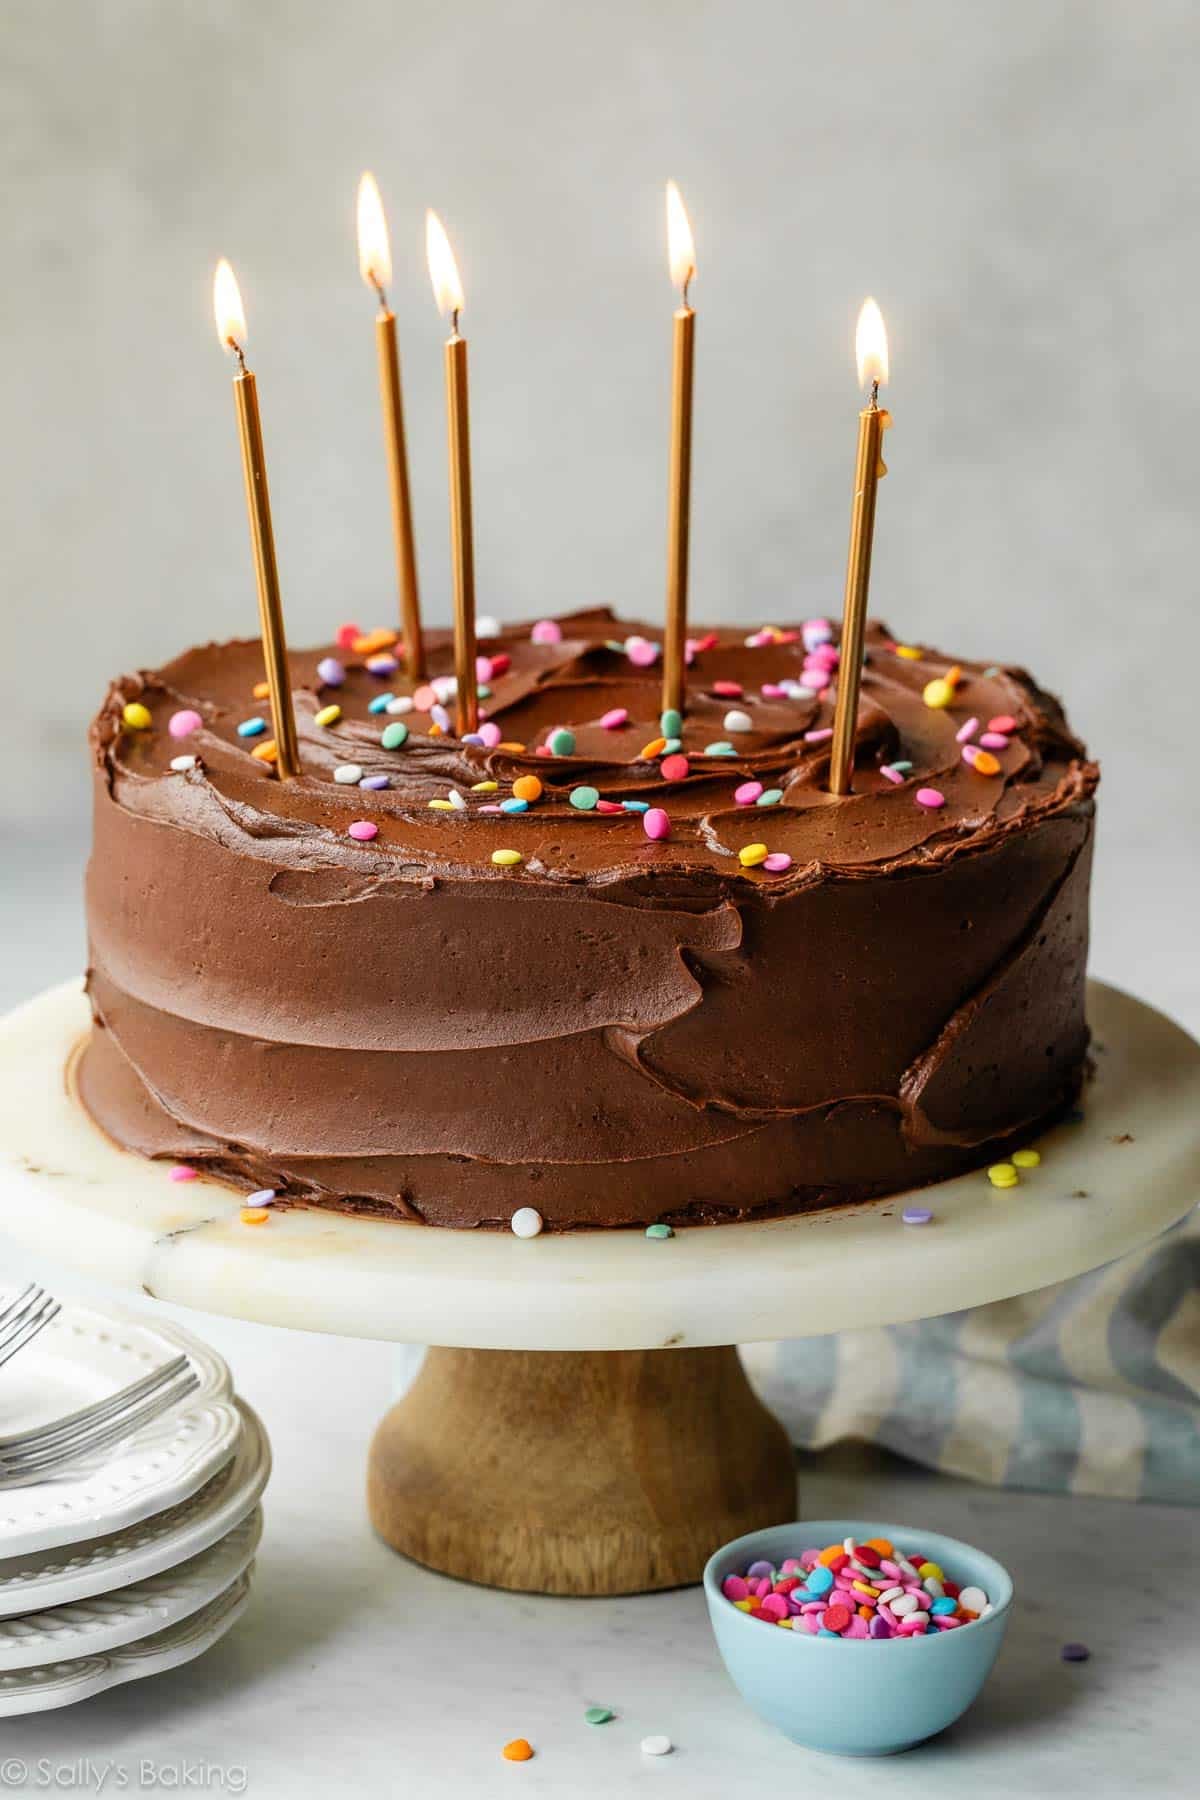
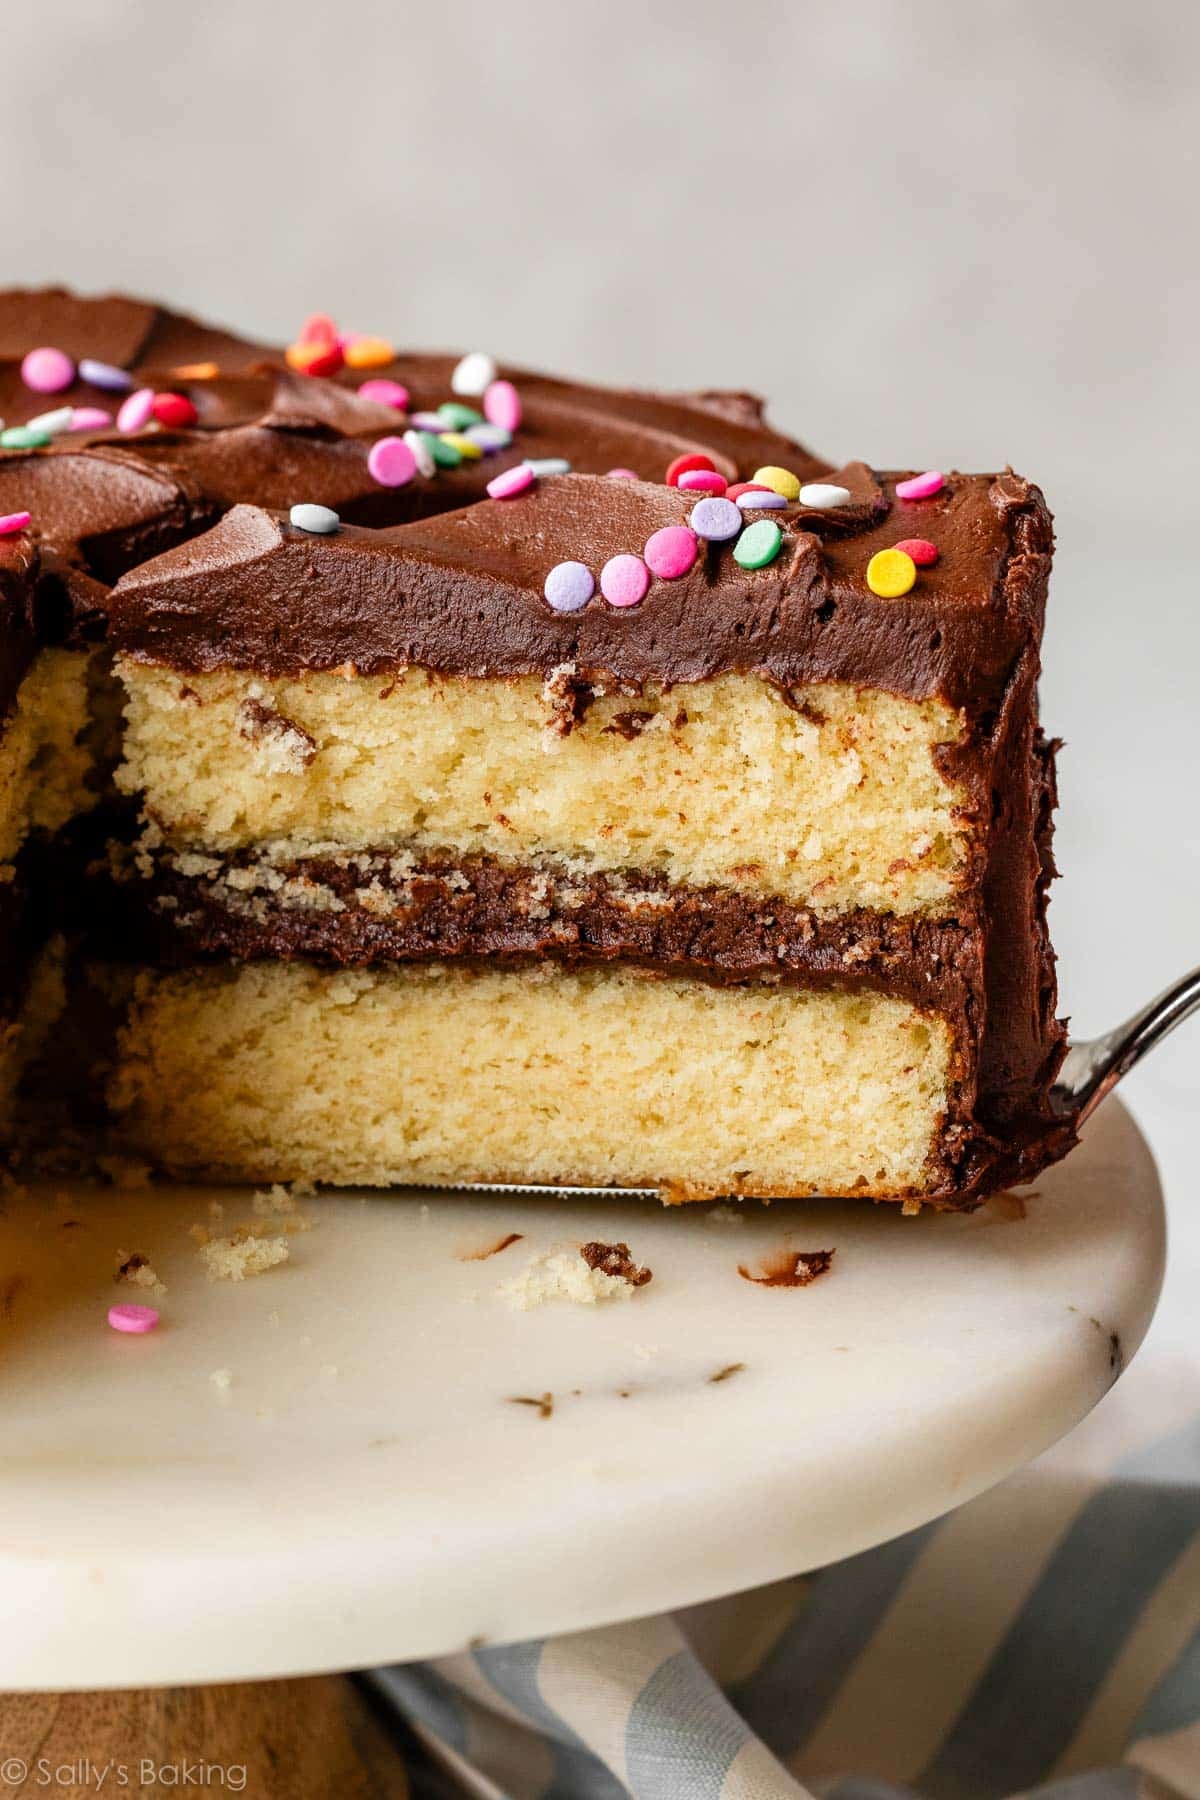
Why This Recipe Works
This yellow layer cake has undergone many, many rounds of testing, so you can be sure that there are reasons for each and every step and ingredient.
I don’t recommend making any substitutions for this recipe.
If baking could withstand shortcuts, I’d take them, but we don’t want to mess around here. Remember, baking is a science!
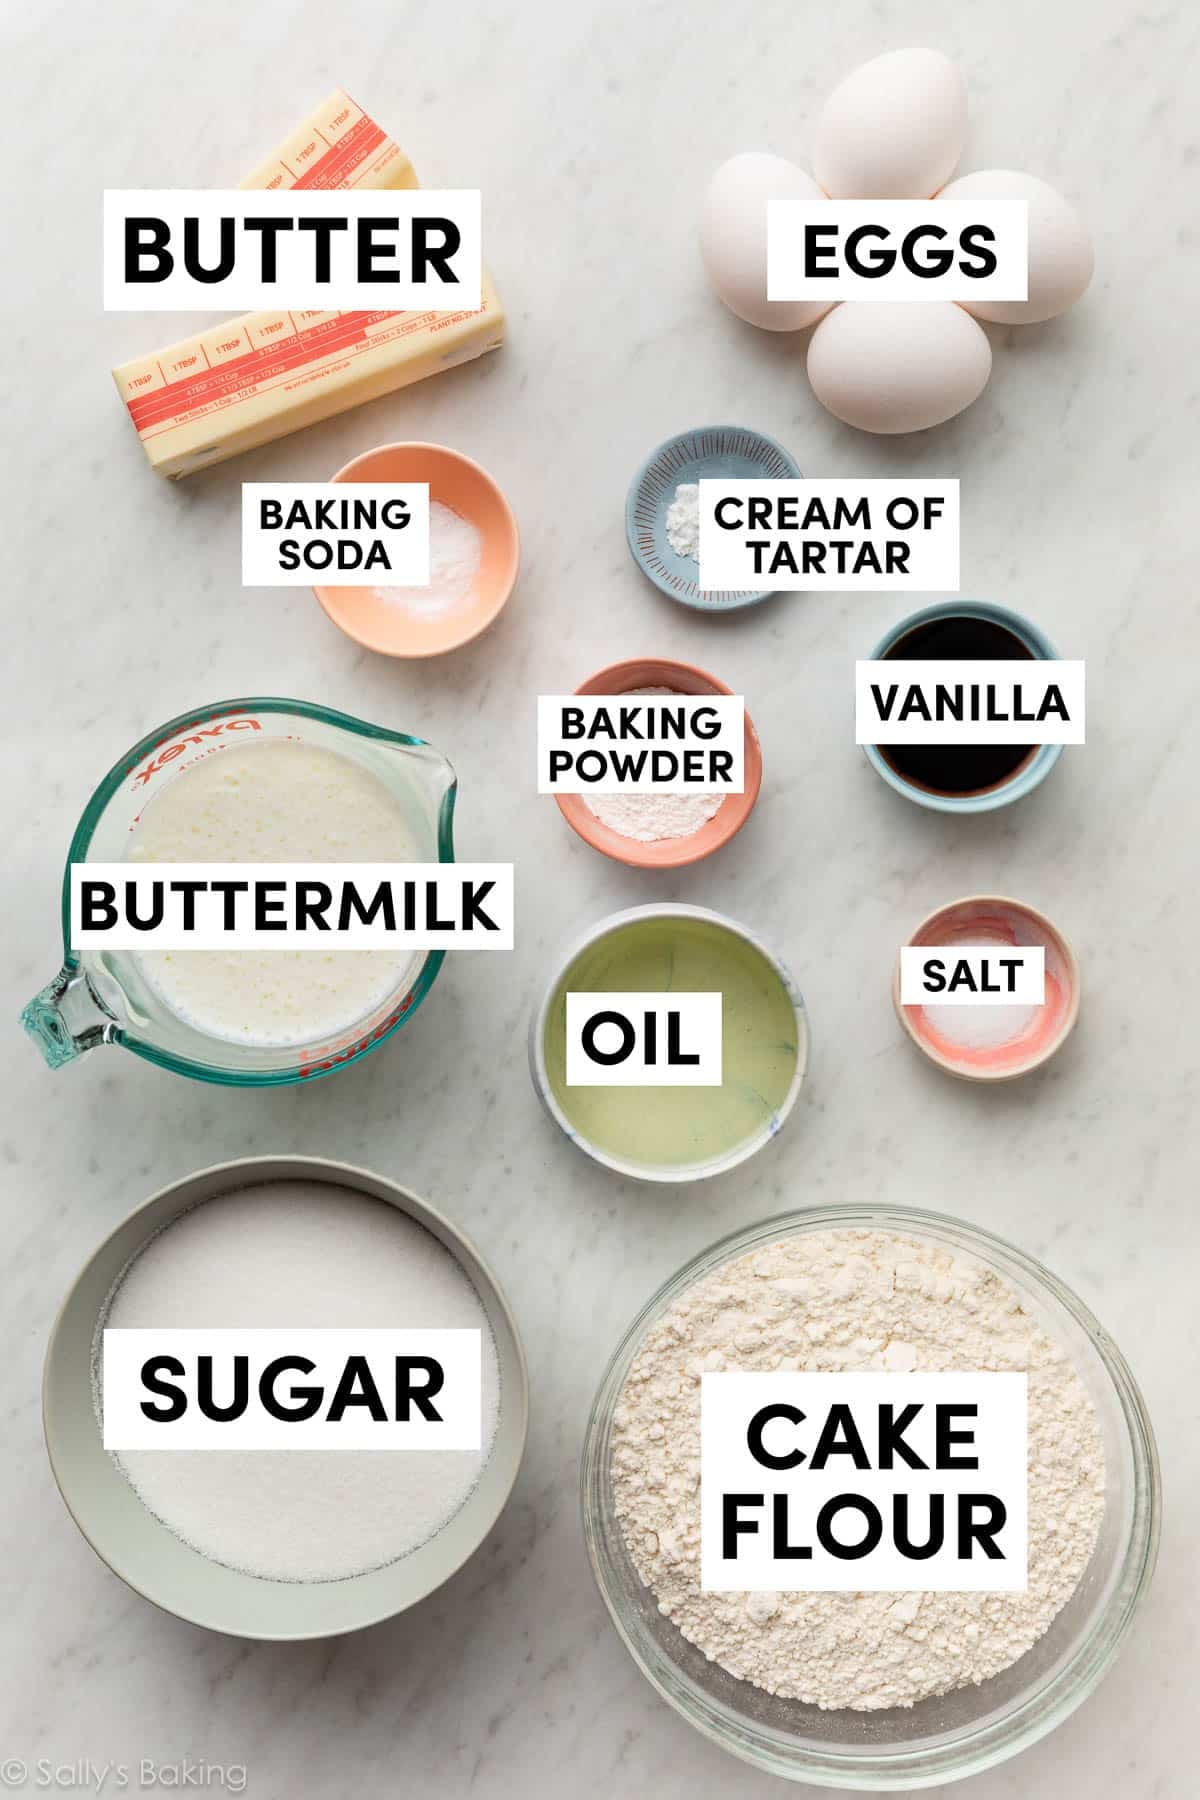
Key Ingredients You Need & Why
- Cake Flour: Cake flour is almost 30x finer than all-purpose flour. Using it is a surefire way to achieve a delicate, soft-as-a-pillow texture. All-purpose flour, even when combined with cornstarch to make a cake flour substitute, is simply too heavy for this recipe. You need real cake flour for this yellow cake.
- Baking Powder & Baking Soda: This balanced combination provides the right amount of lift. It even inspired me to change/improve the leaveners in the 9×13-inch yellow cake, too.
- Butter: You can’t have a buttery yellow cake without real butter! The base of this batter starts with creamed room-temperature butter and sugar.
- Oil: This is a more recent addition to this recipe, and it’s in direct response to some reader reviews. (We appreciate your feedback, always!) To prevent this butter and egg–heavy cake from being overly dense or dry, vegetable oil now takes the place of *some* of the butter. The butter is essential for flavor in a yellow cake, but oil adds moisture and keeps the crumb a bit lighter.
- Extra Egg Yolks: Eggs play a big role in today’s recipe. You need 4 eggs total—2 whole eggs plus an additional 2 egg yolks. This equals 4 egg yolks and 2 egg whites. Additional egg yolks add richness, tenderness, and flavor… plus natural yellow color for this yellow cake! You’ll need to separate 4 eggs, and you’ll have 2 egg whites left over (make an egg white omelette, or here are some recipes using only egg whites).
- Whipped Egg Whites: For the 2 egg whites going into the cake, we need to take them a step further to help fluff up the cake’s structure. After all, this is a butter and egg yolk–heavy cake. Whip the egg whites separately, then fold them in.
- Cream of Tartar: Cream of tartar, a dry acid, is whipped egg whites’ best friend. It helps with stability, volume, and keeps the air in the egg whites suspended so they hold shape when mixed into the heavy cake batter.
- Buttermilk: I tried a mix of sour cream and whole milk, but taste testers enjoyed the buttermilk version much, much better. Adding flavor and moisture, buttermilk is used in many baking recipes including this confetti cake. See recipe Note about a DIY buttermilk substitute.
Granulated sugar, salt, and pure vanilla extract round out the ingredient list. Feel free to use vanilla bean paste if you have it.
Let’s Make a Perfect Yellow Cake
Whisk together your dry ingredients, as instructed below. Then, make sure the butter and sugar are properly creamed. If you need a refresher, here is my tutorial on how to cream butter and sugar.
Then add in the remaining wet ingredients (except for the egg whites).
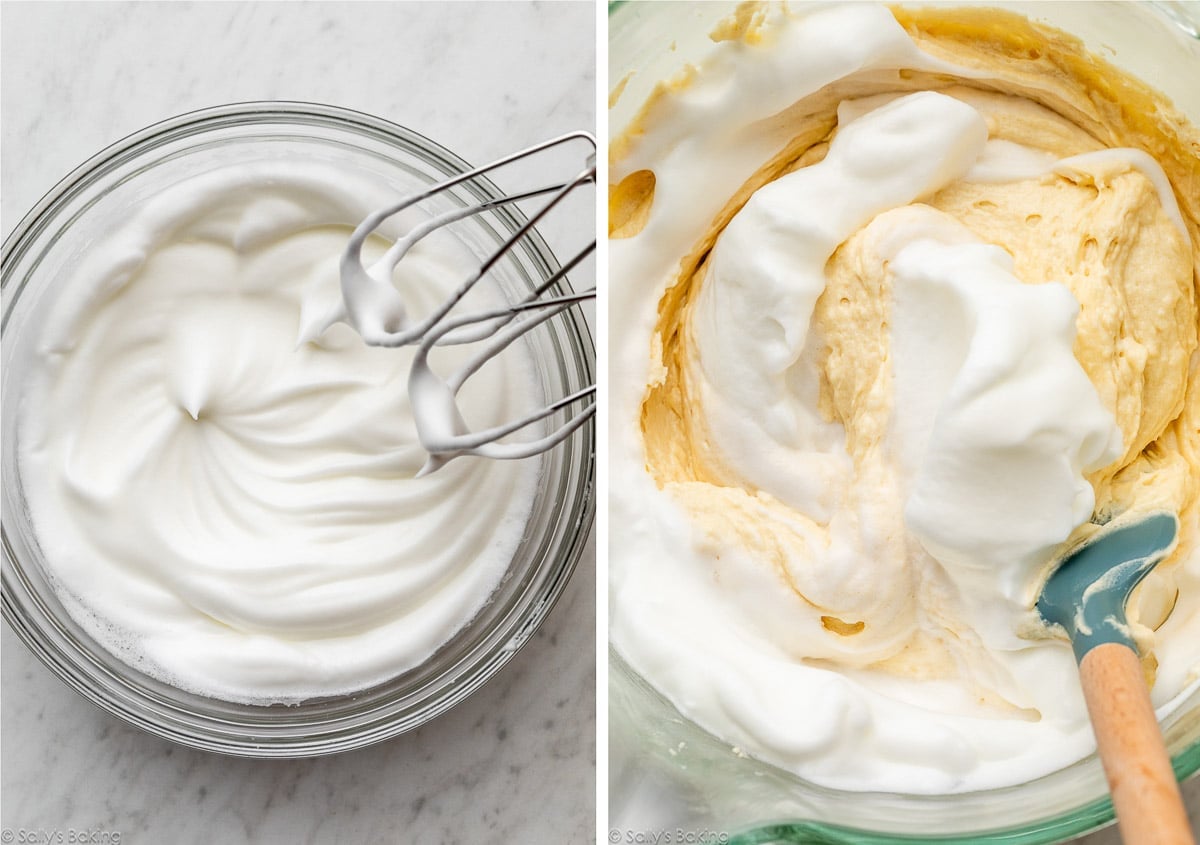
Whip the egg whites and cream of tartar together, then fold them into the cake batter. The cake batter will be thick, but the fluffy egg whites lighten it up.
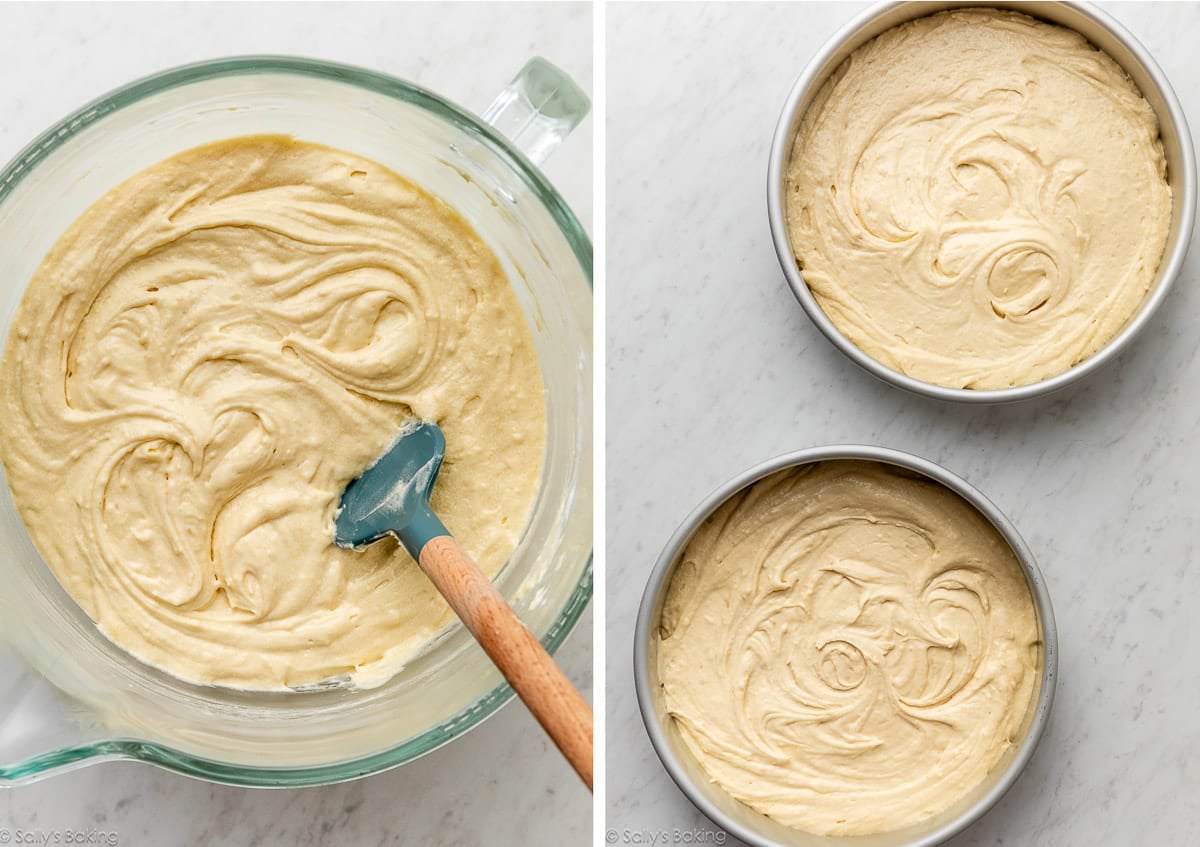
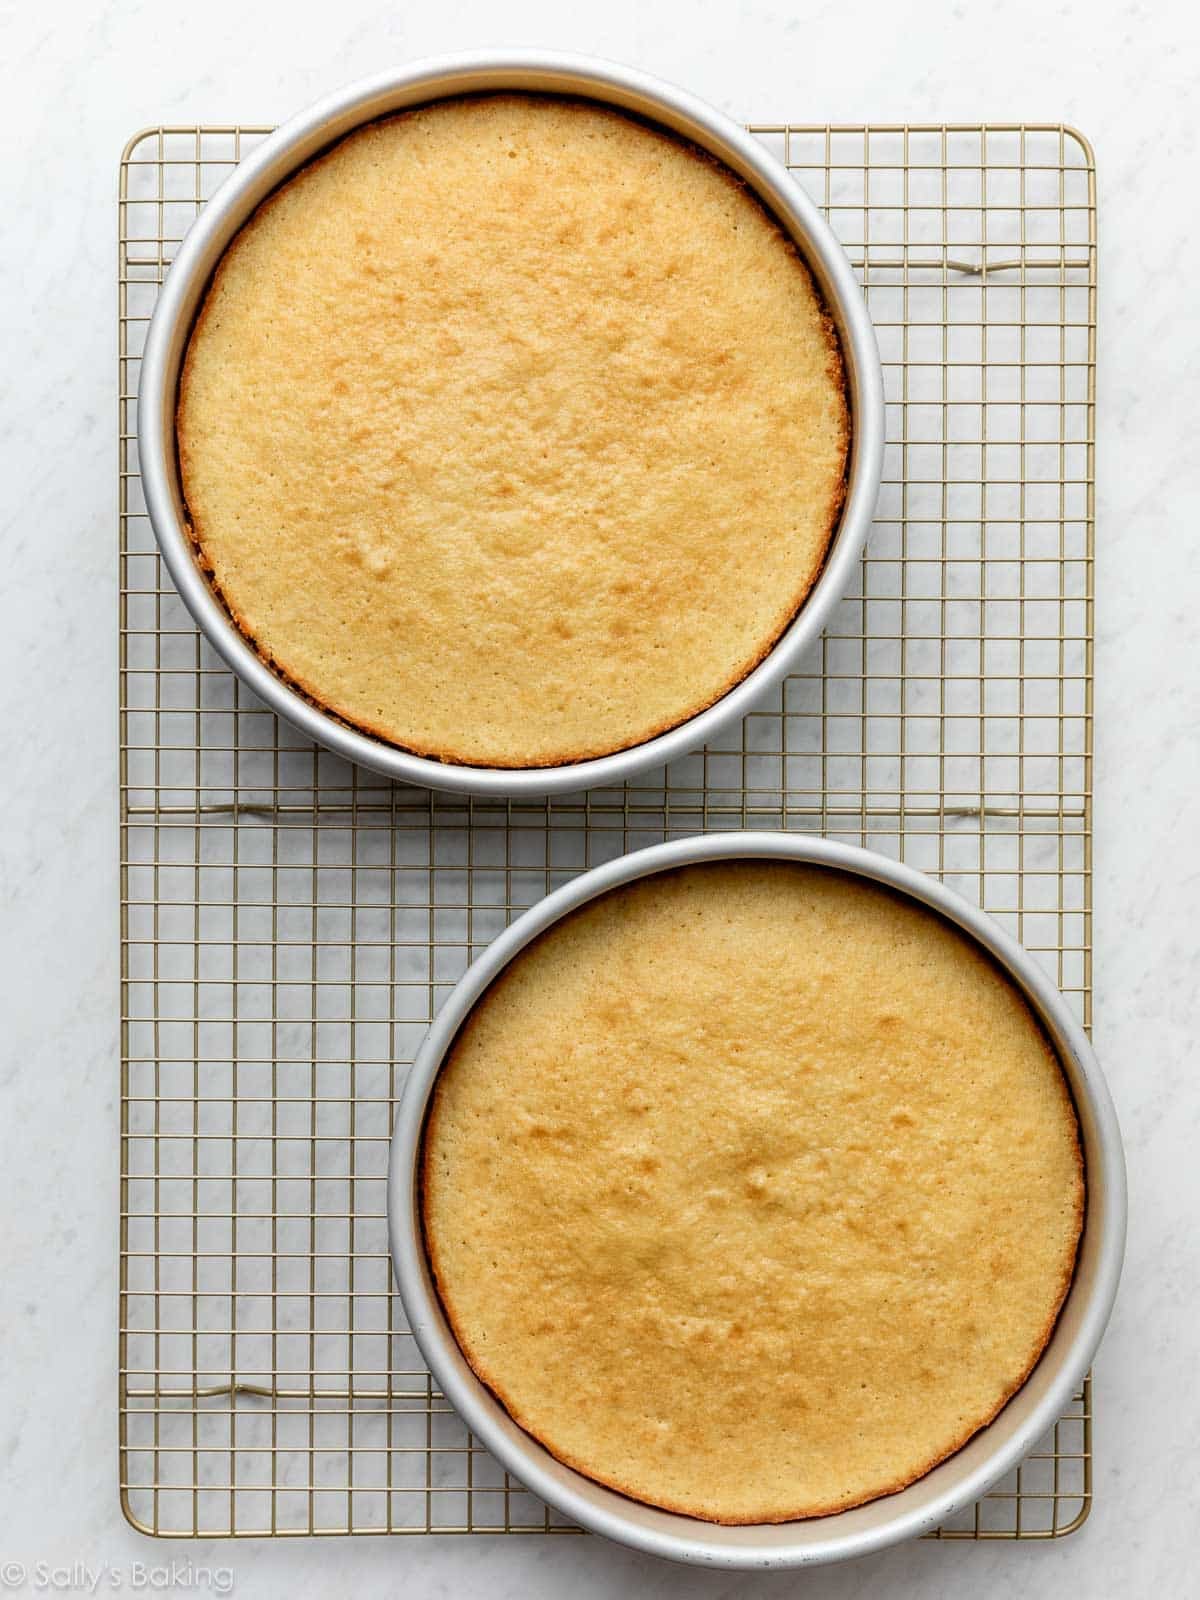
Divide the batter between two round cake pans. For this recipe, you need 2 9-inch cake pans. Grease them, line with a parchment round, then grease the parchment round. Bake the cakes, and then cool for 1 hour in the pans set on a cooling rack.
Chocolate Frosting for Yellow Birthday Cake
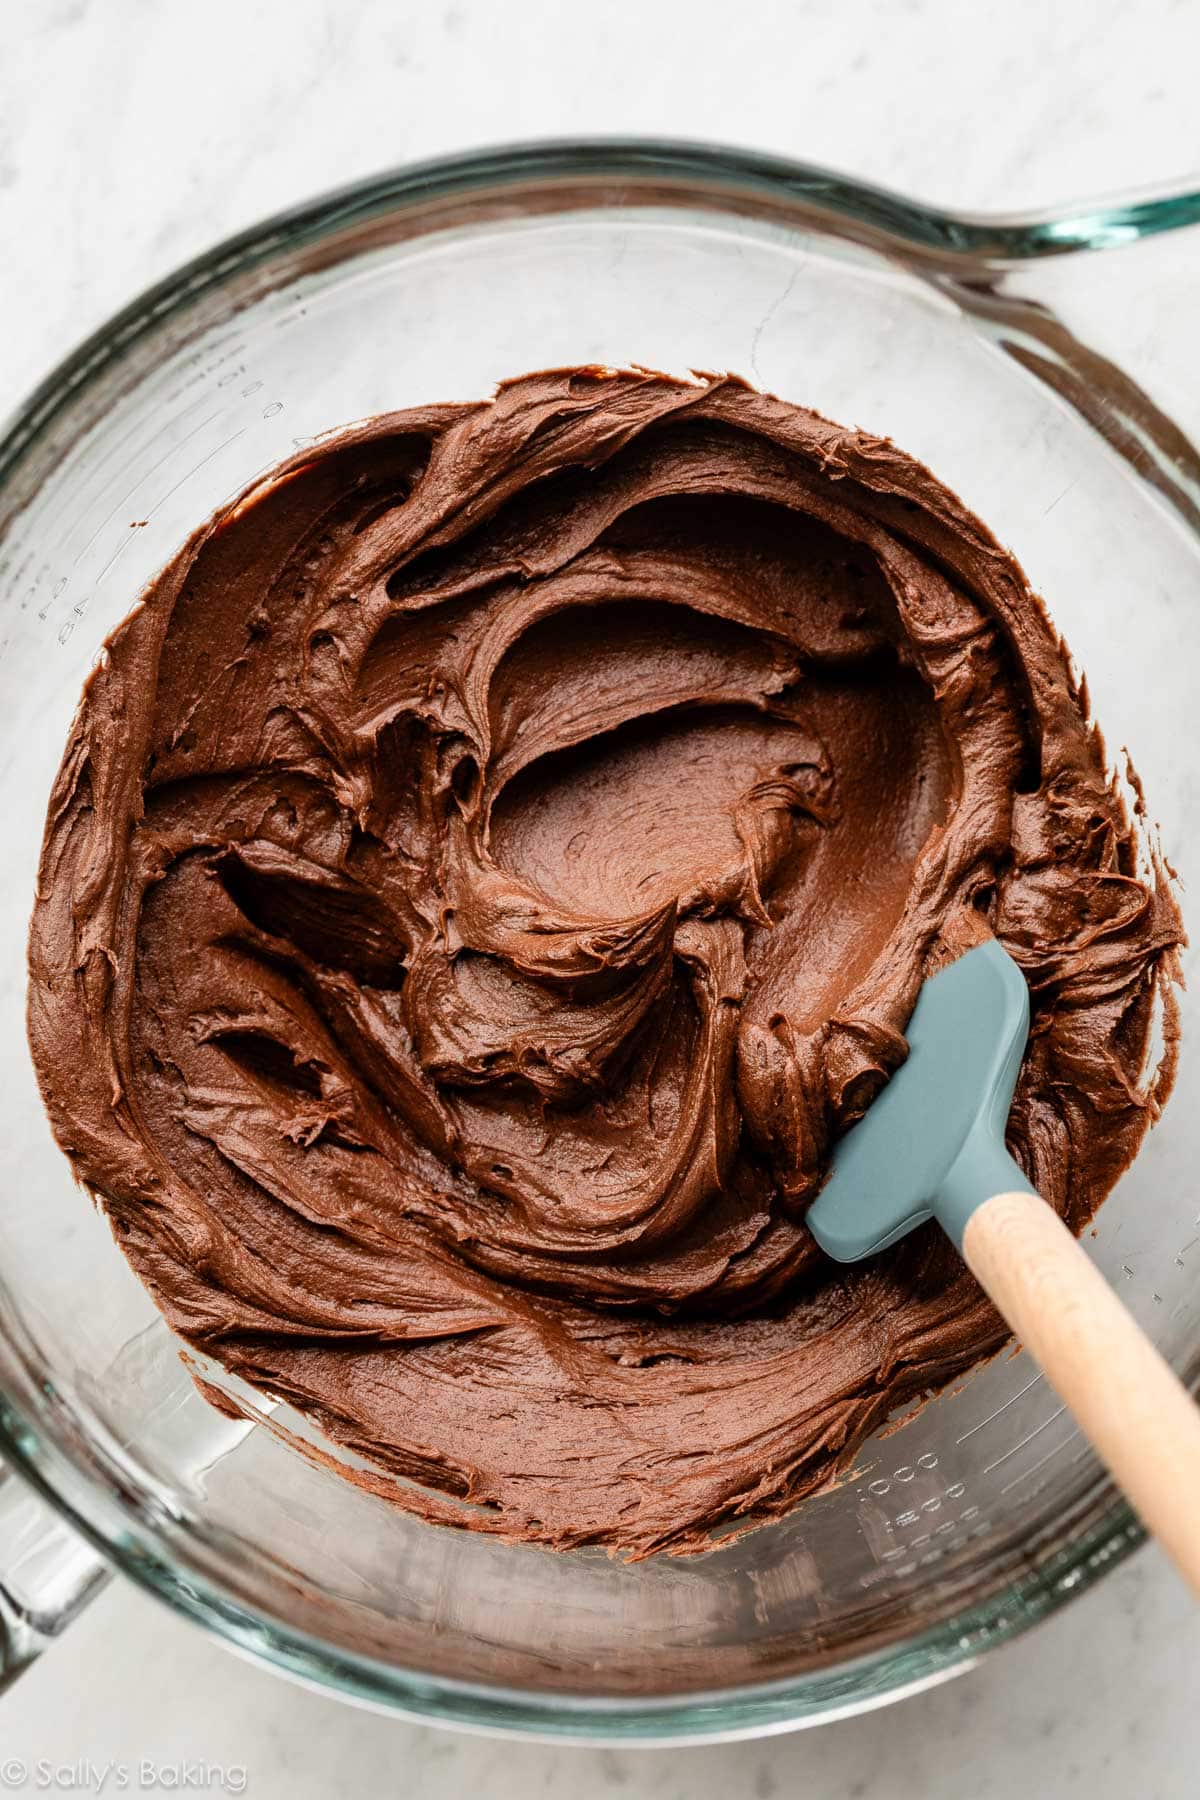
I use my favorite chocolate buttercream but slightly scaled up. Because there is no leavening occurring, you can use either Dutch-process or natural cocoa powder in the buttercream. Heavy cream provides an extra creamy frosting, but milk can be substituted if needed.
This frosting is a little fluffier than the chocolate fudge frosting on the yellow sheet cake. Feel free to swap frostings, or use the the vanilla buttercream from this white cake recipe!
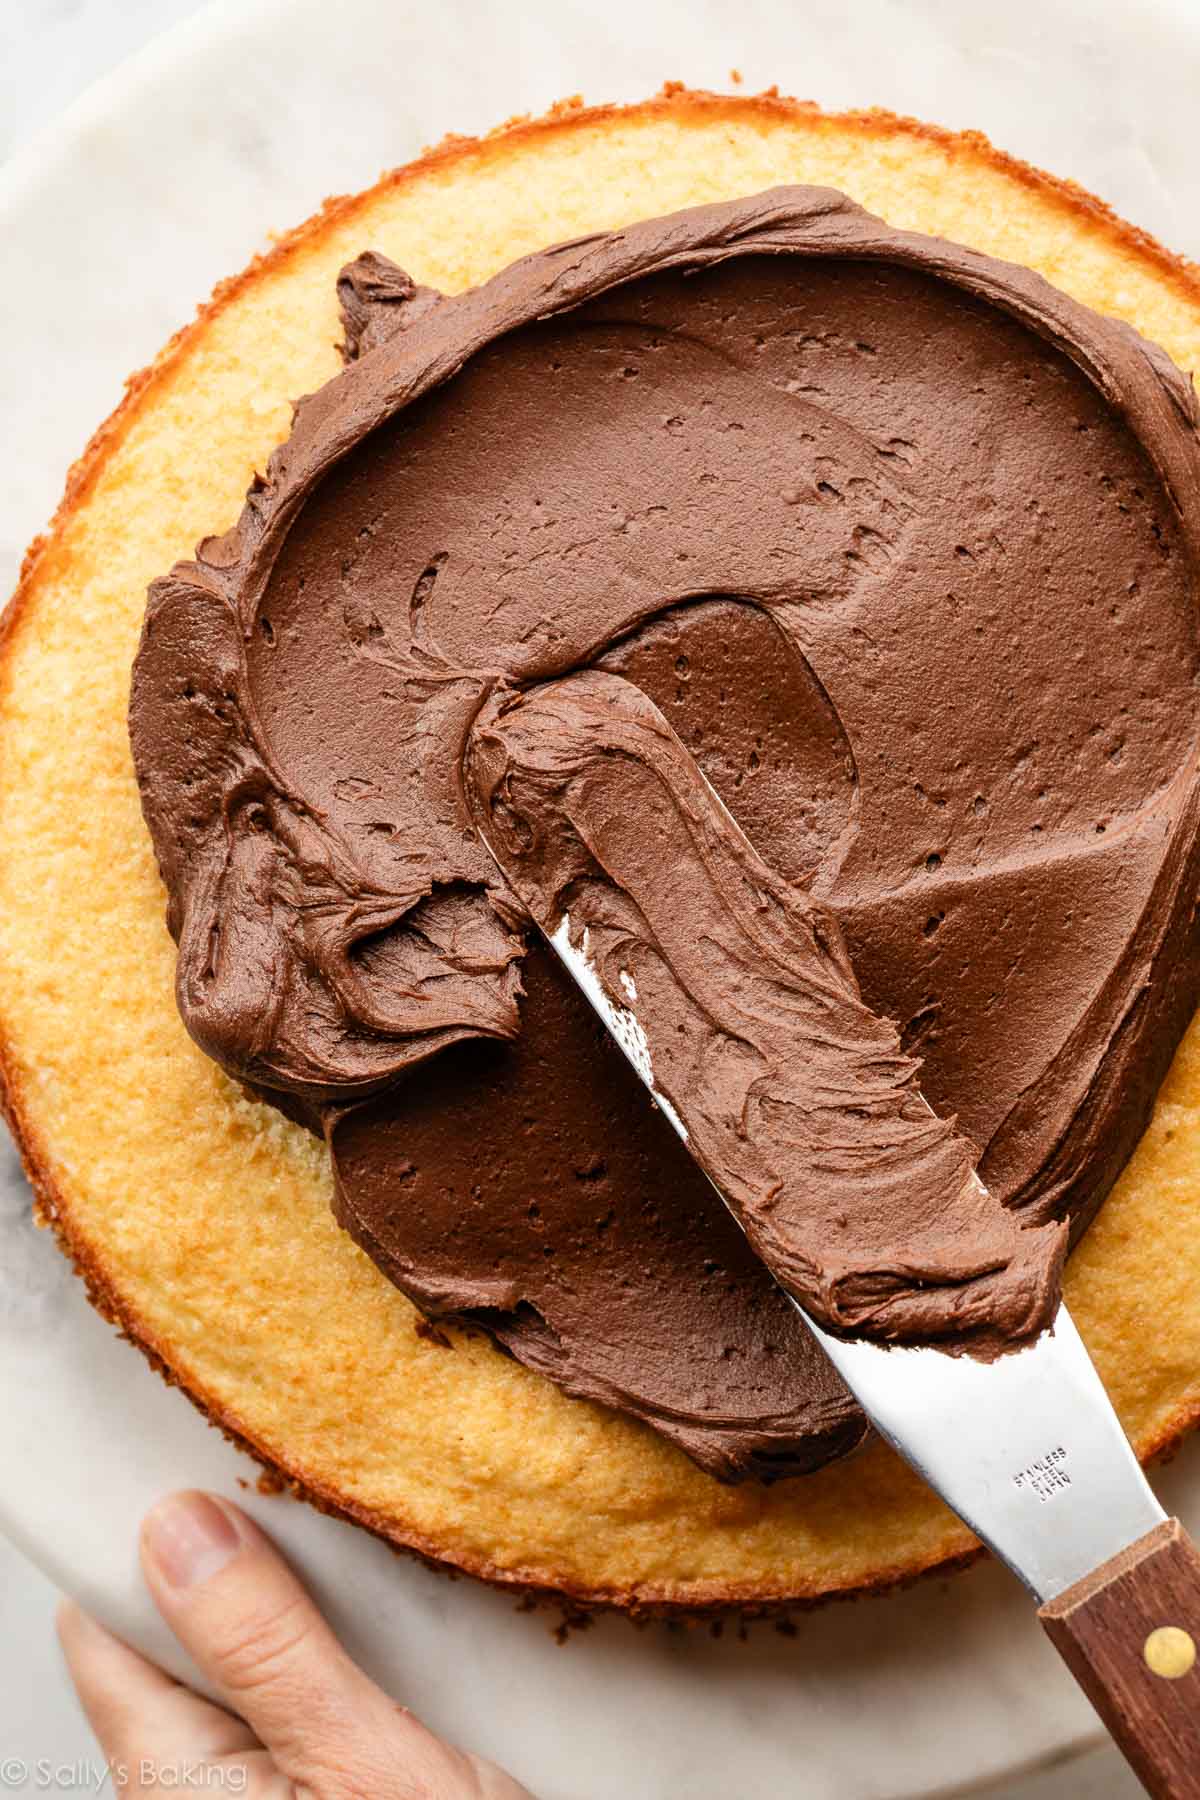
How to Assemble & Frost a Layer Cake
After your cakes are cool, run a knife around the edges of the cake to help release them from the pans.
If your cakes are domed on top, level them after they cool. I use a serrated knife.
To ensure the layer cake is stable, it’s important to apply a crumb coat. A crumb coat is a thin layer of frosting on the exterior of the cake that locks in any loose crumbs and helps stabilize the layers. The edges of today’s cake layers are crumbly, so a crumb cake is especially useful.
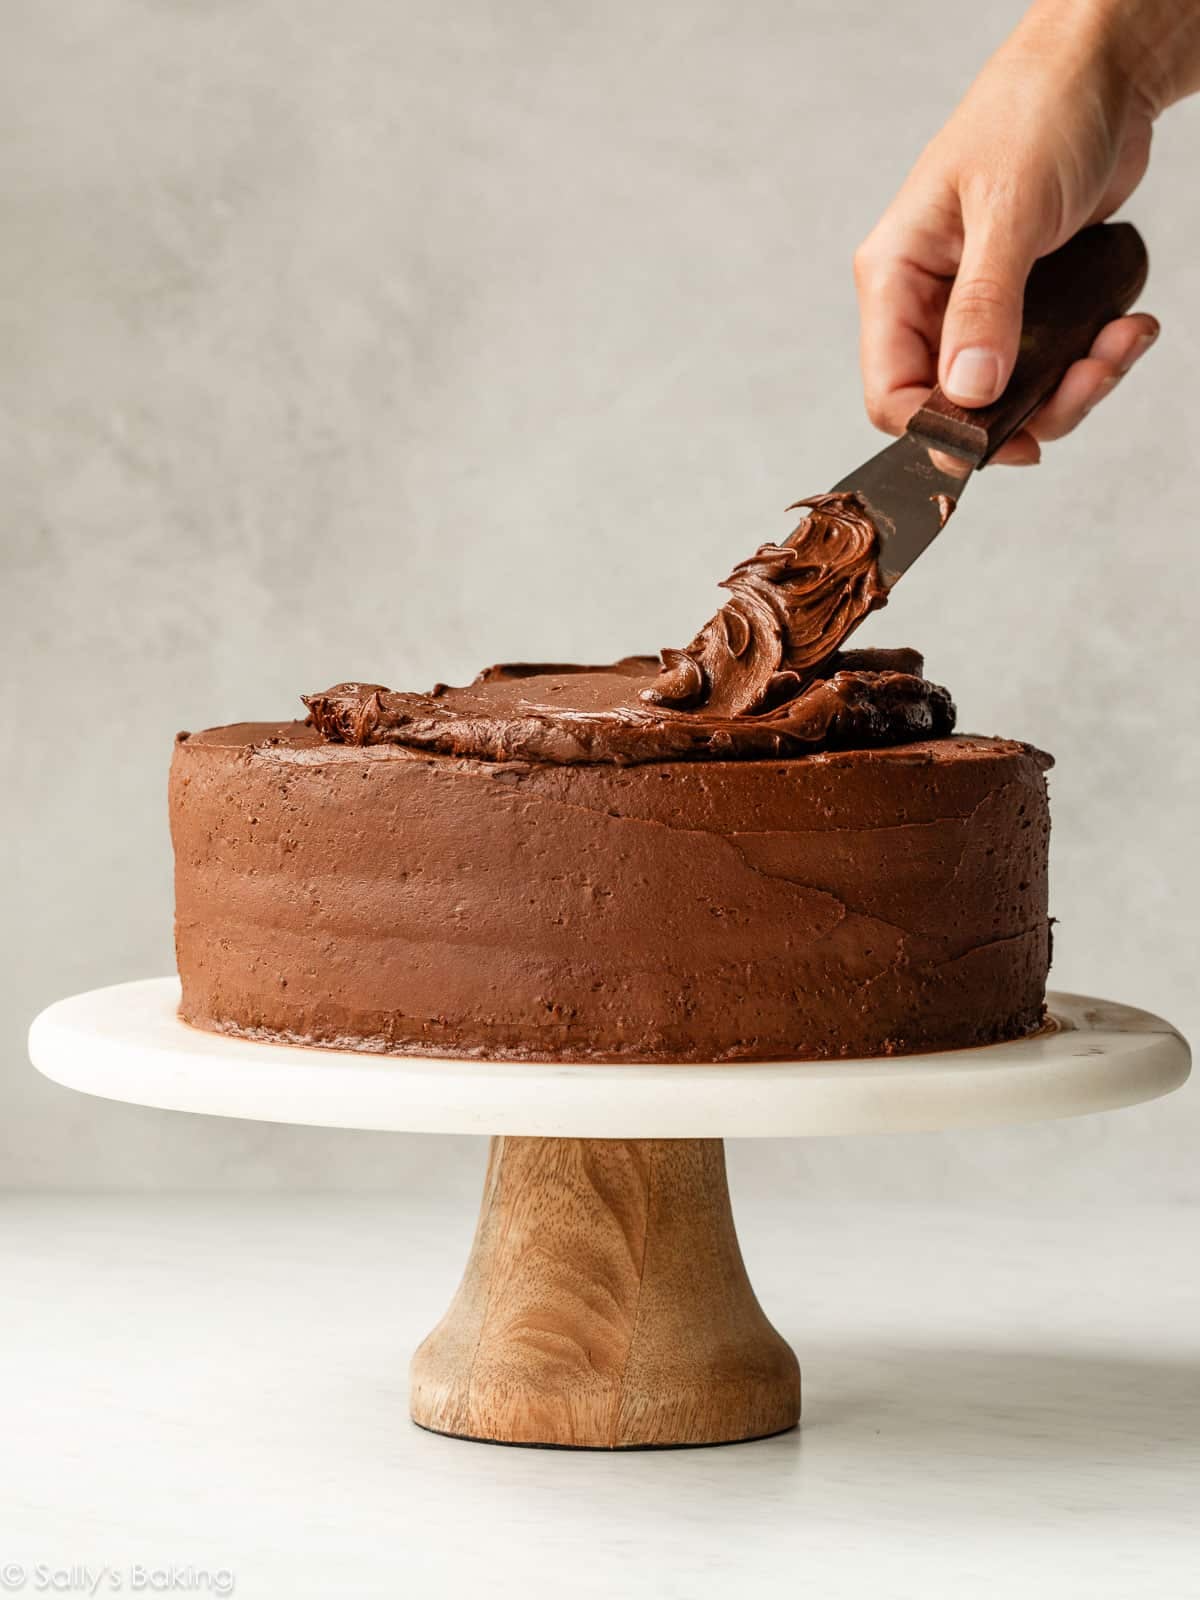
If you need more guidance and some handy visuals, here’s my how to assemble a layer cake video.
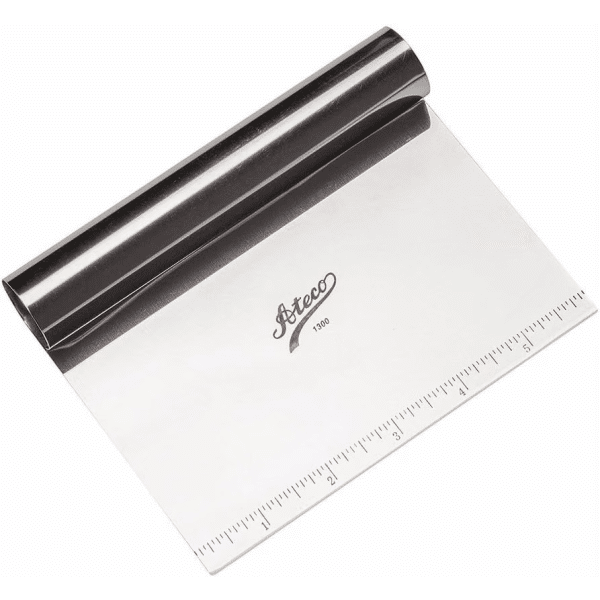
After you stack the 2 layers with frosting in between, cover the top and sides of the 2-layer cake with a very thin layer of frosting (about 1 cup). If desired, run a bench scraper around the cake to help smooth out the frosting.
Refrigerate the uncovered cake for at least 20 minutes and up to 1 hour to “set” the crumb coat. Then cover the top and sides with the remaining frosting.
Yellow Cake Success Tips
- Use Room-Temperature Ingredients: Make sure all of your ingredients are at room temperature. When ingredients are the same temperature, they bind together more readily than if you had some cold and some warmer ingredients. Separating eggs is easier when the eggs are cold, so separate them first, then let them come to room temperature before you begin.
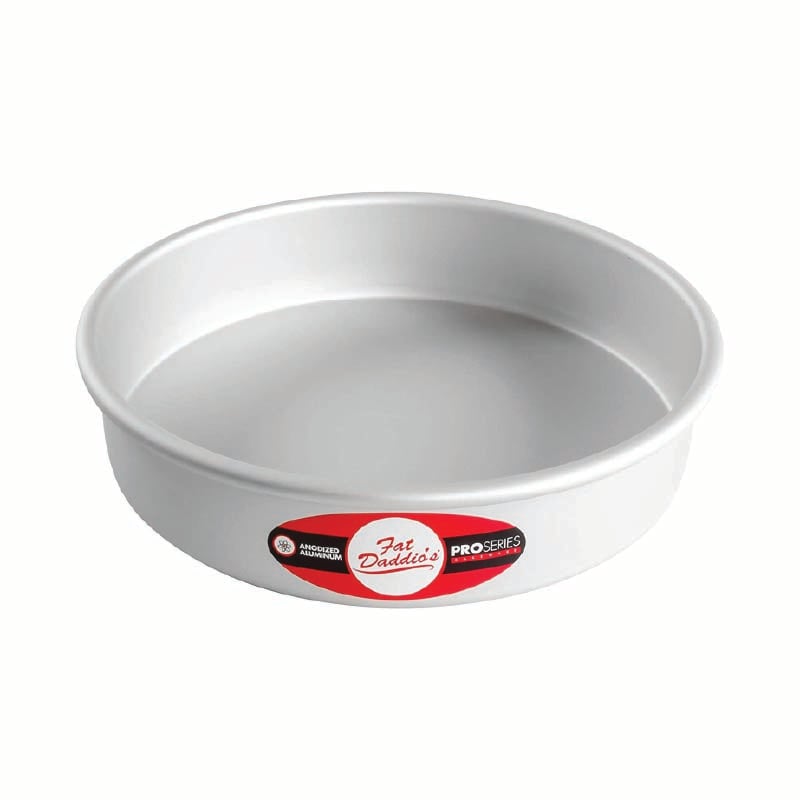
- Prep Your Pans: Grease and line your cake pans with parchment paper rounds, to help the cakes seamlessly release from the pans. If you need recommendations for round cake pans, I really like Fat Daddio’s pans and these Wilton cake pans.
- Apply a Crumb Coat: The edges of this cake can be a bit crumbly, so taking the time to do a crumb coat is extra important!
Other Size Yellow Cakes
This cake batter is best for a 2-layer 9-inch cake (I use and love these 9-inch round cake pans). This recipe yields about 5–6 cups of batter, which is helpful if you need it for different Cake Pan Sizes & Conversions.
Other Sizes:
- 9×13-Inch Cake: You can bake this yellow cake in a 9×13-inch baking pan (bake time will be a bit longer), but I found it tasted on the heavier side. Instead, I recommend my recipe for yellow sheet cake.
- Cupcakes: Here is my favorite yellow cupcakes recipe, which includes directions for mini cupcakes too. Same unbelievable texture as this cake!
- 6-Inch Layer Cake: The yellow cupcakes recipe also makes the right amount of batter for a 3-layer 6-inch cake.



Yellow Layer Cake
- Prep Time: 30 minutes
- Cook Time: 28 minutes
- Total Time: 4 hours
- Yield: serves 12
- Category: Dessert
- Method: Baking
- Cuisine: American
Description
After years of recipe testing, this is the best yellow cake I’ve ever had. Soft, buttery, and incredibly moist, it’s made with cake flour, whipped egg whites, extra egg yolks, and buttermilk for the ultimate homemade birthday cake. See above for different pan options. For best success, follow this recipe closely and don’t make any ingredient substitutions.
Ingredients
- 2 and 1/2 cups (285g) cake flour (spooned & leveled)*
- 2 and 1/2 teaspoons baking powder
- 1/4 teaspoon baking soda
- 1/2 teaspoon salt
- 3/4 cup (170g) unsalted butter, softened to room temperature*
- 1 and 3/4 cups (350g) granulated sugar
- 1/3 cup (75g/80ml) vegetable oil
- 4 large egg yolks, at room temperature
- 1 Tablespoon pure vanilla extract
- 1 cup (240g/ml) buttermilk, at room temperature*
- 2 large egg whites, at room temperature
- 1/8 teaspoon cream of tartar*
Chocolate Buttercream
- 1 and 1/2 cups (339g) unsalted butter, softened to room temperature
- 4 cups (480g) confectioners’ sugar
- 3/4 cup + 2 Tablespoons (76g) unsweetened cocoa powder (natural or Dutch-process)
- 4–6 Tablespoons (60–90g/ml) heavy cream (or half-and-half or milk), at room temperature
- 1 and 1/4 teaspoons pure vanilla extract
- 1/4 teaspoon salt
- optional for decoration: sprinkles
Instructions
- Preheat the oven to 350°F (177°C). Grease two 9-inch round cake pans, line with parchment paper rounds, then grease the parchment paper. Parchment paper helps the cakes seamlessly release from the pans. (If it’s helpful, see this parchment paper rounds for cakes video & post.) I recommend using nonstick spray for greasing.
- In a medium bowl, whisk the cake flour, baking powder, baking soda, and salt together. Set aside.
- In a large bowl using a handheld or stand mixer fitted with a paddle attachment, beat the butter and sugar together on medium-high speed until light and creamy, about 3 minutes. Scrape down the sides of the bowl with a silicone spatula as needed. (Here’s a helpful tutorial if you need guidance on how to cream butter and sugar.) Add the oil and beat for 1 minute until combined. Beat in the egg yolks until incorporated, then beat in the vanilla extract.
- Add about 1/3 of the dry ingredients and 1/2 of the buttermilk and beat on low speed until combined. Add 1/3 more of the dry ingredients and the rest of the buttermilk and beat on low speed until combined. Add the rest of the dry ingredients and beat on low speed until combined. The batter will be very thick. You may need to whisk it all by hand to make sure there are no lumps at the bottom of the bowl. Set aside.
- In another large bowl using a handheld or stand mixer fitted with a whisk attachment, beat the egg whites and cream of tartar together on high speed until fluffy, medium-stiff peaks form, about 3 minutes.
- Fold the whipped egg whites into the cake batter. Work slowly and gently, as you don’t want to deflate the egg whites. Pour/spoon the batter evenly into the prepared pans.
- Bake for 27–31 minutes or until a toothpick inserted in the center of the cake comes out clean. Cool the cakes in the pans set on a cooling rack for 1 hour. Run a knife around the edges to loosen the sides, remove the cakes from the pans, peel off the parchment, and place on the rack to finish cooling. The edges of the cakes can be crumbly; this is normal. The cakes must be completely cool before frosting and assembling.
- Make the frosting: In a large bowl with a handheld or stand mixer fitted with a paddle attachment, beat the butter on medium speed until creamy, about 2 minutes. Add confectioners’ sugar, cocoa powder, 4 Tablespoons of heavy cream, salt, and vanilla extract. Beat on low speed for 30 seconds, then increase to high speed and beat for 1 full minute. Do not over-whip. Add 1/4 cup (30g) more confectioners’ sugar if frosting is too thin or 1–2 more Tablespoons of cream if frosting is too thick. Taste. Add another pinch of salt if desired.
- Assemble and frost: (For additional help with this step, see this how to assemble a layer cake video & post.) First, using a large serrated knife, slice a thin layer off the tops of the cakes to create a flat surface. Discard (or crumble over ice cream!). Place one cake layer on your cake stand, cake turntable, or serving plate. Spread about 3/4–1 cup (180–240g) of frosting in an even layer on top. Top with the second cake layer and spread about 1 cup (240g) of buttercream in a very thin layer over the top and sides to make the crumb coat. If desired, run a bench scraper around the cake to help smooth out the frosting on the sides. Refrigerate the cake until the crumb coat has set, about 20 minutes. Finish by spreading the top and sides with the remaining buttercream. Decorate the cake with sprinkles, if desired. For extra neat slices, refrigerate the cake for 30–60 minutes before slicing. This helps the cake hold its shape when cutting.
- Cover leftover cake tightly and store at room temperature for up to 1 day or in the refrigerator for up to 5 days. If the cake has been stored in the refrigerator, let the cake sit out at room temperature for at least 30 minutes to soften up again before serving.
Notes
- Make Ahead & Freezing Instructions: Prepare cake through step 8. Wrap the individual baked and cooled cake layers tightly and keep at room temperature for 1 day or freeze up to 3 months. Bring to room temperature (if frozen), then continue with step 9. Frosting can also be made 1 day ahead of time. Cover tightly and refrigerate overnight. Bring frosting to room temperature, then beat the frosting on medium speed for a few seconds so it’s creamy again. Adding a splash of cream or milk will help thin the frosting out, if needed. Frosted cake freezes well, up to 3 months. Thaw overnight in the refrigerator, then bring to room temperature before serving. See How to Freeze Cakes.
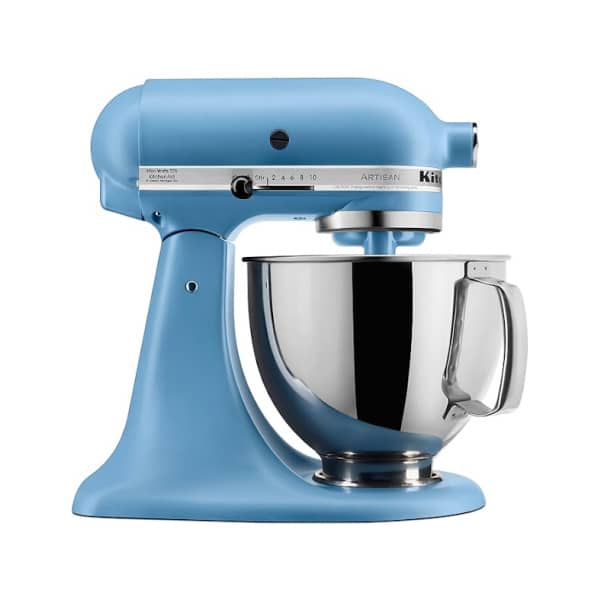
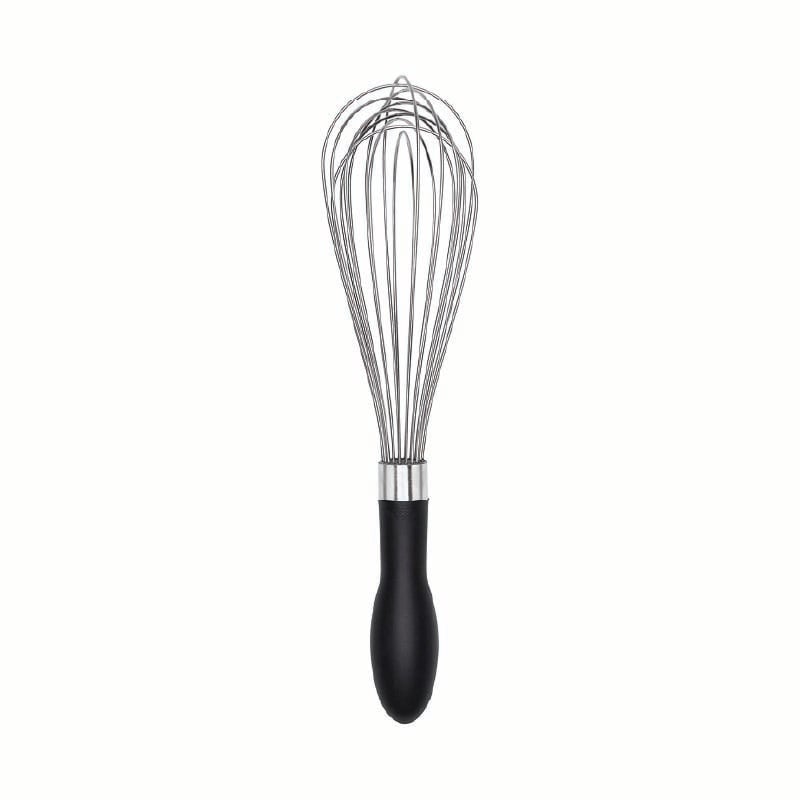
- Special Tools (affiliate links): 9-inch Round Cake Pans | Glass Mixing Bowls | Whisk | Electric Mixer (Handheld or Stand) | Silicone Spatula | Cooling Rack | Cake Turntable | Icing Spatula | Bench Scraper | Cake Carrier (for storage)
- Update in 2026: The original recipe called for 1 cup (226g) of butter and no oil. We reduced the butter and added a little oil to lighten the crumb and help prevent the cake from becoming overly dense.
- Cake Flour: Cake flour is key in this recipe. Do not use any cake flour substitutes.
- Eggs: You need 4 egg yolks and 2 egg whites in this cake batter, which means you’ll start with 4 whole eggs and have 2 egg whites leftover for another use. It’s easiest to separate eggs when they’re cold. The eggs must be at room temperature to whip properly, so after you separate the eggs, cover the yolks and egg whites separately and let them sit at room temperature for at least 20 minutes before beginning the recipe.
- Buttermilk: Buttermilk is required for this recipe. You can make your own DIY buttermilk substitute by measuring 1 Tablespoon of lemon juice or white vinegar in a measuring glass. Add enough milk (whole milk is best—lower-fat or nondairy milks work in a pinch, but the cake won’t taste as moist or rich) in the same measuring glass to reach 1 cup. Stir it around and let sit for 5 minutes. The soured milk will be somewhat curdled and ready to use in your recipe.
- Cream of Tartar: This is an important ingredient that helps the egg whites whip into lofty, fluffy peaks and hold their shape when folded into the heavy cake batter. You can skip it if needed and whip the egg whites by themselves, but the cake will be a little denser.
- Amount of Cake Batter: This recipe yields about 5–6 cups of batter, which is helpful if you need it for different Cake Pan Sizes & Conversions. This recipe is too large for two 8-inch round cake pans.
- 9×13-Inch Pan: You can bake this batter in a 9×13-inch baking pan (bake time will be longer, around 30–35 minutes), but we recommend this similar recipe for yellow sheet cake, which uses mostly the same ingredients.
- 3-Layer Cake: You can also prepare this cake as a 3-layer cake. Divide the batter between three 8-inch or 9-inch cake pans and bake for 22–25 minutes or until a toothpick inserted in the center comes out clean. The frosting recipe written will be enough for thin layers of frosting; you can double my chocolate buttercream recipe (simply double each ingredient) if you want a lot of frosting.
- Yellow Cupcakes: Here is my favorite yellow cupcakes recipe, which includes directions for mini cupcakes too. Same unbelievable texture as this cake! If you need more than 1 dozen yellow cupcakes, use this yellow cake recipe for between 2–3 dozen and follow the same baking instructions as my yellow cupcakes.











Reader Comments and Reviews
hi sally!
your thoughts on browning the butter for the chocolate buttercream? ty 😉
Hi Sonny, we haven’t tried it, but you would need to let the brown butter resolidify in the refrigerator before using to make the buttercream. See this recipe for brown butter cream cheese frosting for instructions.
I’d describe the texture of this cake as delicate and fluffy. It wasn’t dry, but it did crumble very easily. I couldn’t stick a fork in a piece without having it fall apart. My layers also sank in the middle, as others have mentioned. The frosting did turn out great using the Whole Foods brand of cocoa powder and C&H powdered sugar. I think next time I’ll look for a recipe with more egg yolks. My husband wondered why it didn’t look very yellow compared to others I’ve made.
Could I make this into a funfetti cake? Would the sprinkles detract? Or cause the cake to be too heavy?
Hi Peggy, sure can! Add 1/2 – 2/3 cup rainbow sprinkles.
Make this cake for a birthday party. Cake was fairly moist – cooked for about 20 minutes – think I could have taken it out at 17 minutes as the cake tester was clean but was concerned about it falling as few comments said they had that issue. In hindsight, it seemed done at 17 by the “press lightly with your finger for a bounce back”. Anyway – overall it was very good. But my butter cream seemed grainy. I read on an internet search that this is caused by the sugar not dissolving fully into the butter. The recommended solution was to add the sugar a spoonful at a time to the creamed butter so that it better dissolves but the recipe said to all all the dry ingredients at one time. Do you think this might be the issue? My butter was out for an hour but still seemed a bit cool so maybe that was the issue? Thanks for any input. Bottomline everyone enjoyed the cake.
Hi Phil! I would recommend trying a different brand of confectioner’s sugar – some can be grainy!
Lovely cake and delicious frosting! Sally, you rock. I’ve been making your lemon blueberry cake for a while (my favorite) and now I’ll add the yellow cake. It’s a winner!!!
This cake did not work for me. I followed the step by step instructions, but it was very brown on the outside and the center sunk and was undercooked. I used Kerrygold butter. Does Kerrygold have too much butterfat? I really wanted to serve this for a family member’s birthday, but it went into the trash. Sadly, a lot of wasted ingredients and time.
Hi Mary, we’re so sorry you were disappointed in this recipe. It could have been the butter. Kerrygold has a higher butterfat content. It’s a lovely product and fantastic for cooking, but we don’t recommend it for most baking recipes unless we have specifically tested it with the higher butterfat content (like with these cruffins). Is it possible the cake was under baked at all? That’s often the culprit for sinking, undercooked cakes. Let us know if we can help troubleshoot further, and thank you again for giving this one a try.
The very same thing just happened to me! The cakes are cooling but they are sunken in the middle too and I did not use Kerry Gold butter. Hopefully they will taste better than they look. 🙁
Also, I am at high altitude (Colorado) and did not see any adjustments in the recipe.
Lora
Hi, the same as others, my cake completely sunk in the middle when taken out to cool. I used Natrel butter from Costco. Baked it for recommend time, then had to add an extra 3 minutes as it was not fully cooked in centre. Not sure what happened.
I onlyy 8 inch cake pans. Any tips please?
Hi Linda, you can divide the batter between 2 8-inch pans (bake time will be longer) or 3 8-inch pans (bake time will be shorter).
I made this cake for one of the ladies in our Tuesday supper club. It is delicious and everyone loved it. The next birthday person has already requested it ☺️ seriously the best buttercream I’ve ever had.
I’m a huge fan of Sally’s recipes and have had a lot of success but this cake was disappointing. Not a lot of flavor.
The 2026 update says you reduced the butter and added a little oil. How much of each, please. ty
Hi Barbara! Those changes are reflected in the written recipe. Happy baking!
How would I adjust this for high altitude?
Hi Meg, we wish we could help, but we have no experience baking at high altitude. Some readers have found this chart helpful: https://www.kingarthurflour.com/learn/high-altitude-baking.html
How could I make this a lemon cake, please?
Hi Meg, here is our lemon cake recipe instead.
Absolutely the very best cake I have ever made!!! I tend to favor chocolate cakes but this yellow cake with the delicious chocolate icing from Sally’s repertoire made a big hit at my sister in laws birthday celebration!! I myself could not stop eating it! LOL! Thanks again for this win!!
This recipe by far is the best cake I’ve ever made! I have been baking for years, but have been improving my skills since 2020. I have tried countless others, even from top pastry chefs and they always turned out dense, dry and grainy like cornbread. I decided to give this one a try, and it turned out great! I’m extremely grateful to find a recipe that does exactly what it claims Thank you!
We’re so happy to hear this, Lisa! Thank you for making and trusting our recipes!
I am so HAPPY this was the first Yellow Cake recipe that popped up when I googled for one! It’s sooooo delicious and fluffy and moist and the buttercream icing was also absolutely delicious!!
Definitely saving for future.
Can I multiply the recipe by 1.5 to make a 3 layer 9” cake?
Absolutely!
The flavor is nice but I used 1 TBS vanilla extract and 1 TBS Vanilla bean based on another comment. The crumb is delicate but despite as an experienced baker, my cake also fell in the center as some people reported. Perhaps this recipe needs more leavening. I would love to try it again in the future.
This looks amazing and the texture of the cake layers is perfect. Light and airy not gummy but yet enough structure to hold the frosting without sinking. I did use 2 eggs with two yokes. The description vs ingredient list threw me off. We found the cake didn’t have much flavor. I may up the vanilla extract next time I make this (Yes, I did use a tbs).
I also had this cake fall in the center and it was not underbaked 🙁 I am a veteran cake baker.
Hi Kathy, we’re so sorry you experienced some sinking with this cake. An additional minute could help for next time. Are your baking powder and baking soda fresh, too? We find they start to lose their effectiveness after about 3 months of opening. Be careful not to overmix your batter, too, which can lead to sinking. Thank you for giving this one a try!
Hello can I use olive oil instead of vegetable oil? Thank you!
Hi Sally, olive oil would change the flavor of the cake quite a bit, we don’t recommend it.
Can I use coconut oil or butter instead of vegetable oil?
Hi Leah, if you’d like to make the recipe the way it was originally written, which was with all butter and no oil, see recipe Note #3: The original recipe called for 1 cup (226g) of butter and no oil. We reduced the butter and added a little oil to lighten the crumb and help prevent the cake from becoming overly dense.
I’ve used a VERY light olive oil, and I feel it tasted the same?
I want to make a yellow layer cake for a sweet friend with Celiac and would love to try this one if you think gluten free flour would be suitable as a substitute for cake flour.
Hi Margaret, we have not tested this recipe with gluten free flour but let us know if you try anything!
I made the recipe recipe using King Arthur GF, substituting 2TBSP of corn starch per cup of flour to simulate cake flour. The flavor and texture turns out great, but both times my cake has sunk in the middle. Tried baking shorter the second time with out opening the oven, but no luck. Let me know if how things went for you!
As an aside I’ve made Sally’s carrot cake, coconut cake, and chocolate cake with the same GF flour and they turn out great.
Meant to say “tried baking longer”. Saw the comment below about covering and might try that next, because the edges were crumbly when frosting.
Can I substitute the vegetable oil with avocado oil?
Hi Jahanna, we prefer a more neutral flavored oil, but avocado oil should work.
I love this cake but both times that I have made it the layers shrunk after I got them out of the oven. They sort of deflated and I cannot figure out why.
Any thoughts?
Hi Barbara, A cake that sinks in the middle as it cools is often under-baked. If you try it again, a minute or two longer in the oven should help. If you notice the edges of the cakes baking before the center, you can loosely cover the top with aluminum foil to prevent the edges from over browning.
Hi Sally, im so looking forward to making this absolute beautiful cake! But i have one question, can i skip cream of tartare ? Or any alternative ? As im not sure if i can find this in Serbia. Many thanks
Hi Cynthia! Cream of tartar is an important ingredient that helps the egg whites whip into lofty, fluffy peaks and hold their shape when folded into the heavy cake batter. You can skip it if needed and whip the egg whites by themselves, but the cake will be a little denser.
Could I use the coconut frosting from your coconut lemon curd cake recipe with this yellow cake?
Absolutely!
Sally –
I have been following you for years and love your recipes – this did not disappoint- the cake was light and full of flavor the icing was so tasty
I was looking for the cake like mom made for us as kids – this hit the spot – close to moms as I could get for sure !
Thank you Sally, I have had the same issue.
Will there be any difference in the taste of the frosting depending on whether or not Dutch- processed or natural cocoa powder is used?
Hi Rachel, either natural or Dutch-process cocoa powder works in this frosting, but there is a slight flavor difference. Natural cocoa has a more pronounced chocolate flavor, while Dutch-process cocoa is smoother, darker, and a little less acidic. Both make a delicious frosting, so it really comes down to your personal preference!
Sounds so good! I love a square layer cake. Can I use two 8” or 9” square cake pans for this?
I am excited to bake your cake. Can I use canola oil rather than vegetable oil?
Absolutely.
hi whats updated from the old version
Hi Megan, see Notes after the recipe: The original recipe called for 1 cup (226g) of butter and no oil. We reduced the butter and added a little oil to lighten the crumb and help prevent the cake from becoming overly dense.