

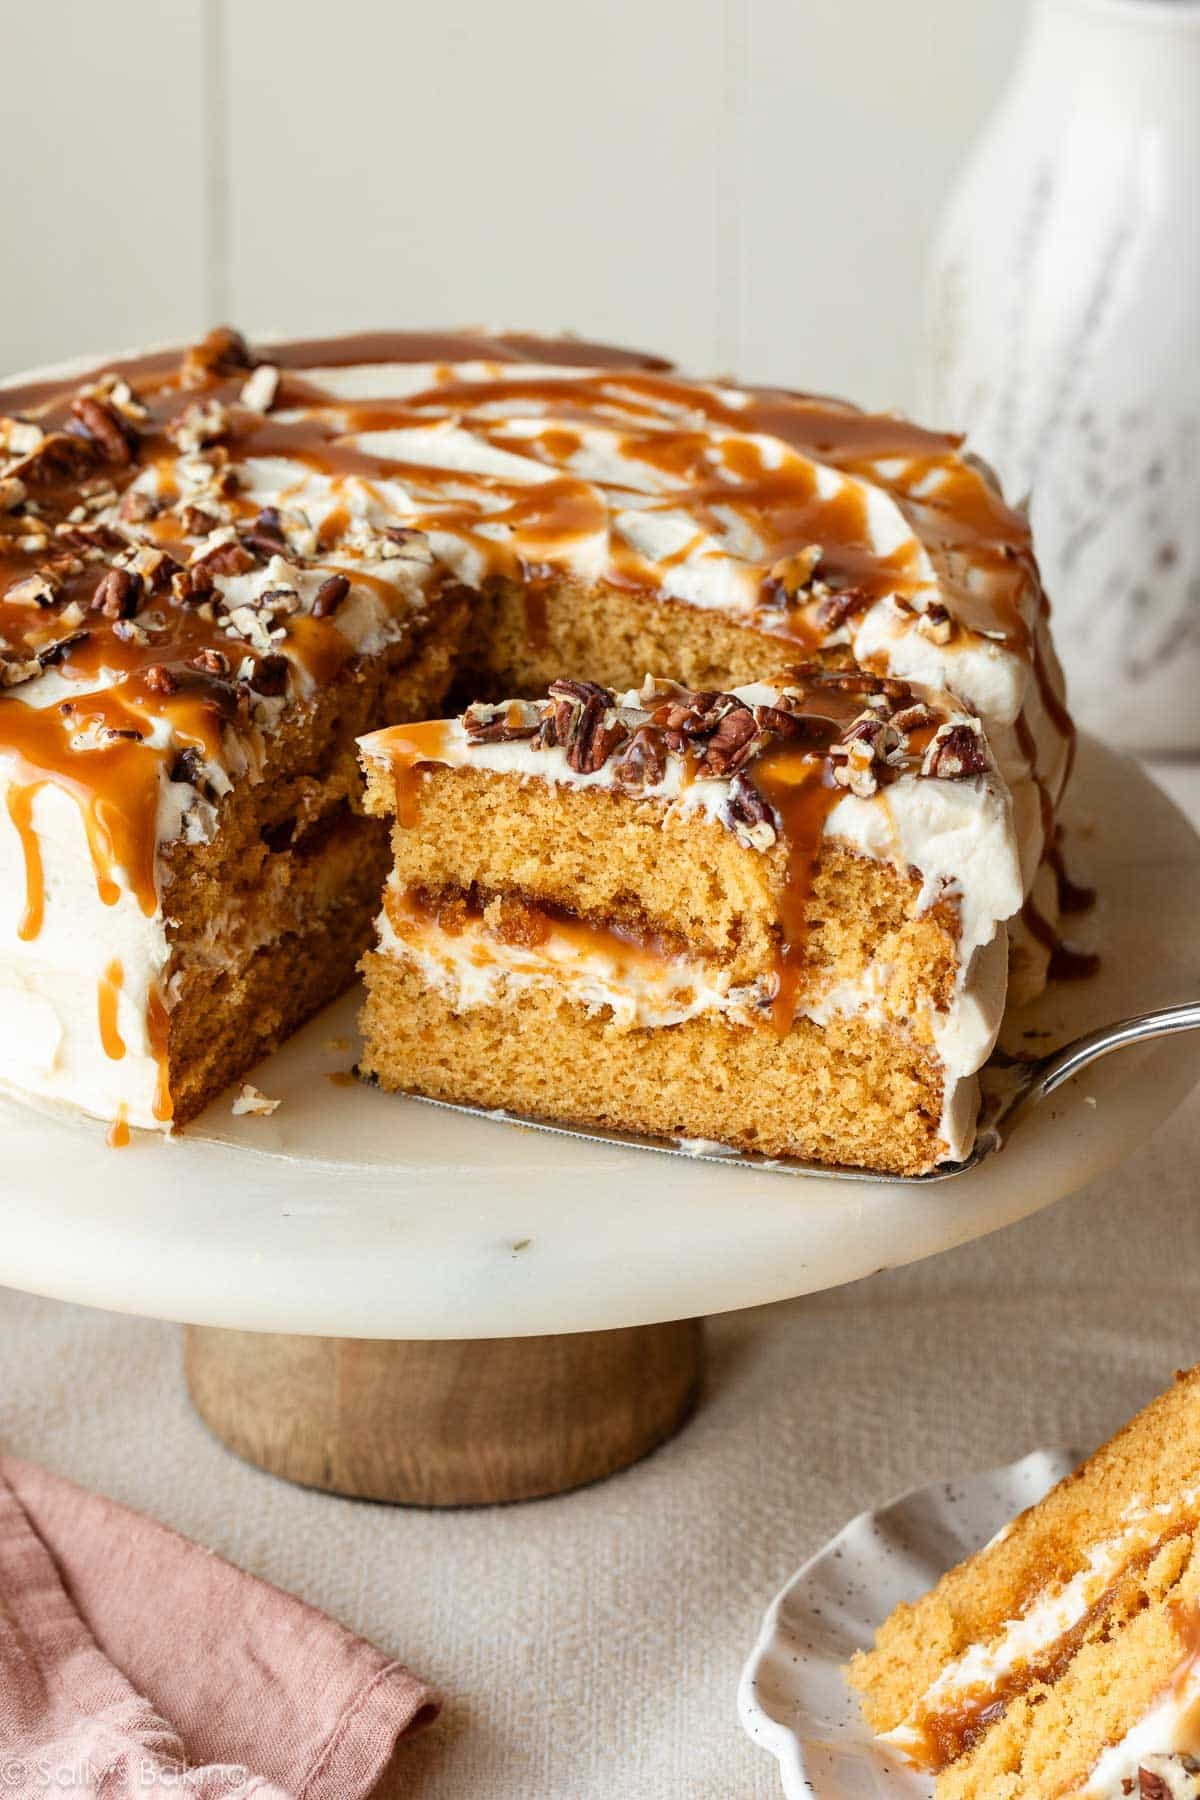
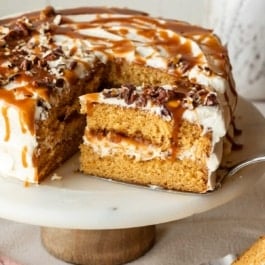
This burnt sugar caramel cake has a rich, deeply caramelized sugar flavor that sets it apart from other caramel cakes. The secret is the homemade burnt sugar syrup, made by cooking sugar until melted and caramelized, then carefully adding boiling water. We use the syrup in both the soft, buttery cake and the creamy frosting, then add gooey salted caramel and finish with toasted pecans. This from-scratch cake takes a little extra time to prepare, but every element is worth it!
I originally published this recipe in 2019 and have since added new photos and more success tips. We also adjusted the burnt sugar syrup instructions, as well as the mixing order to help the batter come together smoothly without separating or curdling.
This burnt sugar caramel cake is a little different from your typical caramel cake—and that’s exactly why I love it. The soft, buttery cake gets its deep caramelized flavor from homemade burnt sugar syrup, which is also mixed into the creamy buttercream frosting. Add a layer of salted caramel between the cake layers and a drizzle over the top, and you have an impressive dessert with next-level caramel flavor.
Calling all card-carrying members of the Sweet Tooth Society: this cake is for you! 😉
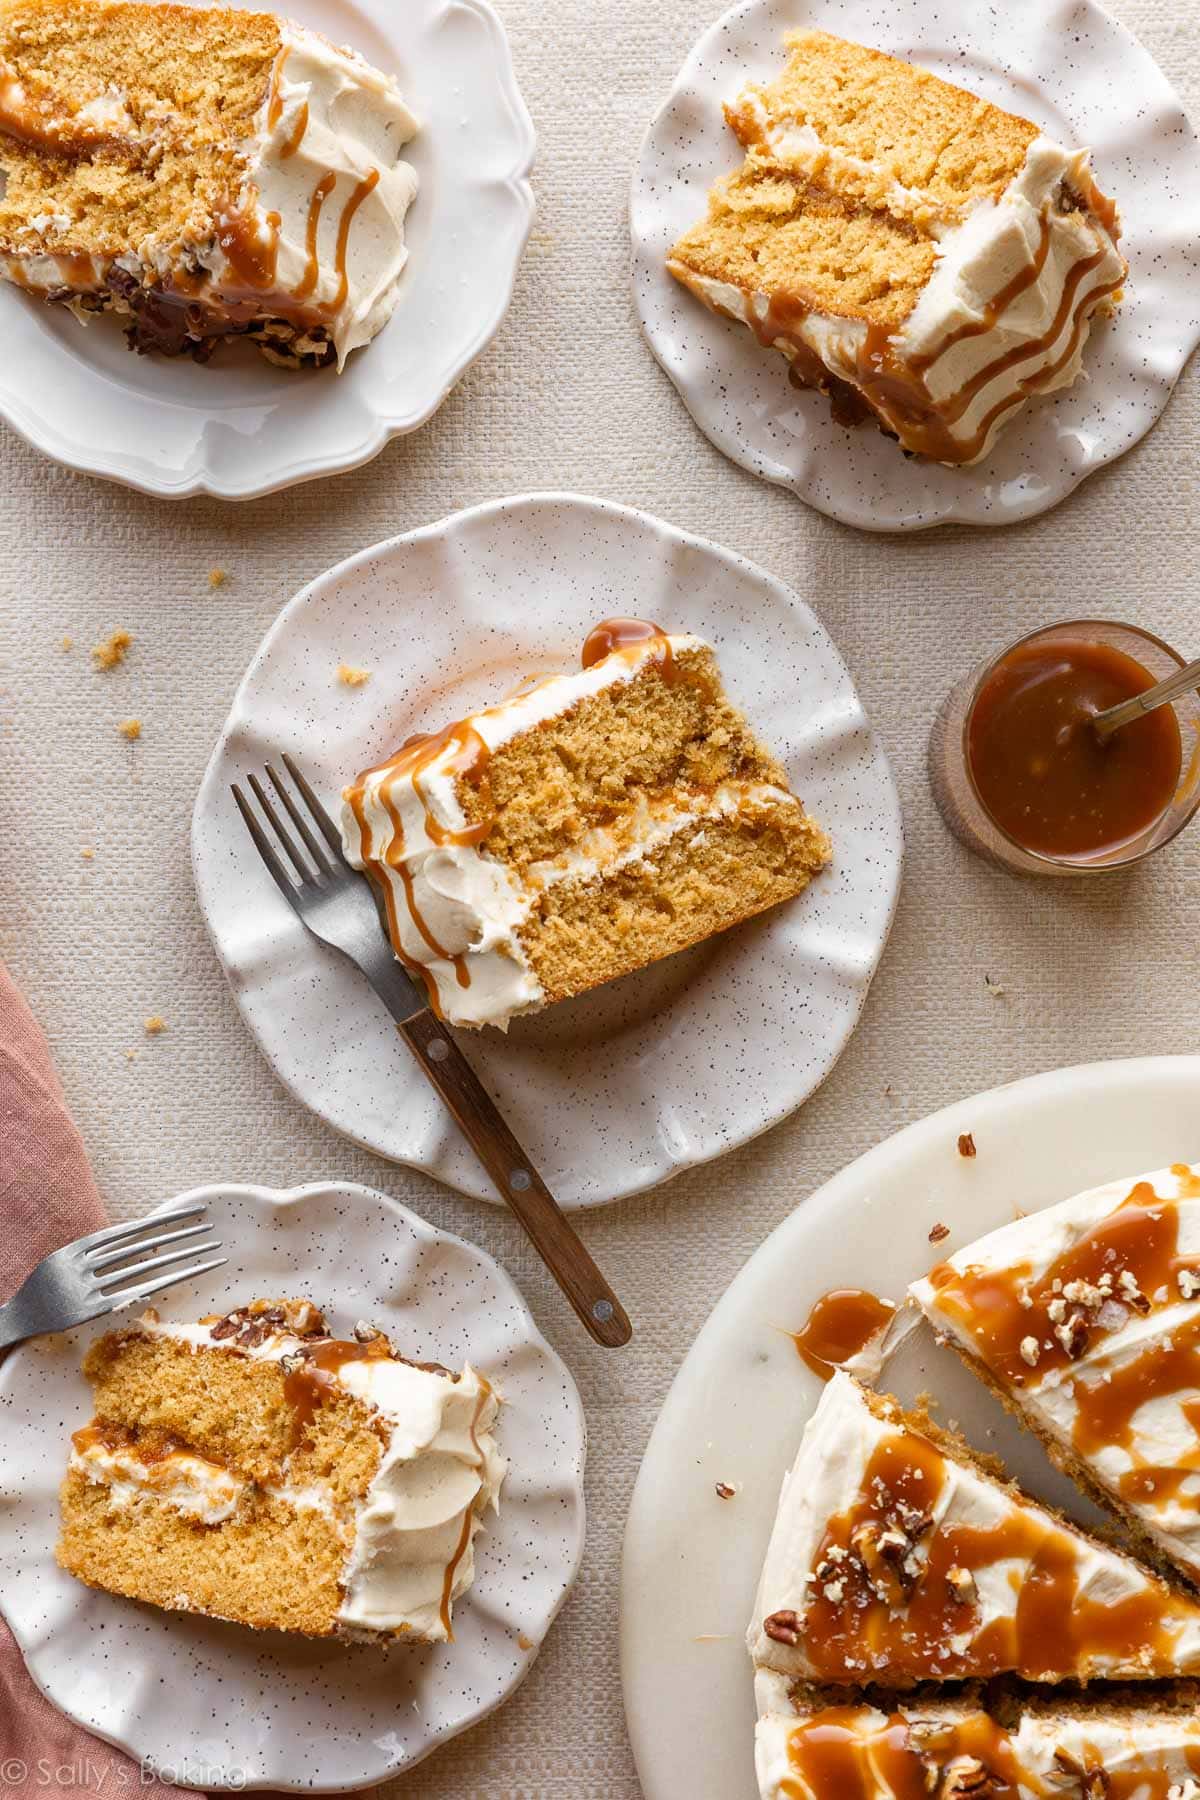
What Is Burnt Sugar Cake?
Burnt sugar cake is flavored with caramelized sugar syrup. Instead of relying on brown sugar or caramel extract for its flavor, this recipe begins by cooking granulated sugar until it’s a deep amber color, then carefully adding boiling water to create a syrup.
That syrup is the key to this cake. We use it in both the cake batter and the frosting, so the caramelized sugar flavor comes through in every bite.
And despite its name, this cake does not taste burnt. “Burnt sugar” simply means sugar you cook until deeply caramelized. The result tastes like toasted sugar, not bitter or charred. Sort of like the torched sugar topping on creme brûlée!
Why You’ll Love This Cake
- Deep caramel flavor: The burnt sugar syrup gives the cake a deeper, more complex caramel flavor.
- Soft and fluffy: Based on my popular white cake recipe, the combination of cake flour, egg whites, and sour cream creates a tender, fluffy crumb.
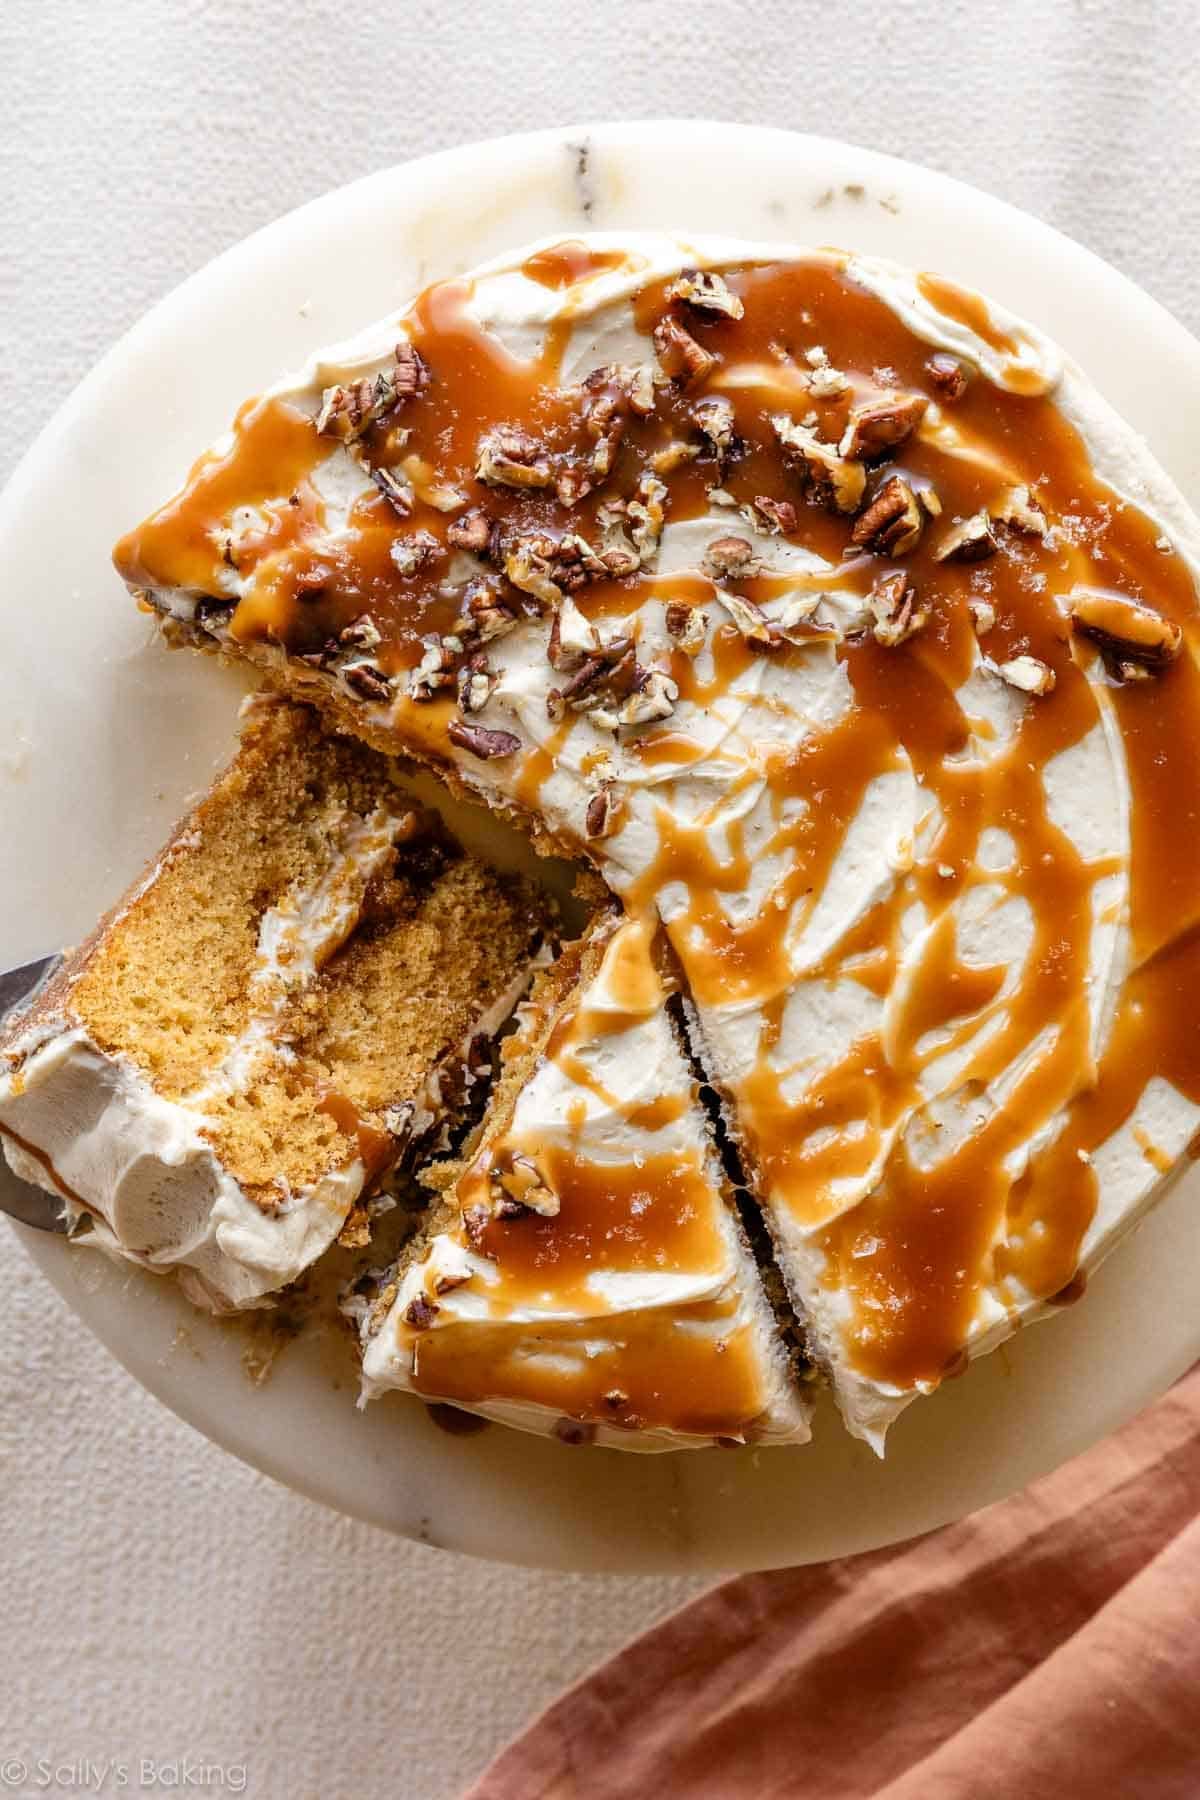
- Caramel flavor in every component: The burnt sugar syrup flavors both the cake and buttercream, and salted caramel between the layers adds a softer, gooier caramel element, along with a little salt to balance the sweetness.
- A special-occasion cake: It looks impressive (and tastes incredible!) without requiring elaborate decorating techniques or tools.
Behind the Recipe
The inspiration for this burnt sugar caramel cake came from my mother-in-law, who has fond memories of this cake from her youth. This is not the exact recipe that my mother-in-law used to enjoy. Sadly, she was unable to find her original. She tried a few online recipes for burnt sugar cake, but none of them tasted quite right.
I researched a few recipes and, after testing them myself, I was disappointed at the dense texture and lack of flavor. I tried adding brown sugar and more vanilla for extra flavor, but nothing proved successful.
So I turned to this white cake recipe, a cake that’s consistently soft and flavorful. My white cake is the starting point for strawberry cake, espresso chocolate chip cake, cookies & cream cake, pistachio cake, and coconut cake. It’s my go-to base.
My MIL said this is the only burnt sugar cake that resembles what she enjoyed growing up! Mission accomplished.
The Secret Is the Burnt Sugar Syrup
The most important step in this cake recipe is preparing the burnt sugar syrup. You need a sturdy saucepan for this step. Cook 1 cup (200g) of granulated sugar over medium heat, stirring constantly with a wooden spoon. Wooden spoons don’t transfer heat readily, so they are ideal for candy-making.
After about 5 minutes, the sugar begins to melt. If you notice any clumps, try to break them up with your spoon. So far in the process, this is the same exact way we start salted caramel. Once there are no lumps and the sugar is deep amber in color, about 8–10 minutes total, very slowly drizzle in 3/4 cup of boiling water. Have boiling water at the ready for this step because in the world of candy-making, timing and temperature are key. The mixture will bubble and steam aggressively at first, so go slowly and use caution.
Once all the water is incorporated, cook the syrup for a few more minutes, then let it cool completely.
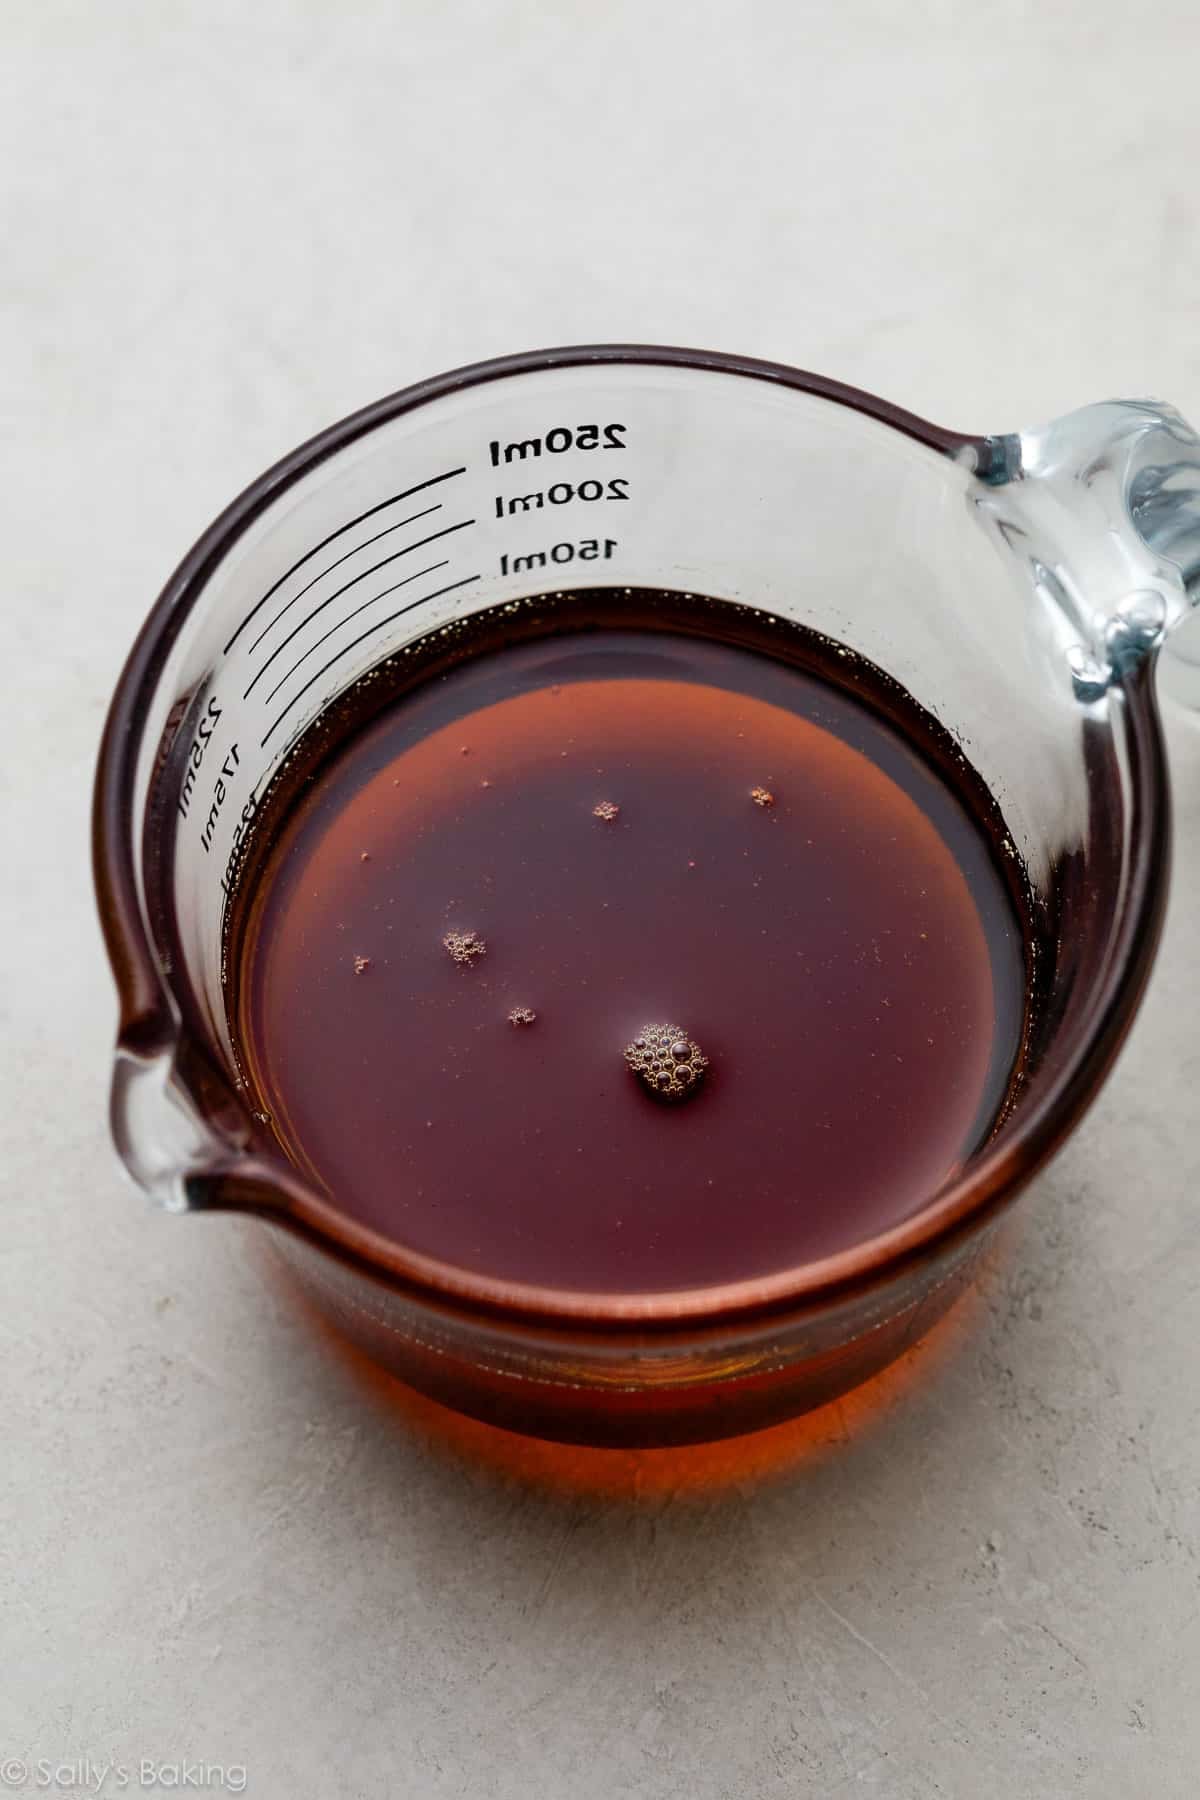
The syrup must be completely cool before you use it in the cake batter or frosting. Feel free to make it the day before, so it’s ready to go when you start making the cake batter. You can make the salted caramel sauce ahead of time, too.
FAQ: How Do I Know if My Burnt Sugar Is Overly Burnt?
There’s an important difference between deeply caramelized sugar and burned sugar. Aim for a dark amber color… think maple syrup, not molasses. The sugar should smell rich and caramelized. If it smells burned, or turns nearly black, it’s gone too far. You’ll need to start over, because adding the remaining ingredients won’t fix that bitter, burned flavor.
Ingredients You Need for the Cake:
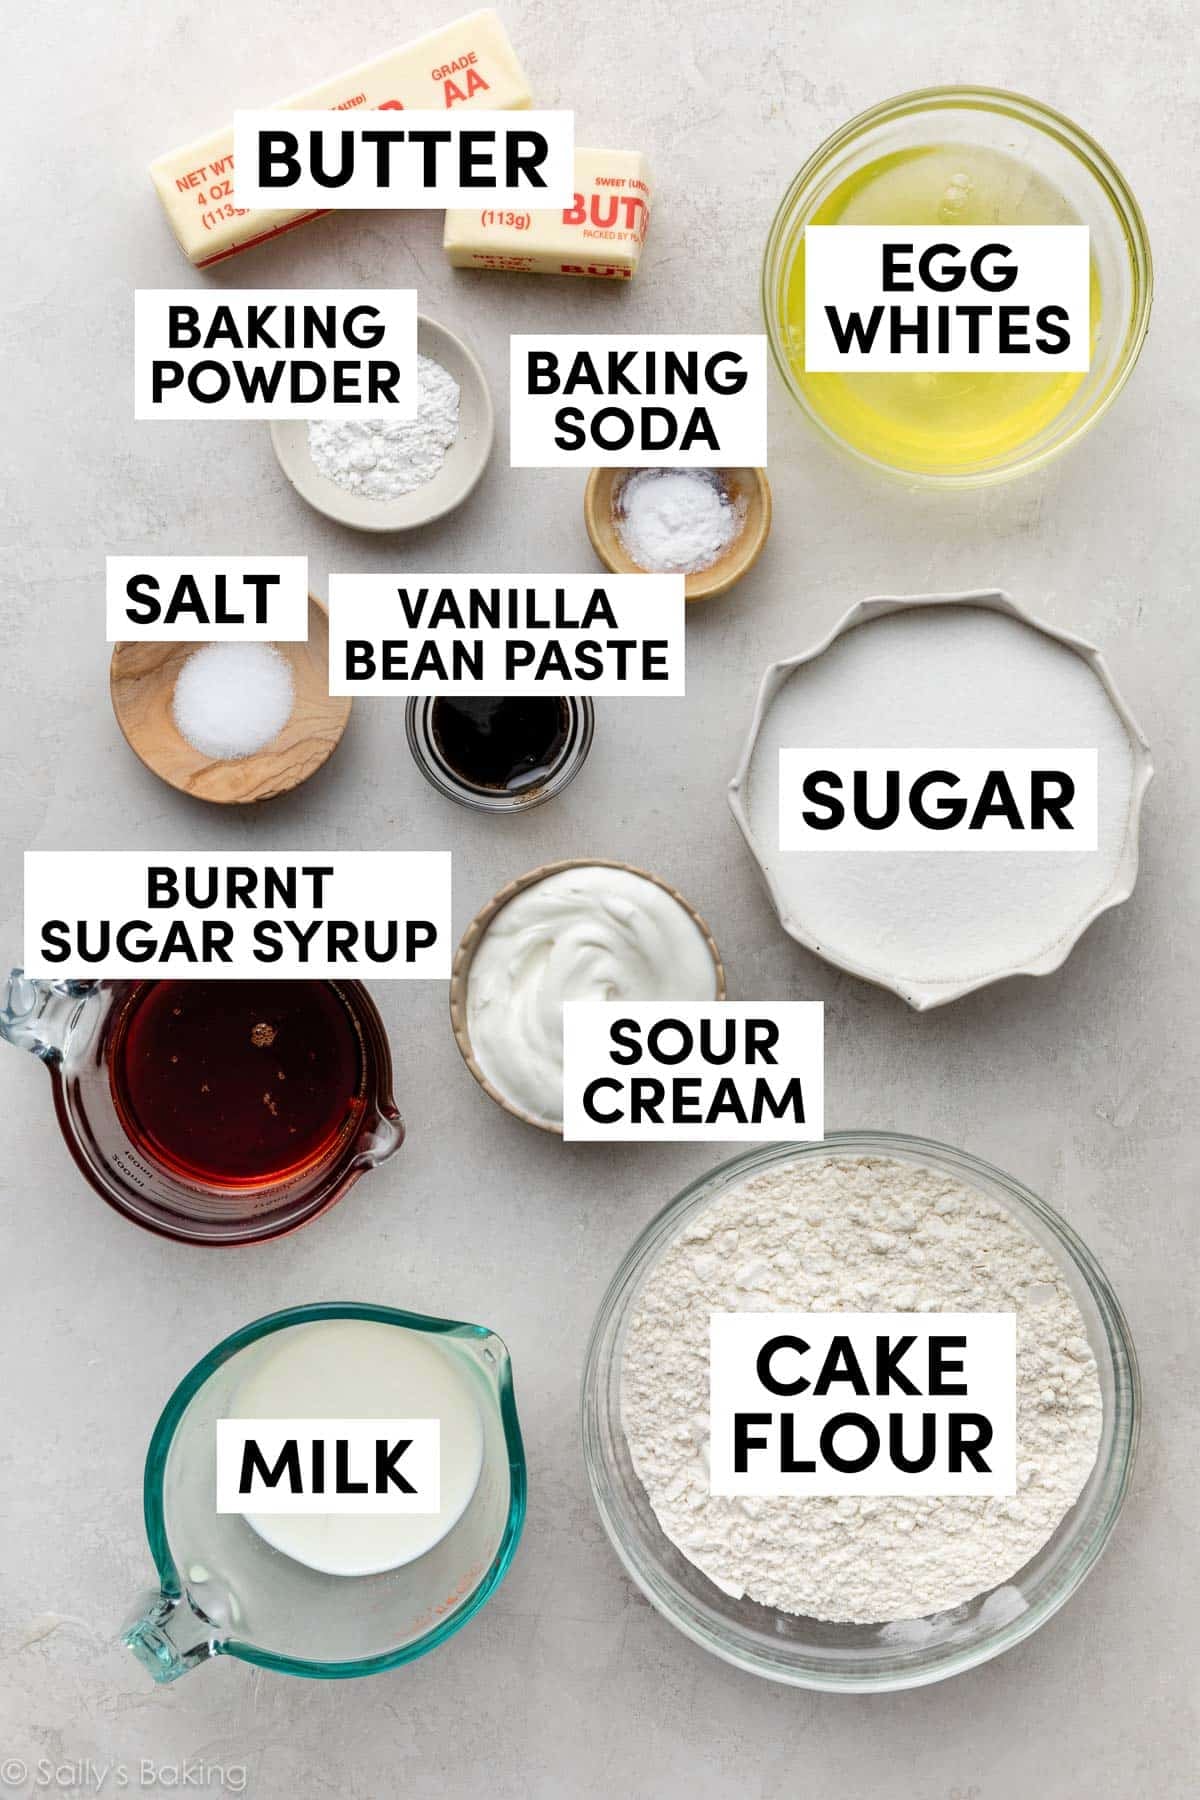
This cake uses the same basic formula as my favorite white cake, which has some key ingredients to thank for its phenomenal texture:
Cake flour keeps the crumb soft and tender, egg whites keep it light and fluffy, and sour cream adds moisture and richness. The burnt sugar syrup replaces some of the sugar and milk from the original white cake formula.
How to Make Burnt Sugar Caramel Cake
Cream the butter and sugar, then beat in the egg whites, sour cream, and vanilla, followed by the dry ingredients and milk. Finally, mix in some of the cooled burnt sugar syrup, reserving some for the frosting.
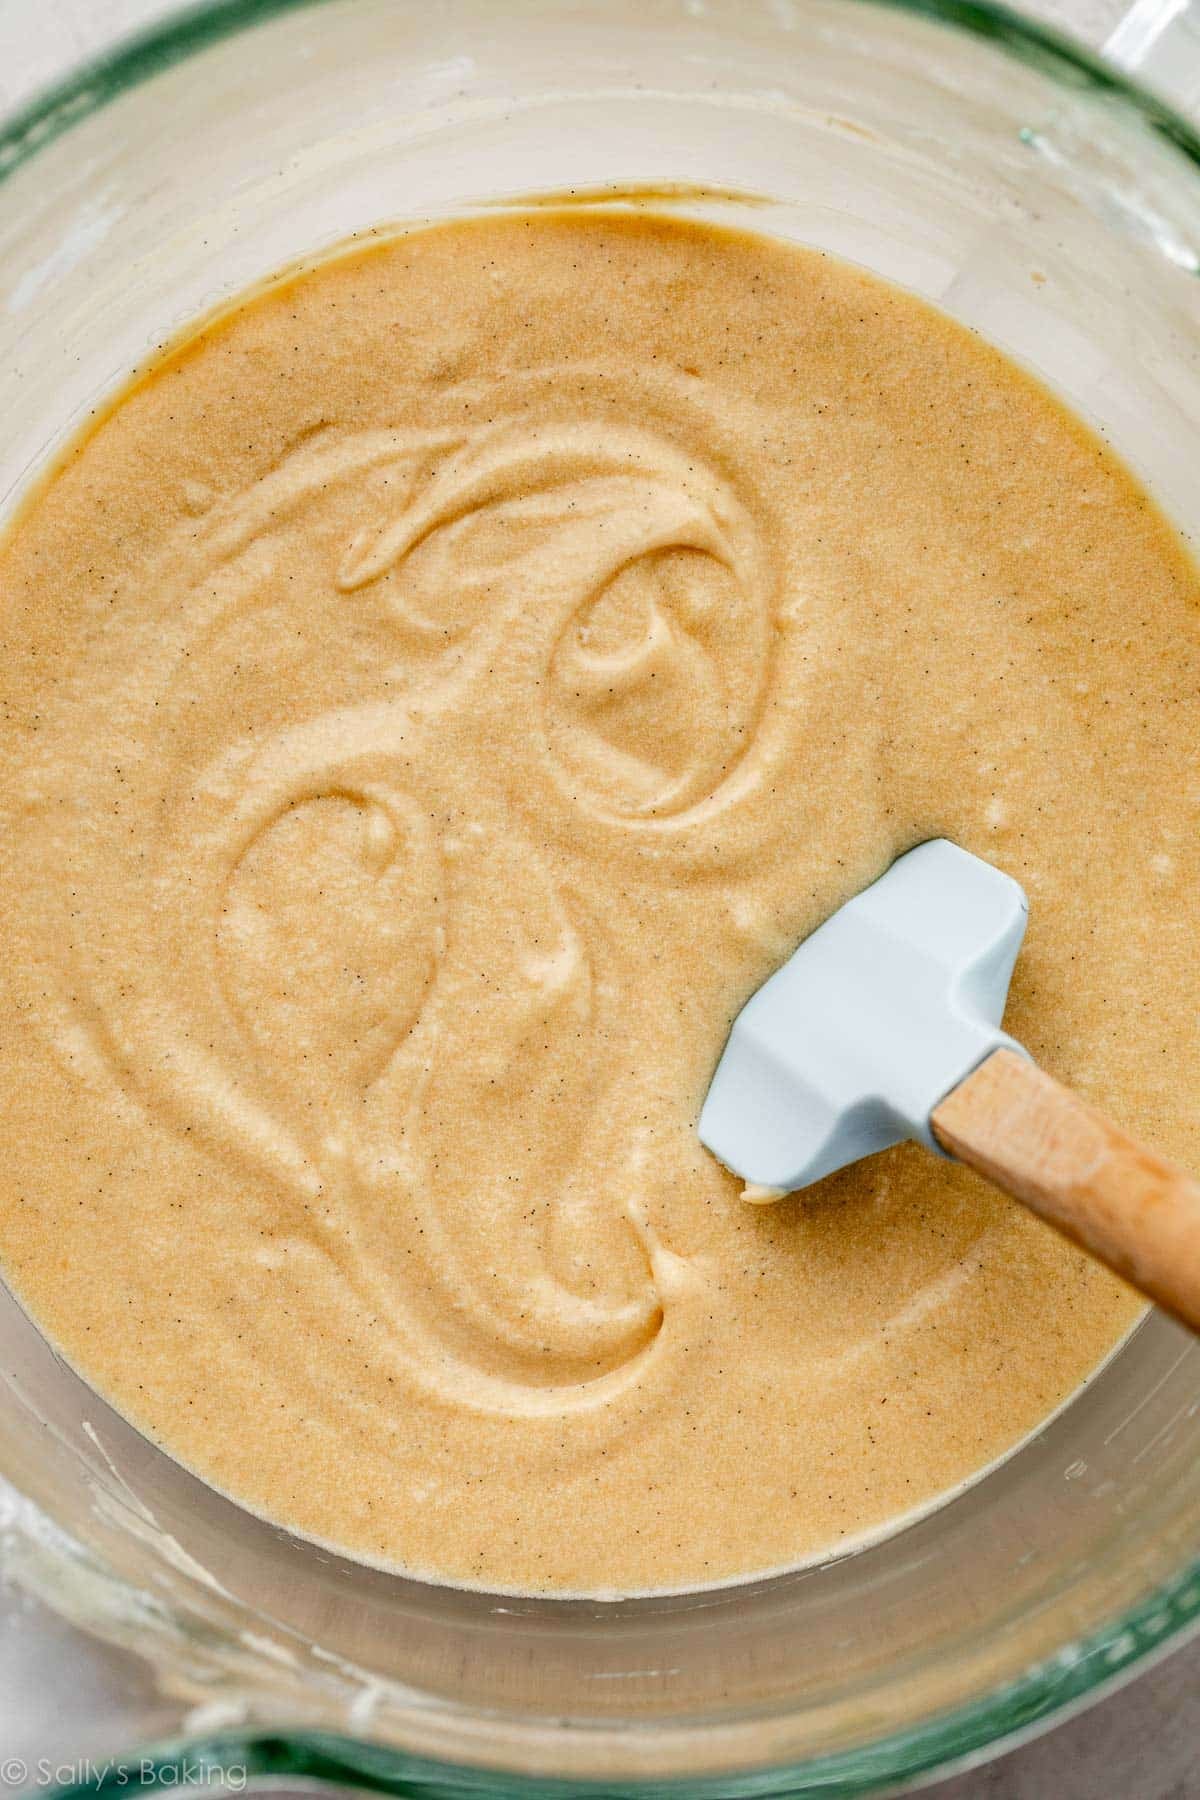
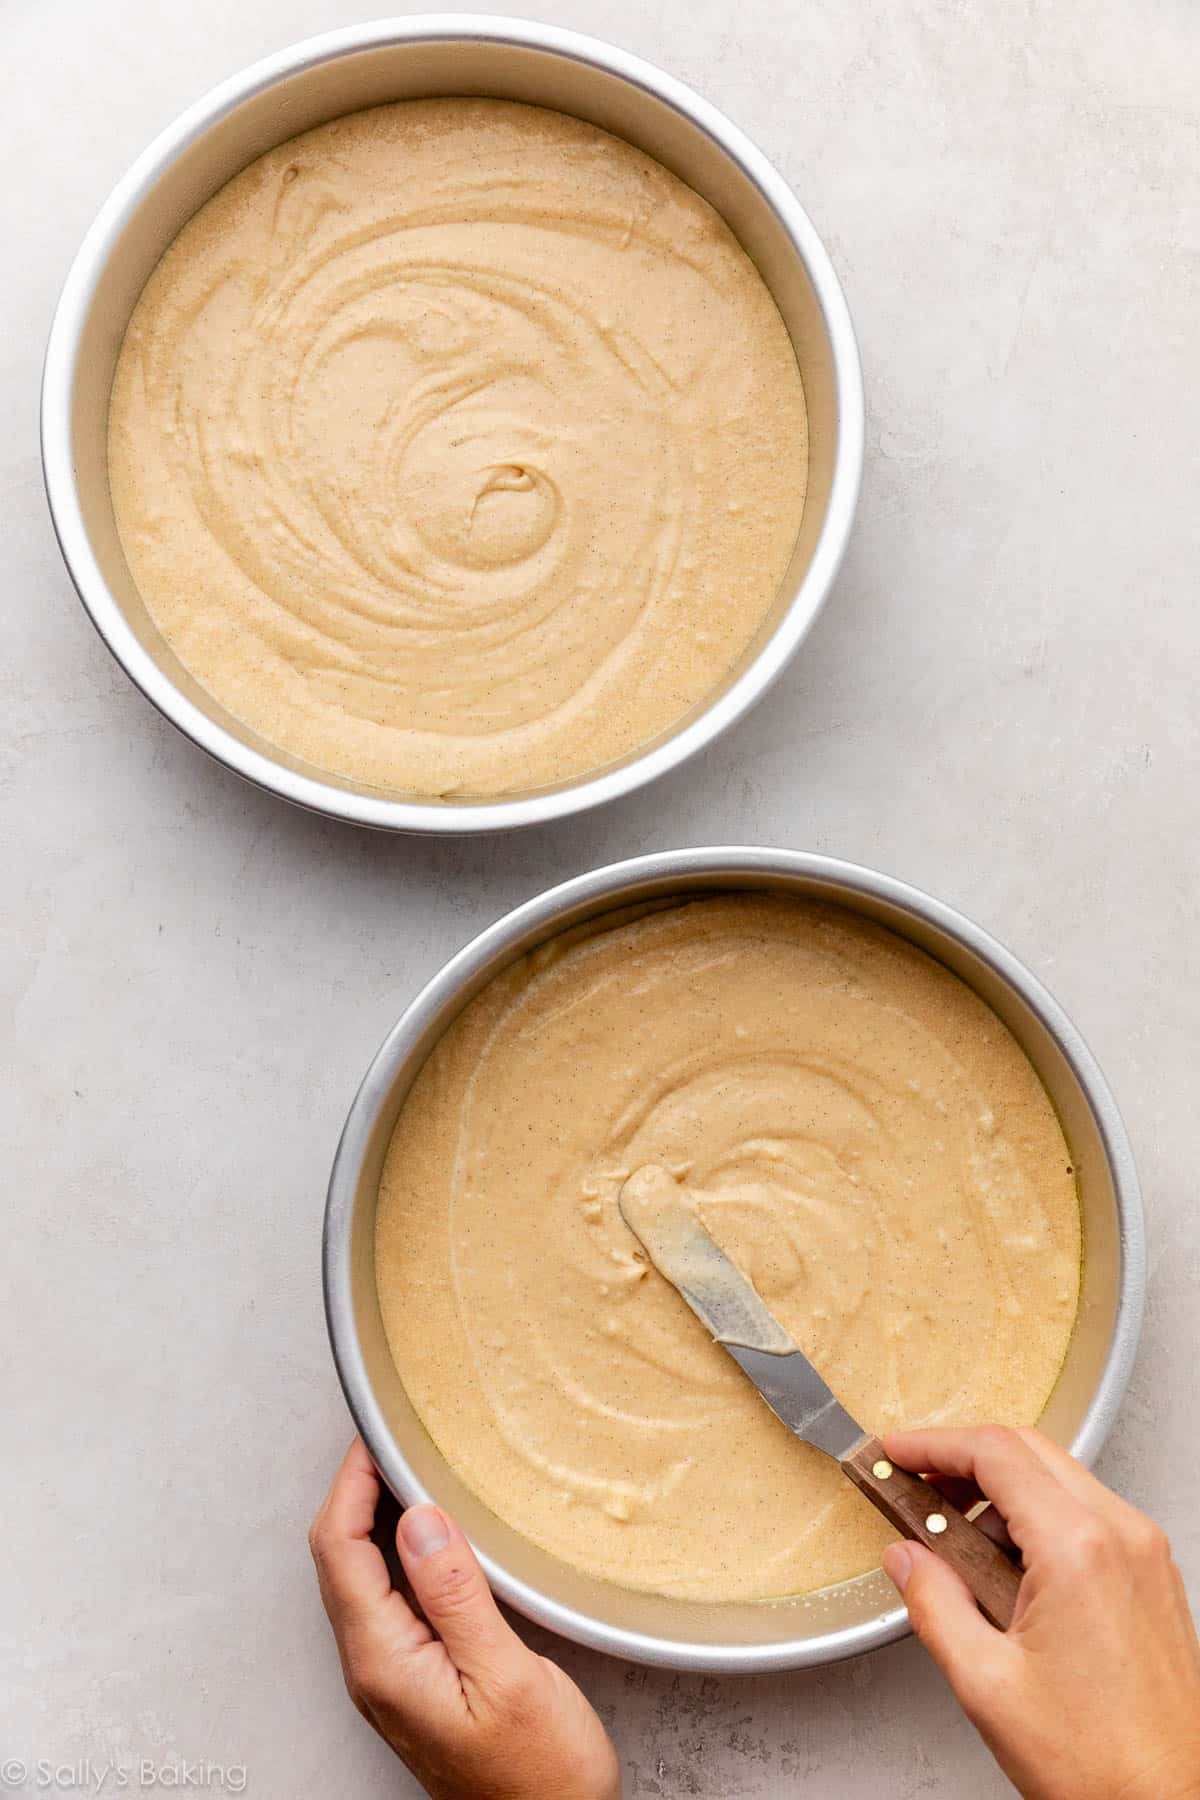
Divide the batter between two 9-inch cake pans and bake.
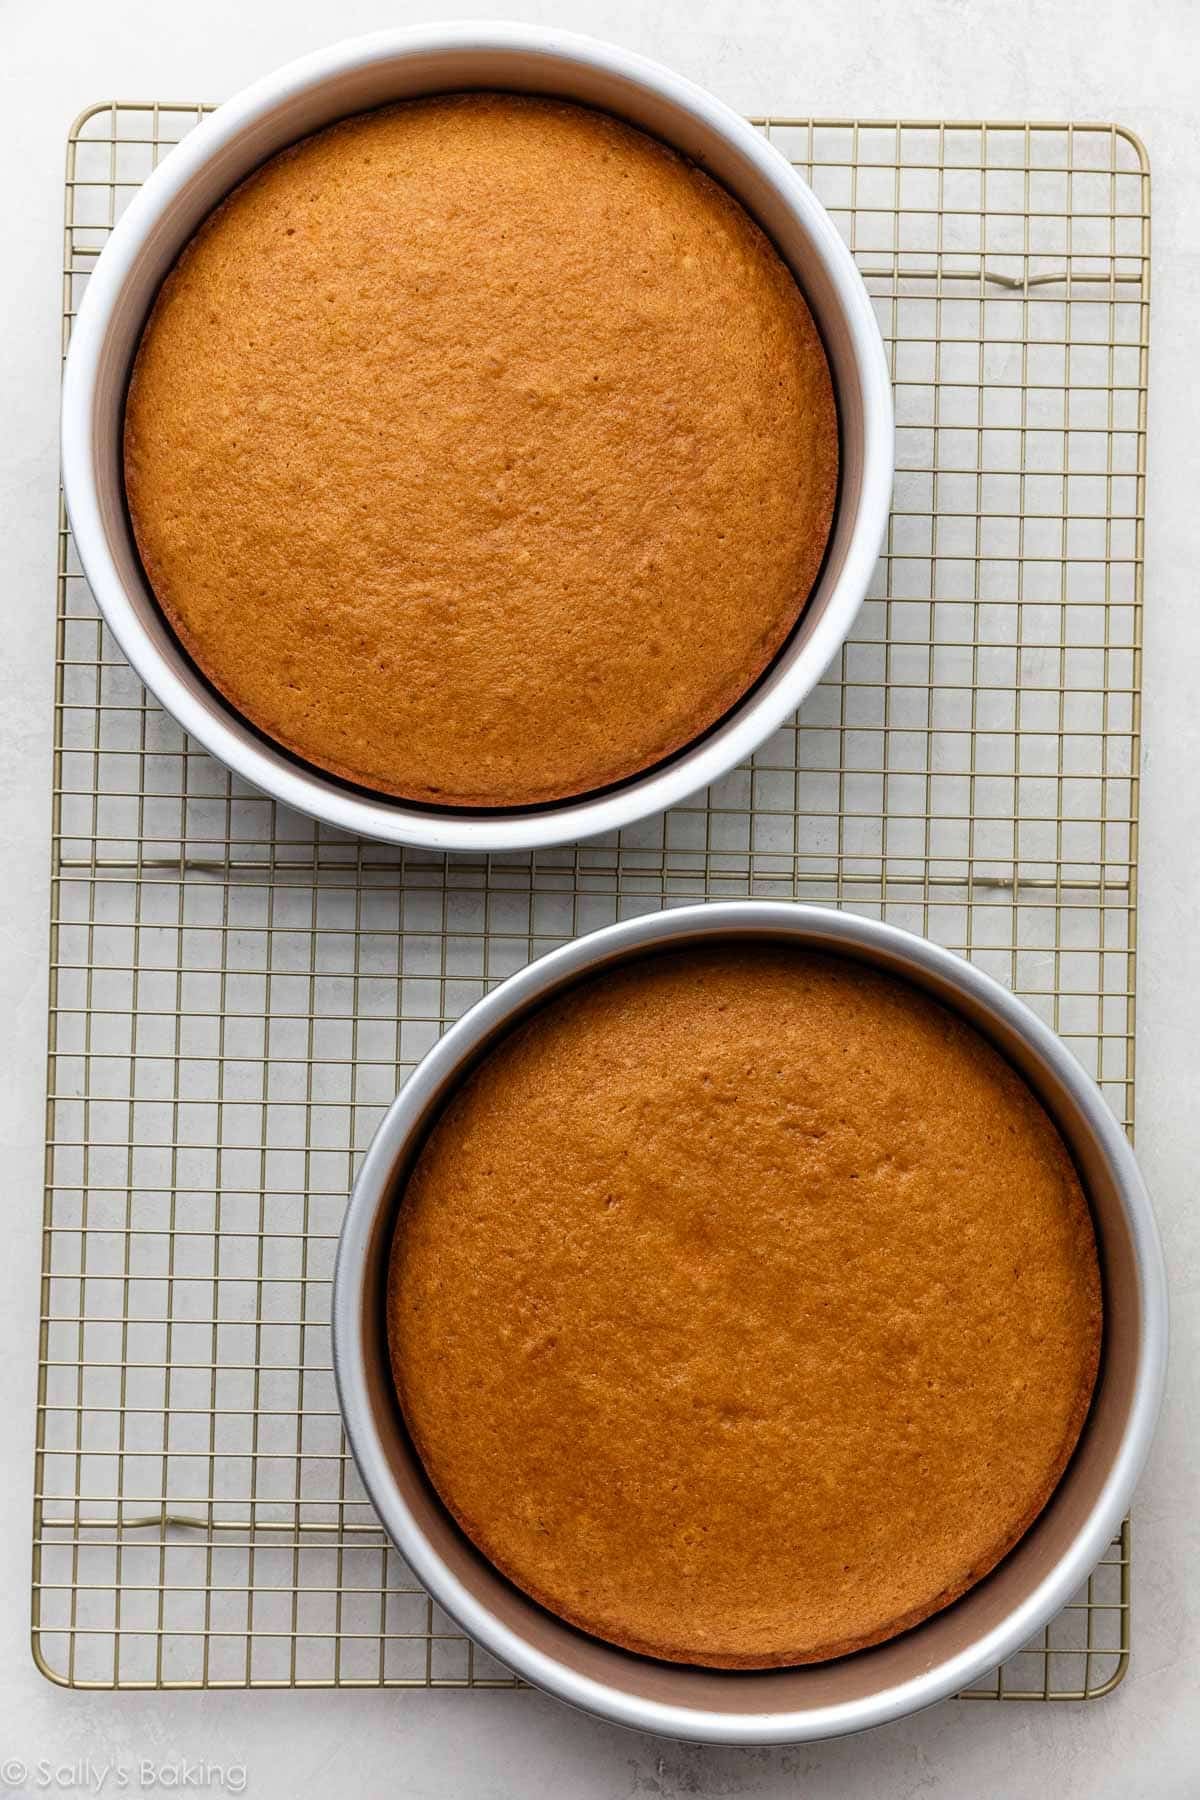
The burnt sugar syrup turns the cakes a beautiful golden-brown color.
Let the cakes cool completely before…
Frosting & Assembling the Burnt Sugar Cake
You’ll use some more of the burnt sugar syrup in the buttercream. This frosting is essentially a caramelized-sugar version of a classic vanilla buttercream.
The burnt sugar cake and frosting are delicious on their own, but a layer of homemade salted caramel between the cake layers adds an irresistible gooey element (…that causes caramel lovers to go weak in the knees!)
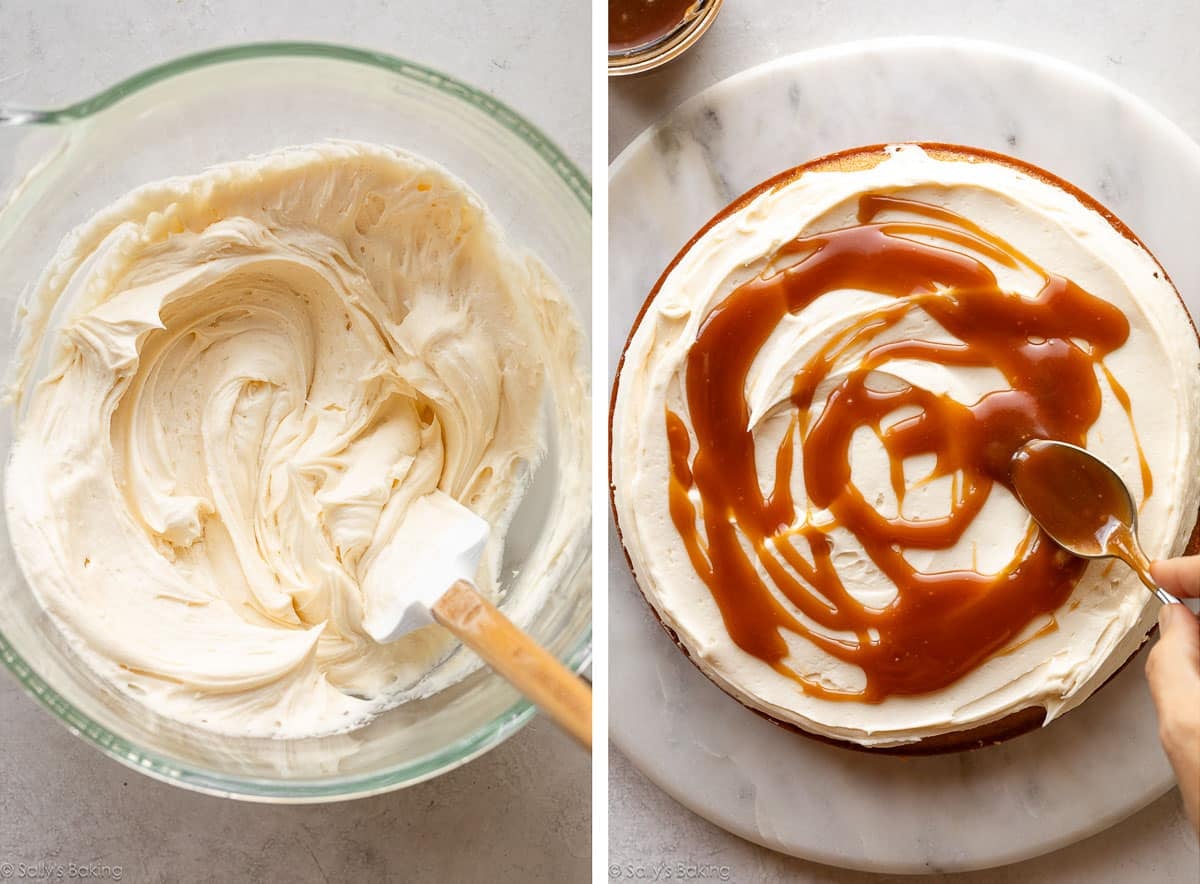
If you are new to layer cakes, you may find my post (with video tutorial) on how to assemble a layer cake helpful before you begin. An overview on today’s assembly:
- Place one cake layer on a serving plate or cake stand. Spread a layer of burnt sugar frosting over the top, then drizzle with salted caramel.
- Make sure the salted caramel has cooled to a thick, drizzleable consistency before assembling. If it’s too warm, it can melt the buttercream. If it’s been in the refrigerator for a while and is too thick to pour, warm it briefly, just until it’s a pourable consistency.
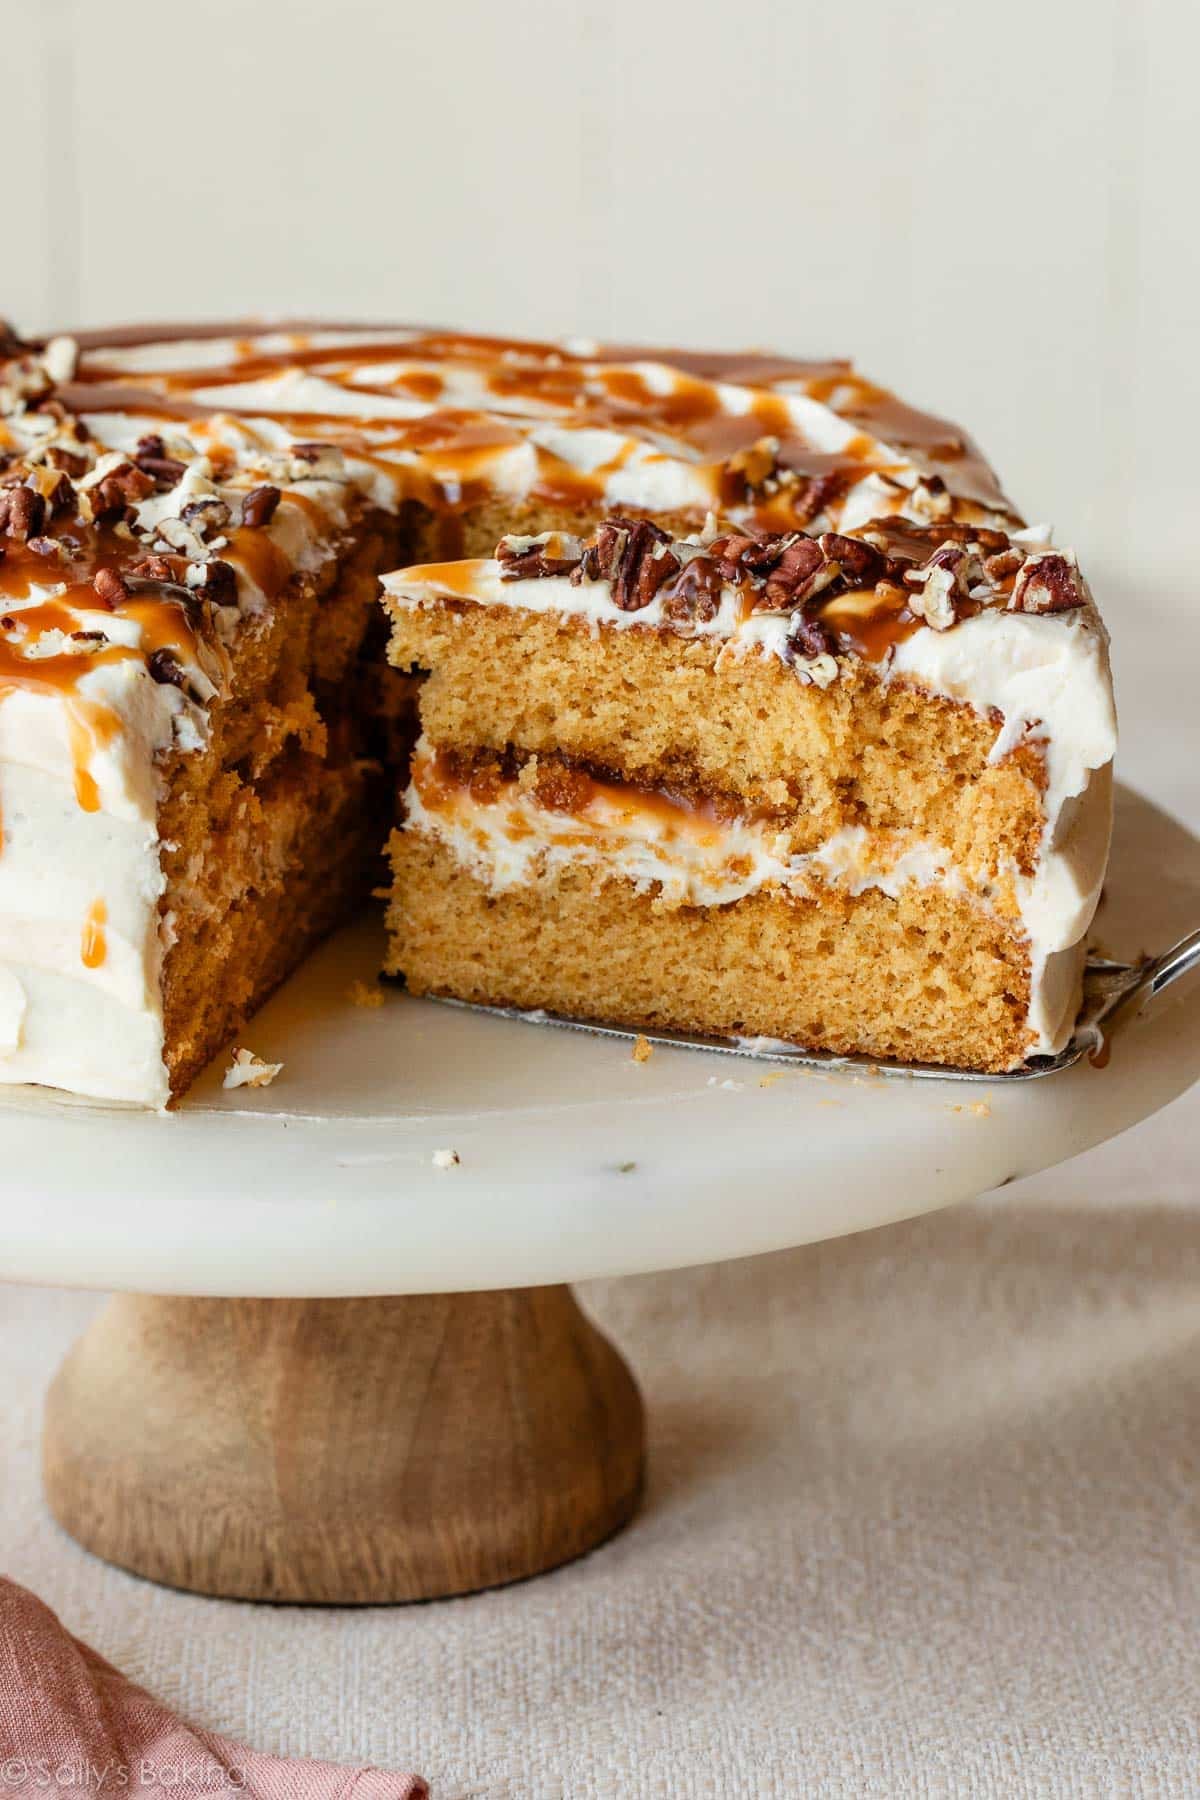
- Add the second cake layer and chill the cake briefly. This gives the caramel filling time to set so it doesn’t squeeze out when you frost the sides.
- Finish frosting the top and sides, then garnish with another drizzle of salted caramel. I like to garnish this cake with toasted pecans, but that’s entirely optional.
Caramel corn would also make for a fun garnish on this cake!




Burnt Sugar Cake
- Prep Time: 1 hour
- Cook Time: 24 minutes
- Total Time: 4 hours, 30 minutes
- Yield: serves 10-12
- Category: Dessert
- Method: Baking
- Cuisine: American
Description
The trick to burnt sugar cake is to use burnt sugar syrup as its main flavor. Make sure you prepare the burnt sugar syrup ahead of time so that it can properly cool and thicken. While you’re at it, prepare the salted caramel ahead of time too.
Ingredients
Burnt Sugar Syrup
- 1 cup (200g) granulated sugar
- 3/4 cup (180g/ml) boiling water
Cake
- 2 and 1/2 cups (285g) cake flour (spooned & leveled)
- 2 teaspoons baking powder
- 1/2 teaspoon baking soda
- 1 teaspoon salt
- 3/4 cup (12 Tbsp; 170g) unsalted butter, softened to room temperature
- 1 cup (200g) granulated sugar
- 4 large egg whites, at room temperature
- 1/2 cup (120g) sour cream, at room temperature
- 2 teaspoons pure vanilla extract
- 1/2 cup (120g/ml) whole milk, at room temperature
- 1/2 cup (120ml) cooled burnt sugar syrup
Burnt Sugar Frosting
- 1 cup (16 Tbsp; 226g) unsalted butter, softened to room temperature
- 4 cups (480g) confectioners’ sugar
- 1/4 cup (60g/ml) cooled burnt sugar syrup
- 1 teaspoon pure vanilla extract
- 2 Tablespoons (30g/ml) whole milk or heavy cream
- 1/4 teaspoon salt
For Assembly
- homemade salted caramel, cooled
- optional: 1/2 cup (60g) chopped toasted pecans*
Instructions
- For best success, read the recipe in full before starting.
- Prepare the burnt sugar syrup first so it has time to cool. Make sure you have boiling water at the ready. Place the sugar in a medium saucepan over medium heat. I recommend using a 3-quart heavy-bottomed quality saucepan. Stirring constantly with a wooden spoon, cook until the sugar has completely melted and is deep amber in color, about 8–10 minutes. If the sugar is clumpy, try to break up the lumps with the wooden spoon. A candy thermometer is not necessary, but if you’re using one, the sugar temperature should reach about 300°F (149°C) when it’s ready. Reduce the heat to low and very carefully and slowly drizzle in the boiling water, a little at a time. Stir after each addition and stand back, as the mixture will rapidly sizzle and bubble. After all of the boiling water is stirred in, cook the sugar syrup for 3 more minutes over low heat, stirring the entire time. Remove from heat and let it cool completely. You will have about 1 cup of syrup.
- Preheat the oven to 350°F (177°C). Grease two 9-inch round cake pans, line with parchment paper rounds, then grease the parchment paper. Parchment paper helps the cakes seamlessly release from the pans. (If it’s helpful, see this parchment paper rounds for cakes video & post.)
- In a medium bowl, whisk together the cake flour, baking powder, baking soda, and salt. Set aside.
- In a large bowl using a handheld or stand mixer fitted with a paddle attachment, beat the butter and sugar together on medium-high speed until light and creamy, about 3 minutes. Scrape down the sides of the bowl with a silicone spatula as needed. (Here’s a helpful tutorial if you need guidance on how to cream butter and sugar.) Add the egg whites and beat on medium-high speed until combined, about 2 minutes. Scrape down the sides and bottom of the bowl as needed. Add the sour cream and vanilla extract, and beat on medium-high speed until combined, about 1 minute. Add the dry ingredients and then, with the mixer running on low speed, slowly pour in the milk, followed by 1/2 cup (120g/ml) of the cooled burnt sugar syrup, and beat just until combined. Do not overmix. You may need to whisk it all by hand to make sure there are no lumps at the bottom of the bowl. The batter will be slightly thick. Divide the batter evenly between the prepared pans.
- Bake for 22–25 minutes or until the cakes are baked through. As a result of the burnt sugar syrup in the batter, the cakes will be a deep golden brown. To test for doneness, insert a toothpick into the center of the cake. If it comes out clean, it’s done. Allow cakes to cool completely in the pans set on a cooling rack.
- As the cakes cool, I suggest making the salted caramel. Let the salted caramel cool until it is no longer warm and has a thick, drizzleable consistency before using. If refrigerated caramel is too thick to drizzle, warm it in 5–10-second intervals, stirring between each, just until pourable. You can also toast the pecans during this time. See recipe Notes.
- Make the frosting: In a large bowl using a handheld mixer or stand mixer fitted with a paddle attachment, beat the butter on medium speed until creamy, about 1–2 minutes. Add confectioners’ sugar, 1/4 cup (60g/ml) of the cooled burnt sugar syrup, vanilla, milk/cream, and 1/4 teaspoon of salt. Beat on low speed for 30 seconds, then increase to high speed and beat until completely combined, about 2 minutes. Add more confectioners’ sugar if frosting is too thin or more milk/cream if frosting is too thick. Taste. Add more salt if desired. (Note: You will have some burnt sugar syrup left over. If desired, lightly brush a little onto the leveled cake layers before assembling.)
- Assemble and frost: (For additional help with this step, see this how to assemble a layer cake video & post.) First, using a large serrated knife or cake leveler, slice a thin layer off the tops of the cakes to create a flat surface. Discard (or crumble over ice cream!). Place one cake layer on your cake stand, cake turntable, or serving plate. Using a large icing spatula, spread 3/4–1 cup (180–240g) of the frosting in an even layer on top. Drizzle 1/4 cup (about 75g) of salted caramel on top of the frosting. Top with the second cake layer. Refrigerate the cake for at least 30–45 minutes to allow the caramel inside to set. After it has chilled, spread the remaining frosting all over the top and sides. Run a bench scraper around the cake to smooth out the sides, if desired. Garnish with another drizzle of salted caramel and toasted pecans, if using. Slice and serve.
- Cover leftover cake tightly and store in the refrigerator for up to 5 days. I like to use a cake carrier for storing and transporting.
Notes
- Make Ahead & Freezing Instructions: You can prepare the burnt sugar syrup up to 3 days ahead of time. Cover and store at room temperature until ready to use. You can also prepare the salted caramel up to 1 week ahead of time. Cover and store in the refrigerator until ready to use. You can prepare the cake layers ahead of time too. Wrap the individual baked and cooled cake layers tightly and refrigerate for up to 2 days or freeze up to 3 months. (See How to Freeze Cake for instructions.) Bring cake layers to room temperature, then prepare the salted caramel and continue with the frosting and assembly instructions. Frosted cake freezes well, up to 3 months. Thaw overnight in the refrigerator, then bring to room temperature before garnishing with caramel and pecans and serving.
- Special Tools (affiliate links): Heavy-Bottomed Saucepan | Wooden Spoon | Candy Thermometer (optional) | 9-inch Round Cake Pans | Glass Mixing Bowl | Whisk | Electric Mixer (Handheld or Stand) | Spatula | Cooling Rack | Cake Turntable | Large Icing Spatula | Bench Scraper | Cake Carrier (for storage)
- 3-Layer Cake or 9×13-Inch Cake: You can also prepare this cake as a 3-layer cake or 9×13-inch sheet cake, but the texture tastes best at the thickness of a 2-layer cake. I highly recommend sticking to a 2-layer cake. For a 3-layer cake, however, divide batter among three 8-inch round cake pans and bake for 20–22 minutes or until a toothpick inserted in the center comes out clean. For a 9×13-inch cake, pour the batter into a greased and lightly floured 9×13-inch pan and bake for 40 minutes or until a toothpick inserted in the center comes out clean. Top with a thick layer of frosting and drizzle salted caramel all over the top.
- Cupcakes: Recipe yields 30–36 cupcakes. Fill cupcake liners 2/3 full with batter. Bake for 20–22 minutes or until a toothpick inserted in the center comes out clean.
- Egg Whites: Egg whites (no yolks) are KEY to the cake’s fluffy texture. Here are recipes using leftover egg yolks.
- Why Room Temperature? All refrigerated items should be at room temperature so the batter mixes together easily and evenly. Read here for more information. Instead of sour cream, you can use plain yogurt. The cake won’t taste as rich, but it’s a fine substitute.
- Salted Caramel: No matter which size cake you make, or if you make cupcakes, you’ll have salted caramel leftover. Here are 50 ways to use salted caramel if you need inspiration for the leftovers. I don’t recommend halving the salted caramel recipe—make the whole recipe (1 cup).
- Toasted Pecans: Toasting the pecans is optional, but adds incredible flavor to the garnish. To toast, preheat the oven to 300°F (149°C). Spread chopped pecans on a parchment paper or silicone baking mat–lined baking sheet. Toast until slightly darkened, about 5–7 minutes. Cool before using as garnish.













Reader Comments and Reviews
This cake looks amazing and I’m super excited to eat it. I’ve just made the caramel and burnt sugar syrup. I tasted the sugar syrup and it has a faint hint of burntness mixed with the caramelly aroma but its relatively subtle. But I’m wondering should it taste like that at all? Not sure if I should attempt to make it again in case it makes the cake taste a little burnt.
Thanks!
Hi Alex! Is the burnt taste bitter and off-putting? Burnt sugar should taste deeply caramelized. I’m going to assume that your syrup will be just fine if it still has that caramel aroma.
Hi Sally, thanks so much for your reply! I decided to make another batch since it’s just sugar and water anyway and the second one was much better. So I think I did slightly burn the first one a tiny bit although it still tastes good. Making it for my husbands birthday and I’m sure he’s going to love it!
Happy new year, Sally! Hope you, your dogs and your family will be blessed with good health and happiness! I made this cake with berry yoghurt instead of sour cream, and for the icing I made the same one you used for the strawberry cake, but with freeze dried blueberries, and drizzled it with the burnt sugar, and the cake was still FABULOUS!!! It had the real berry flavor, and was softer than anything I have ever made! I will continue to use this recipe and all your other cakes and edibles from your blog! I love baking and you are the perfect role model for me!
Hi Sally,
I tried this cake. It tasted good but I had a several issues.
1. The layers were sliding over each other not steady.
2. I wasn’t able to smooth the frosting on top.
3. My salted caramel tasted great but so hard to drizzle.
Would you be able to tell me what I did wrong
Thanks
Could it be a matter of temperature? If the cake was to hot or the frosting too cold that could happen. If the caramel is wont drizzle it might be that its too cold as well and needs to be room temp.
I made this cake and it was fabulous. I did notice it was sweeter right out of the fridge. My husband warms any fridge stored sweets in the microwave so I did try that. OMG, 8 secs in microwave for a slice and it seemed to bring out the warmth and yummy ness of the burnt sugar and caramel. I could not get enough. Thank you Sally
I made this cake for the first time today and I have lots of holes in the cake. Some of them are very large and go all the way through the cake. Why would this happen? I have never had this happen in a cake recipe before.
Hi Jenny! Though the air bubbles won’t change how the cake tastes, a couple things can help if you decide to try this recipe (or any cake recipe) again. Try to avoid over-mixing the batter, which will force more air into the batter (and air bubbles/holes). After pouring the batter into the cake pans, spread it to the edges and you can even lightly bang the pan on the counter to help any air bubbles rise/pop. Hope this helps!
Hi Sally,
This recipe looks amazing! I’m interested in making this for my husband’s birthday and would ideally like to make it in advance and freeze it. Do you think it will freeze well? Do you think the salted caramel layer between the cake layers will freeze and defrost ok? Any other concerns you have for freezing it? Thanks!
Hi Karen, You can freeze the entire cake or make each component and store separately. See the first recipe note for detailed instructions.
Hey Sally! I made this cake last weekend, and OMG! it tastes sooo wonderful! The burnt sugar in my opinion is so level up! The only thing i noticed is that since there’s liquid in the frosting, i tend to add more confectioner’s sugar to make it spreadable so it ended up being too sweet. Any suggestion next time i do this again since i will be making this again i swear!
Thank you sooo much!
Hey Sally!
Made this two days ago and it was a hit, thank you so much for this recipie!
Got a quick question for my second attempt tomorrow: do you think, the unfrosted cake could stay at room temperature for around 24hrs?
Absolutely. Cover tightly until ready to assemble/decorate the next day.
I made this cake and it turned out perfectly and quite a pretty cake. The only comment is that the buttercream was EXTREMELY sweet. I would use regular buttercream next time…the cake and the caramel offer enough flavor!
I made this cake with my sister and it tasted amazing!! It was definite hit for her work colleagues. The only thing that i’d note is that the buttercream was extremely sweet so for a future reference, i’d reduce the amount of sugar (480g is a lot!). But thanks again for the recipe!!
OMG Sally, This cake looks absolutely delicious! I am going to try it very soon 🙂
I’d like to try this in a 5 cup bundt, just drizzling lots of caramel sauce on top and not frosting; then use the remainder for an 8 x 8 and/or cupcakes. Do you think it would work in a small bundt pan and how long would it bake?
Hi Ginny, It should work but I’m unsure of the bake time.
Thanks for sharing this! I’m thinking of making it this weekend, but I’m worried about transporting it once assembled. I’m considering making all of the pieces in advance and assembling on site. You mention that the syrup and caramel can be made in advance – can the frosting be made advance, too?
Yes, you can make the frosting ahead of time also! Just bring it with you in a tightly covered container and you should be good to assemble when you arrive. Enjoy!
I made this cake today and it came out wonderful! I was surprised at how well it came out seeing I completely omitted the milk! I measured out the milk to bring out to room temperature and completely forgot to add it to the recipe. Oops!
My burnt sugar syrup cooled a little thicker than yours looked to be. Can it be reheated slightly to get more of a thinner consistency?
The consistency won’t be problem at all– you can still use. If you’re concerned, though, you can stir in 1 Tbsp of hot water to thin it out.
Hi Sally,
My cake turned out good except that the inside of the cake became brown instead of white-ish like yours! What do you think was the issue? I followed the recipe exactly. Could it be because I used a glass pyrex baking dish? I also used the convection mode on my oven. Could that be the problem?
Hi Sally,
I was wondering if I could I use yogourt as a substitute for sour cream?
Instead of sour cream, you can use plain yogurt. The cake won’t taste as rich, but it’s a fine substitute.
This cake was incredible. Thank you so much, Sally, for such a wonderful caramel cake recipe! Worth every step!
Hi!
Made the cakes today hopefully ice them tomorrow can’t wait to try it!!
Quick question can I add half cream and half milk in the frosting?
Yes, that should be fine! I hope you love it!
Thank you very very much
we all loved it will definitely be making it again x
having trouble with the oven at the moment so made it in the airfryer the edges were a bit dry and hard do you have any experience with cakes in an airfryer? If you have any tips for me please!
This cake is so good! The cake layers are so soft and fluffy and they really melt in your mouth! The frosting is just delicious as well! We had some family over and I got so many compliments! Thank you so much for this amazing recipe!
I have some of the salted caramel in my refrigerator now. I now it can be reheated in the microwave. Question…will it harden on the cake if the cake sits out at room temperature or will it stay soft?
Hi Susan, Yes – reheat in the microwave! Just a few seconds at a time and stir each time so it heats evenly. This caramel will thicken but it will stay soft. Enjoy!
Hi Sally,
I baked this cake for an adult birthday party this weekend. It was incredibly easy to make and the perfect amount of sweet without being over the top. I have friends who don’t normally like buttercream but who loved this cake. I highly recommend to anyone who enjoys caramel flavor.
The one baking modification I made was to use pure cane sugar as opposed to granulated sugar in the various parts of the recipe. I have been using your caramel recipe for years and the pure cane sugar resulted in the best caramel I’ve ever made. Not sure if that was the difference or if I was just on my baking game this time! 😉
This cake was amazing!! I love the step by step instructions and the fact that if you follow them you can’t go wrong. I have never successfully made my own caramel before. The salted caramel was so easy to make and it turned out perfectly. I will be using this recipe as my go-to caramel sauce!! The cake was light and buttery, the frosting was the perfect salty/sweet combination and the burnt sugar syrup was delicious!
Thank you, Sally, for your detailed instructions and the hours of testing you go through so that I, a home baker, can achieve professional results.
I made this the other day and wow! I have found my go-to caramel cake! I left out the caramel drizzle, but made sure to add the toasted pecans for a different texture, and it was dynamite. Even my boyfriend (who usually prefers chocolate cake over any other flavor) said this was incredible, quickly eating forkfuls at a time. Loved this recipe, Sally, you’ve done it again!
As you know, I can’t wait to make this for my 25th birthday! I was so excited when this recipe came through my inbox! My mom, sister, and I all love caramel cake-it’s definitely our favorite cake! Also, my mom and I are super excited that you use the caramel sauce in between the layers- we make that all the time- my mom evens eats it with a spoon! I’m excited to learn the technique of how to make the caramel syrup as well because I’ve never done that before! I love watching things form- one of my favorite things about baking as well as making memories with the ones you love! I also can’t wait for my great aunt to have a piece because she has always made the caramel cake in the family! Also, I can definitely believe that it took a year to perfect this caramel cake- caramel cakes are hard to master, but can be done! Thank you Sally- You definitely made my 25th birthday a huge hit with this caramel cake!
Made this for an extended family dinner. It was a huge success, even with my super picky husband who thinks caramel cake is too sweet! The salted caramel drizzle was the key. Thank you!
OK, this is the best cake on the planet. No questions about it. I made this for our connect group and everybody raved about them! They are so so so so so good, Sally! The batter is absolute heaven by itself, and the cupcakes were the fluffiest, softest ones I have ever tasted. Honestly, they were SO fluffy! I filled the cupcakes with a little concoction of sugarless whipped cream with lots of caramel folded into it, and it was great. These cupcakes are probably some of the best I have ever made! I did find that the frosting waa extremely sweet though. I suppose that can’t be helped, what with all the powdered sugar and the burnt sugar syrup. Do you think there’s an alternative frosting/topping that wouldn’t be so crazily sweet? Thanks!! 😀
I’m thrilled that this was such a hit, Erin!! For the frosting you can really use whatever your favorite is! My other caramel flavor frosting is this one: https://sallysbakingaddiction.com/salted-caramel-frosting/
And you can always add a bit more salt to any frosting to cut the sweetness.
So why does you Icing look so pale almost white? My Icing is a light caramel colour due to the burnt sugar syrup.
Hi Trina! Maybe your burnt sugar syrup was too dark? Mine is always a darkish/reddish amber color. Regardless, how does it taste?
Hi Sally,
Mine looked just like yours and tastes great. Actually it looks just like your Icing in your picture of it in the bowl. But in the picture of your finished cake the Icing looks white that is what is throwing me off.
I made this cake this week and wow was it good!! Thank you sally!! I wish I could send you a picture of the cake
Hi Sally, this sound Delicious! Thinking of making it for my daughter’s birthday party with her friends(we had your chocolate cake with chocolate truffles for her birthday with family in August, next week is her party with her school friends).
I need to know if this frosting can hold the weight of fondant covering the cake,please? Thank you! X
Hi Rania! This frosting will hold up well under fondant, yes.
I am so glad you have finally got a caramel cake recipe on here. I have several recipes from my great grandmother and even further back and of course, I have tried to make them but with those people no longer being around, it is hard to get it just right. And now we have you to show us how to get it just right. Thank you so much! I look forward to trying this one as soon as I get the time!